I have finished my entry for the Riley Blake/Modern Quilt Guild challenge.
It’s called Spiraling Out of Control and it finishes 70″ x 70″.
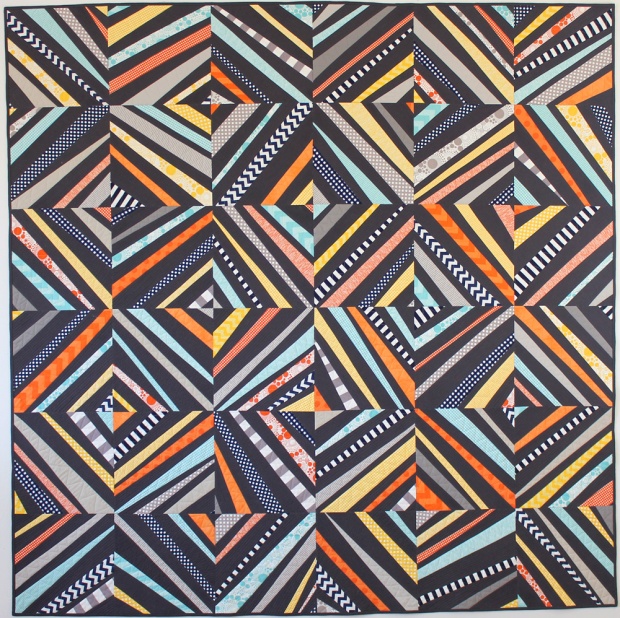
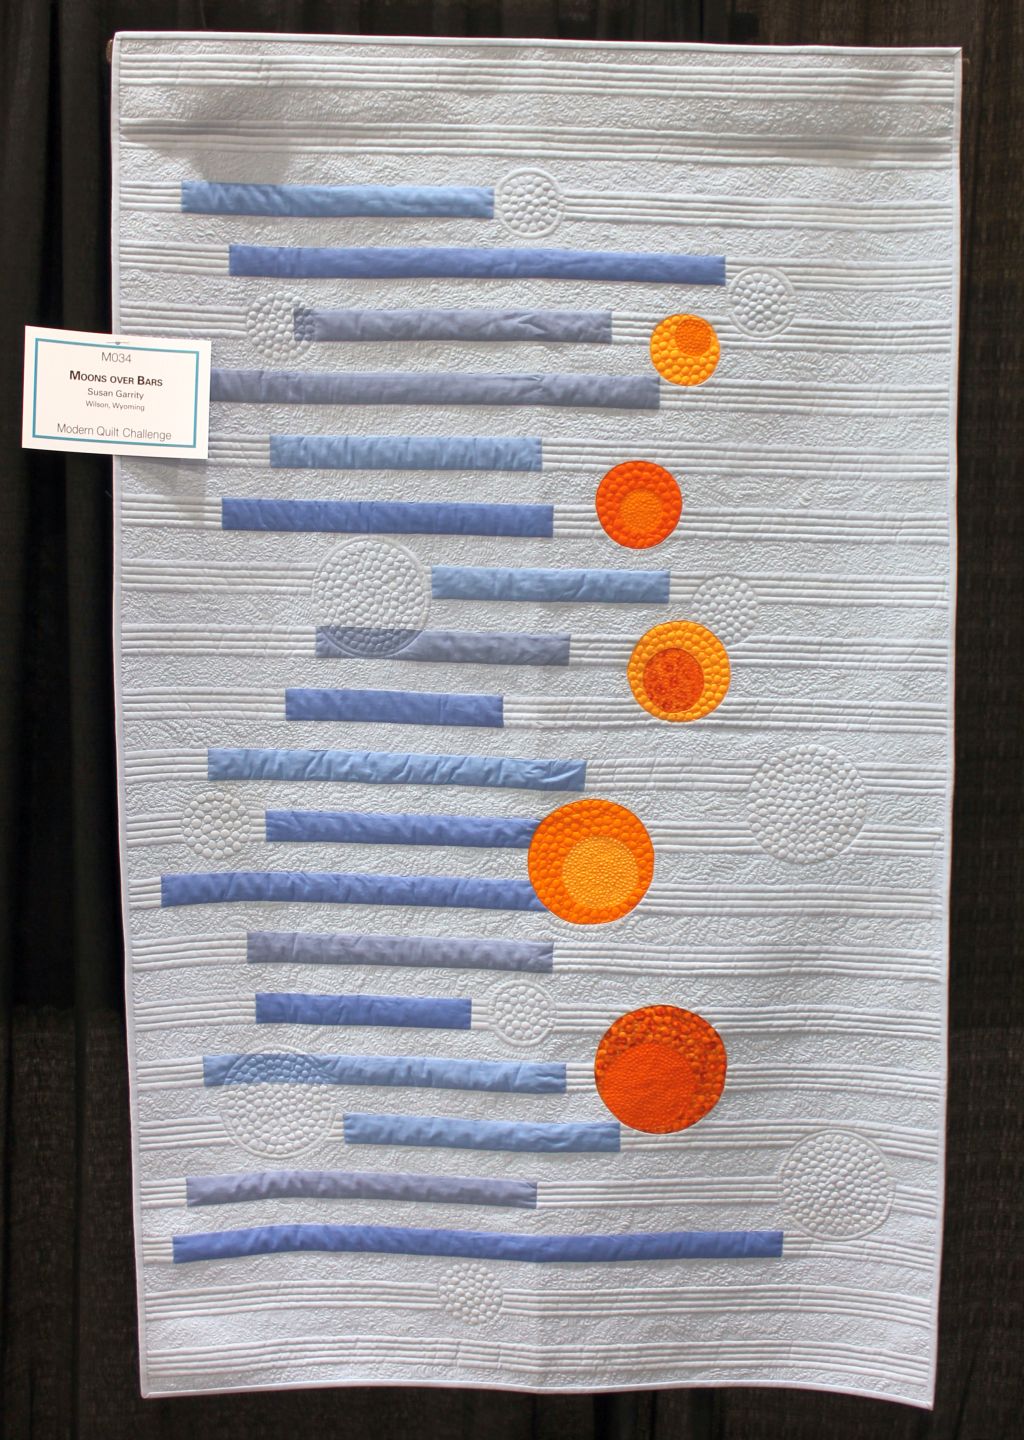
Spiraling out of Control by Christa Watson
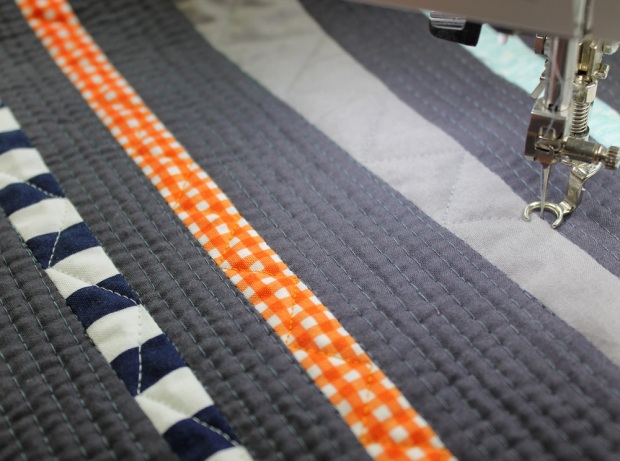
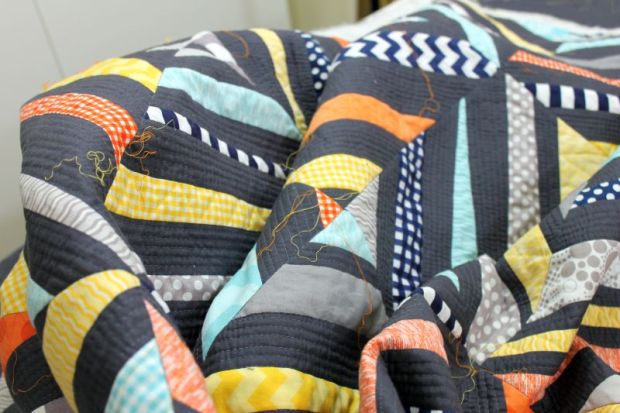
I love the explosion of line and color against the charcoal background. The fabrics were fun to work with and I enjoyed every step of the quilting process. I quilted the background areas with “industrial” straight lines, and I quilted the rays of color with free-motion ziz-zags in matching colors of Aurifil 50 weight cotton thread.
Spiraling Quilting Detail
I tried several experiments while making this quilt which were fun to explore.
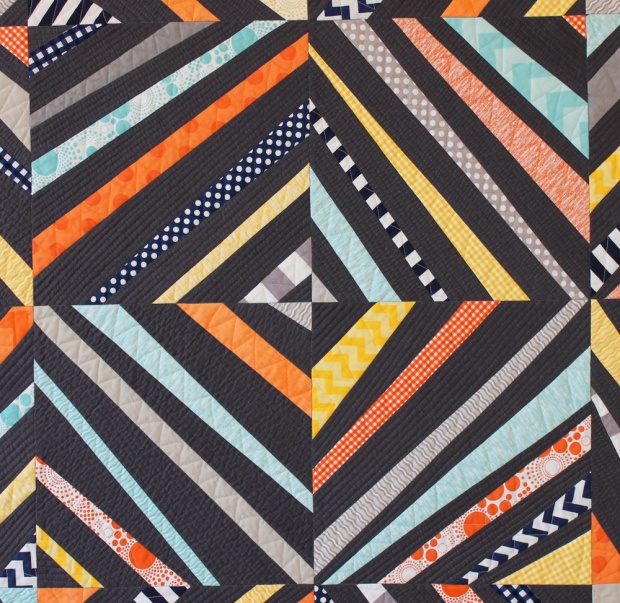
The block is very similar to an oversized string pieced block, yet all of the angles are wonky, and no two blocks are alike. The inclusion of background fabric between every other strip really helps the colors pop. I didn’t want to paper piece it or use foundations so I pieced them improvisationally, then used a ruler to square them up.
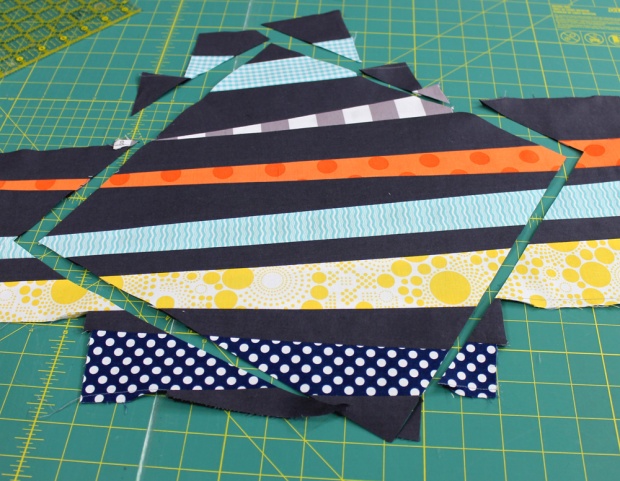
Trimming the Improv Blocks
It took me awhile to finalize the layout. Because of the movement of the blocks, there are a variety of designs that could be created. I had the toughest time deciding if I should contain the boxes formed by the rays or let them stick out on the edges. My gut said to go with “points out” as I call it rather than “points in.” I think that added to the “out of control” look and feel of the quilt!
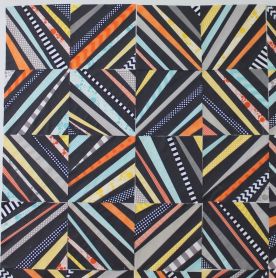
Points Out
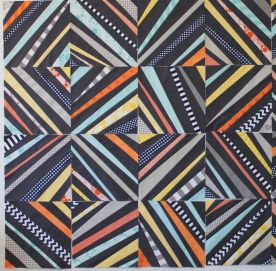
Points In
I tried basting spray which I really liked. No pesky pins to remove while quilting! I also used Quilter’s Dream Orient batting for the first time and absolutely fell in love with it. It’s a mix of silk, bamboo, botanic tencel and cotton. The quilt is so soft even with a ton of quilting on it, and it drapes very nicely. I think this is my new favorite batting!

Use basting spray outside or in a well ventilated area with open windows.
I sprayed the top and bottom of the quilt rather than the batting.
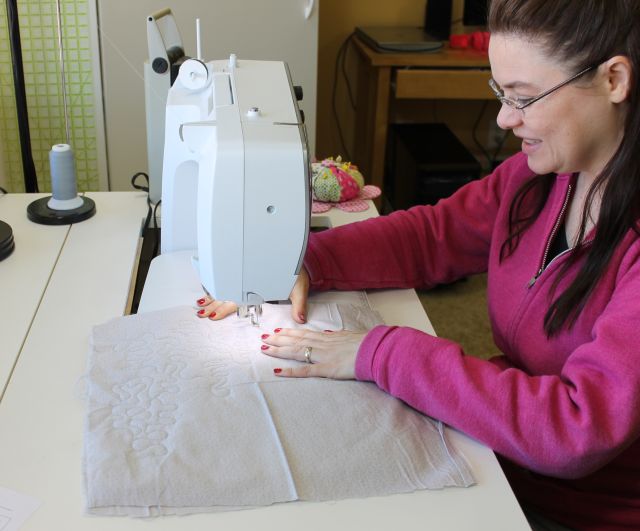
Another experiment I tried was quilting it entirely with my free-motion foot, including stitching in the ditch. While it was more work to push through the machine, I liked the freedom of movement and I didn’t get any of those puckers that often happen along intersecting seam lines.
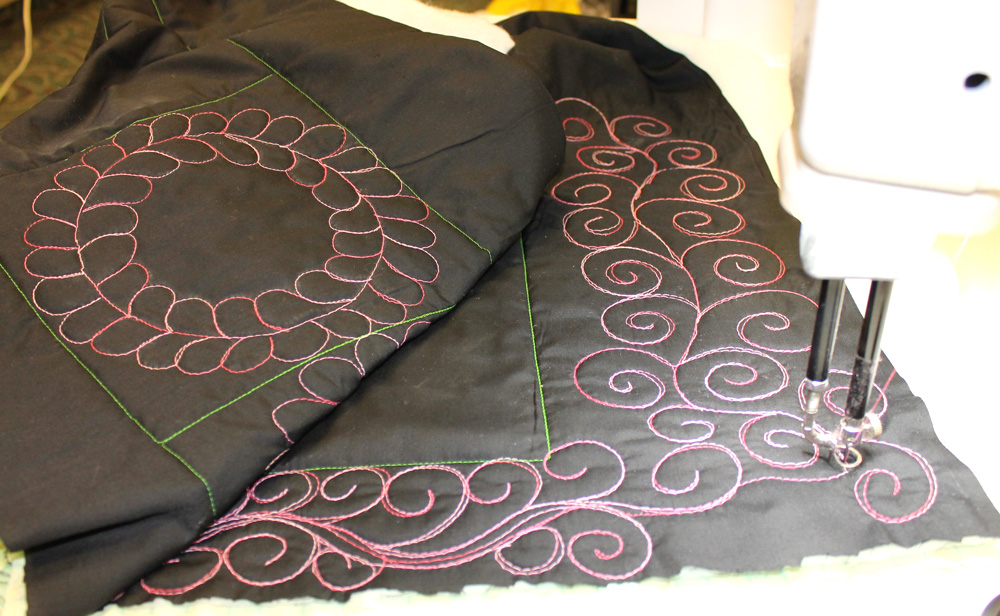
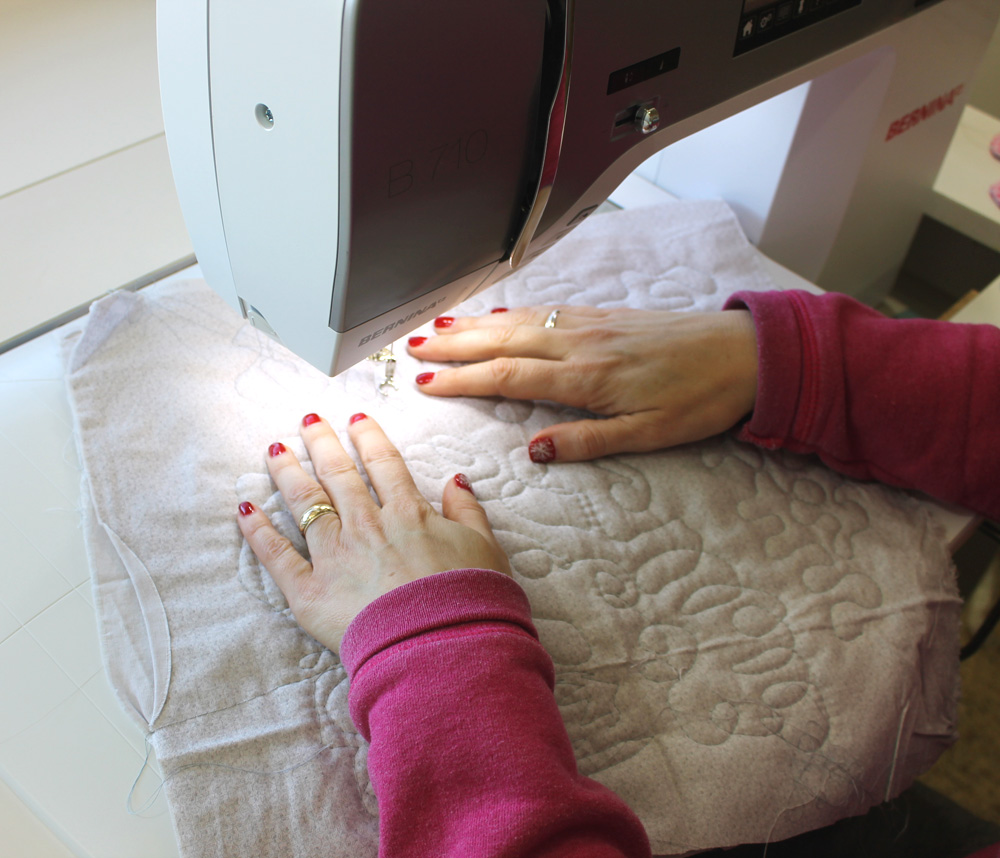
Quilting Detail
I quilted the negative space with closely spaced lines using the edge of my foot as a guide. I didn’t mark any of the lines or worry about making them perfectly straight, which was also a nice experiment in letting go of perfection!
Loose Threads to Tie Off Later
My next experiment, which was a little crazy, is that I tied off all of the starts and stops from the colored threads. (Not for the backgrounds though – I didn’t even want to go there!) I did this mostly to see if was an insane idea or not. While it took a long time and I thought I would hate it, it was actually very relaxing.
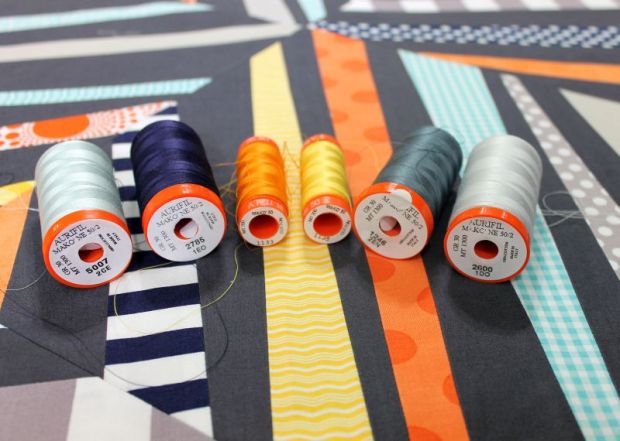
Aurifil Thread Colors Used
I finished the quilting and left long tails of colored threads until the end. Then I used a needle and a thimble to basically hand quilt one stitch of every stop and start, made a knot and popped it into the batting so there wasn’t a mess of thread on the back. This gave me the chance handle the quilt quite a bit. I can now see the value of hand work, but only if you are not rushed! I also finished stitching the binding by hand.
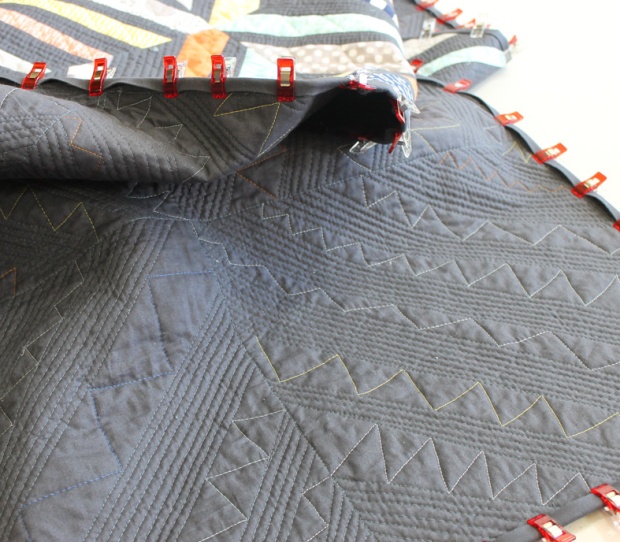
Quilting Detail on the Back
A final experiment is that I timed myself during every step of the process to see how long it would actually take from start to finish. People are always talking about how many weeks or months it takes to make a quilt, but that never makes sense to me because I don’t know how many hours a day they spend quilting. The number cruncher in me likes keeping track of these things!
Here’s a breakdown of the time:
- Prewashing fabrics – 1.5 hours
- Starching, pressing and cutting – 7 hours
- Sewing the blocks – 14 hours
- Starching and squaring the blocks – 1.5 hours
- Deciding on layout of blocks – 2 hours
- Sewing top (including pressing) – 3.5 hours
- Piecing the back – .5 hour
- Basting & smoothing – 2 hours
- Stitching in the ditch – 1.5 hours
- Quilting the negative space – 22.5 hours
- Quilting the colored strips – 12 hours
- Tying off knots – 6 hours
- Sewing binding to the quilt – 3 hours
- Finishing binding by hand – 5 hours
It took a whopping 82 hours to make this quilt! I guess you could say the time spent creating spiraled out of control. 🙂 However when comparing it to quilts where makers sometimes spend hundreds of hours on their competition pieces, I didn’t feel so bad. After all, it was an experiment!
Spiraling out of Control by Christa Watson
Final Stats:
- Spiraling Out of Control – 70″ x 70″- designed, pieced and quilted by Christa Watson
- Riley Blake Basics fabric in aqua, navy, yellow, orange and grey
- Riley Blake Basics Charcoal Solid for the background, backing and binding
- Aurifil 50 weight cotton thread for piecing and quilting, in colors to match
- Quilter’s Dream Orient Batting
- An insane 82 hours to create
- A joy to make from start to finish!
For more in-process shots, see challenge post #1 and challenge post #2.
Thanks to Riley Blake and the Modern Quilt Guild for hosting this challenge!
 It’s no secret I love designing and making quilts.
 My latest EQ7 design – This quilt will do double duty as my entry into the next MQG fabric challenge, and as a future class sample. Stay tuned for more!