2018 Spray Basting Update
I’ve updated this method to show I use my design wall to assemble the layers.
Click here for the updated tutorial.
Original Tutorial (From 2014):
I have been dabbling with using 505 basting spray to hold the three layers of my quilt together while quilting. I’ve learned a few things along the way and would like to share them with you. Thanks to Ann Petersen for introducing me to this method of basting.
 Yes, you get to see my ugly backyard during this tutorial. Yay, you!
Tips Before You Begin
First of all, when basting a quilt with spray, it is best to use pre-washed 100% cotton fabrics. The spray make not stick as well to other fibers. Also, if you like to starch the back of your quilt to make it slicker and aid in machine quilting, wait to do this until after you have spray-basted the quilt.
For best results, choose a natural fiber batting made of cotton, silk or wool (or a blend that is mostly cotton) because the adhesive tends to stick better. Finally, be sure to use the spray adhesive outside, or in an extremely well ventilated room with the doors and windows open.
Now on to the Tutorial
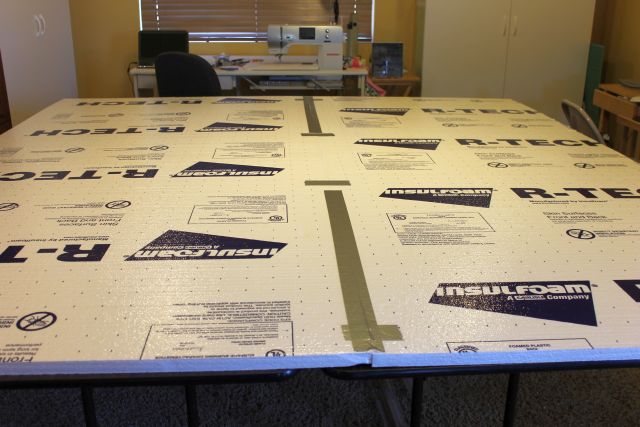
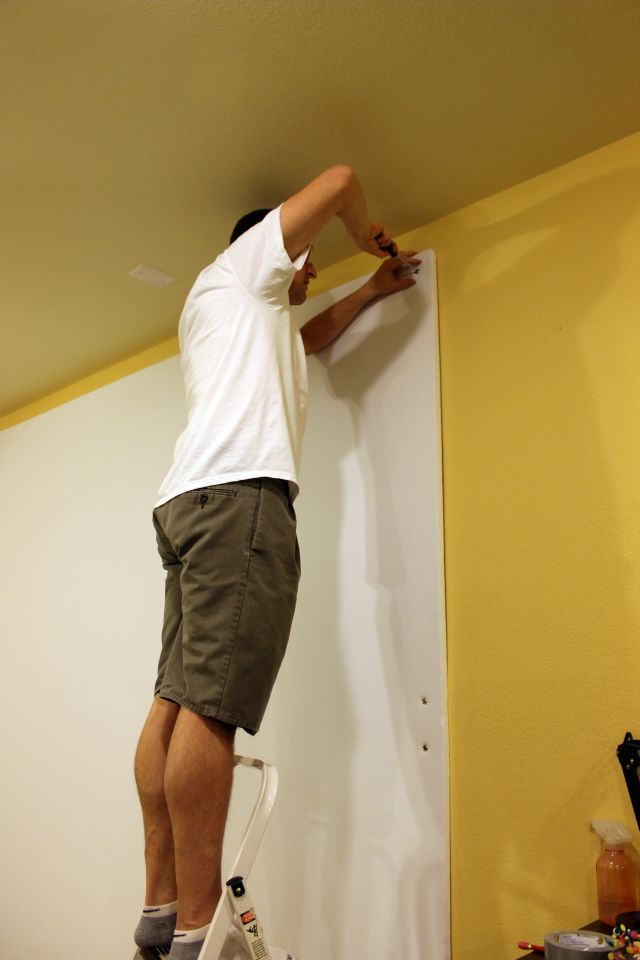
Begin by setting up one or two tables on which to work. Alternatively you can place a sheet on the ground, or even drape your fabrics over a wall if needed. Lay out the backing of your quilt first, wrong side up. You will be applying the spray to the wrong side of the fabric.
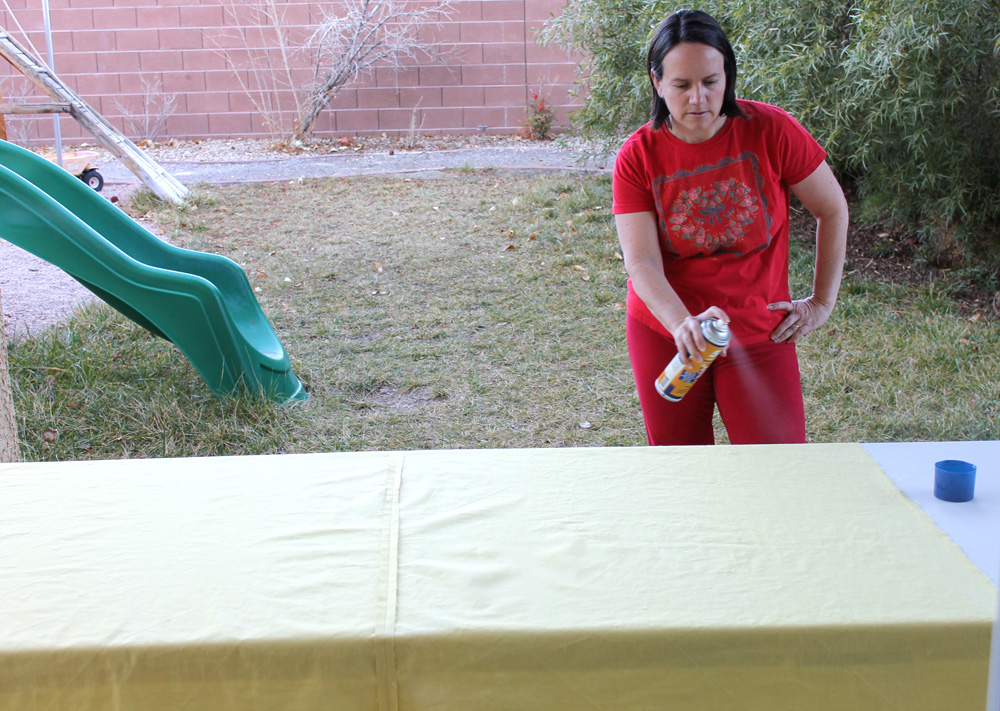
 Working outside is best so that fumes can dissipate.
Not shown in the photo: place a towel or two on each end of the table under the backing to protect it from over-spray.
Shake the can well before beginning. I have only used the 505 spray, so I cannot speak to the effectiveness of the other brands. Starting on one end of the quilt, spray the adhesive smoothly back and forth across the surface of your quilt. It should be very tacky to the touch. Set the backing aside and move on to the quilt top.
 Not a very flattering picture, but I’m keeping it real!
Lay out the quilt top and use the same method to apply spray evenly over the wrong side of the top and set it aside. I sprayed the center section of the quilt top and then went back and sprayed the sides. I didn’t move the top; I just sprayed the edges while they were hanging off the table.
 Lay out your quilt top wrong side up.
I usually hang my top and backing wrong side up over a railing while waiting to assemble them. You can also fold them up and open them later as needed. The quilt pieces will be tacky but can still be opened up if the sticky ends touch each other.
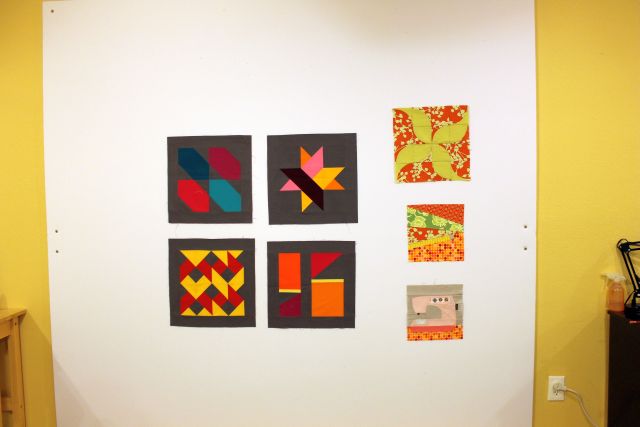
 I drape my quilt tops over a railing in my sewing room.
Using a large surface (like a couple of long plastic tables pushed together), spread the backing wrong side up and tape or clamp down the edges. Next, place your layer of batting on top.
 Tape the backing down with painter’s tape, wrong side up.
It is really helpful if you can grab an assistant to help you place the batting directly on top of the backing without having to move it around too much. Grab the quilt top, again with help, and place it on top of the other two layers, right side up.
Take some time to smooth out all 3 layers until it is nice and flat. Once you have worked out any wrinkles, take the whole sandwich over to your ironing board and press it together from the back of the quilt. This will help set the adhesive and works best with natural fiber battings. If needed, press the front side as well.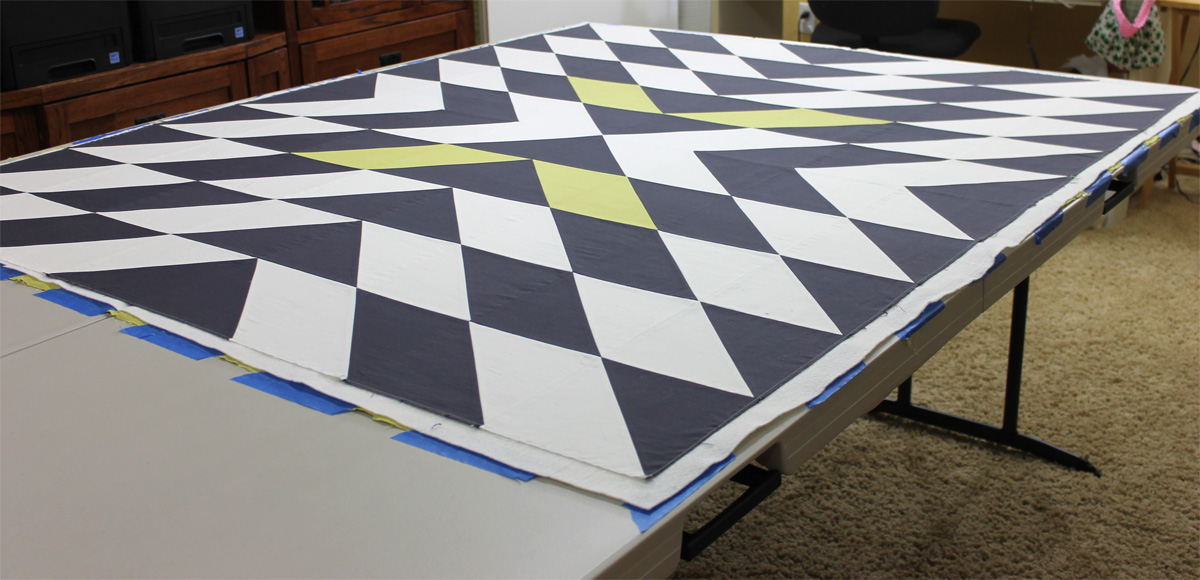 You are now ready to quilt!
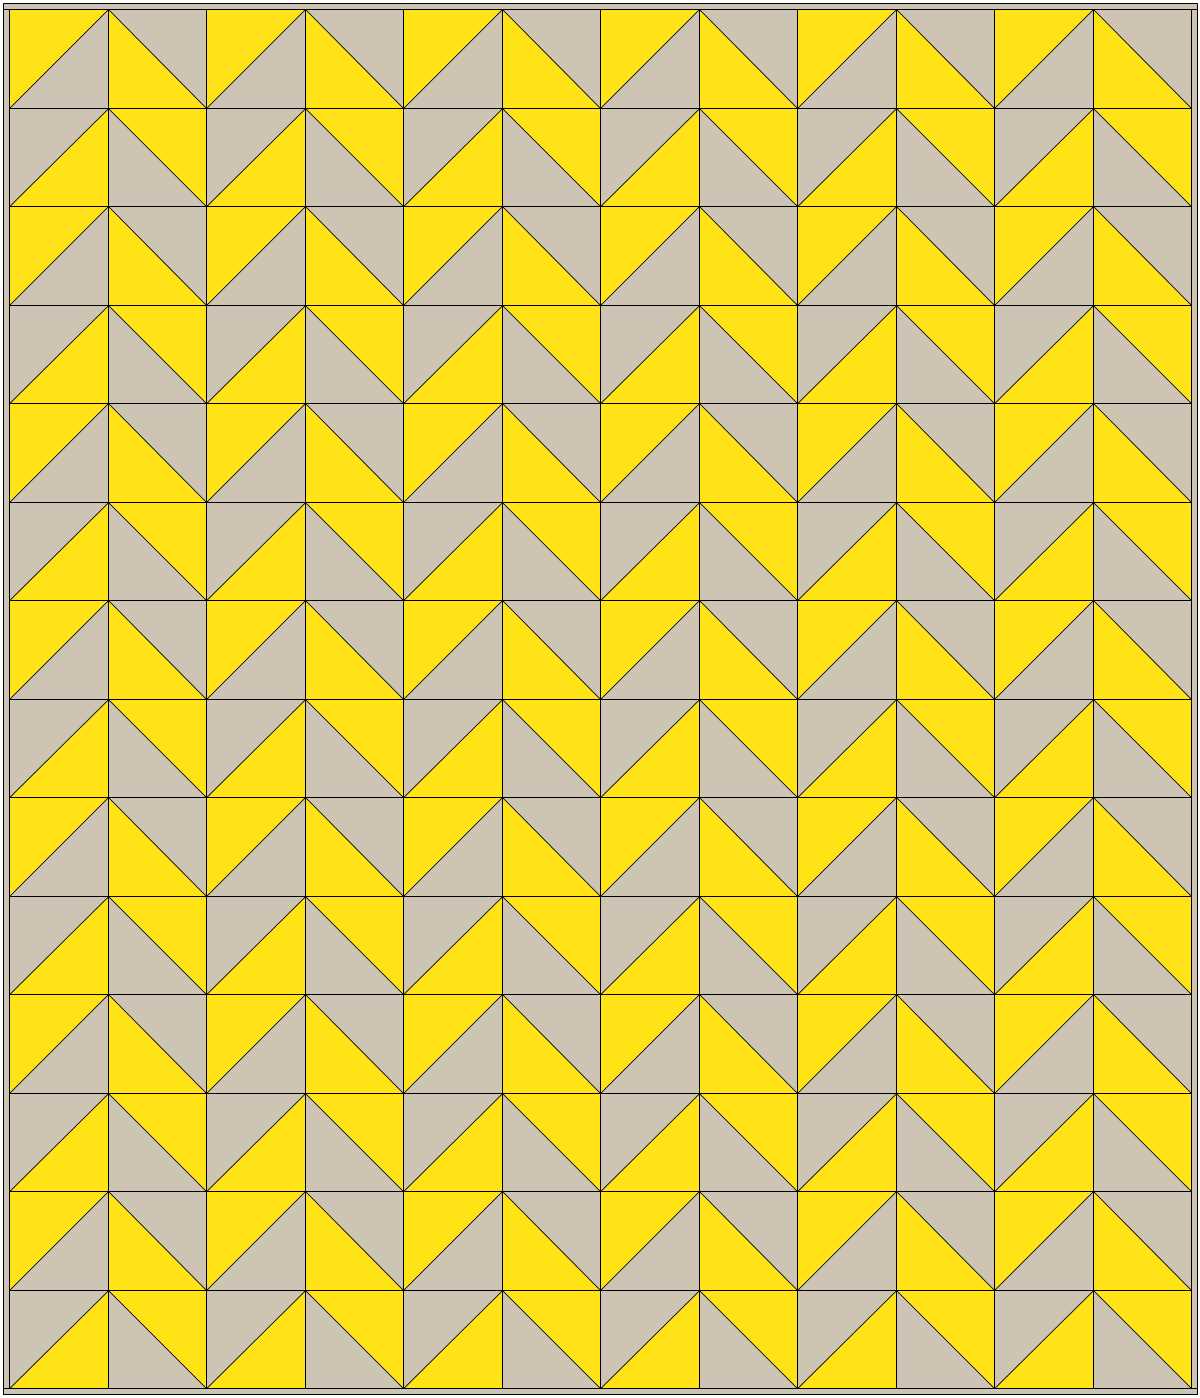
The quilt shown is Modern X, made as a free pattern for members of the Modern Quilt Guild. Pattern available for purchase here.