I love machine applique and modern quilting. I made my Love table runner below for Valentine’s Day 2013 and it went together quickly and easily. My version has all the letters going horizontally, but you could switch it up and make them run vertically if you wanted to create a wall banner instead.

- Love by Christa Watson 12″ x 30″

Supplies needed to make one Love runner, finished size 12″ x 30″:
- 1 Fat Quarter Background
- 1 Fat Quarter for Letters
- 1 Fat Quarter for Small Corner Squares
- 1 Fat Quarter for Sashing
- 1/3 Yard for border (or 1 FQ if you don’t mind a pieced border)
- 1 Fat Quarter for Binding
- 1/2 Yard Fabric for Backing
- 18″ x 34″ Piece of Batting
- Piece of Fusible Web at least 8 1/2″ x 11″
- Thread to match your applique letters
- Matching thread for machine quilting (cotton or polyester)
Step 1 – Cutting the Fabric
- Cut (4) – 5″ squares of background (cream)
- Cut (4) – 4.5″ squares for letters (red Pearl Bracelets)
- Cut (10) – 2″ small corner squares (red gingham)
- Cut (13) – 2″ x 5″ rectangles for sashing (dark brown)
- Cut (2) – 2.5″ x 8″ strips for side borders (red script)
- Cut (2) – 2.5″ x 30″ strips for top/bottom borders (red script)
- Cut (3) – 2.25″ x WOF (Width of Fabric) strips for binding (brown stripe)
- Cut 14″ x 32″ piece of batting.
- Cut 16″ x 34″ piece of fabric for backing.
Step 2 – Preparing the Love Letters
Click here to download and print the letters L-O-V-E. (Or if you’d like to be a little more creative, you can enlarge any font style you like and make your own letters.)
Flip your paper over so that your letters are backwards. Trace the backwards letters onto the paper side of your fusible web.

Rough cut around each fusible paper letter. Then following the mfg’s instructions, adhere your fusible web to the backside of your letter fabric. Use this phrase: rough to wrong. The rough (glue) side of the web needs to be stuck to the back (wrong) side of your fabric.
Cut out the letters following their outlines. Don’t forget to cut out the center of the O! You have now made your own iron-on appliques. The paper backings should still be attached.

Step 3 – Assembling the Quilt Top
Join your cut pieces into 3 rows as shown below:

You will notice I have not added the letters yet. I like to add them once the top is done so I can space them just right. Press seams open or towards the sashing fabric.

Join the rows and add side borders that are trimmed to size. Then add the top and bottom borders and press towards the border fabric.

Remove the backing from your cut out letters. Following the mfg’s instructions, adhere them to your block backgrounds. You can eyeball them in place, arrange them whimsically, or use a ruler to measure exact placement. It’s up to you!
Step 4 – Baste your Quilt
Using safety pins, straight pins, or basting spray, baste your quilt. Take care not to pin through any of the letters.

Step 5 – Practice Your Machine Applique Stitch


Use an open toe foot and a wide needle plate if you have them, and select a thread color to match your fabrics. Stitch out a few designs on a practice scrap to see what you like. I prefer to use a blanket stitch on my machine. It adds a softer appearance to the applique shapes compared to a dense satin stitch. It’s also more forgiving to stitch out.
Learn the “rhythm” of your stitch so you can anticipate where the needle will next pierce your fabric. Sew slowly and “count” how many movements it takes to complete the decorative stitch so you will know when to pivot.
Step 6 – Appli-quilt Your Letters
Since you will be stitching through all the layers of your quilt, you don’t need a stabilizer. I suggest using the same thread color in the bobbin as well as the top to hide any less-than-perfect stitching or tension issues.
 Start in the middle of your letter and bring the bobbin thread up to the top. Take a few small straight stitches to lock your threads. Then switch to the decorative stitch on your machine. You may need to scoot your quilt over so the needle position lines up correctly.
 Anticipate where your needle will pierce the fabric on each movement of the stitch. Turn the top slowly and smoothly as needed so as to avoid stitching outside the letters into the background. If you have the “needle down” function on your machine, use it. Always stop with your needle down before turning your quilt. Pivot when needed.
 When you have an inside turn, try to land your stitch right in the middle. Don’t be afraid to pivot every stitch or two when needed to completely outline the letters.
 When you reach the beginning, change back to a straight stitch and end with a few small locking stitches. Clip your threads close. When you get to the ‘O’ stitch the inside first.
Finish stitching all of the letters the same way.
Step 7 – Finish Quilting Your Quilt
Now you can have fun quilting the rest of your quilt however you like. I like a lot of quilting, and the background fabric can give you a chance to add a lot of texture.

- Love Detail
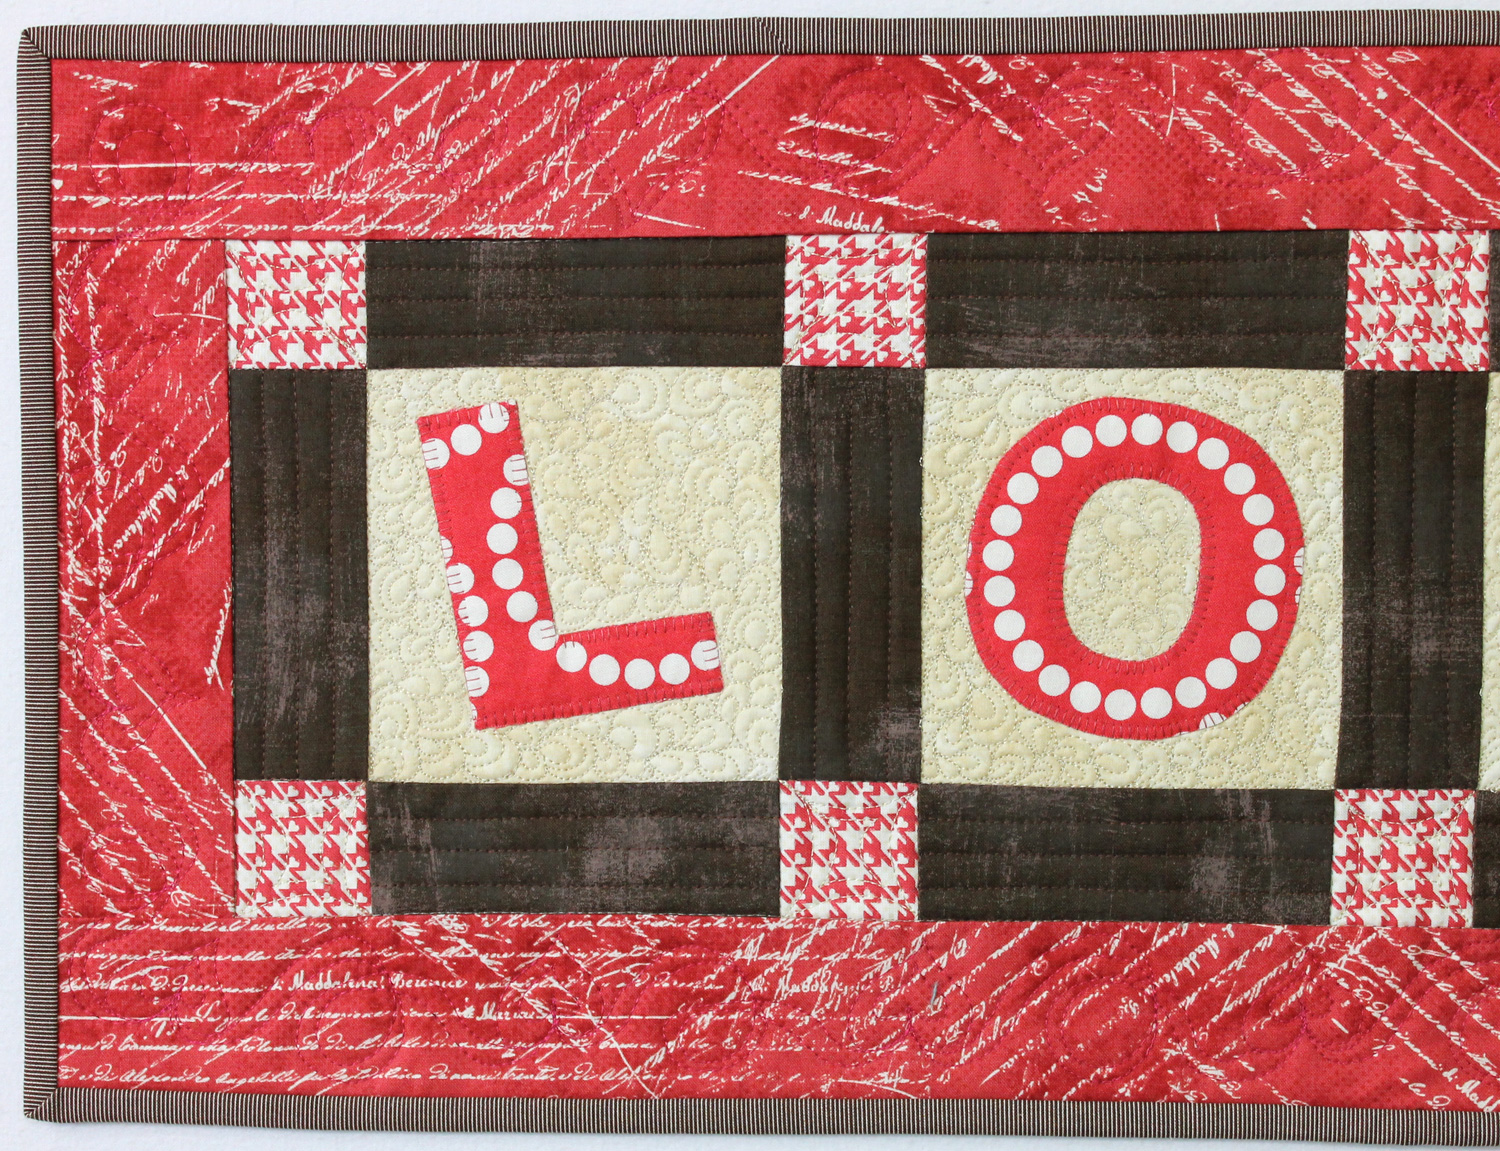
I stitched in the ditch with a thin matching polyester thread, quilted paisleys in the backgrounds with high-sheen polyester in cream, added a fun heart loop motif in the border with high-sheen heavy polyester and quilted the straight brown accent lines in cotton. I use whatever thread I have that will match best!
Step 8 – Bind Your Quilt
Using your favorite method, bind your quilt and finish stitching either by hand or machine. Here is a link to one of my binding tutorials. It’s for a different project, but the mechanics are the same for any quilt.
My table runner measures 12″ x 30″. I am pleased to add a little more LOVE to my home!
- Love by Christa Watson 12″ x 30″

This is adorable! Thank you so much for this detailed tutorial!