I’m continuing my giveaway frenzy through the end of the month! It started at the end of November when I found out about all these great blogs hosting fun giveaway blog hops. The last one ended last week and I was sort of going through withdrawals so I decided to host 2 more through the end of the year.
Today’s giveaway will go through next Monday, Christmas Eve, and then I’ll do a final one through the end of the year. It will be a fun Christmas gift for whoever wins. 🙂
To celebrate the arrival of Laurel Burch’s brand new Fabulous Felines I will give 2 lucky blog followers one of her Fabulous Feline Panels!

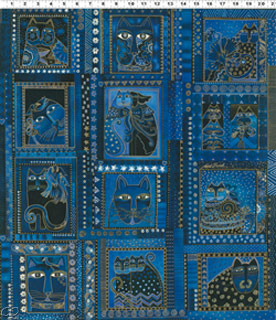
They come in two colorways – bright or blue. When I first started quilting I wasn’t quite sure what to do with panels, but they are some of my best sellers because of their convenience and versatility.
Here’s how to enter: leave a comment on this post giving me some more ideas about what you like to make with panels, or any other Laurel Burch fabric for that matter.
I will be accepting comments until December 24th at 9 PM Pacific Time (Midnight Eastern). I will randomly pick a winner at that time and post the name here on this blog post.
And just so no one feels left out, everyone can use the special coupon code below to save 10% on ANY Laurel Burch fabric order from my store, good through 12/31/2012.
Enter code LAUREL12 in the coupon box at checkout for this one-time discount.
I love to see and read about everyone’s creativity!! (In fact if you email me pics of any project you make using Laurel Burch fabrics or any other fabric you got from me, I’ll probably want to share it for show and tell on my blog!)
Good luck and thanks for stopping by!
Updated 12/24/2012 10:30 PM
Thank you for all of your wonderful comments. It was so great to read all of your ideas and suggestions on what to do with these lovely panels. My mind is now full of ideas!!
We have our 2 panel winners!
Congratulations to Beulah who said,
“I’ve honestly never used a panel for a panel…they always end up cut apart. These panels would be used cut apart as well…many possibilities. 1 image would most certainly adorn the back of a denim jacket! Other options: book jackets or journal covers, travel pillows, tea cozy, placemats, reading buddies, wall hangings, gift bags, wall hangings, infinity scarves, art smocks…..”
and also to Barb N. who had this great idea,
“Oh goodness, I’d make a really bright lap quilt using each panel section as the focal fabric with coordinating bright colors all around. It would be a quilt to make you happy! Lots of possibilities with Laurel Burch.”
I will contact both of you immediately via email. I sure hope you make something fun and email me a finished picture of your project!


 yet, I am getting closer! An essay that I wrote about Dreams and Goals for my quilting was accepted by


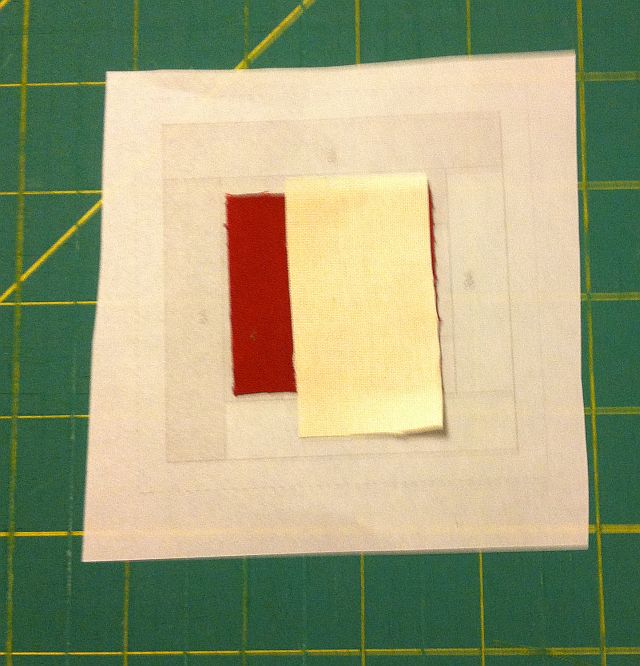
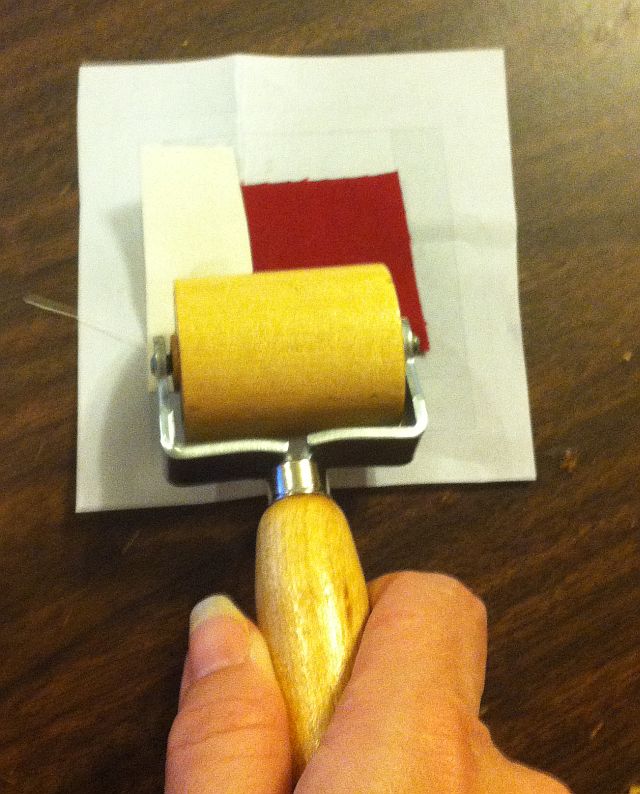
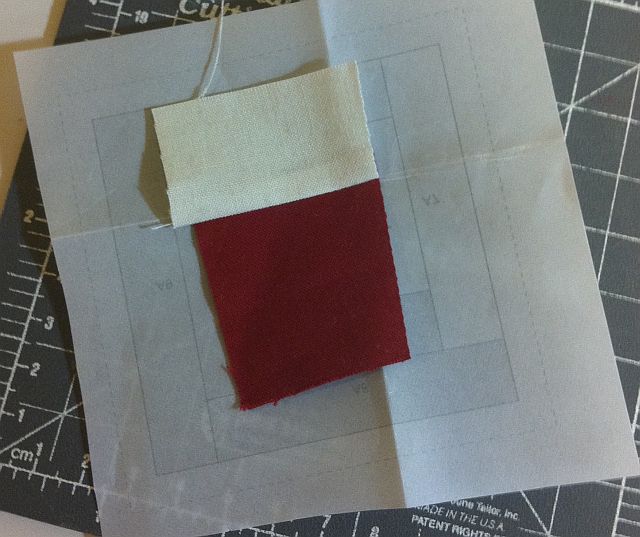
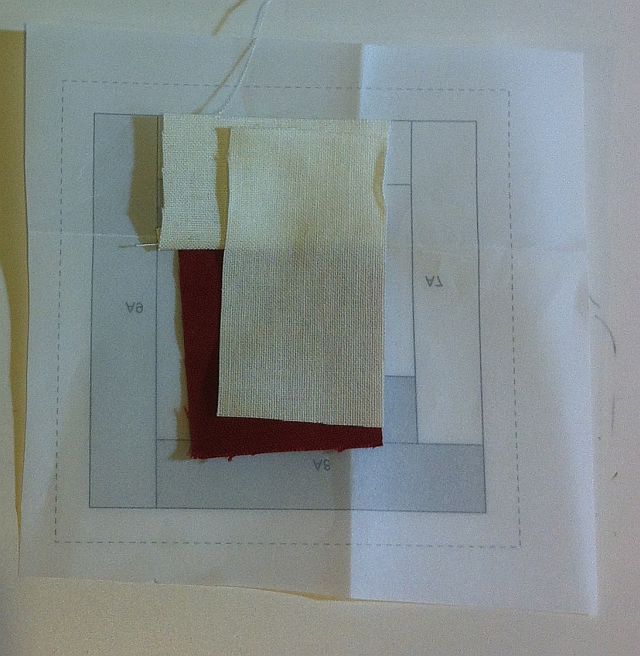
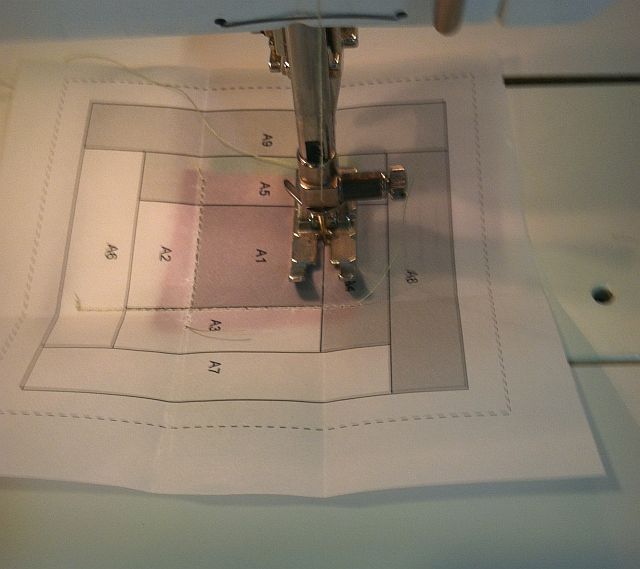
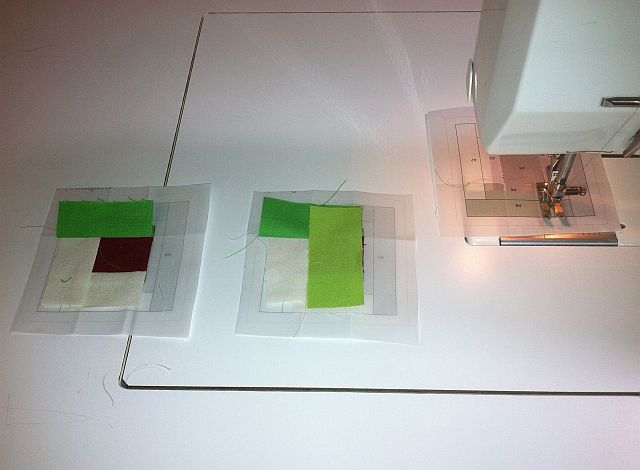
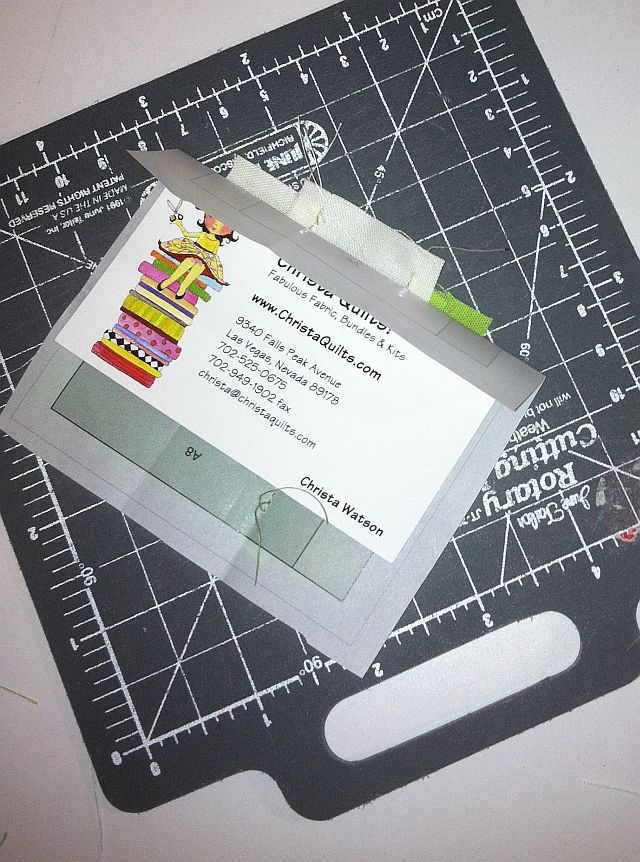
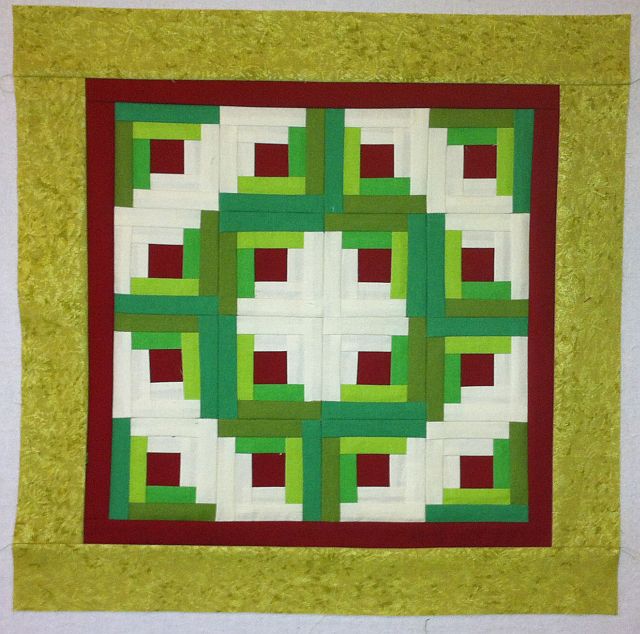
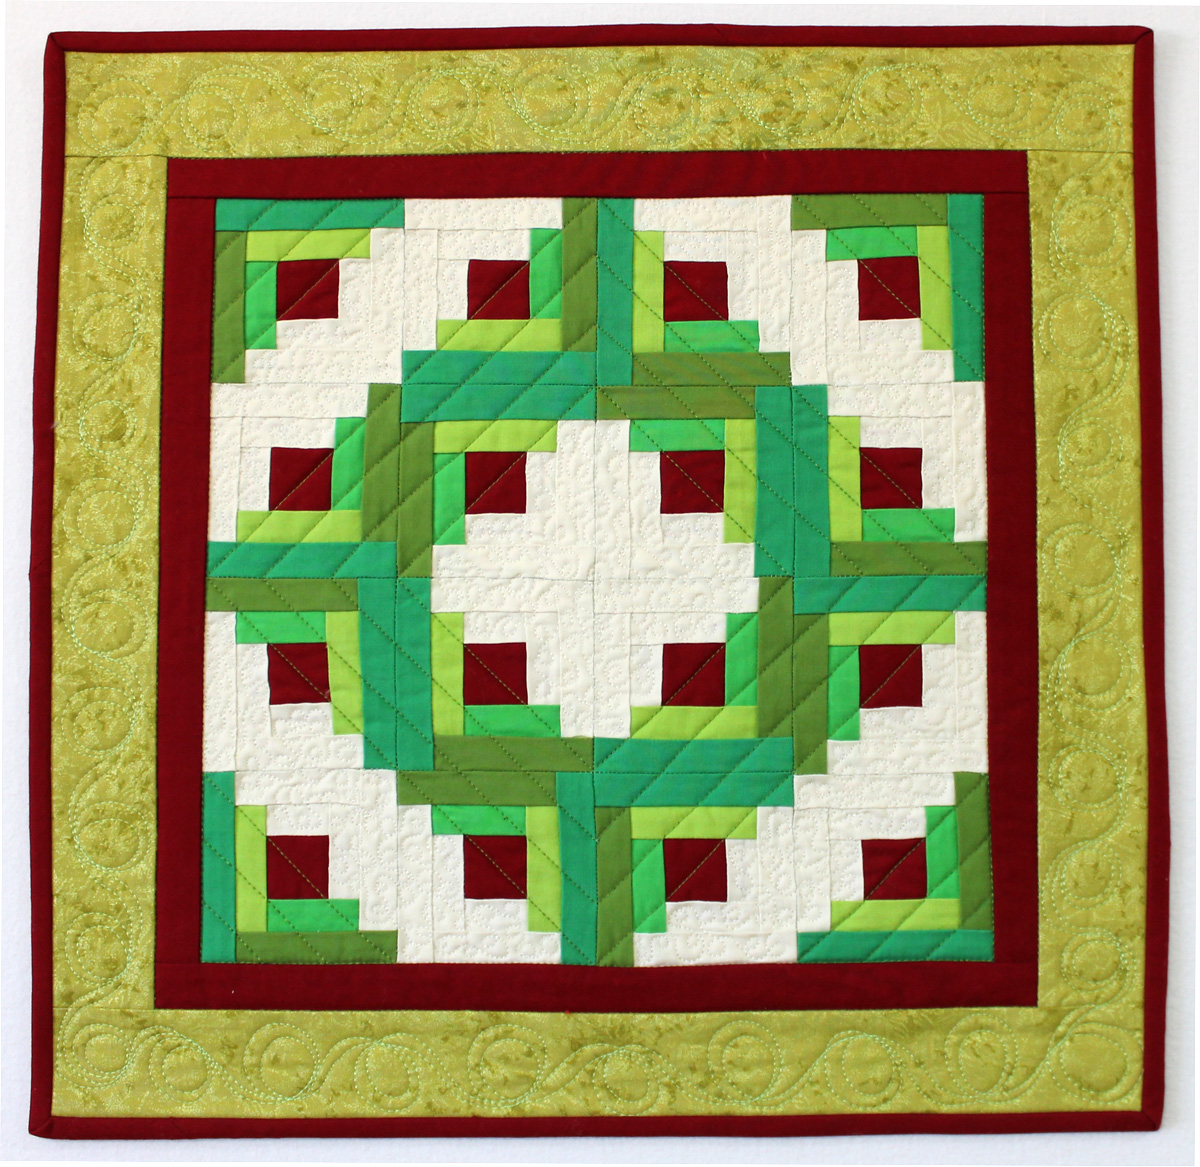
 This is a Christmas Wreath quilt I designed and made from paper-pieced Log Cabin blocks.
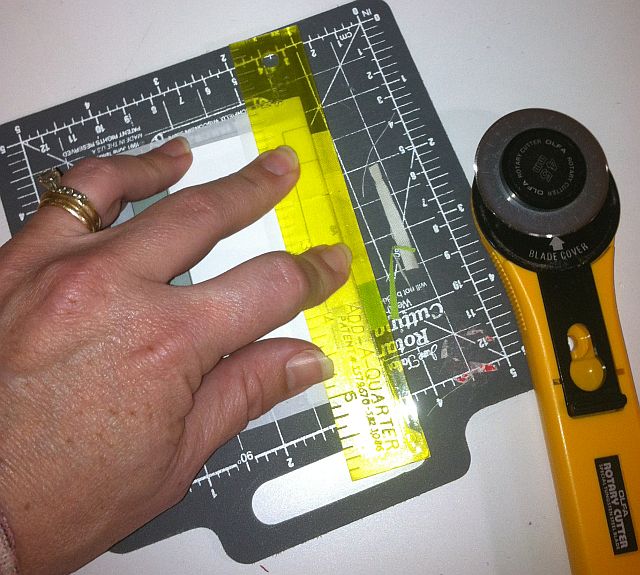
 strips. Cross-cut into: