Here is one of my favorite quilt designs I want to tell you about, that I call “Baby Bricks”. I’m developing a pattern for it so I’m making lots of “tester” quilts as part of the process. Enjoy this free tutorial version but please note that these are copyrighted images and text.
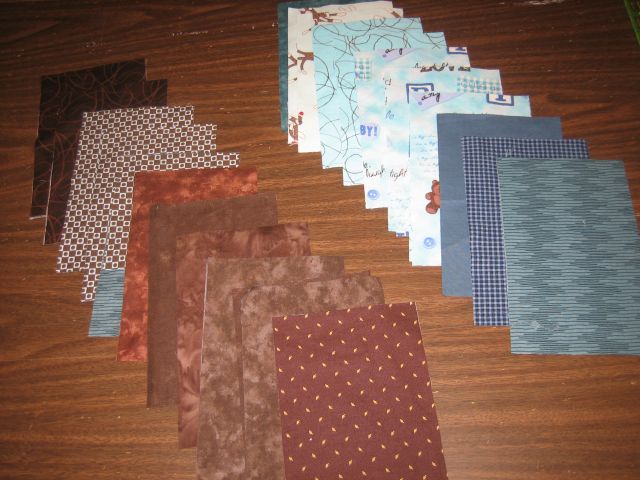
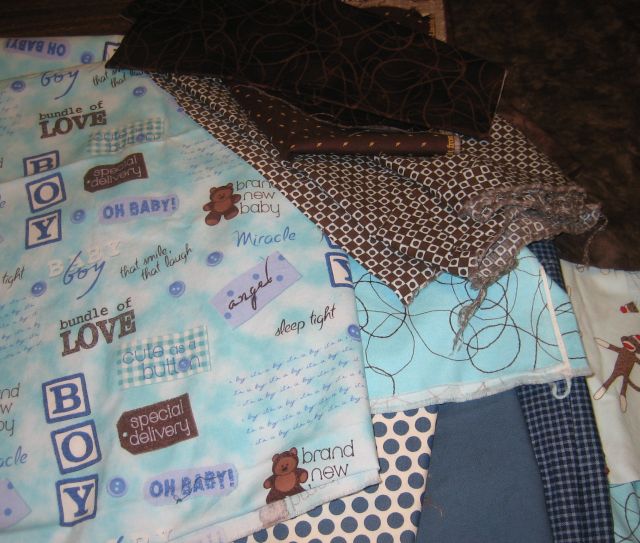 I love taking a pile of fabric and cutting it up into useable rectangular pieces.
 A piece of “Cute as a Button” flannel for the backing was the inspiration for the color scheme. It also limited how big the quilt would be. Since there are two sides to every fabric, I used the backside of one of my blue bricks since the right side was too “girly.”

 Cut out as many rectangle bricks as you want to make your quilt big enough. Make them as wide or as long as you want.
I like to offset each of the rows so it gives a “staggered” look. To do this, fill in the gaps with 1/2 of a rectangle (plus seam allowances).
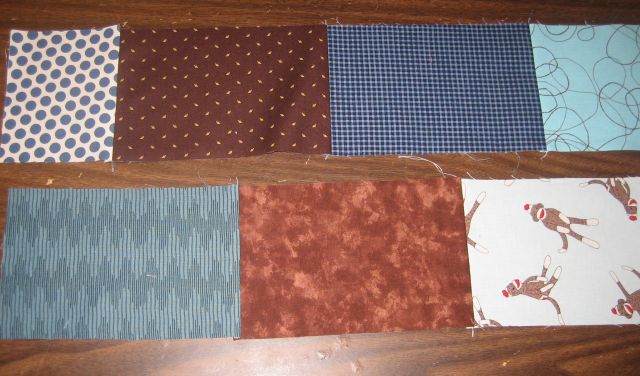
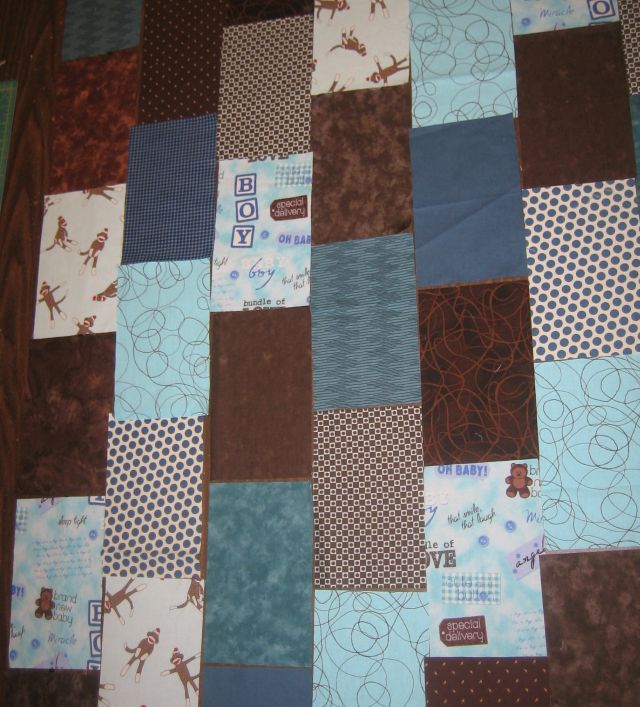
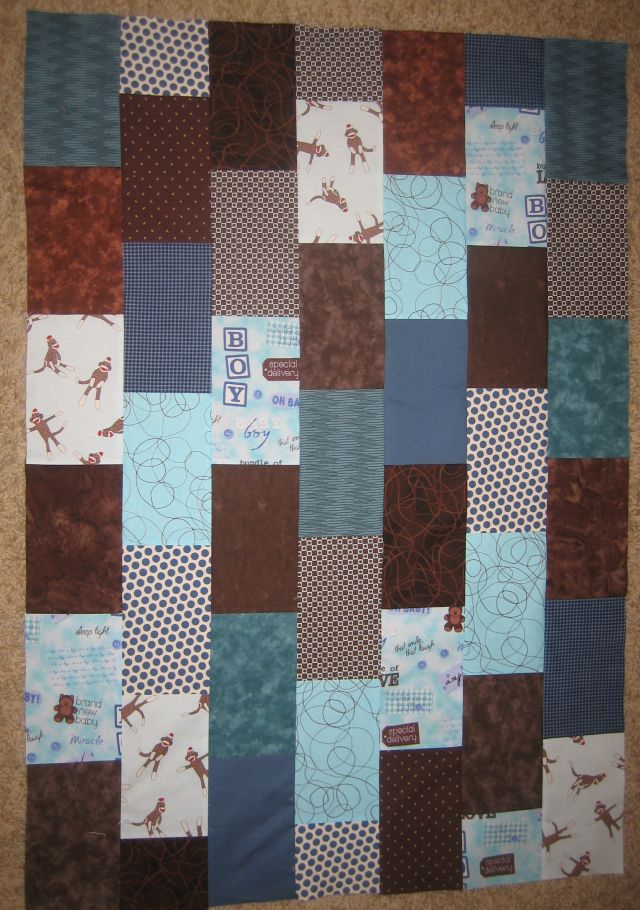 Randomly sew the bricks together to create rows, then sew the rows together into the top.
I laid all my bricks out into a pleasing arrangement first.
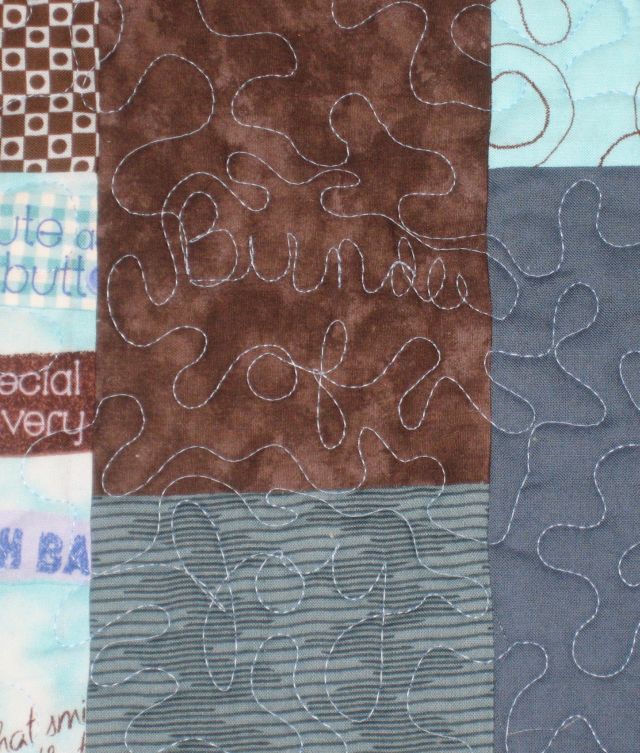
It was fun to 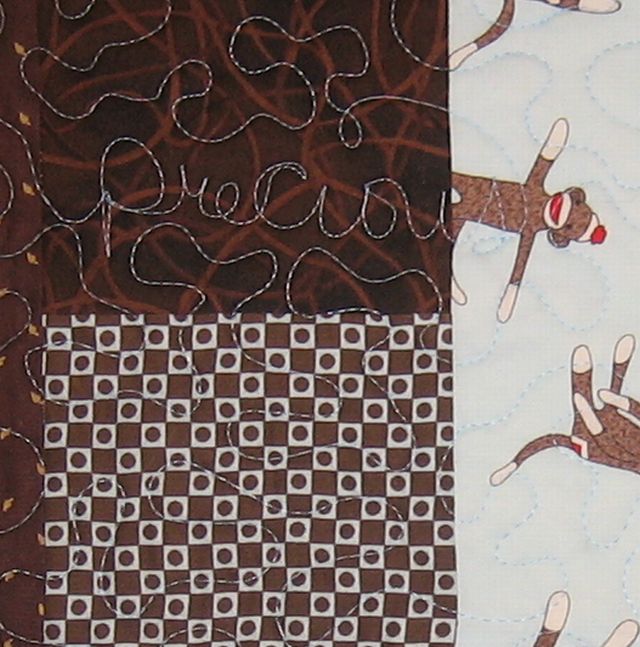 stitch baby phrases on the quilt.
Here’s the finished quilt, made for a friend’s new little baby boy.
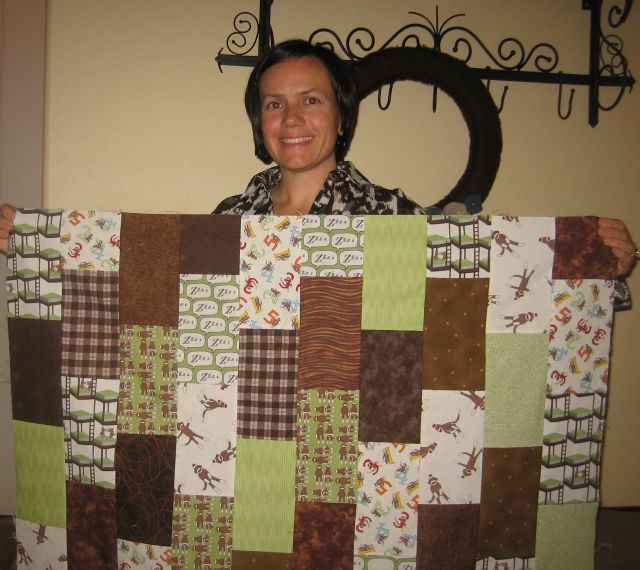
 I’m making the green version for my sister’s new baby boy. It still needs a few more monkeys!
Updated: Baby Bricks is has now been featured at FaveQuilts.com.