Moda Charm Packs Galore

Pile O' CharmpacksI hope you aren’t getting tired of reading about charm packs because I am certainly not tired of writing about them and sewing with them – they are just “sew” addicting!

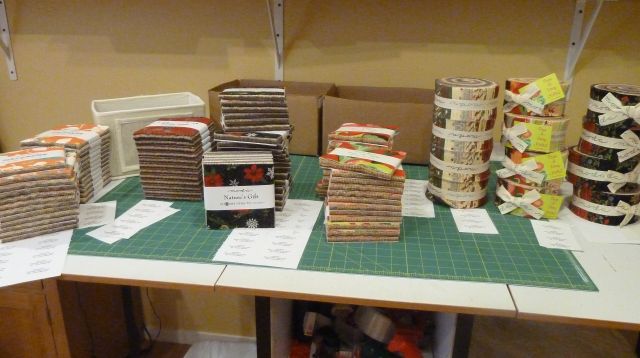
Here’s a recent pile of charm packs and jelly rolls that arrived from Moda, waiting to be labeled and bagged for shipping.

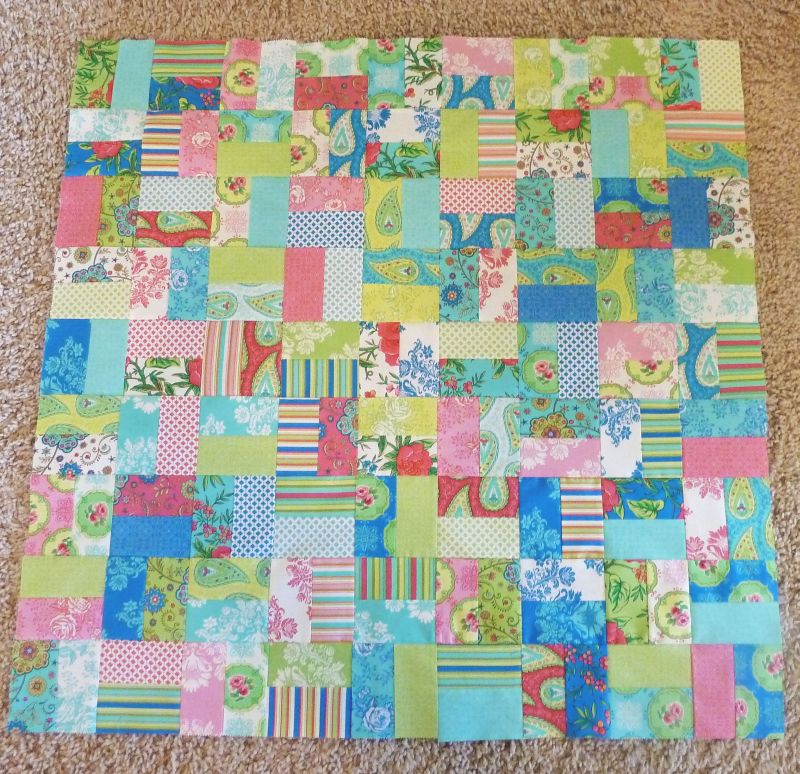
Lily Ashbury Charm Pack Quilt TopHere’s my current charm pack quilt project that I’m working on. It uses two packs of charms cut in half. I chose Lily Ashbury’s Summer House but think this will look great in any charm pack color combo.

As I wrote in the last post, my new thing is designing quilts in EQ7. As soon as this one is finished, I plan on kitting it and making a pattern from it. It’s super easy yet very striking, especially in colorful modern fabrics!

Here are the next few Moda charm packs that I would like to do something with:

Nature's Gift

Nature's Gift

Terrain

Terrain

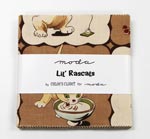
Lil' Rascals

Lil' Rascals

Designing Quilts is Right on Target

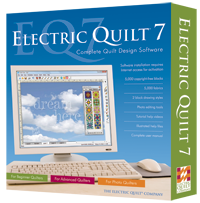
I have rediscovered the joy of quilt designing with the help of EQ7 (Electric Quilt Design Software – Version 7). I used to teach quilting classes years ago and always designed my own patterns to teach. However, these were pretty “home-made” looking and not really suitable for publication. Now with this handy technology, I’m on my way to producing my own original Christa Quilts Designs!

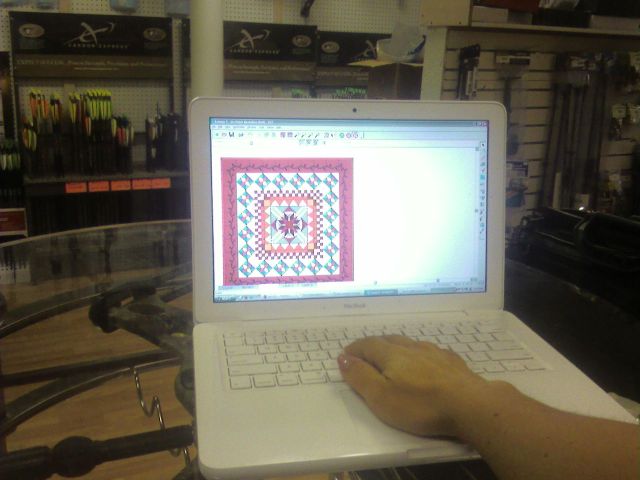
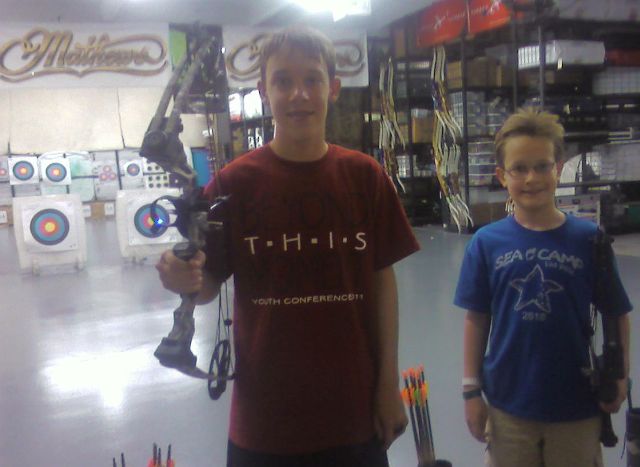
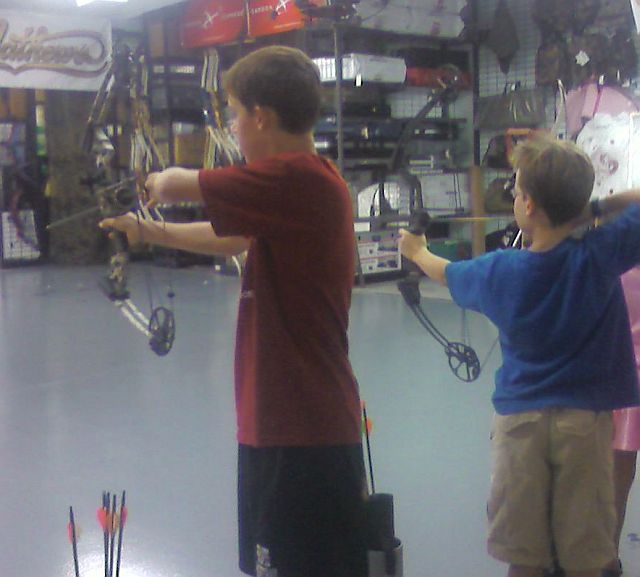
Virtual Quilt DesignToday was efficient and fun because I got to play around with the software while my boys were attending Archery practice. With my laptop and a borrowed table from the target-shooting warehouse, I could design away while they shot arrows to their heart’s delight!  (They both shot 200 points in 10 rounds – enough to advance to the next level.)

Archery BoysArchersI’m just glad that I was sitting behind them, quite a distance away!

Amy Butler Roman Shade

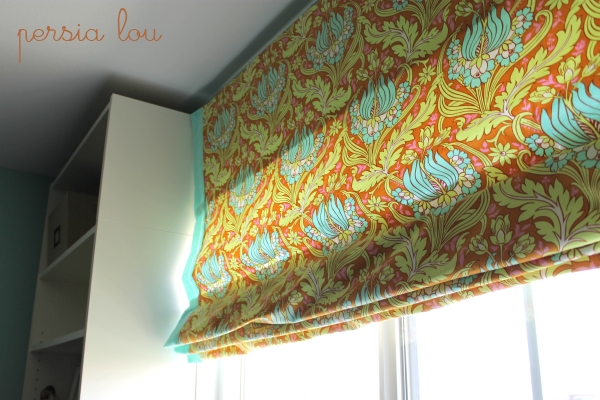
I have such talented friends! And I love it when they let me share pictures of what they’ve made using my fabrics. My friend Alexis recently made a Roman shade from some Amy Butler fabric: Temple Tulips in the Cinnamon color from the Soul Blossoms collection.

Here’s a picture of her finished shade and a link to her blog Persia Lou to read all about it!

Amy Butler Roman Shade

Mother-Daughter Sewing Team

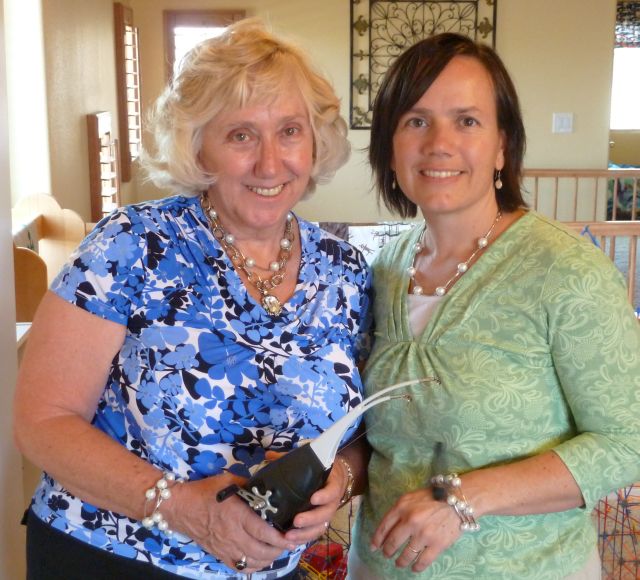
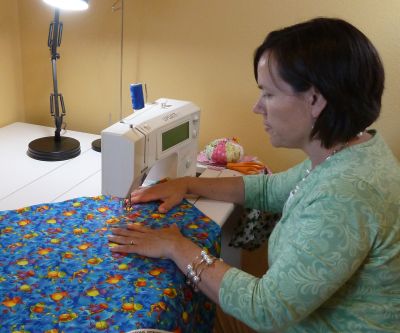
Mother & DaughterThe last time I blogged about a mother and daughter sew-in, it was about my daughter.

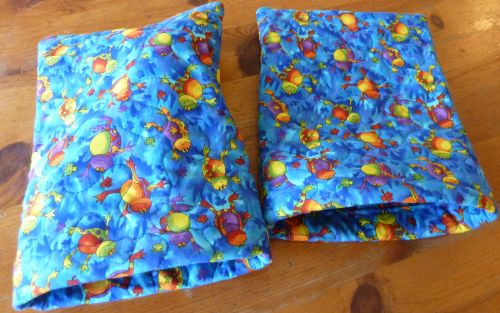
Last week my mom came for a visit and this time I was the daughter! She needed to whip up a couple of quilted ditty bags to store some fishing poles for an upcoming trip.

(Notice our matching necklaces and bracelets – totally unplanned by the way – like mother/like daughter!!)

I was all too eager to help! After all, my mom taught me to sew, but I taught her to quilt.

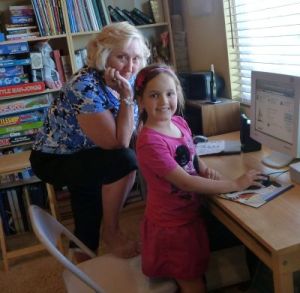
Mother & GranddaughterI stipple quilted for her while she & my daughter did some on-line toy shopping.

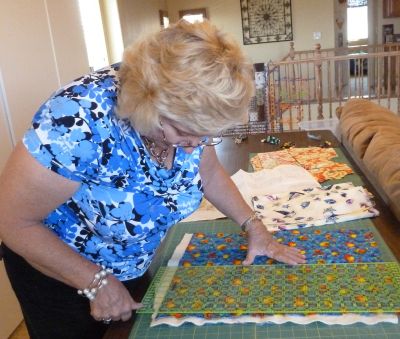
Stipple QuiltingRotary Cutting

Then it was my mom’s turn to take the quilted piece of novelty material..

Sewing The BagsTrim it up, sew the edges together..

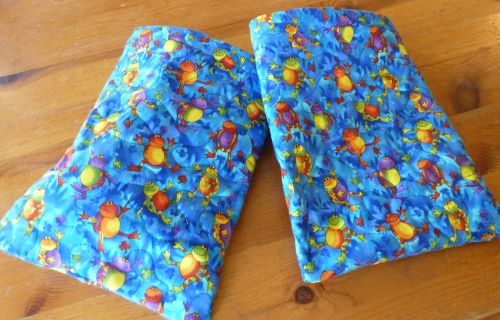
Ditty BagsAnd turn it into a couple of useful utility bags. Way to go, mom!

Quilted Utility Bags

It just dawned on me that now we have 3 generations of sewists in our family!

Summer Wrap-Up

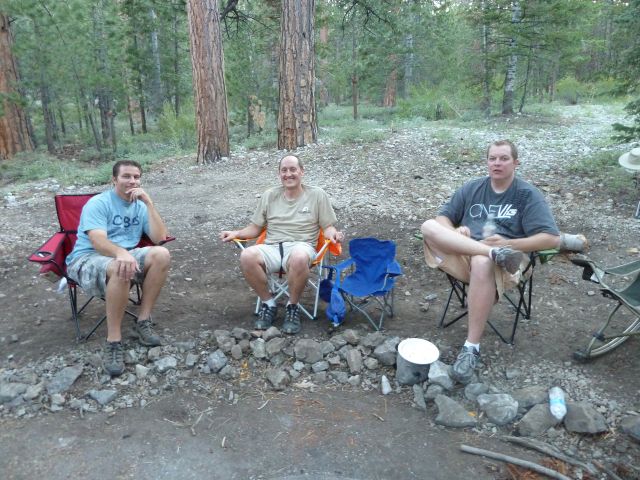
Camping HusbandsAs summer comes to a close and the kids begin their fall studies, I wanted to post a few pictures of our end-of-summer family fun, to prove that it’s not all just about sewing and fabric around here!

About a week ago we went camping with some friends from church. Here are “the guys” relaxing on Saturday before a busy Sunday the next day!

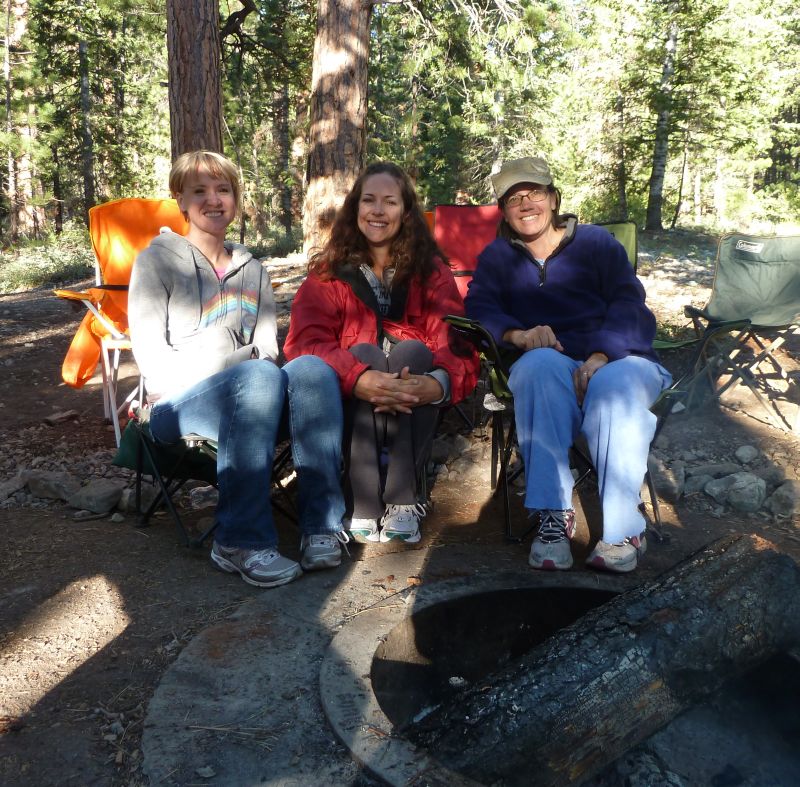
Camping WivesHere are “the wives”, enjoying not having to chase after our children in “the wilderness”.

We ate roasted hot dogs & s’mores for dinner with donuts and pop-tarts for breakfast. Not the healthiest food, but the cleanup was quick and easy!

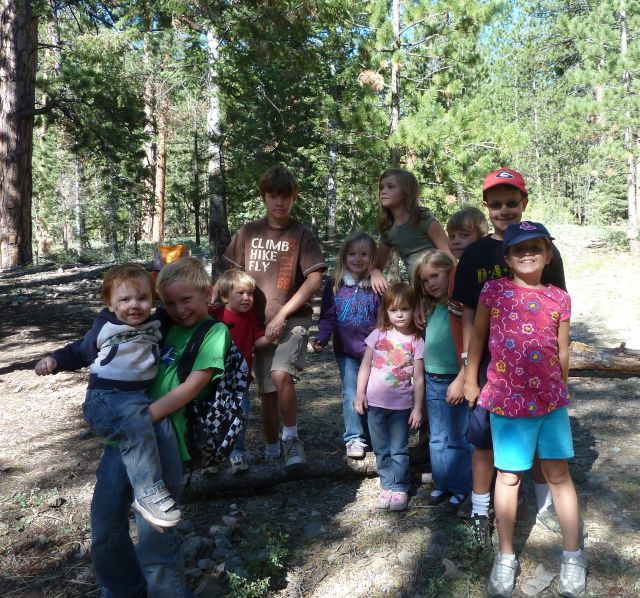
The kids had a blast exploring, getting dirty and (carefully) tending the fire pit. Between the 3 families, we have a total of 12 children!

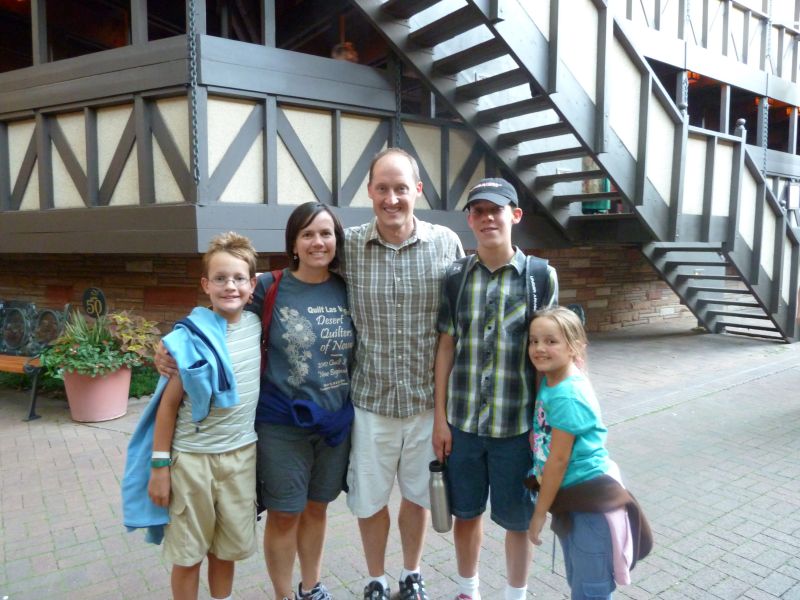
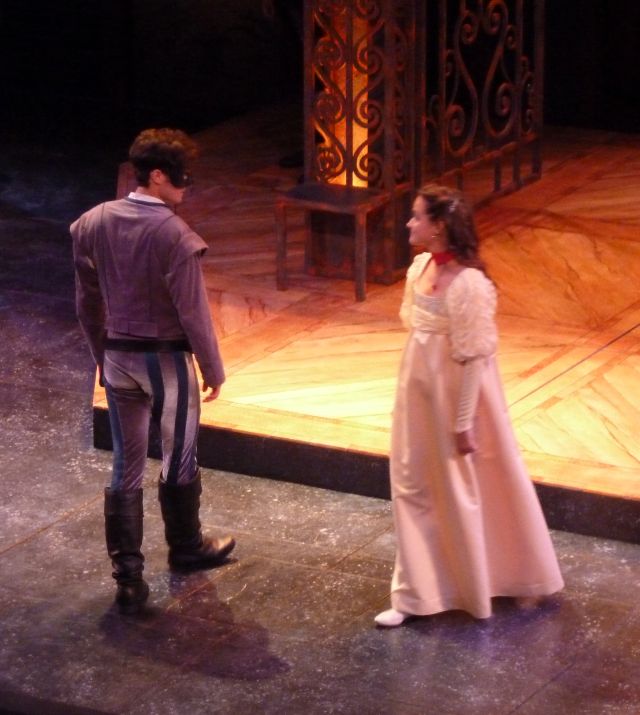
Camping KidsA few days after our camping trip, our family traveled to Cedar City Utah, to see the Shakespeare festival held there every year. Our oldest son had gone up earlier with his Shakespeare group and was able to experience 3 plays: Richard III, Romeo & Juliet and A Mid-Summer Night’s Dream. We joined the group on the second night for Romeo & Juliet.

Shakespeare FamilyRomeo & JulietThe plays were held in an outdoor theater without microphones. It was a fantastic experience and even our younger kids were able to sit through the entire play and enjoy it!

Treat Your Feet!

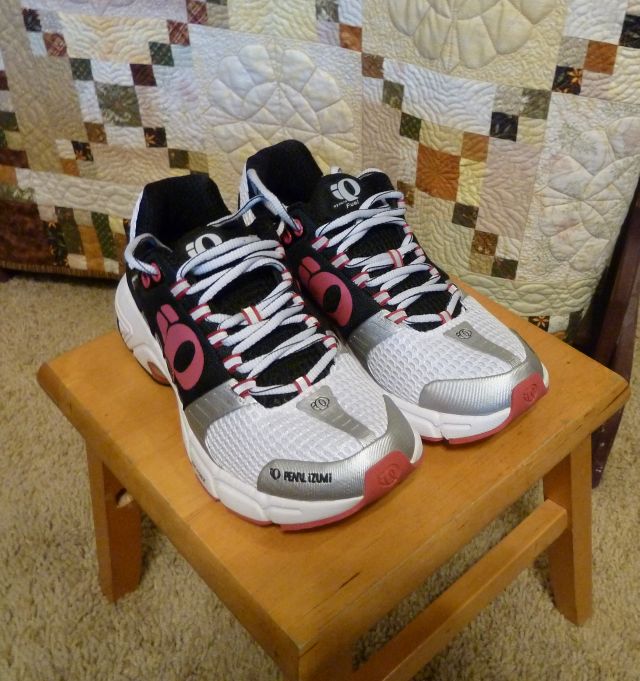
FRunning Shoesor my birthday last week, Jason bought me a pair of my favorite running shoes!

I ran a marathon back in June and went through 2 pairs of shoes during my training. Now I’m onto a lighter workout schedule (and a heavier eating schedule) so my shoes should last longer this time around.

I’m on my feet a lot whether I’m running, cutting fabric for a customer, or working on a quilt so I like to take good care of them.

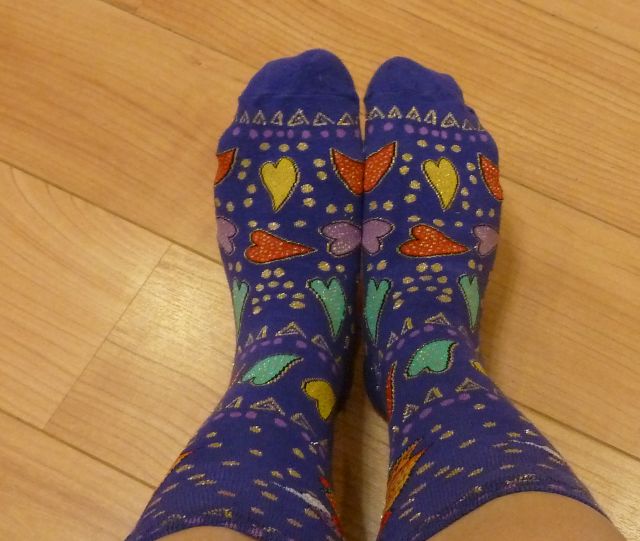
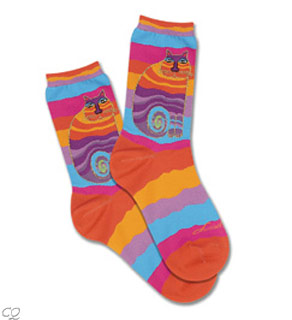
One of the ways I like to dress up my feet is by wearing Laurel Burch Socks. They are very playful and fun and are a lot more interesting to wear than boring white socks! Plus they are super comfy!

Laurel Burch SocksLaurel Burch Cat Socks

If I Were a Rich (wo)Man…

If I were a rich woman… I’d biddy-biddy-bum.. sew ALL-DAY-LONG!! Do you get the reference?? My family and I went and saw a live production of Fiddler on the Roof last week and it was simply amazing. If you haven’t seen it, be sure to rent the movie!

Fiddler on the RoofEach summer we see an outdoor production under the stars. We bring blankets and a picnic dinner and enjoy a night of live theatre. As the kids have gotten older, they’ve come to appreciate a little bit of culture, at least what we can find around here, anyway!

Super Summer TheaterWhere is my oldest son, you say? Why he’s taking the pictures of course! This year was especially fun for me to watch the crowds and take note of all the beautiful quilts people brought to sit on. If only I could have worked up the nerve to take a few more pictures…


Machine Binding Demo

Here’s the step-by-step process I use when binding my quilts by machine. The method is similar for traditional hand finished hidden-stitched bindings, too. Be advised, this post has lots of pictures. Many are shrunk to fit. Click on the individual pictures for closeup details.

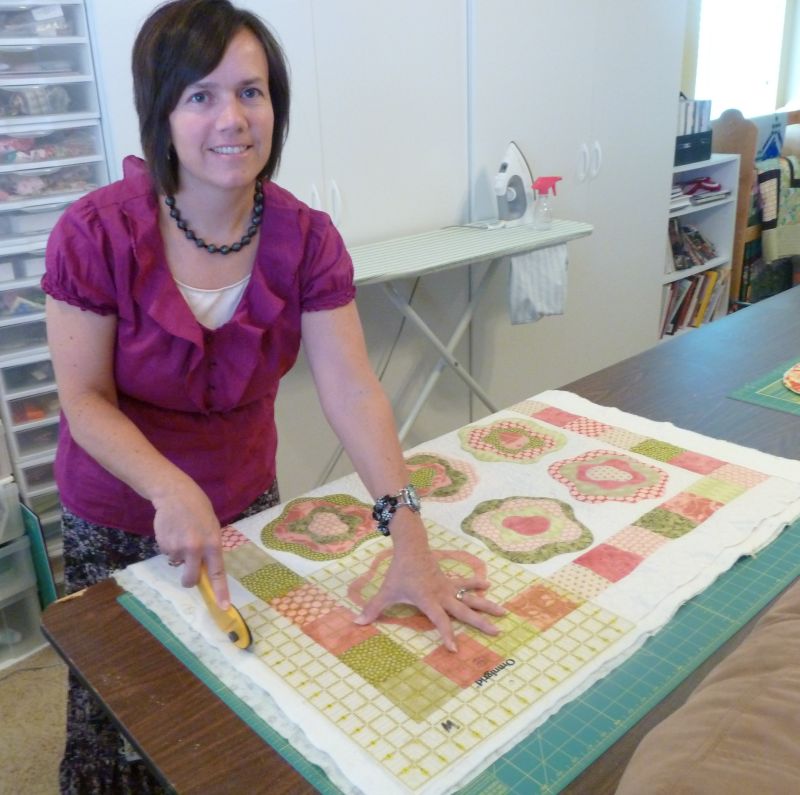
First, start by squaring up your quilt with a 90 degree corner. Use long rulers to trim the sides. Trim the batting and backing flush with the top.

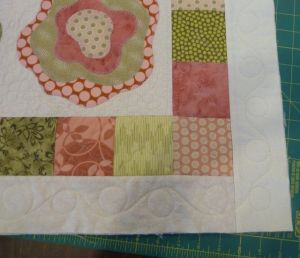
Square Up the QuiltEdges Trimmed EvenYes, I dress up when I sew. Don’t you?? 🙂

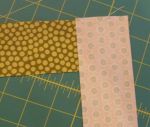
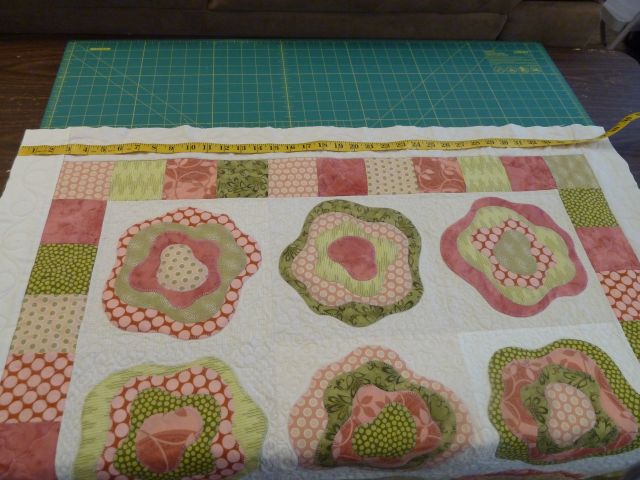
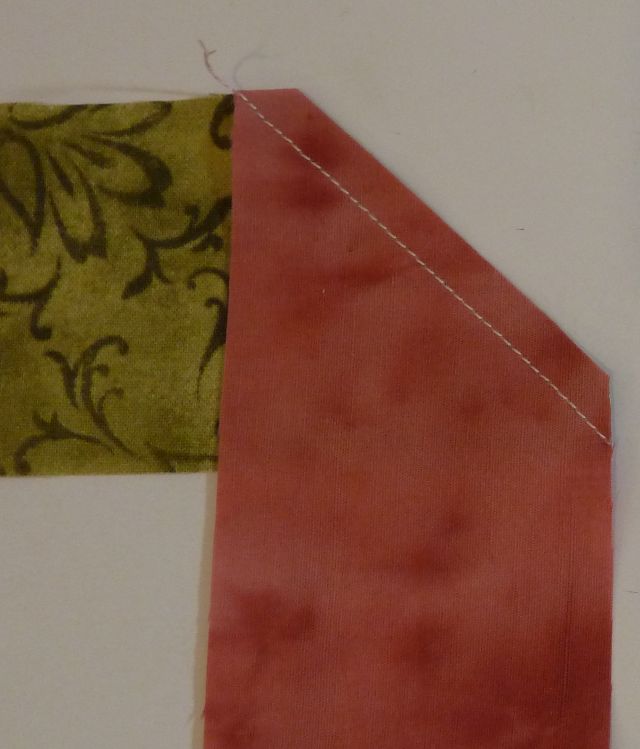
Next, I select my binding pieces. Usually it’s a color to match the top. For this quilt, I used leftover pieces for a scrappy binding. Measure around the perimeter to find the total length needed. I cut enough 2 1/4″ strips to go around, adding about 10-12 inches to the total perimeter for seam allowances and mitering at the corners. Join the strips together with a miter to form a continuous strip. Trim the excess corners.
Measure the Perimeter

Measure Perimeter

Join Strips with a Miter

Miter Corners

Trim Excess

Trim Excess

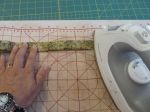
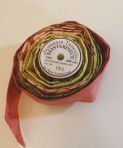
Press all of the seams open, then fold the whole strip wrong sides together and press along the length with an iron. It should now measure about 1 1/8 inches wide with right sides showing. Trim the start of your binding on a 45 degree angle. For your convenience and to prevent tangles, you can wrap a ready-to-sew binding around an empty spool of thread.
Press Seams Open

Press Open

Right Sides Out

Right Sides Out

Binding Spool

Binding Storage

Top Stitch

Top Stitch

Sew off Corner

Sew off Corner

Angle Binding Up

Angle Up

Start sewing with the binding on top of the quilt, face up. Stitch with a slightly wider than 1/4″ seam.

Leave at least a 5 inch “tail” and start on a side, away from the corners.

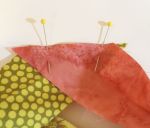
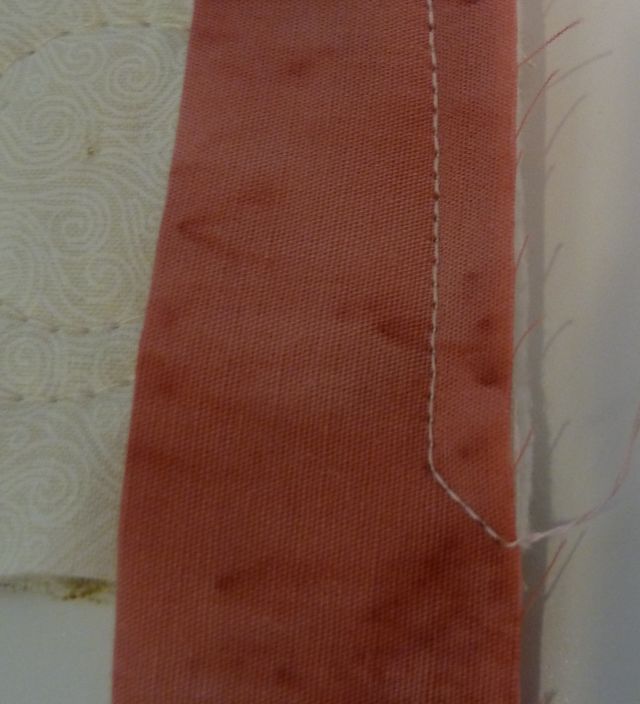
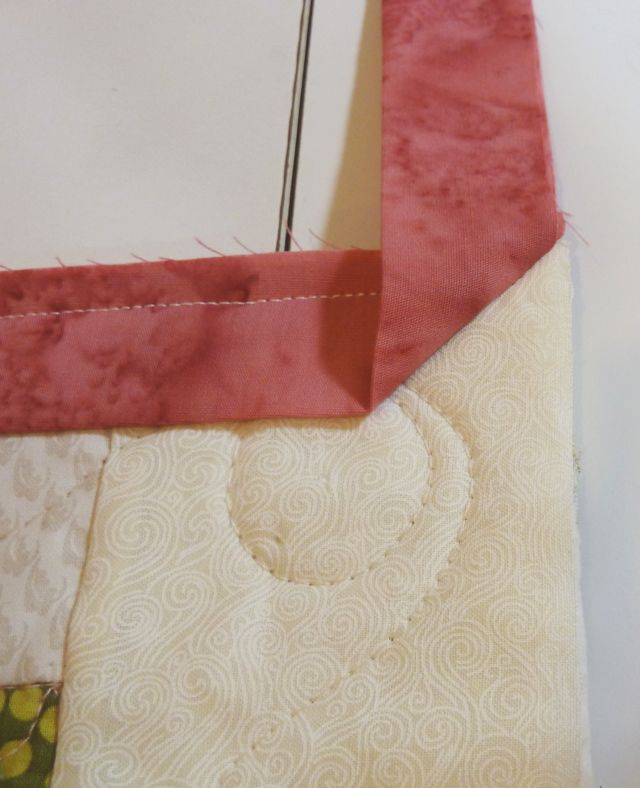
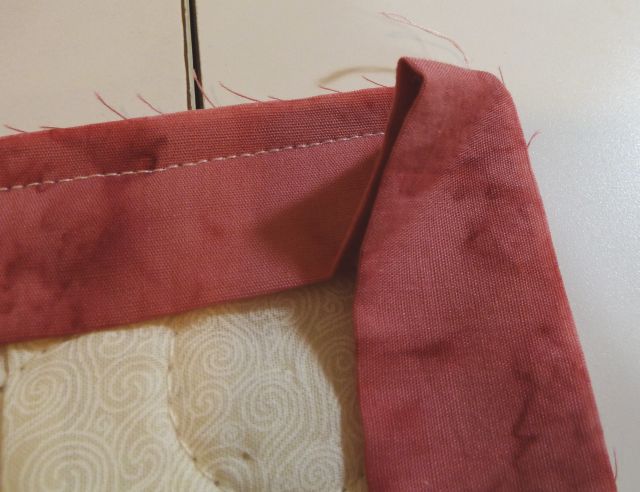
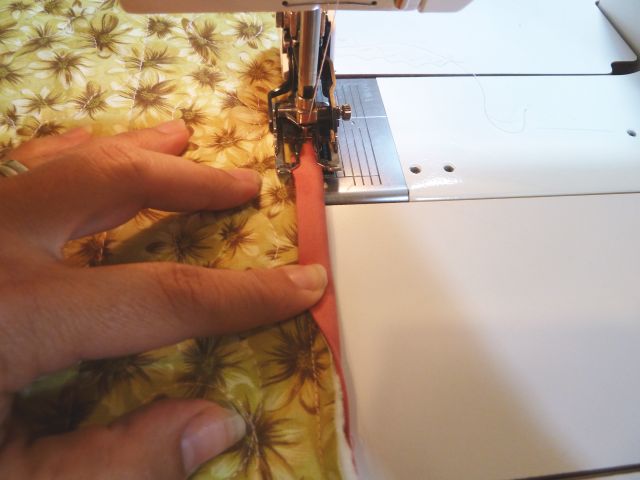
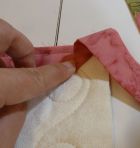
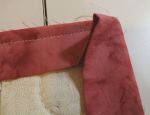
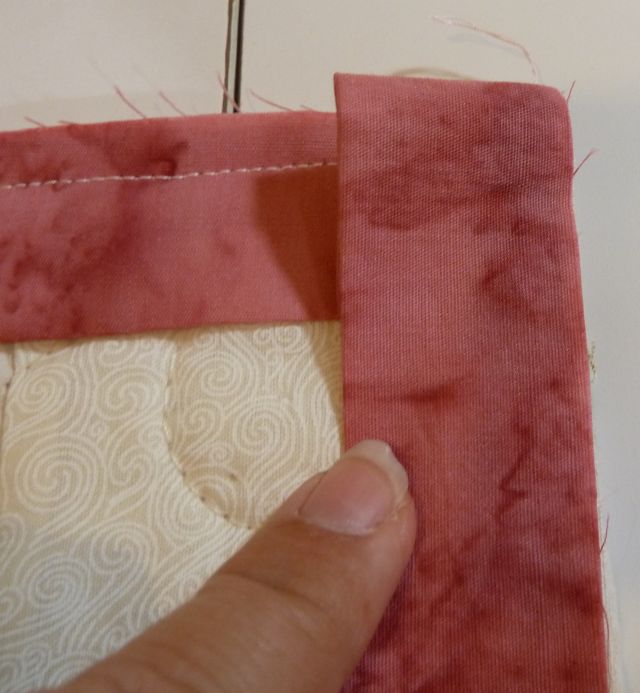
When you get to the corner, stop 1/4″ away from the edge, pivot and sew off at the corner. Then, take the binding out of the machine, and flip it up so that it is flush with the edge. Next,  flip it back down and create a tuck underneath by folding the excess piece.
Folding Down
Folding Down

Excess Tuck

Excess Tuck

Fold Back

Fold Back

The excess piece will form the miter on the front.

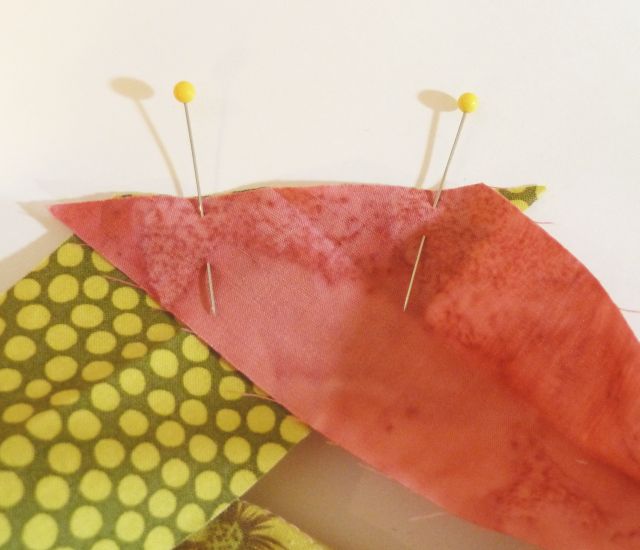
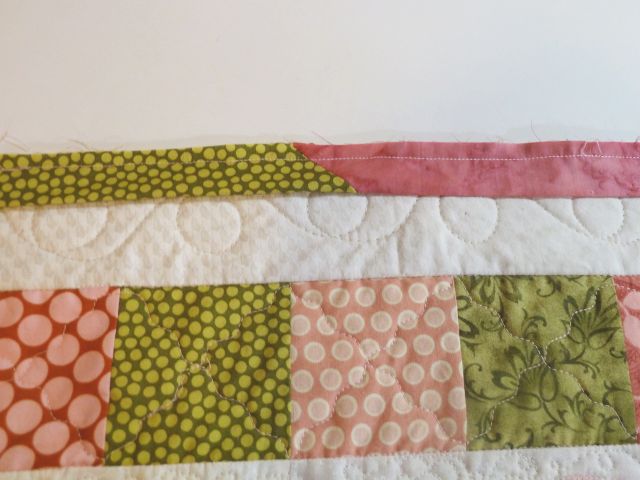
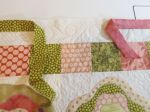
You can now start sewing the rest of the binding onto the front, stopping and repeating the same process at each corner. When you get back to the beginning, stop with a gap between the beginning and ending pieces. Trim off some of the excess (green in the photo) but not too much. Then mark the angle where the beginning piece meets the end.

Begin Again
Begin Again

Leave a Gap

Leave a Gap

Mark the Fit

Mark the Fit

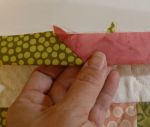
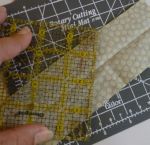
Using a small ruler, measure 1/2″ away from this marked line. The line should be on a 45 degree angle and you are cutting 1/2″ away from this. This will enable the ending and beginning pieces to fit nicely together. Sew them together, offsetting the little dog eared triangles to get an even seam. This will connect your continuous binding, start to end.
Measure 1/2 Inch

1/2" From Mark

Close The Gap

Close The Gap

Connect the Ends

Connect the Ends

Close the Fold

Close the Fold

Stitch Down the Rest

Sew the Close

Close the fold and trim the “ears”.

Then sew the gap closed.

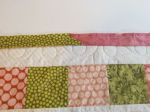
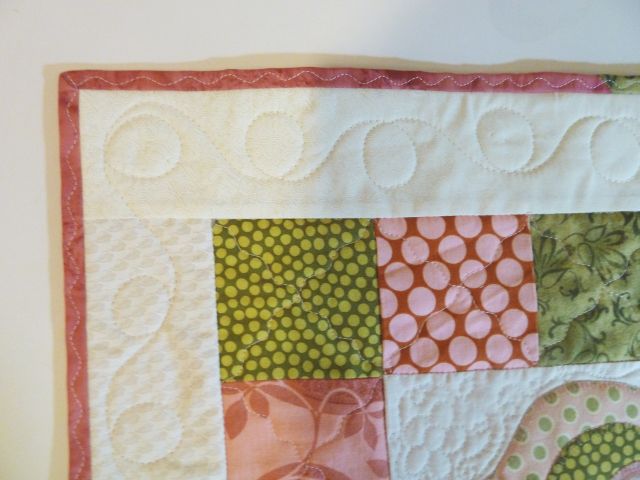
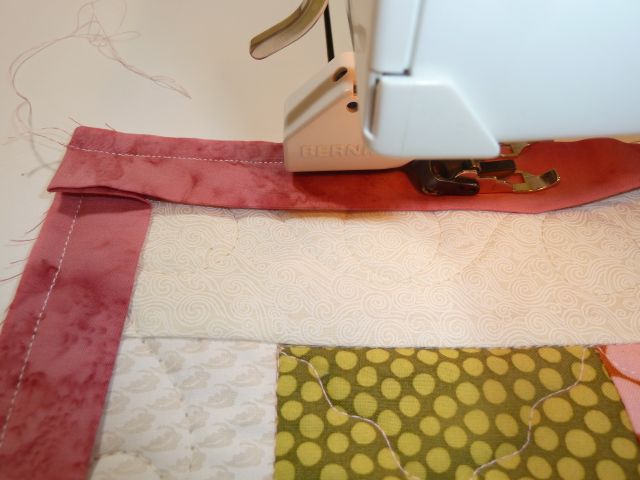
Now you are ready to flip the binding to the back and stitch it down by machine (or hand if desired). I stitch from the backside of the quilt, so the bobbin thread will be in a color to match the topside of the quilt. My favorite machine stitch is the serpentine stitch. It is both functional and decorative and it hides mistakes. Plus if you meander a little off the edge it still works!
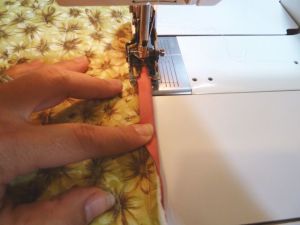
Stitch on Back

Stitch on Back

Be sure to click on the picture to see details!

Serpentine Stitch

Serpentine Stitch

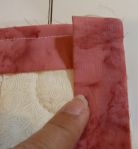
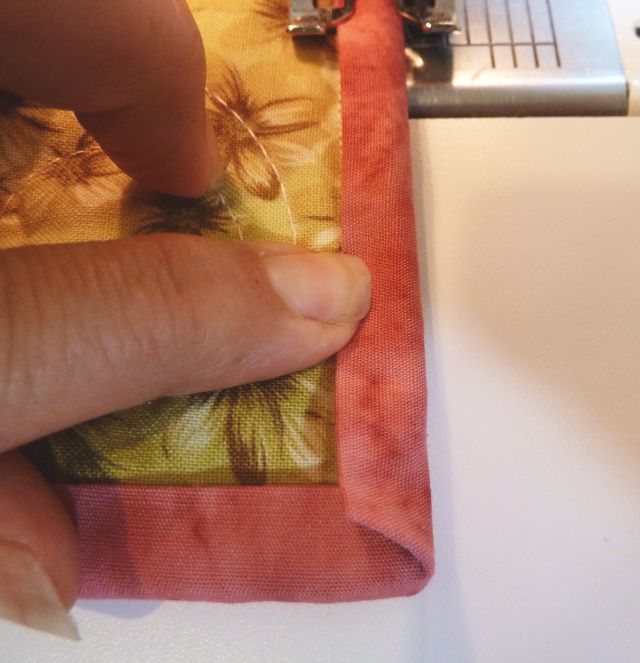
When you get to a corner you need to fold up one edge, then the other and continue sewing.

Fold Corner
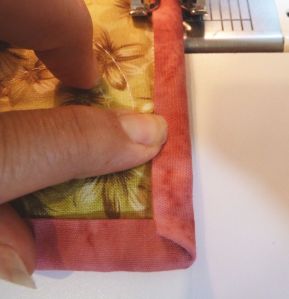
Fold Corner

Other Side

Other Side

This binding looks as pretty on the back….
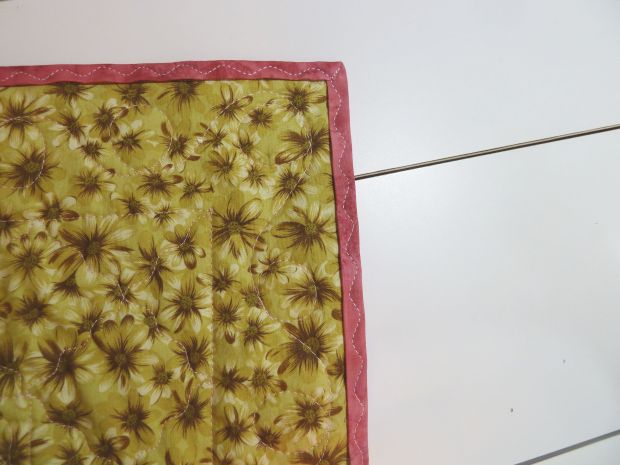
Machine Stitched BindingAs it does on the front!

Front

French Roses Machine Applique Quilt

Yay! I finally finished another quilt! This quilt was started in a class I took from my guild several weeks ago. I used fusible applique and machine blanket stitching techniques. I’m showing the finished quilt first, then you can see the steps I took to get there:
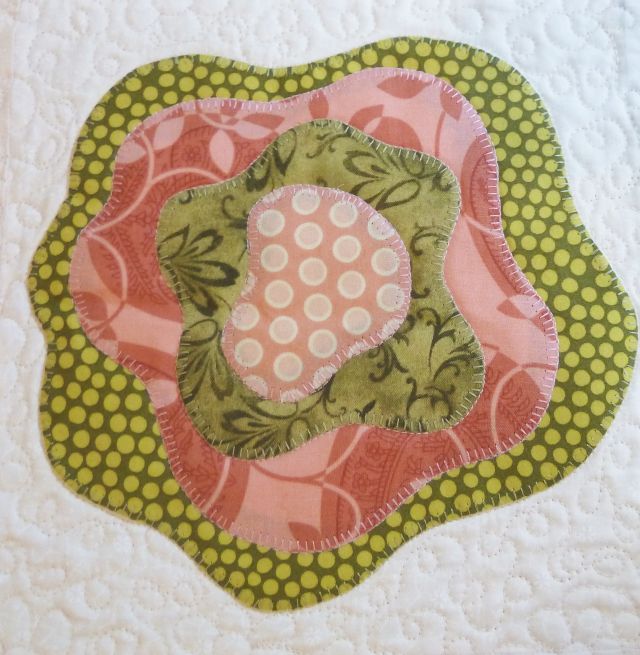
Christa's French Roses QuiltOnce the blocks were fused together on the background, I selected matching threads for the pink and green blocks. I have fallen in love with Superior Threads and will soon carry them in my shop. Next, I carefully blanket stitched around the edges of each piece. The trick here is to use an open-toed applique foot so you can see what you are doing. Stitch slowly and pivot often so you can guide the stitches smoothly around the fabric edges.

Matching ThreadMachine Applique Buttonhole StitchClick on the pictures to see closeups!

I like it when the back of the block looks as crisp and clean as the front! This takes good tension. One the block is all stitched, it gives a really nice texture, I think.

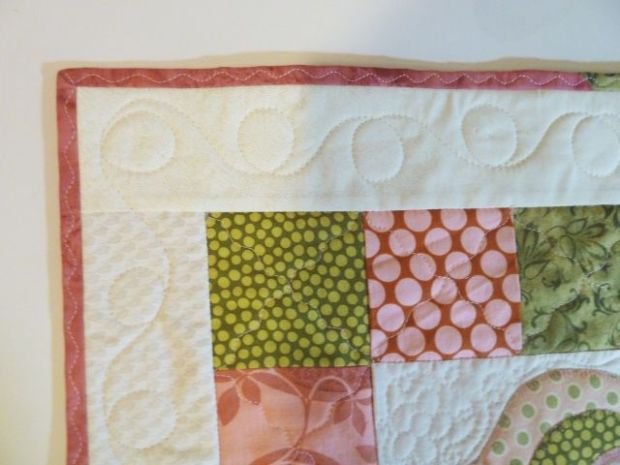
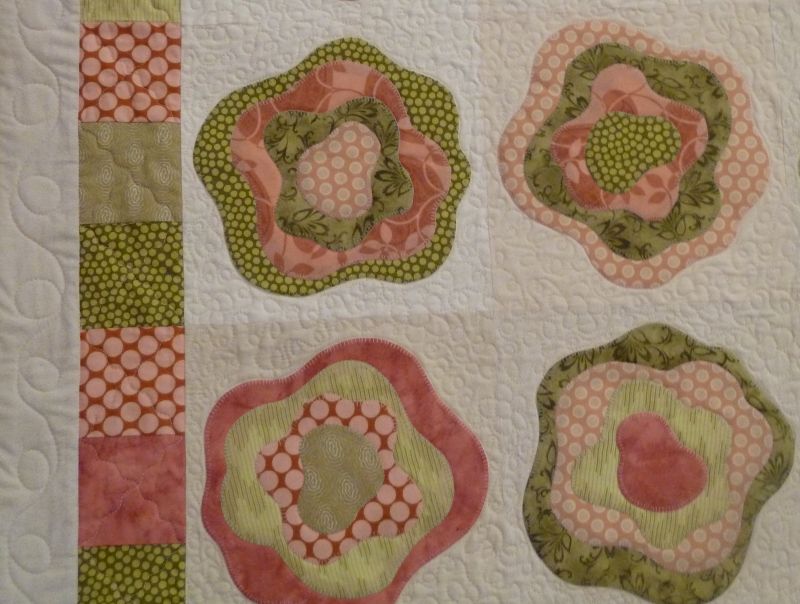
Buttonhole Stitching on the BackFused and Stitched Rose blockFinally, here’s a closeup of the quilting. I stippled loops and flowers in on the background squares, outlined all the applique, then used the serpentine stitch to quilt wavy x’s in the borders and finally finished with random loops around the outside border. I used the leftover scraps for the pieced binding (which I’ll post a demo on later). I love this quilt!

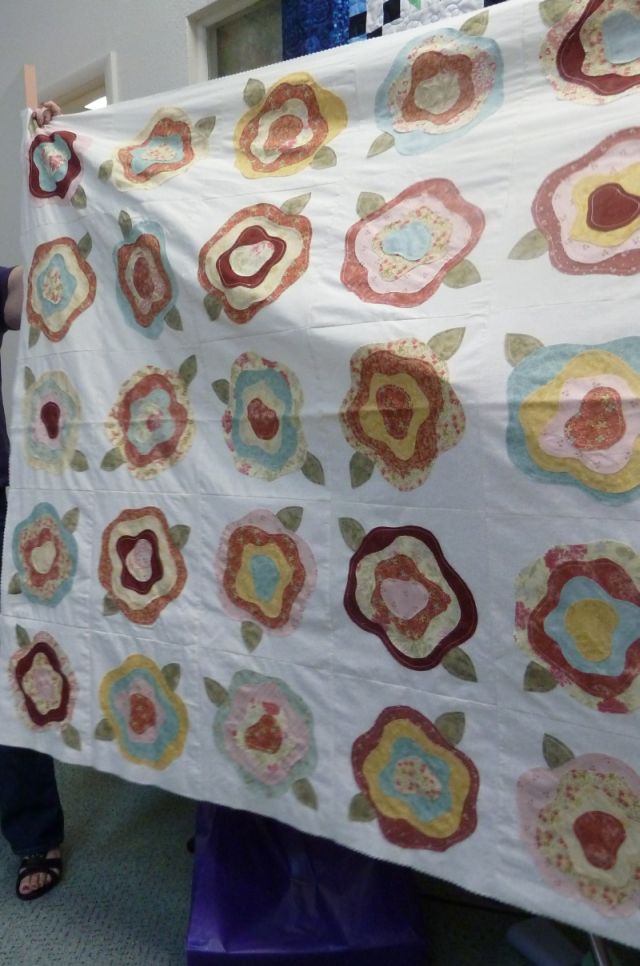
French Roses Closeup QuiltingHere’s another guild member’s top,  in different colors with raw edge stitching and leaves:

French Roses Quilt Top

Charm Pack Quilts Galore!

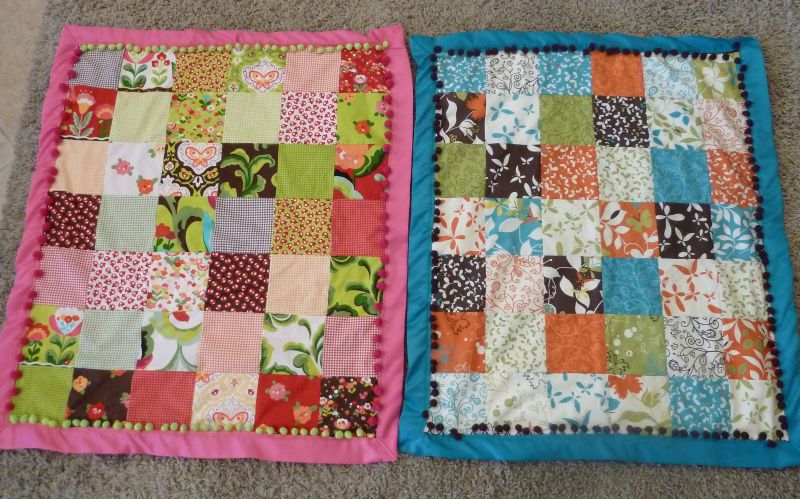
I don’t know what it is about Charm Packs that have gotten me so addicted! Now my friends are using them, too and making even cuter quilts that me!! My friend Stacy stopped over after our workout this morning (which means getting caught on camera with no makeup!). She showed me these adorable Charm Quilts she whipped up this week using Keiki’s Oops A Daisy and Sanae’s Chrysalis charms, both precut from Moda:

Oops A Daisy Charm Pack Quilt - GirlChrysalis Charm Pack Quilt - BoyAren’t they simply adorable?

She made them for a friend who’s expecting twins – a boy and a girl!

How perfect!

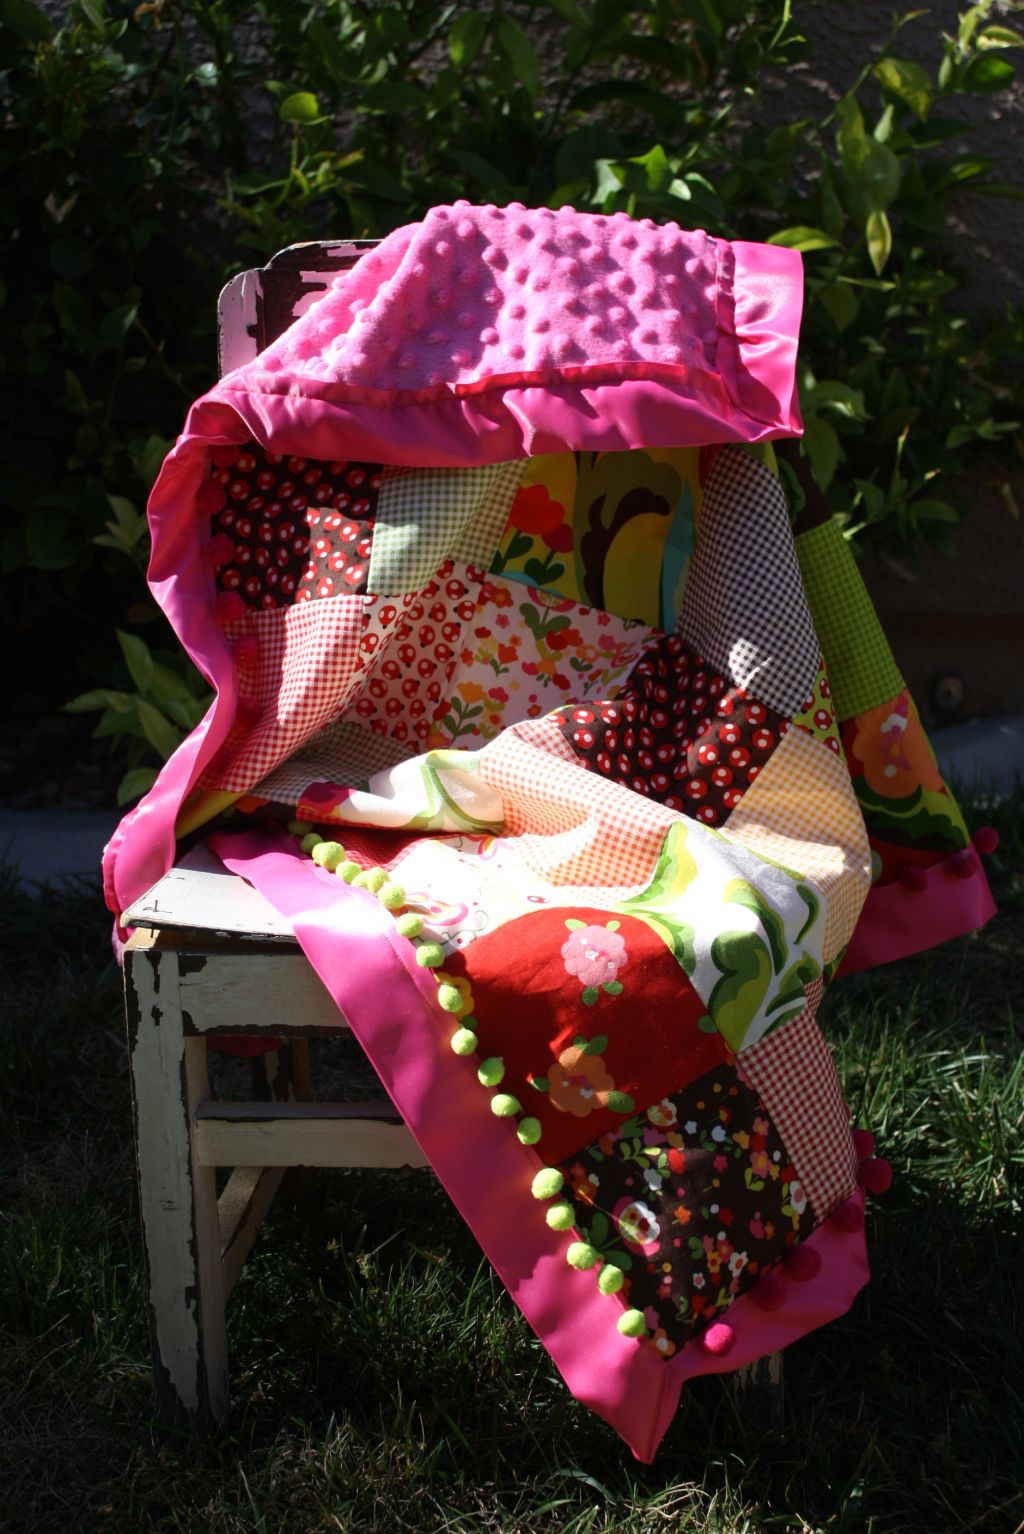
I especially love how she finished the quilts. She used Minkee on the back and omitted the batting in the middle. My favorite part is the pom-pom fringe with the satin binding.

Charm Quilts with Minkee BacksEach quilt takes just one charm pack for the front and finishes about 28″ x 32″. This will be a perfect gift for the new mom to be!

Boy & Girl Charm Pack Quilts

Baby Boy QuiltBaby Girl QuiltHere are are pictures Stacy took of her two quilts outside.

Don’t they look like they belong in a craft or quilting magazine?