Christmas Quilt Guild Party

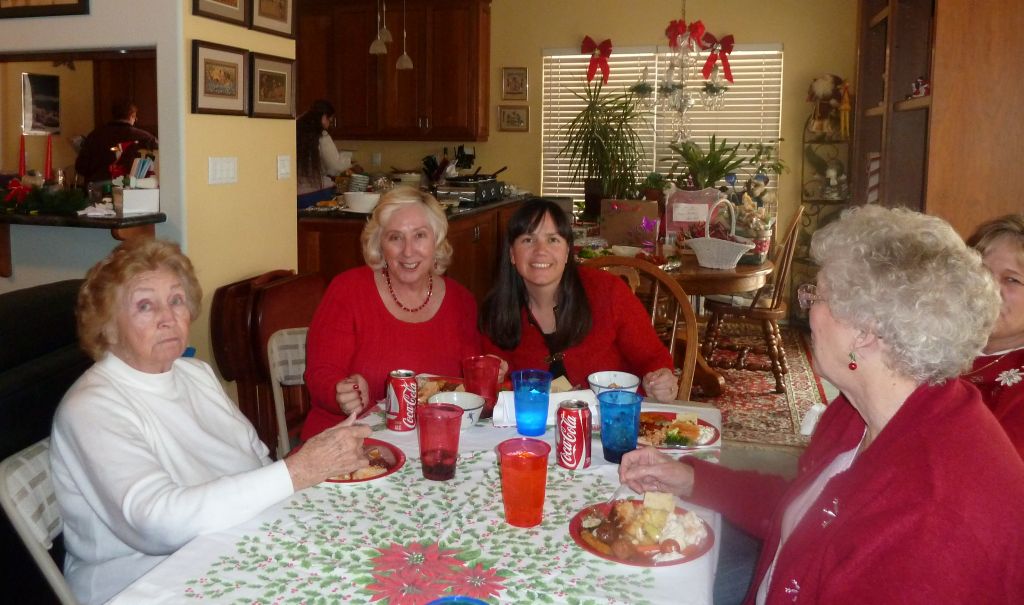
Yesterday I attended a Christmas party for my local sewing circle and it was “sew” much fun! My mom, also an avid quilter, was in town so she was able to go with me.

Quilt Guild PartyI’m not sure what is more fun about Christmas parties – the food or the gifts! My grandmother is here with my mom so she got to come, too. Everyone brought a pot luck dish so there was plenty to eat.
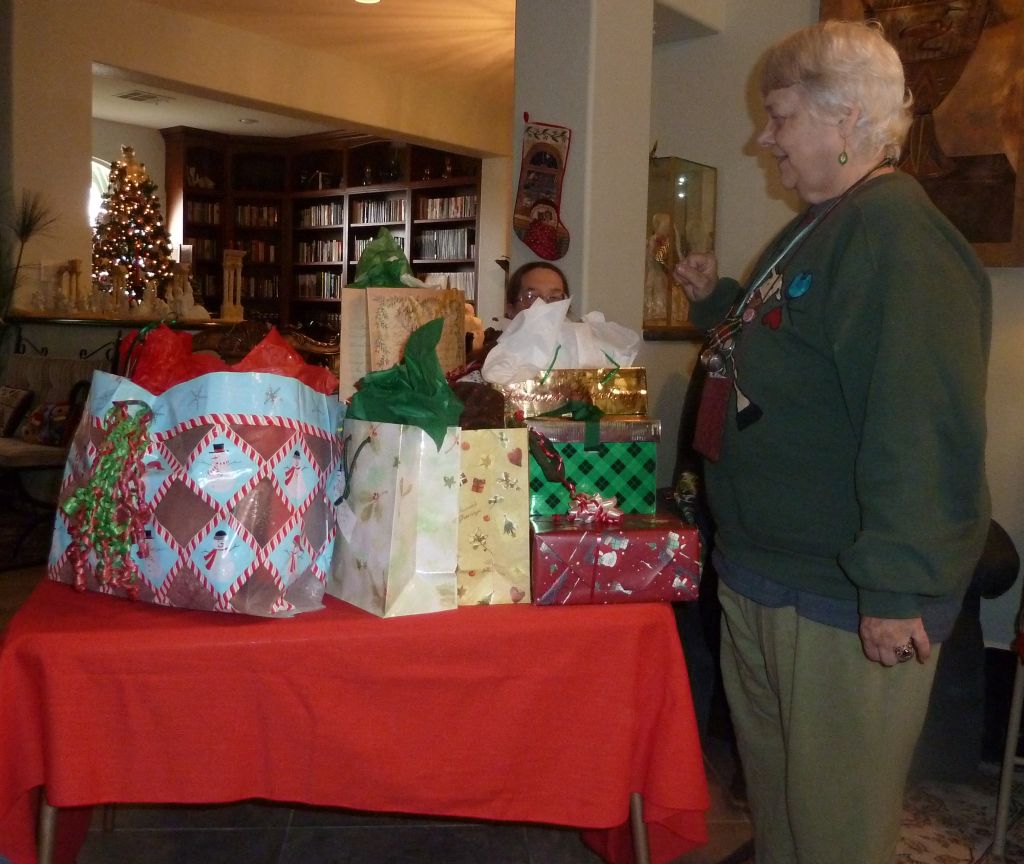
Christmas Party FoodHere’s a picture of Ann, the original founding member of our guild, Desert Quilters of Nevada, picking out her present for our gift exchange. Our guild has over 400 members and we divide up geographically into smaller sewing circles of about 20-30 people each.
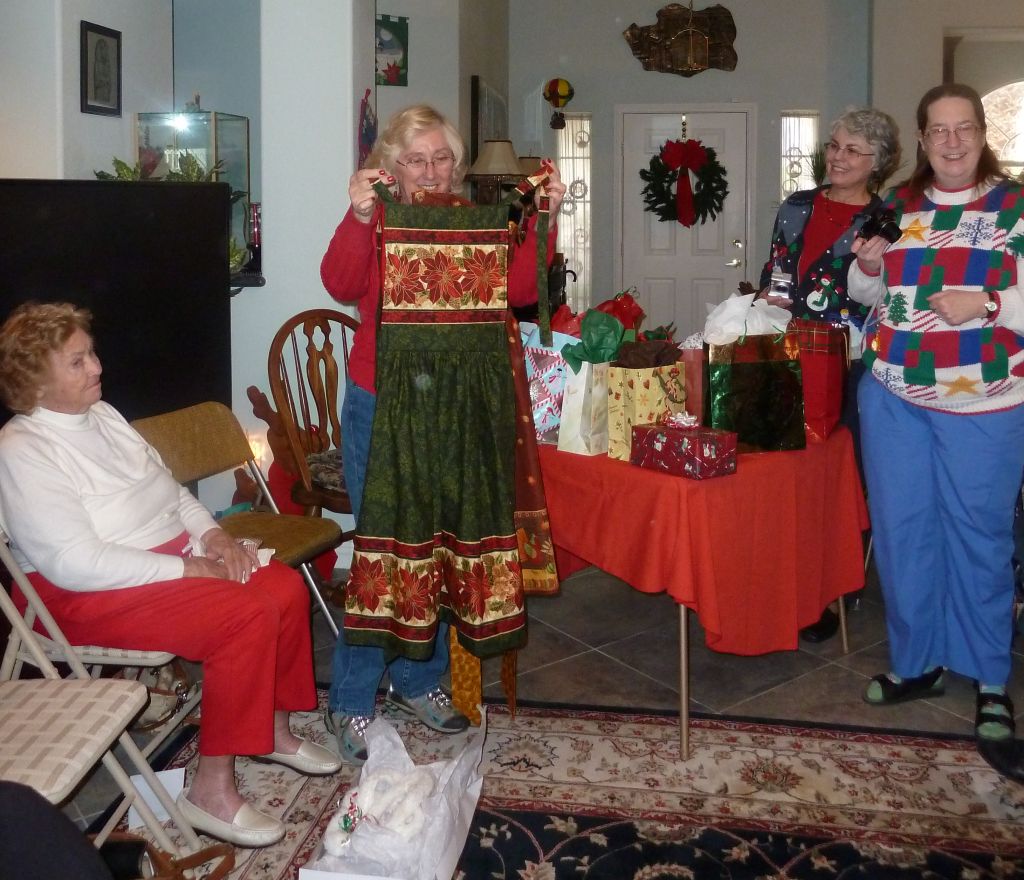
Gift ExchangeMy mom received two gorgeous sewn aprons as her gift – one for fall, one for Christmas.
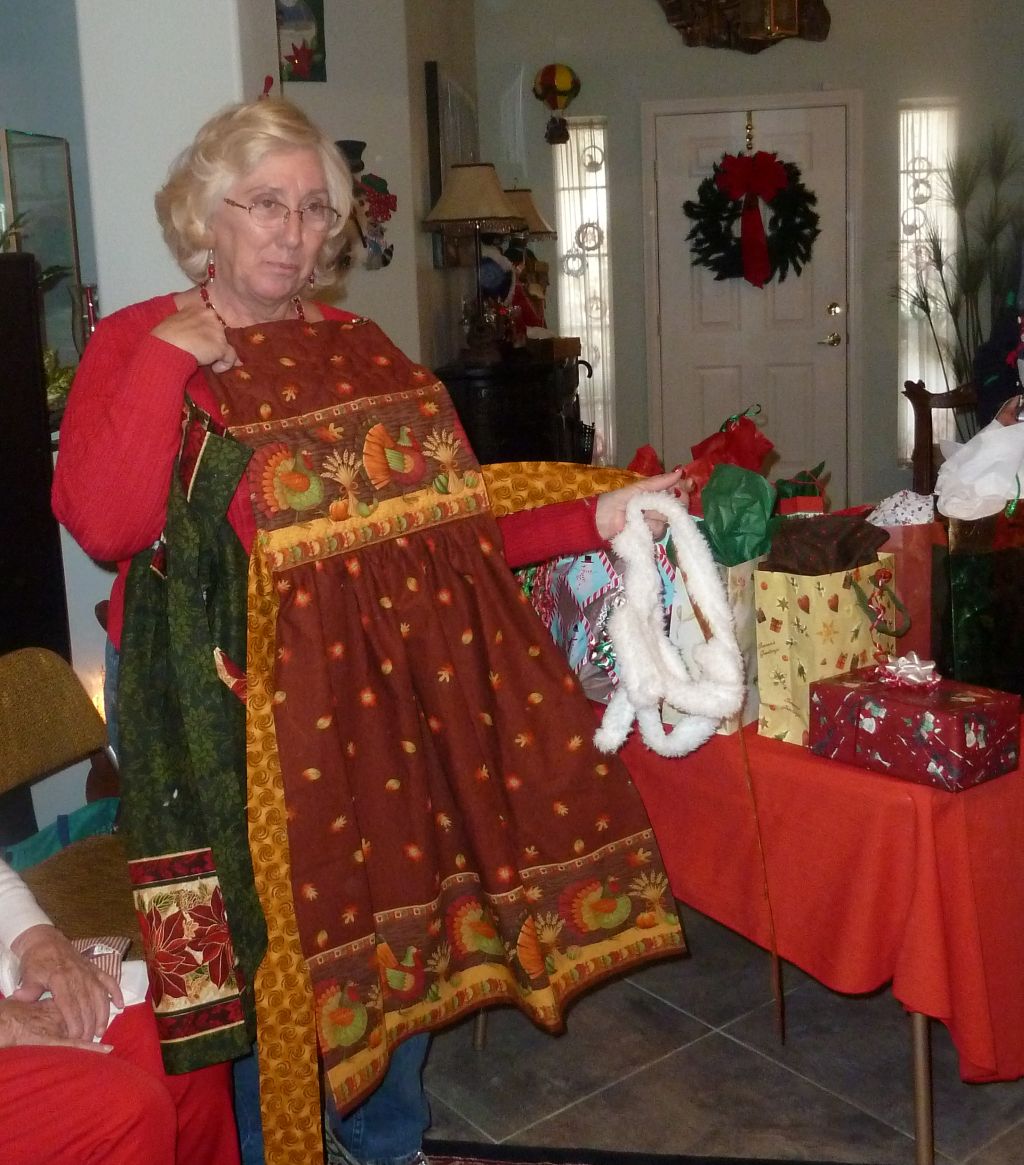
Fall ApronI began to get a little jealous now!

Christmas Apron

I received this intricately embroidered tea towel with a picture of a Rodeo Grandma. My dear mother, a cowgirl at heart, was very envious. So she swapped me one of her aprons for the towel and we were both very pleased!

Embroidered TowelOur members are very talented and most everyone brought a handmade gift.
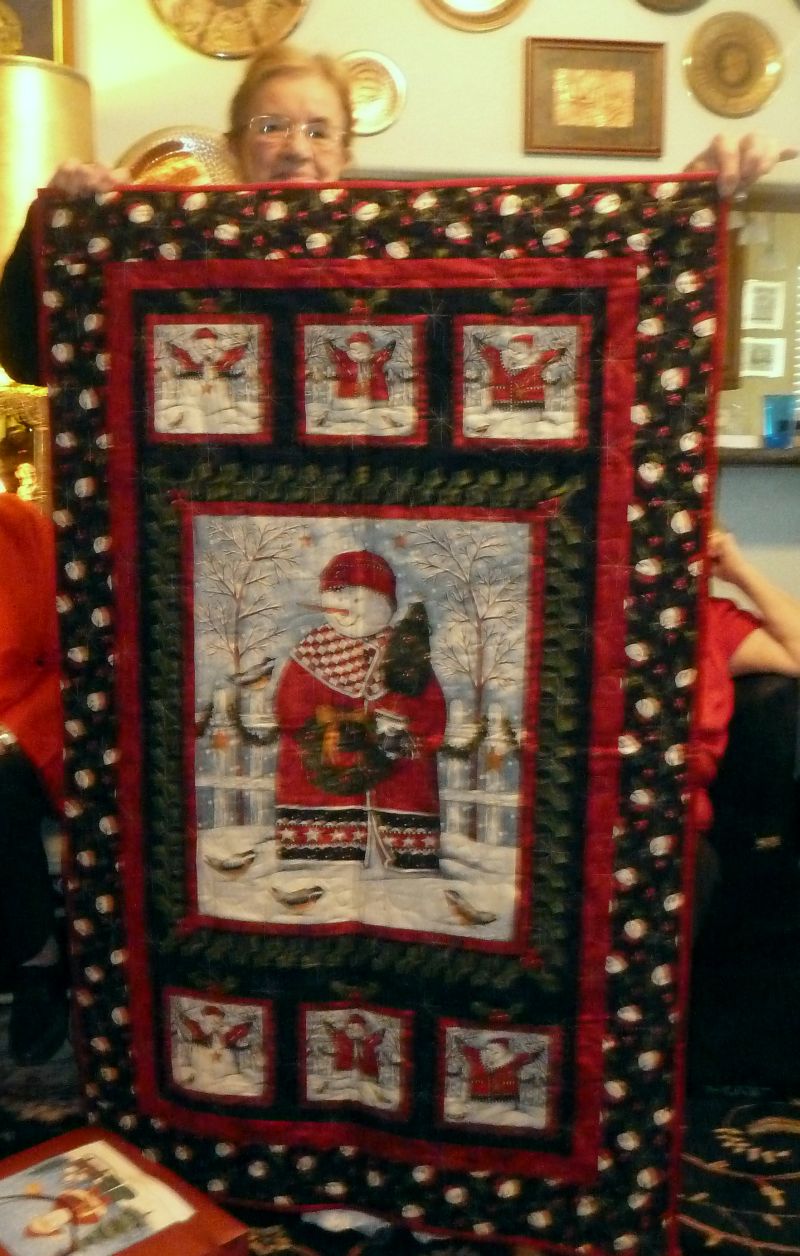
Handmade Christmas QuiltBeaded Asian Wallhanging

Several of the guests brought little trinkets for each of the partygoers. I gave everyone a Scissor Pal charm for their rotary cutter. In return, I received several adorable fabric ornaments and yummy goodies to take home. What a fun party!
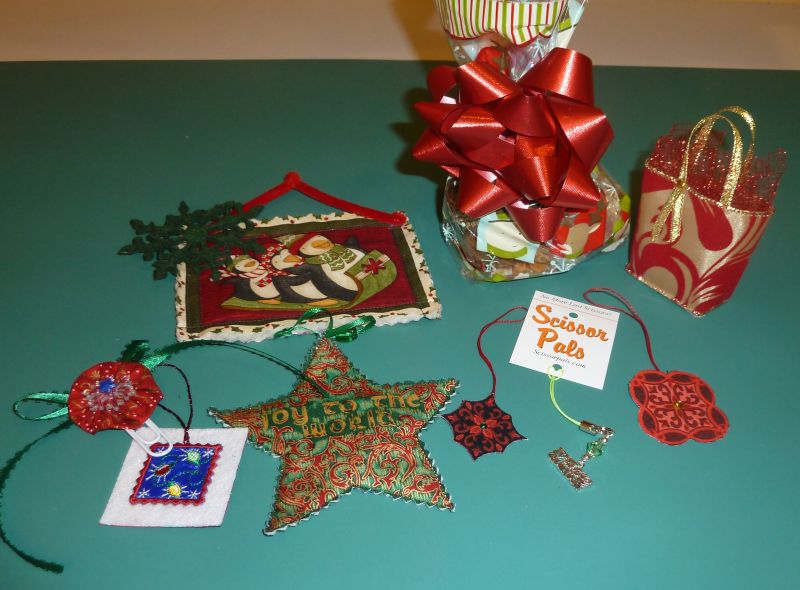
Party Favors

Will Quilt for Art

I made this quilt for my friend Sabrina, in exchange for all the cute art caricatures she made of me doing “quilty” things like sewing and hoarding my fabric stash.

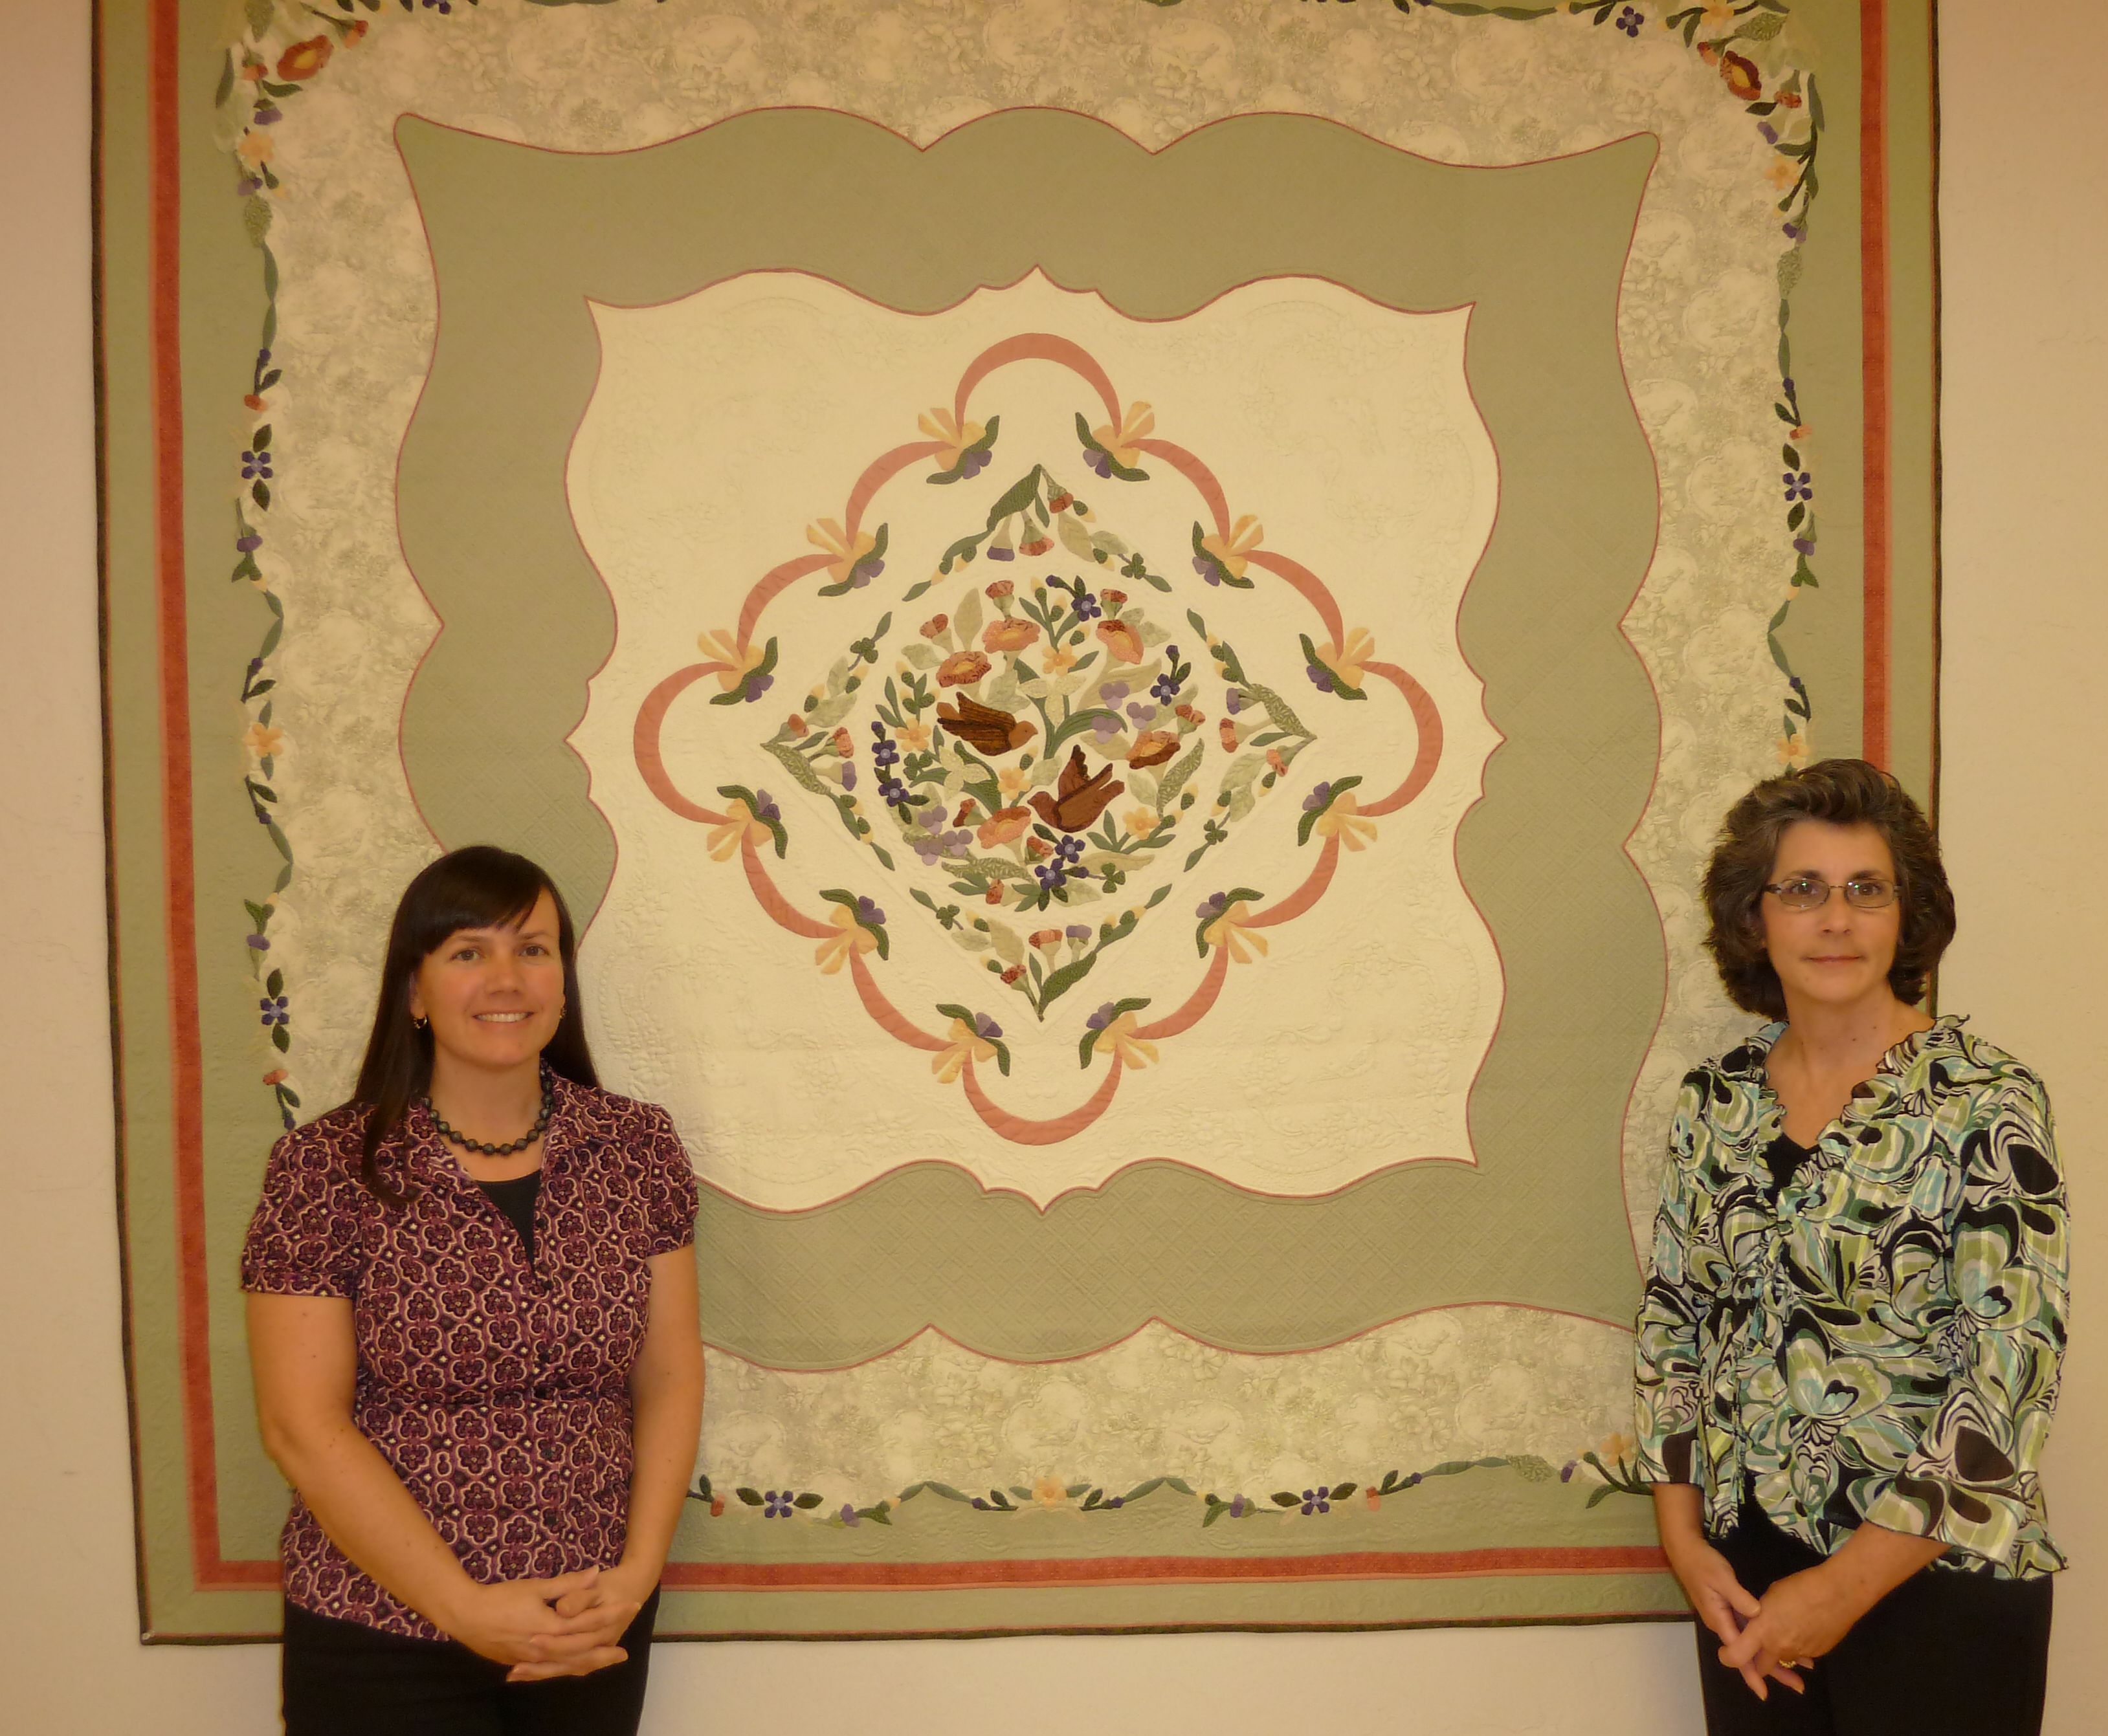
Applique Floral Quilt

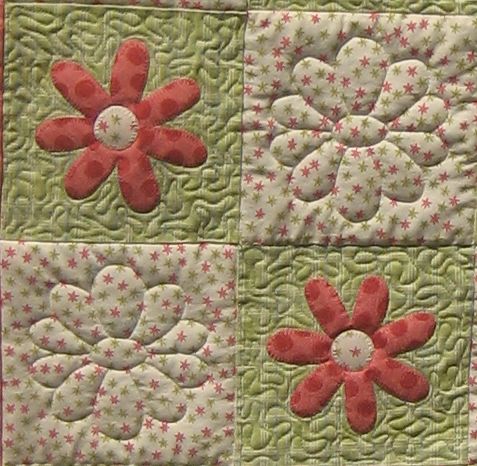
I used an older collection from Clothworks entitled Sunwashed that is now, sadly, out of print.  I’m accumulating a large collection of floral stencils, one of which came in handy for the alternating blocks. I quilted around the flowers in the border with a few looping swirls to make a continuous design.

Fusible applique has become my favorite decorative quiltmaking style.  I machine stitched around the edges with a buttonhole stitch in a blending thread color. Here’s a closeup of the blocks showing the background stippling:

Floral Quilting CloseupThis is now one of my favorite quilts. I’m so glad I could give it to such a good friend who appreciates it!

Weekend Chores

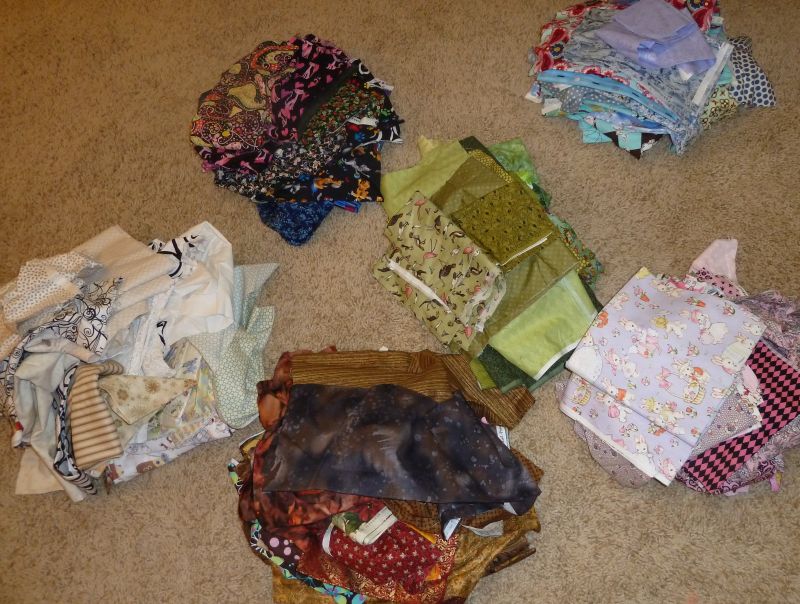
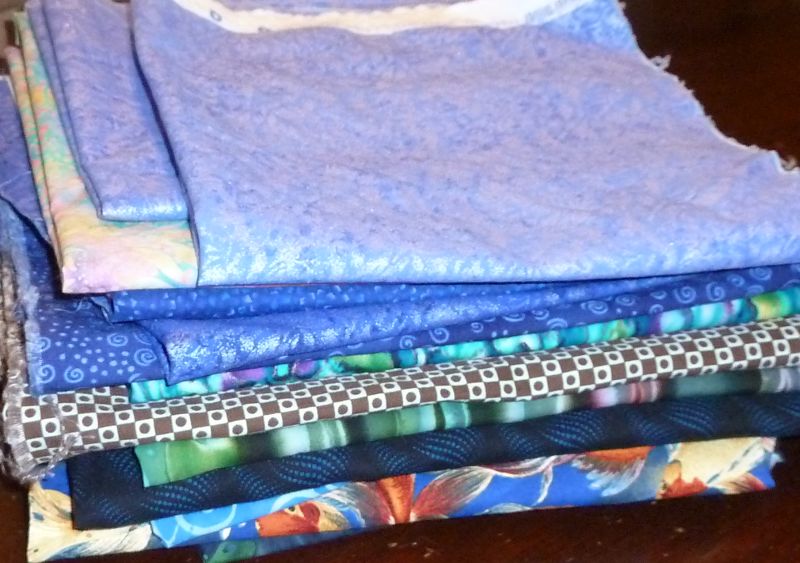
I spent most of my weekend washing and folding loads of fabric. I have been accumulating bits and pieces of leftovers from bolt ends and a yard or two here and there of prints I really like. It’s been sitting in a heap waiting for me to “process” so I finally decided to tackle the pile!

Unwashed Fabric StashThe first step is to sort the fabric into colors for washing. Then I throw in one load at a time. I like to wash it on a gentle cycle with little agitation so it doesn’t get tangled.

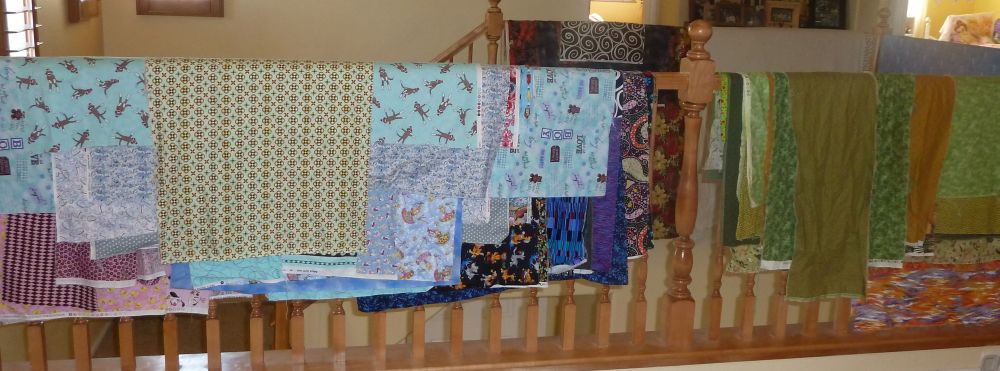
Modern Laundry LineAfter the fabric is washed, I hang it to dry – there are fewer wrinkles this way and it cuts down on the ironing. Who needs a laundry line when you have a stair bannister?

Folded FabricThen I lovingly fold each piece and sort it into color groups. If I have enough room on the shelf I’ll make two stacks – one for tone-on-tones and the other for prints.

Colorful Fabric StashAnd finally, the new fabric is put away. After all that folding, I don’t want touch it!

Save 20% On Any One Website Order

Use the coupon code BLOGCQ on my website at ChristaQuilts.com to save 20% on any one fabric order. This is my way of inviting my website customers to take a look at my blog and reward them for doing so!

It’s also my way of saying thank you to my blog readers for venturing over to my website and exploring all I have to offer there.

Here’s the fine print: coupon code must be entered during checkout. Not valid on prior purchases and only one coupon per customer, please. Coupon expires at the end of the year on December 31st, 2010.

When you get a moment, read through my blog posts and add your comments if you feel so inclined. I welcome all visitors and friends!

Zipper Class

I’ve been trying to take more non-quilting domestic sewing type classes.

Last Friday my friend Jessica, her mom Judy and I took a little bag-making class where we learned how to put in a zipper. I’ve never even sewn a buttonhole before, so this is all new to me!

First, we stitched together a bunch of 1 1/2″ wide strips (I used a Crazy 8 Honey Bun by Sandy Gervais for Moda).

Honey Bun Bag StripsHoney Bun Strips QuiltingThen we added some free-motion quilting. This was the fun part for me! I quilted one of my favorite designs – loopy swirls.

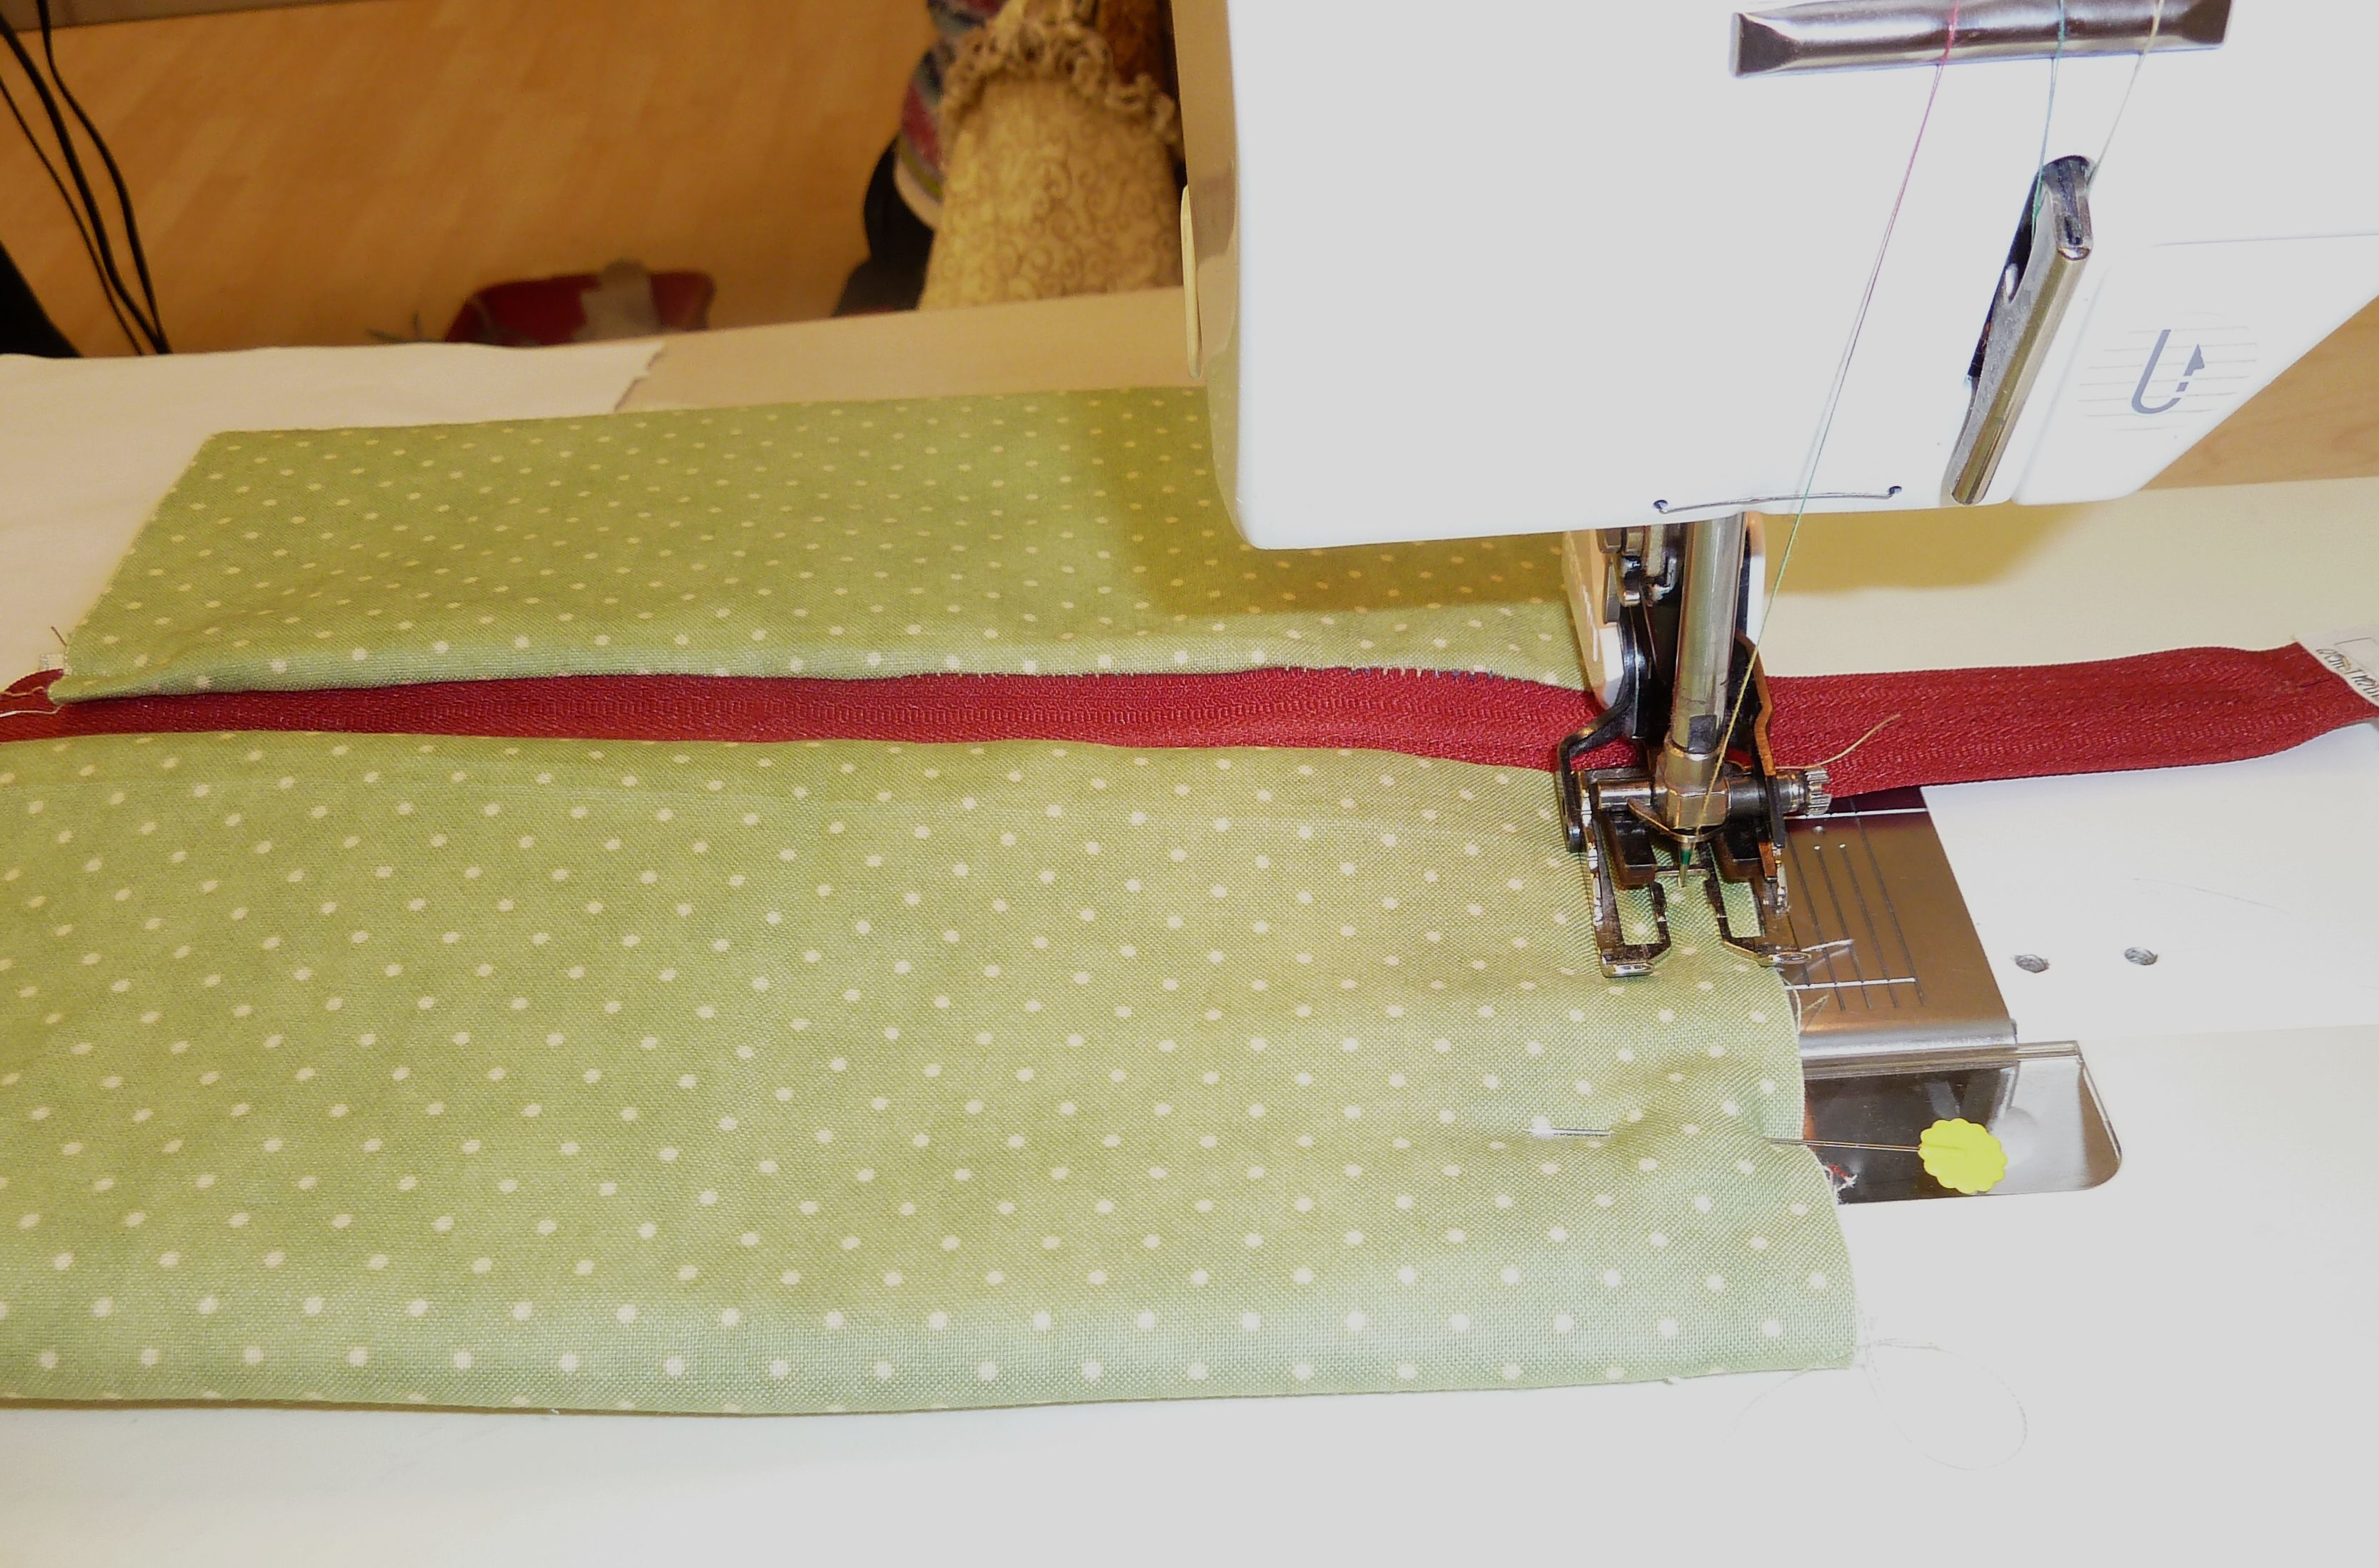
Next, it was time to add the zipper – how exciting to use a new foot!

Zipper ClassZipper Class - Edges

Finally, I stitched the edges closed and trimmed off the excess zipper. The instructor warned us to put the zipper pull in the middle of the bag so we could reach it and not to sew it closed. Thank goodness for those detailed instructions! Then we flipped it out and “fluffed” the edges.

And voila! The finished bag! Isn’t it “sew” cute? I think I’ll make several more of these and use them to store notions and supplies when traveling to future sewing classes.

Finished Honey Bun Zipper BagHere’s a picture of Judy, me, teacher Lynn, and Jessica with our fun finished bags!

The Bag Ladies

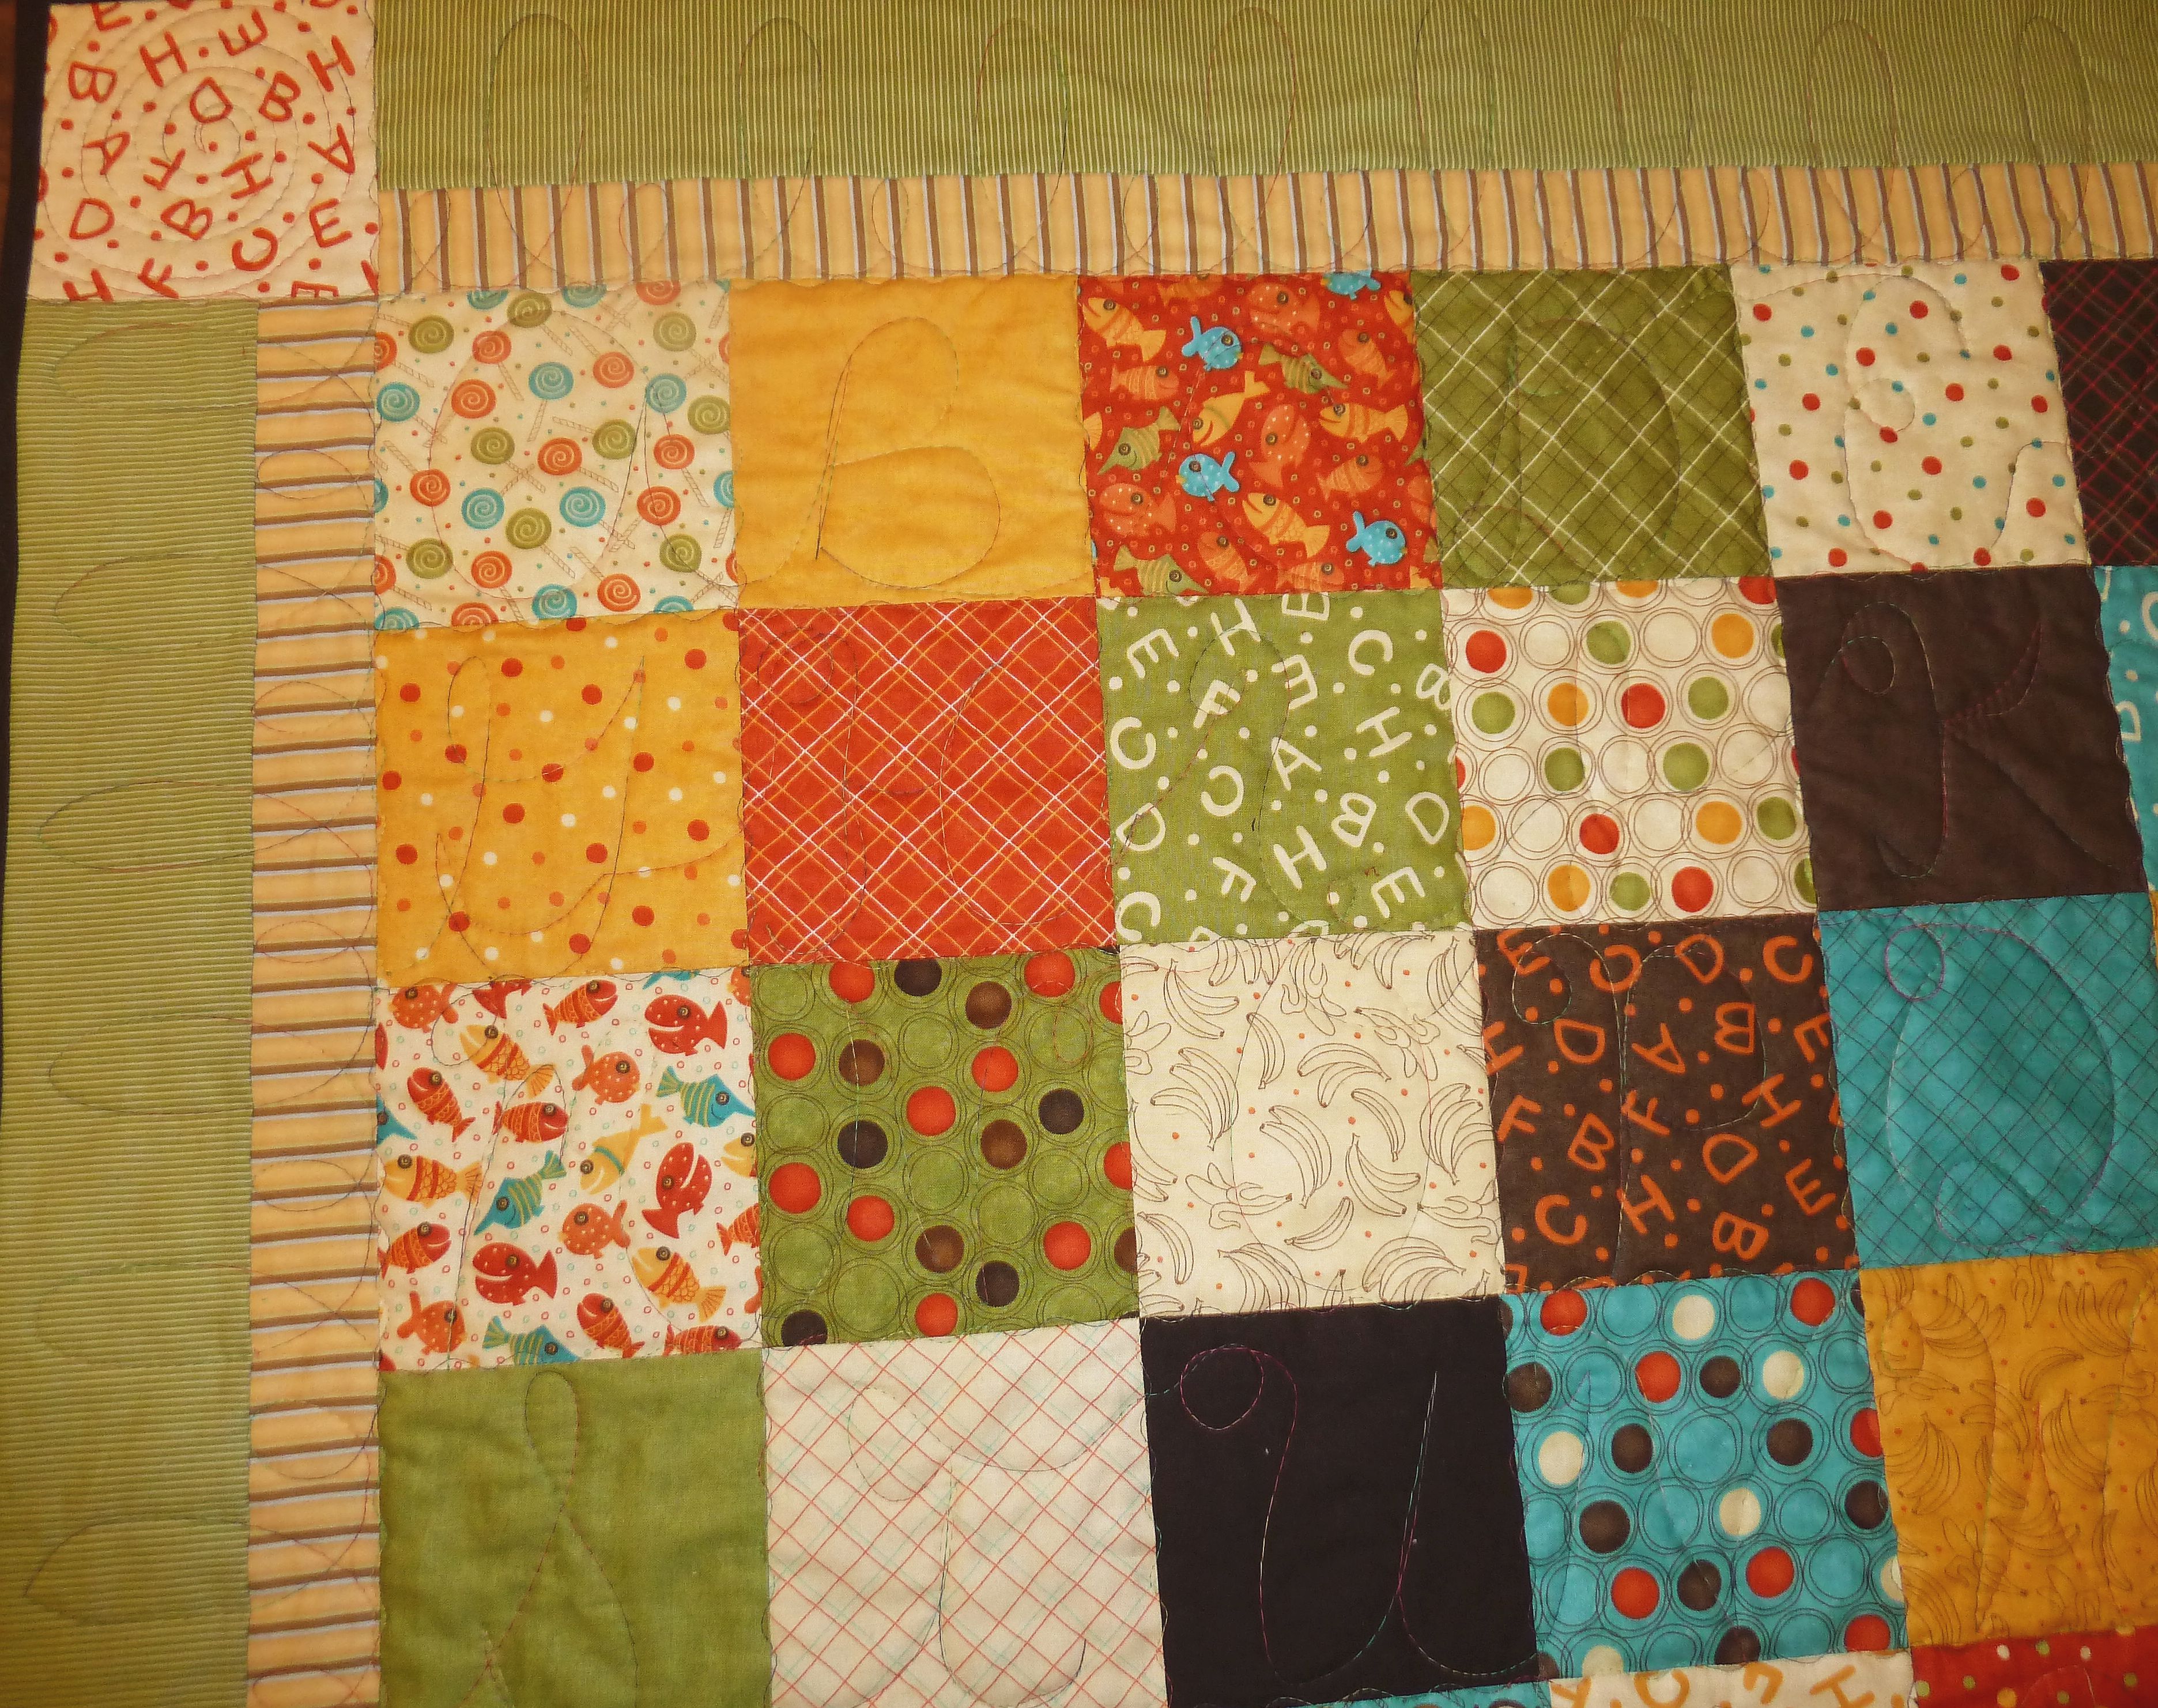
Moda’s Lollipop Charm Quilt

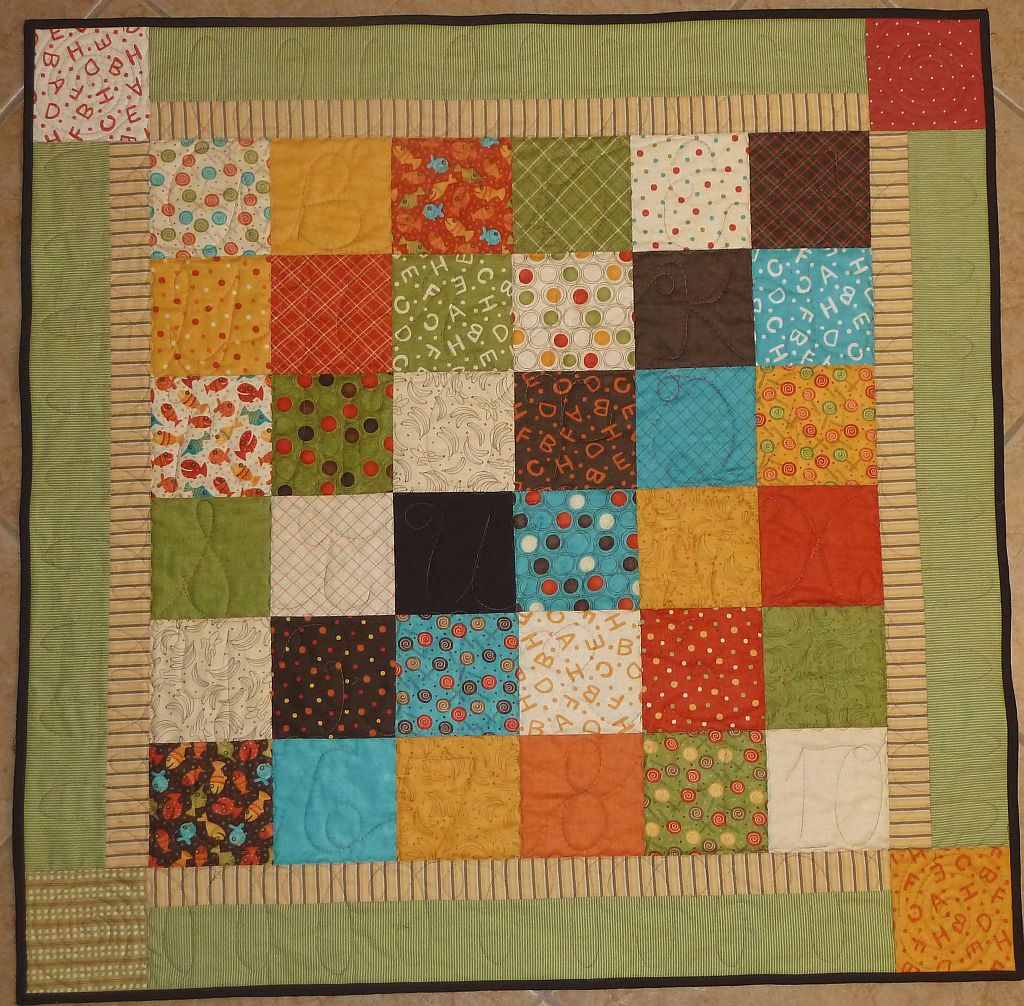
I am so proud of myself! I finished this quilt before I sold out of Moda Charm Packs for you to make one just like it!

Moda Lollipop Charm QuiltIt uses one Lollipop charm pack by Sandy Gervais plus about 1/2 yard of two different border fabrics. Use the same material for binding or add a darker fabric like I did.

Lollipop BordersAs soon as I got the pre-cuts I knew the Lollipop line would make an adorable baby quilt.

I sewed the squares together super quick and picked two coordinating green and yellow striped prints from my stash for the borders.

I added leftover charms as corner squares.

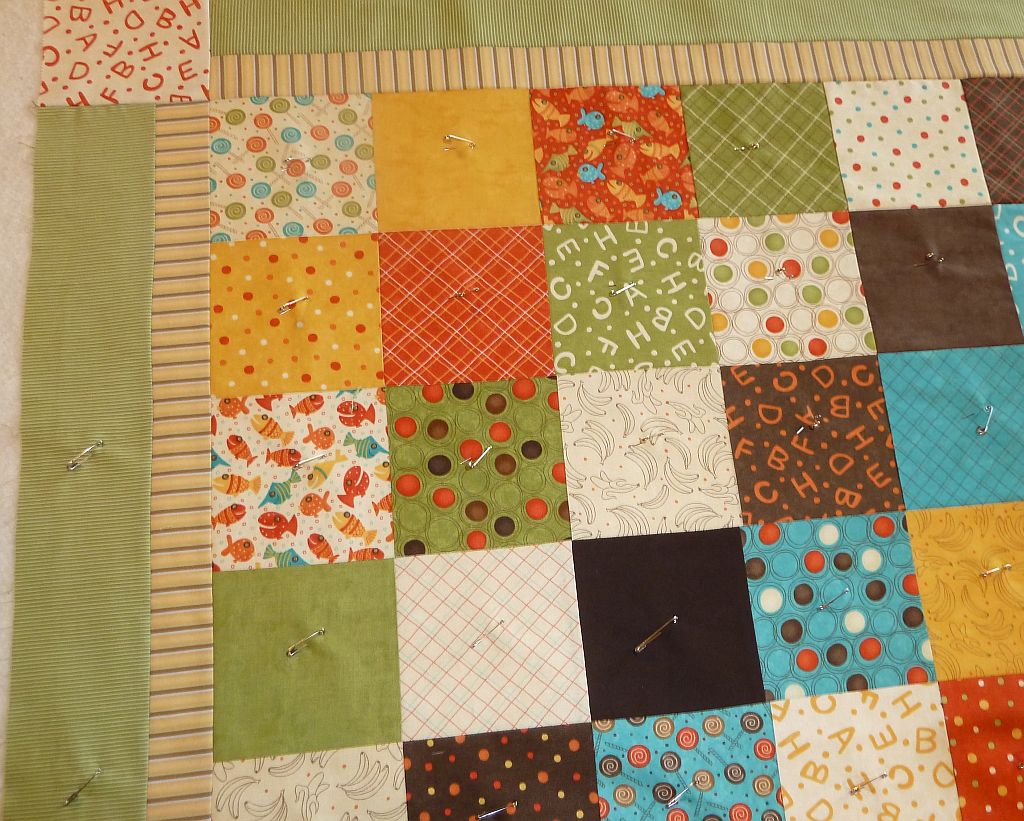
Lollipop BastingThe basting went pretty quick since I just put one pin in each of the 5 inch squares and a few around the borders.

Now that I am trying to blog on a more regular basis, I have an incentive to hurry up and finish my pile of UFO’s (un-finished fabric objects).

Here’s a closeup of the machine quilting:

Machine QuiltingThere were a total of 36 squares so I quilted 26 letters and ten numbers in the blocks. I added a freehand loop design in the borders. I love how it turned out!

Celestial Dreams by Laurel Burch Has Arrived

Fans of Laurel Burch’s art and fabric will be please to hear that the latest Clothworks line based on her artwork has now arrived at ChristaQuilts.com.

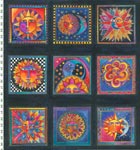
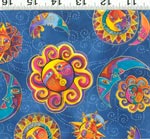
Here are some of the Laurel Burch Celestial Dreams Metallic Prints:

Laurel Burch Celestial Panel Laurel Burch Celestial Dreams Sun Laurel Burch Celestial Dreams Blue Moon Laurel Burch Celestial Dreamland

I absolutely love the panel piece and the others are enhanced with gold etching. I think the “goddess” type print above right is kind of funky but definitely unique!

Here are a few of the star coordinates which have so far outsold the jazzier focus prints:

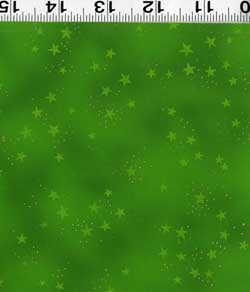
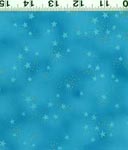
Laurel Burch Orange Stars Laurel Burch Blue Stars Laurel Burch Red Stars Laurel Burch Green Stars Laurel Burch Aqua Stars

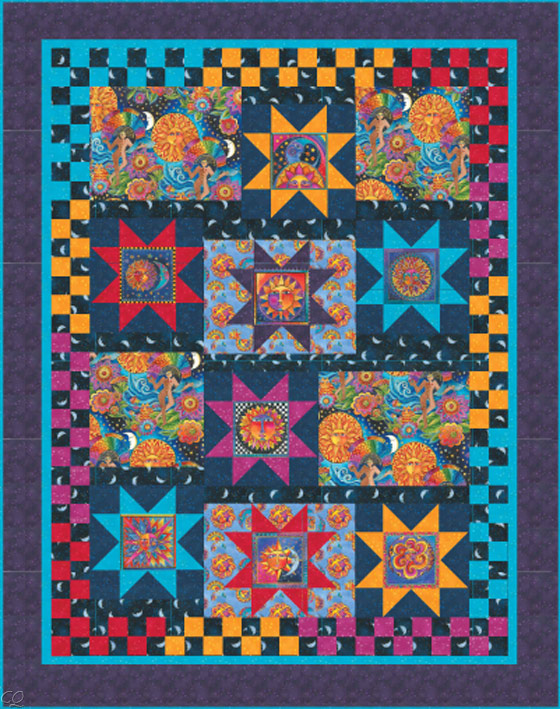
They seem to go with everything! And of course no collection would be complete without a superb quilt kit to go along with it. Don’t you just want to make this one? I do!


Laurel Burch Celestial Dreams Quilt Kit

Laurel Burch Celestial Dreams Quilt Kit

Many of you know that Laurel Burch passed away in 2007 from a rare bone disease she dealt with her entire life. I’m so glad that her and her family’s wish was for her artwork to carry on after she was gone. What a legacy!

Yet Another Moda Charm Pack Quilt…

I am addicted to making Moda Charm Pack quilts! They go together so quickly and are the perfect last minute gift for all the baby showers I’ve been going to lately. I usually have less than a week’s notice to whip something up and I can finish a charm quilt in about two afternoons.
For a super quick finish I like to quilt with an allover meander stitch and sew the binding completely by machine.

Machine Stitched Binding CloseupQuilt Binding by Machine

I stitch the binding to the front then turn it to the back and finish with a decorative stitch.

This striking quilt was made using one black and white charm pack called “Half Moon” from Moda. Since it was for a baby girl, I backed it with pink fabric with the words “Baby” written all over it. I just hope it will be well loved and used!

Half Moon Charm Quilt

Machine Quilting with Joanie Zeier Poole

Last week I took a fantastic series of lectures from Joanie Zeier Poole. Her specialty is Heirloom Machine Quilting which showcases very tiny stitches over the entire surface of the quilt.

Joanie Poole LectureI never knew that listening to someone talk about machine quilting for hours on end could be so exciting! She went over many tricks of the trade and explained the importance of planning the quilting before you even start.

Joanie's QuiltsHere’s Joanie showing some of her smaller wholecloth pieces.


She loves to use thin silk thread with soft wool batting to show off the stitches to their best advantage. (I wish the pictures weren’t so blurry!)

Here’s a picture of me and Joanie with her show-stopping quilt. I regret that I didn’t get a better closeup of this quilt showing the intricate details of her fantastic quilting. She designs all of her own patterns and machine quilting stencils.Joanie and ChristaThe best part is, I took this class with my friend’s mom, named Judy. She’s my new found quilting buddy and we have lots of plans to take many more classes together!

Christa and Judy


“Pure” Quilt #3


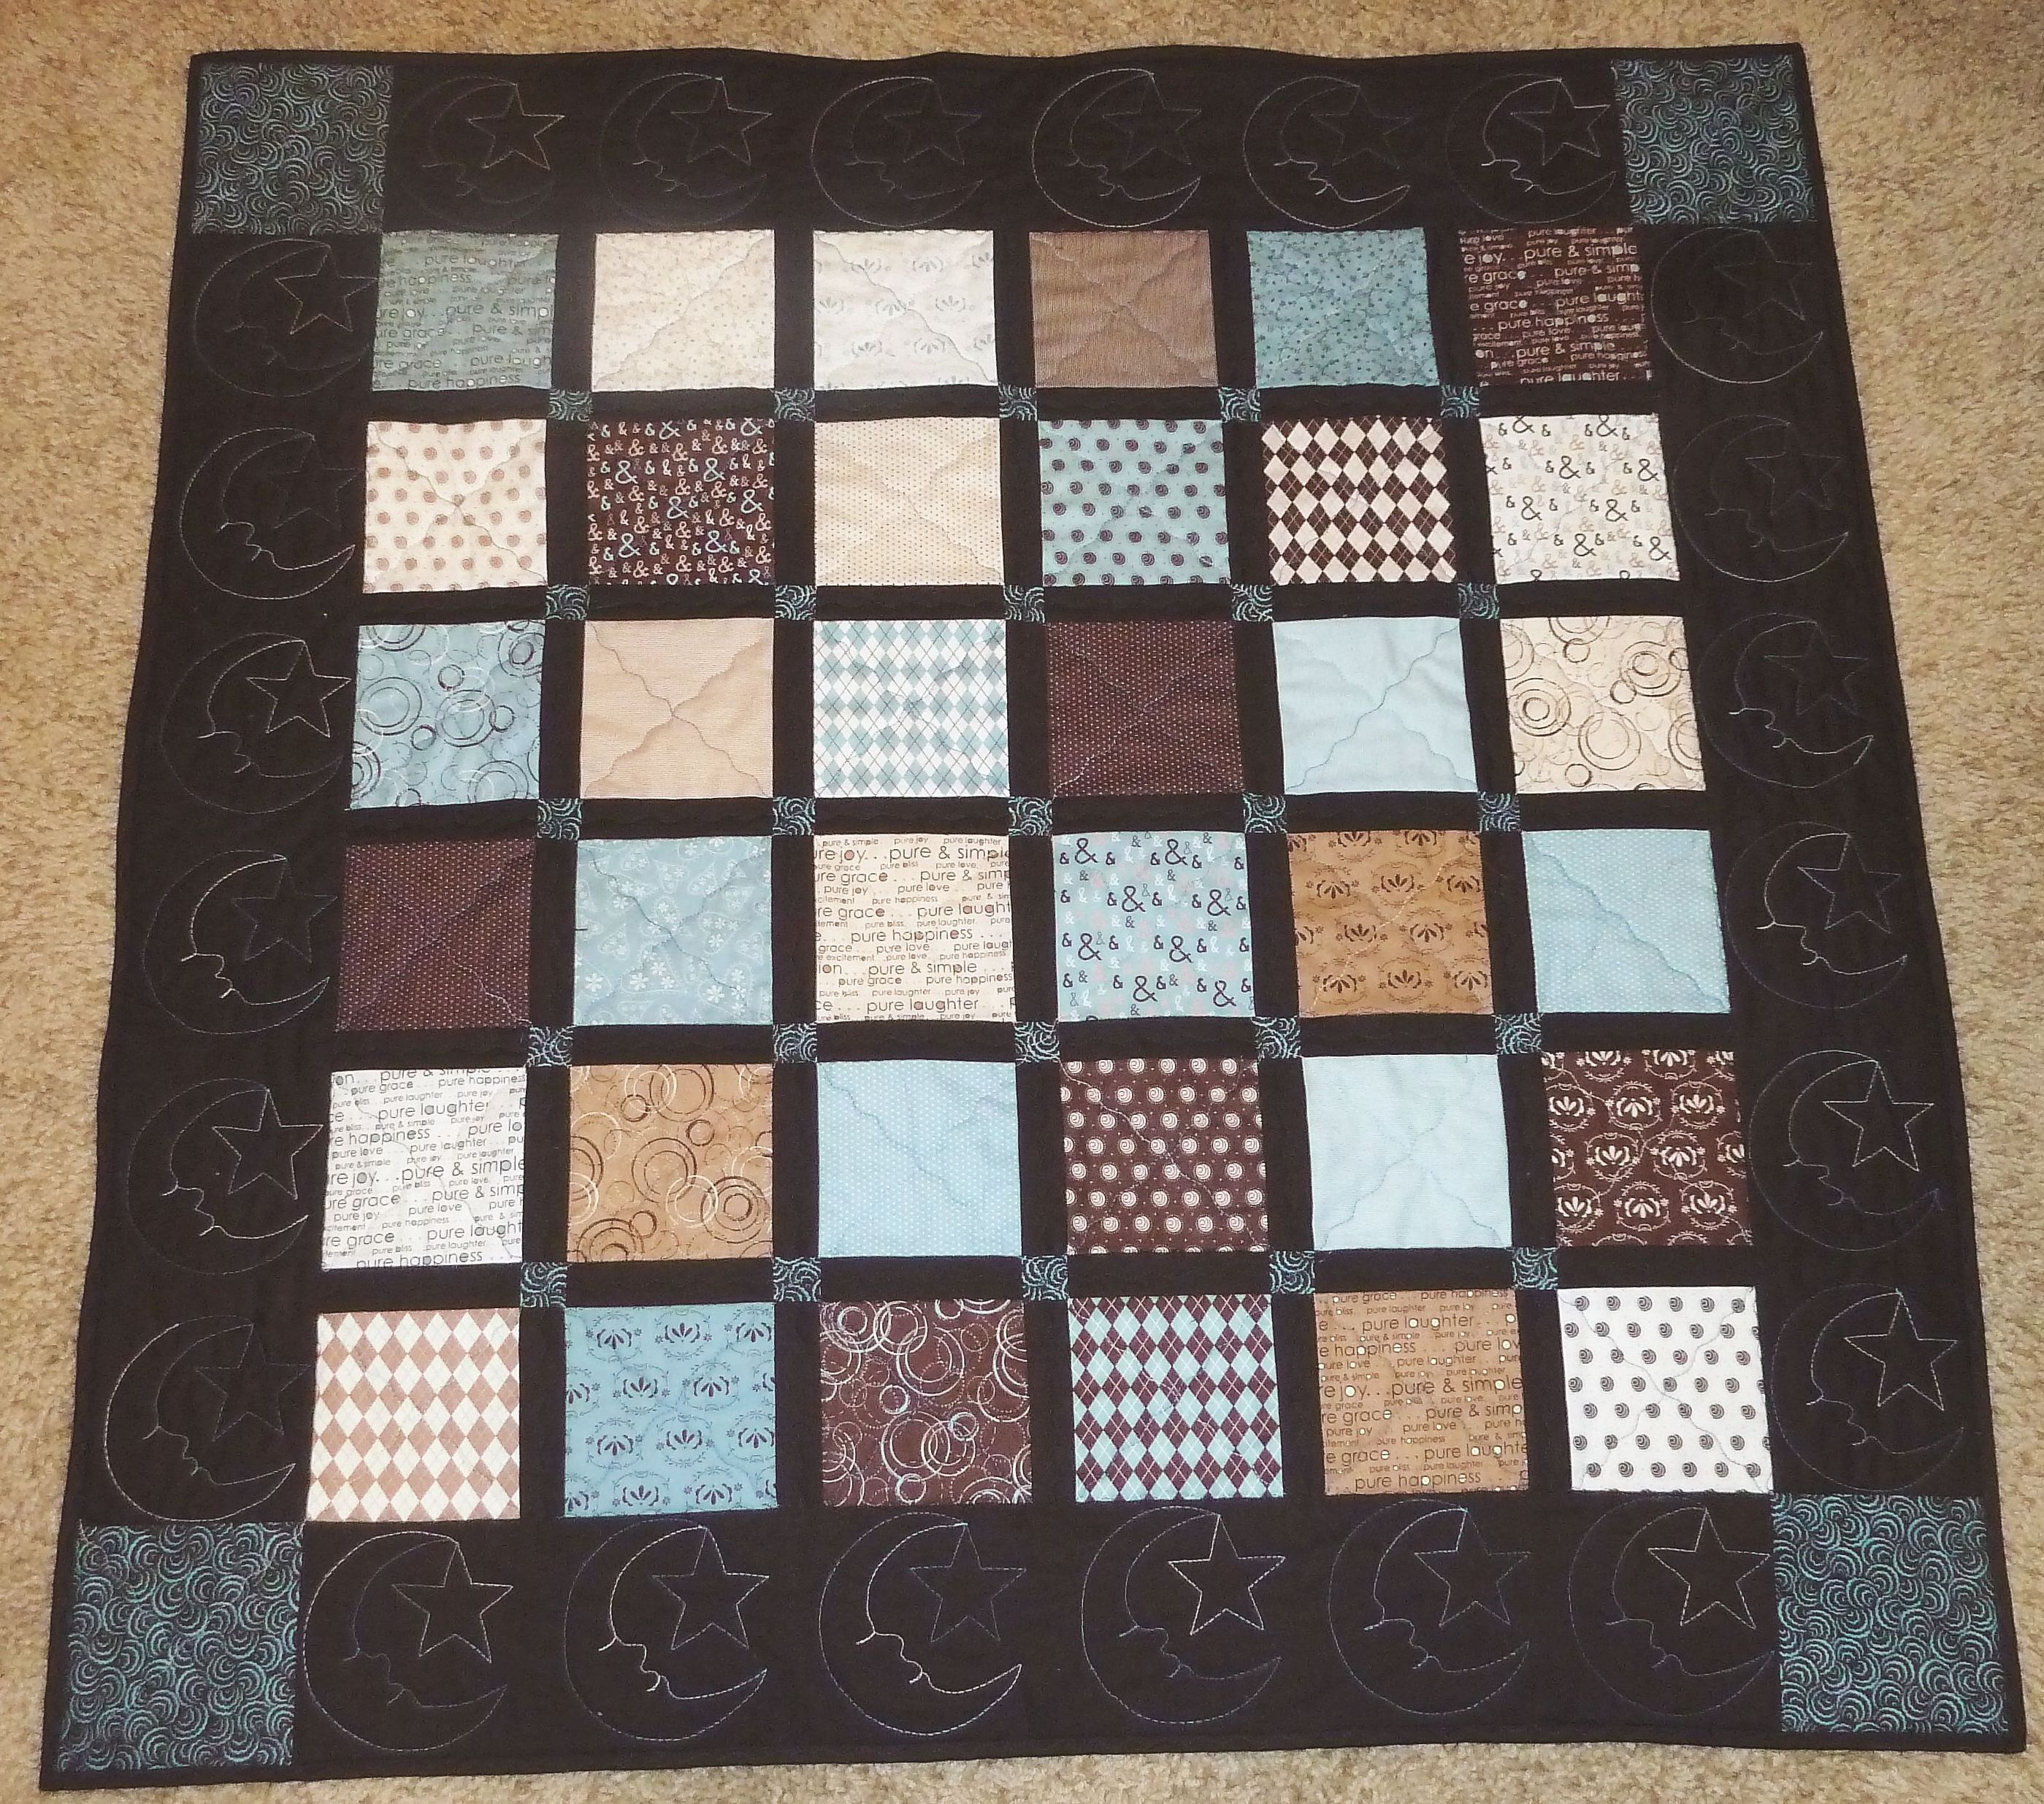
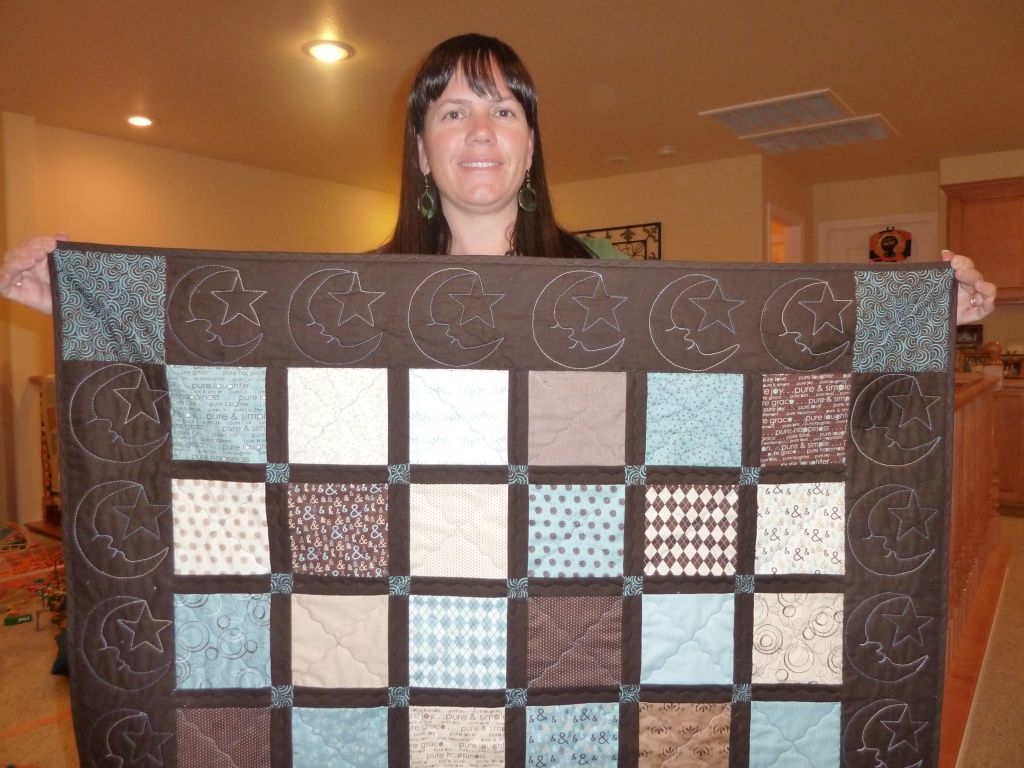
I think this is my favorite of the three Pure charm pack quilts I’ve made. This one was for a really good friend so I wanted to do something very special with the quilting.

Pure Charm Quilt #3

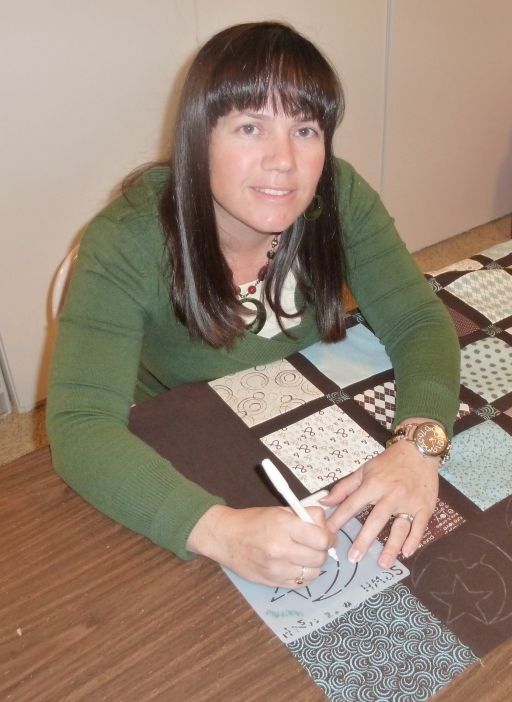
Pure Quilt Stencil 1Before I begin the machine quilting process, I first select a stencil that I want to use. I then decide what tool I need to use to mark the quilt so that the lines show up.

For this quilt I selected a stencil of a moon with a star. It’s really easy to mark and quilt and I’ve used it many times before. I figured out how many moons I’d need to mark around the borders. Then I went back over each one to make the lines a little darker and easier to see while quilting.

Pure Quilt 3 MarkingI can sometimes get lost in the marking, just like many people do when piecing. For this dark material, I used a white washable marker with a thick tip.

If I’m not stressed with a deadline, I can really take my time with the marking process and it can be very relaxing!

I like to go over all the lines and fill in the stencil lines for a complete outline.

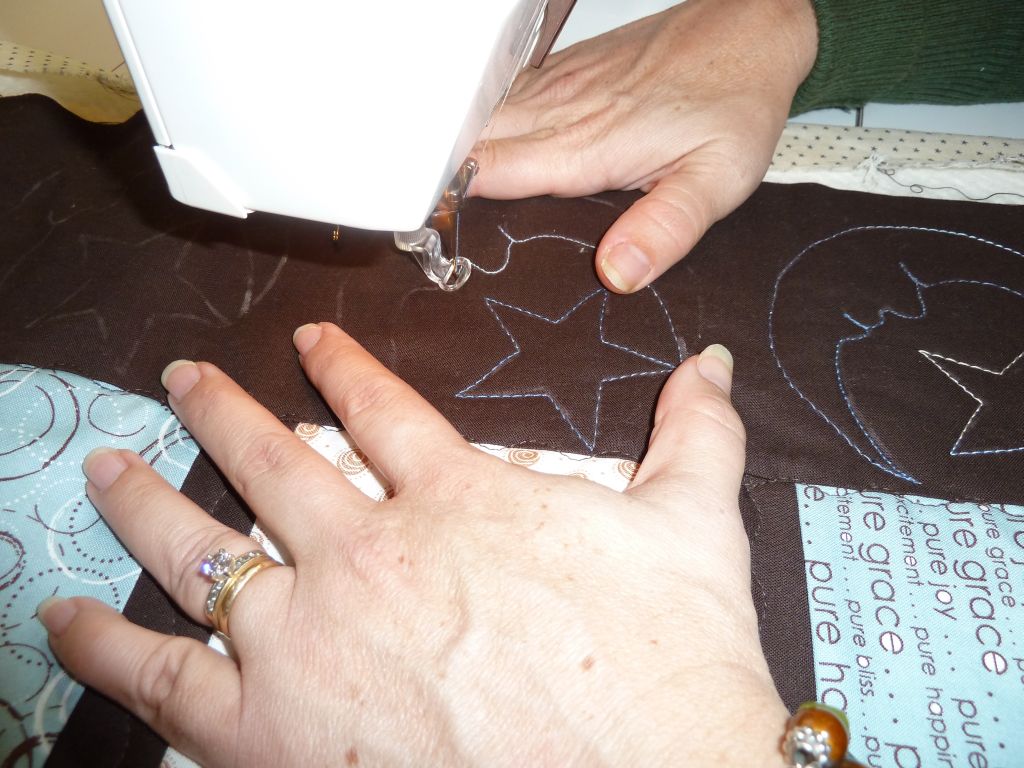
Pure Quilt 3 Machine QuiltingPure Quilt 3 Quilting CloseupHere’s a closeup of the machine quilting with a free motion foot and contrasting thread.

Pure Quilt #3 FinishedCompared to the fist charm quilt I made, I think I like this one best with the dark brown sashing.

I used little squares between the sashes to help the rows line up straight. It looks like more work, but actually it’s easier than trying to match up rows with no intersecting seams.

I used the same squiggly quilting pattern across the blocks, like I did for Pure Quilt #2. It’s a super fun way to quilt across the blocks. Now on to the next quilt!