One of the most fun things I love about teaching others to quilt is seeing their joy when they successfully learn to make a quilt from start to finish! I know not all of you can come see me in person, so that’s where my online videos come in.
I’ve filmed 3 comprehensive video classes with Craftsy along with being featured in a compilation video hosted by Angela Walters. So let me tell you a little bit about each one:
The Quilter’s Path – Learn how to Machine quilt
Click here to view the trailer for The Quilter’s Path.
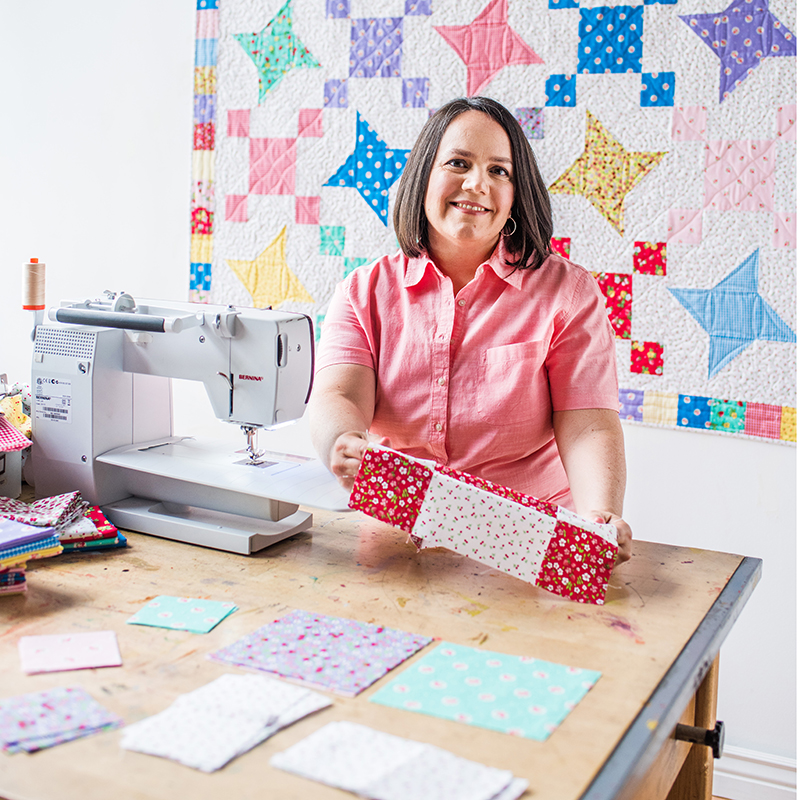
In my class, The Quilter’s Path, I teach you how to practice some of my favorite walking foot and free motion designs. Then I show you how to quilt them on a REAL quilt! In fact, I show three different versions of the same quilt, quilted three different ways.
The class includes the pattern to make the pinwheel quilts you see in the photo above as well as lots of different motifs to try. It’s the next best thing to taking a class from me in person!
Click here to get my class The Quilter’s Path

Startup Library: Quilting – Make an Entire Quilt
Click here to view the trailer for Startup Library: Quilting
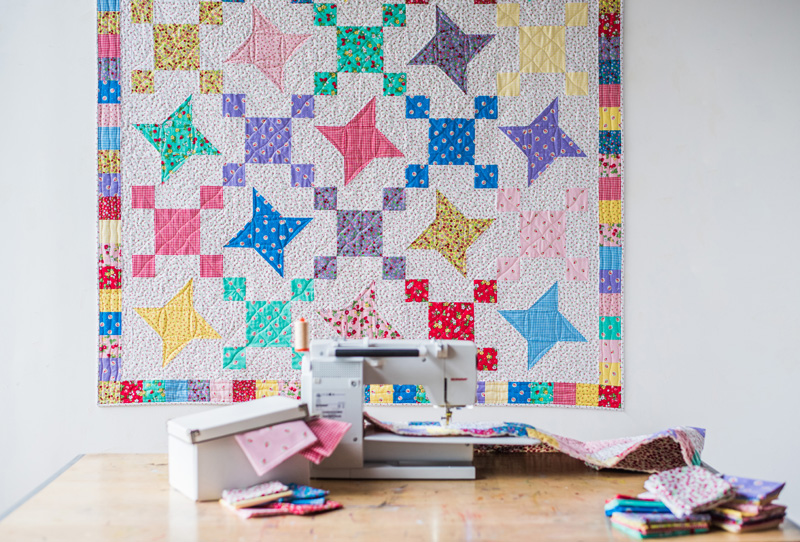
In Startup Library Quilting, I teach you how to make an entire quilt from start to finish. This includes ALL of the steps: setting up your sewing machine, choosing materials, cutting, piecing, basting, machine quilting AND binding. It’s over 6 hours of video content along with the pattern booklet to make the Friendship Stars quilt shown above.
I’m really excited that I was able to include my spray basting technique in this class, and students have told me it’s worth the price of admission just for that video tutorial! I also show how to do a couple of very easy machine quilting designs that are perfect for beginners. If this is your very first quilt or you’ve made dozens before, this class is perfect for getting started, or filling in the gaps of your quilting knowledge!
Click here to get Startup Library: Quilting

Startup Project: Starry Path Quilt
Click here to view the trailer for Starry Path Quilt

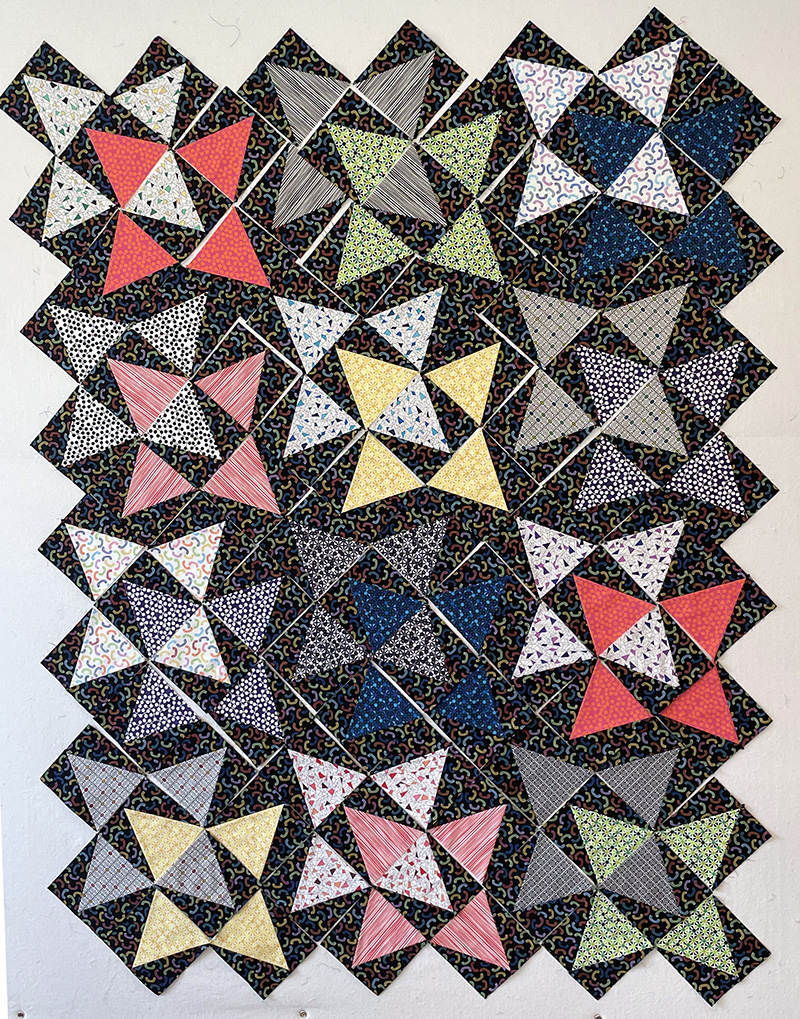
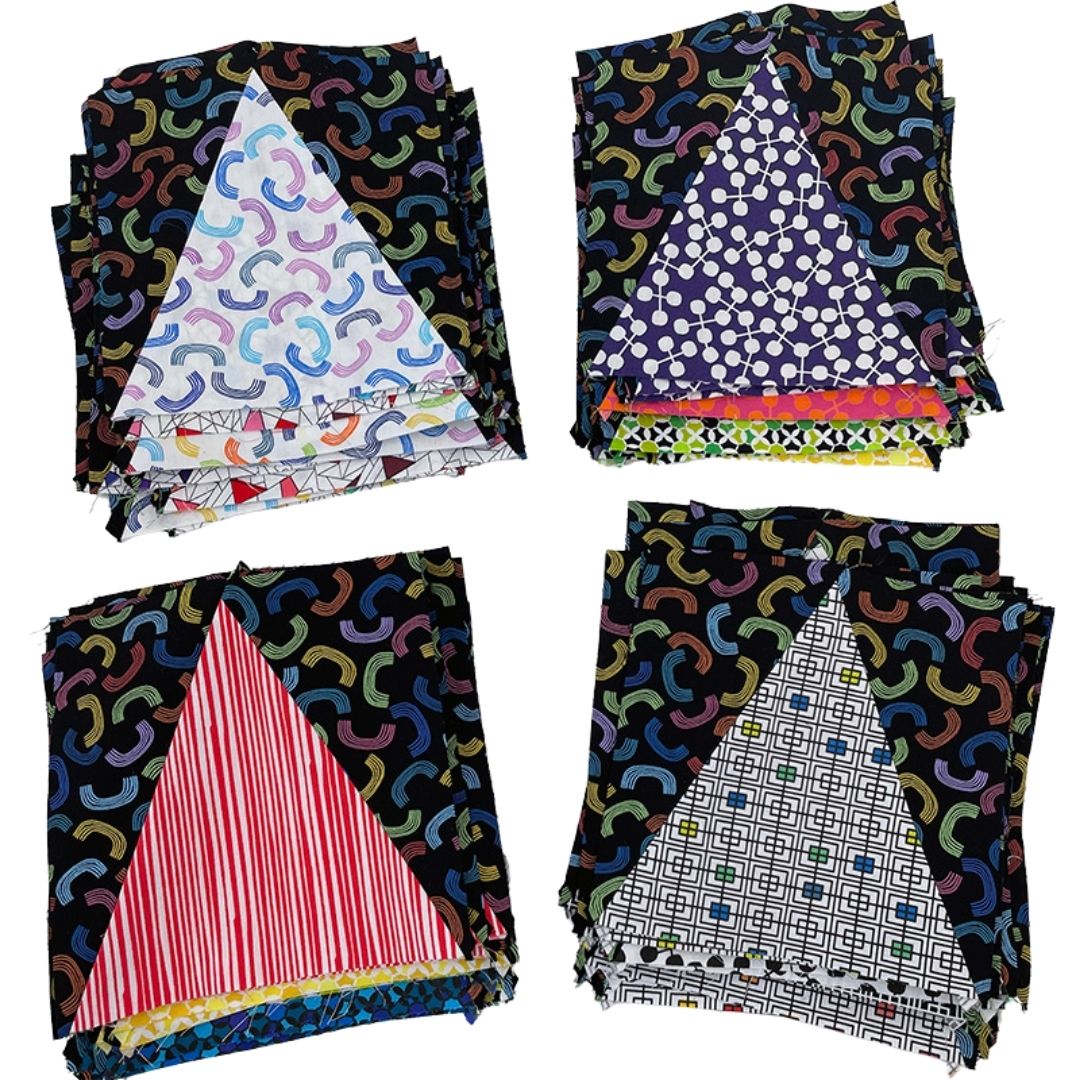
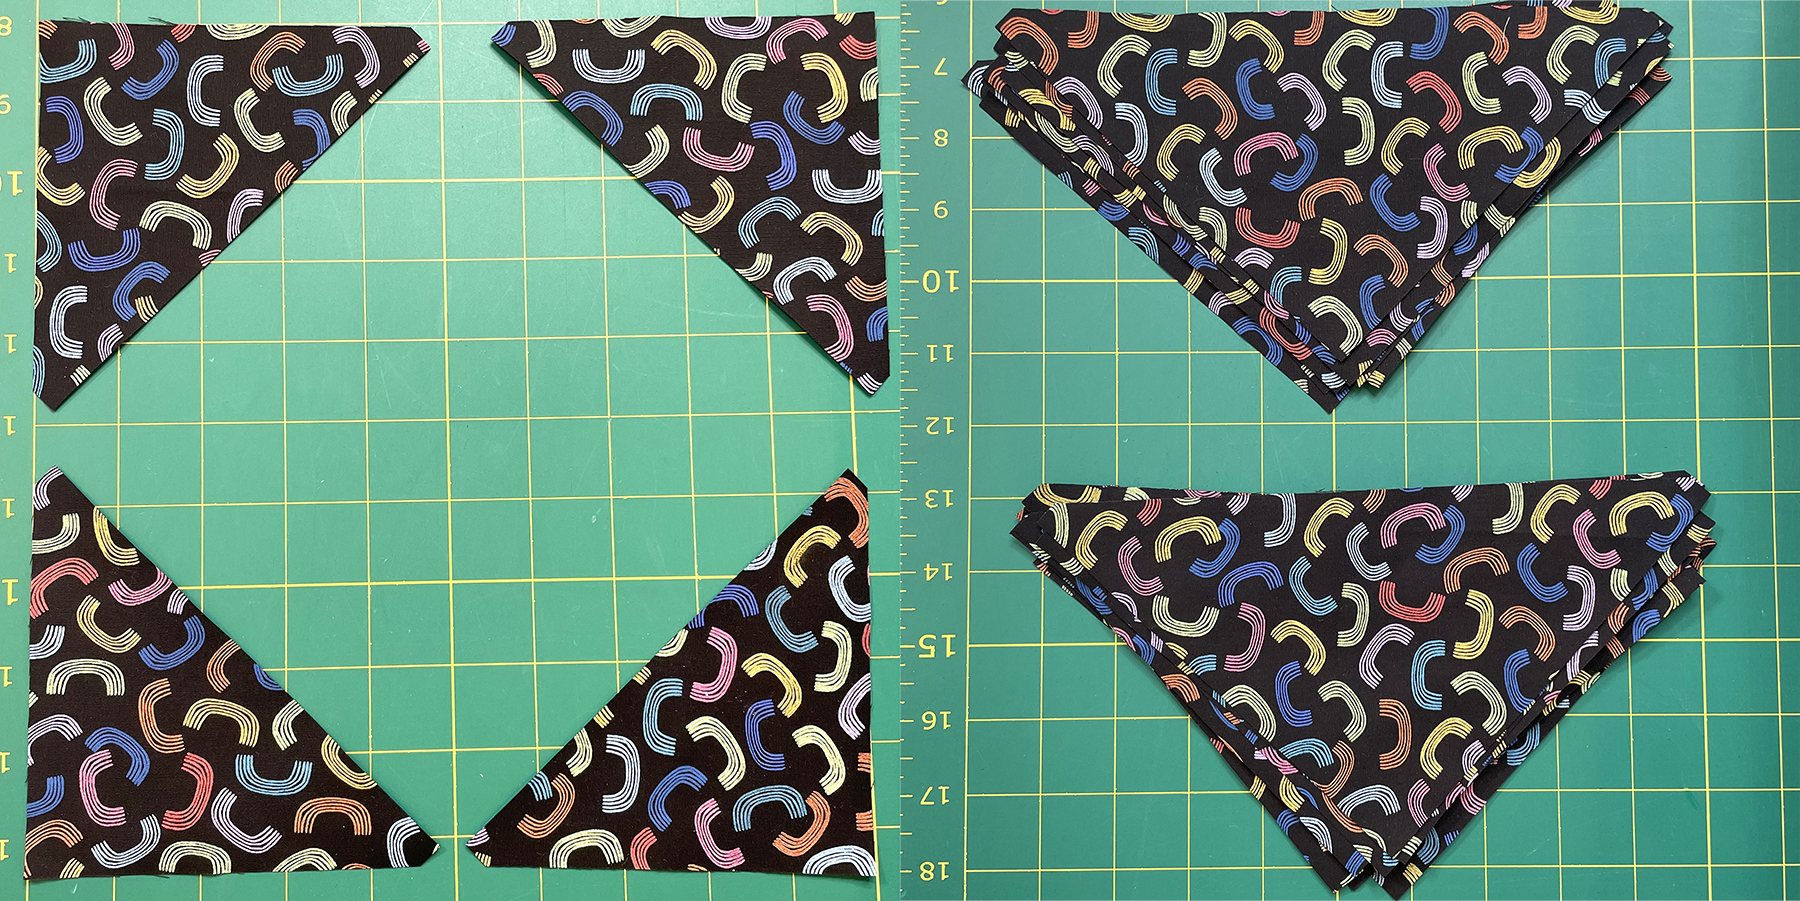
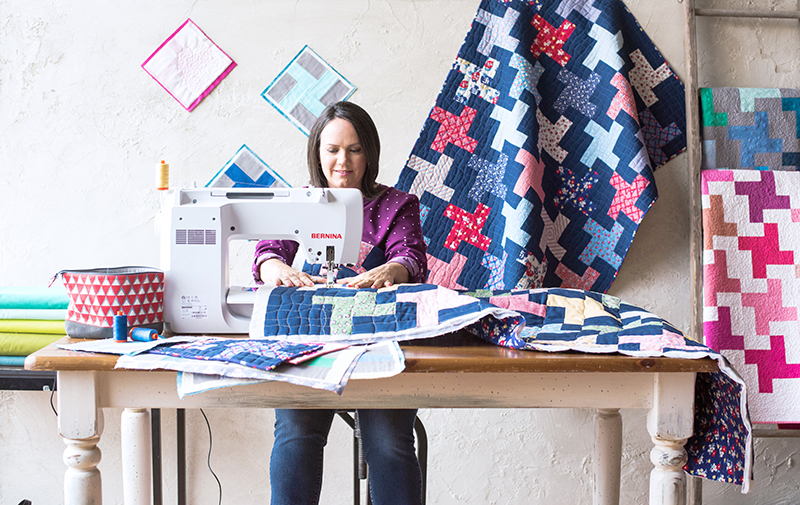
The Starry Path quilt is a great follow-up to Startup Library, because I again walk you through all the quilt-making steps for this quilt, with a focus on how to get perfectly pieced points! I was able to include a bonus section on quilting the quilt with a fun swirl design and I throw in lots of extra tips and tricks along the way.
The class includes the Starry Path quilt pattern and you’ll learn accurate ways to piece two of my favorite star blocks from basic units that you can add to your library of piece-making skillz!
Click here to get the class: Startup Project: Starry Path Quilt

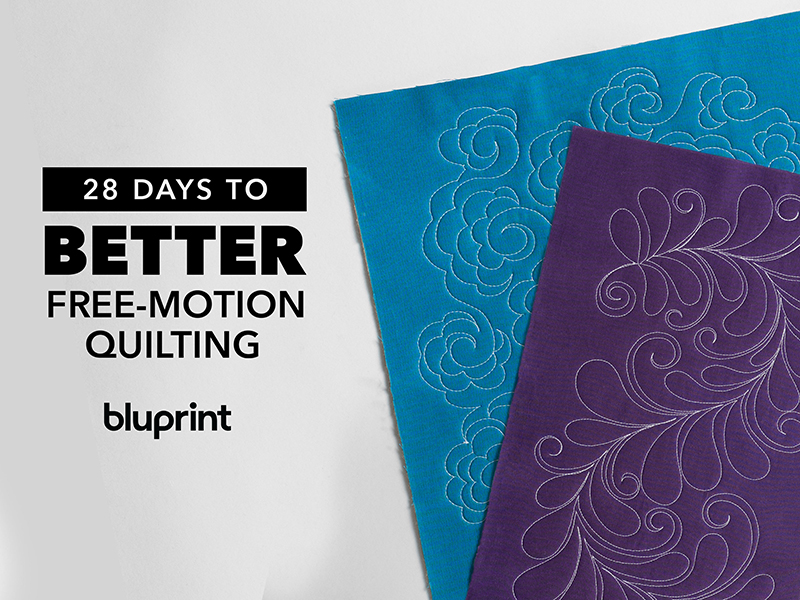
28 Days to Better Free Motion Quilting
Many of you know I wrote an indepth machine quilting book with Angela Walters, called The Ultimate Guide to Machine Quilting. It’s been well-received and gives you lots of practical advice for quilting your quilts – plus 10 full-size quilt patterns for you to make.

Click here to get a copy of The Ultimate Guide to Machine Quilting
In 28 Days to Better Free-Motion Quilting, Angela has assembled 28 machine quilting tutorials from among the Craftsy library of classes. The idea is to learn one quilt design a day for 28 days. 3 of my designs were included (from my Quilter’s Path and Startup Library classes) plus a whole host of ideas from other designers.
My favorite part of this class is seeing Angela’s version of each of the 28 designs she stitched. And even if you already own the classes featured, it’s a great way to get a sampling of designs AND teaching styles from 11 different instructors.
Click here to view the Trailer for 28 Days to Better Free Motion Quilting.
A Note About Commenting on the Platform
Although I absolutely LOVE to engage with my students, just know that I won’t be able to see the class comments. So feel free to reach out to me anytime on my blog, social media or through my website. I’m always happy to hear from you and cheer you on in your quilting efforts!
Links at a Glance