Welcome to the Blooming Wallflowers quilt along! In this week’s video I’ll show you how to sew your triangle in a square blocks that make the “wallflowers.” Grab a copy of the Blooming Wallflowers quilt pattern, then click play below to watch the video.
Click here to get the Blooming Wallflowers Quilt Kit
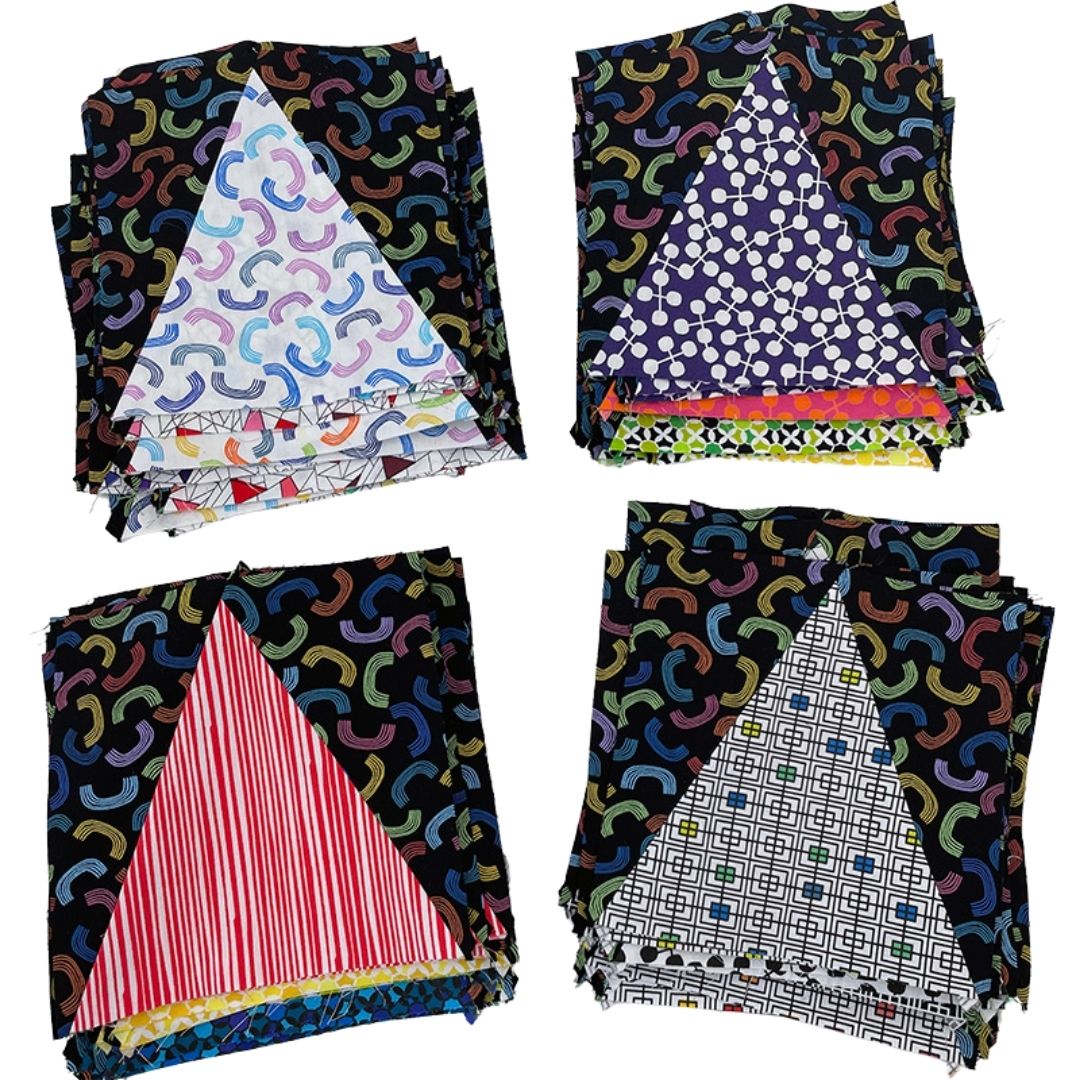
Sewing Tips – Match The Ends
If your units are die cut, you’ll want to match up the blunted edges. If they are rotary cut, you’ll have extra triangle tips that will need to be trimmed. Colorful patchwork is a great place to use up colorful threads and leftover bobbins, especially if they are 100% cotton!

Coming Next Week…
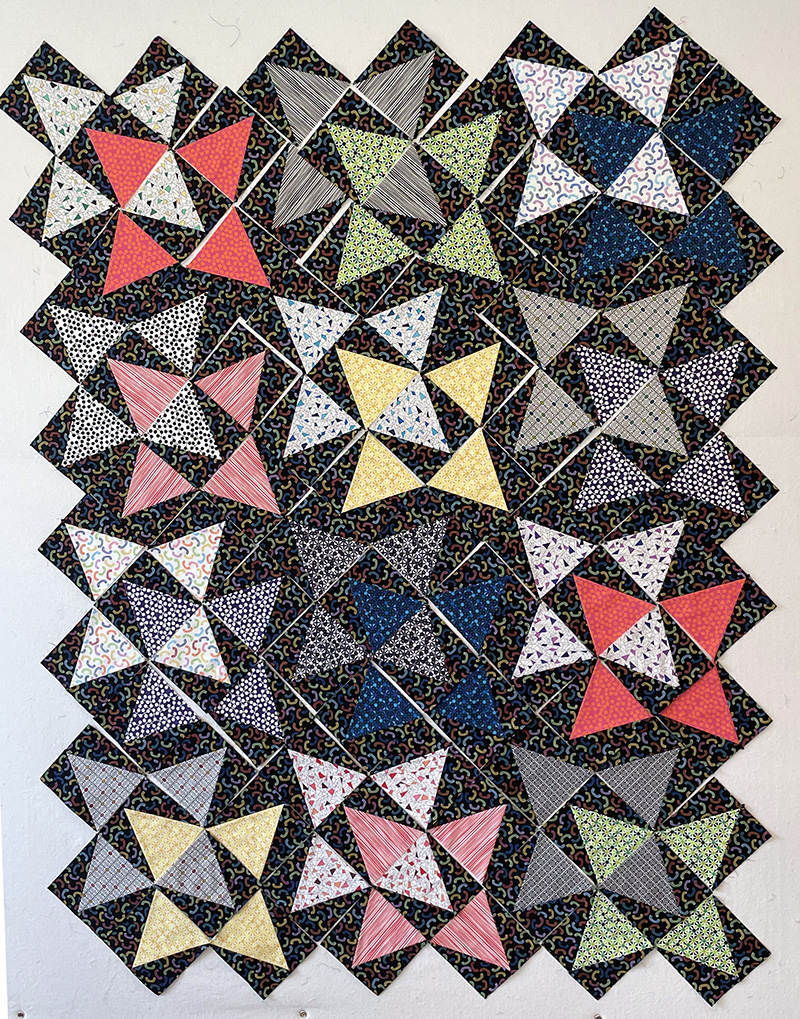
After your blocks are sewn, we will assemble them into the quilt top, also known as a “flimsy.” Remember to take your time and sew at your own pace. My quilt along tutorials will stay up indefinitely so you can refer back to them as often as you need too!
Click here to see my design wall tutorial.
In Case You Missed It…
In case you missed the previous video (part 1 cutting), click below to watch:
Click Below for Additional Help or Supplies
- Get the Blooming Wallflowers Quilt Pattern
- Get my Black, White & Bright Fabric & Kits
- Ask Questions, Share Pics in my Facebook Group
- Blooming Wallflowers Quilt Along Landing Page
- ChristaQuilts YouTube Channel
AccuQuilt Dies Used in this Quilt