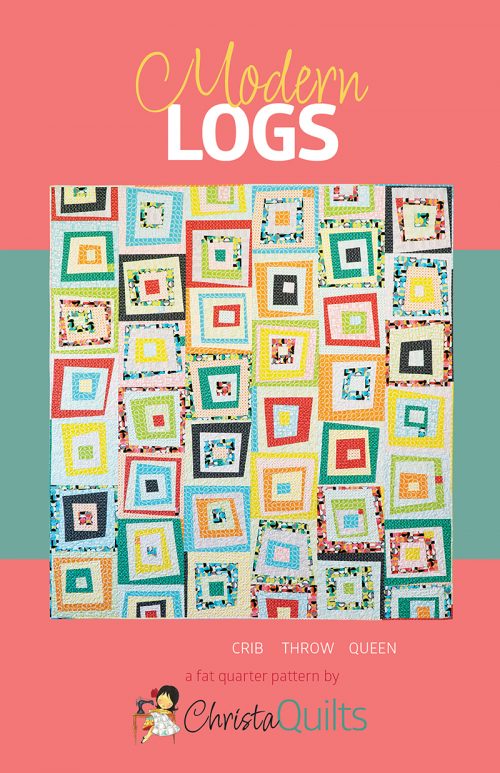
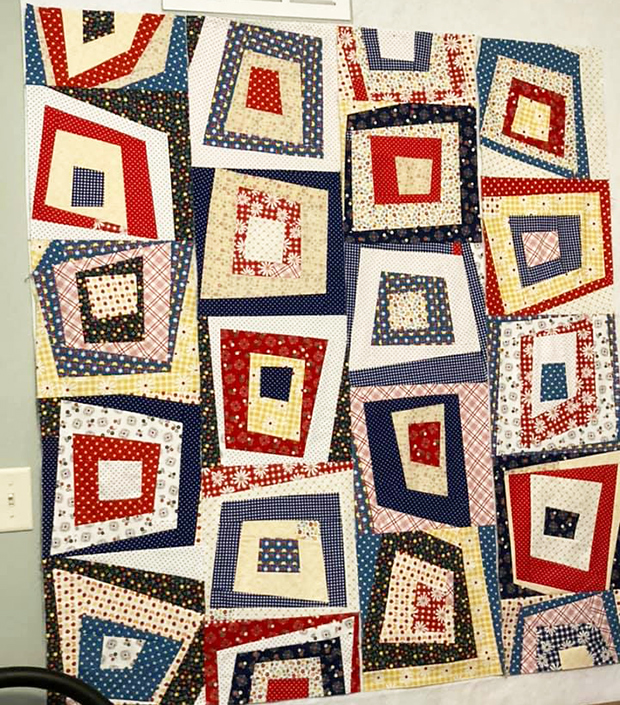
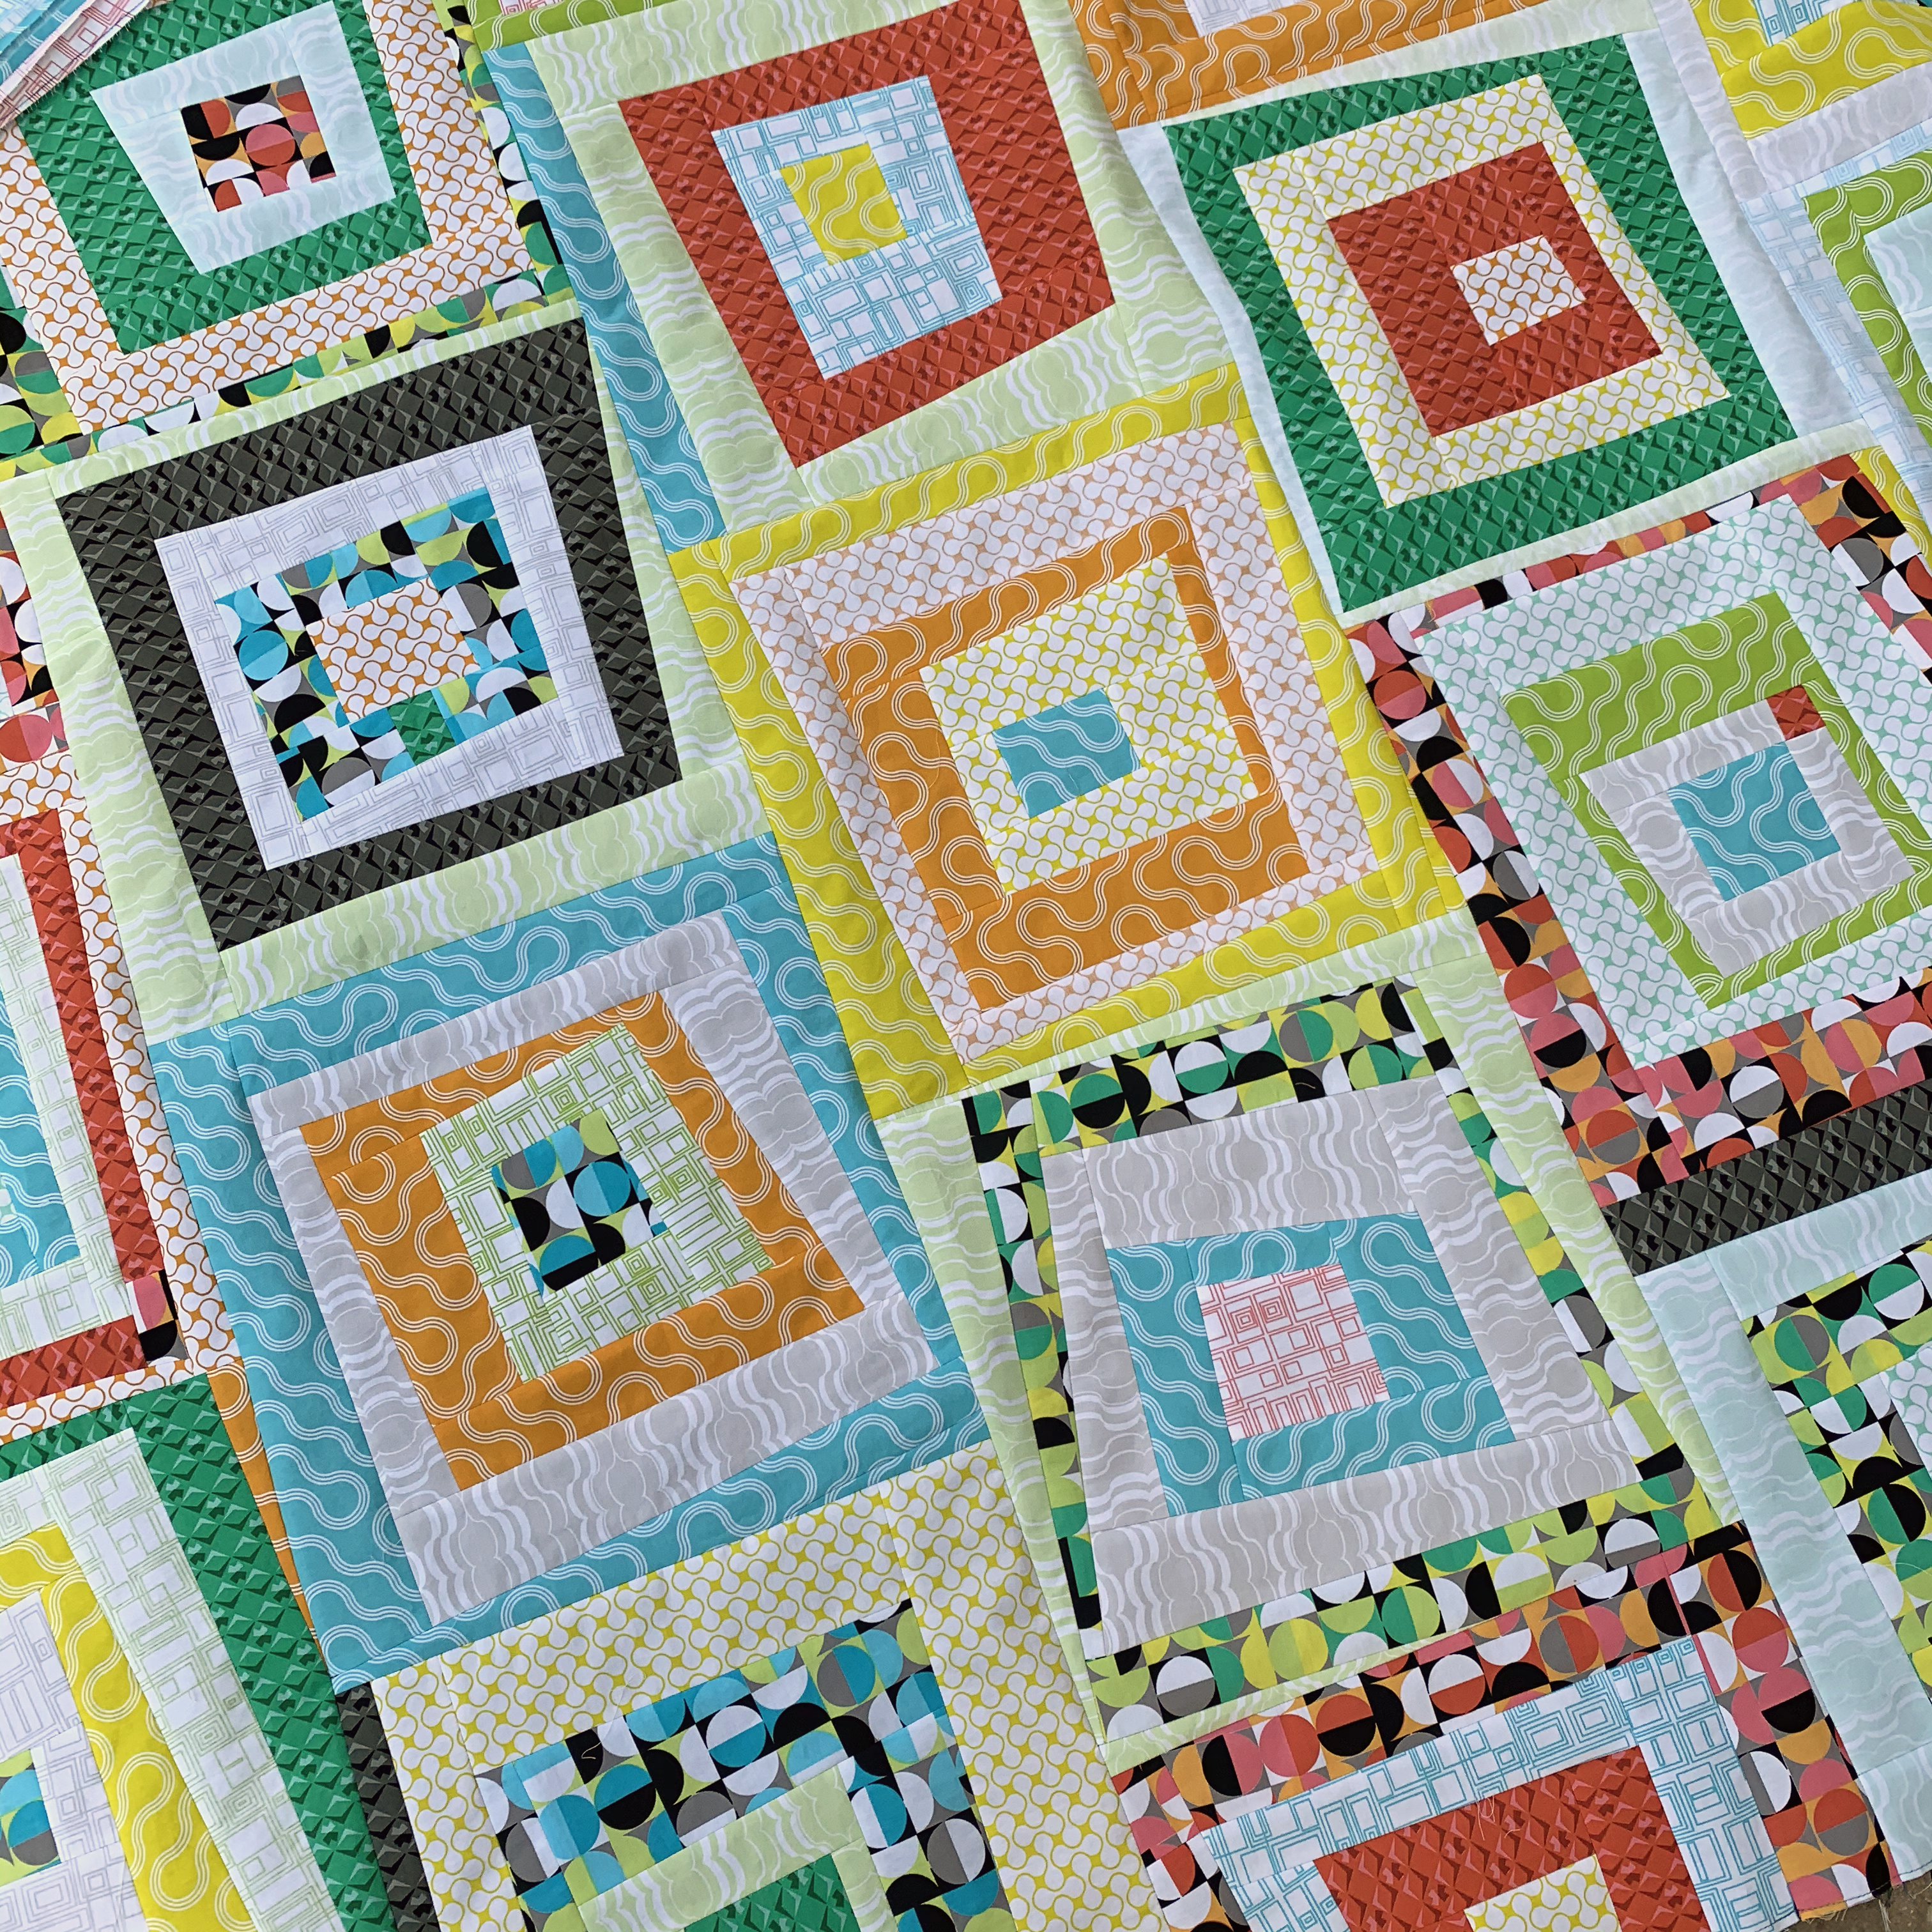
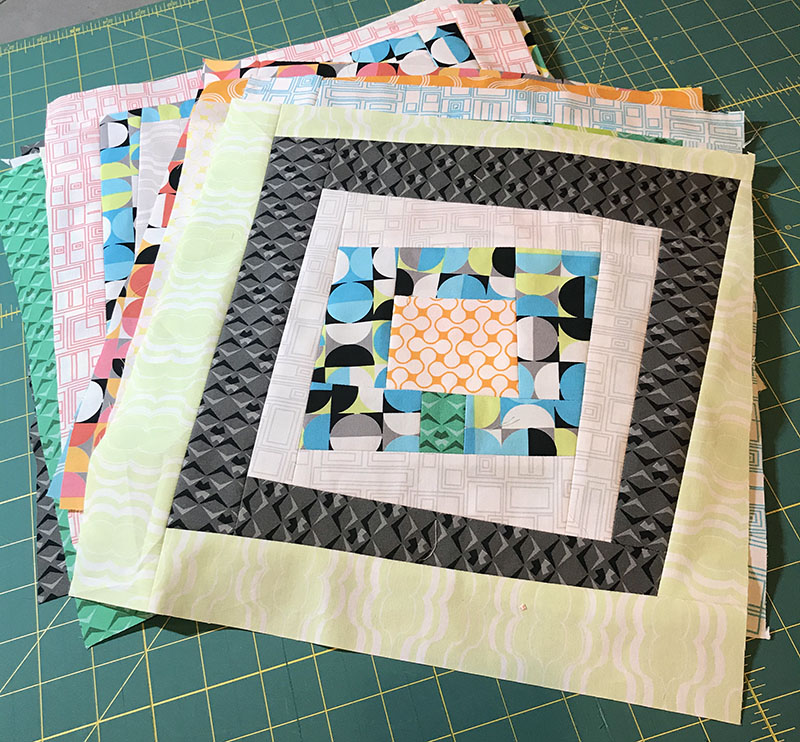
Whenever I make a super scrappy looking quilt like Modern Logs, I often have a lot of leftovers that I love to incorporate into the back of the quilt. This allows me to use up more fabric, personalize the quilt a bit, and make the back (almost) as interesting as the front! If you prefer to use a plain pieced back, this week will give you more time to finish your quilt top.

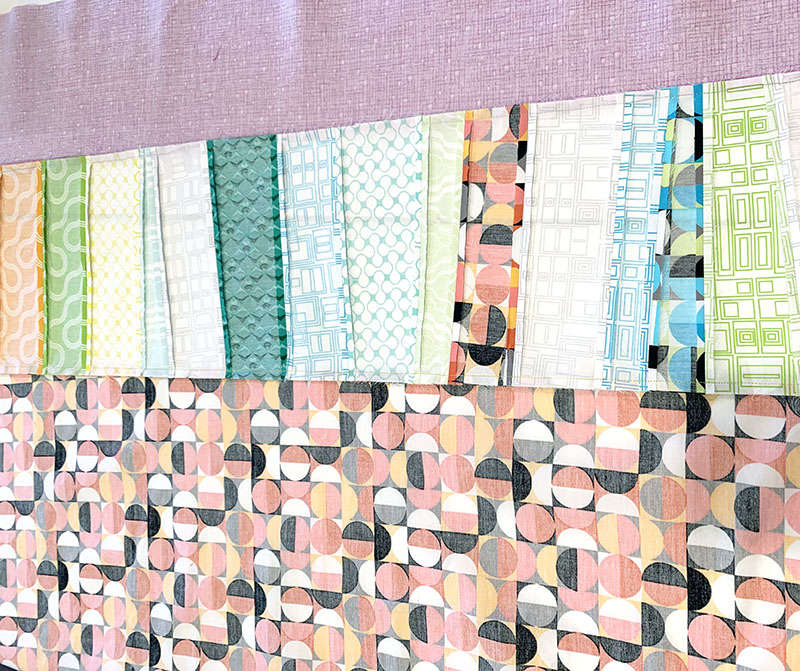
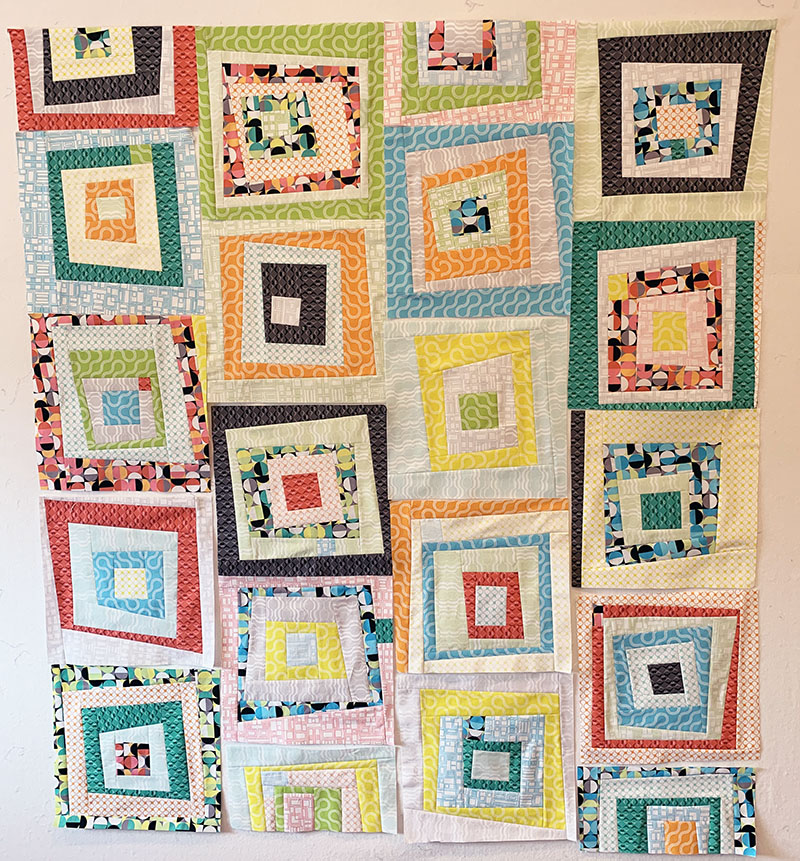
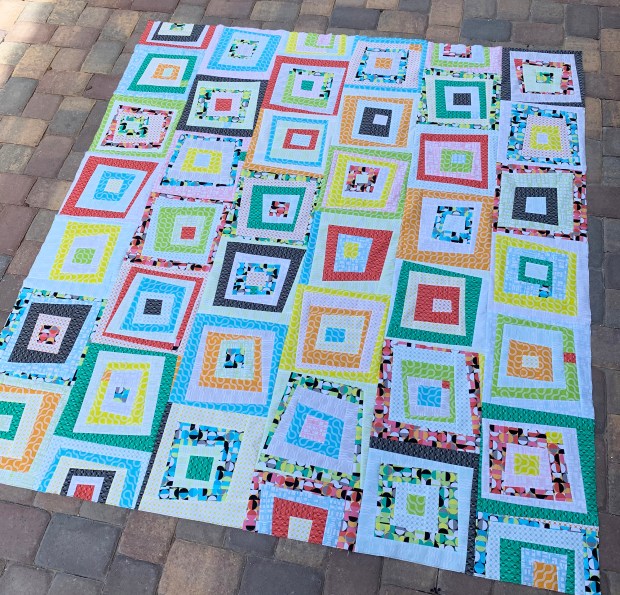
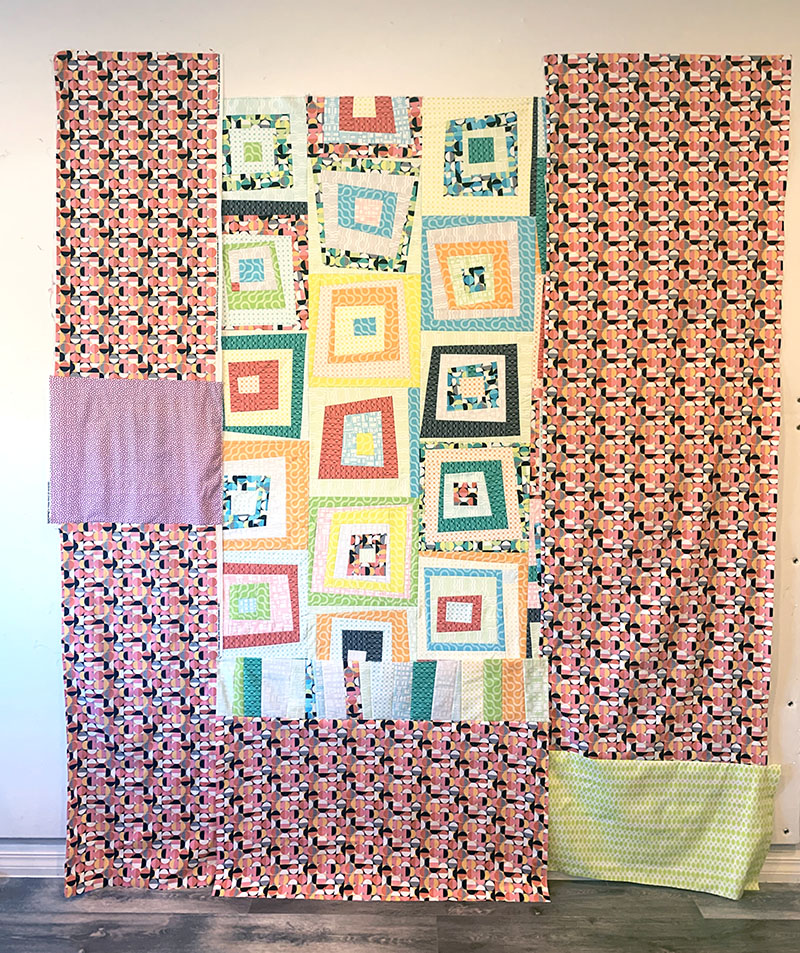
Modern Logs pieced quilt backing, made from leftover Good Vibes fat quarters, 2 yards of Gumballs print in Coral and a few leftover odds and ends from previous fabric lines.
Set aside the Binding Strips
Before you begin the pieced backing, be sure you’ve set aside enough of the straight strips for a scrappy binding. See the note in the pattern on page 3. Or you can use all of one fabric for binding and use up ALL of the leftovers on the back. The choice is up to you. We will come back to binding at the end of the QAL so stay tuned.

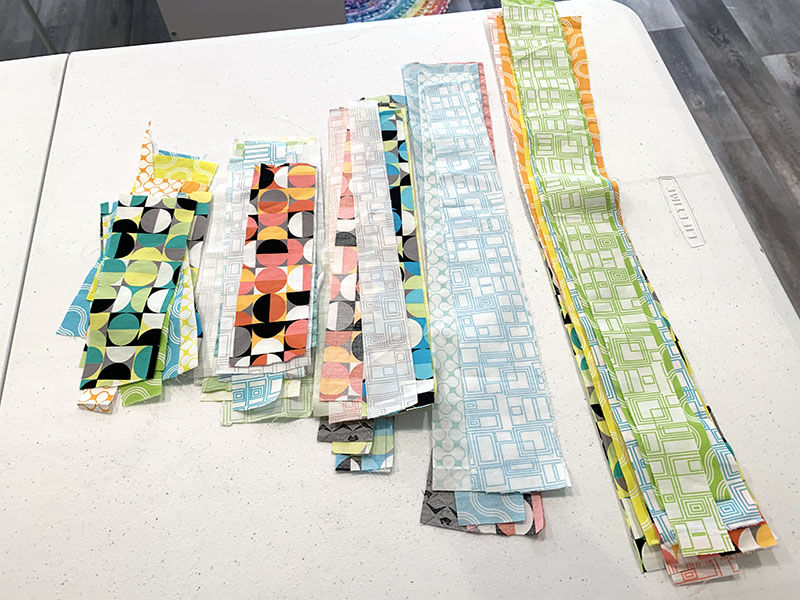
The image above shows half of the binding strips I cut from one set of Good Vibes fat quarters. I decided to double the size of my quilt so in reality I had twice as many. Notice how a couple are shorter – that’s because I ended up using a few extra chunks of fabric for my blocks.
There’s also 20 fabrics in the group, but only 18 strips here because I used a couple of them to finish some blocks. I still had plenty of leftovers for binding, and if for some reason you ever run short, just grab a similar color from your stash and no one will ever know!!
Now, let’s get on with sewing the pieced back!
Sew Scraps into Larger Pieced Chunks
When making a pieced backing from leftovers, think of it like a puzzle. You want to cover the quilt top with enough extra fabric on all sides (about 5-6″) and you want each of the “chunks” of the puzzle to be rectangular or square in shape so it all fits together.
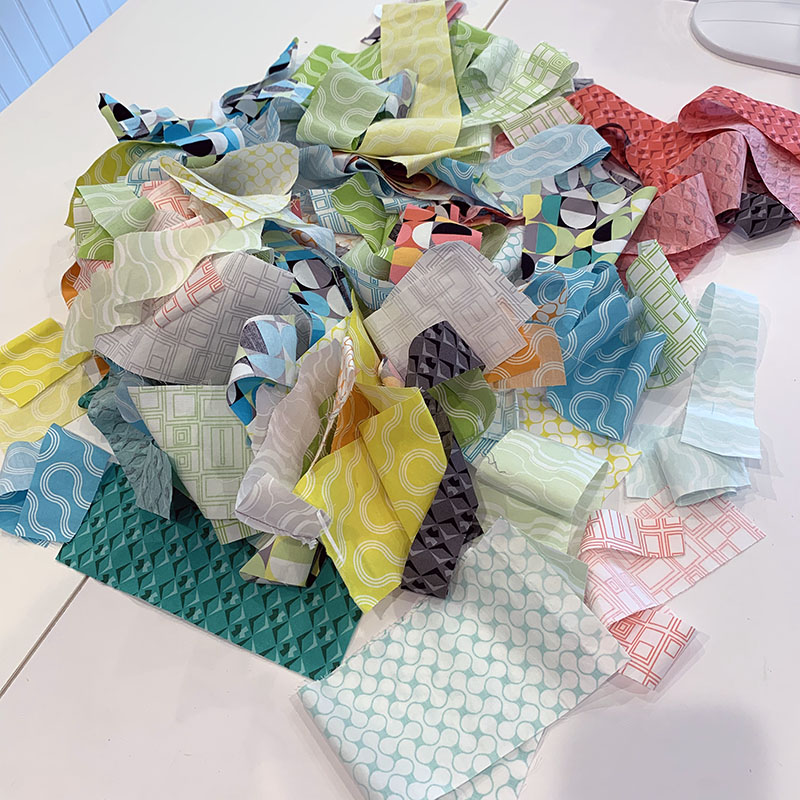
First I sorted all of my leftover strips in similar lengths.
Then I sewed similar length strips into pairs and joined those into bigger complete chunks. Be sure to alternate seams when sewing so that the strips don’t warp or bend out of shape.
Now, your sizes and numbers of leftovers will vary so don’t overthink it too much. I sewed these together randomly and it was fun, mindless sewing! You can even do this anytime you have leftovers!

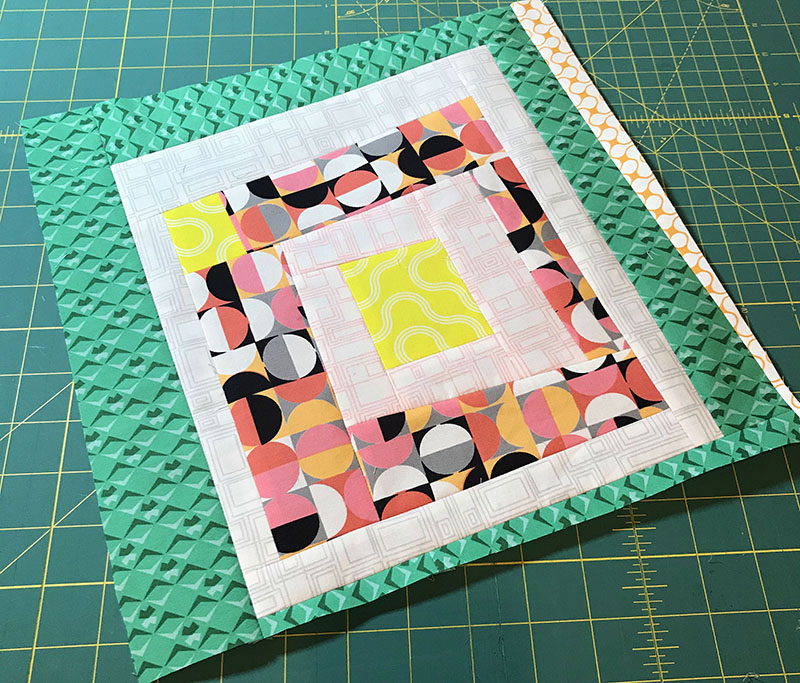
Once the leftover bits are sewn, it will look pretty messy and uneven. But not to worry, just trim off the ends and you’ll have a nice piece of “made” fabric that you can treat just like you would a regular piece of fabric with evenly trimmed sides. It doesn’t matter how long or wide this pice is. It’s just one of the “chunks” in your puzzle piece!

Repeat this process until all of your leftover bits are sewn into larger pieced chunks. You get to decide how small of a piece you want to use. I think my smallest pieces were about 4″-6″ long and the longest ones were full sized strips.
If you want to, you can sew some of the smaller pieced chunks into larger chunks, filling in with bits and pieces of other fabrics – leftover charm pack squares or jelly roll strips, odd shaped pieces that are too big to go in your stash, but too small to throw away.
When making these improv pieced blocks, the size doesn’t matter because it all depends on what you have to work with. Just square up the pieced chunk once you join the pieces together. When it’s finished, trim all sizes so that you have a pieced rectangular or square in shape. Make as many of these as you can, or save some of the improv patchwork to fill in the holes in your puzzle.
Piecing the Puzzle
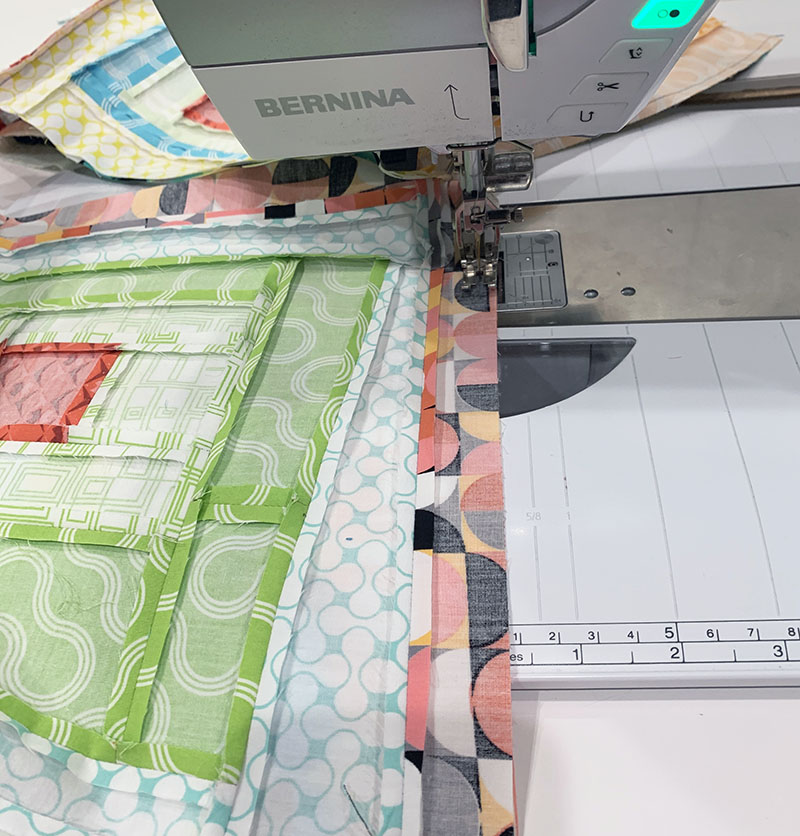
Now comes the really fun part! Using your “puzzle” pieces, start covering up your quilt top! You can do this on the design wall, floor, bed, or anyplace you can lay out the quilt nice and flat. You can calculate all the math ahead of time, or just let it take shape randomly, which is what I did. Just like sewing your quilt blocks, it’s important to always sew straight edges together.
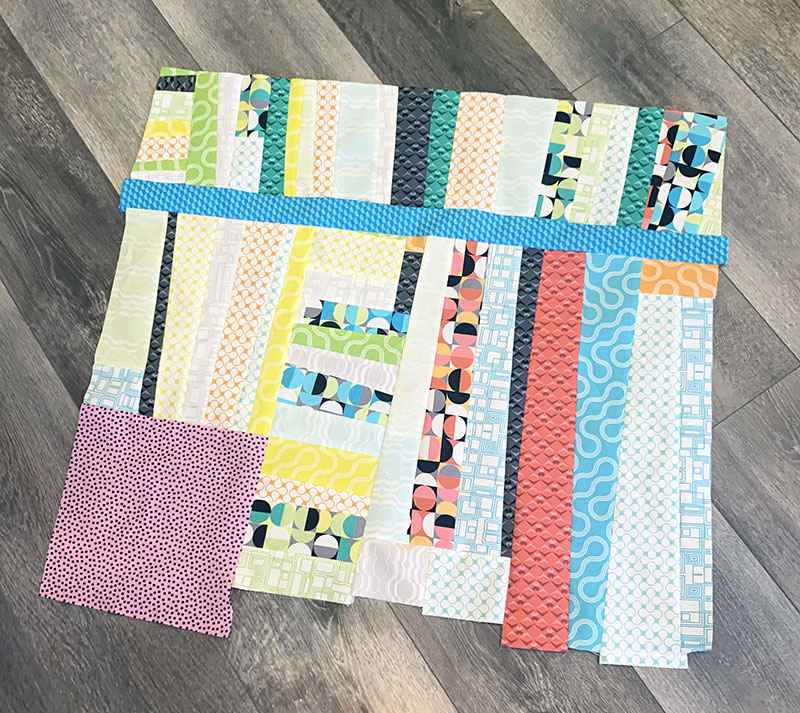
Step 1 – establish a framework
In the image above, I first started with a big chunk of fabric. I had 2 yards of Good Vibes Gumballs in Coral so I cut it into a few random pieces. I wanted these to be big chunks but none of them was large enough to go across the entire quilt. I’m establishing a framework here of 3 big areas to piece: left, middle and right.
Look how the edges are hanging over a few inches all around. I also left the selvages intact on both pieces on the left side. Because it’s my fabric with my name on it, I thought that would be a fun addition to the quilt!
Now it’s time to fill in the gaps!
Step 2 – fill in the gaps
I used two leftover chunks of fabric from my Gridwork line in coordinating colors to fill in 2 of the holes. These will give a pop of color to the back and keep things interesting. The piece looks more dynamic with the seams placed at different eye levels. Just remember that anything placed around the borders will get trimmed off so keep any border pieces nice and big.
I also started filling in the middle section with a bit of pieced patchwork near the bottom. I made it the same length as the chunk of Gumballs fabric below it so the edges wold match up nicely. This meant trimming off the selvage on one edge of the Gumbals print in the center bottom section.
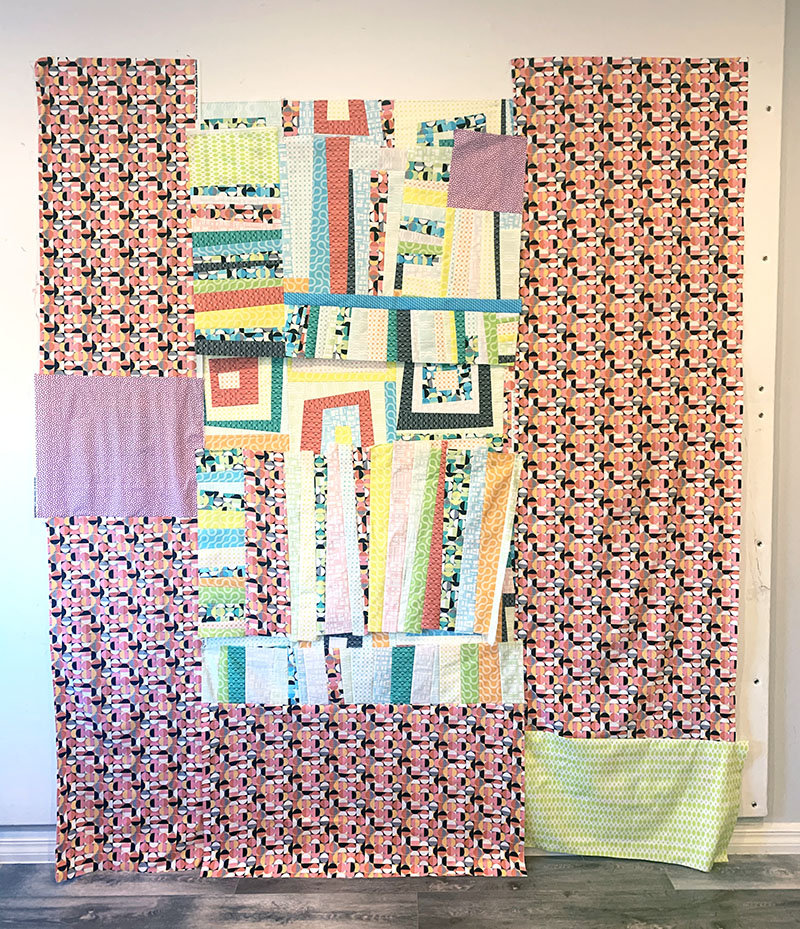
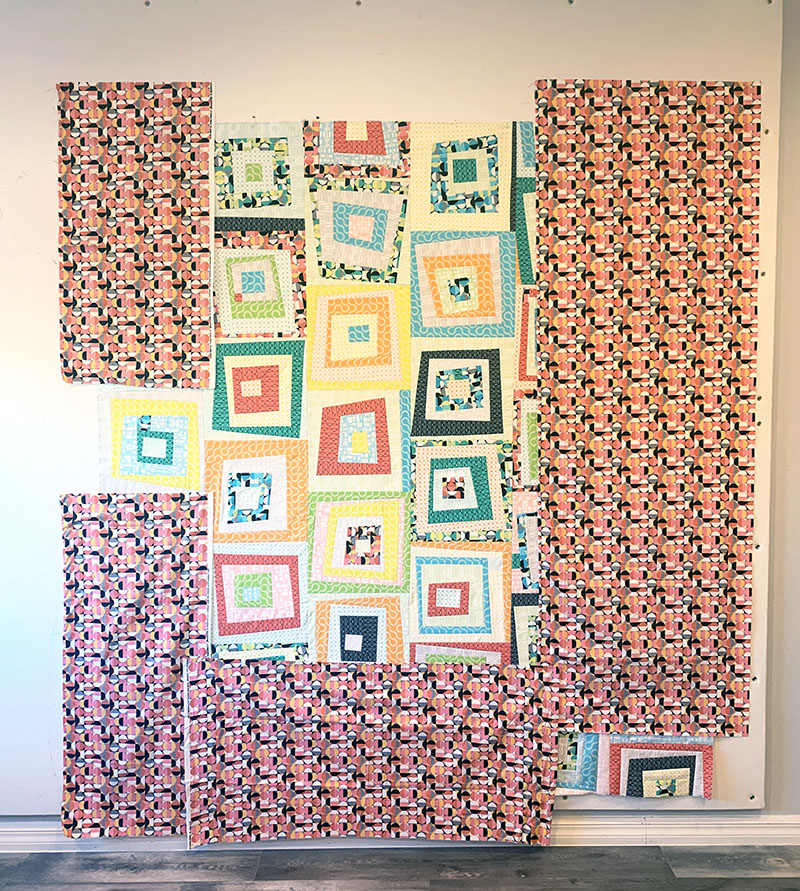
Step 4 – add more pieced chunks
Keep in mind that the entire center section will need to be the same pieced width, so use a round number that’s easy to remember. My center section is somewhere around 36″ wide if I remember correctly. That math works nicely with leftover 40″ long pieces since they are quick and easy to trim up.
I filled in the center section with the rest of my pieced patchwork chunks. Trim them down, or add more pieces to make them all the same length. The fun part is deciding how far apart to space them and what else to use as fillers. Once I have an idea of where the patchwork units will go, them I trim them to size and treat them like regular pieced blocks.

Don’t forget to press as you go!
Be sure to use good technique while sewing: accurate 1/4″ seams and lots of pressing. I pressed seams open for all of the patchwork improv chunks and to the side when the chunky seams were sewn next to a plan flat piece of fabric. Press each seam just like you would when sewing blocks and rows together.

Step 5 – add pops of color between the pieced units
I wanted to separate the pieced chunks a little so that I could admire the patchwork and allow my eyes to move around the piece. It was fun to add pops of color to tie it all together. Once the 3 sections were finalized, I sewed them together to finish the backing.
At this point, it’s ok that the outside edges aren’t even because that will get trimmed off after quilting. As long as the pieced backing covers the quilt a few inches on all 4 sides, it’s good to go!
Next week we will baste the quilt!
Helpful Links