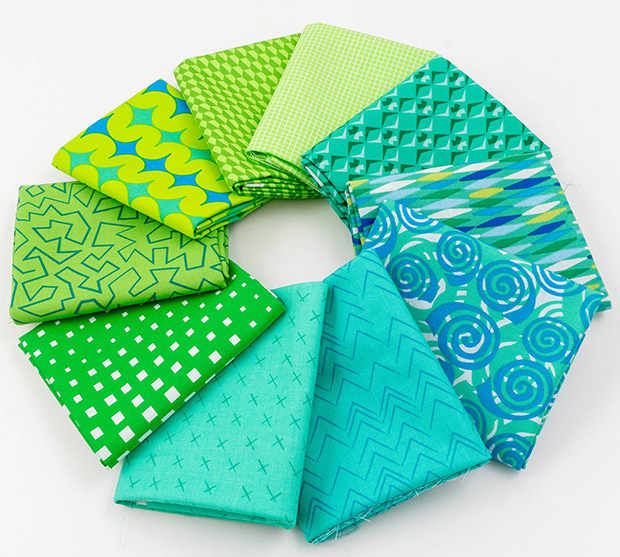
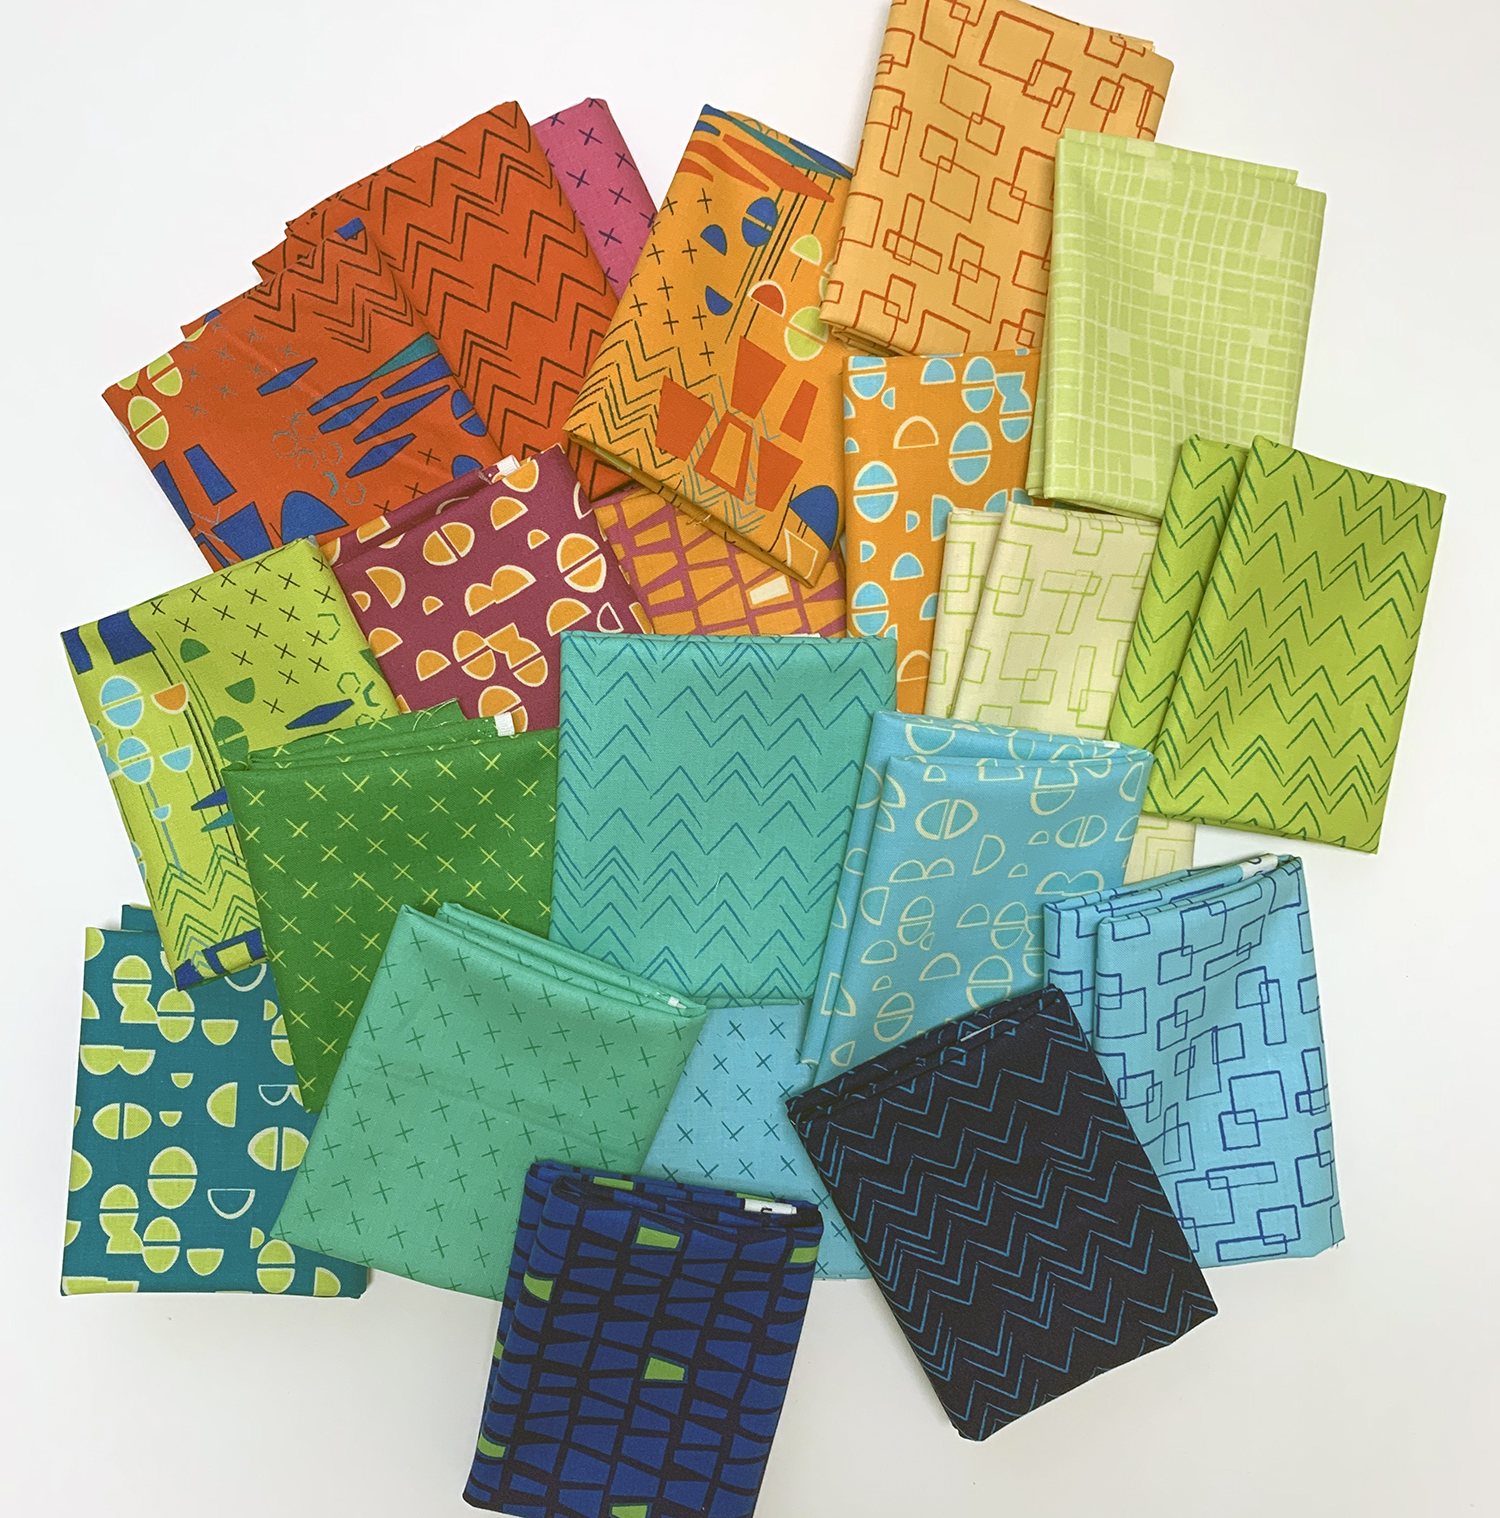
Welcome to Part 3 of the Optical Illusion Quilt Along! I hope you are enjoying your fabric choices and feel confident in your cutting and sewing skills. Now I’m excited for you to start sewing the quilt top. It’s easy and fun!
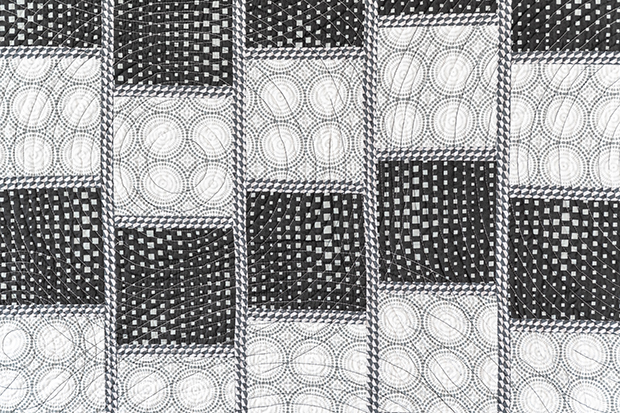
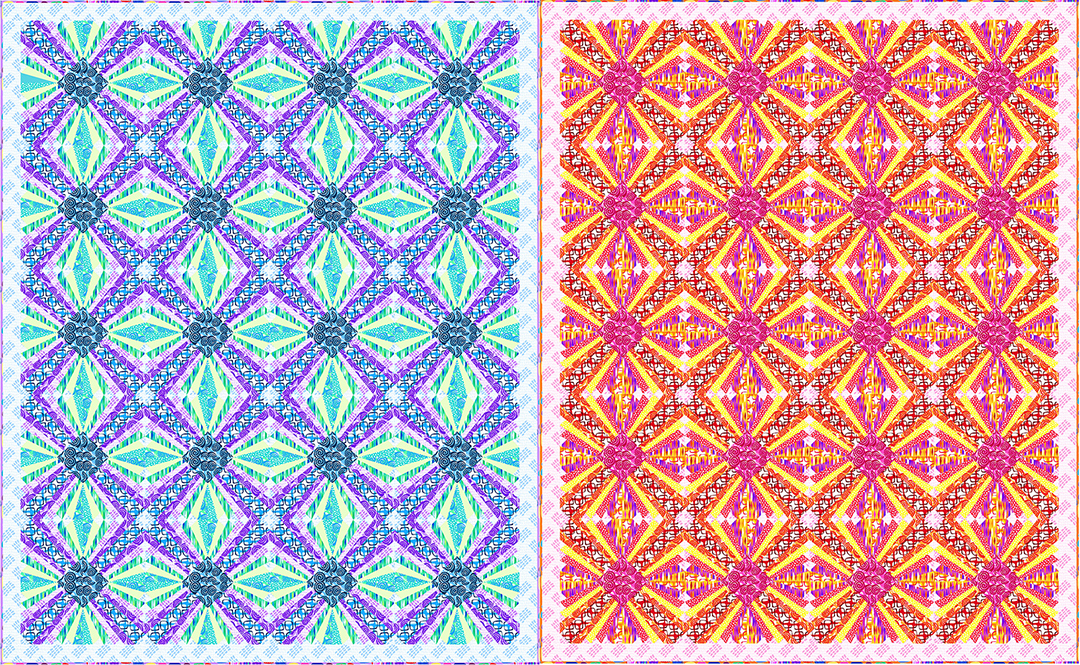
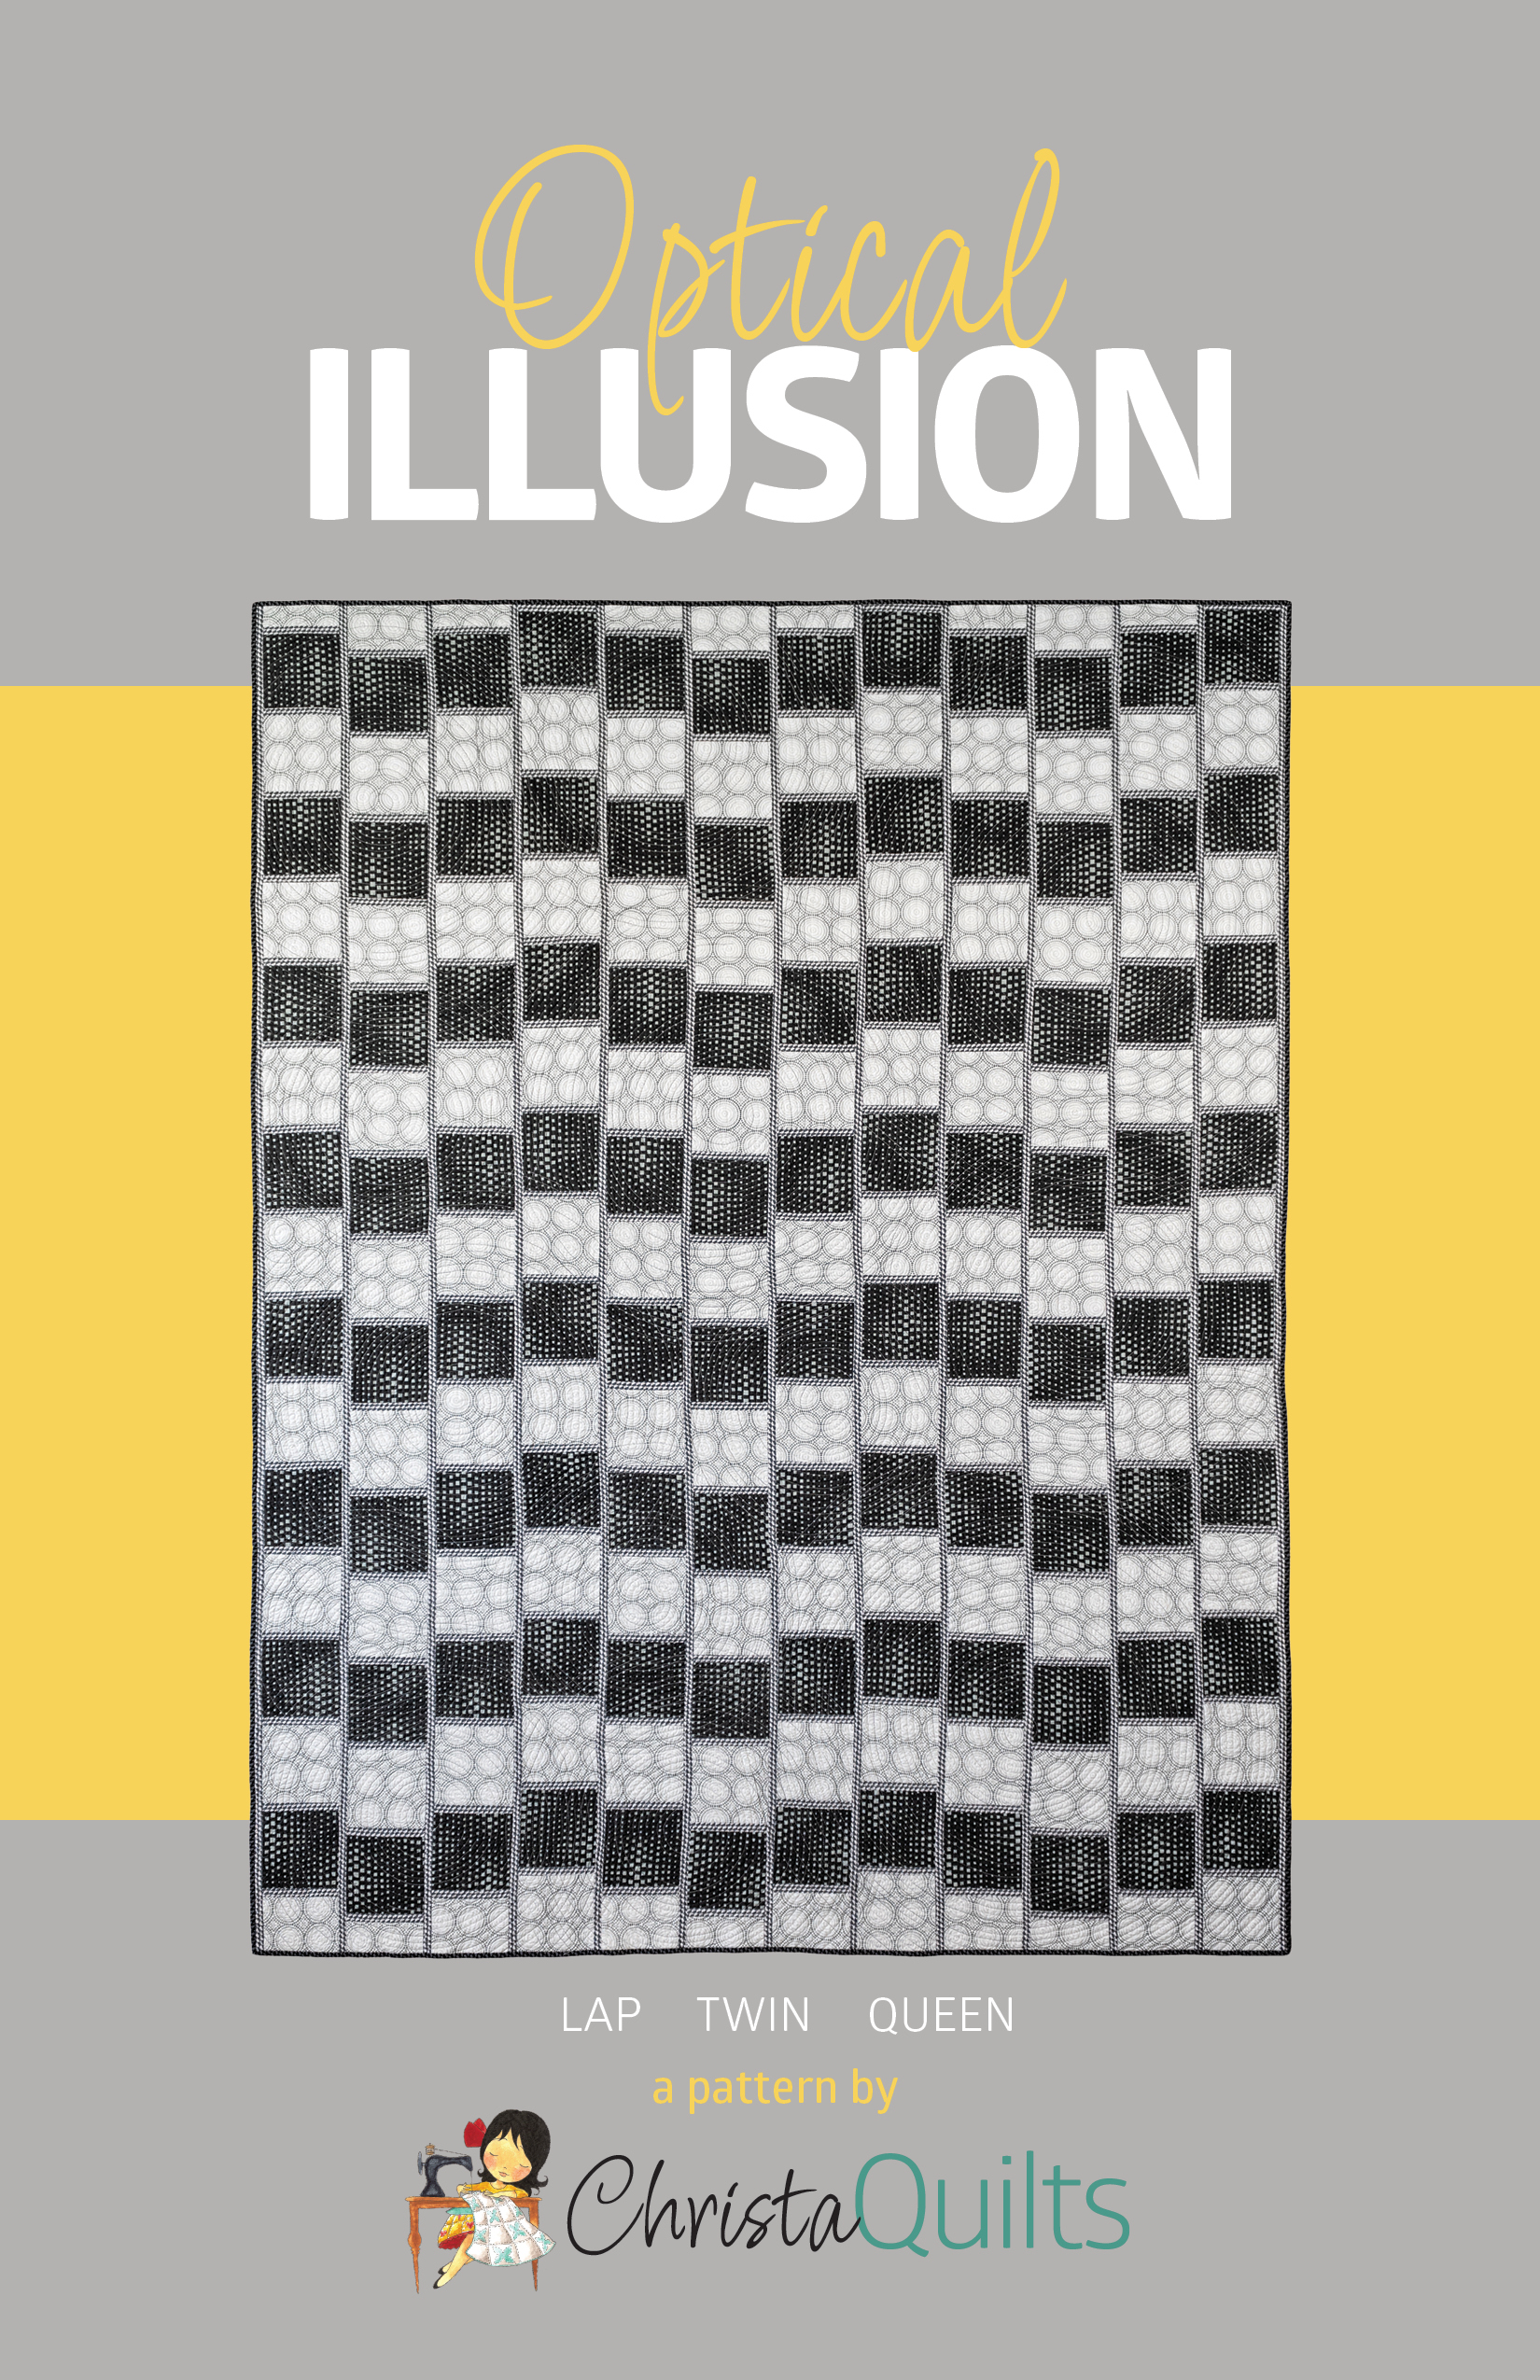
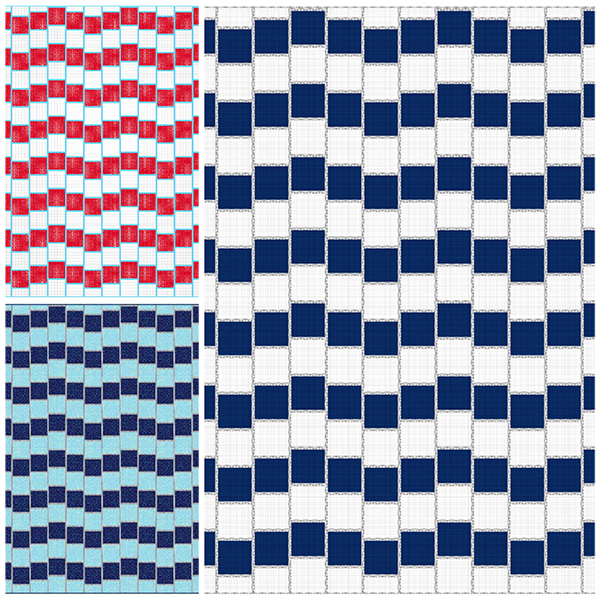
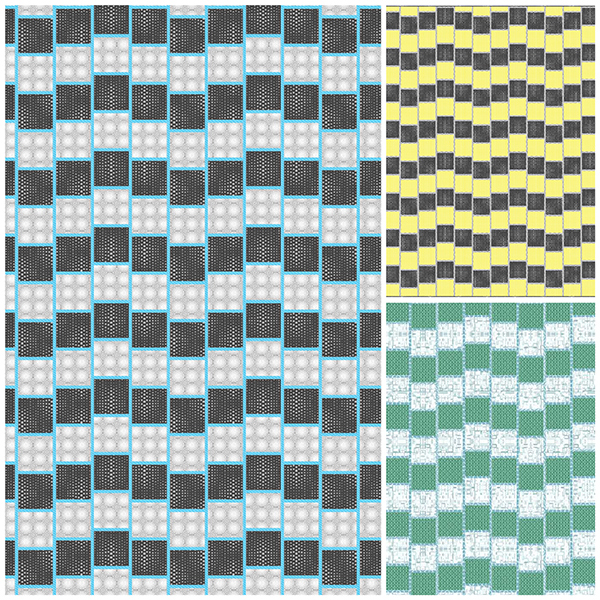
Do you need a kit? The black, white and gray version is still available!
(Pattern is included with the kit.)
Do you need the pattern?
• Get the paper pattern.
• Get the pattern instantly as a pdf.

If you haven’t already, please go through your pattern and highlight or circle the number of units to make for your size on pages 3 and 4. You’ll be so glad you did.
Begin with Step 1 on page 3 of your Optical Illusion pattern. Remember to sew with the gray on top for each sashed square. If you do, you’ll automatically alternate the direction in which you’re sewing, which helps prevent your strips from warping.
I press all of the seams open on this quilt. Whether you press seams open, to the side or toward a specific fabric is up to you. The seams don’t have to match up with anything, which is one of my favorite things about this design.
Continue with each Step as given in the pattern, referring carefully to the diagrams in the pattern for each unit. I use sticky notes to label each little pile of units as I finish them.

Get the quilt kit for Optical Illusion. while supplies last!
When you’ve completed all the Steps, move on to Sewing the Rows on page 5.
Sewing the Rows
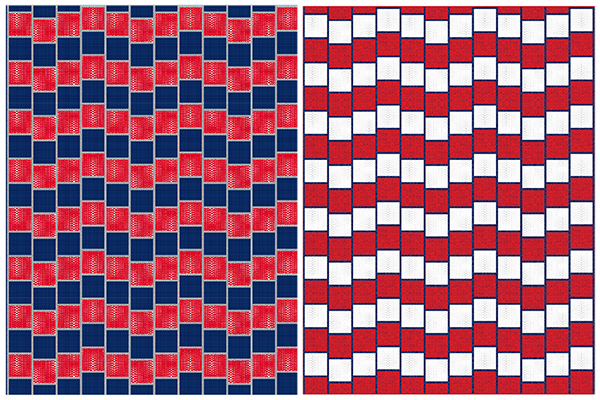
As I am making the rows, I keep them oriented horizontally so they match the diagrams. Be sure and notice that there are different diagrams for the Lap Size than for the Twin and Queen size. It will help to circle the diagram for your size!
Label the rows with their letters to help you stay organized.
When your rows are finished, give yourself a high five!! Great job!
Quilt Top Assembly
Moving on to Quilt Top Assembly: In last week’s post, I mentioned alternating your sewing direction by keeping the long skinny strips on top. This will be helpful as you assemble the top.
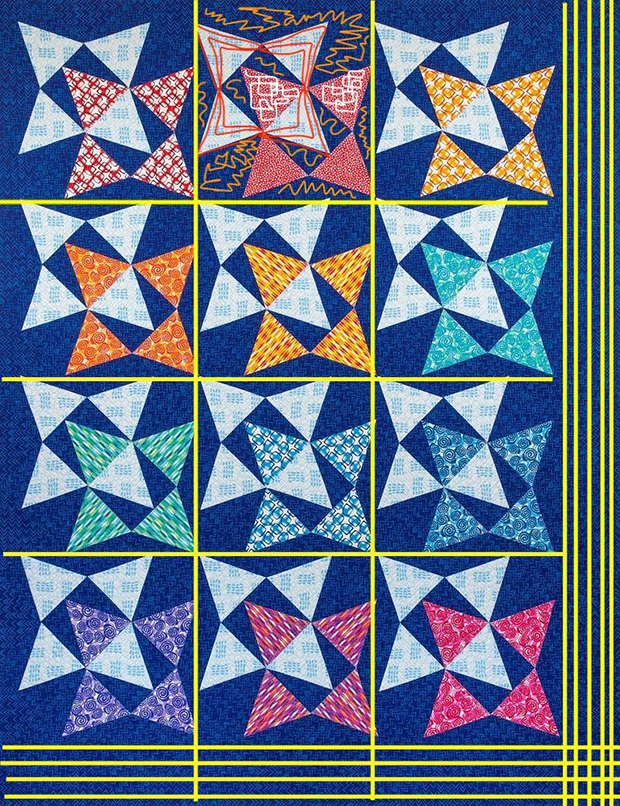
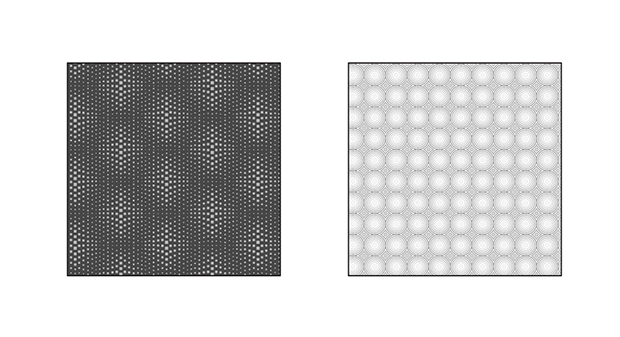
The layout diagram below is included in the pattern. Refer to pages 6 and 7 of the pattern for more info as you assemble, including a method for trimming. Use your design wall to stay organized, or snap a quick picture on your phone for a helpful reference point as you progress.
 I pin generously during this process. I match and pin at each end, at the middle and at several points between. Remember to sew with the skinny strip on top each time so that your sewing direction will automatically alternate.
TIP: If you have a row or a sashing strip that is longer than its neighbors, sew with the longer strip on the bottom, next to the feed dogs. This helps to ease in the fullness.
Press the quilt top gently to wrap up the piecing.
SEW A VICTORY LAP!
When the quilt top is complete, you’ll want to “stay-stitch” the edges by sewing across the top and bottom of the quilt. Do this about 1/8″ away from the edge on the top and the bottom so it will be hidden when you add the binding. Just a note: When you make a quilt with borders, you can skip this step since the borders will stabilize the edges instead.
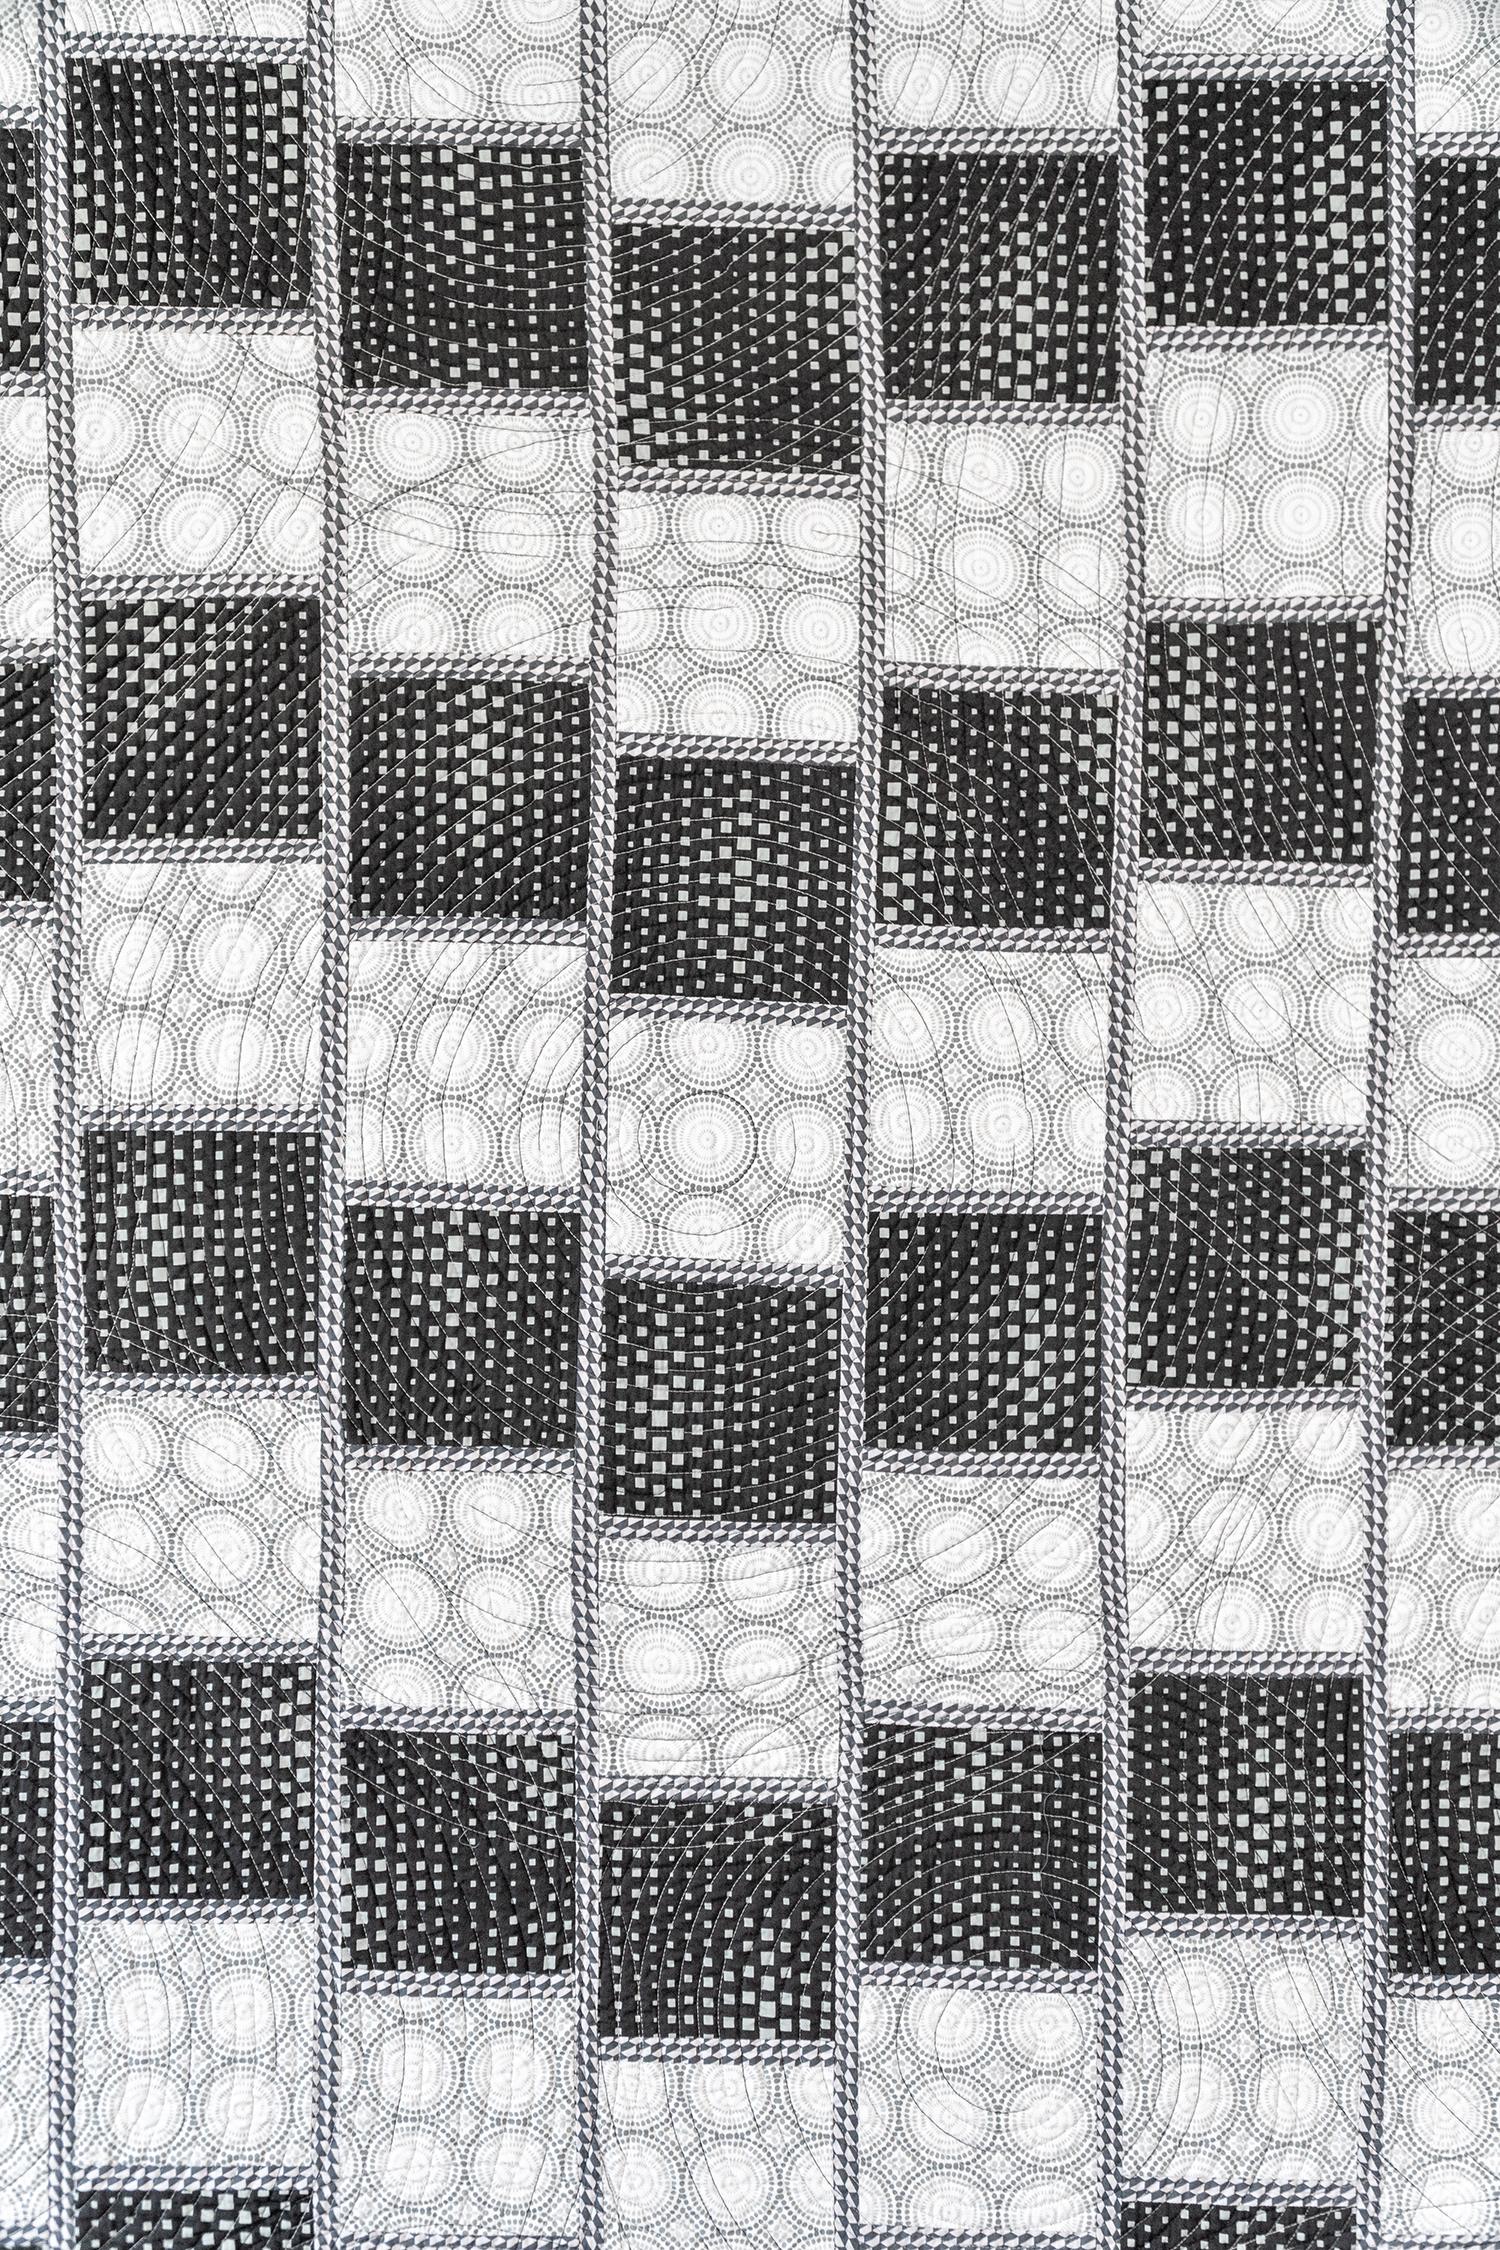
Congratulations! Your Piecing is complete.
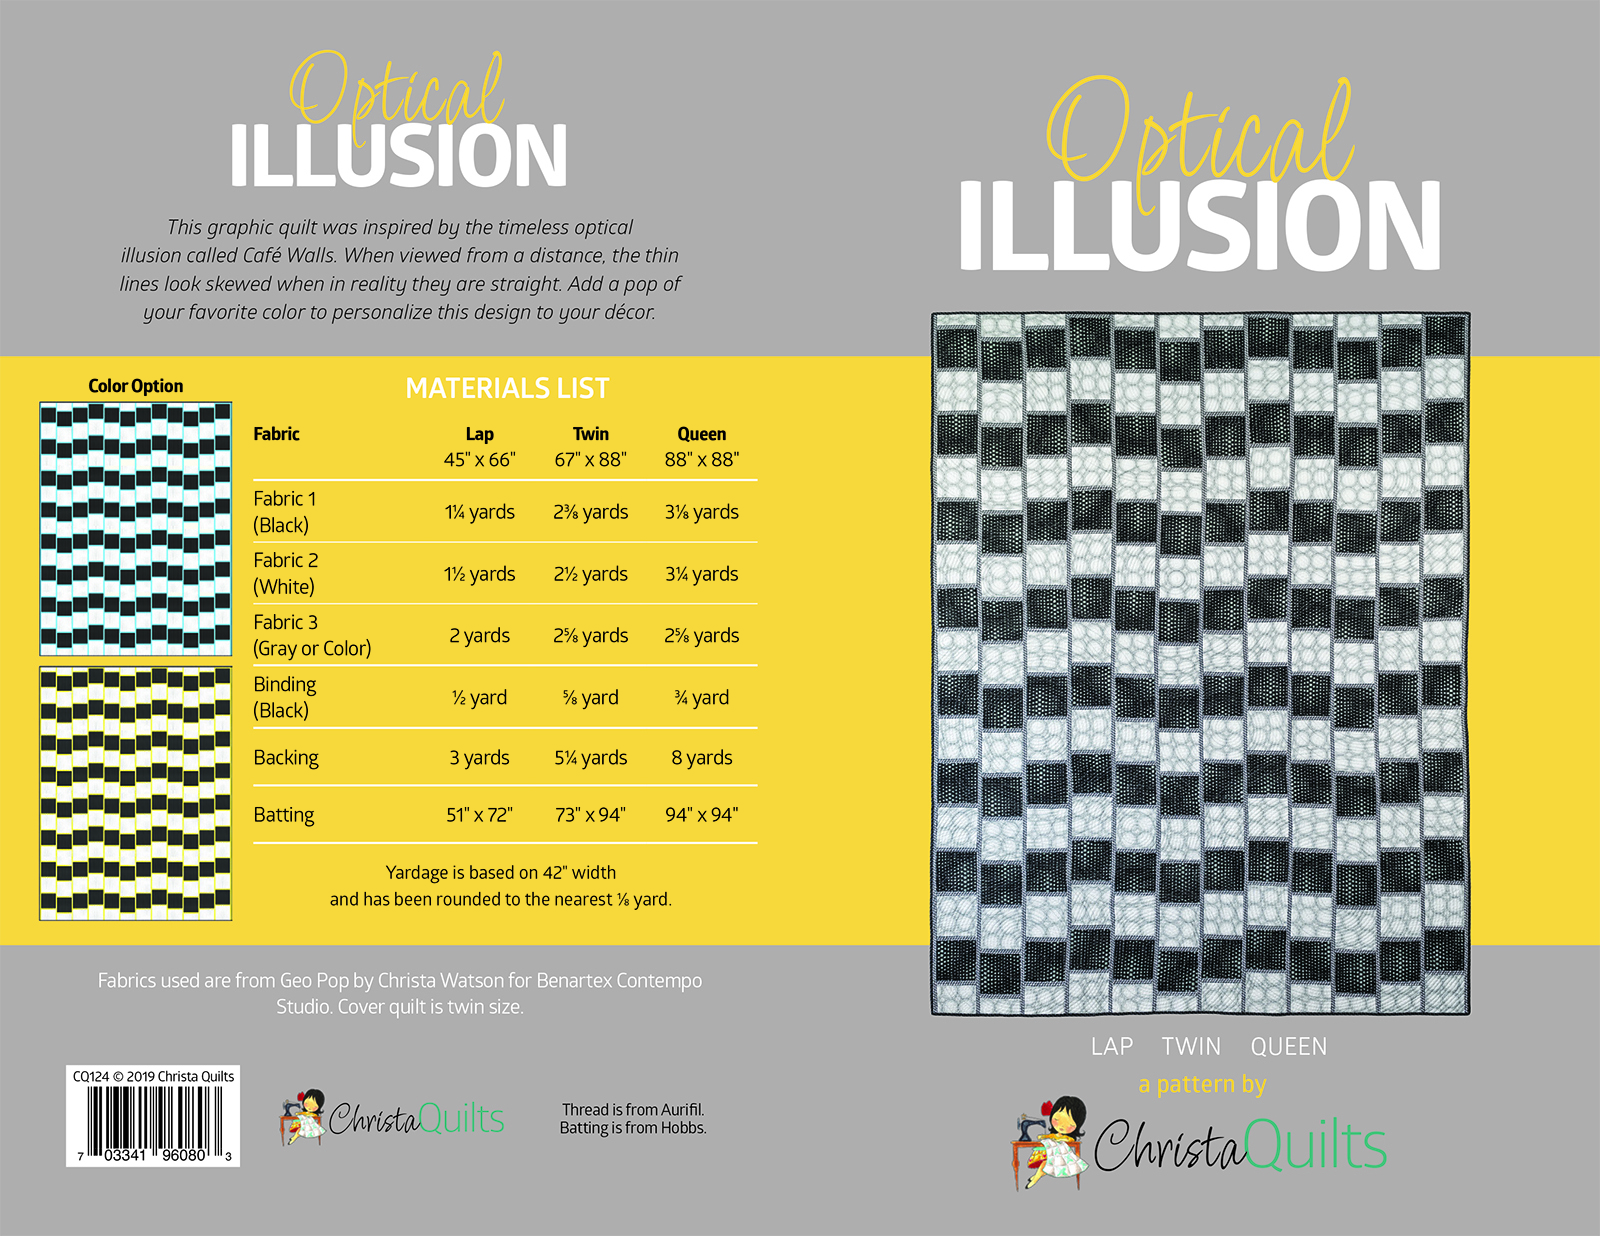
Next week we’ll cover how to prepare your backing and batting, and how I baste a quilt. Here is the back of the pattern with info that you’ll need. Click the image for an enlarged view.

You know how much I enjoy machine quilting. Just a few more weeks and we will quilt walking foot spirals—I can’t wait!! Being able to finish your quilt on your own sewing machine because you’ve built the skills to do it is a great feeling. You’re going to love it!