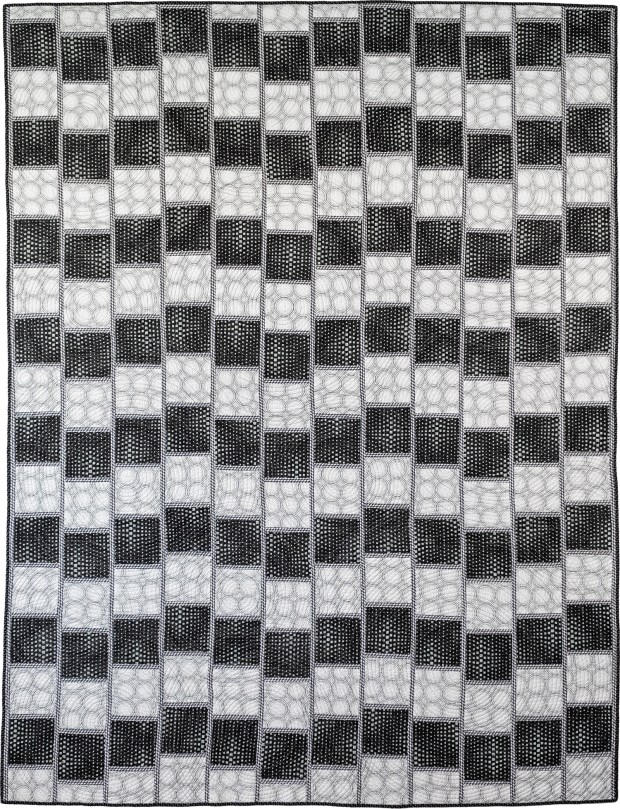
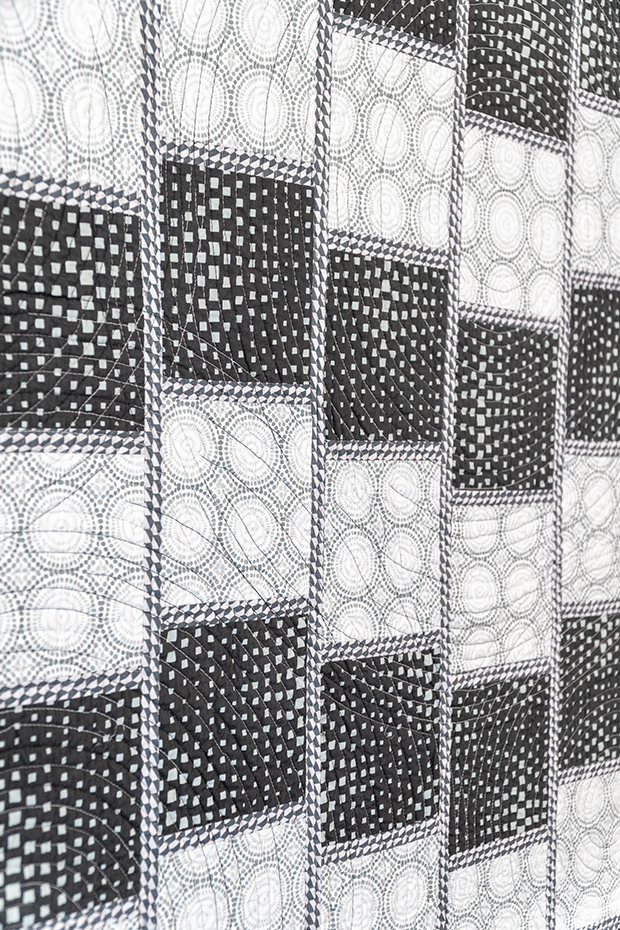
Are you having fun making your Optical Illusion quilt? This week it’s time to sew our cut units into the blocks. Follow along in the quilt pattern on pages 3-4 and pay close attention to what goes where. It’s simple to sew but the key is to follow the diagrams precisely for proper fabric placement.
Click here to see the Optical Illusion Quilt Kit in other colors.
In a nutshell, the interplay between the dark/light squares and the medium skinny strips is what causes the illusion to appear. Because you are working with long skinny strips, your pieces can stretch if you aren’t careful. In the previous post I mentioned starching your fabric before cutting as this will help.
Piecing Tips
To prevent the rows from bowing or warping out of shape, I like to sew all of my units with the medium, skinny rectangles on top at all times. This will automatically switch the sewing direction for you each time you assemble a unit, which helps keep things nice and square.
I also sew with a shorter stitch length (2.0mm instead of 2.5; about 13 stitches per inch) and press my seams open. This will ensure crisp, flat blocks that are easier to work with so that things line up properly. I always start and end a session of sewing with a “leader or ender” – scraps of fabric that catch my starting and ending threads. Then I don’t lose my thread and chain piecing is a breeze!
Example of Subunits in Progress
Stack up similar units that will all be sewn at one time so you can assembly line sew, or chain piece as you go. Pay particular attention to the number of units specified in the Optical Illusion quilt pattern on pages 3-4 and make sure everything is in the right place. Once all of your pieced units are complete, you are ready to assemble them into rows and complete the quilt top next week!


