I love how the quilting community rallies together to support fellow makers! Today I’m back with more free stuff to keep you inspired. After all quilting is such good therapy, right??
Free Zipped Up Pattern in Modern by the Yard

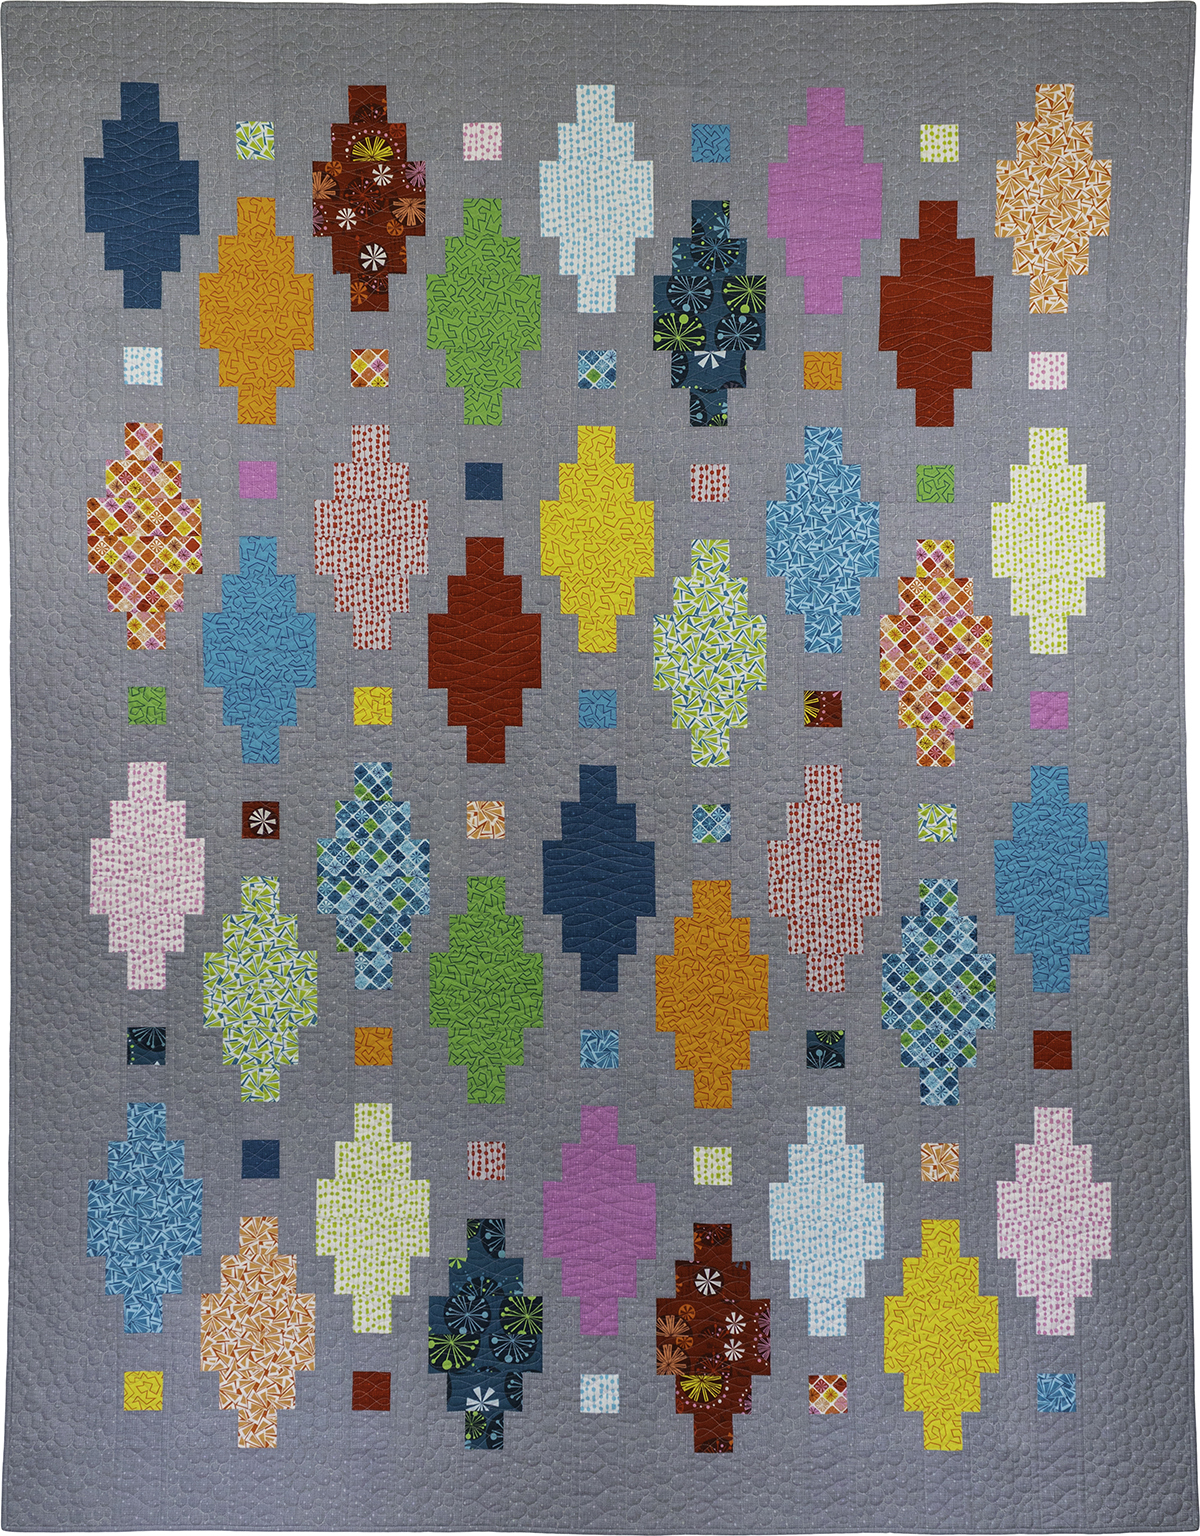
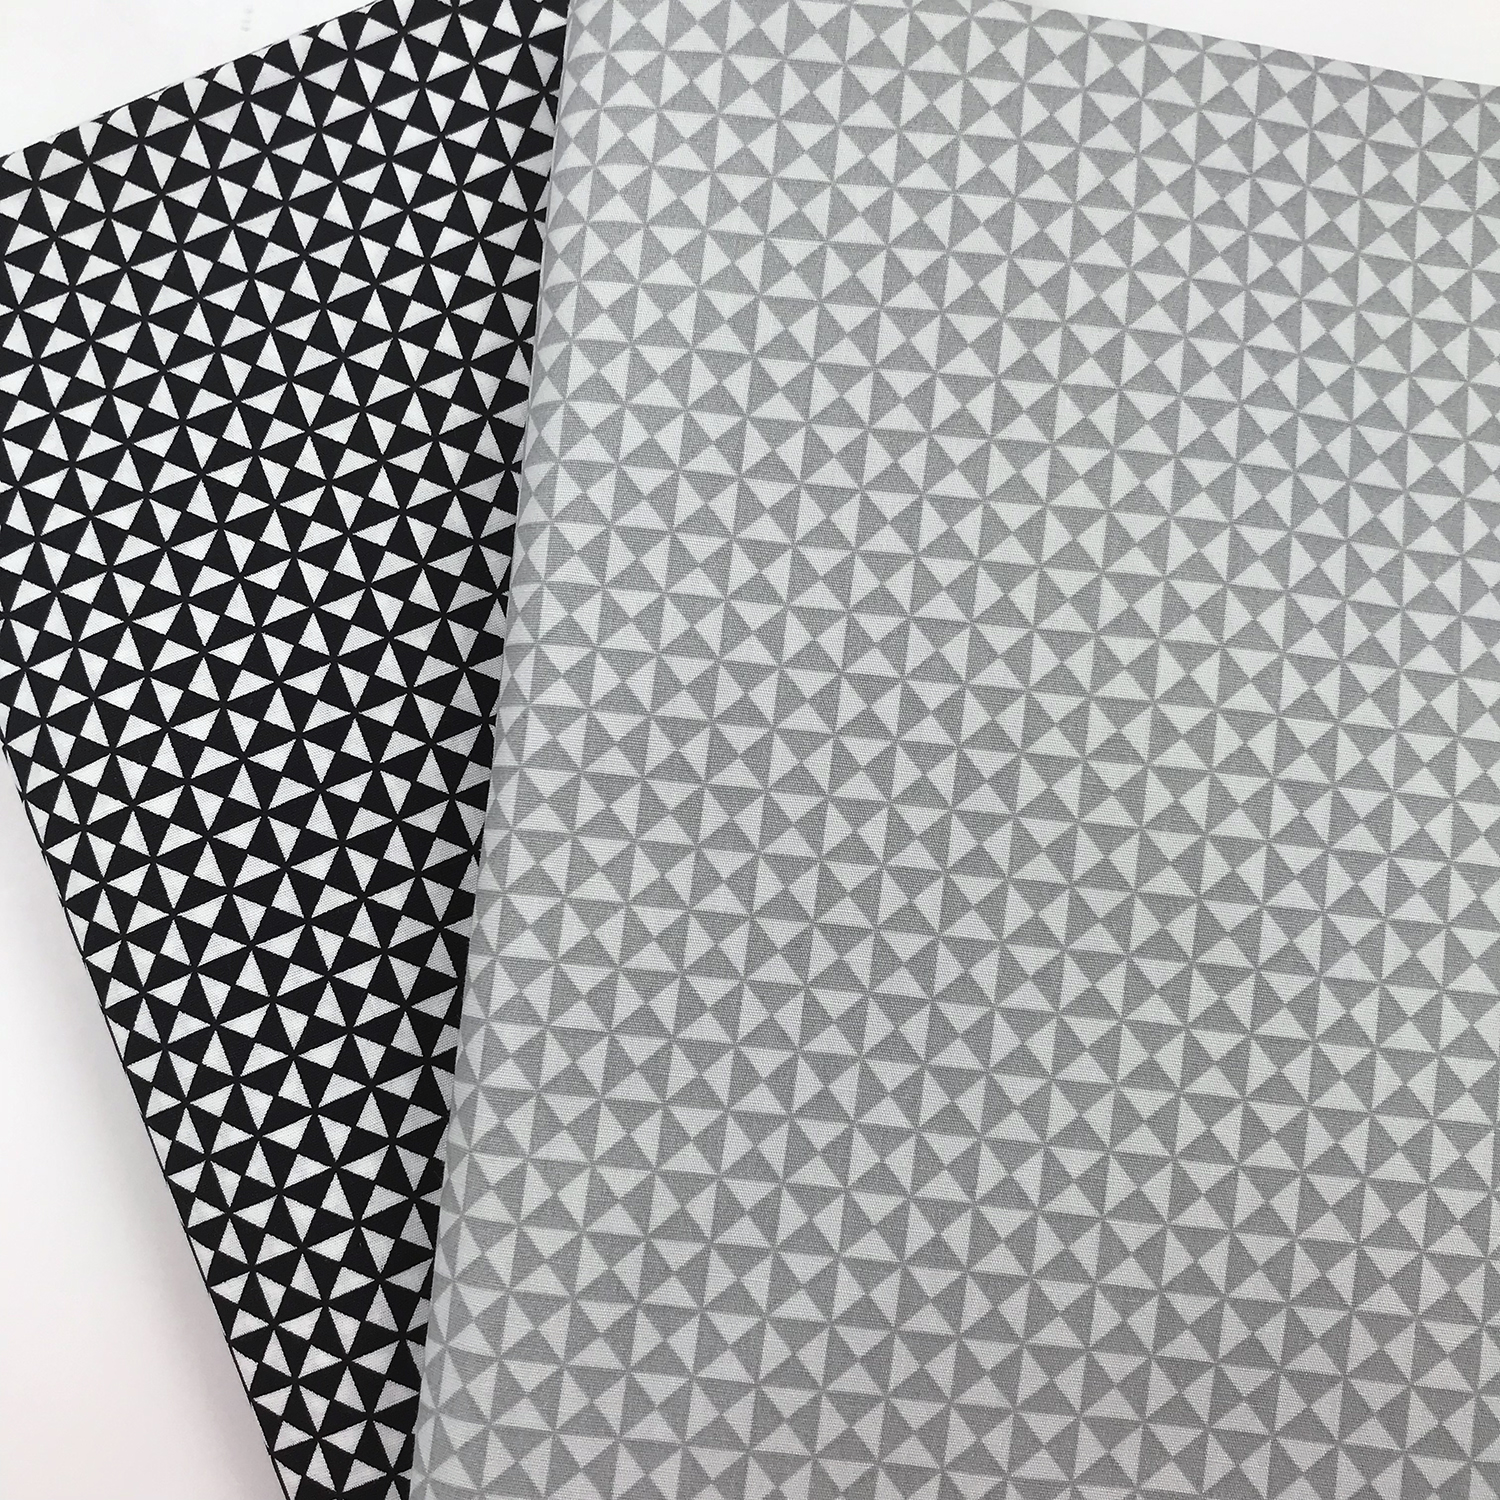
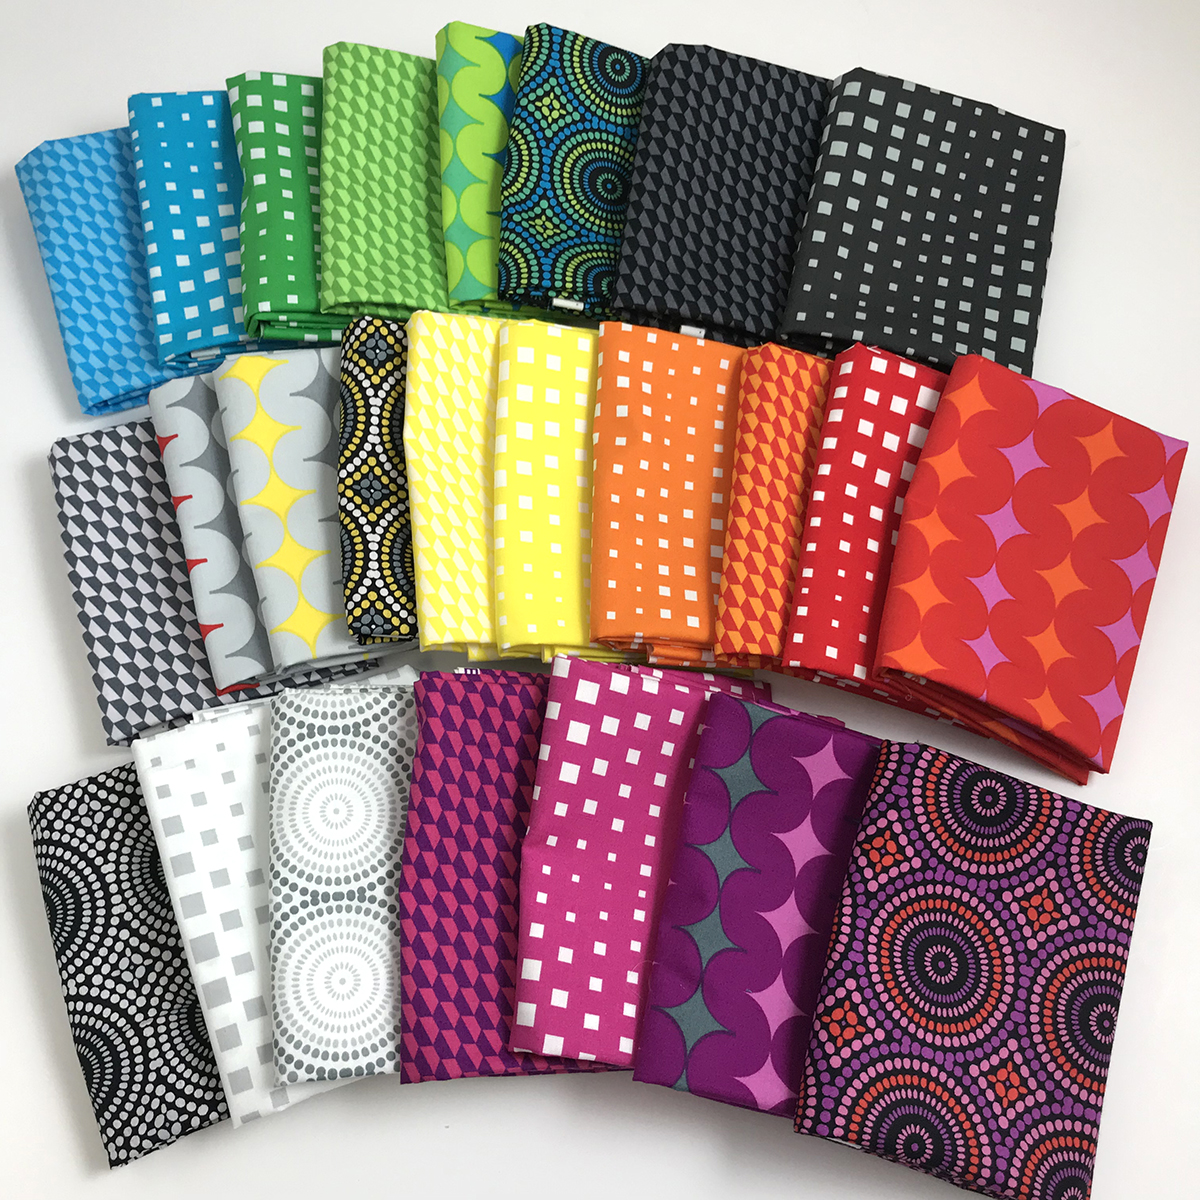
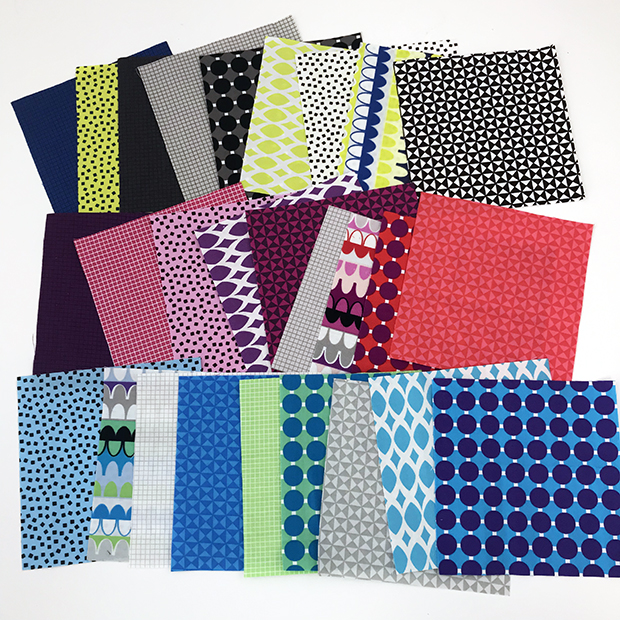
This fabulous modern quilt, Zipped Up was designed by my talented friend Lisa Ruble and it features a few of my Gridwork fabrics. It a simple, yet striking design that sews up super quick!
Click here to get the lastest issue of Modern by the Yard from Benartex – For Free!
Quilter’s Candy LIVE Virtual Trunk Show
Speaking of amazing quilting friends, Tammy Silvers and Cherry Guidry have teamed up with dozens of designers to offer free live trunk shows every day through April 10. These 15 minute trunk shows are happening every hour, on the hour from Noon-8 PM EST (9-5 PST).

Each of the virtual live trunk shows are happening on the individual designers’ facebook page or group. Click each of the links below to like, follow or join so you don’t miss out on the fun. The event started earlier this week, but you can go back and watch any of them after they go live. It’s a LOT of links with LOADS of inspiration!
Mine will go live in my Facebook group Tuesday, April 7th at 8 PM EST so stay tuned!!
April 1 – All Times EST
1pm Nancy Scott facebook.com/MasterpieceQ
2pm Becky Jorgensen https://www.facebook.com/patchworkposse/
3pm Carolina Moore facebook.com/alwaysexpectmoore
4pm Jackie Kunkel https://www.facebook.com/cantonvillagequiltworks/
5pm Connie Jonson Sayler https://www.facebook.com/PacificRimQuiltCompany/
6pm Laura Piland/Slice of Pi Quilts https://www.facebook.com/sliceofpiquilts/
7pm Sandra Starley https://www.facebook.com/TextileTimeTravels
April 2 – All Times EST
1pm Beth Helfter https://www.facebook.com/EvaPaigeQuiltDesigns/
2pm Diane Bohn/From Blank Pages https://facebook.com/fromblankpages
3pm Deb Eggers/the cottage rose https://www.facebook.com/cottagerosequilt/
4pm Heidi Pridemore https:/www.facebook.com/thewhimsicalworkshop
5pm Kate Colleran https://www.facebook.com/SeamsLikeaDreamQuilts/
April 3 – All Times EST
1pm Teresa Weaver www.facebook.com/yoursewingfriend
2pm Annette Ornelas https://www.facebook.com/southwind.designs/
3pm Jo Westfoot – The Crafty Nomad www.facebook.com/thecraftynomad
4pm Lynn Kane https://facebook.com/puppygirllynn
5pm Geeky Bobbin https://facebook.com/geekybobbin
7pm Laura Strickland https://m.facebook.com/orangeblossomquilt/
8pm Jen Frost https://www.facebook.com/FaithAndFabric/
April 4 – All Times EST
1pm Bill Locke – Bill Locke Designs https://www.facebook.com/bill.locke.96
2pm Toni Smith/Quiltoni https://www.facebook.com/Quiltoni/
3pm Tammy Silvers/Tamarinis https://www.facebook.com/tamarinis/
4pm Jennifer Fulton https://www.facebook.com/inquiringquilter/
5pm Jessica Caldwell https://www.facebook.com/desertbloomquilting/
6pm Monique Kleinhans https://www.facebook.com/ladybugscabin/
7pm EST Heather Long https://m.facebook.com/Coffee-and-Quilts
April 5 – All Times EST
1pm Bill Locke https://www.facebook.com/bill.locke.96
2pm Marlene Oddie https://www.facebook.com/kissedquilts/
3pm Sandy Fitzpatrick https://www.facebook.com/HissyfitzDesigns
4pm Reed Johnson https://www.facebook.com/BlueBearQuilts/
5pm Diane Harris https://www.facebook.com/stashbandit/
7pm Kathryn LeBlanc https://www.facebook.com/dragonflysquiltingdesignstudio
April 6 – All Times EST
12pm Becca Fenstermaker https://www.facebook.com/prettypiney/
1pm Cherry Guidry https://www.facebook.com/CherryBlossomsQuiltingStudio
2pm Cheryl Lynch www.facebook.com/CherylLynchFiberArts
3pm Annie Smith https://www.facebook.com/anniesmithqs
5pm Reeze Hanson https://www.facebook.com/Morningglorydesigns/
7pm EST Melissa Marginet https://www.facebook.com/melissa.marginet.quilter/
April 7 – All Times EST
12pm Margaret Willingham https://www.facebook.com/EyeoftheBeholderQuilt/
1pm Kate Colleran https://www.facebook.com/SeamsLikeaDreamQuilts/
2pm Barbara Cline https://www.facebook.com/barbara.cline.520
3pm Barbara Persing https://www.facebook.com/bpquilts/
4pm Sharon Andersen https://www.facebook.com/MsPDesignsUSA/
6 PM Sandra Starley https://www.facebook.com/TextileTimeTravels
7pm Diane Harris https://www.facebook.com/stashbandit/
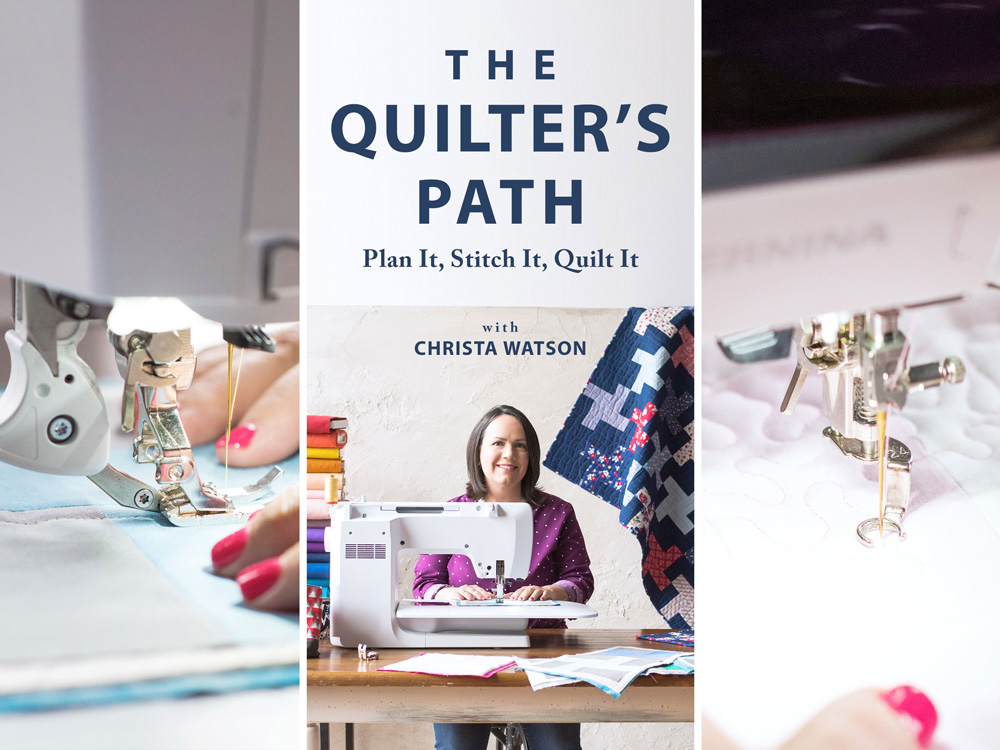
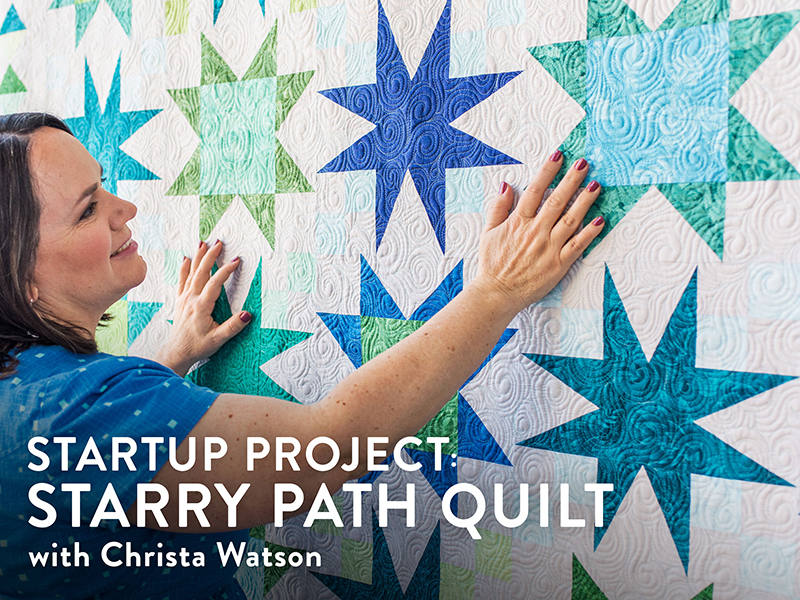
8pm Christa Watson https://www.facebook.com/groups/christaquilts/
April 8 – All Times EST
12pm Tina Dillard Designs https://www.facebook.com/quiltingaffectiondesigns/
1pm Raija Salomaa https://www.facebook.com/quilterstreasurechest/
2pm Robin Koehler https://www.facebook.com/NestlingsbyRobin/
3pm Terri Vanden Bosch https://www.facebook.com/lizardcreekquilting/
4pm Jackie Kunkel https://www.facebook.com/cantonvillagequiltworks/
5pm Leanne Parsons https://www.facebook.com/devotedquilterdesigns
6pm Laura Piland/Slice of Pi Quilts https://www.facebook.com/sliceofpiquilts/
7pm Ebony Love https://www.facebook.com/LoveBugStudios/
8pm EST Tammy Silvers/Tamarinis https://www.facebook.com/tamarinis/
April 9 – All Times EST
4pm Jen Frost https://www.facebook.com/FaithAndFabric/
5pm Annie Smith https://www.facebook.com/anniesmithqs/
7pm Kathryn LeBlanc https://www.facebook.com/dragonflysquiltingdesignstudio
8pm Monique Kleinhans https://www.facebook.com/ladybugscabin/
April 10 – All Times EST
1pm Teresa Weaver www.facebook.com/yoursewingfriend
2pm Karen Overton https://www.facebook.com/TheQuiltRambler