I’m excited to help you make my Block Chain quilt from start to finish over the next six weeks. All you need is a copy of the quilt pattern; cheerleading and moral support are free!!
Block Chain designed and made by Christa Watson
FINISHED SIZE SHOWN IS 69″ X 69″

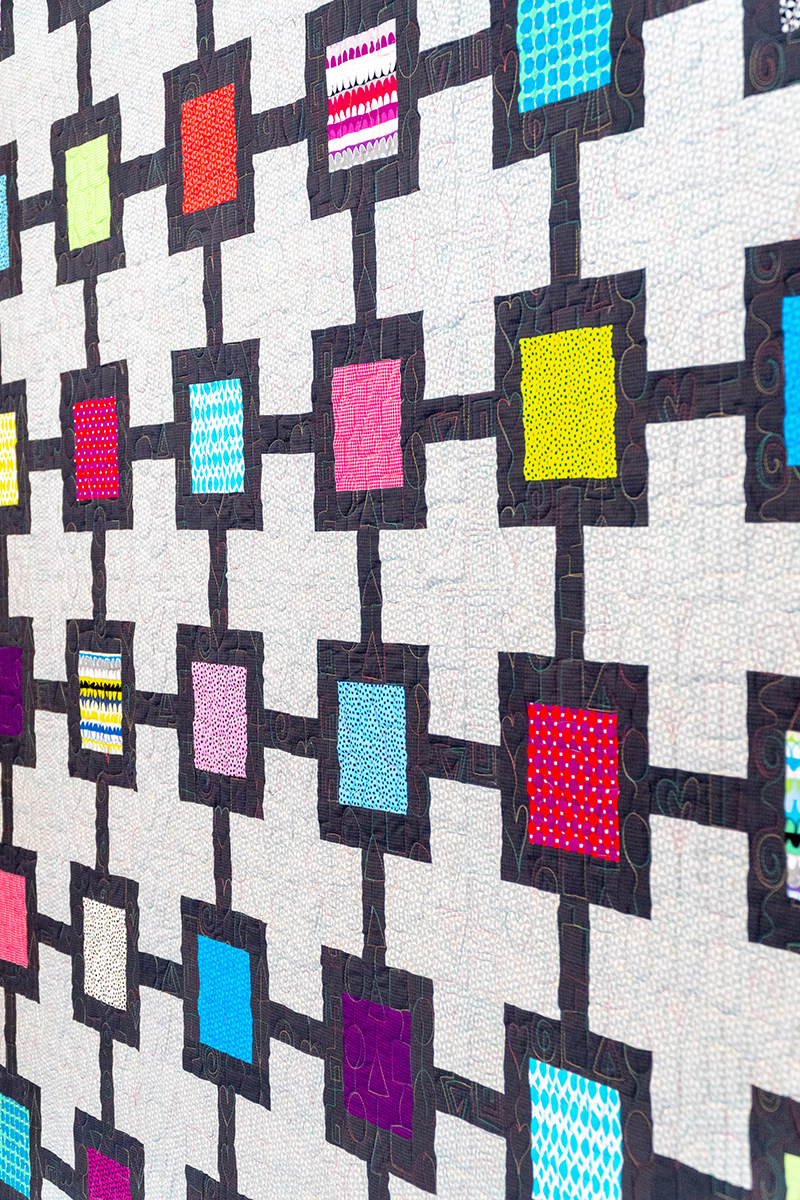
This colorful modern quilt is a remake of an earlier design I created before precuts became so popular (and before I was a fabric designer). Over the years, I’ve had numerous requests to reconfigure the design so that it can be made from charm packs: 5″ x 5″ squares of a favorite fabric line.
My quilt shown above was made from one Gridwork charm pack, plus contrasting black and gray Gridwork prints. As long as you have good contrast between your charm squares, accent fabric (black) and background (gray), it will look great no matter which colors you choose!

Supplies Needed For Throw Size as shown
Refer to the back of the pattern cover above for additional sizes. Click image above to enlarge. Feel free to substitute fabrics as desired to achieve the same colorful look.
- Block chain quilt pattern
- 1 charm pack of Gridwork for square blocks
- 2 1/4 yards Square Grid black for the chains
- 2 3/4 yards Hourglass gray for background
- 3/4 yard Circle Grid black for binding
- 4 1/2 yards of any Gridwork fabric for backing
- 74″ x 74″ piece of batting (I like Hobbs 80/20 cotton/poly)
- Thread for piecing and quilting (I recommend Aurifil 50 weight cotton)
- Basic rotary cutting equipment (with self healing mat & variety of ruler sizes)
- Sewing machine in good working order (I love my BERNINA 770QE)
- New sewing needle (I recommend Superior Topstitch needles)
Click here to purchase the optional Block Chain Kit, while supplies last!
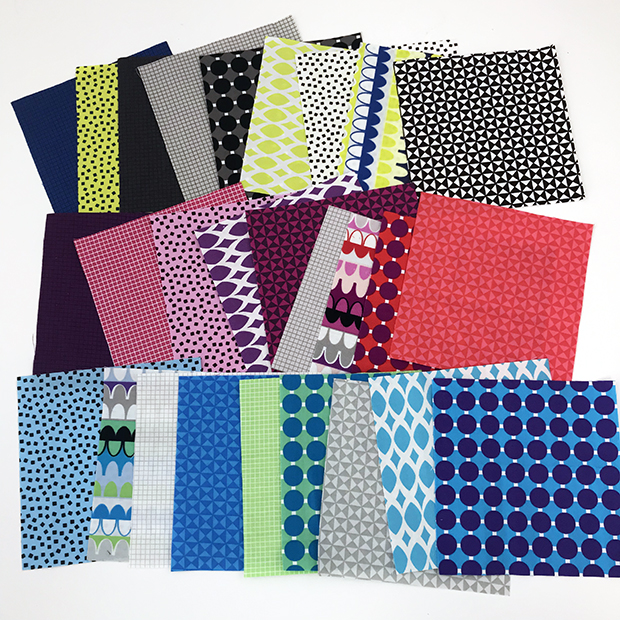
I loved designing all of the prints featured above in my Gridwork Charm Packs.
The throw size quilt calls for 36 charm squares. A standard size charm pack includes 40-42 squares, so that gives you some wiggle room to decide which squares you want to include in the quilt. Save the extra squares to make a matching pillow, sew them into the quilt backing, or use them to make a label when you’re finished with the quilt!
Quilt Along Schedule
Click each Hot Link below to See that step
- Part 1 – Cutting the Fabrics
- Part 2 – Sewing the Blocks
- Part 3 – Sewing the Quilt Top
- Part 4 – Prepping the Batting, Backing and Basting
- Part 5 – Free Motion Quilting
- Part 6 – Binding to Finish
Share and Interact with Other Makers!
So now it’s time to gather your supplies and share pics of which fabrics you’ll use. If you’re an instagram junkie (like me!), please tag me at @christaquilts and use the hashtag #blockchainquilt so I can see what you are doing and cheer you on!
If you’d like to ask questions or need additional help, please participate in my ChristaQuilts Facebook group. It’s a great place to encourage your fellow makers, and get additional ideas for fabric choices, and quilting ideas.
Want to get notified each time a new post goes live? Be sure to enter your email address in the box on the sidebar of this blog. If you are viewing this on your phone or Ipad, scroll aaaaaaaallllllllllllll the way down to the bottom of the page to find the email address box 🙂

I have this pattern. I might just participate.