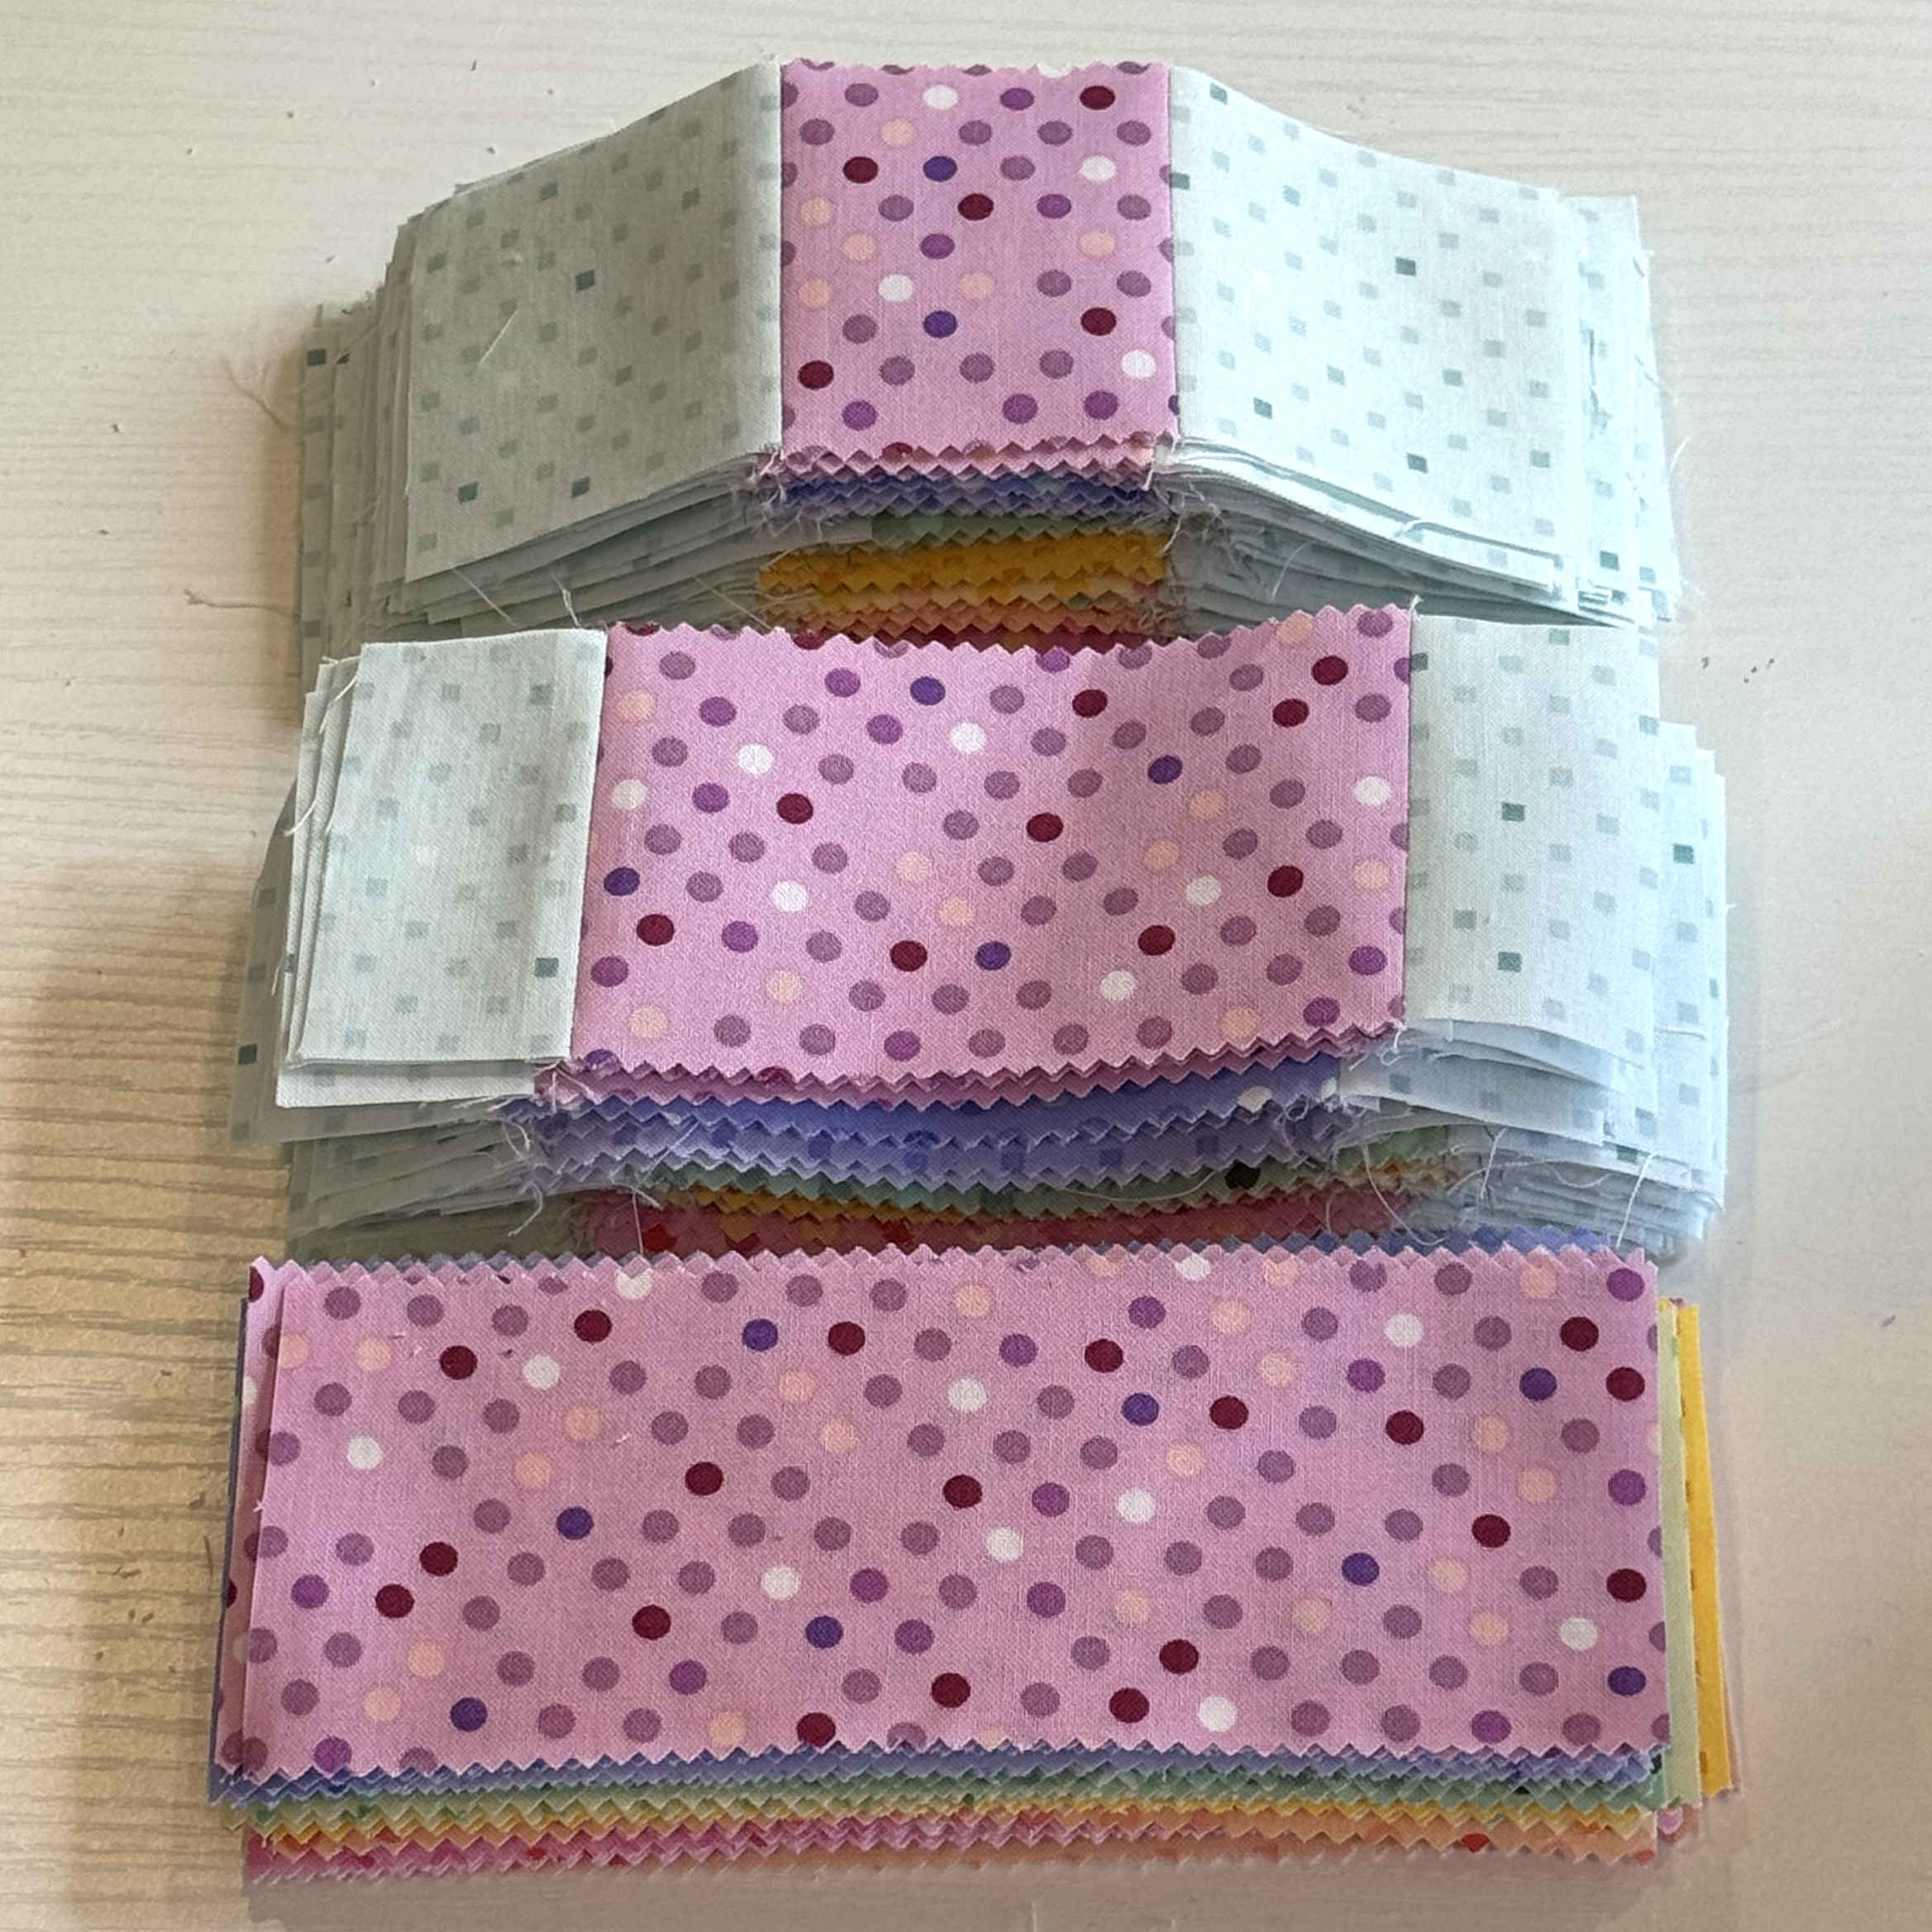
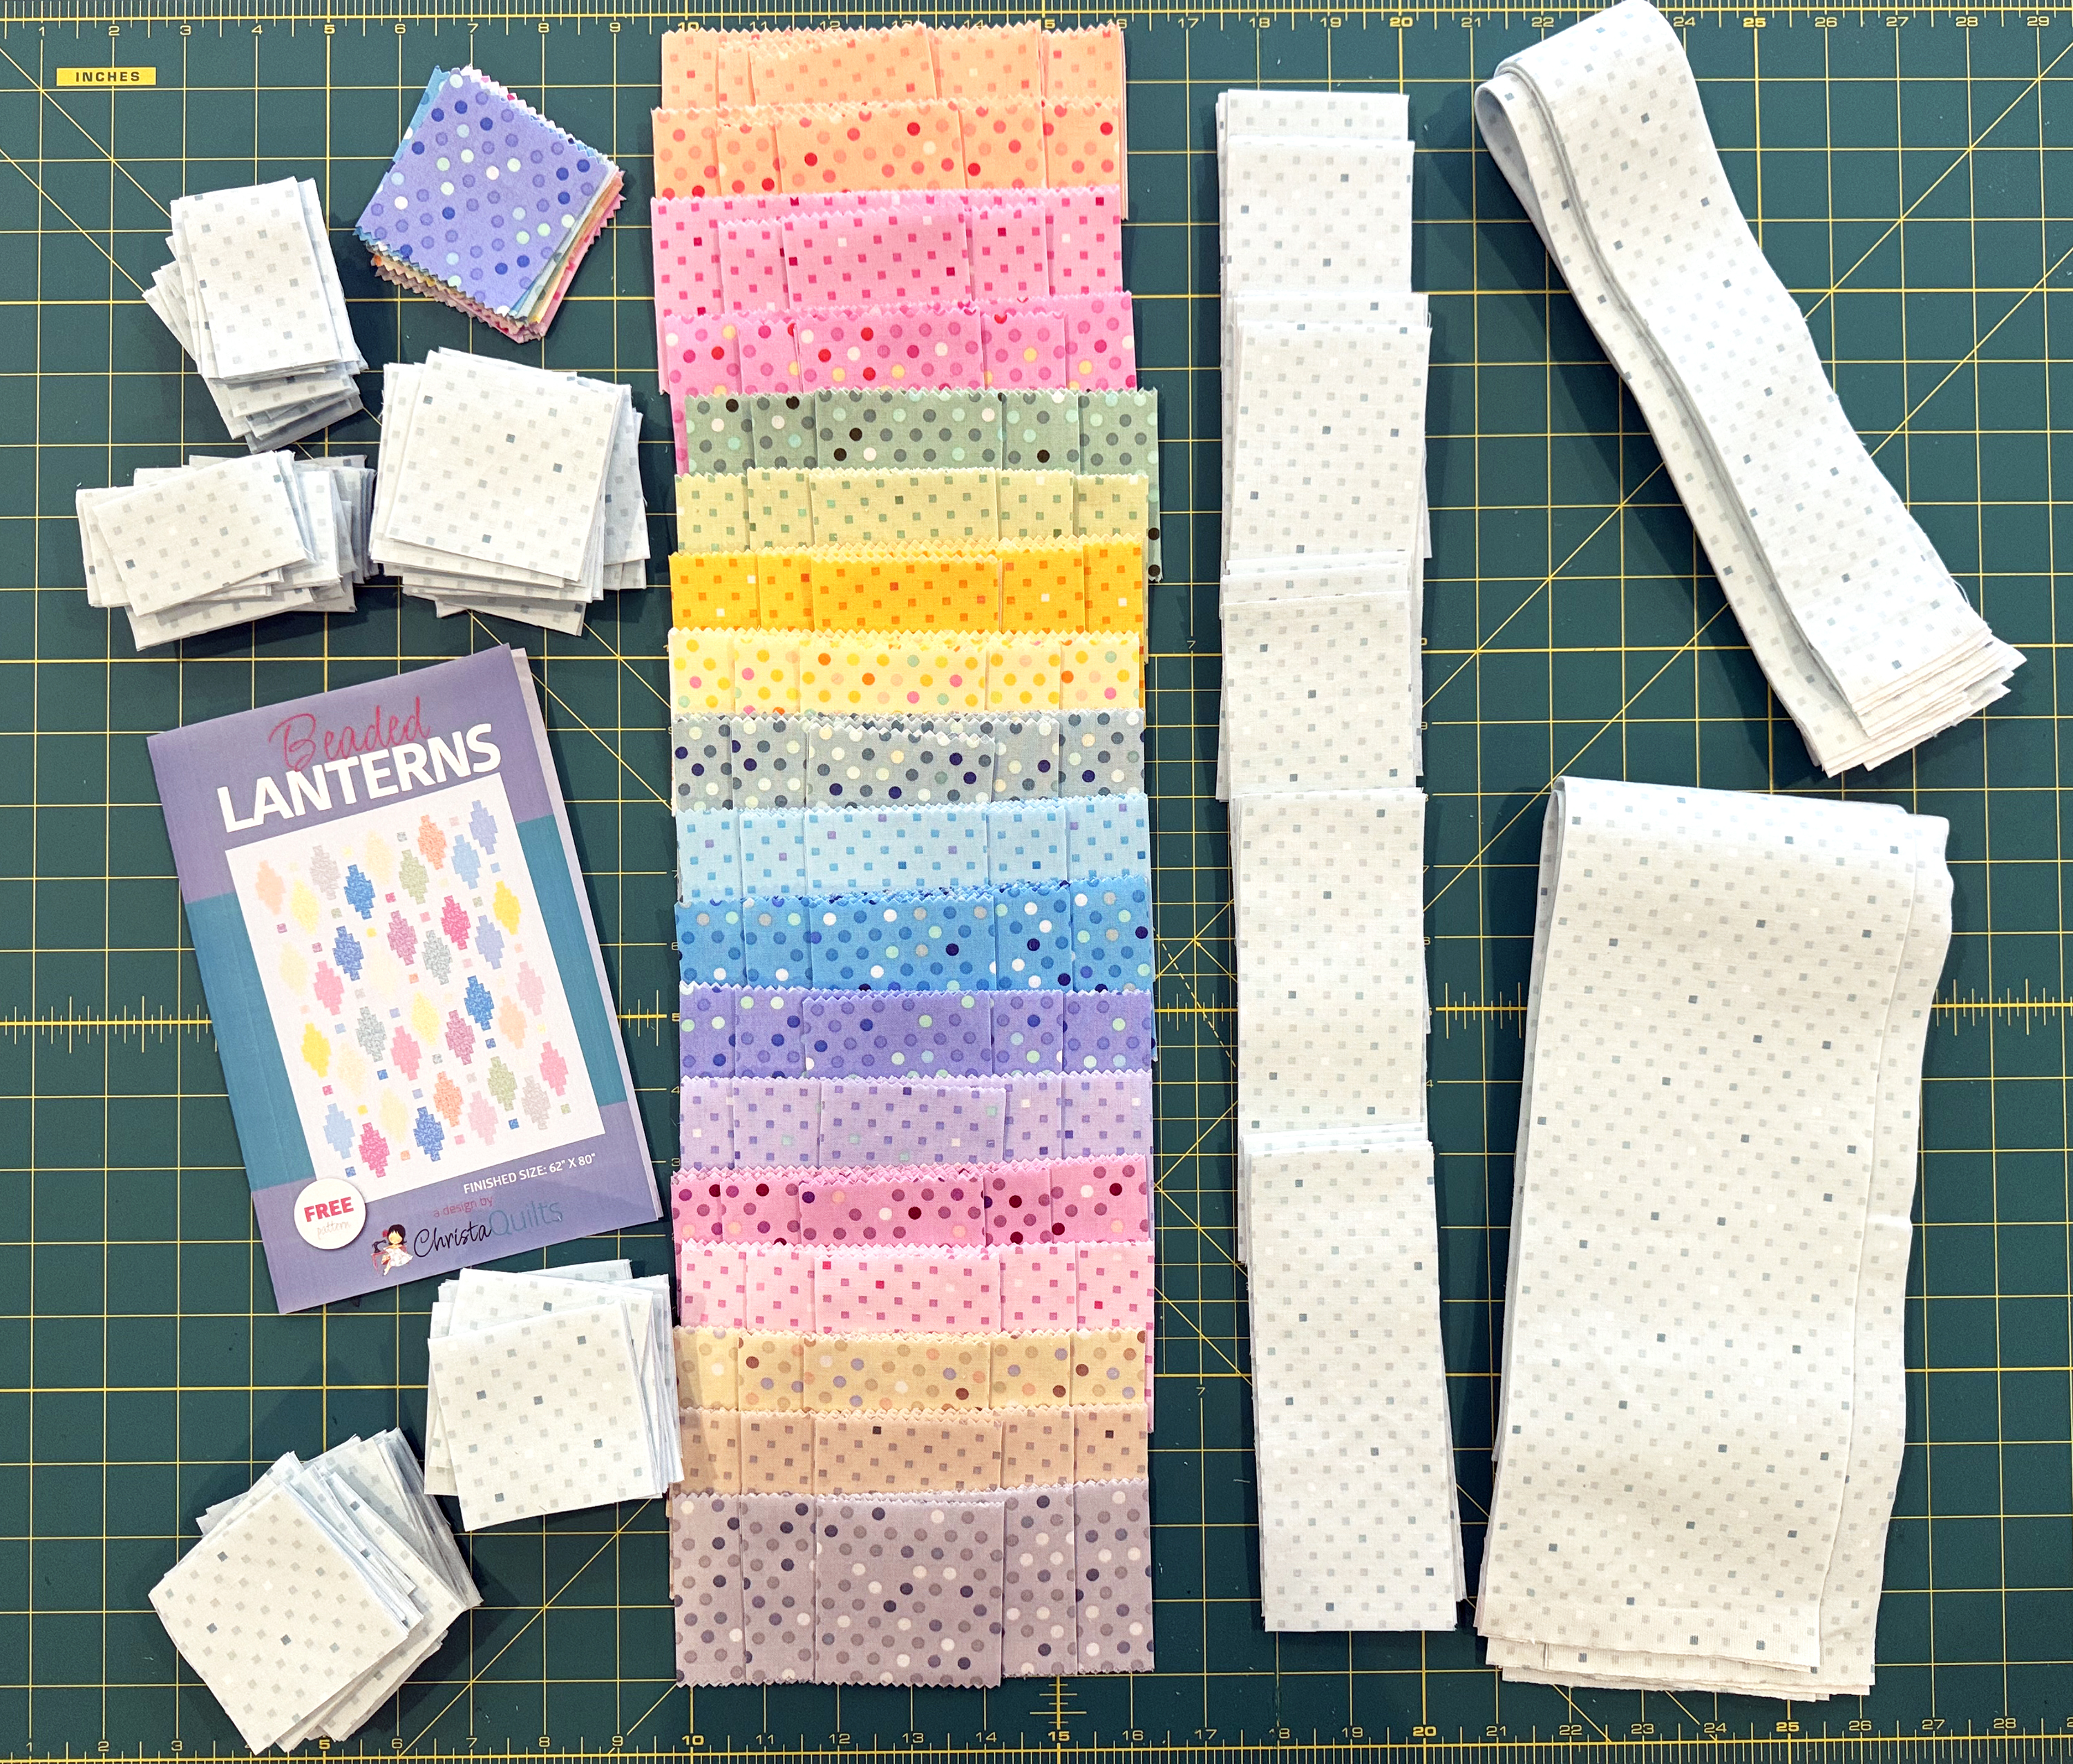
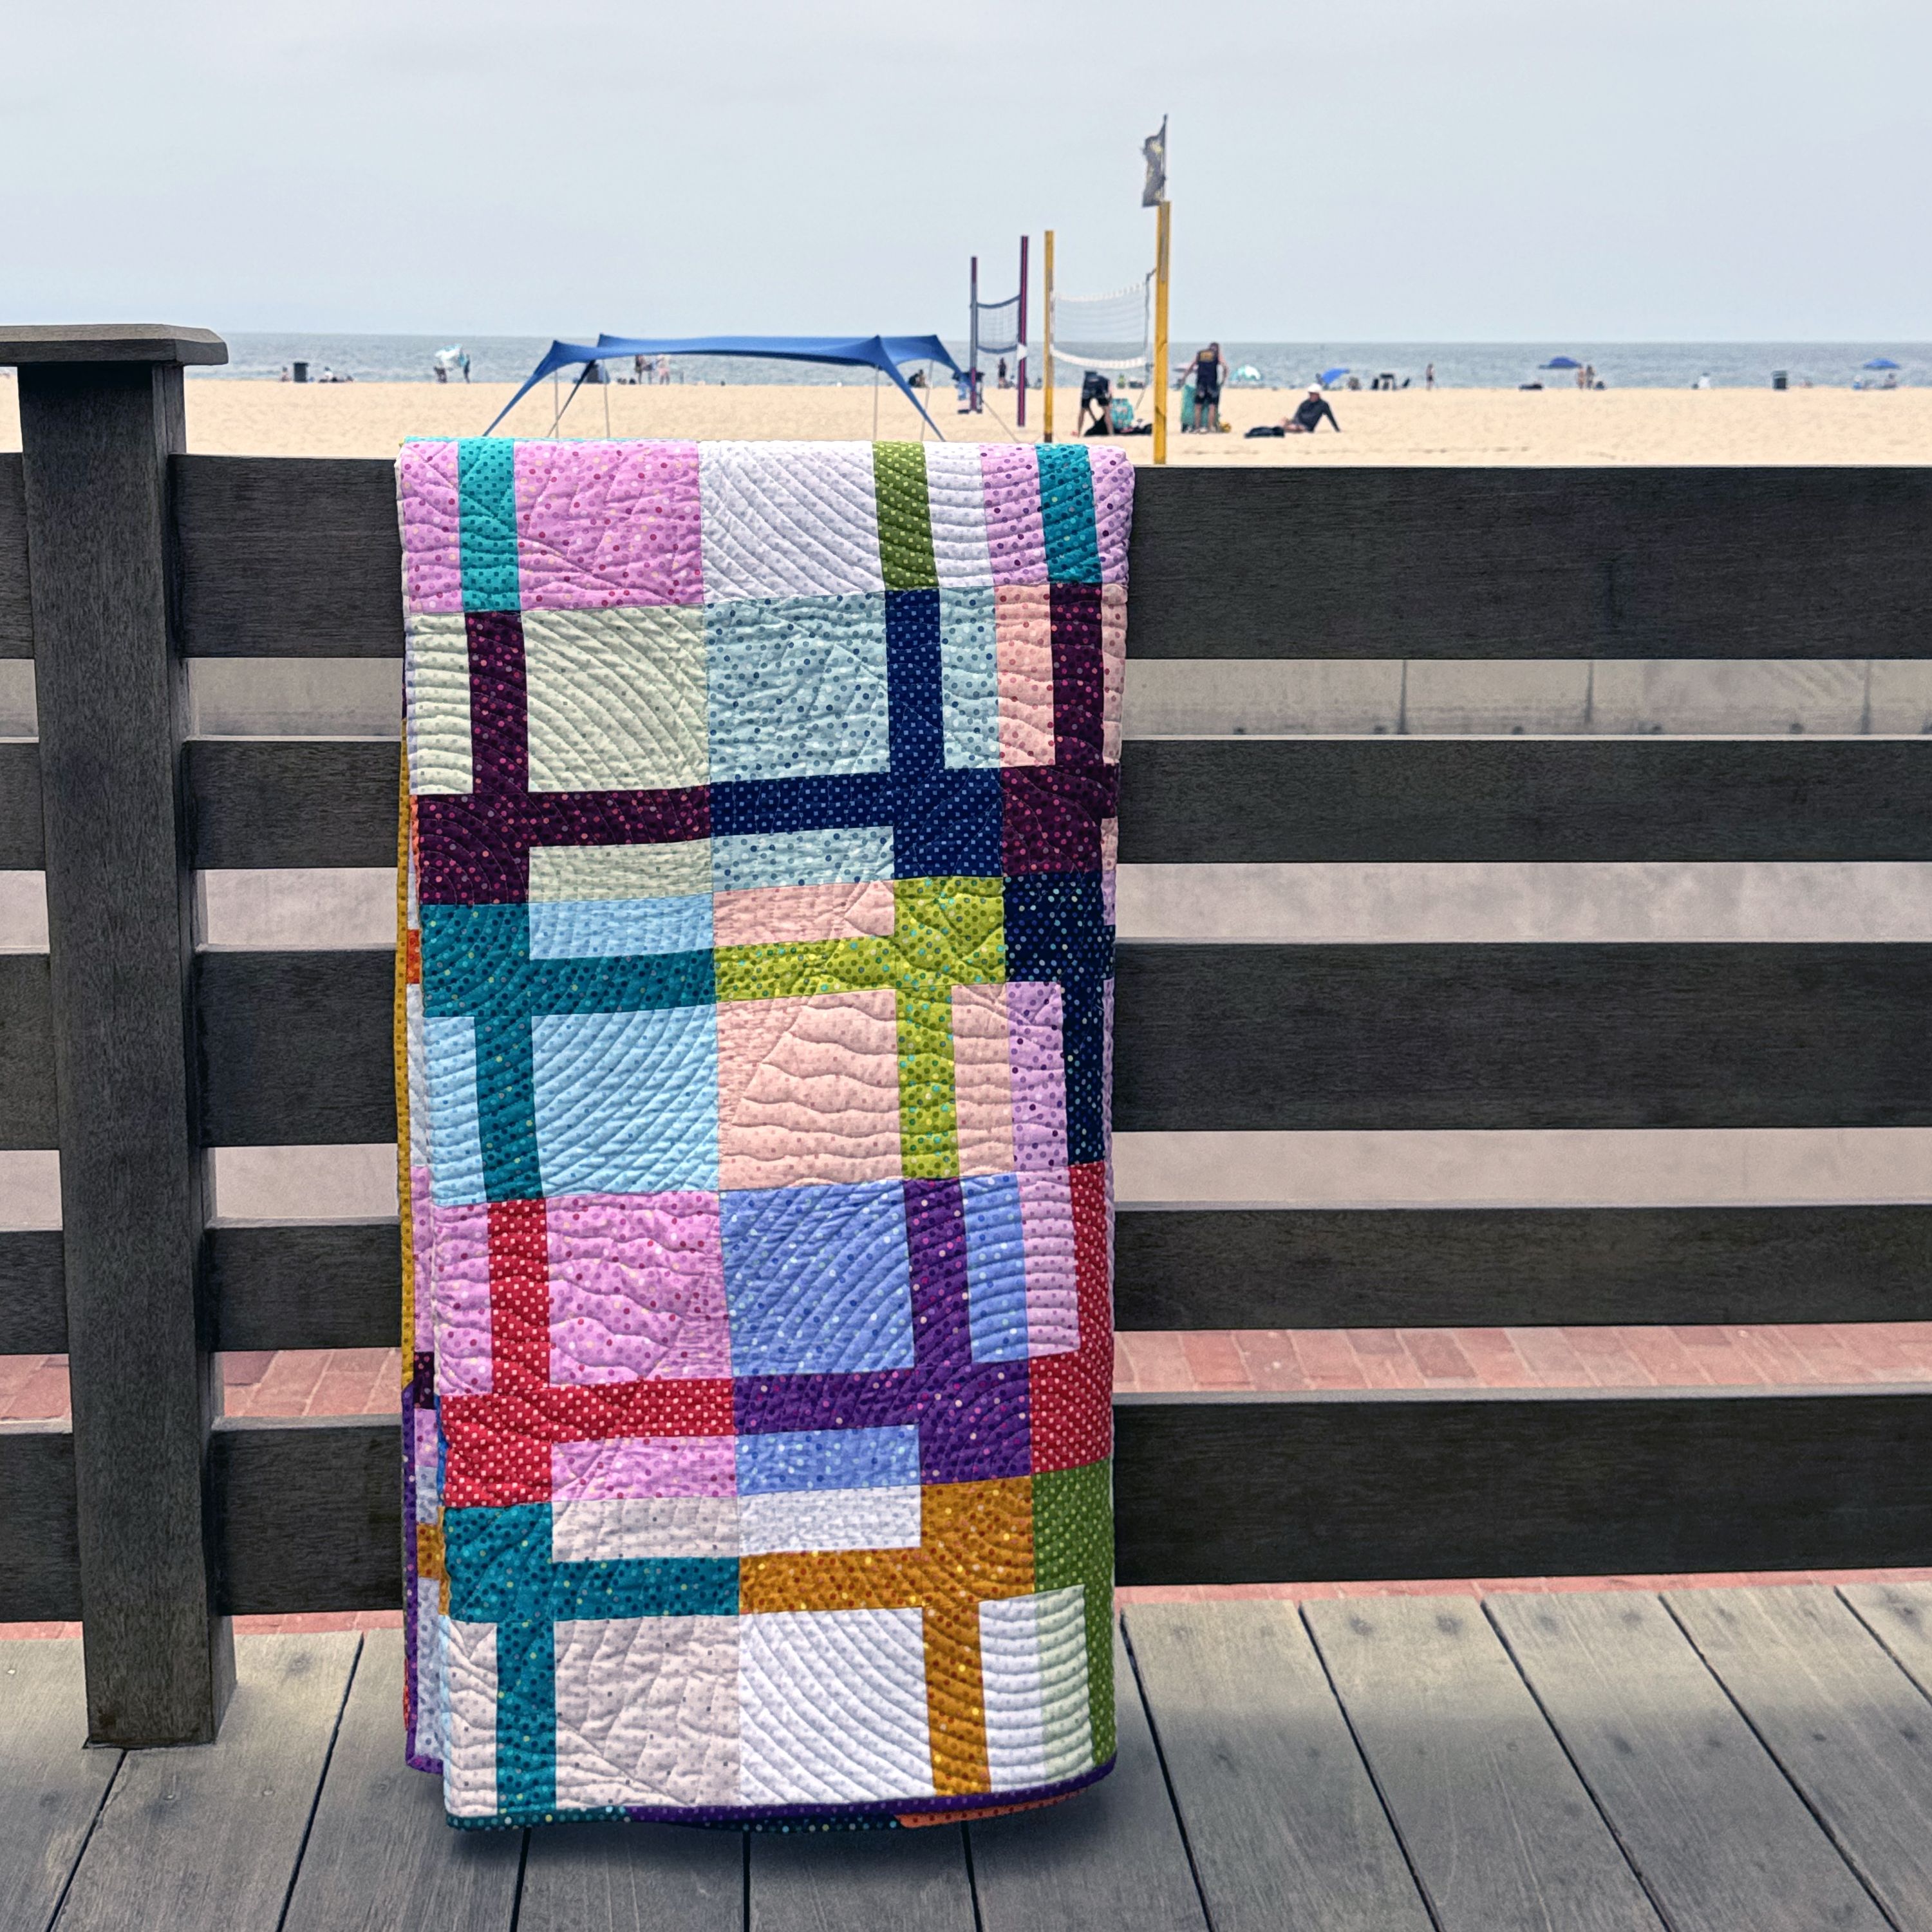
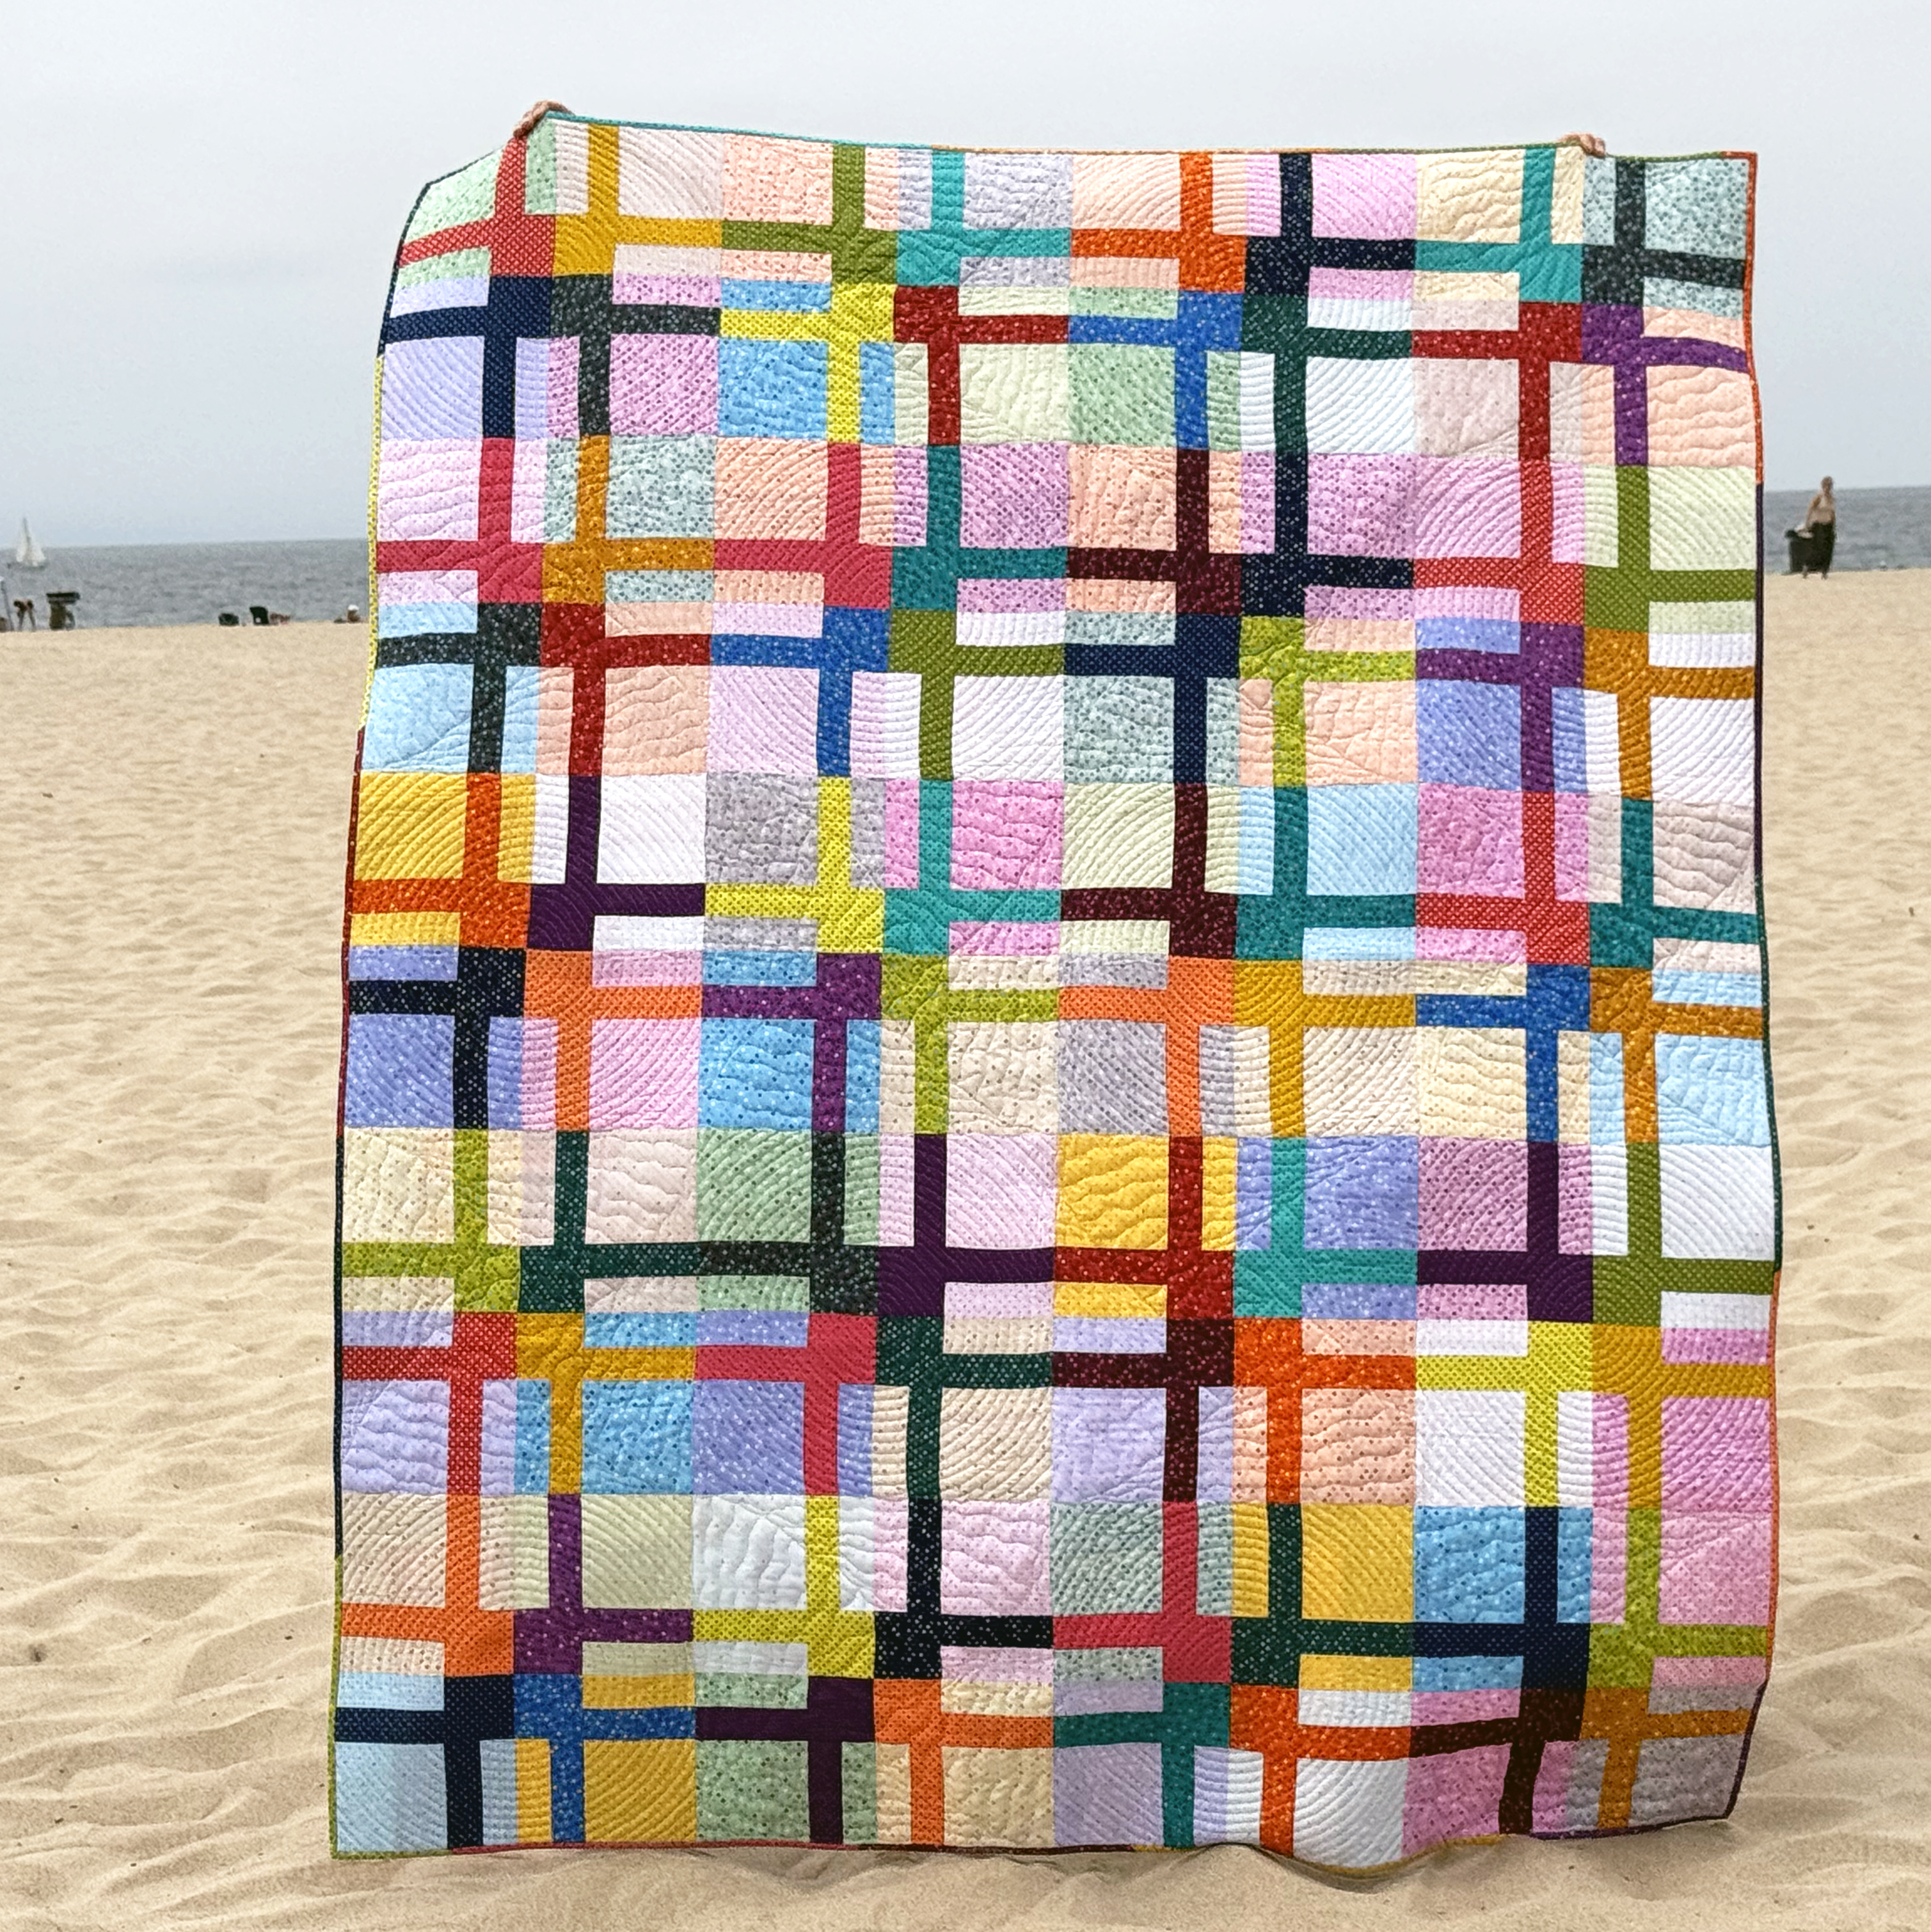
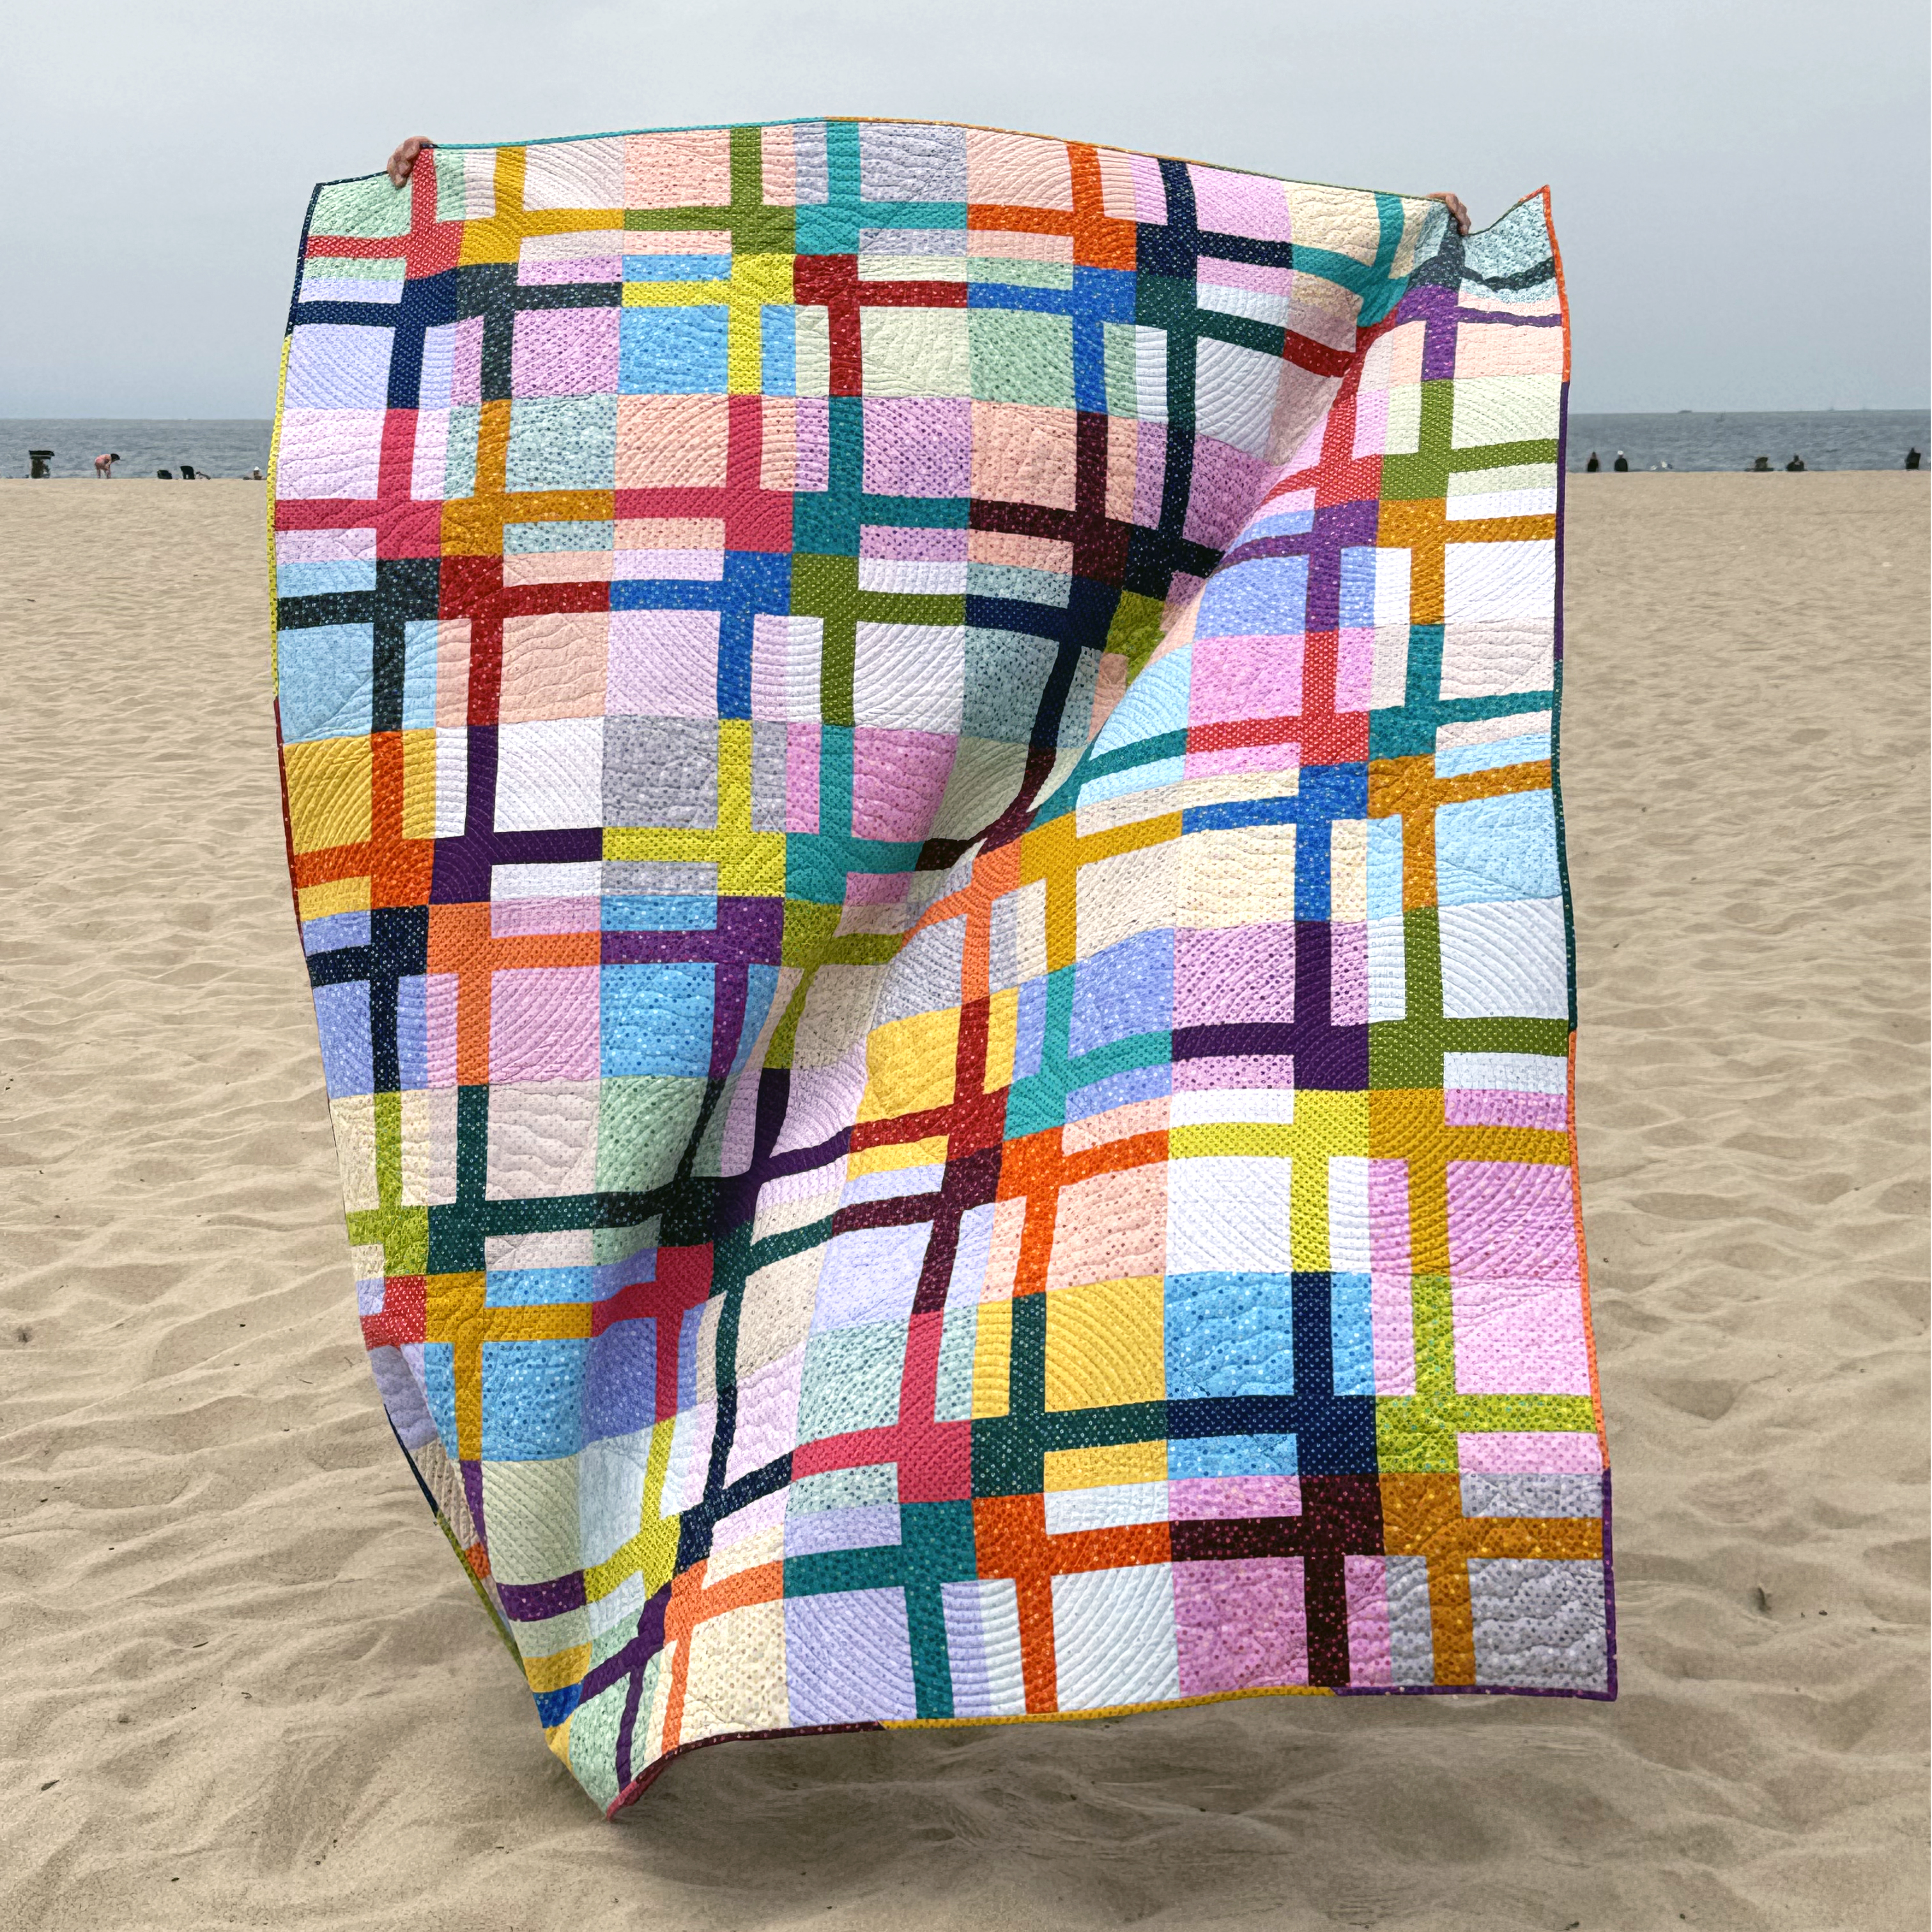
How are your Beaded Lanterns quilt blocks coming along? It’s time to sew them together to create the quilt top! If you are just now finding the quilt along, be sure to grab the Beaded Lanterns free quilt pattern to join the fun!

- Click here to grab the Beaded Lanters Quilt pattern – it’s free!
- Click here to grab Beaded Lanterns Kits – while supplies last.
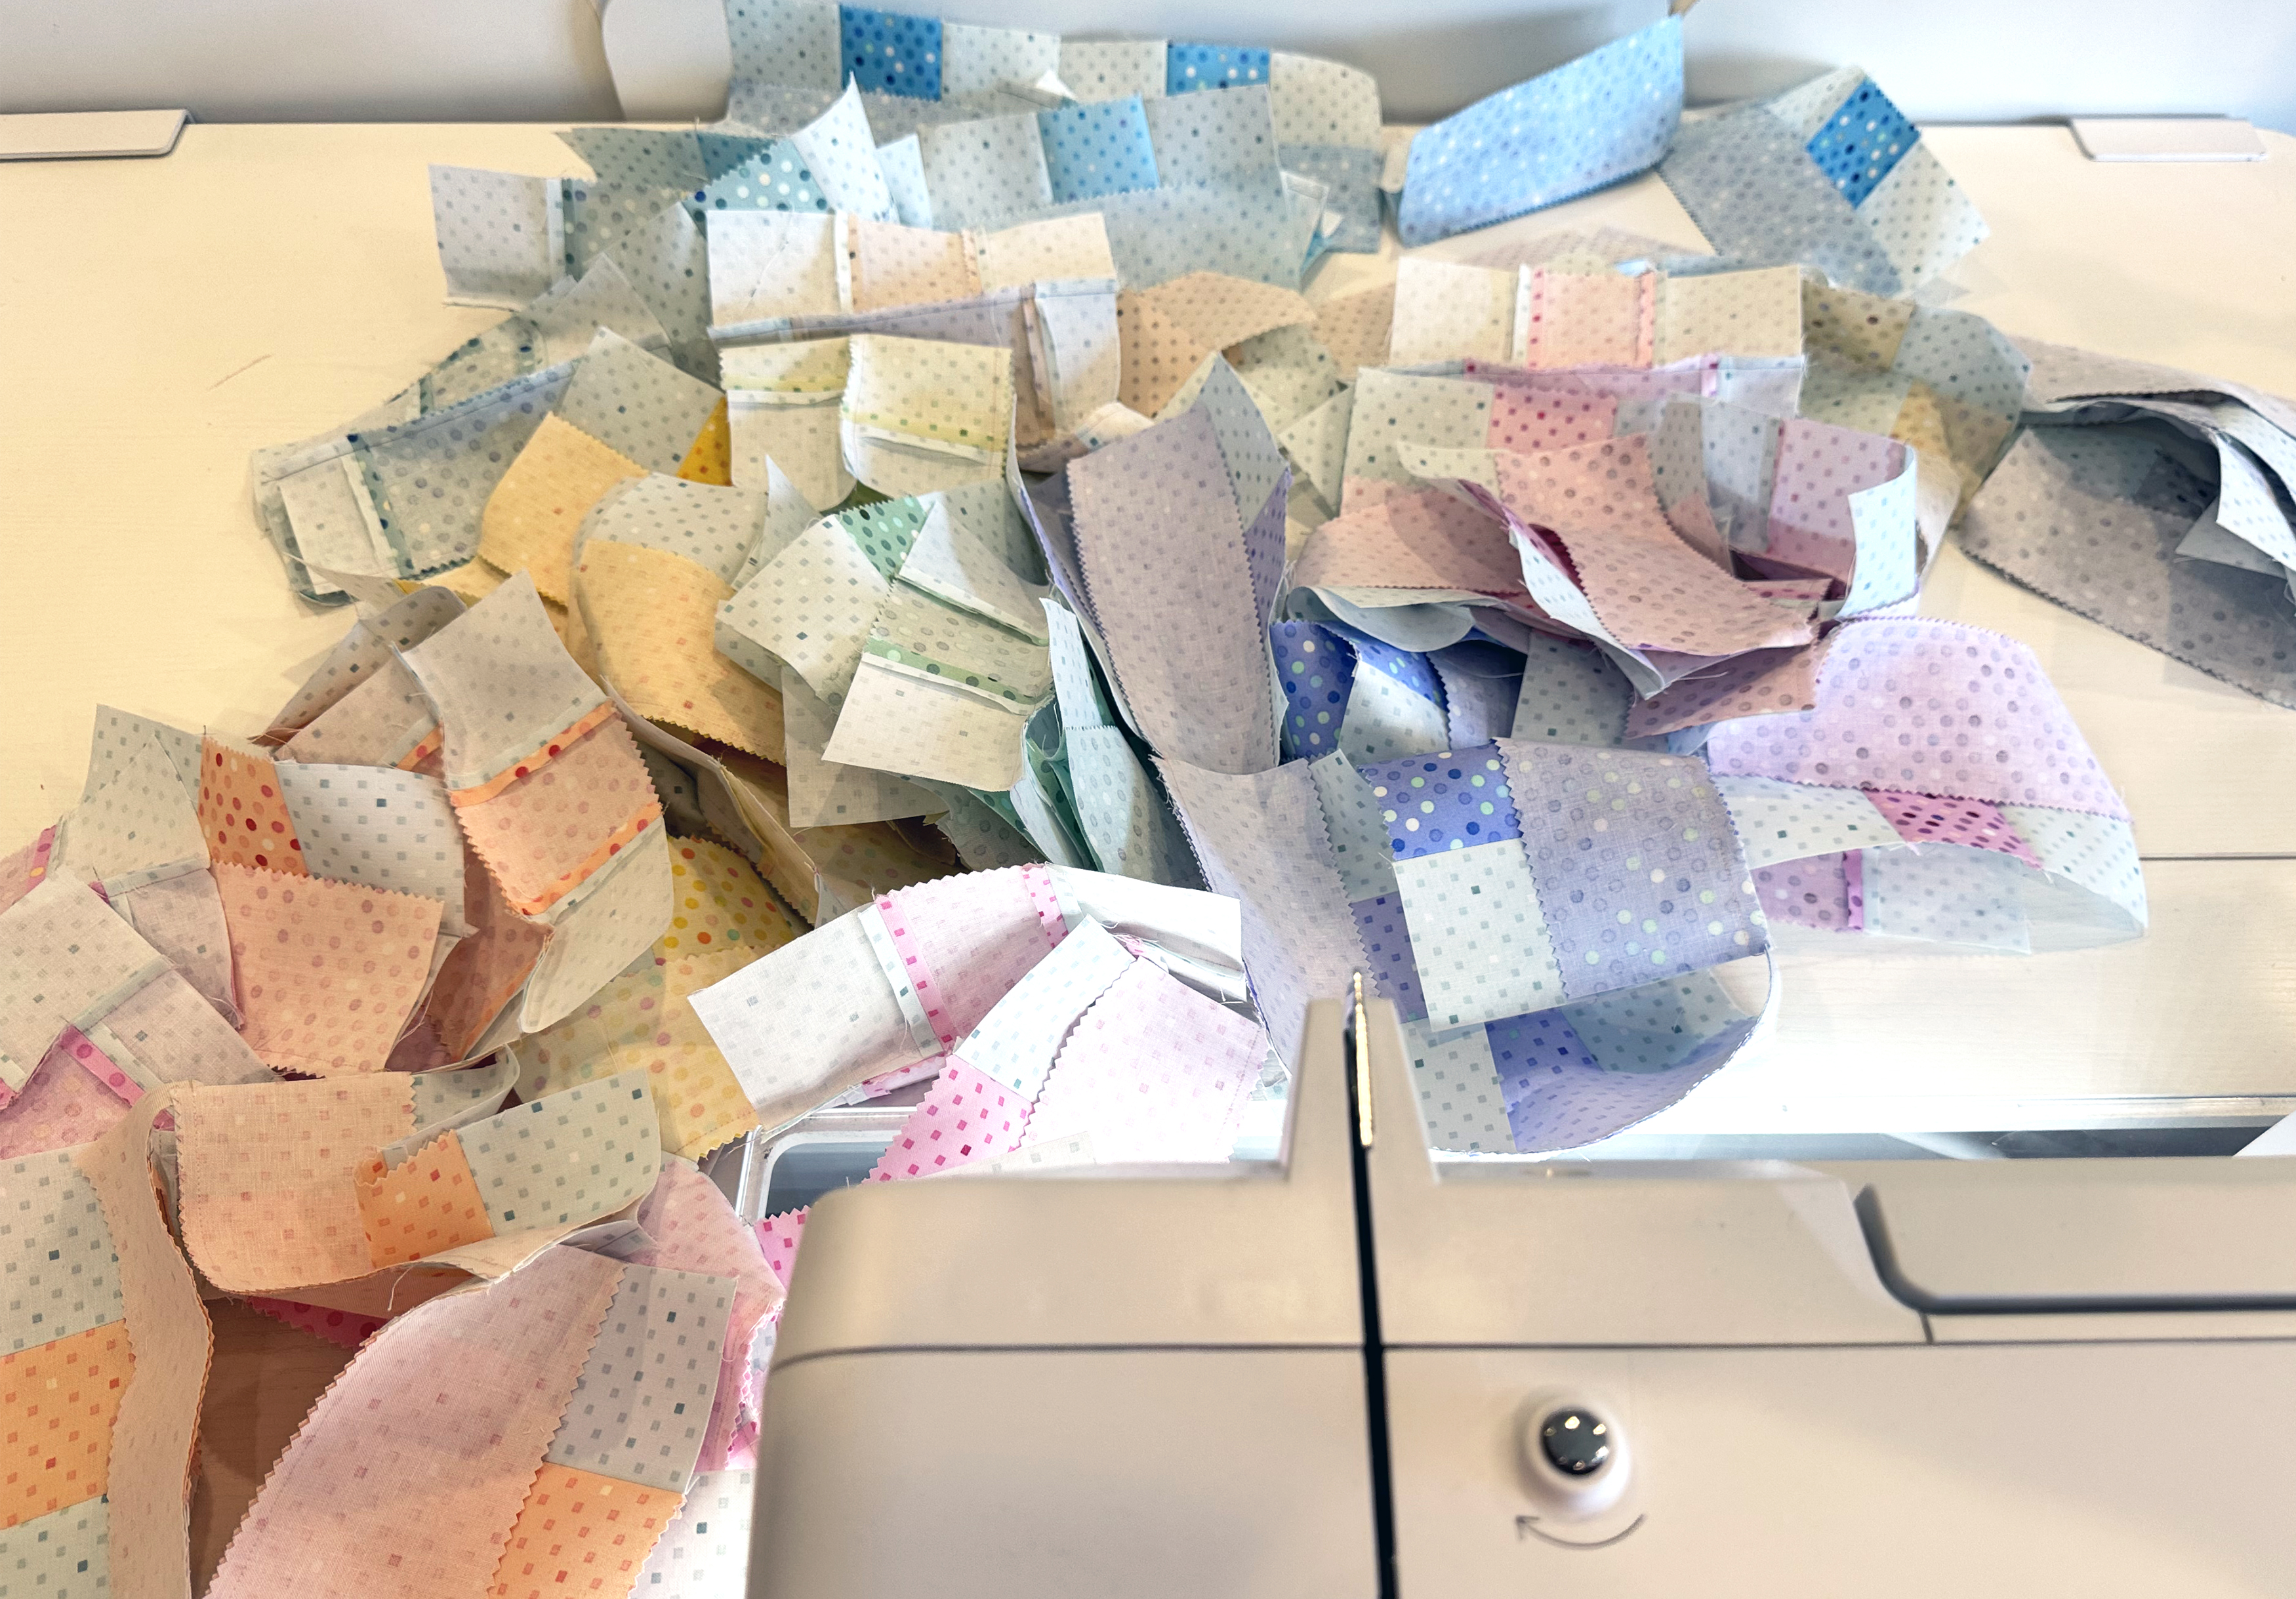
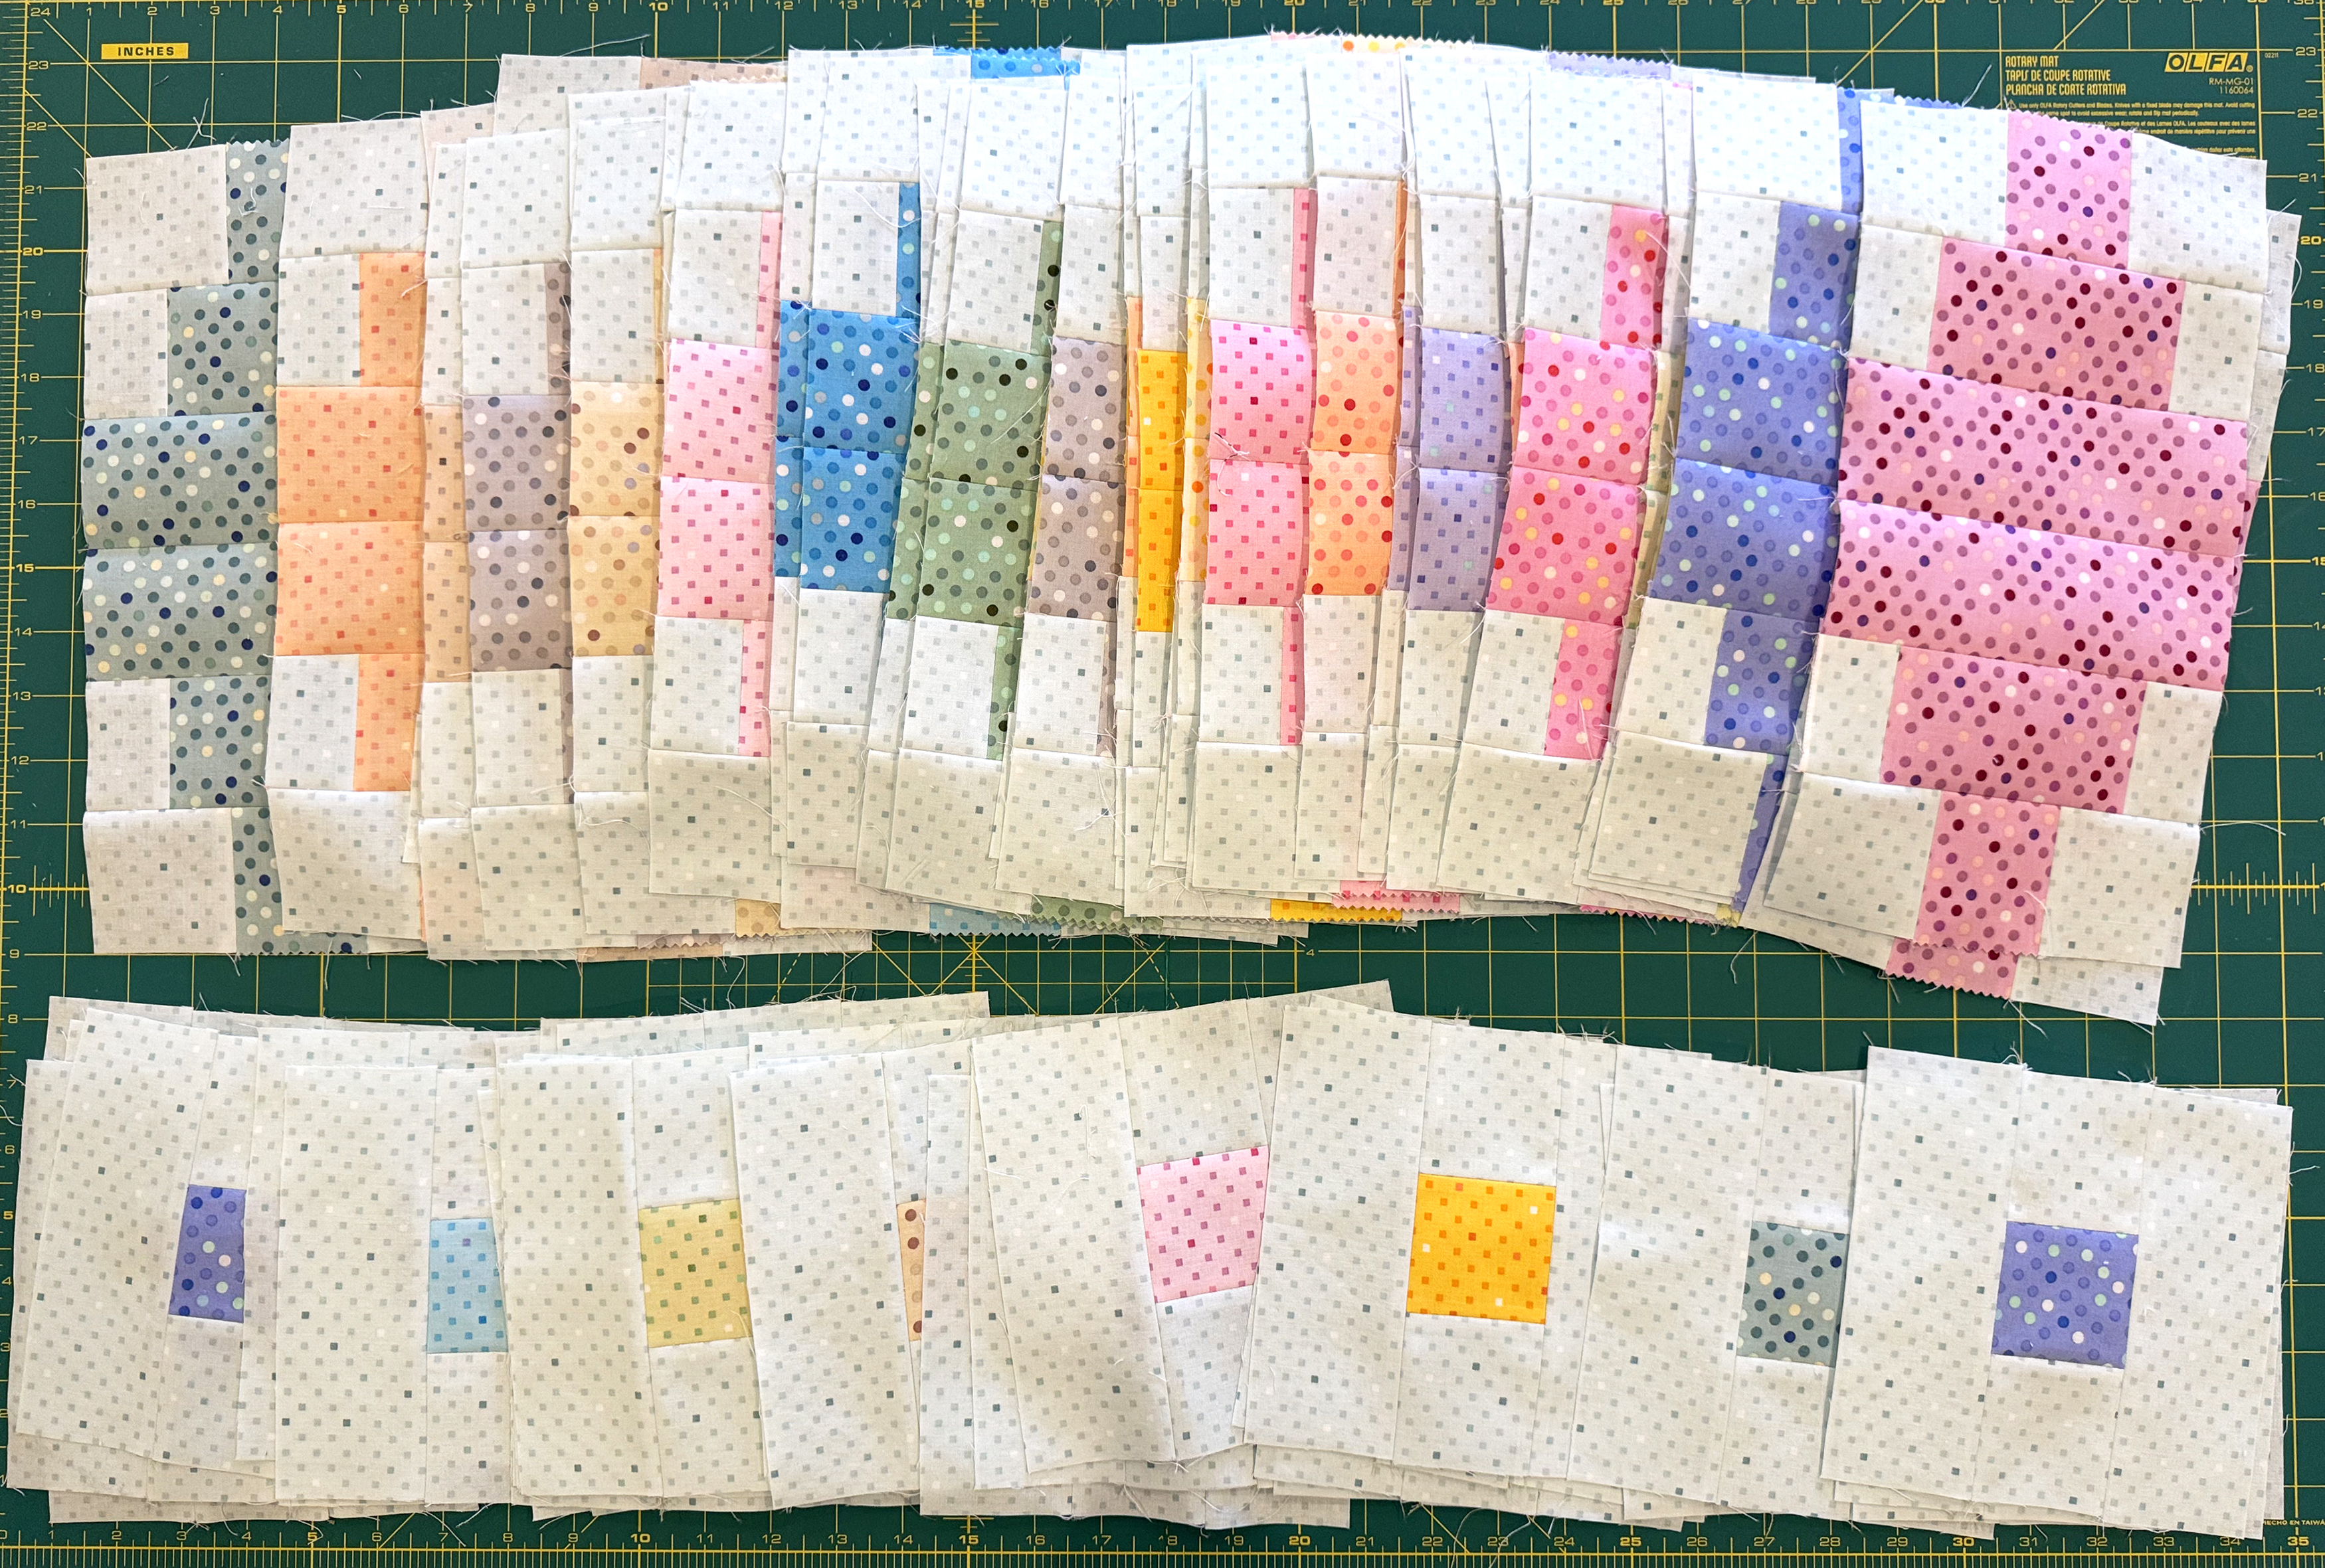
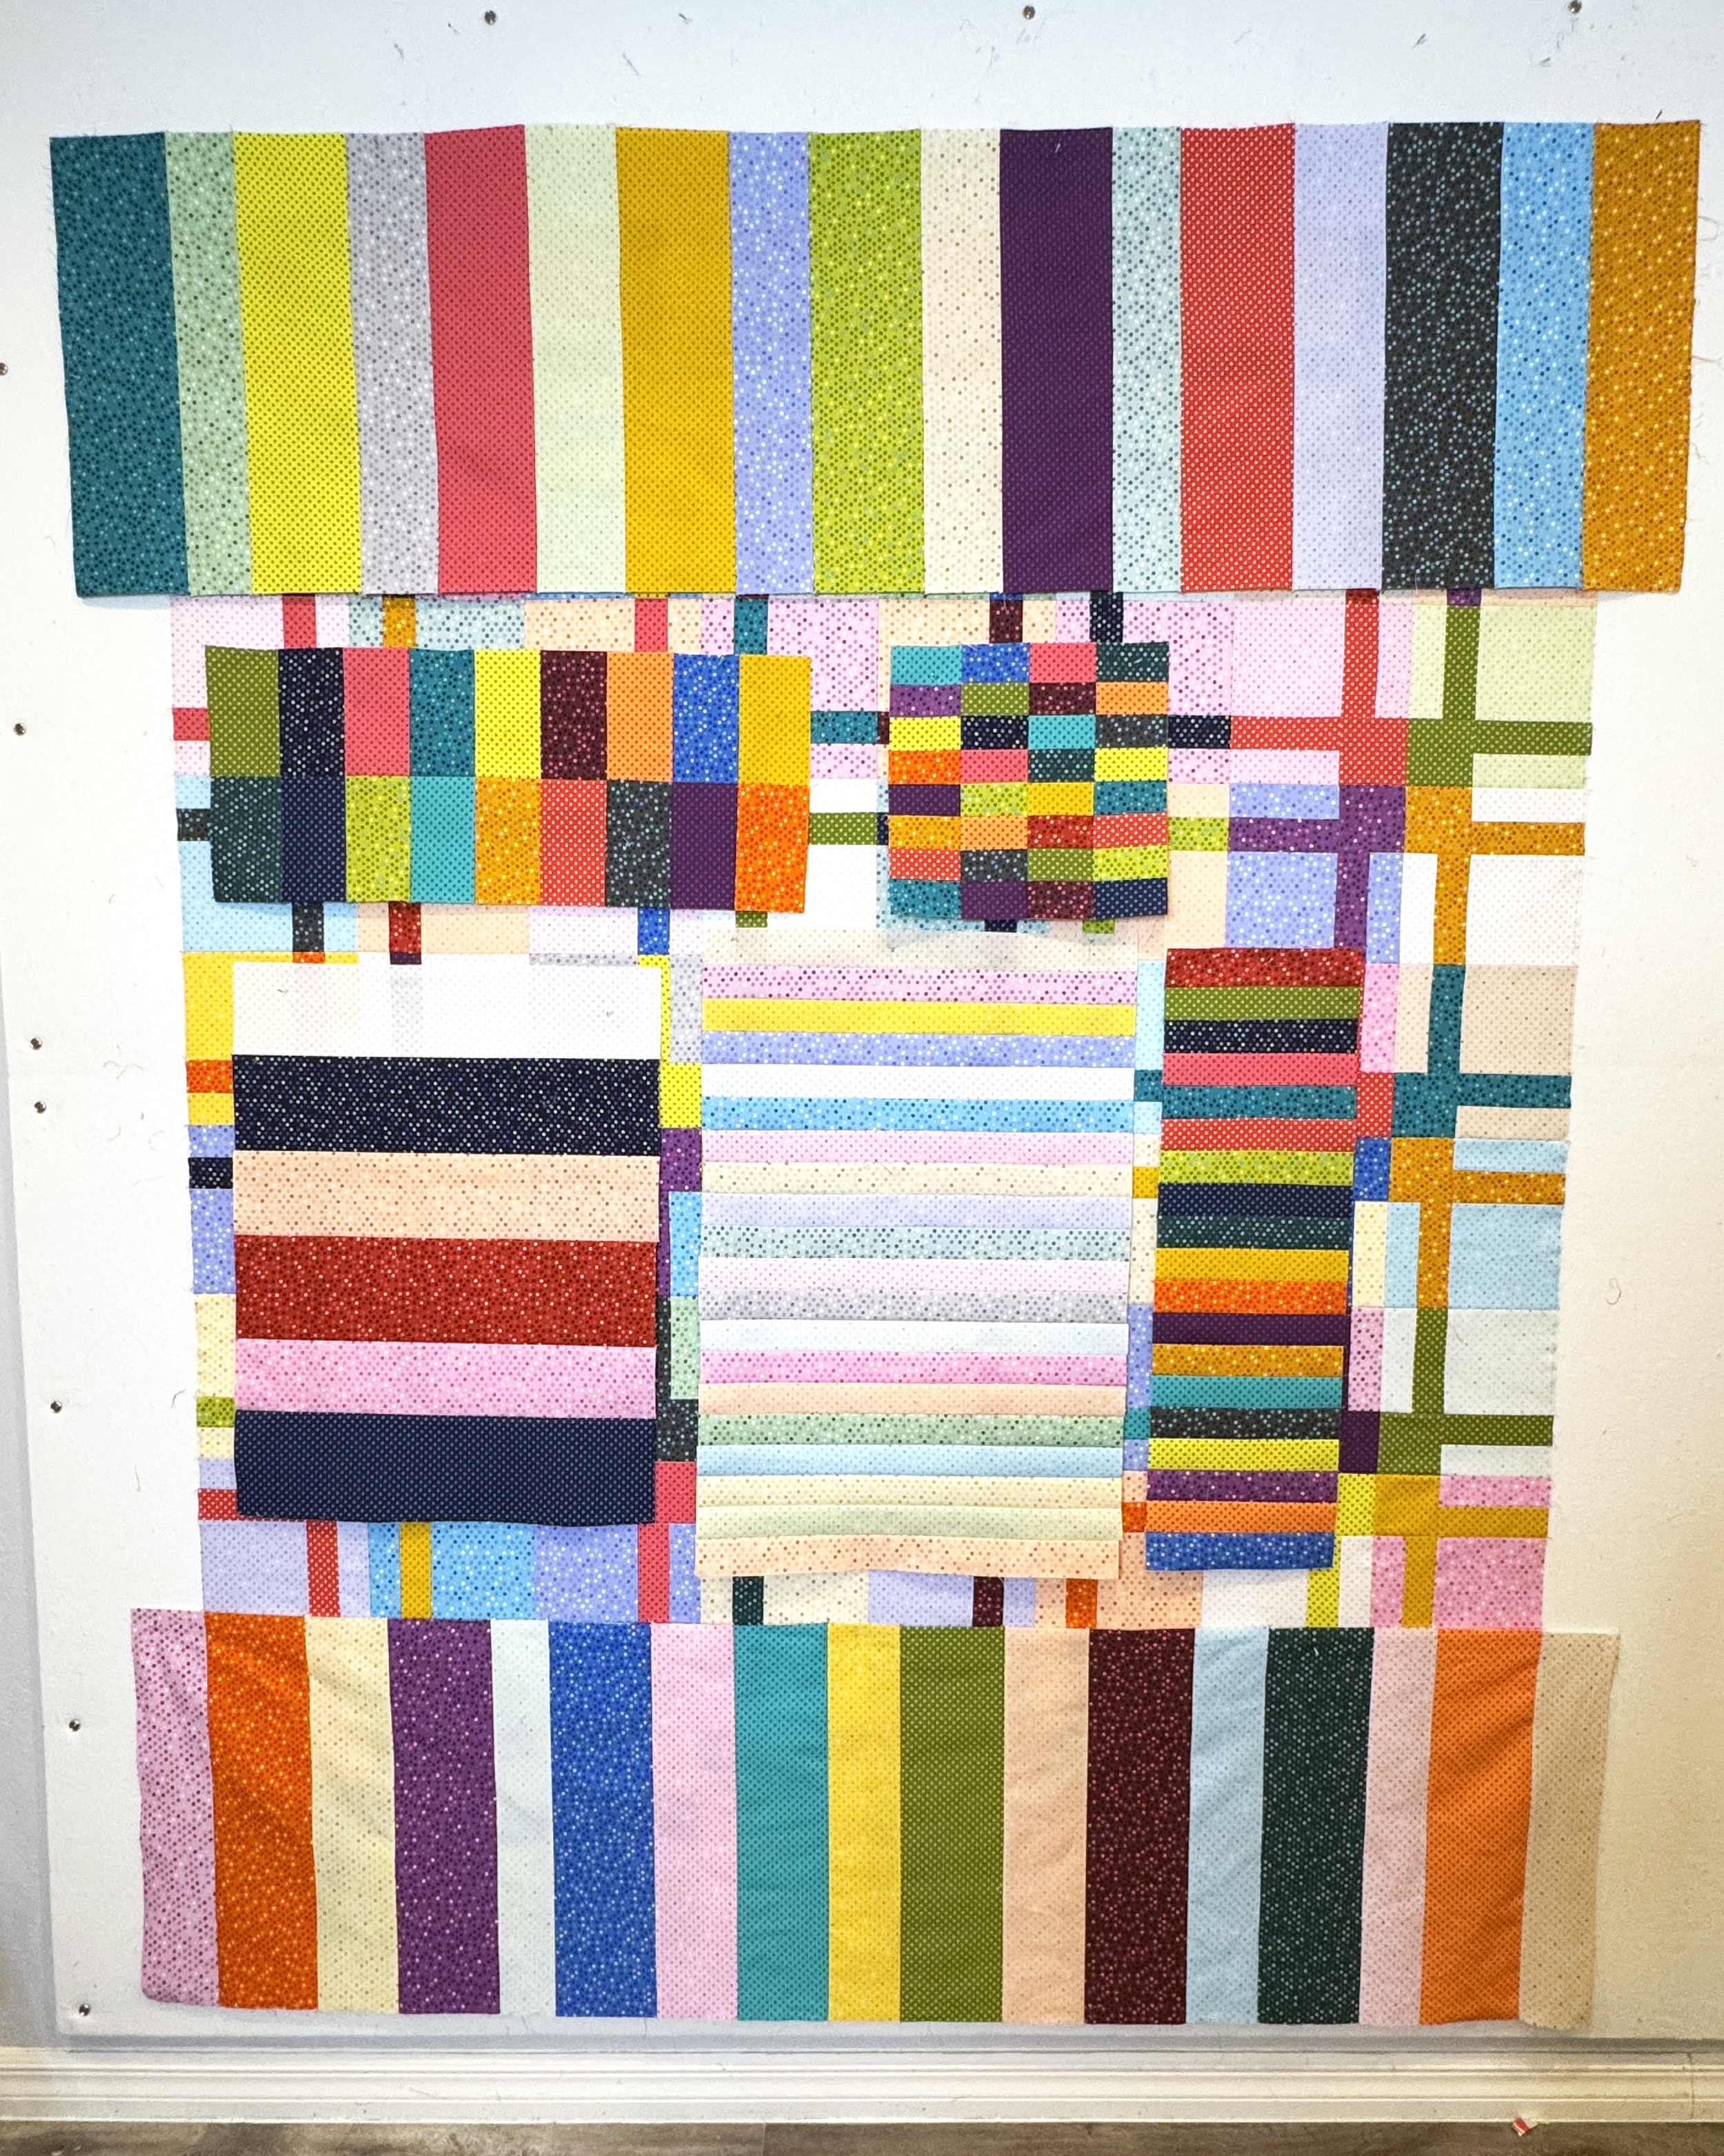
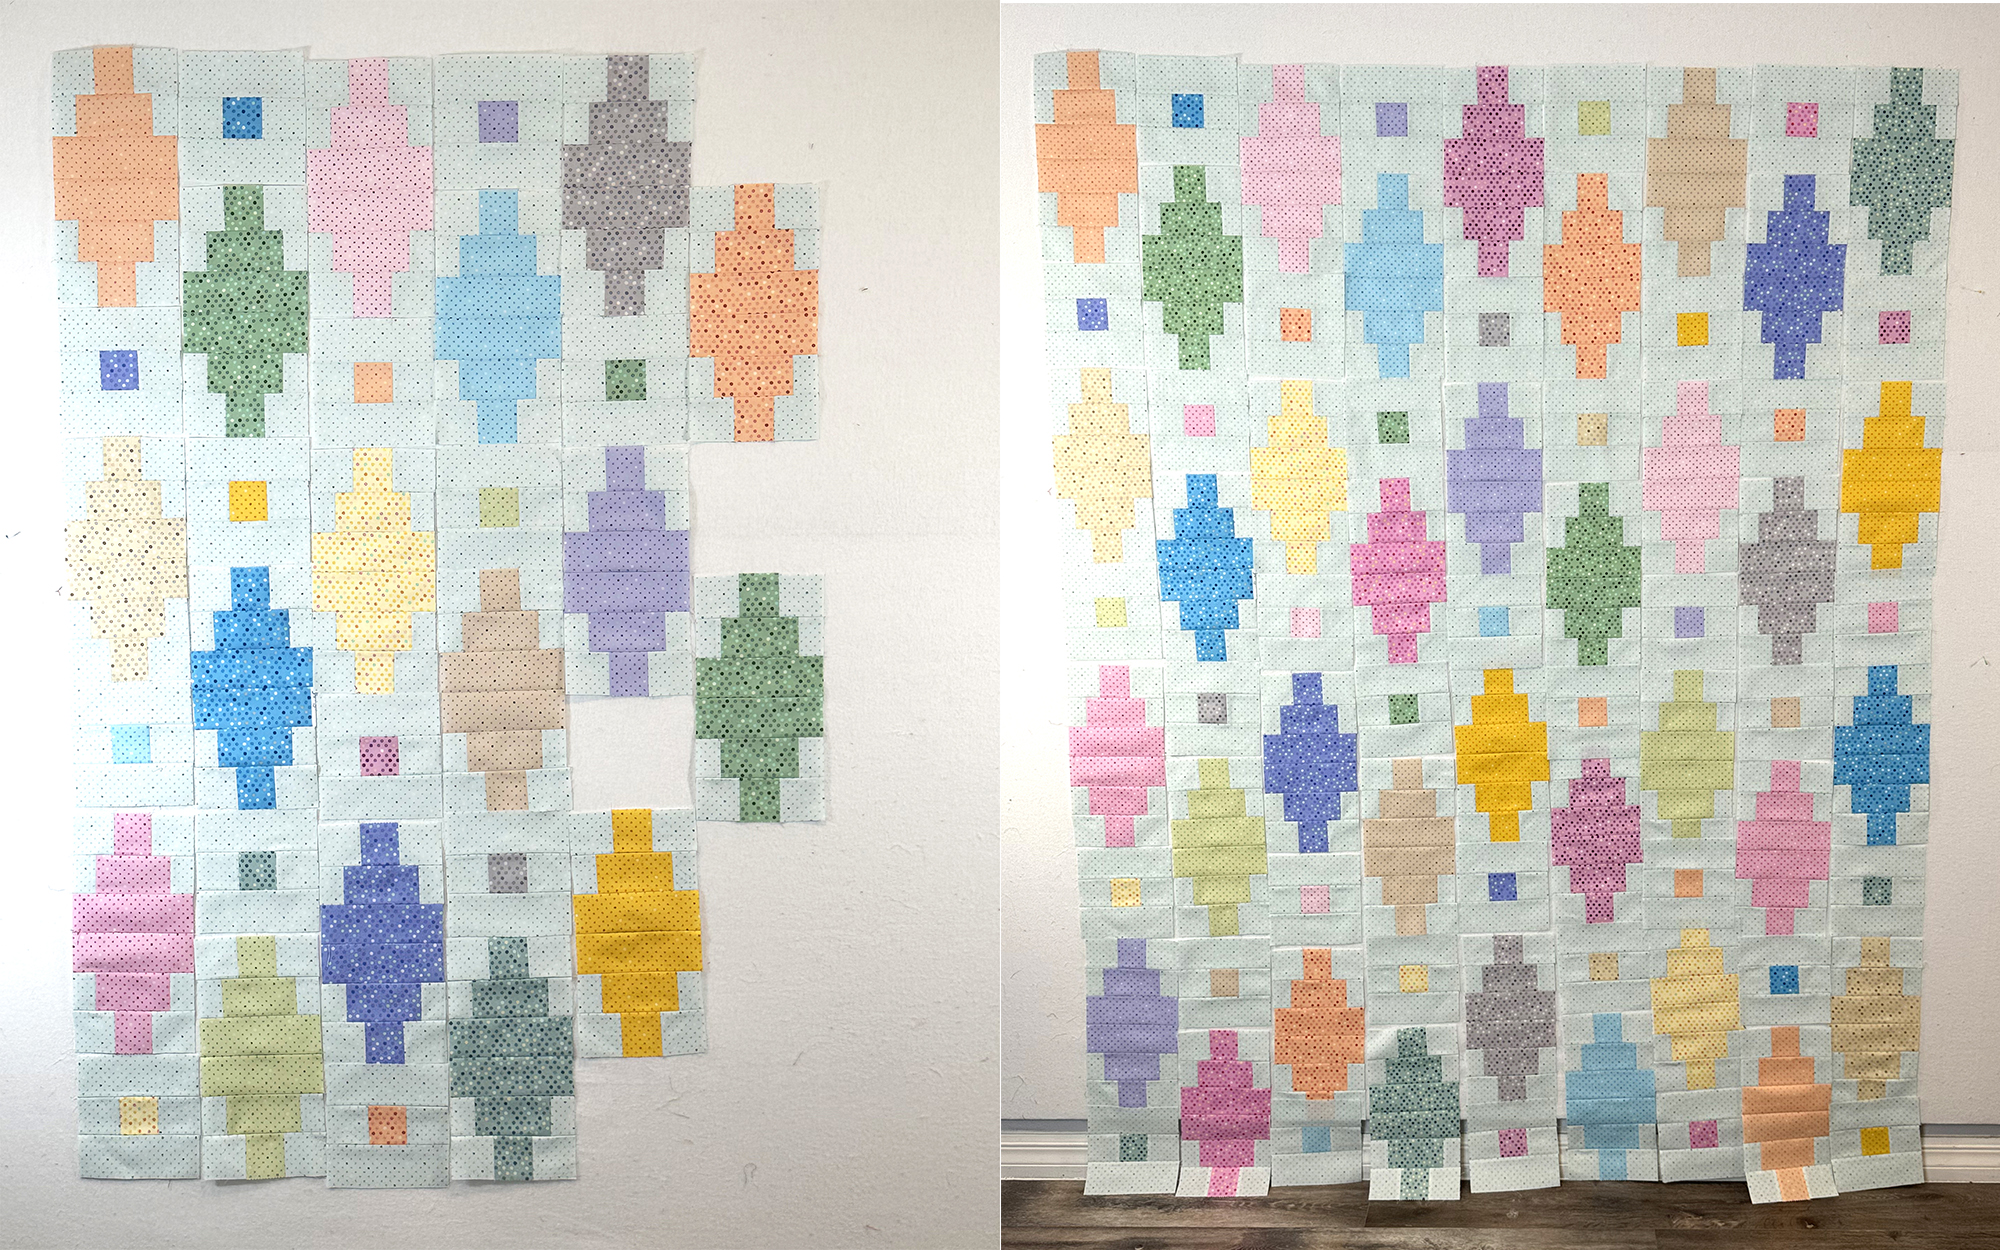
To start things off, I like to lay out my blocks on a design wall. Then I’ll spend time arranging them into a pleasing order. I usually take a picture with my camera phone to refer to while sewing.
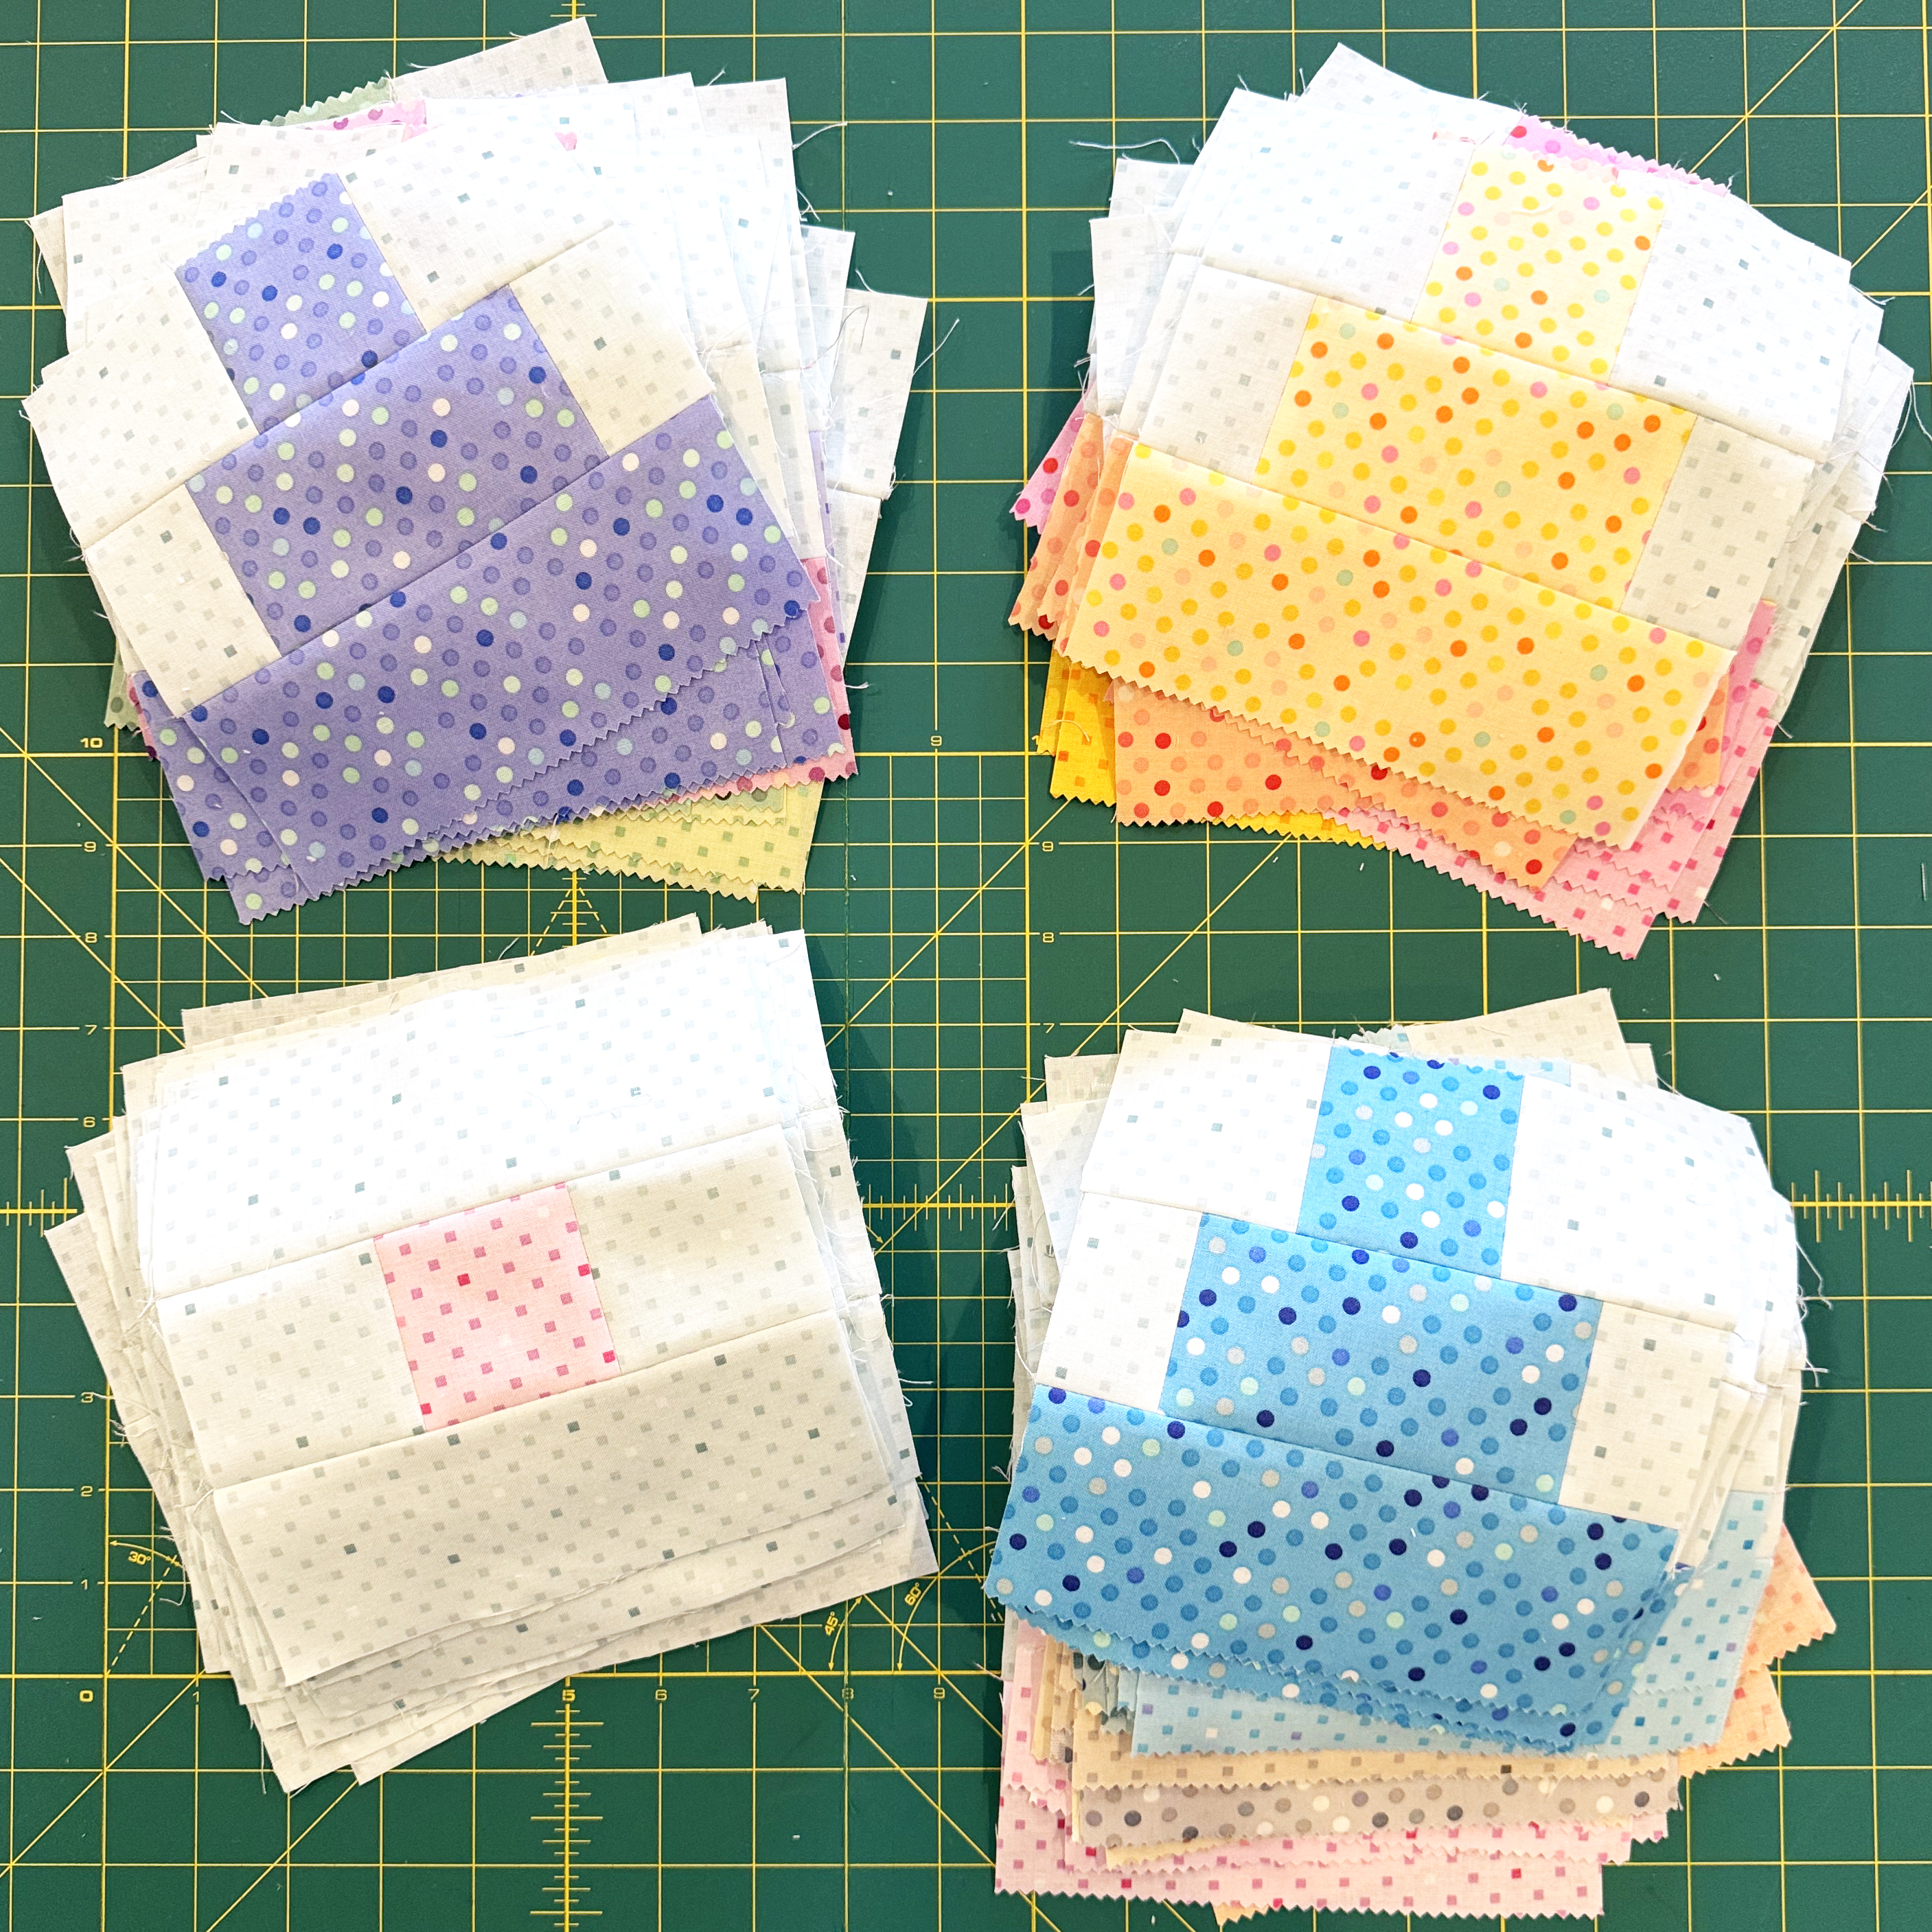
Once that’s done, I’ll make a stack of blocks to sew in order and then chain piece, or assembly line sew them all at once. I always start sewing with a leader/ender piece of scrap fabric to catch my threads. This prevents them from knotting up when I start and stop.

It makes a beautiful mess and I love the feeling of accomplishment!

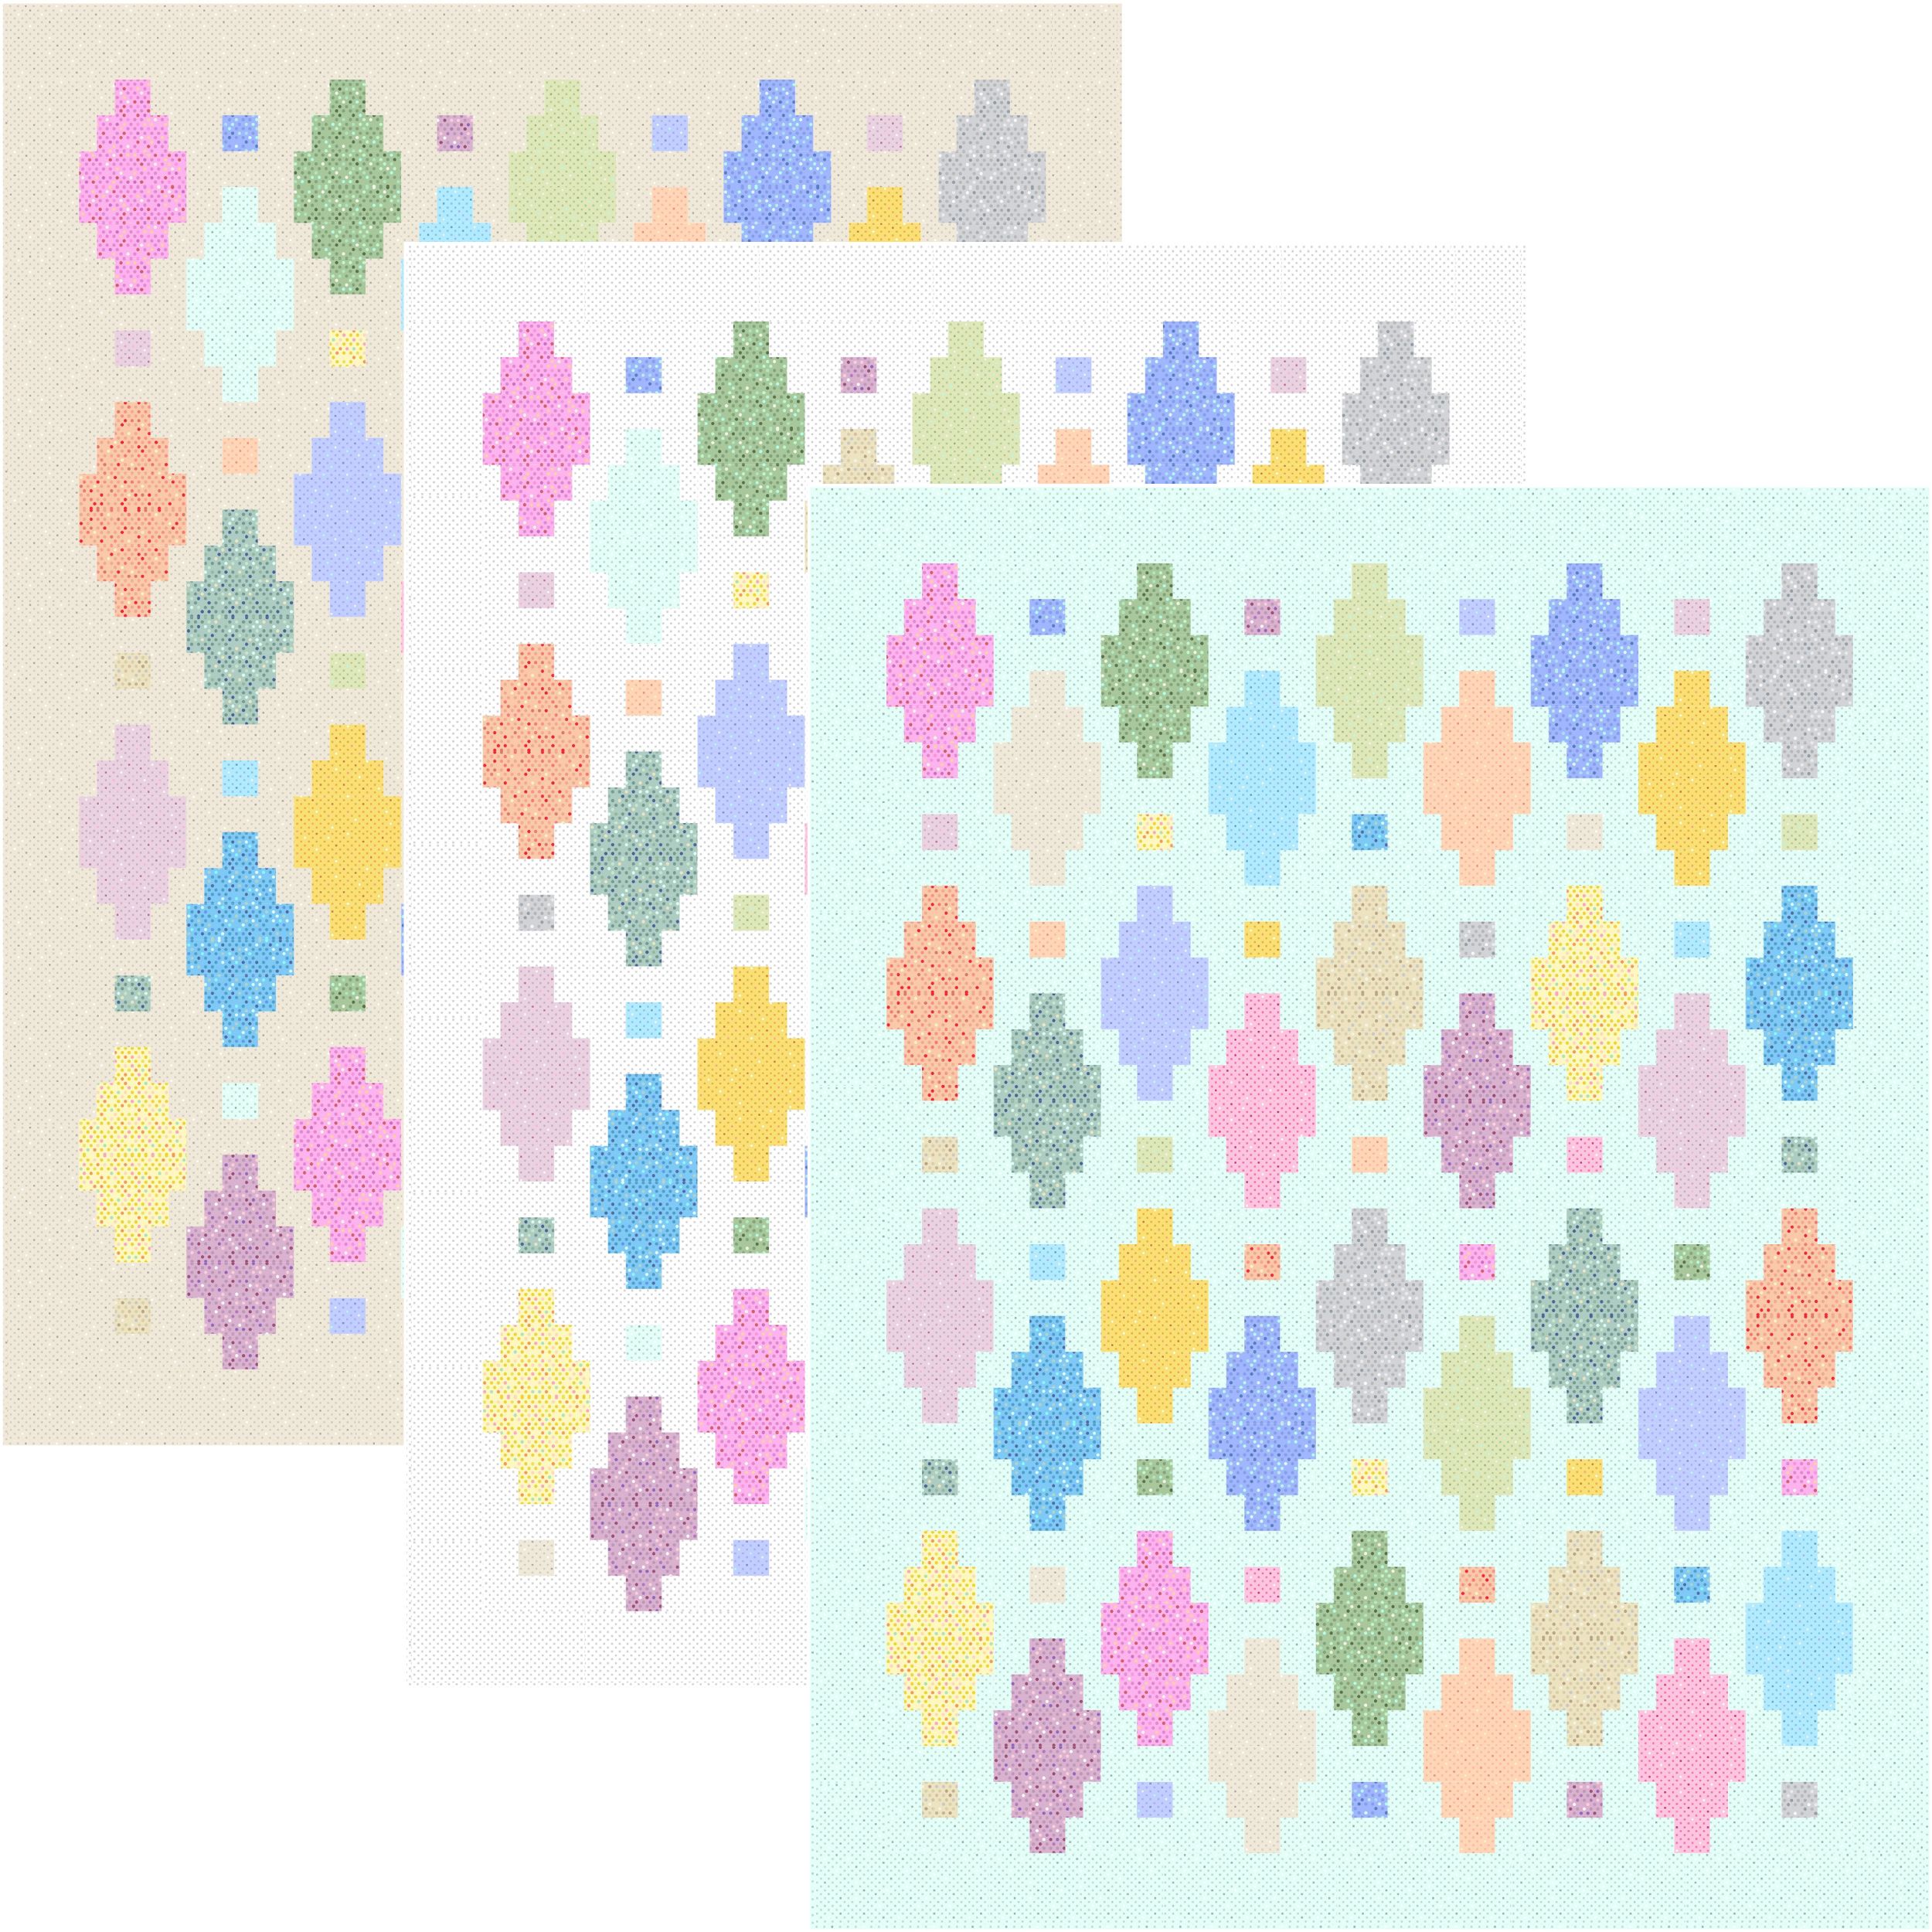
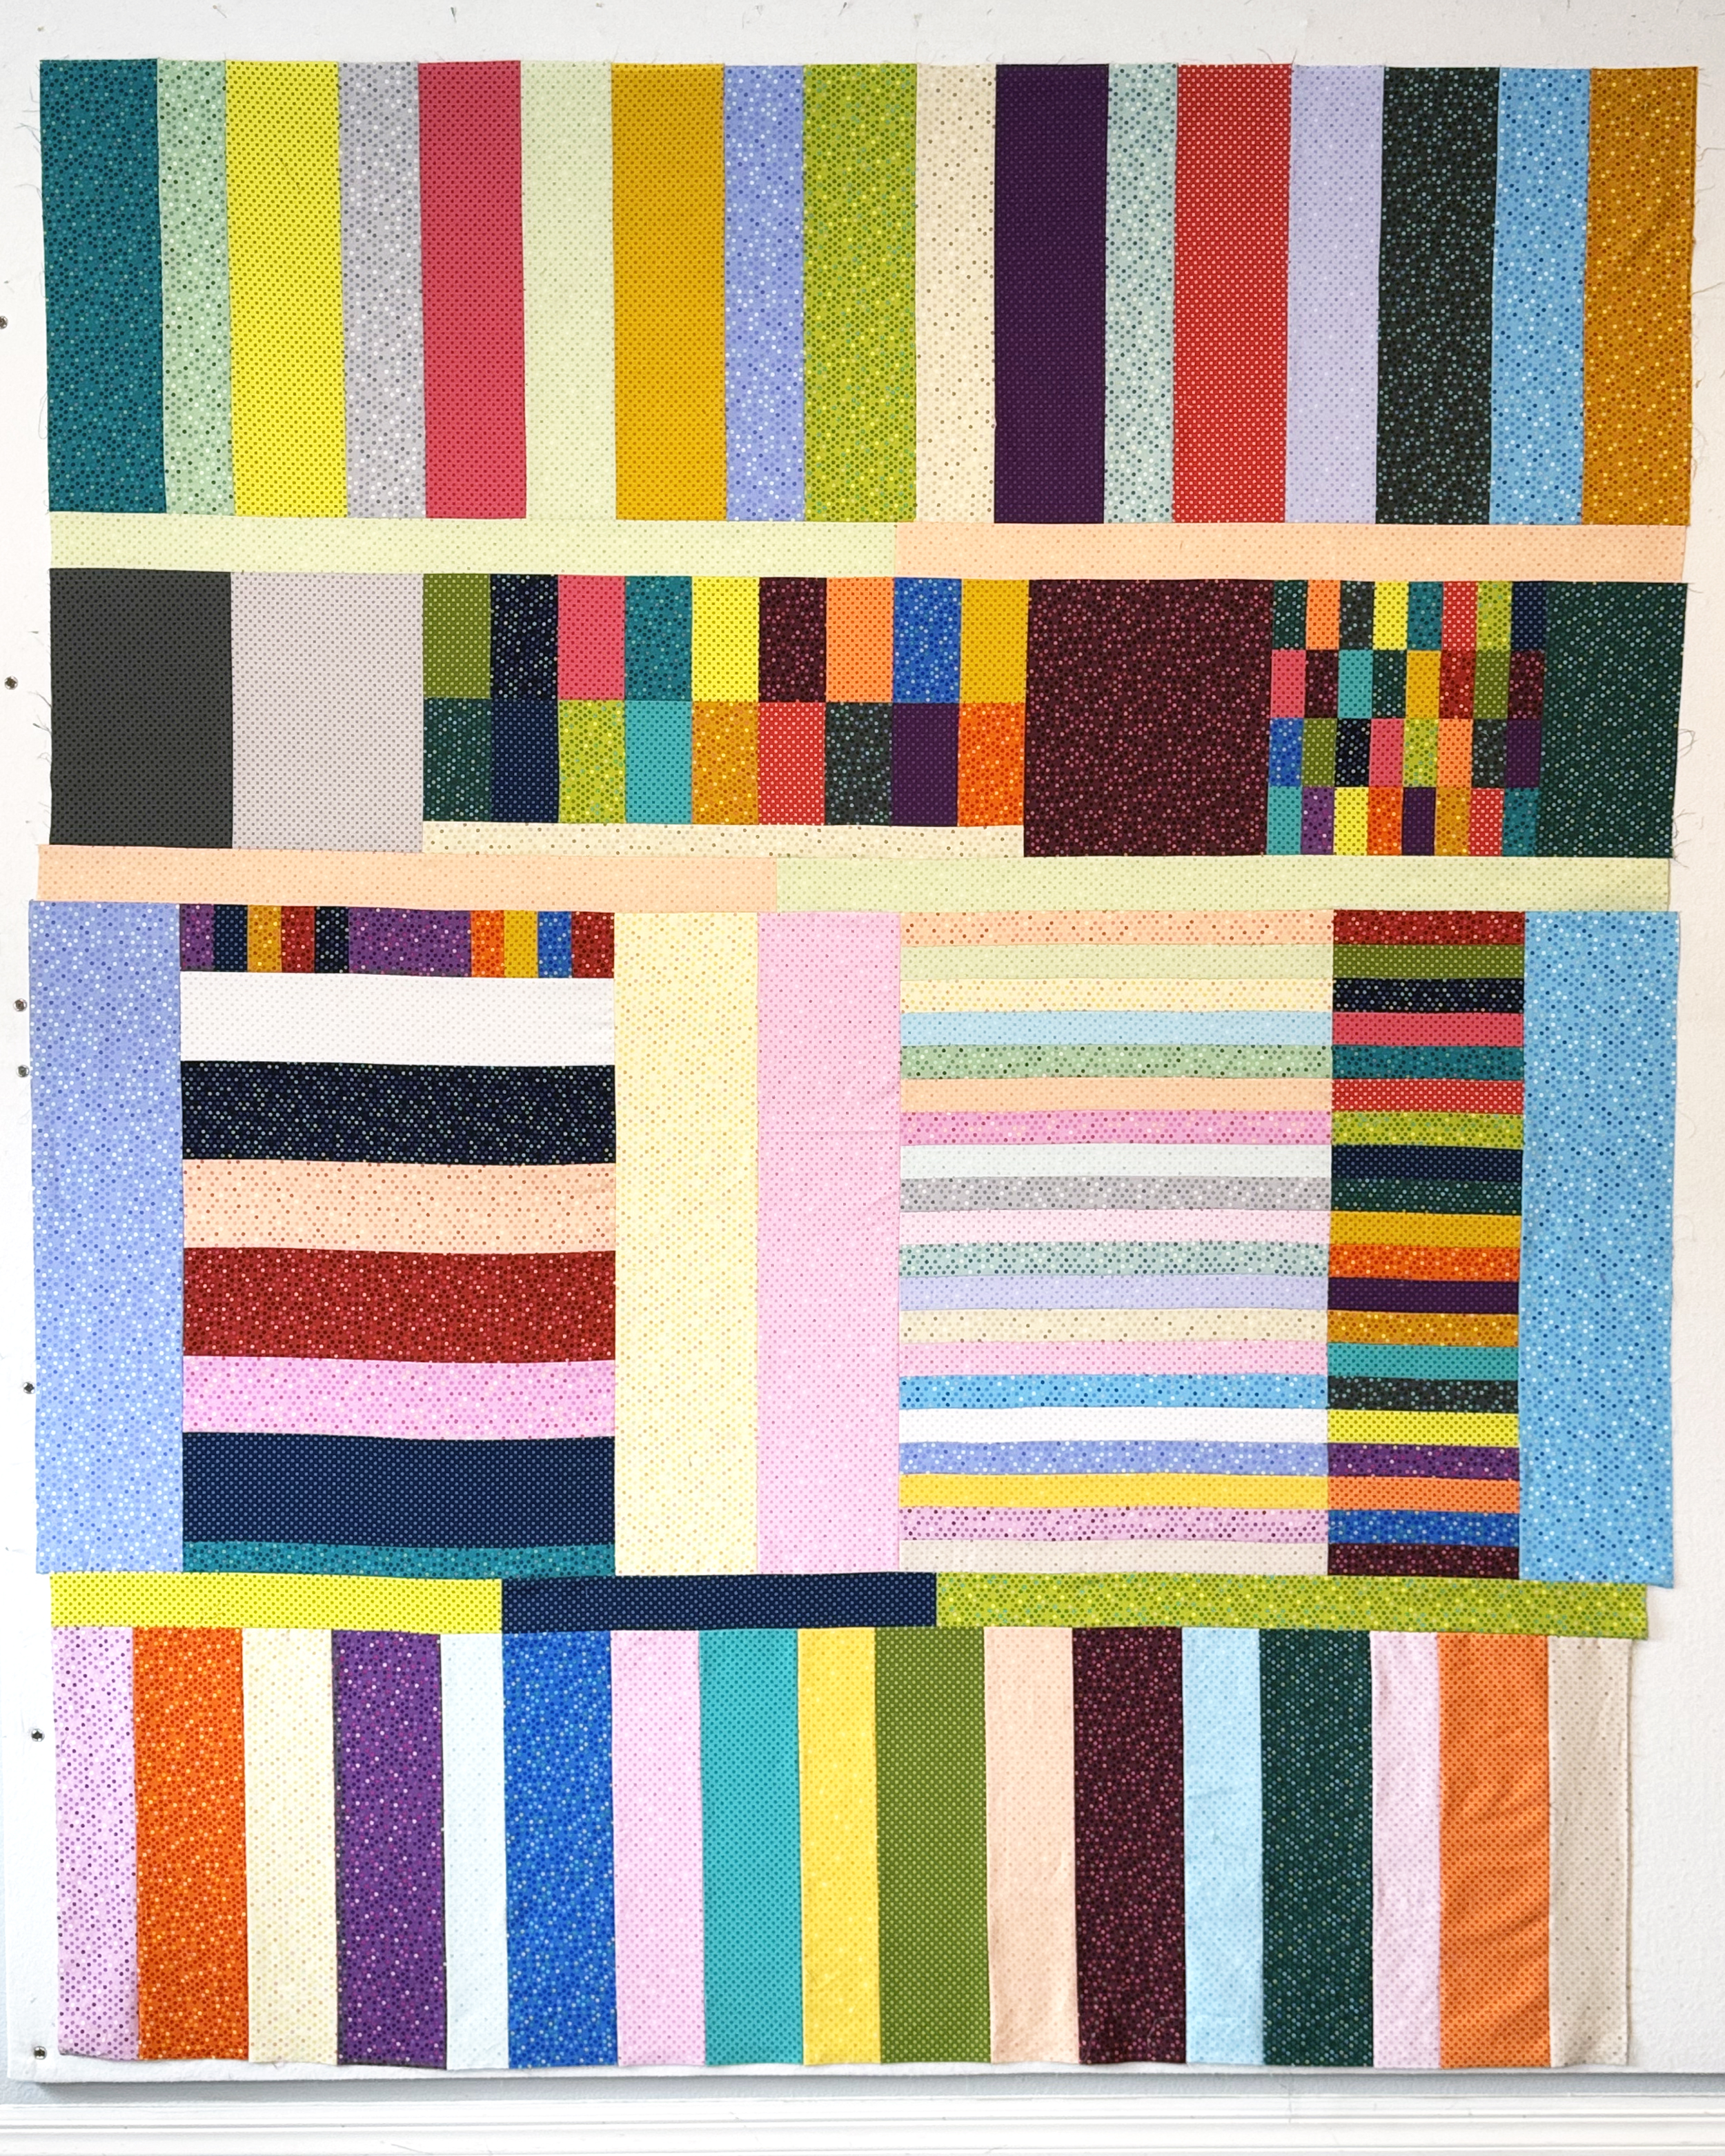
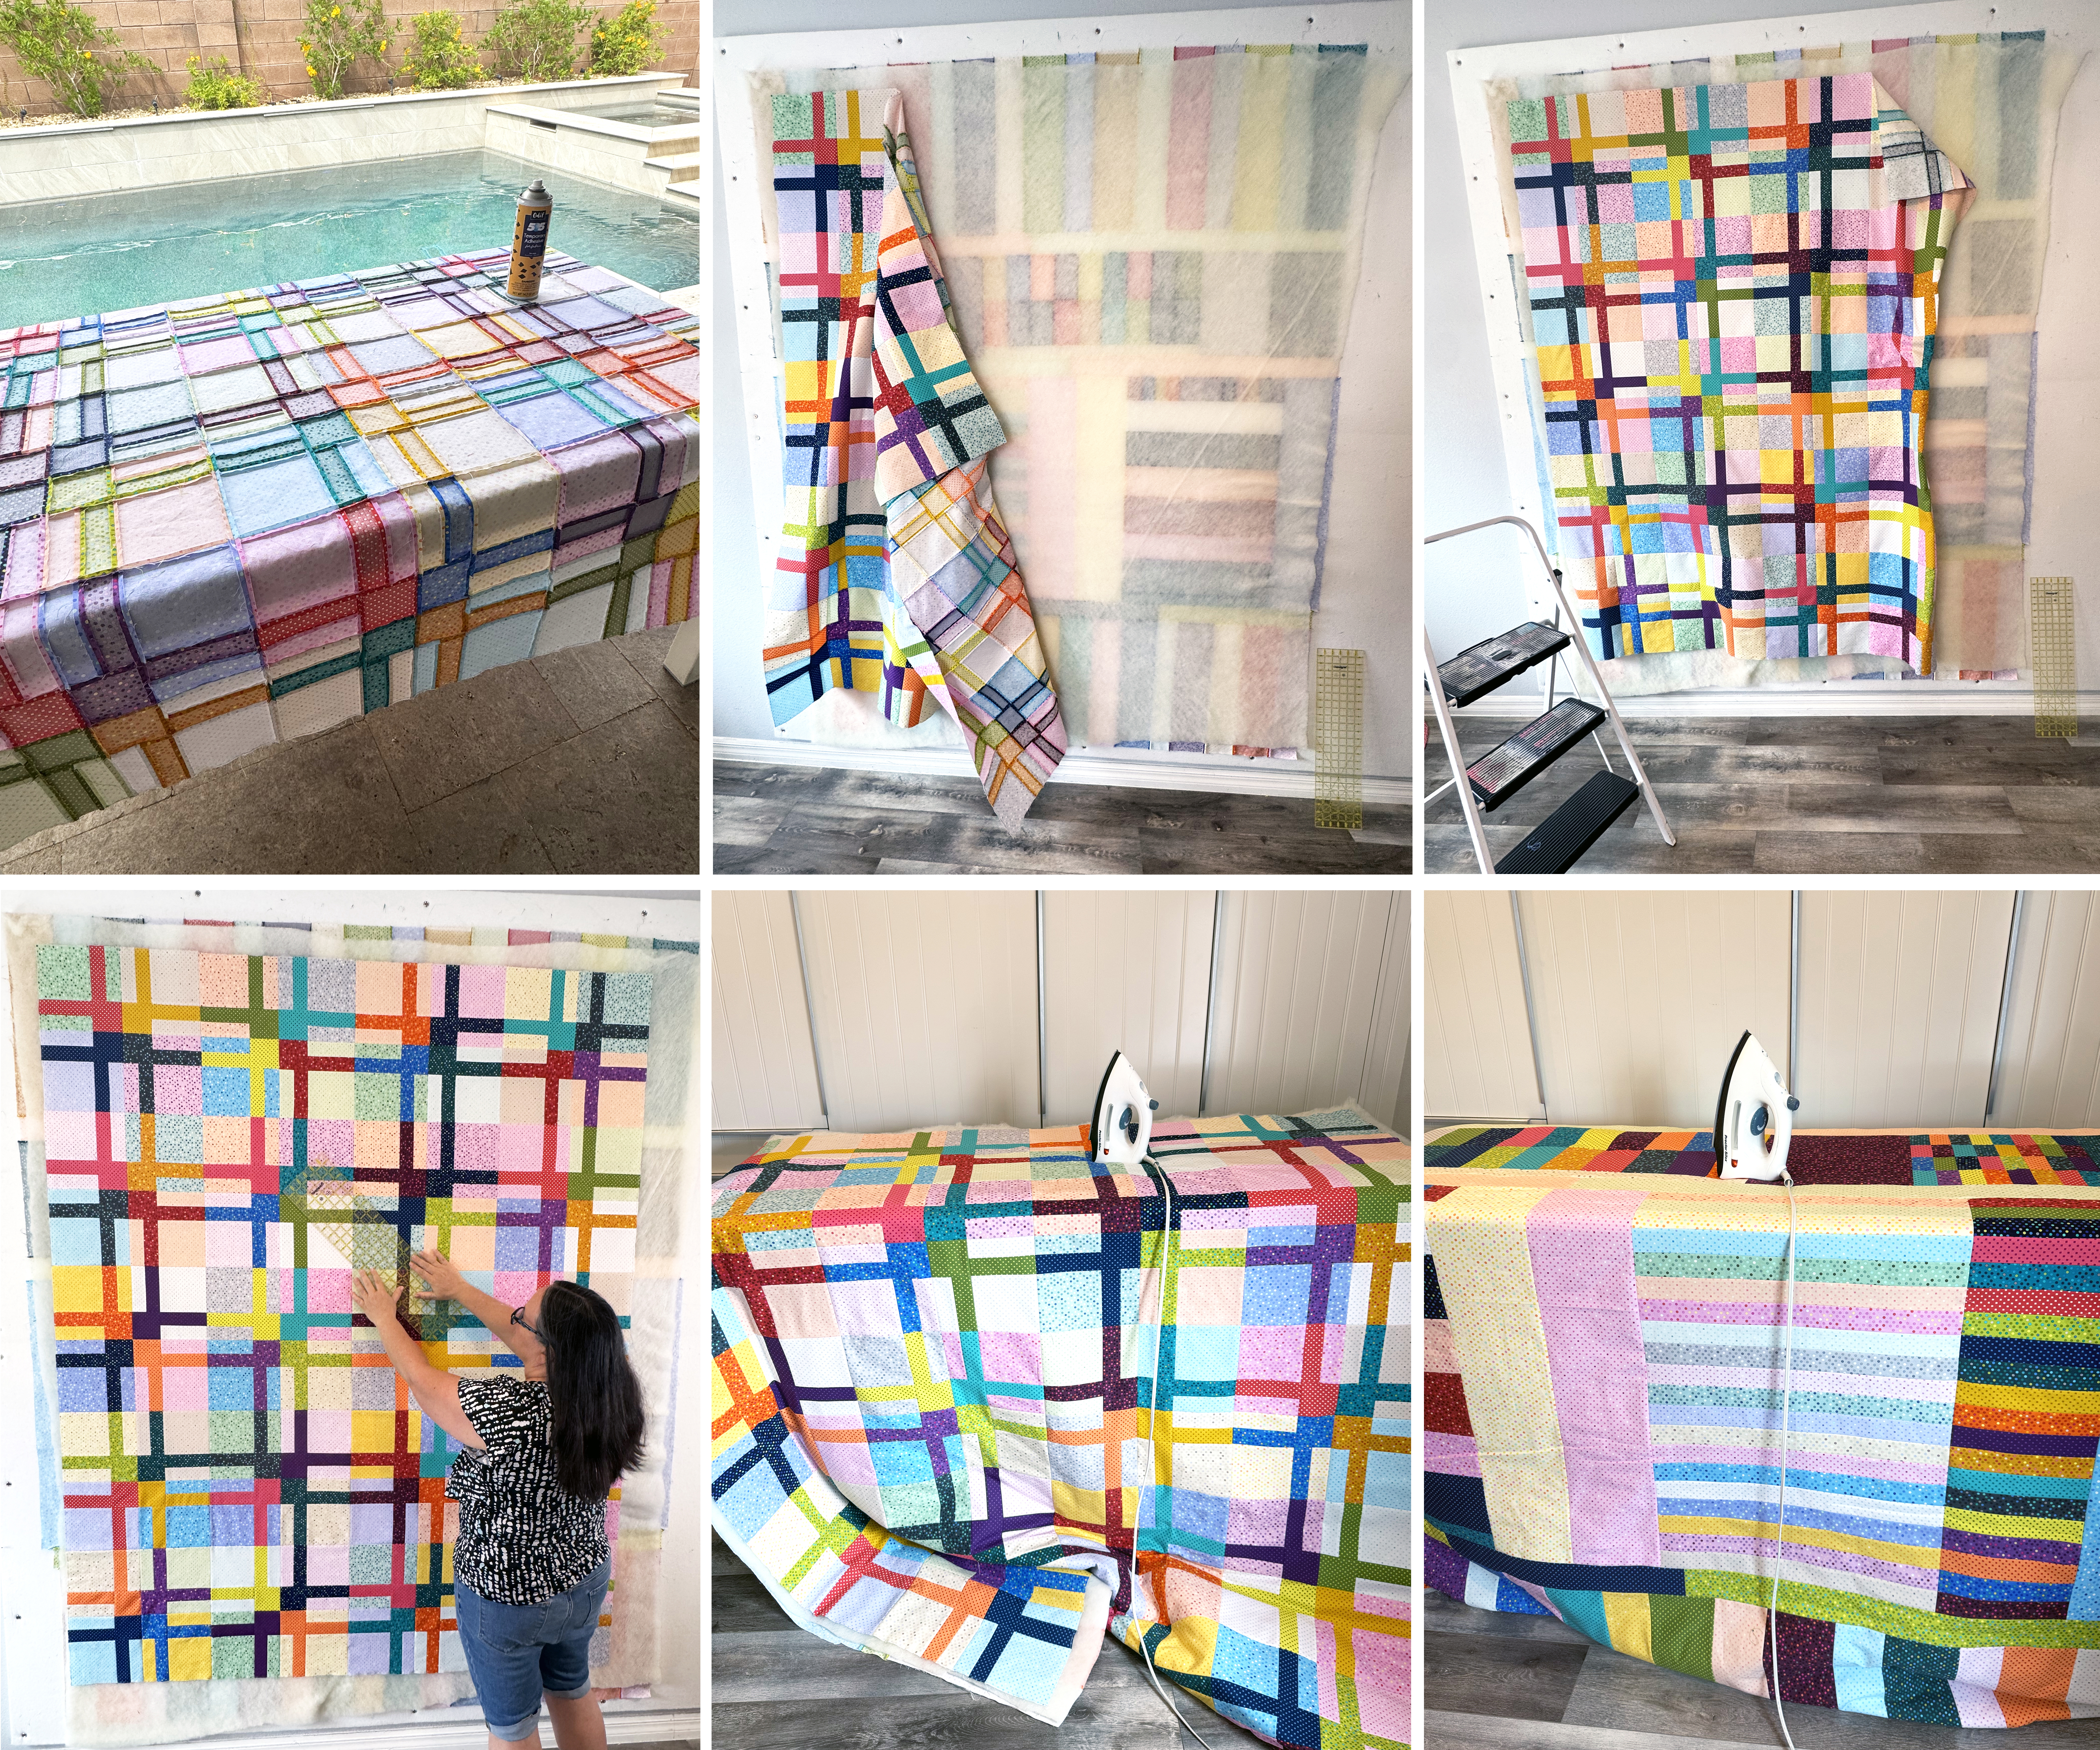
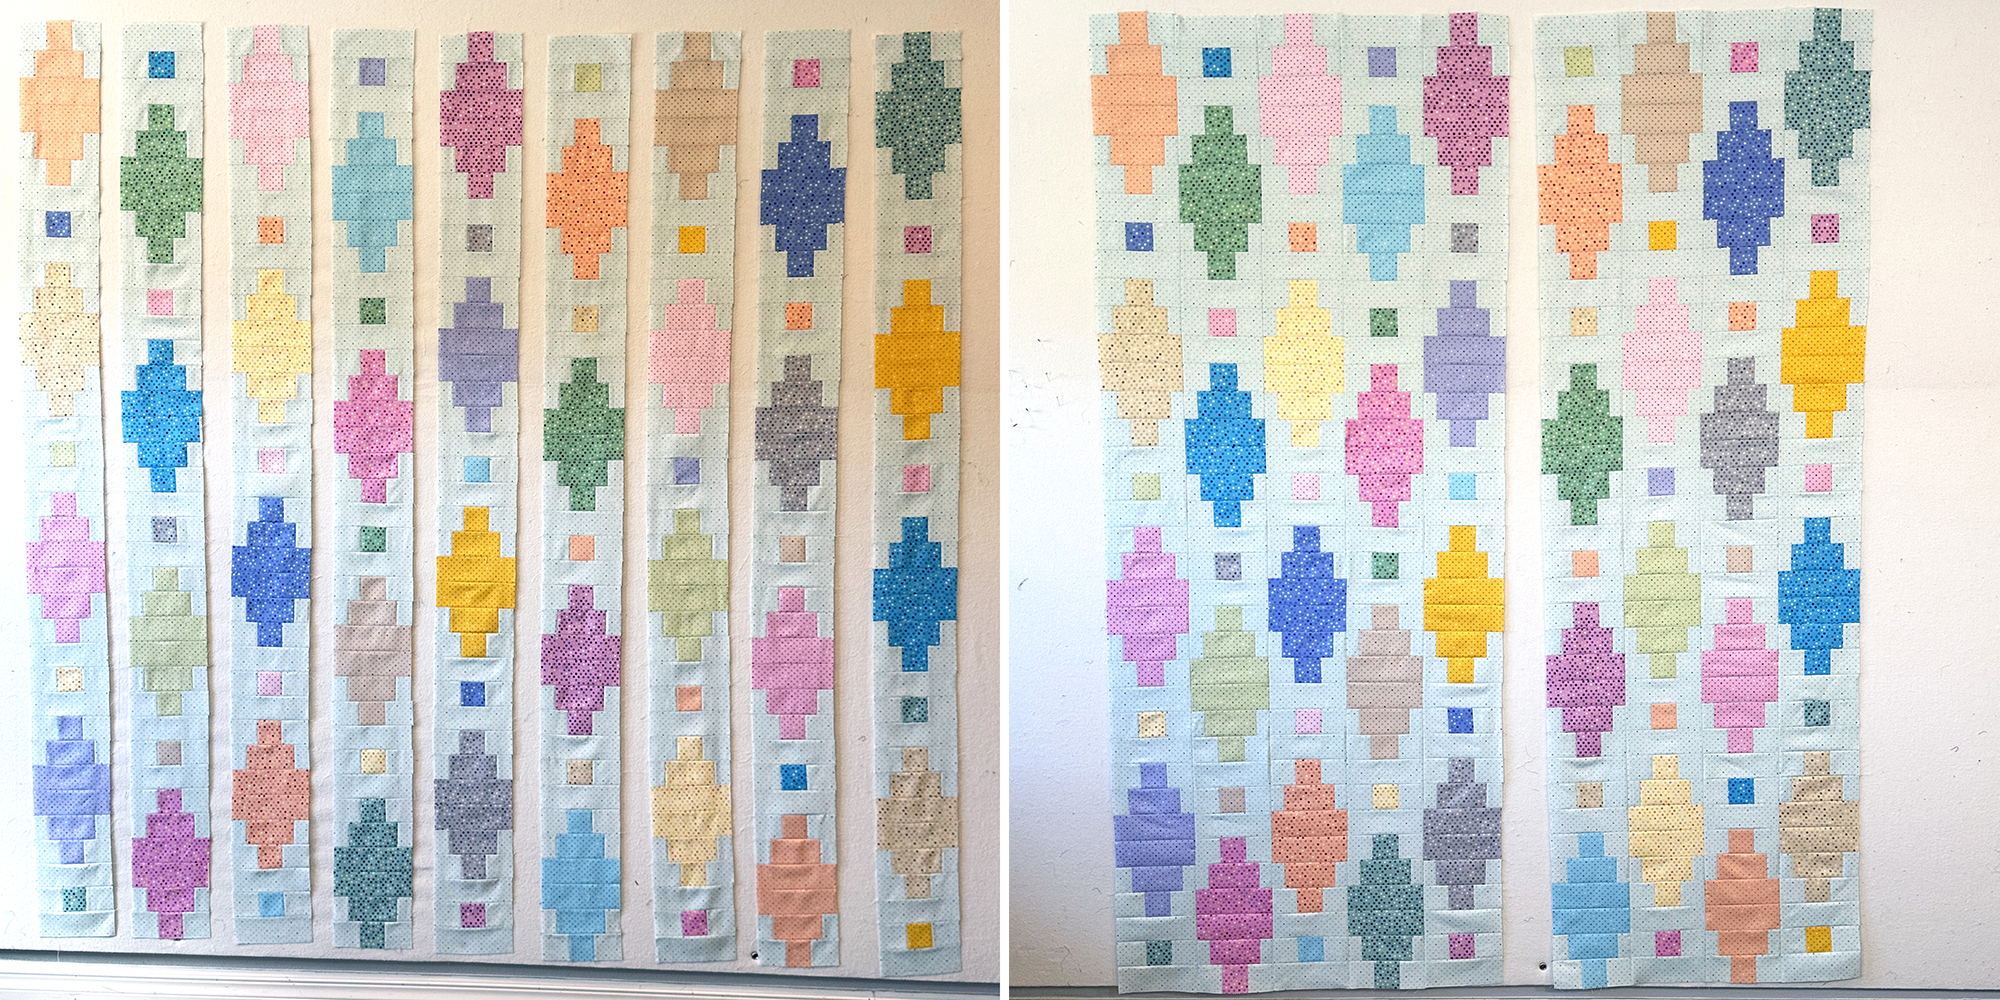
I’ll sew all of the blocks together into rows and then continue using my design wall to lay it out as I join the rows together. I press after every round of sewing to keep things nice and flat.
As you can sew I prefer to press all my seams open. This ensures flat blocks, flat rows, and a very flat quilt top which will make machine quilting so much easier! I sew with a short stitch length (2.0) so that nothing comes apart while handling.
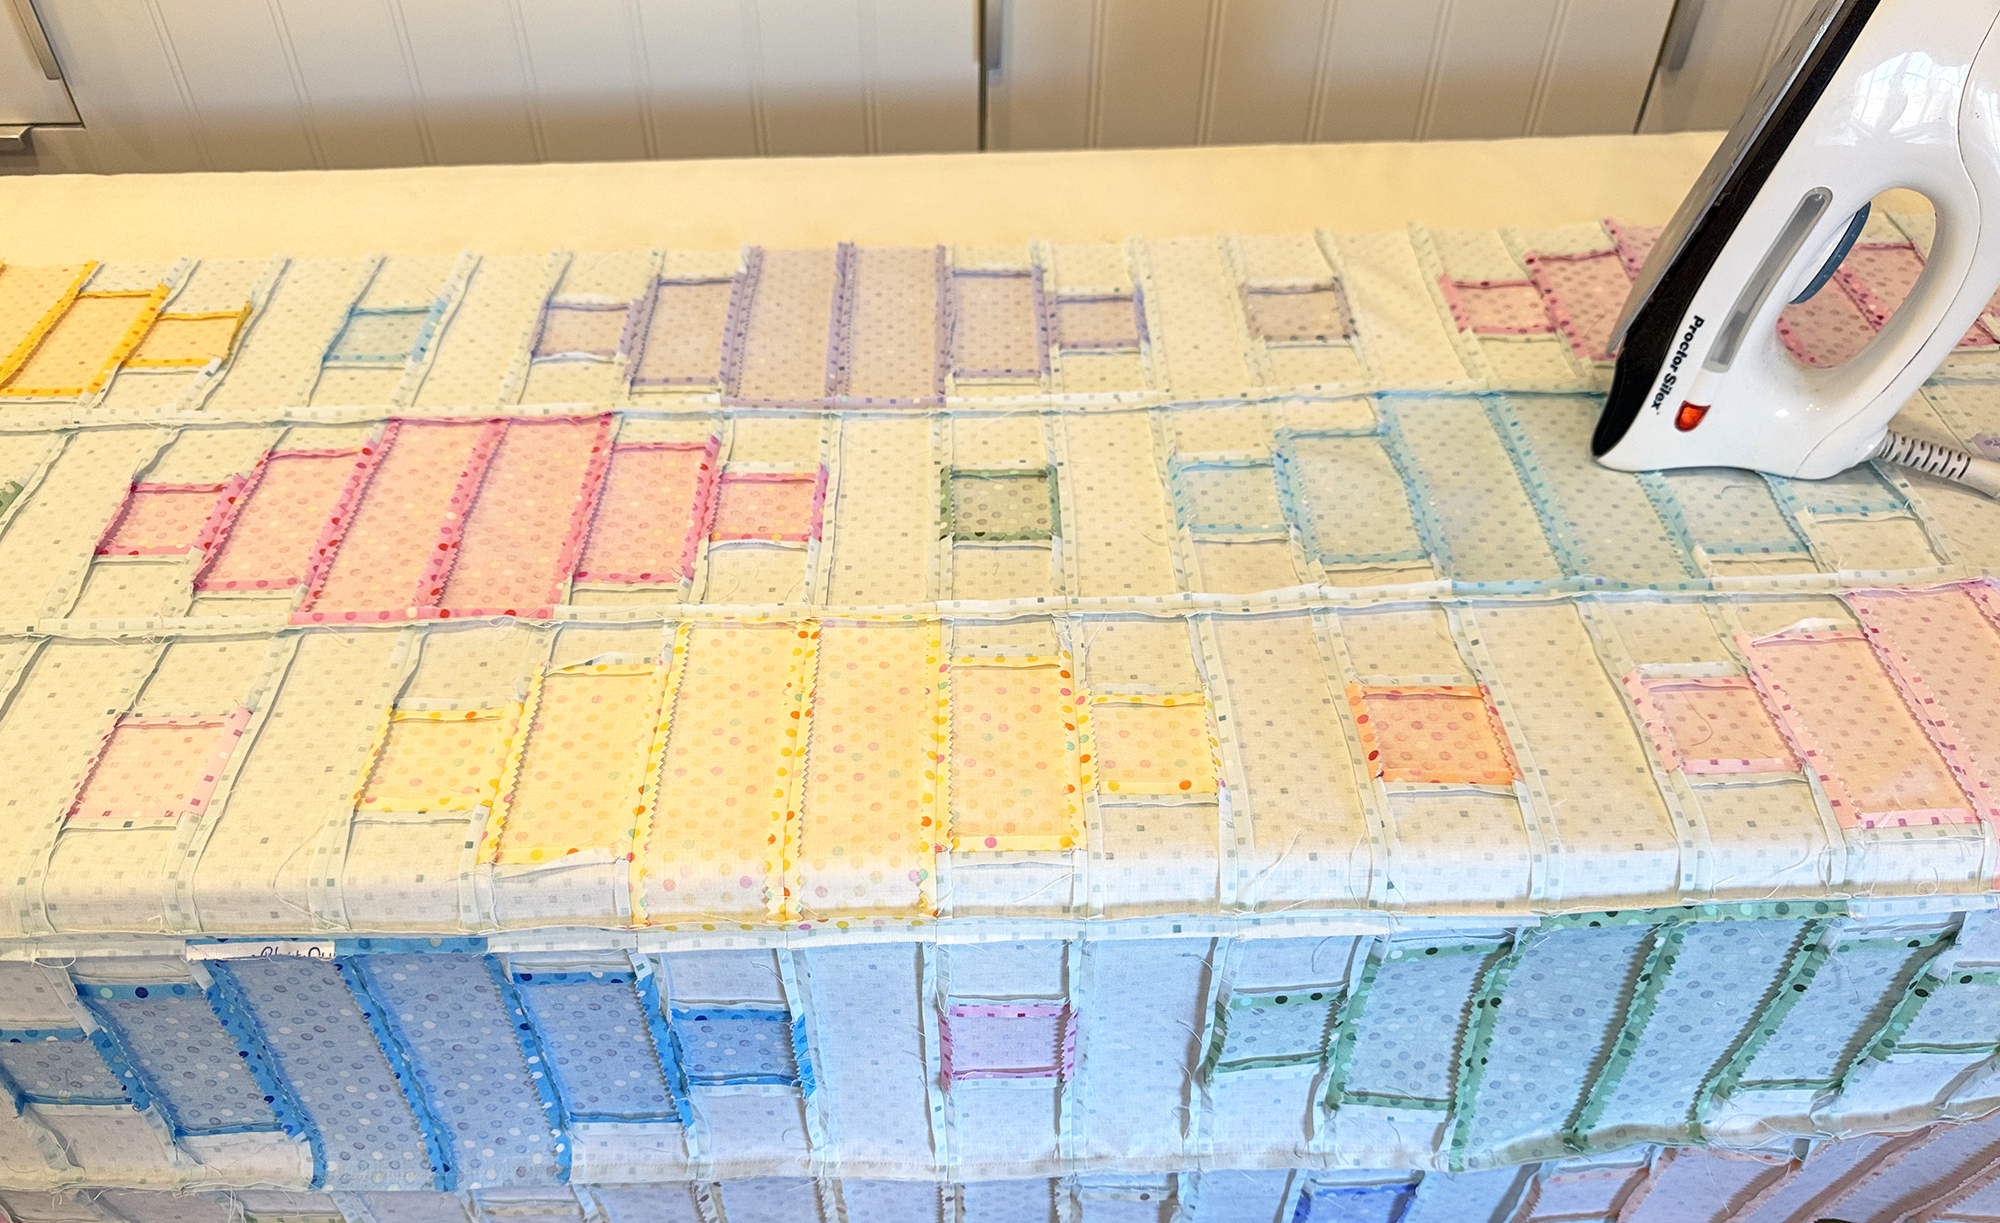
I pin generously as I sew to keep things from shifting. Because my seams are pressed open, I’m not pinning right into the intersection. Instead I will pin on either side of the seams I want to match up and I get really clean joins and matching points this way.

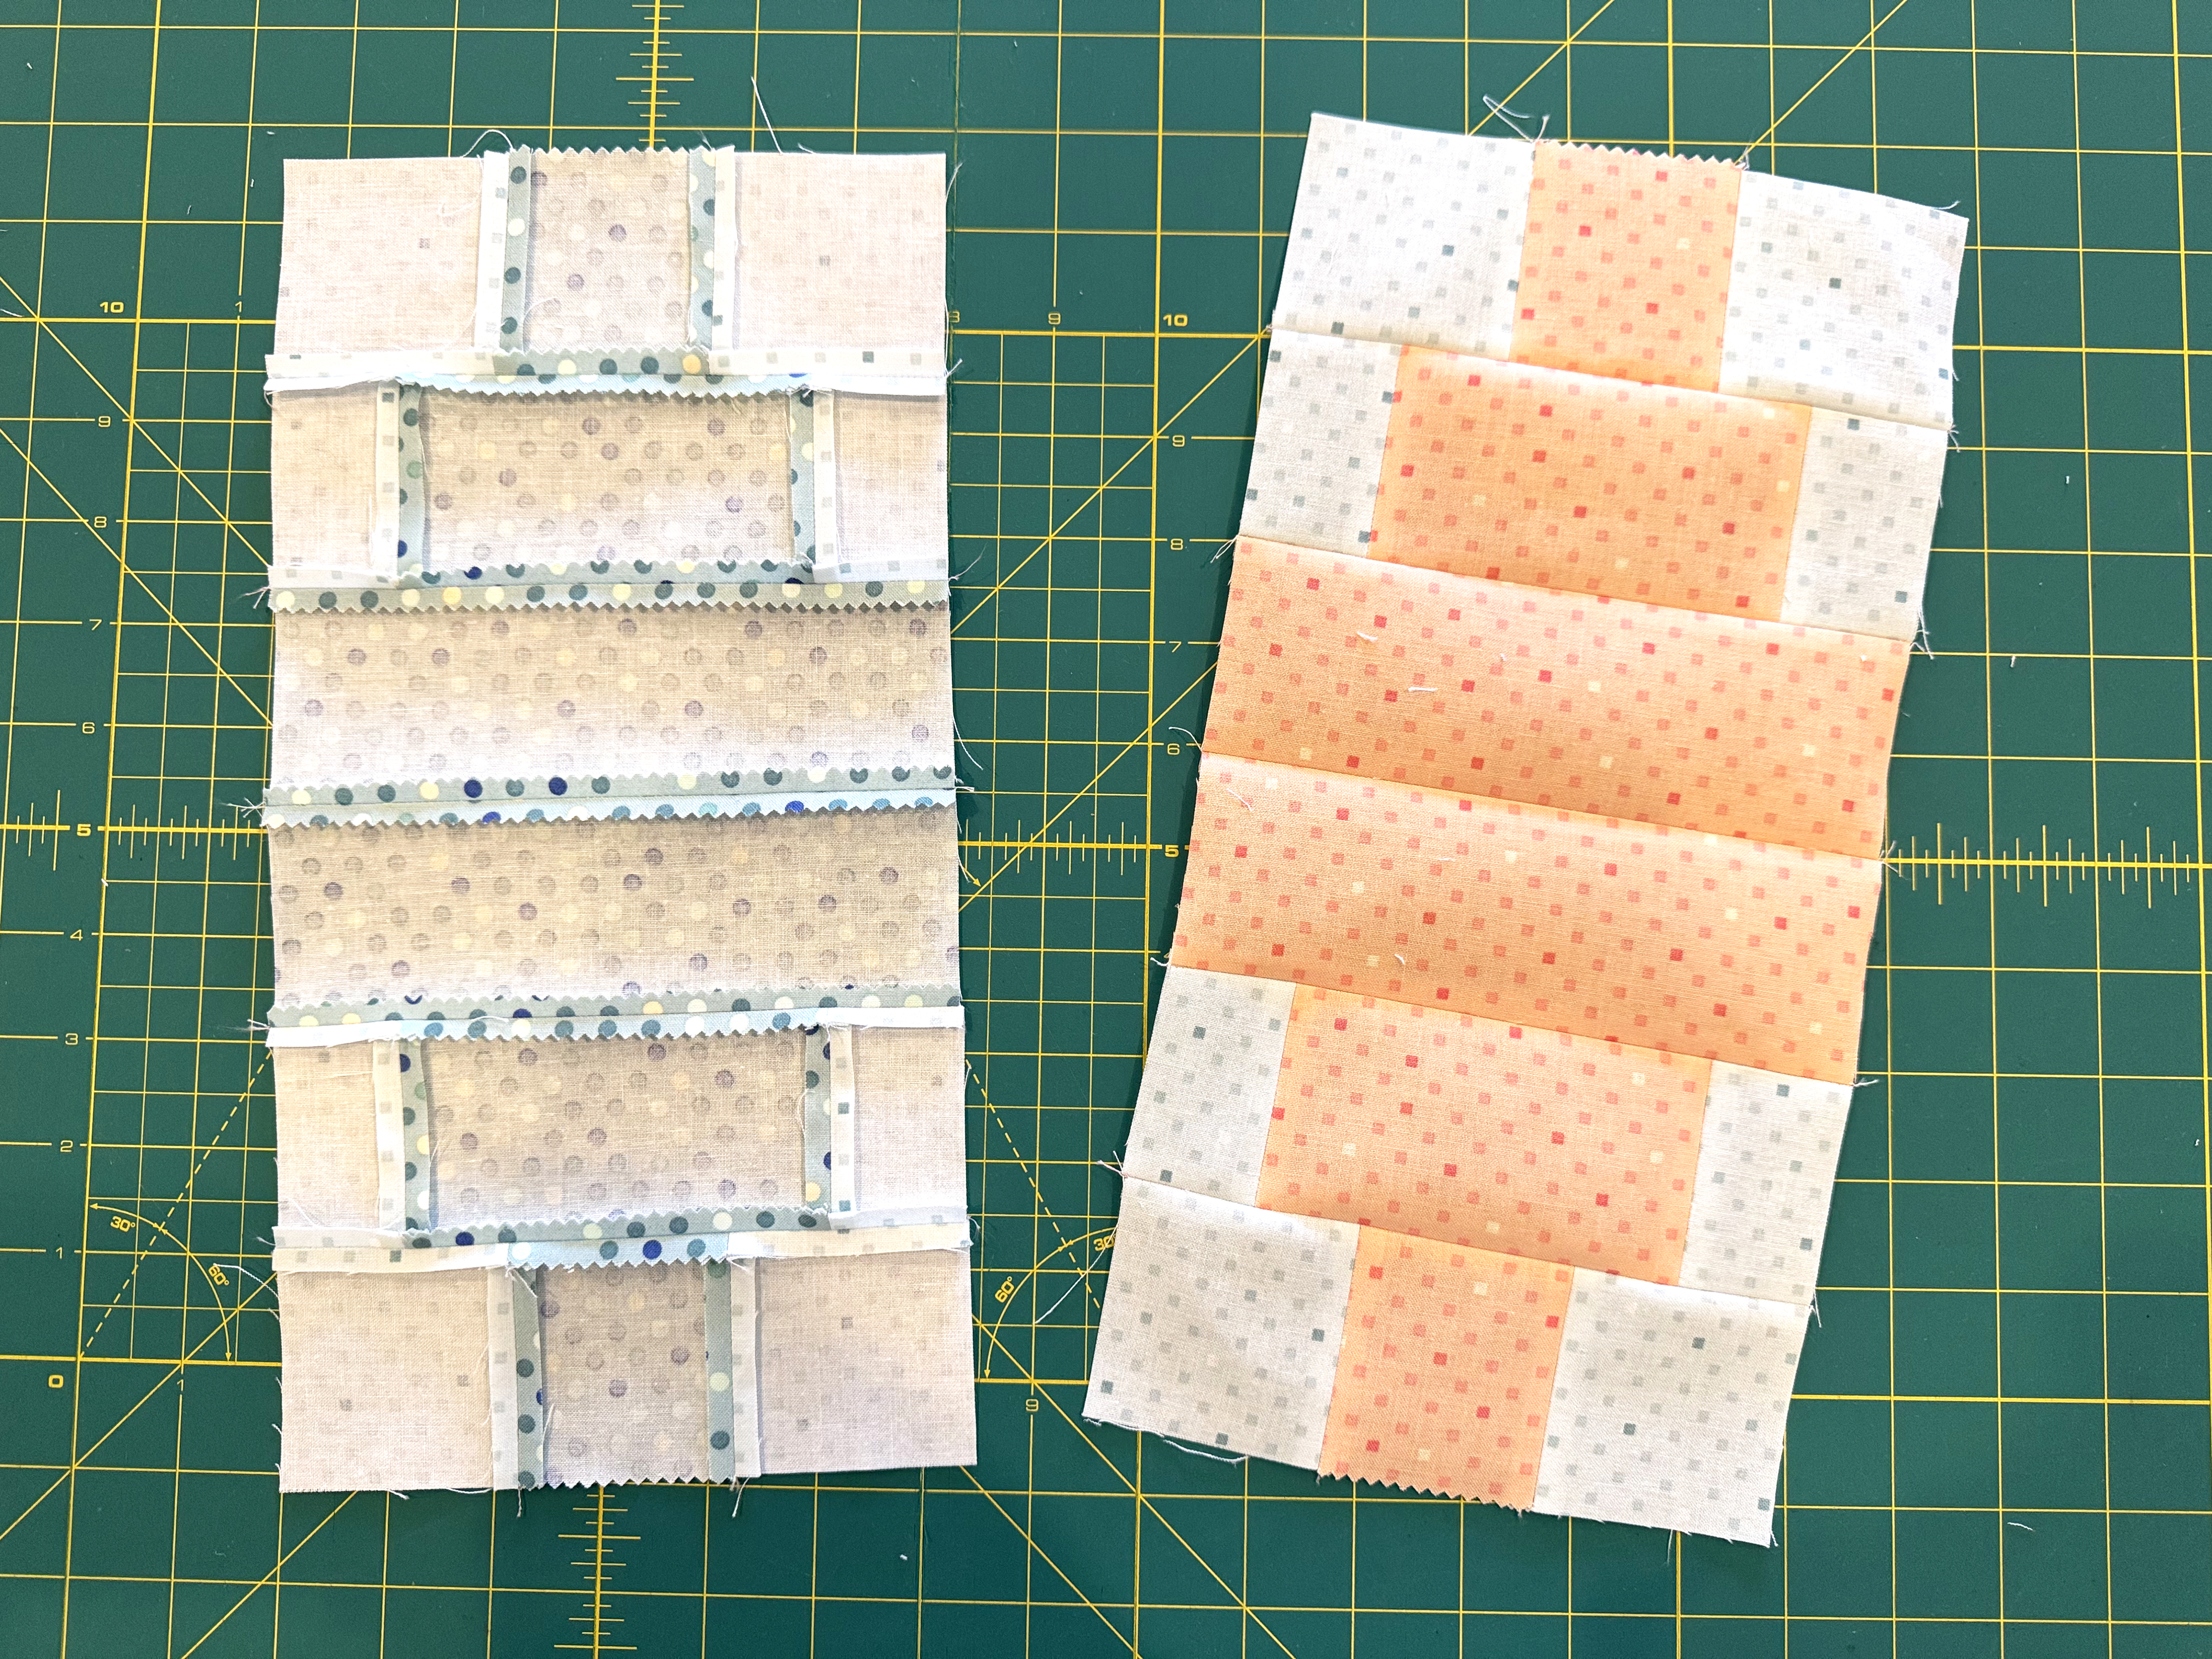
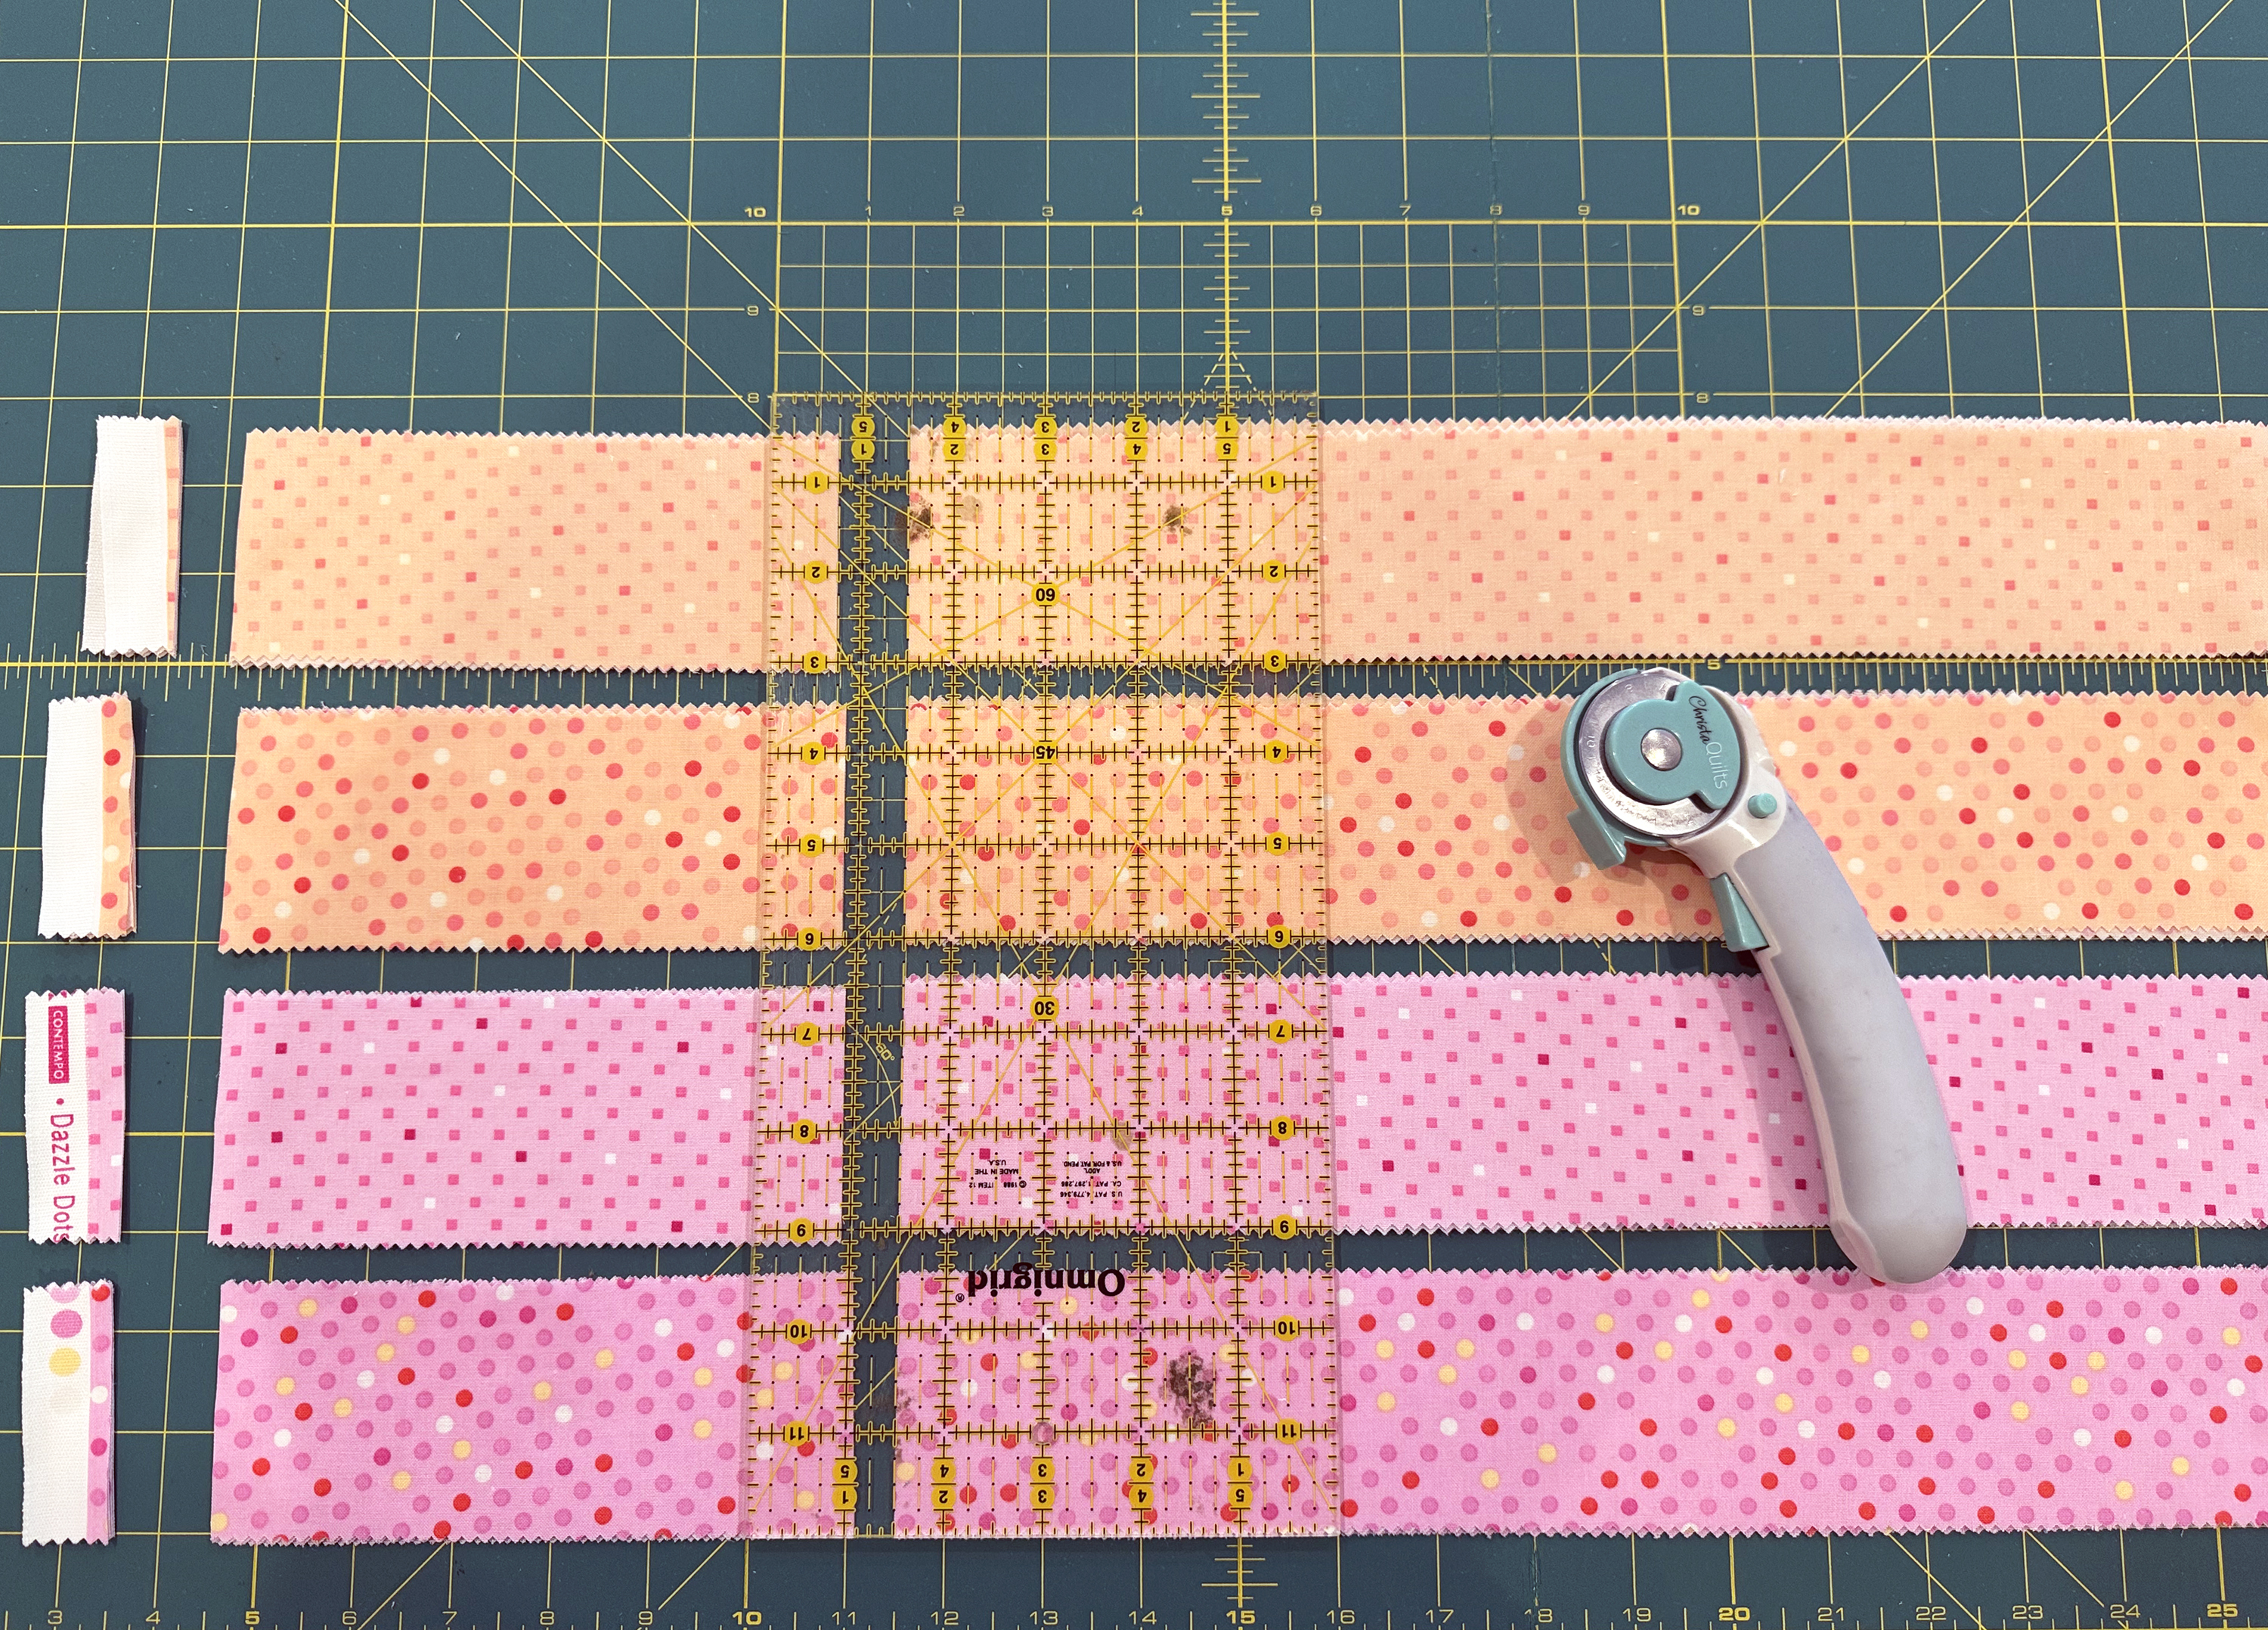
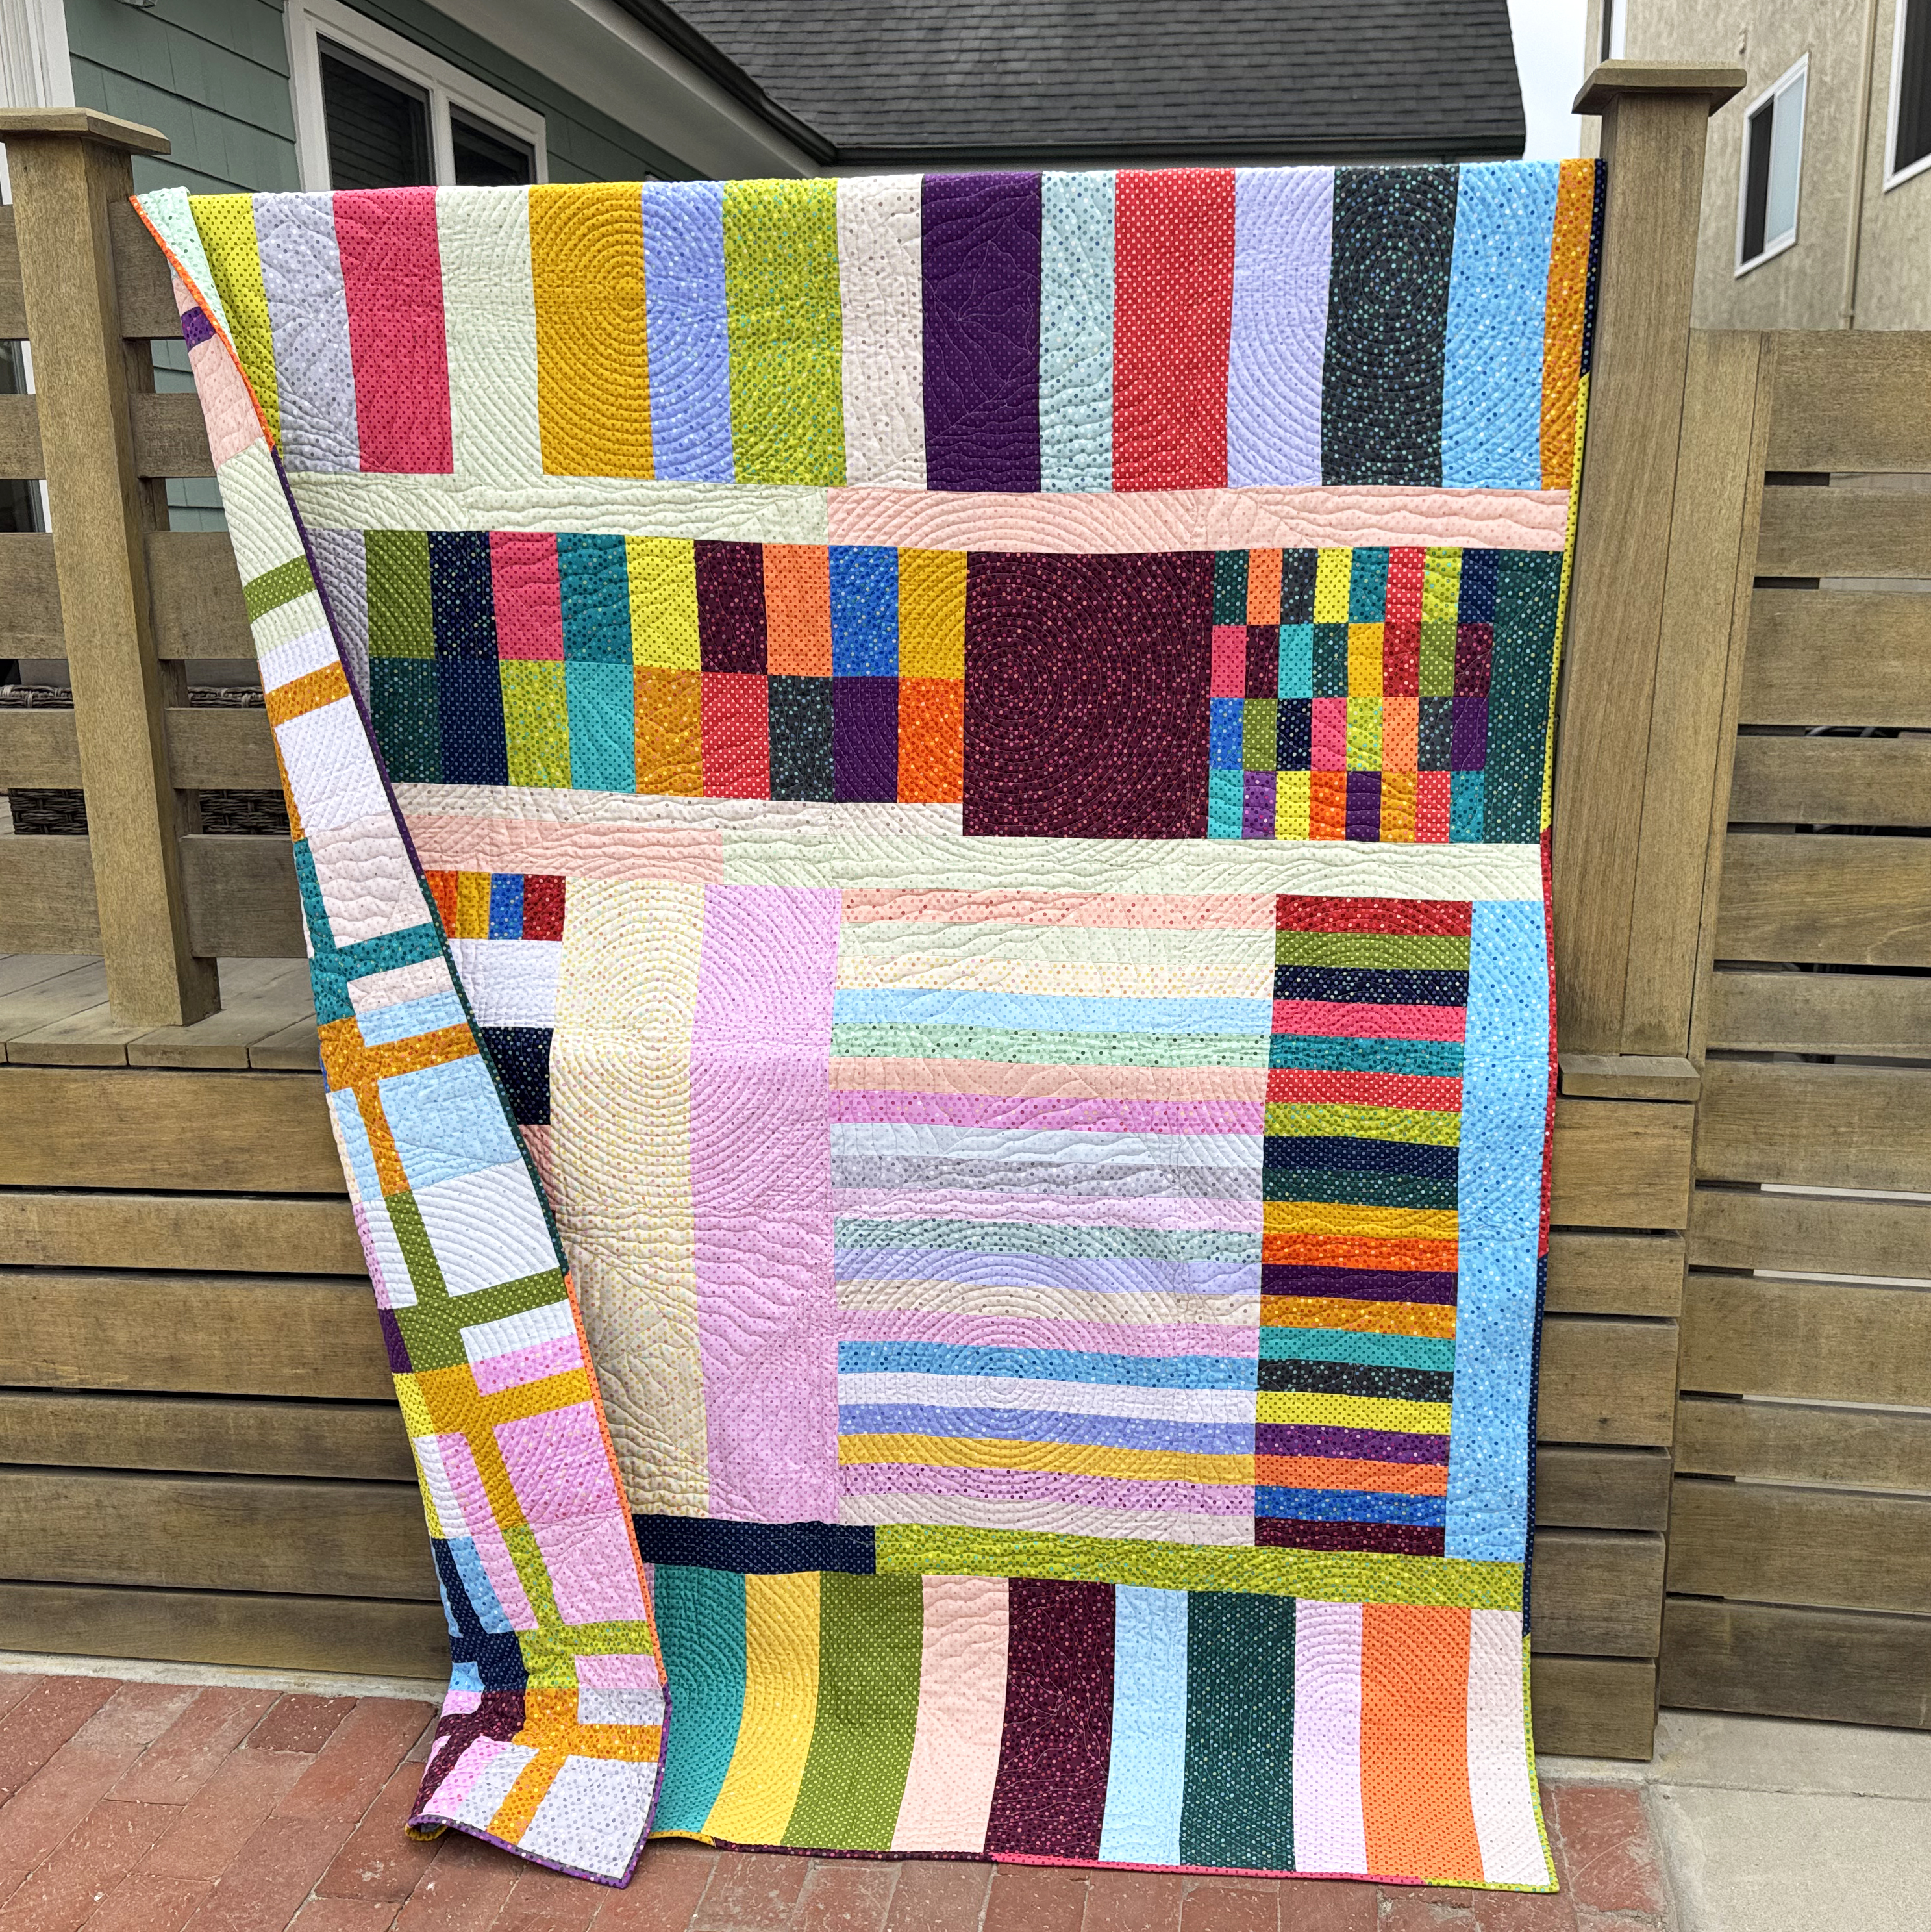
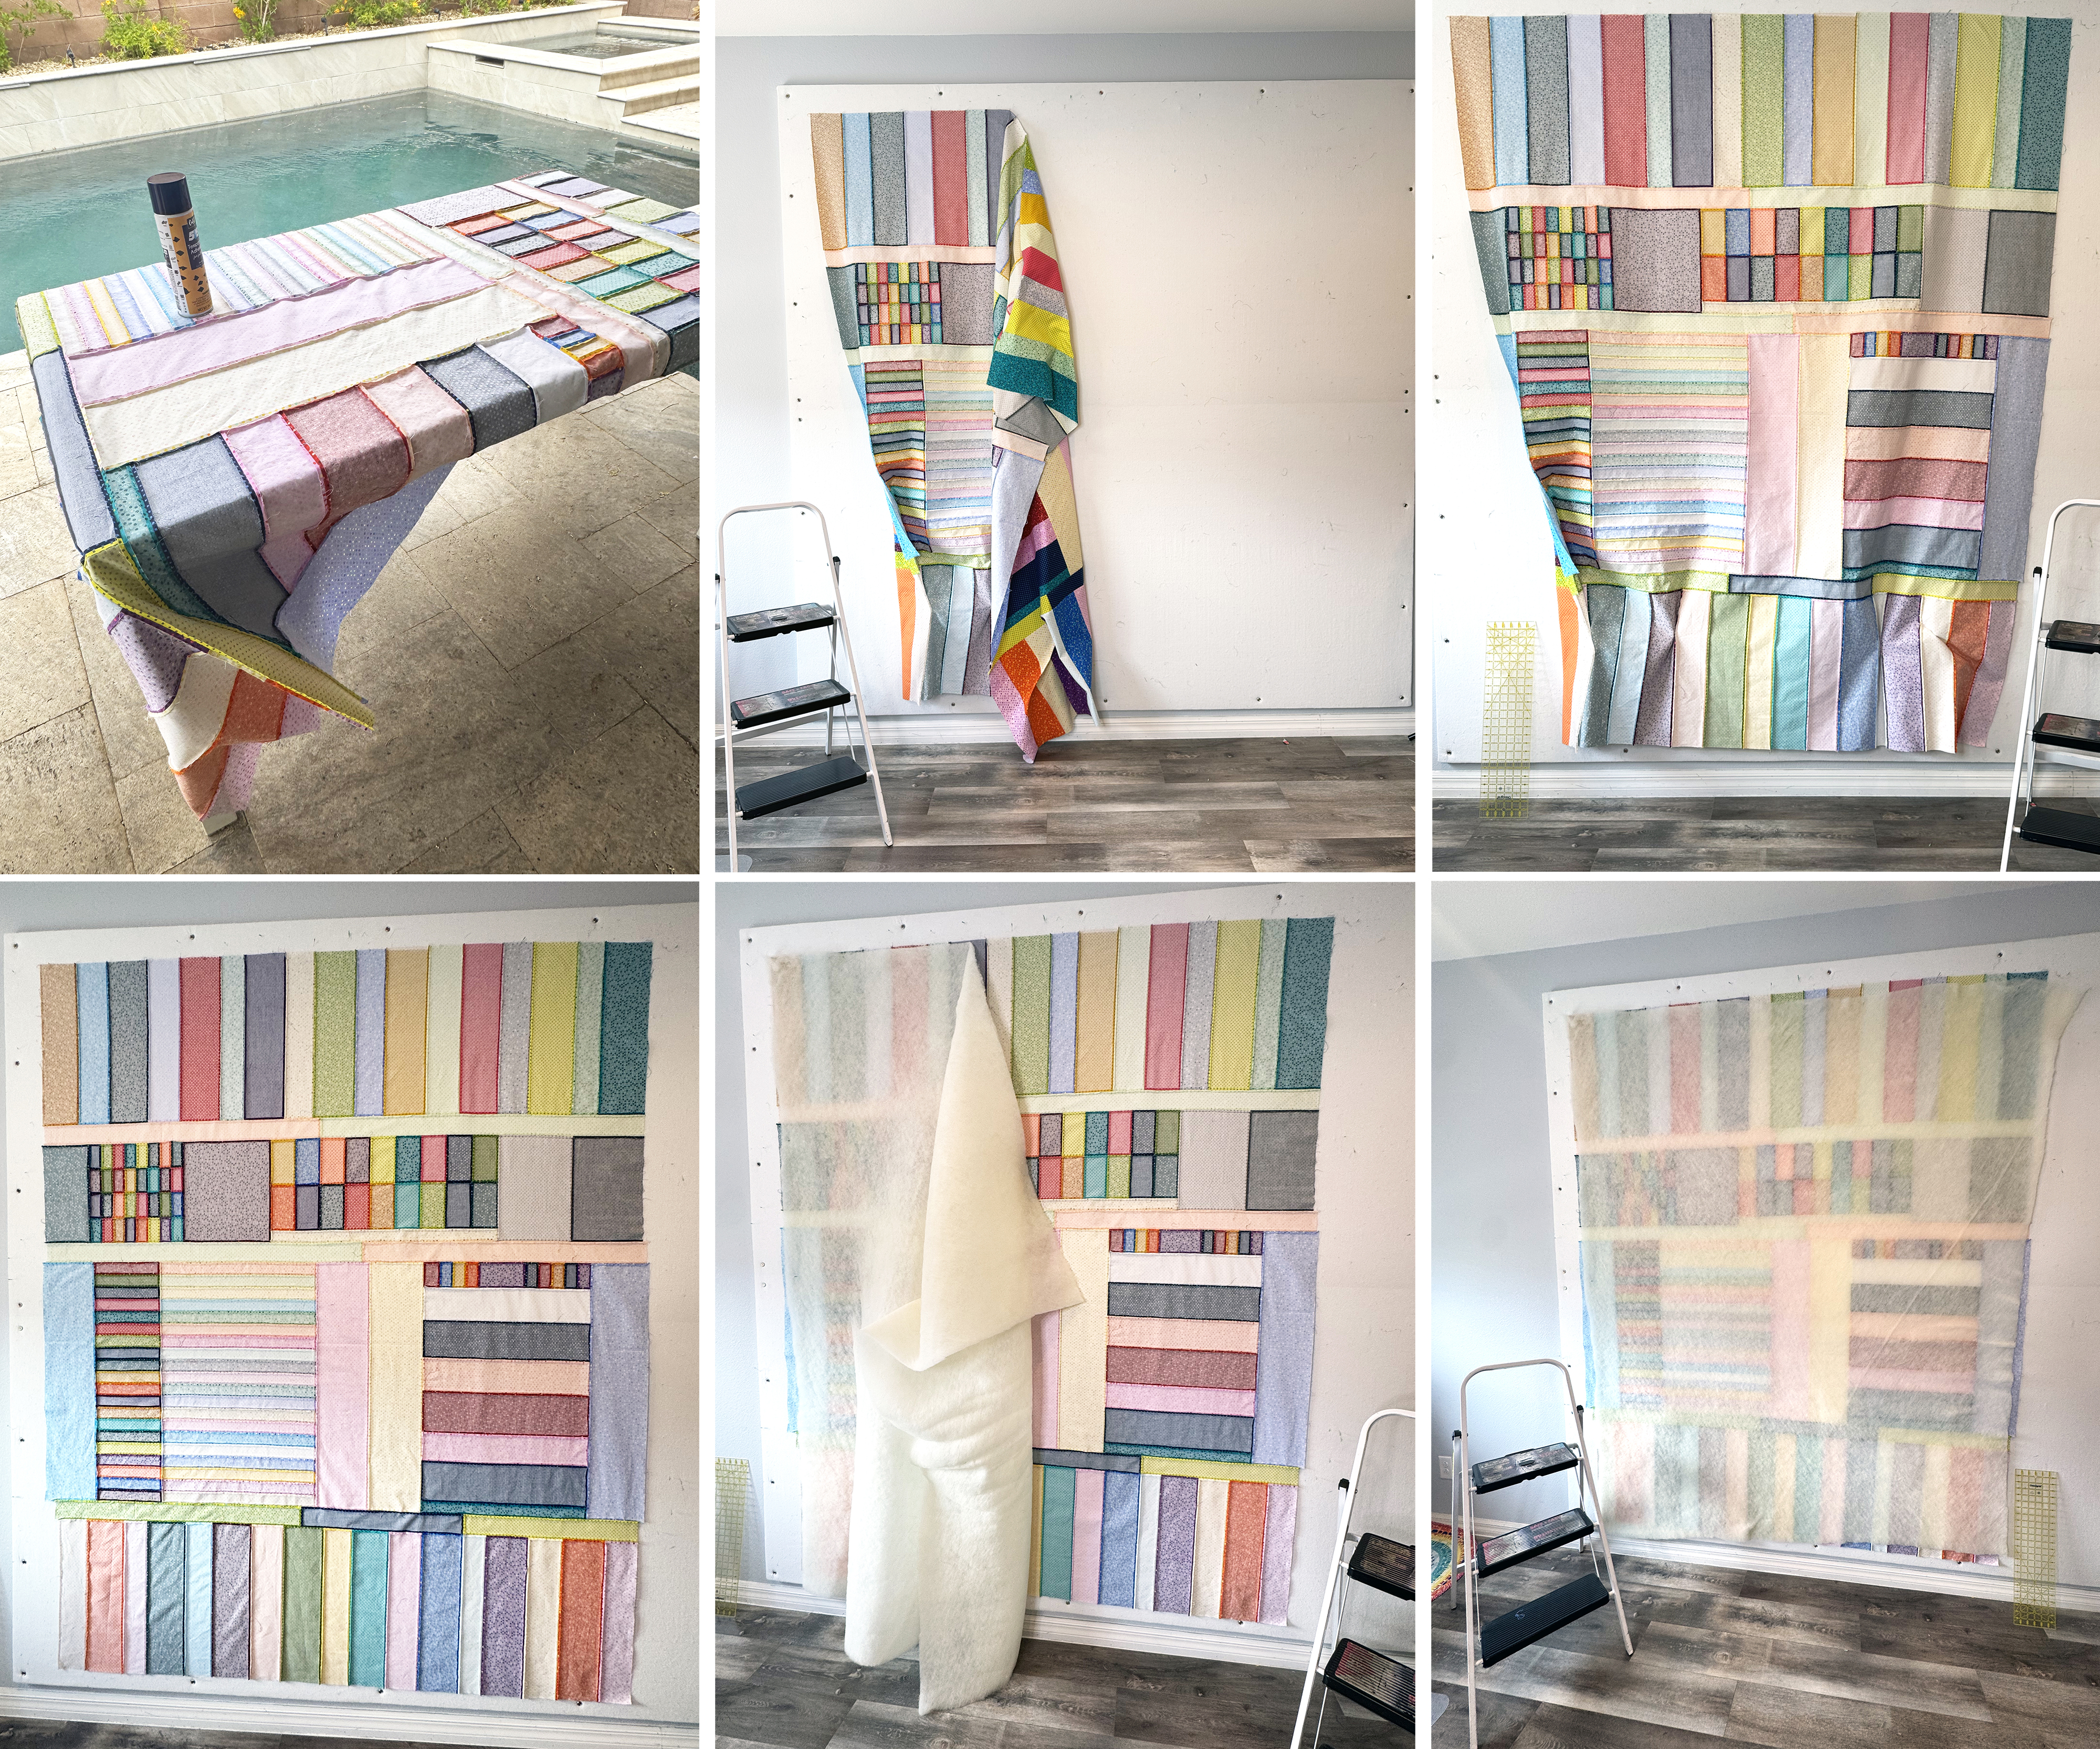
Finally, I add the borders and give the quilt top a final press! Notice the bit of patchwork on the design wall below. I sewed together some leftovers into strip units and I’ll start using those on the back.

Coming up next: I’ll need to piece the quilt backing, baste the layers and quilt the quilt, so stay tuned for more! Click the links below to catch up on any of the previous steps: