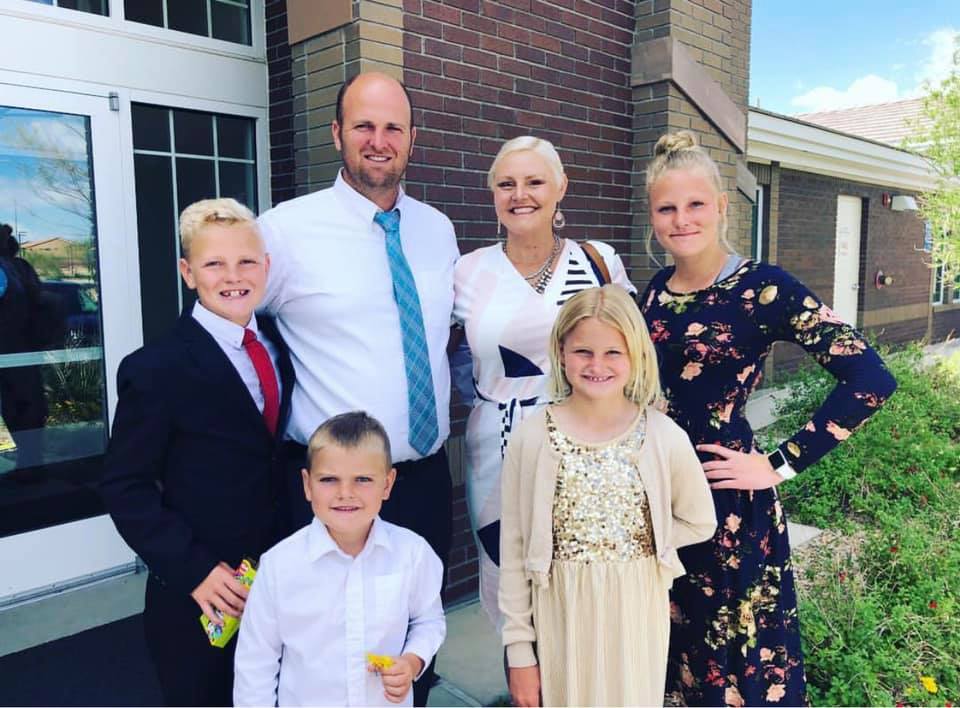
A sweet friend of mine passed away this week. Stacy Perry was a devoted mother of 4, loving wife to Mark, (an amazing realtor who helped us with our recent move), and one of the kindest souls you’d ever meet. She was diagnosed with stage 4 colon cancer 3 years ago and fought a very valiant fight for her life.
Our family have been friends with her family ever since we moved into the same neighborhood a dozen years ago. She was always the creative type, and I was thrilled when she tried her hand at quilting a couple of adorable baby quilts a few years back. She always had that infectious smile that made the world a better place just by being in it.

Many of you even helped in the fight when I donated one of my quilts as a fundraiser to help pay for her cancer treatments a couple of years ago.
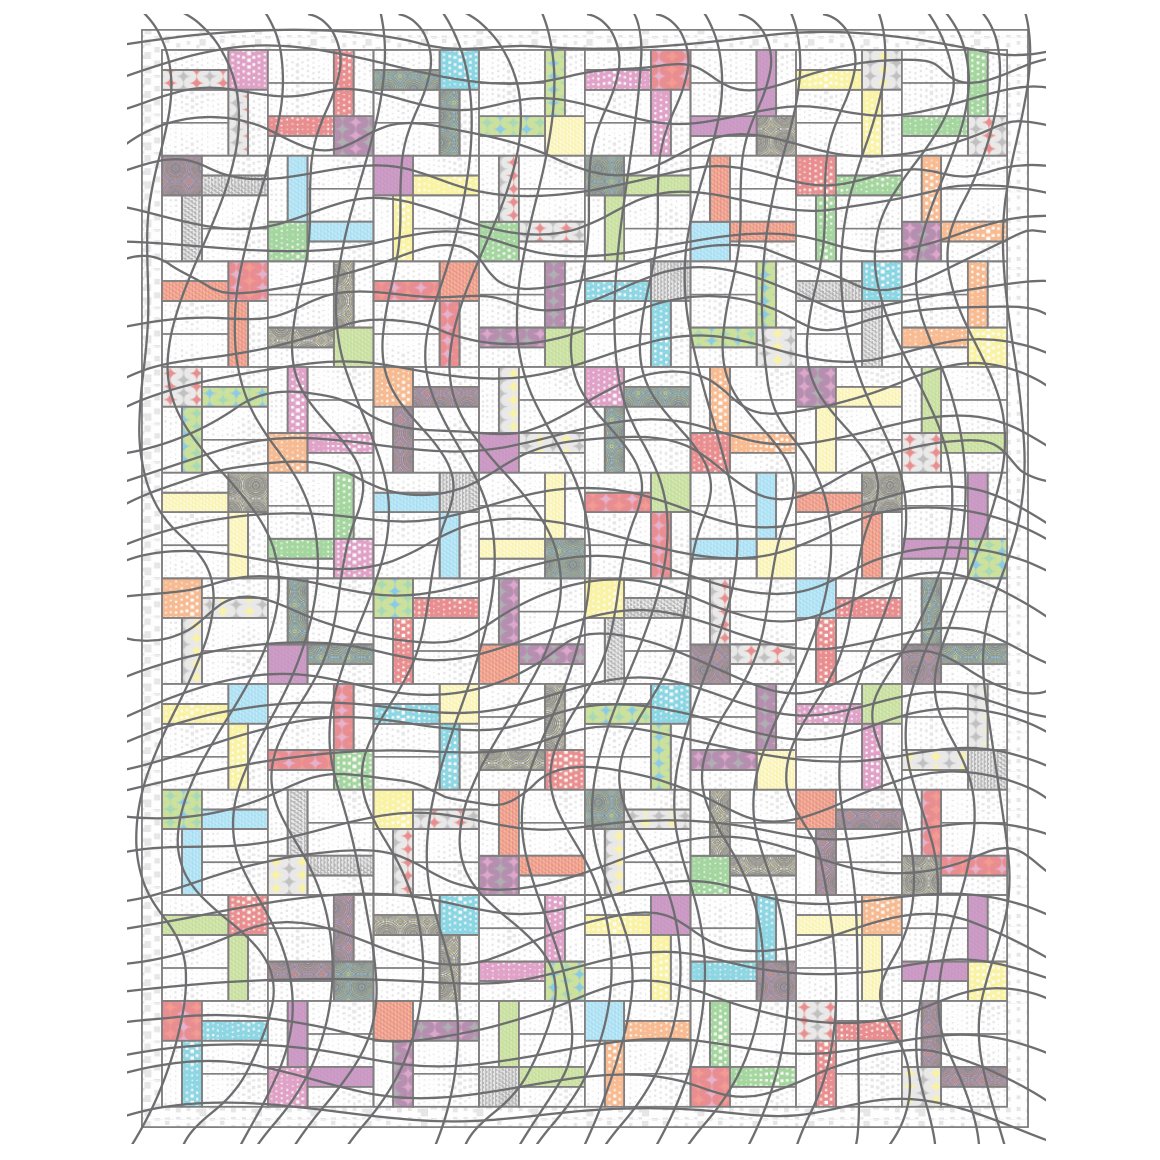
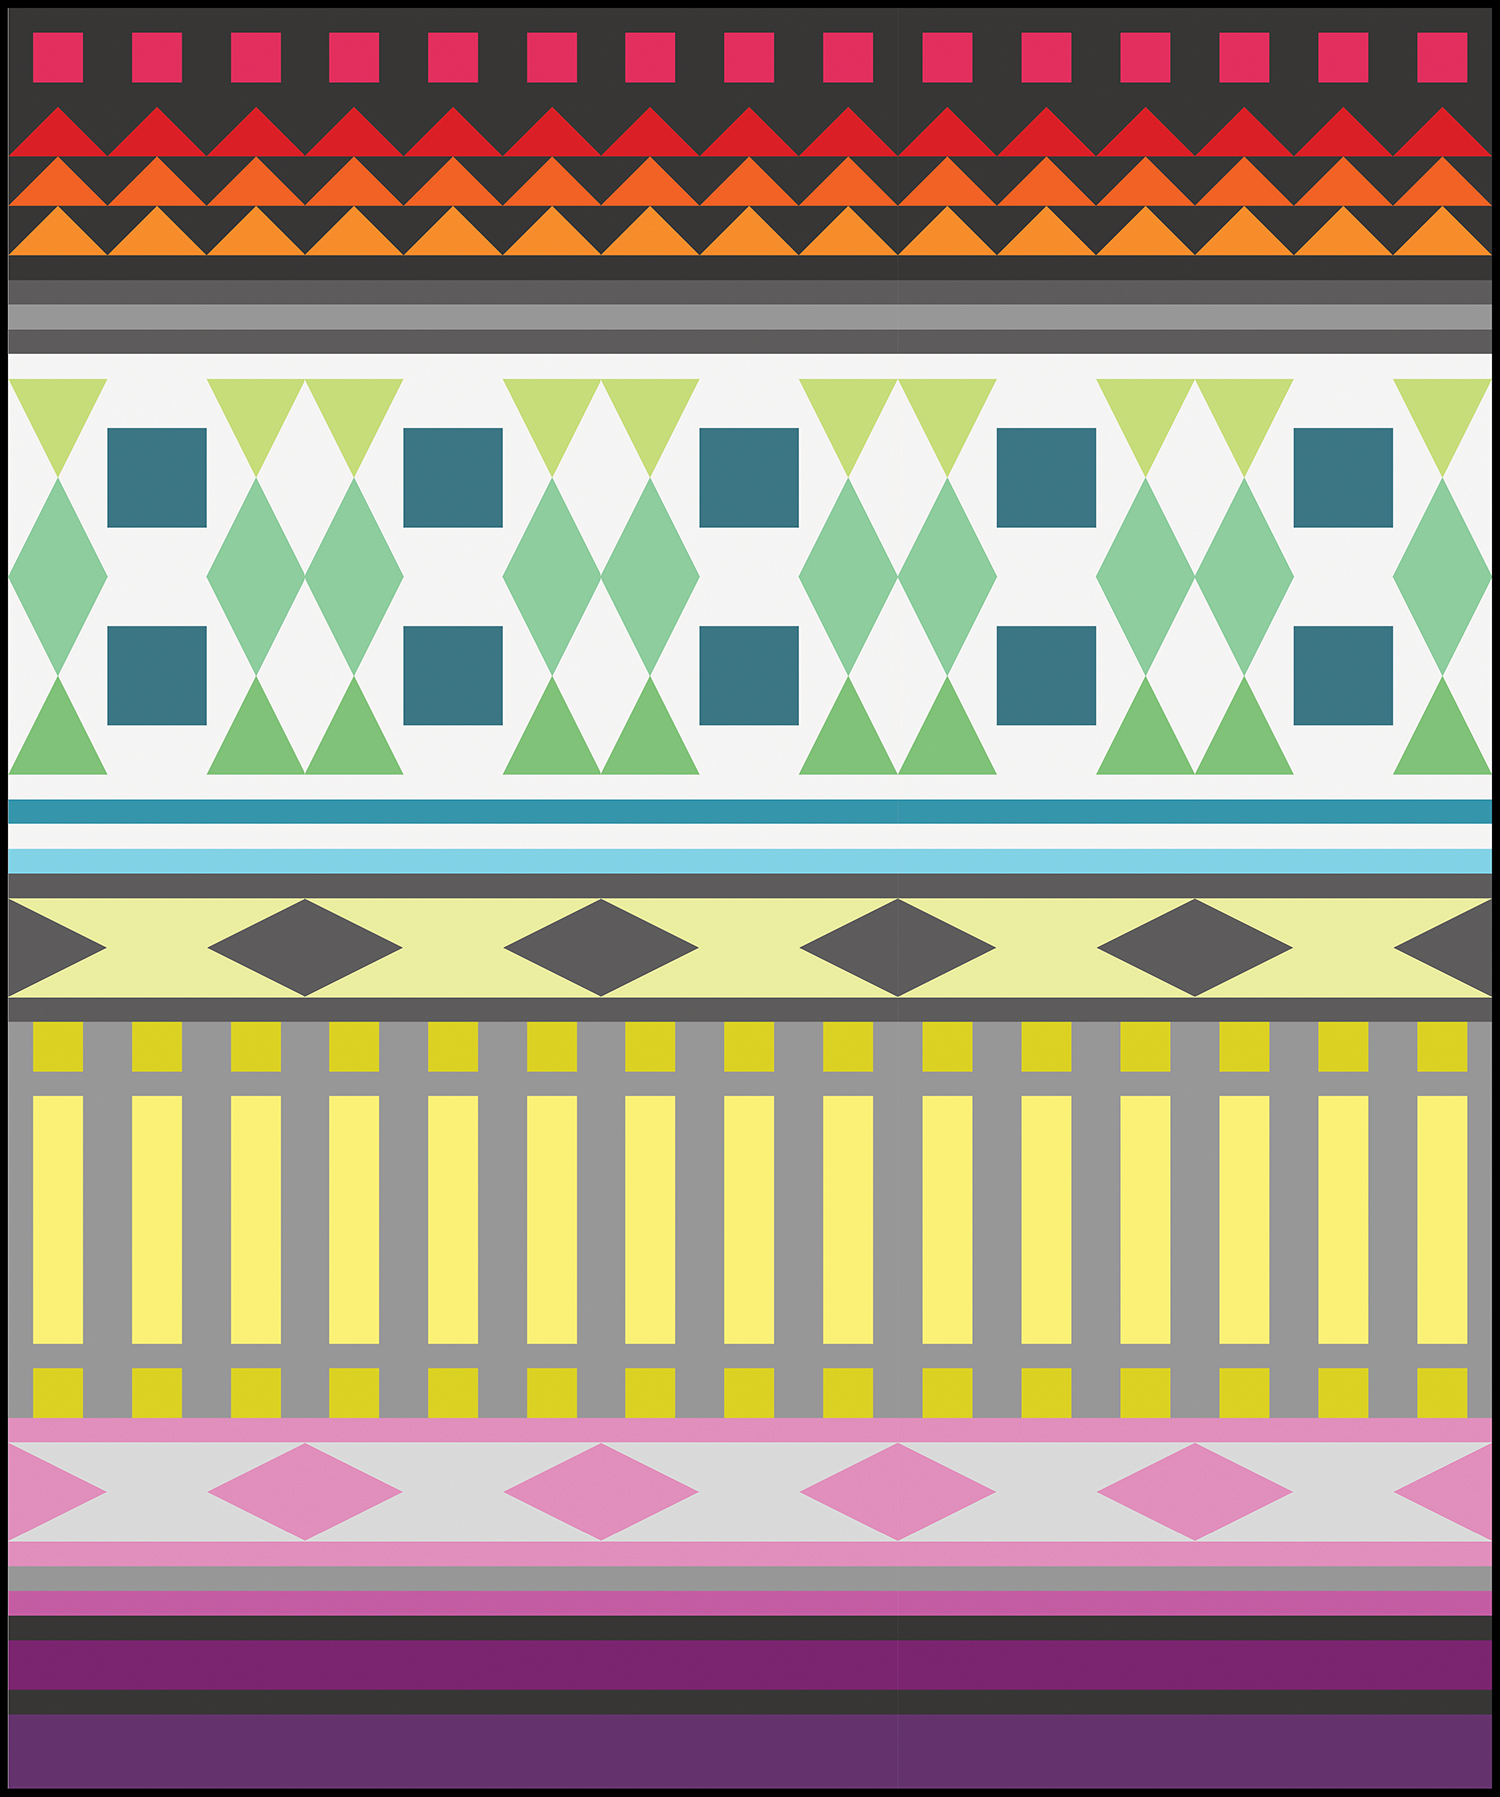
When we got the news that her time was quickly coming to an end, loving friends and family members dropped everything to help me make a quilt of love and comfort for her and her family. Not having time to start one from scratch, I quickly finished quilting a top that I had laying around from a previous class.
I knew this was the perfect wip (work in progress) because it contained some of her favorite colors. And it has a lot of meaning for me since Stacy has always been a shining star in my life. Incidentally blue is also color of colon cancer awareness so I’m glad this quilt is a fitting tribute to her.

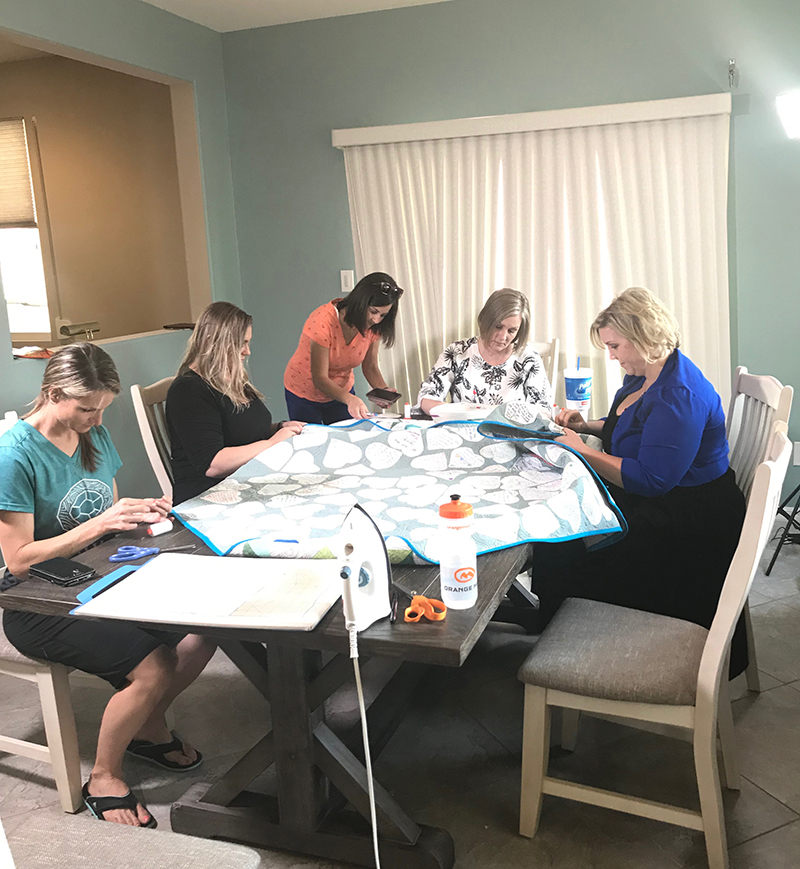
Once the quilt was quilted and bound, we arranged to get signed hearts from as many of her family and friends as possible. With the help of a another crafty friend and neighbor, we cut out nearly 200 hearts for friends and family to sign messages of love for Stacy and her family.
I applied fusible adhesive to the back before the shapes were cut, and with an army of volunteers, we stitched them all down by hand to the back of the quilt so Stacy would be wrapped in love. We desperately wanted her to enjoy the quilt for the time she had left, and we knew it would be a keepsake for her family to remember the joy and comfort she brought to others.

We finished hand sewing all the hearts in 3 days time, with people coming and going and others stopping in to sign hearts and find a little peace and comfort. It was a very therapeutic process for all involved. We knew we couldn’t cure cancer, but at least we knew we could let her know how much she’s loved. I kept the needles and thread loaded and taught many a friend or fellow church member how to stitch their grief into this work of love.

We finished the quilt and presented it to her exactly one week before she passed and included a list of names of all who had signed. I gave a note to her family about the quilt which read:
Scores of friends, family, and loved ones gathered from near and far to write heart-felt messages of love, while compassionate sisters spent countless hours hand sewing the hearts, and finding comfort in every stitch. We’ve included a list of everyone who was able to contribute a heart and while we know that we couldn’t reach everyone who loves her, we stitched in additional unsigned hearts to represent everyone whose Stacy’s life has touched.

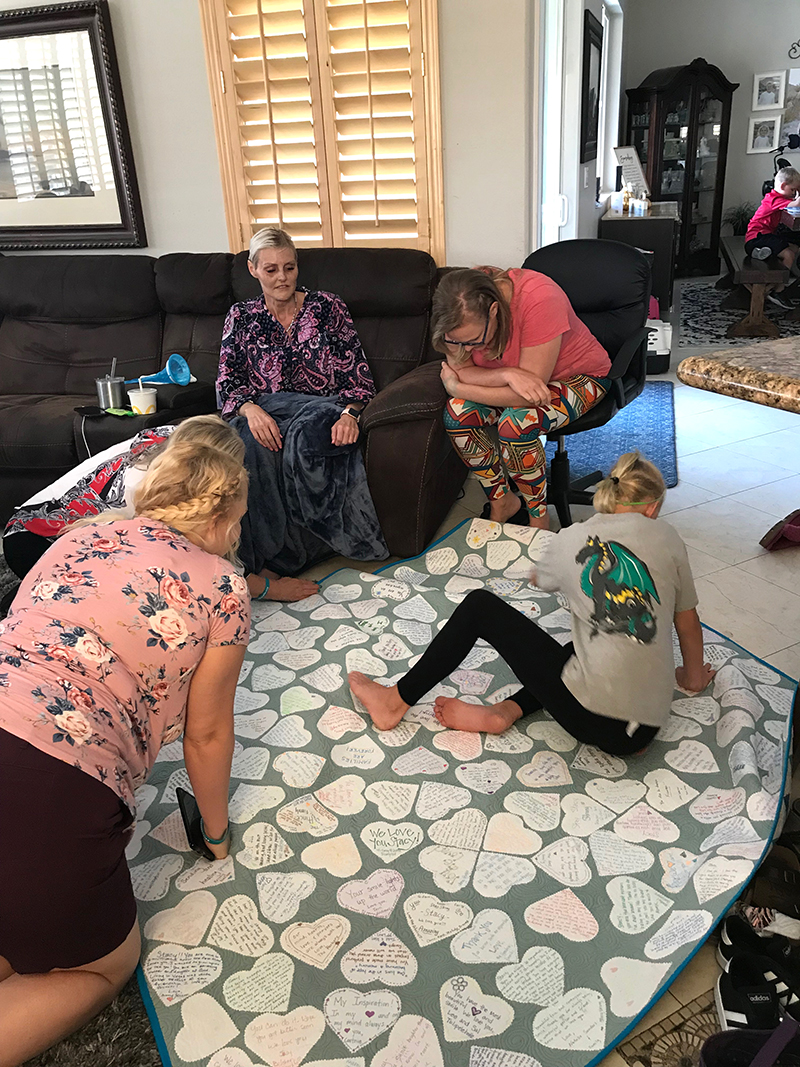
She was touched to receive the quilt and the first thing her kids did was ask to find the hearts that they’d written for their mom. We spent a couple of hours with her so that we could say our goodbyes and she could have many of the hearts read to her. We laughed, we cried, and we shared sweet moments that I’ll treasure forever.

We love the Perry family.
Stacy was able to spend her final days surrounded by family and she passed away peacefully, with a smile on her face.
Now the additional work of helping comfort her family begins. There will be a funeral to plan and thankfully there are lots of family and friends nearby that can pitch in at a moment’s notice. But since she leaves behind 4 children and a heart-broken husband, they will need constant love and care during this difficult time. If you are of the praying kind, please keep their family in your thoughts and prayers. I am of the belief that she will see her family again, and that gives me comfort, though for them it will seem like a long time.

Stacy, Mark and the Kids. I believe that Families are Forever.
Of course I still have my own personal obligations to attend to, my family to care for, and work deadlines to meet. But part of my healing process is to share, so thank you for allowing me to share these words and find solace in writing (and quilting). xoxo