I’m working on both versions of my Bling quilt at the same time, so it will be double the fun! If you remember from my last post, I’m making the same design and using the same Geo Pop fat quarters for both quilts, but one will have a white background and the other will have a black background. Any colorful prints will work as long as you have contrast between your fat quarters and background fabric.

Geo Pop Fat Quarter Bundle – I love working with my own fabrics!
I have more fabrics than I need since the pattern calls for just 20 fat quarters, and Geo Pop includes 25, so I’m going to save the leftovers for another project. Of course, you could use the extra fabrics for some of the blocks, since each print will be repeated in more than one block.
Washing and Starching
First, I separated the fabrics into lights and darks and then pre-washed everything on cold, using several Color Catchers in the wash. Even though this is premium quality fabric I’m working with, I still like to wash to preshrink it and wash out any excess dye so there’s no chance of bleeding when I wash the quilt later. I starched the fabrics by spraying the back side with inexpensive Faultess Premium Starch from the grocery store, and then pressing from the front side. I repeated for both sides of the fabric.

Click the image above to enlarge
Click here to purchase the Bling quilt pattern – paper version.
Click here to purchase the Bling quilt pattern – PDF version.
Cutting the Units
See the quilt pattern for specifics on cutting each of the prints.
Even though I design, test, and make all of my own quilts myself, I always write the pattern first, then follow my own instructions to make sure I haven’t missed anything as I go. I love when quilts are easy to cut out. The block units are all cut from fat quarters and the background is all cut from one fabric – light or dark.
Because I had a lot of fabric to cut, I made sure to layer 4 fat quarters at a time, and fold my background fabrics into 4 layers so I was cutting more at the same time. In a pattern like this, you don’t have to worry too much about directional prints, because they can randomly go in any direction.
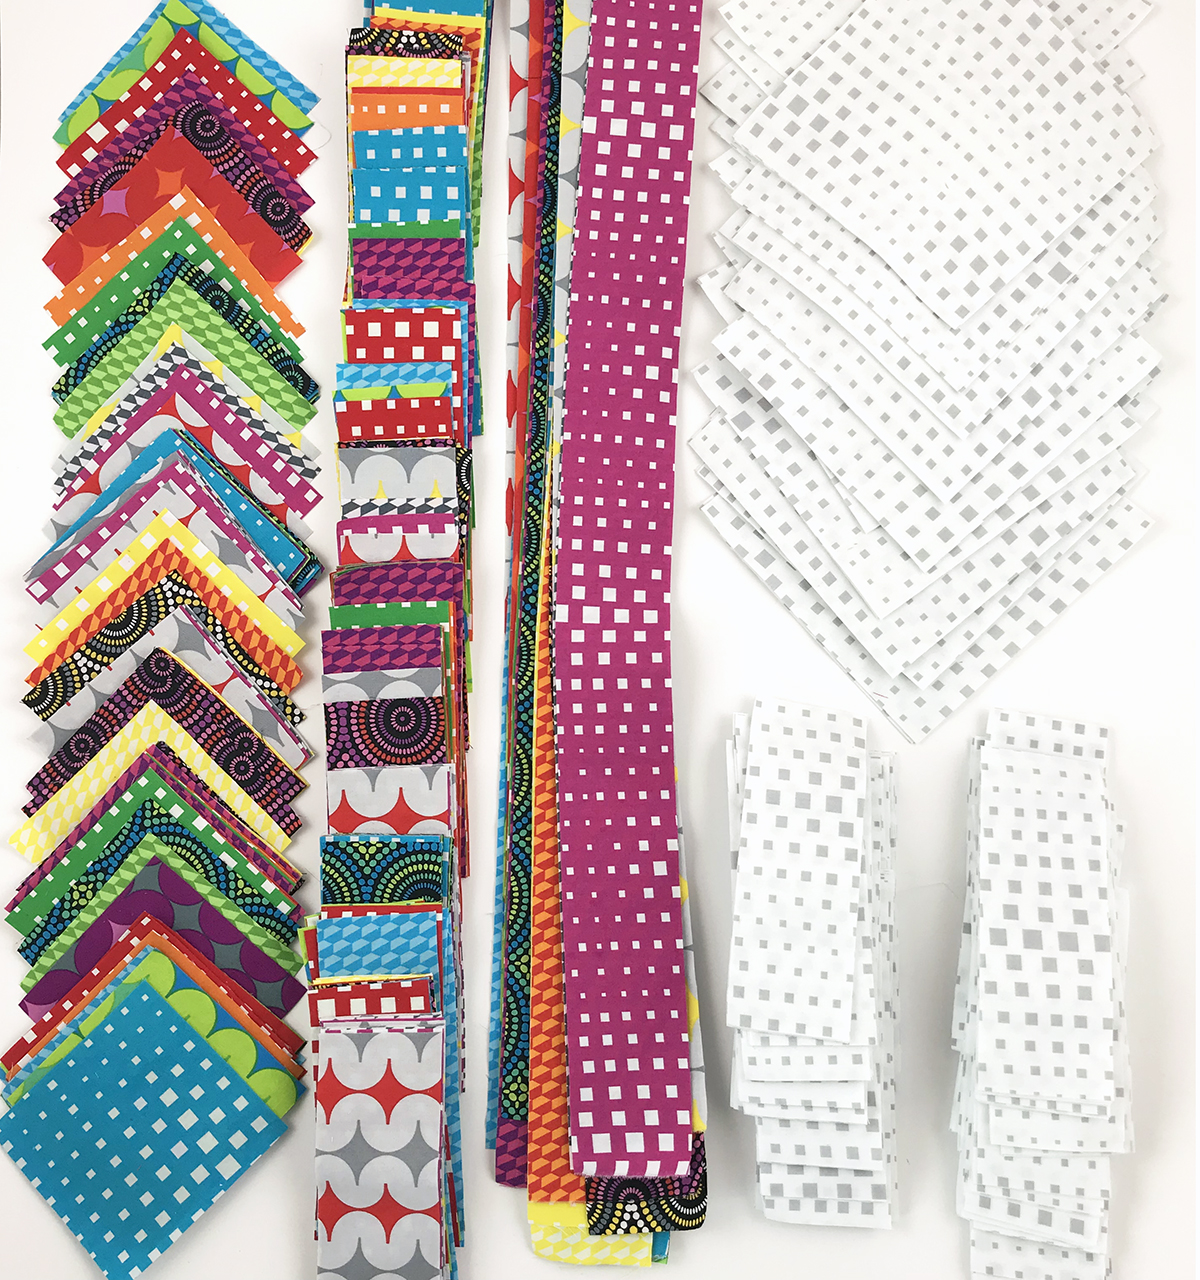
Cut Block Pieces – with White Background
Click here to purchase yardage of Op Squares White
When dealing with large pieces of fabric, like my white or black background, I’ll cut off smaller chunks like a yard or two to work with. There’s enough so that if I lose an inch or two by squaring up the fabric, it won’t make that much of a difference.
The white version will have a scrappy binding and the black version will use the same binding as the background fabric. Here’s a tip: although the pattern calls for the standard 2 1/4″ wide strips, I actually cut mine out 2″ wide so I get a super skinny binding that’s the same side on front and back.

Cut Block Pieces – with Black Background
Click here to purchase the Bling Quilt Kit in White or Black
Now everything is ready to sew! Stay tuned for the next post where I’ll sew them up into two fun and colorful quilt tops. Click any of the links below to purchase supplies to make these quilts.

RELEVANT LINKS:
- Click her for the previous post about this quilt.
- Click here to purchase Bling quilt pattern – print version.
- Click here to purchase Bling quilt pattern – digital version.
- Click here to purchase the Geo Pop fat quarter bundle.
- Click here to purchase the Bling quilt kit in white or black.
- Click here to purchase any of my fabrics by the yard.

The horizontal straight quilting lines look great on the black Bling quilt. How do you make the choice between doing straight or serpentine quilting lines? Thanks for the inspiration!