For today’s post I will be showing how to quilt this quilt with a walking foot and straight lines. This is enough quilting to hold the quilt together and give it some definition. It took me a total of 5.5 hours to quilt this part of the quilt
I will be adding more quilting to my quilts because one of my quilting mottos is, “Quilt the heck out of it!” I will show that optional extra quilting next week.
Thread Choice
 For this quilt, I would like my quilt to have some definition but I don’t want the stitches to stand out too much. I selected a little bit heavier weight thread – a 40 weight polyester with larger quilting needle (size 90) to go with it.
I wound my bobbins with the same color but in a lightweight 60 weight polyester. I chose a cream thread because there is so much white in the quilt. The cream will blend into the white but It’s not quite as “stark” as white so it won’t be too bright against the blue fabrics.
 Step 1 – Warm Up Session (15 minutes)
It’s a good idea to practice on a scrap quilt sandwich first, even when quilting straight lines.
This way you can check tension, stitch length, and thread color before you begin.
Step 2 – Anchor Quilting (1 Hour, 15 Minutes)
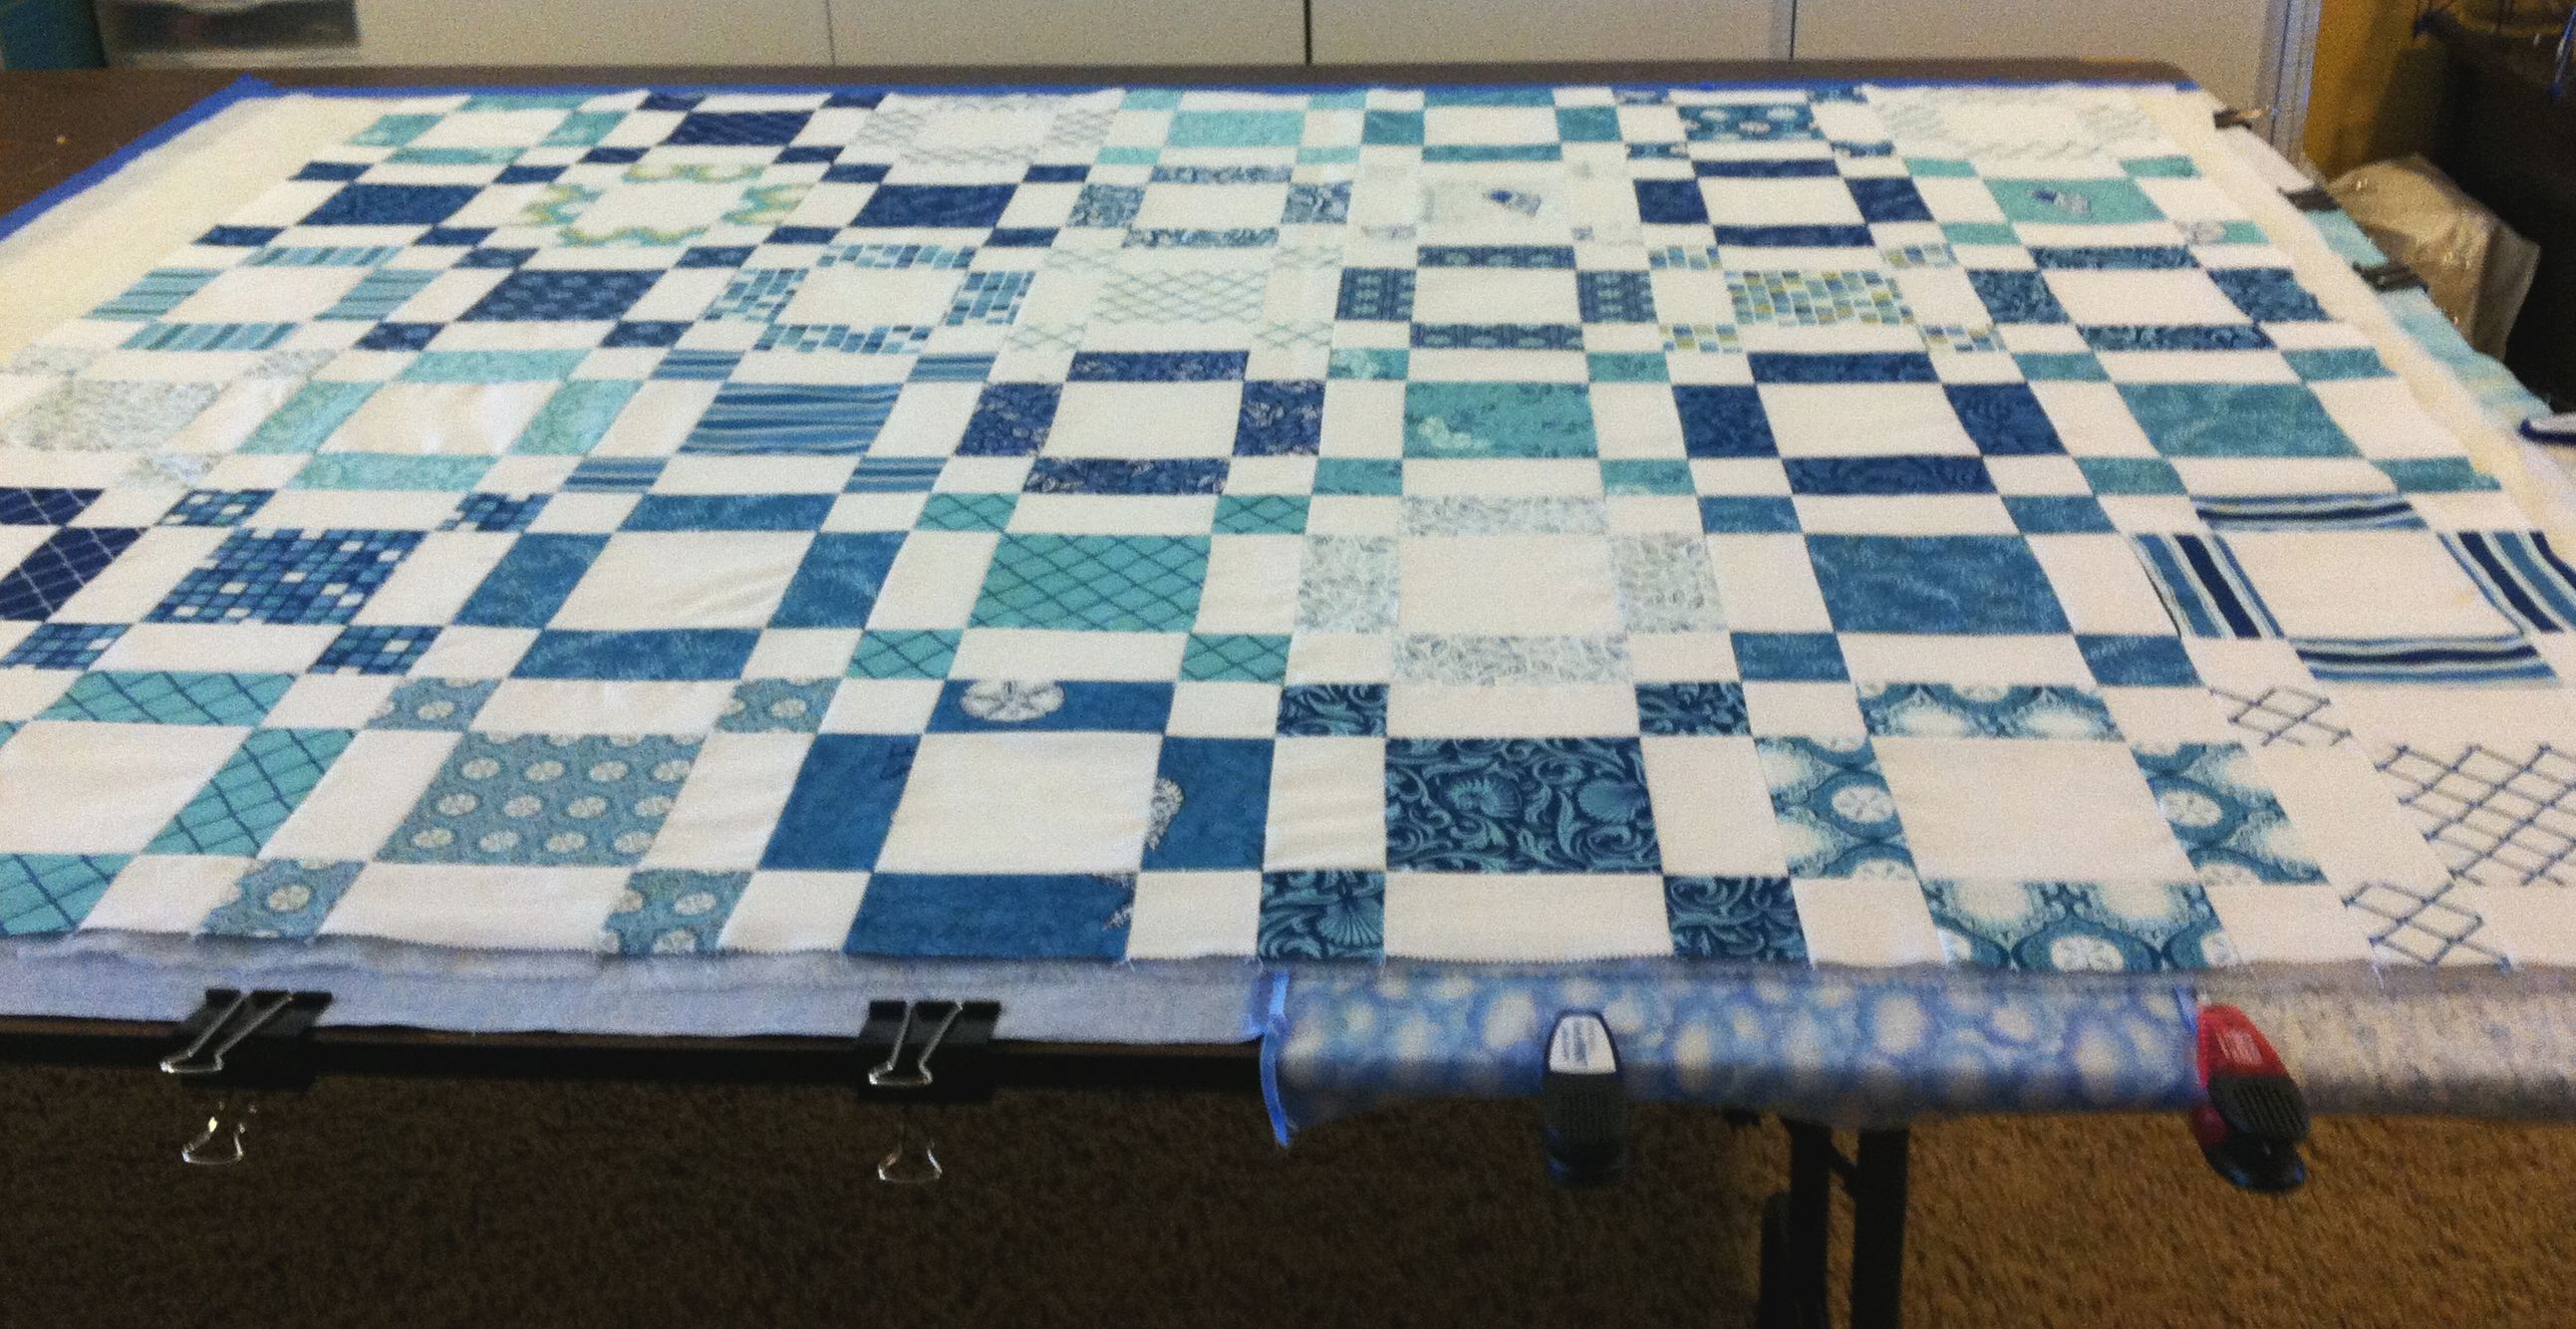
Before you get into any fancy-shmancy quilting, it’s a good idea to “anchor” your quilt first by quilting a few of the major seam lines. This will help stabilize your quilt. While doing this anchor quilting, you want to stabilize your quilt in all four directions. Think of this as a large grid across the top of your quilt. I can quickly and easily pull out the pinmoors as I quilt.

With the quilt laid out horizontally, I started quilting on one edge of the quilt. Using my walking foot as a guide, I stitched about 1/4 inch away from the ditch. I used a slightly longer stitch length and quilted continuously in one long row from the top of the quilt to the bottom. Because the lines go all the way across the quilt and the edges will be covered by the binding, I did not need to lock my stitches or tie them off.

When I got the the end of this first line of quilting, I “scooted” over a whole block width to the right (leaving less bulk under the machine). I quilted 2 more rows in the same manner.
Don’t quilt the very edges of the quilt yet; you can do that at the end.
Next, it was time to rotate the quilt 180 degrees and quilt some anchor lines on the other half of the quilt. Again, I quilted them about 1 block width apart. Now the quilt has been quilted in 2 directions. By the way, I love the Machingers quilting gloves because they provide a good grip on the quilt while moving and squishing it under the machine.

It’s time to rotate the quilt 90 degrees and quilt all of the vertical anchor lines now. Again, start in the middle and quilt about 3 rows, one block width apart. Then rotate the quilt completely and finish off the other side.
The quilting is now ready to be finished.
Step 2 – Stitching all the Vertical Lines (1 Hour, 45 Minutes)
I like the “stitch near the ditch” pattern so much that I am outlining every seam about 1/4″ away from the center. I’m not too worried about whether my lines are perfectly straight so I didn’t worry about marking. My other quilt motto is, “Finished is better than perfect!”

Now I can start in the middle of the quilt and quilt all of the vertical lines halfway across the quilt edge of the quilt. When there is too much bulk under the machine, I rotate and finish the other side of the quilt.
Step 3 – Quilting all the Horizontal Lines (2 Hours, 15 Minutes)
This section took a little longer because there were more rows to stitch. Again, I quilted half of the lines going one way, then rotated the quilt to stitch the other half.

On the very last row which was near the edge of my quilt, I actually quilted 1/2″ away from the seam line rather than 1/4″. This is to take into account the seam allowance which will be covered by the binding.

This is now enough quilting for this quilt, but as I said at the beginning, I will add more. Join me next week to see how I finish the rest of the quilting.
If you’d like to try something a little jazzier than just straight lines, why not play around with the decorative stitches on your machine?

The picture above shows me quilting my Jolly Jelly Roll Quilt which was my first DIY Quilt Along. I used a wavy serpentine stitch which would also work well for Sea of Squares!
Quilt-Along Schedule – Links are Active at the Completion of Each Step:
- Week 1 – Supply List
- Week 2 – Sorting and Cutting the Charms
- Week 3 – Sewing the Blocks
- Week 4 – Completing the Quilt Top
- Week 5 – Piecing the Backing
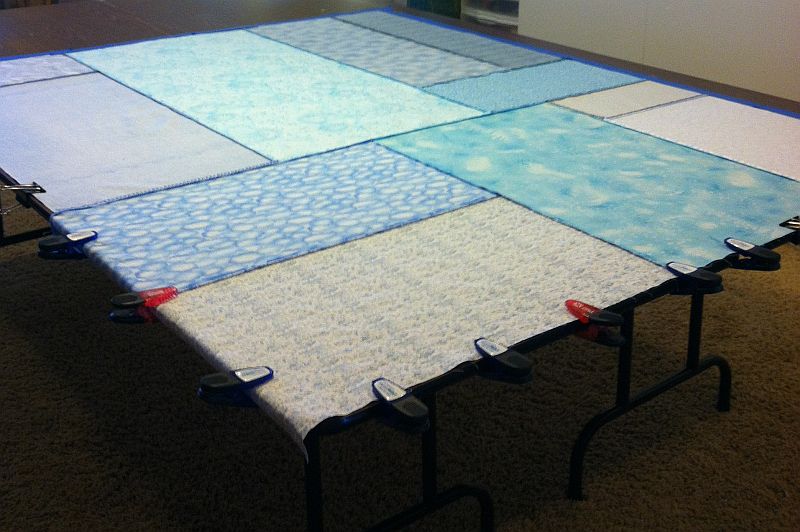
- Week 6 – Basting
- Week 7 – Machine Quilting
- Week 8 – Optional Extra Quilting
- Week 9 – Machine Binding to Finish
Quilt Kits are available from my shop for a limited time in these two colorways:

Apple Jacks

Sea of Squares