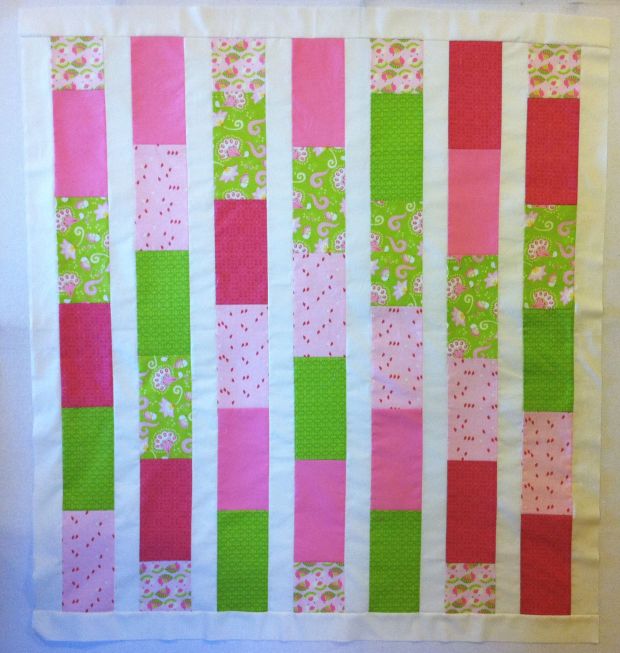
I finished the pretty pink version of Baby Bricks this week to go along with the baby blue top that I will be basting today. (Kits are available for both colors for a limited time.)
Before I get to the most fun part of making a quilt in my opinion – the machine quilting – I’ve got to get them marked and basted! Today’s demo will be shown on the blue version.
Step 1 – Marking Diagonal Lines
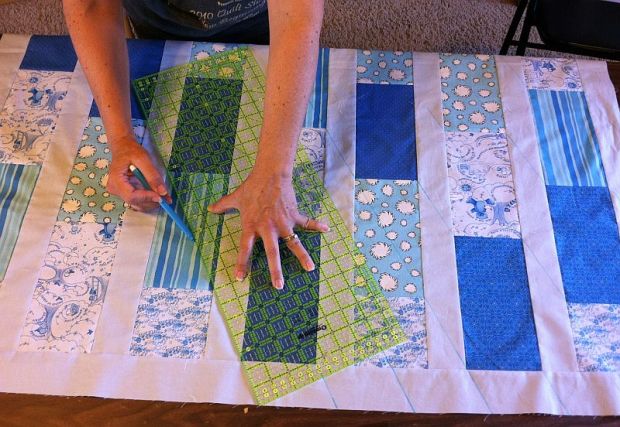
For the boy version of Baby Bricks I am going to quilt straight lines with a walking foot. I used a water soluble blue marking pen to draw the quilting lines. (If you are afraid of fabric bleeding or do not want to mark your quilt, you can use low-adhesive painter’s tape instead.)
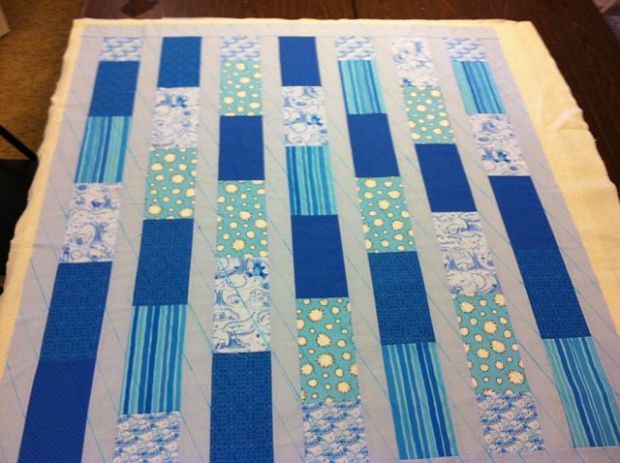
Using my longest ruler, I marked straight lines across the surface of the quilt. I started in one corner and drew a line from corner to corner of a rectangle brick. I extended the line so that it goes across the entire quilt including the borders. I spaced them 3 1/2 inches apart.
I added an additional line half-way in between so that the spacing of the lines is now 1 3/4″. It took a total of 45 minutes to completely mark the top. Now the quilt is ready to baste.
Step 2 – Piecing the Backing
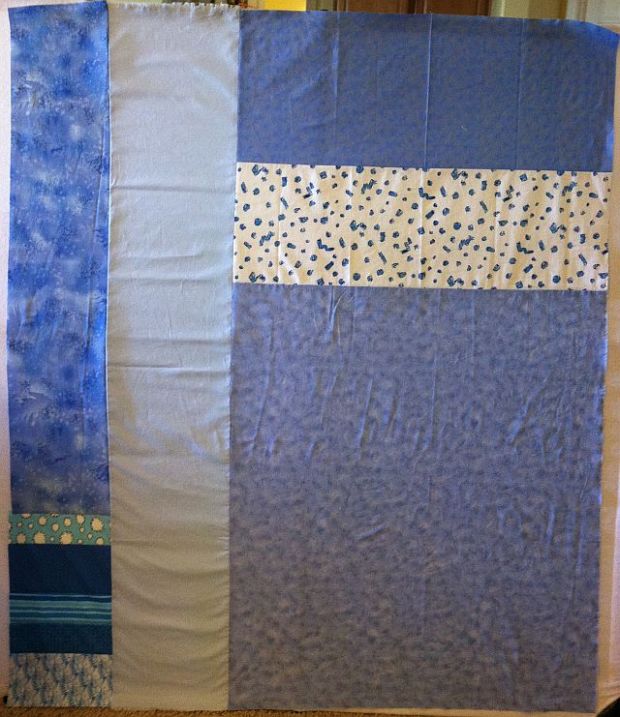
I enjoy pieced backs much more than plain ones. This satisfies my urge to go a little “wonky” with some improvisational piecing on the back. It took about 1/2 hour to sew together.
I put the back together sort of like a puzzle, adding chunks of fabric until I had a large enough piece. For this quilt I used up my the rest of my light blue solid, a few leftover bricks, and some pieces from my stash. It took about 2 yards total.
For more detail on sewing a pieced back, refer to my previous tutorial here.
Step 3 – Basting With Pinmoors
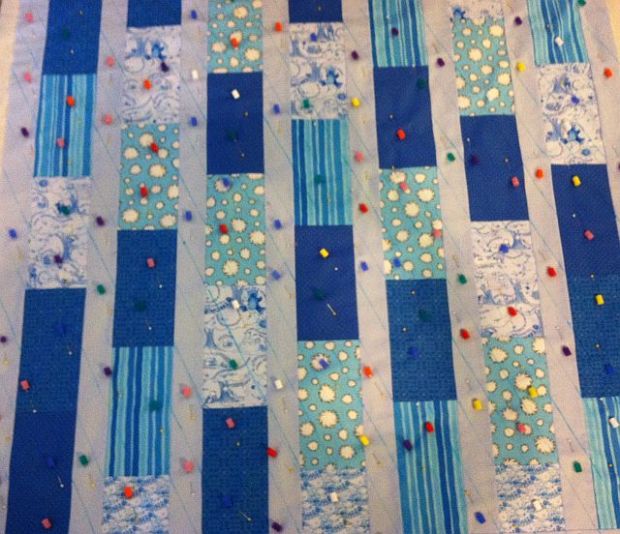
My preferred basting tools are Pinmoors and straight pins. It took about 1 hour and 100 Pinmoors to baste this baby sized quilt. You can read my previous basting tutorial here.
I get better results when I use lots of pins and am careful not to pin through any quilting lines. It’s easier to stick the pin in the quilt and cap it with a Pinmoor, than it is to open and close lots of safety pins. The Pinmoors are easy take out while quilting, but they stay in place until I’m ready to remove them.
I am going to take this quilt with me to my guild’s quilting retreat this weekend. With any luck, I’ll get it finished quickly and can start on the pink one.
Here is the schedule of tutorial posts for my Baby Bricks do-it-yourself quilt along:
- Week 1 – Supply List & Intro
- Week 2 – Cutting Your Fabric
- Week 3 – Sewing the Quilt Top
- Week 4 – Marking and Basting (today’s blog post above)
- Week 5 – Machine Quilting Option 1 – Straight Stitching
- Week 6 – Machine Quilting Option 2 – Free Motion Quilting
- Week 7 – Binding by Hand
- Week 8 Bonus – Blocking and Labeling
I’ve never heard of a pinmoor! Looks like an easy way to baste.