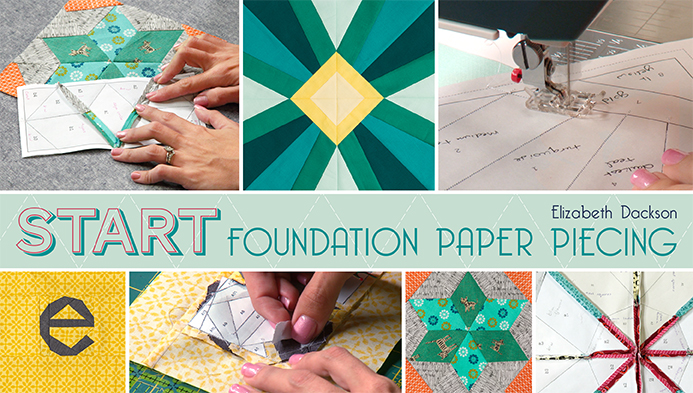
I was so excited to get the opportunity to review Jacquie Gering’s new Craftsy Class: Next Steps with your Walking Foot. This is a followup class to her earlier class, Creative Quilting with Your Walking Foot, which I previously reviewed here

Although Next Steps with your Walking Foot is meant to follow the earlier class and Jacquie references it quite a bit, I think there’s so much good information in this class that it can stand on its own, even if you haven’t taken the first class yet.
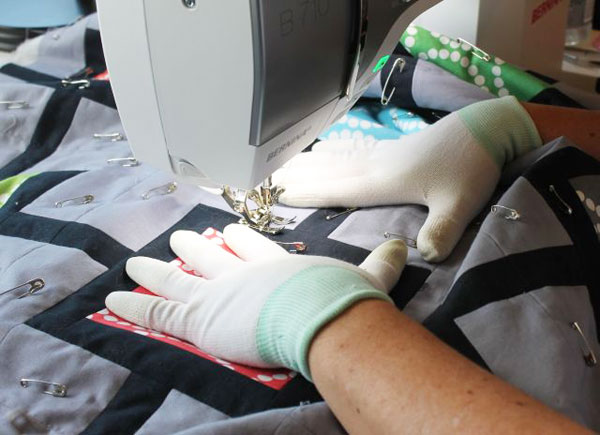
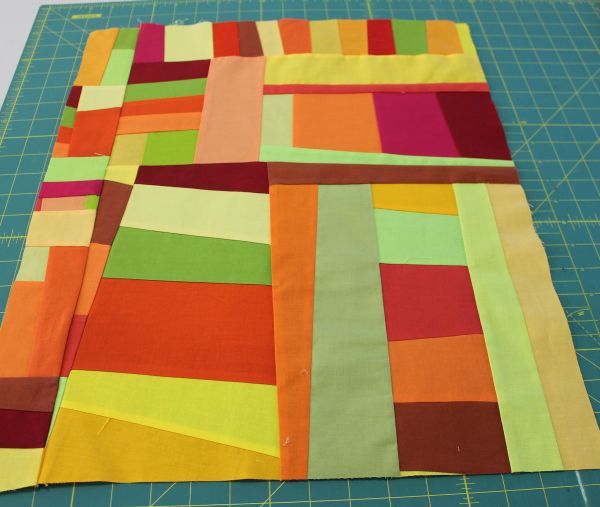
The entire class runs for approximately 3 hours, and I had a great time watching it, coincidentally while doing my own walking-foot quilting for an upcoming quilt along!

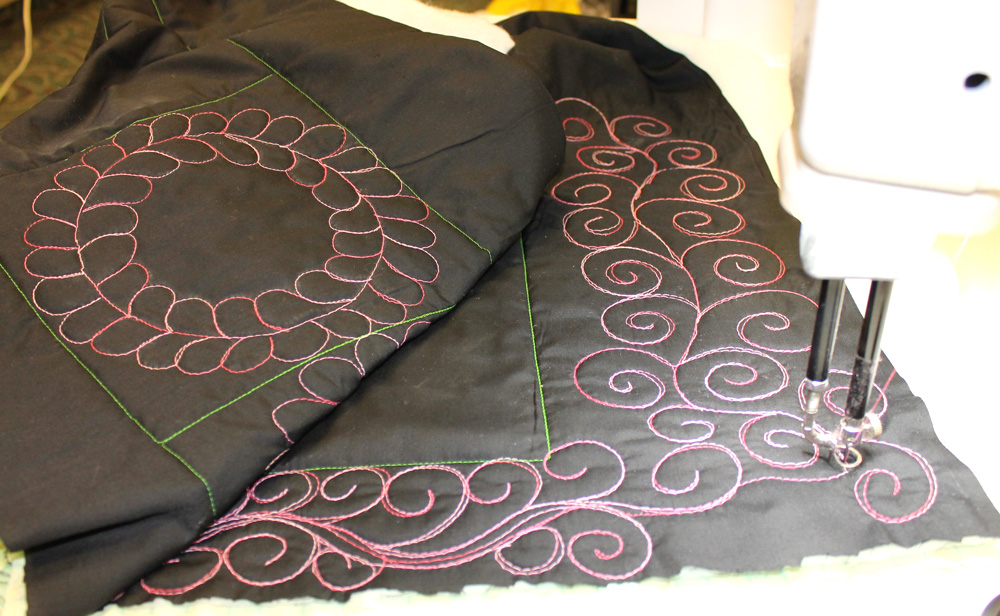
Decorative stitches are so quick and easy to do – here’s my current WIP using them!
The class is broken down into 8 segments running anywhere from 15 minutes to 30 minutes in length. I love watching a video this way because there are plenty of good stopping points. Jacquie is very thorough in this class, including many supplemental class materials which are a handy reference as you are going through the class.

Twigs – one of the designs Jacquie teaches using reverse quilting. So clever!
Here are the basics of what you will learn in Next Steps with your Walking Foot including what I enjoyed most about each section:
- Lesson 1 – Walking Foot Basics
Jacquie explains the anatomy of a walking foot along with how you can adjust your foot to work best for you. IDF (integrated dual feed) works basically the same as a walking foot. This is what I use on my BERNINA and I like that she affirms that what I’m doing is correct! - Lesson 2 – New Linear Designs
Jacquie goes beyond straight line quilting by adding decorative elements to her straight lines to “fancy” them up a bit. It’s all about the amazing texture! - Lesson 3 – Decorative Stitches
Jacquie explores many of the decorative stitches built into her machine. She also keeps a stitch journal with detailed notes on which stitches to use and what the settings are. I thought it was very clever of her to use something as simple as a blind hem stitch in a new way! - Lesson 4 – Concentric Shapes
This was my favorite lesson of all! I loved learning Jacquie’s trick for quilting concentric geometric shapes by traveling in the ditch. I already have several great ideas brewing for how to incorporate these ideas into my quilts! - Lesson 5 – Spirals
She shares her magic formula for marking guidelines when quilting geometric spirals like squares and octagons. She also shows how mistakes can often turn into happy accidents! - Lesson 6 – Designs with Reverse Stitching
Jacquie shows how to combine reverse stitching with regular stitching for some really unique quilting effects. I have played around a bit with this myself and it was great to get validation that yes, this is an okay thing to do! - Lesson 7 – New Curved Designs
With a bit of marking and planning, she shows how to come up with some really cool curved effects, building off of ideas she has taught in her previous class. Although I’m not one to mark much, this section gave me some ideas to branch off from. 🙂 - Lesson 8 – Curved Remixes
Clamshells, flowers, and circles, oh my! By the time you get to the last lesson you will be blown away by the sheer number of ideas of how to quilt with your walking foot!

I love Jacquie’s approach to teaching geometric spirals – it make so much sense!
Special Discount – Just for You!
For a limited time, my friends at Craftsy are allowing me to share this class with you at up to 50% off the regular price. It expires in exactly one week, at the end of the day on March, 30, 2016 so if you are thinking about it, don’t wait – enroll now. Trust me, you’ll be glad you did. 🙂
Click here to preview Next Steps with your Walking Foot by Jacquie Gering.