My head is still reeling from all of the QuiltCon awesomeness over the weekend. I hope you are not tired of me blogging about it yet! You can read about many the awesome quilts here.
When I arrived at the Austin Airport, I knew I was for a treat. In fact, I met a couple of gals on the plane headed to QuiltCon who were so friendly, even though we had just met. This was just the beginning of a weekend full of fun and friendship. Most everyone who attended was meeting people for the first time, and I felt like we all finally found an excuse in this world to be nice to each other. If all the world quilted, it would be a peaceful world indeed!

Austin, Texas Airport
The first day there, I started running into people that I had only met online before. Here are Faith from Fresh Lemons and Katie from Swim, Bike, Quilt. They were so sweet and fun to hang out with. In turn, they introduced me to several of their other blogger friends and we all had a wonderful dinner together Thursday night. When I asked how they all knew each other, they all responded the same, “from blogging, of course!” I knew right then and there that these were my peeps!

The next day I took a machine quilting class with Angela Walters. Angela is probably the most fun and enthusiastic quilting teacher I’ve ever met. I took lots of notes, not only on how to be a better machine quilter, but how to be a better quilt teacher, too! I asked her if she’d be my BFF and she said, yes!! (I think she says yes to everyone – but hey, I don’t care. I quilt-around, and I am not ashamed to admit it!)

Here’s Lee (from Freshly Pieced) and I next to the long-arm machines. While I prefer to quilt on my Bernina, the class was wonderful because Angela taught us techniques and design ideas that we could apply to any quilt. She gave me permission to share some of the designs in my quilts – so watch for that in my next quilt-along!

Friday night, I met up with a bunch of gals from Pile O’Fabric’s Skillbuilder Block of the Month. We talked quilting, discussed our BOM progress and had a pincushion swap. This is the one I received from Deirdre – isn’t it the cutest?? Thanks to Alyssa for putting this on!

In between socializing and viewing all of the lovely Quilts, I attended several of the informative lectures. I learned more about how to get my work published into books and magazines (keep doing what I’m doing, but save a few original ideas to debut professionally in print, not on the blog – sorry gals!)

Bill Gardner, Editor-in-Chief of Quilters Newsletter
Vicki Anderson, CEO & Publisher, Modern Quilts Unlimited
I also learned more about the history of modern quilting, and that we women are emotional and can cry at the drop of the hat when overcome by quilting awesomeness!
I learned what “alternate grid” design means. Instead of laying things out neatly in columns and rows, an alternate grid structure is used to create more randomness and I think, a more interesting aesthetic appeal.

Regular Grid Quilt

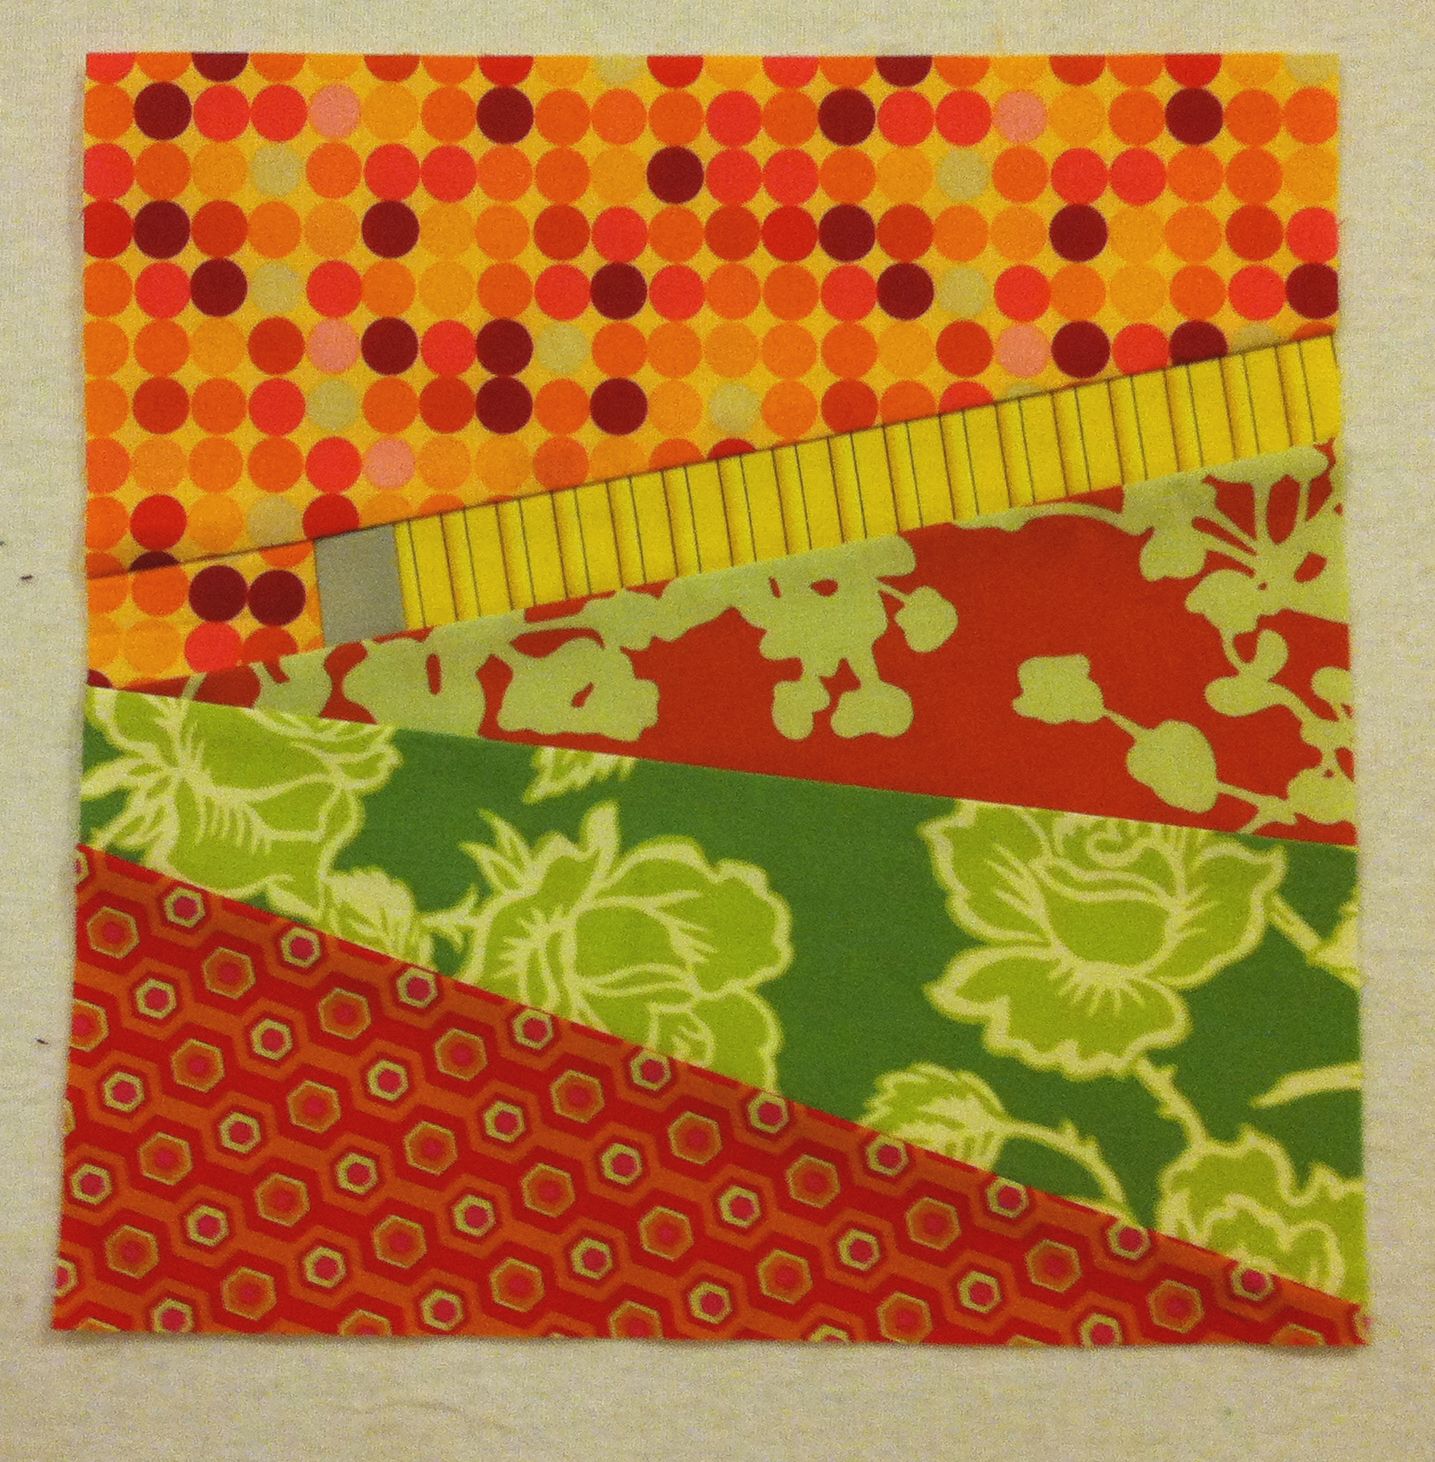
Alternate Grid Quilt
Modern quilting is definitely not art quilting; yet it is not constrained by traditional design.
It’s somewhere in between. In her lecture, Heather Grant said, “Art quilting is to fine art, as Modern quilting is to graphic art.” I also learned that making a quilt from “modern” fabric does not make it modern! (Well, I already thought that, but now it was confirmed.)

Ellen Rushman, Lecture on Modern Quilting Research
Some new areas of modern quilting that I would like to explore are making a low volume quilt (think lots of neutrals), and making quilts on an exaggerated scale (think pixelization but with clearer images). I also want to teach my own modern version of applique.
How will this all of this new knowledge influence me in the future? I now feel a little more focused in the direction that I want to take with my quilting, both personally and professionally. While my next quilt-along is set to launch tomorrow, the one after that will definitely be more modern!

Free Bag from Kaufman

Michael Miller Fabric Reps
I also have a better understanding for the kinds of modern fabrics I want to add to my store. I will definitely be adding more Kona Cotton Solids, and I will constantly be on the lookout for more cool collections (from Michael Miller and others!)
Watch for my next post on Celebrity Quilter encounters at QuiltCon, later in the week!