Dot to Dot Quilting is the 3rd in a series of online machine quilting classes by Angela Walters. Along with her other two classes, Machine Quilting Negative Space, and Free Motion Quilting with Feathers, Angela helps you to conquer your fear of machine quilting your own quilts.
Her warm, humorous manner along with her motto, “close enough is good enough” really put me at ease in this class. Even though she is a professional long arm quilter, Angela Walters teaches this class entirely on a domestic machine. Can we say “versatile”?

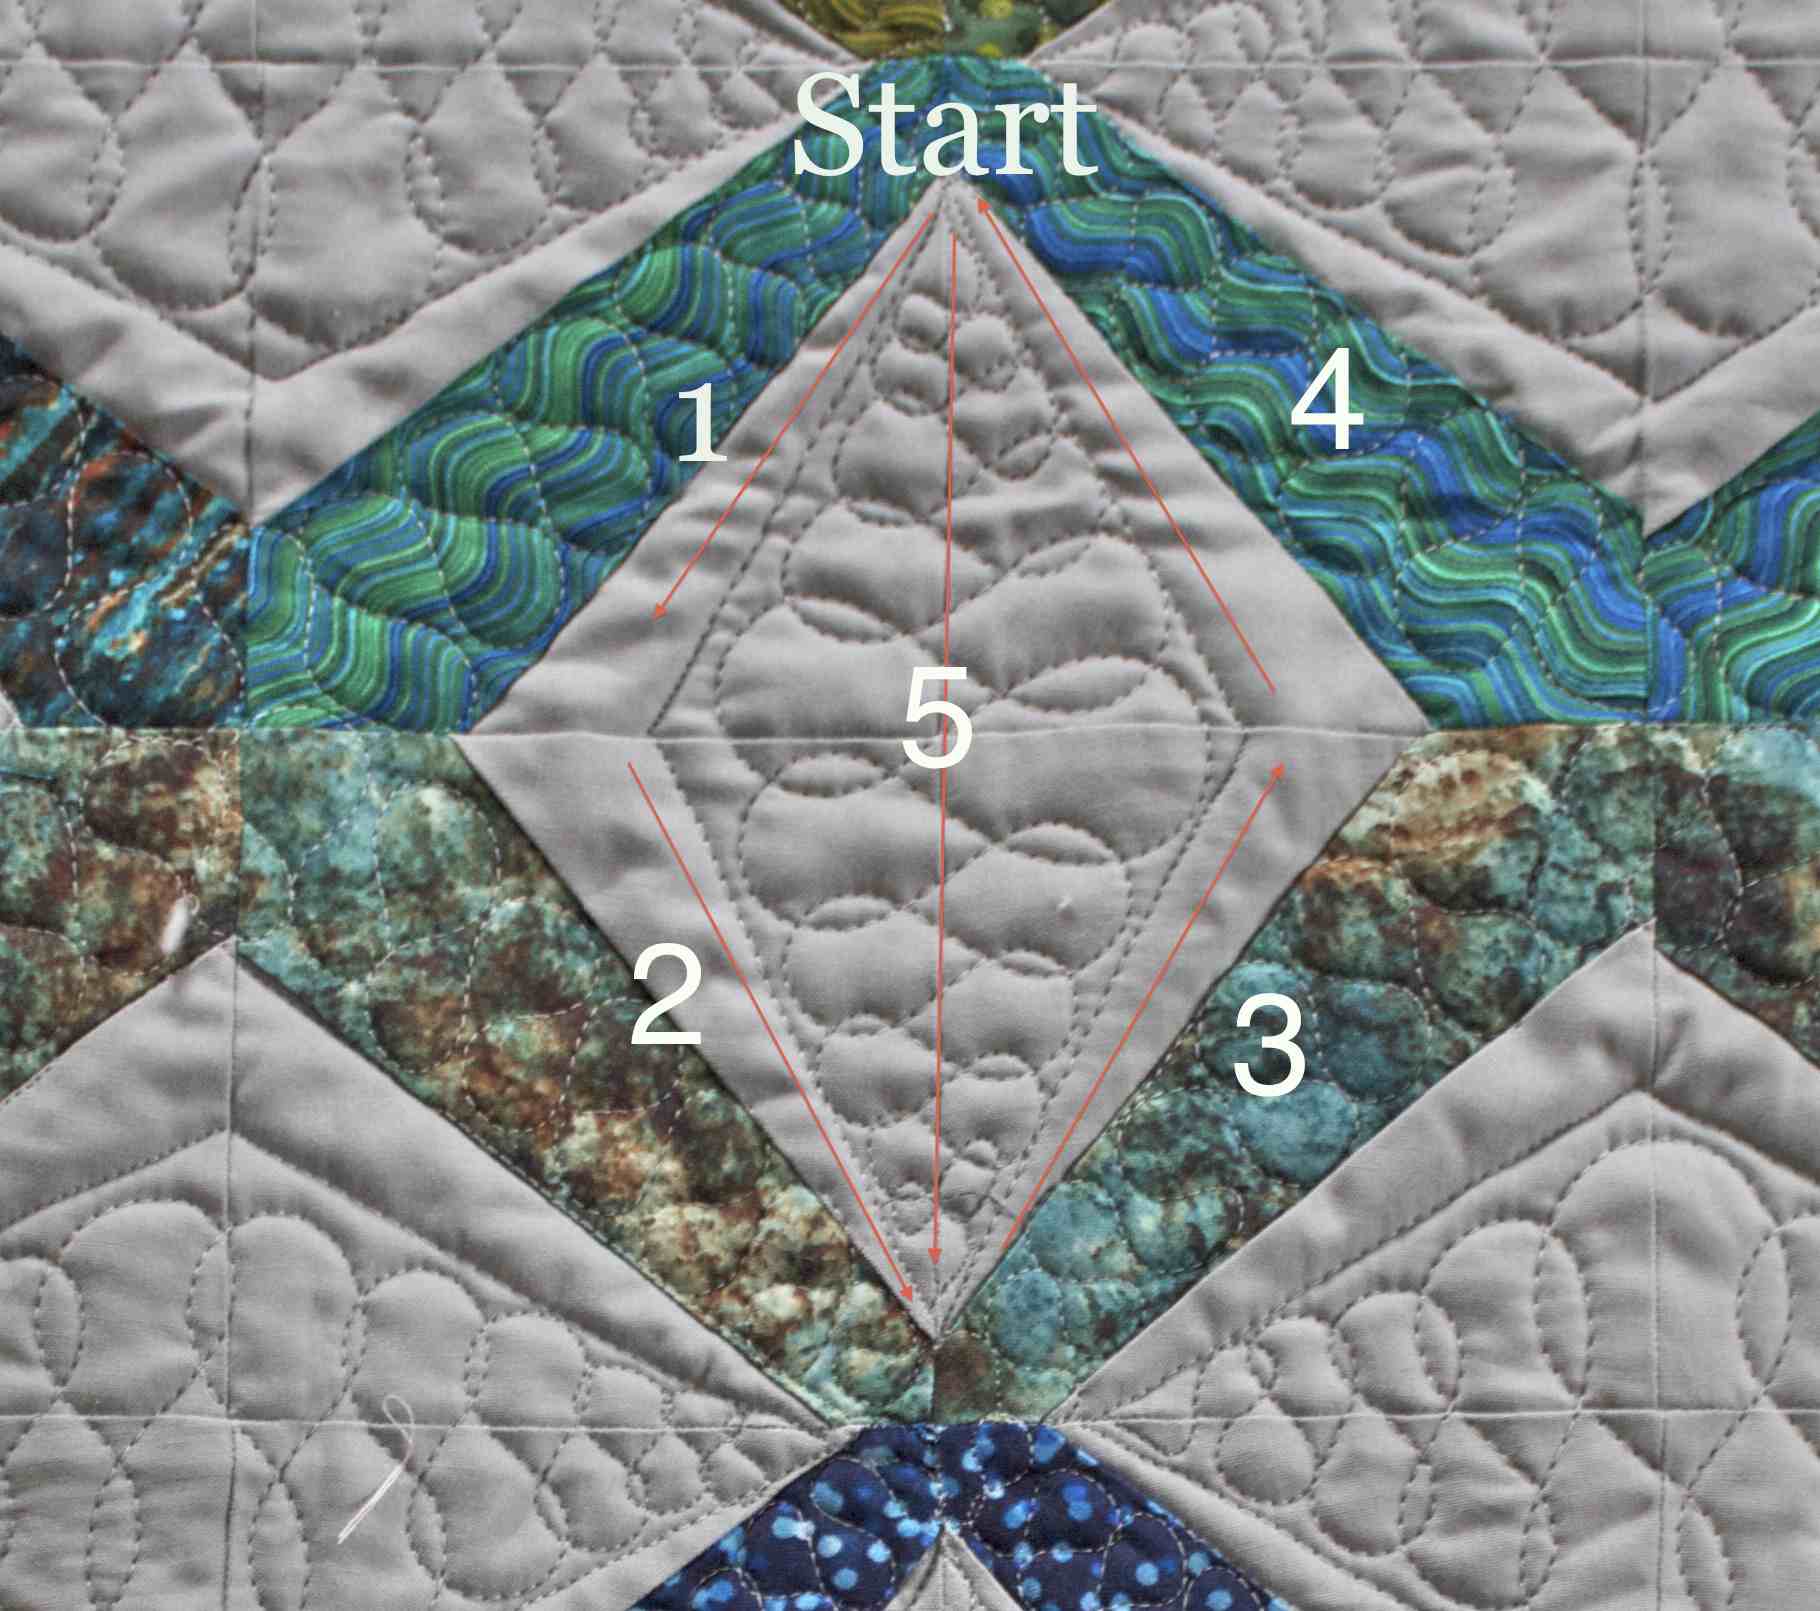
Dot to Dot Quilting is a way to quilt intricate designs on your quilt top with little to no marking, using points on the quilt as a guide.
Angela covers 3 of her favorite quilting motifs in this class (starbursts, lattice and diamonds), plus some cool FMQ variations for borders, sashing and blocks that create entirely different looks. In this class Angela shares how she thinks it’s easier to learn one design and tweak it 5 different ways, rather than learning 5 different designs. Clever!
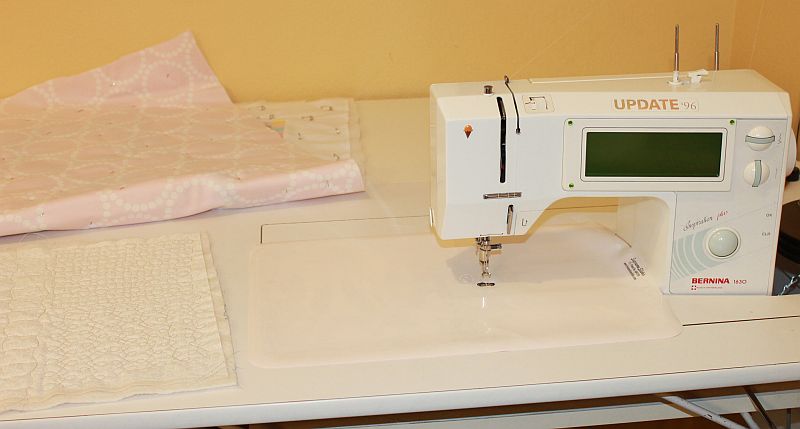
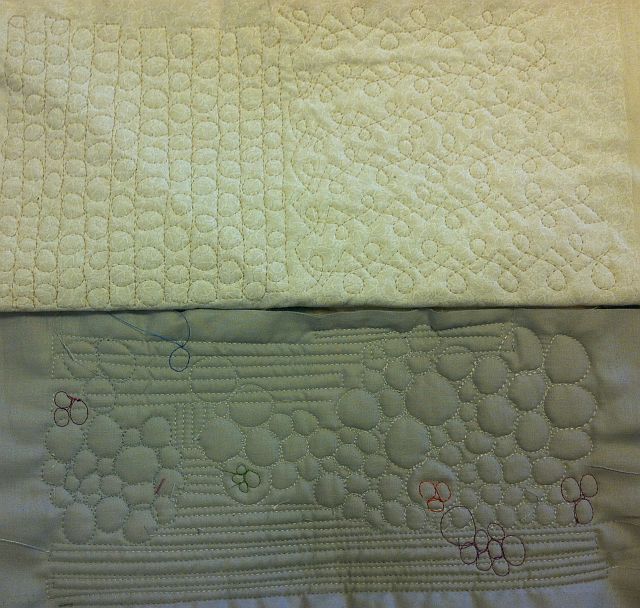
After watching the first couple of lessons, I quickly quilted up these little diamond and starburst sample motifs, just to get the hang of it.
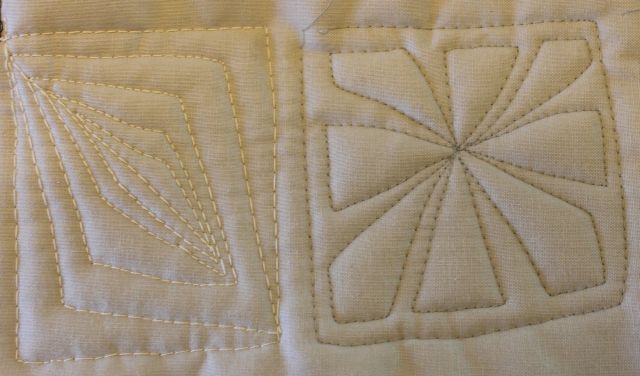
Dot to Dot Practice
Being able to watch Angela quilt “live” on video, then being able to pause and try it out immediately is an excellent way to learn. 🙂 I really like how I can go back and rewatch the segments again, to review what I just learned and make sure I really get it.
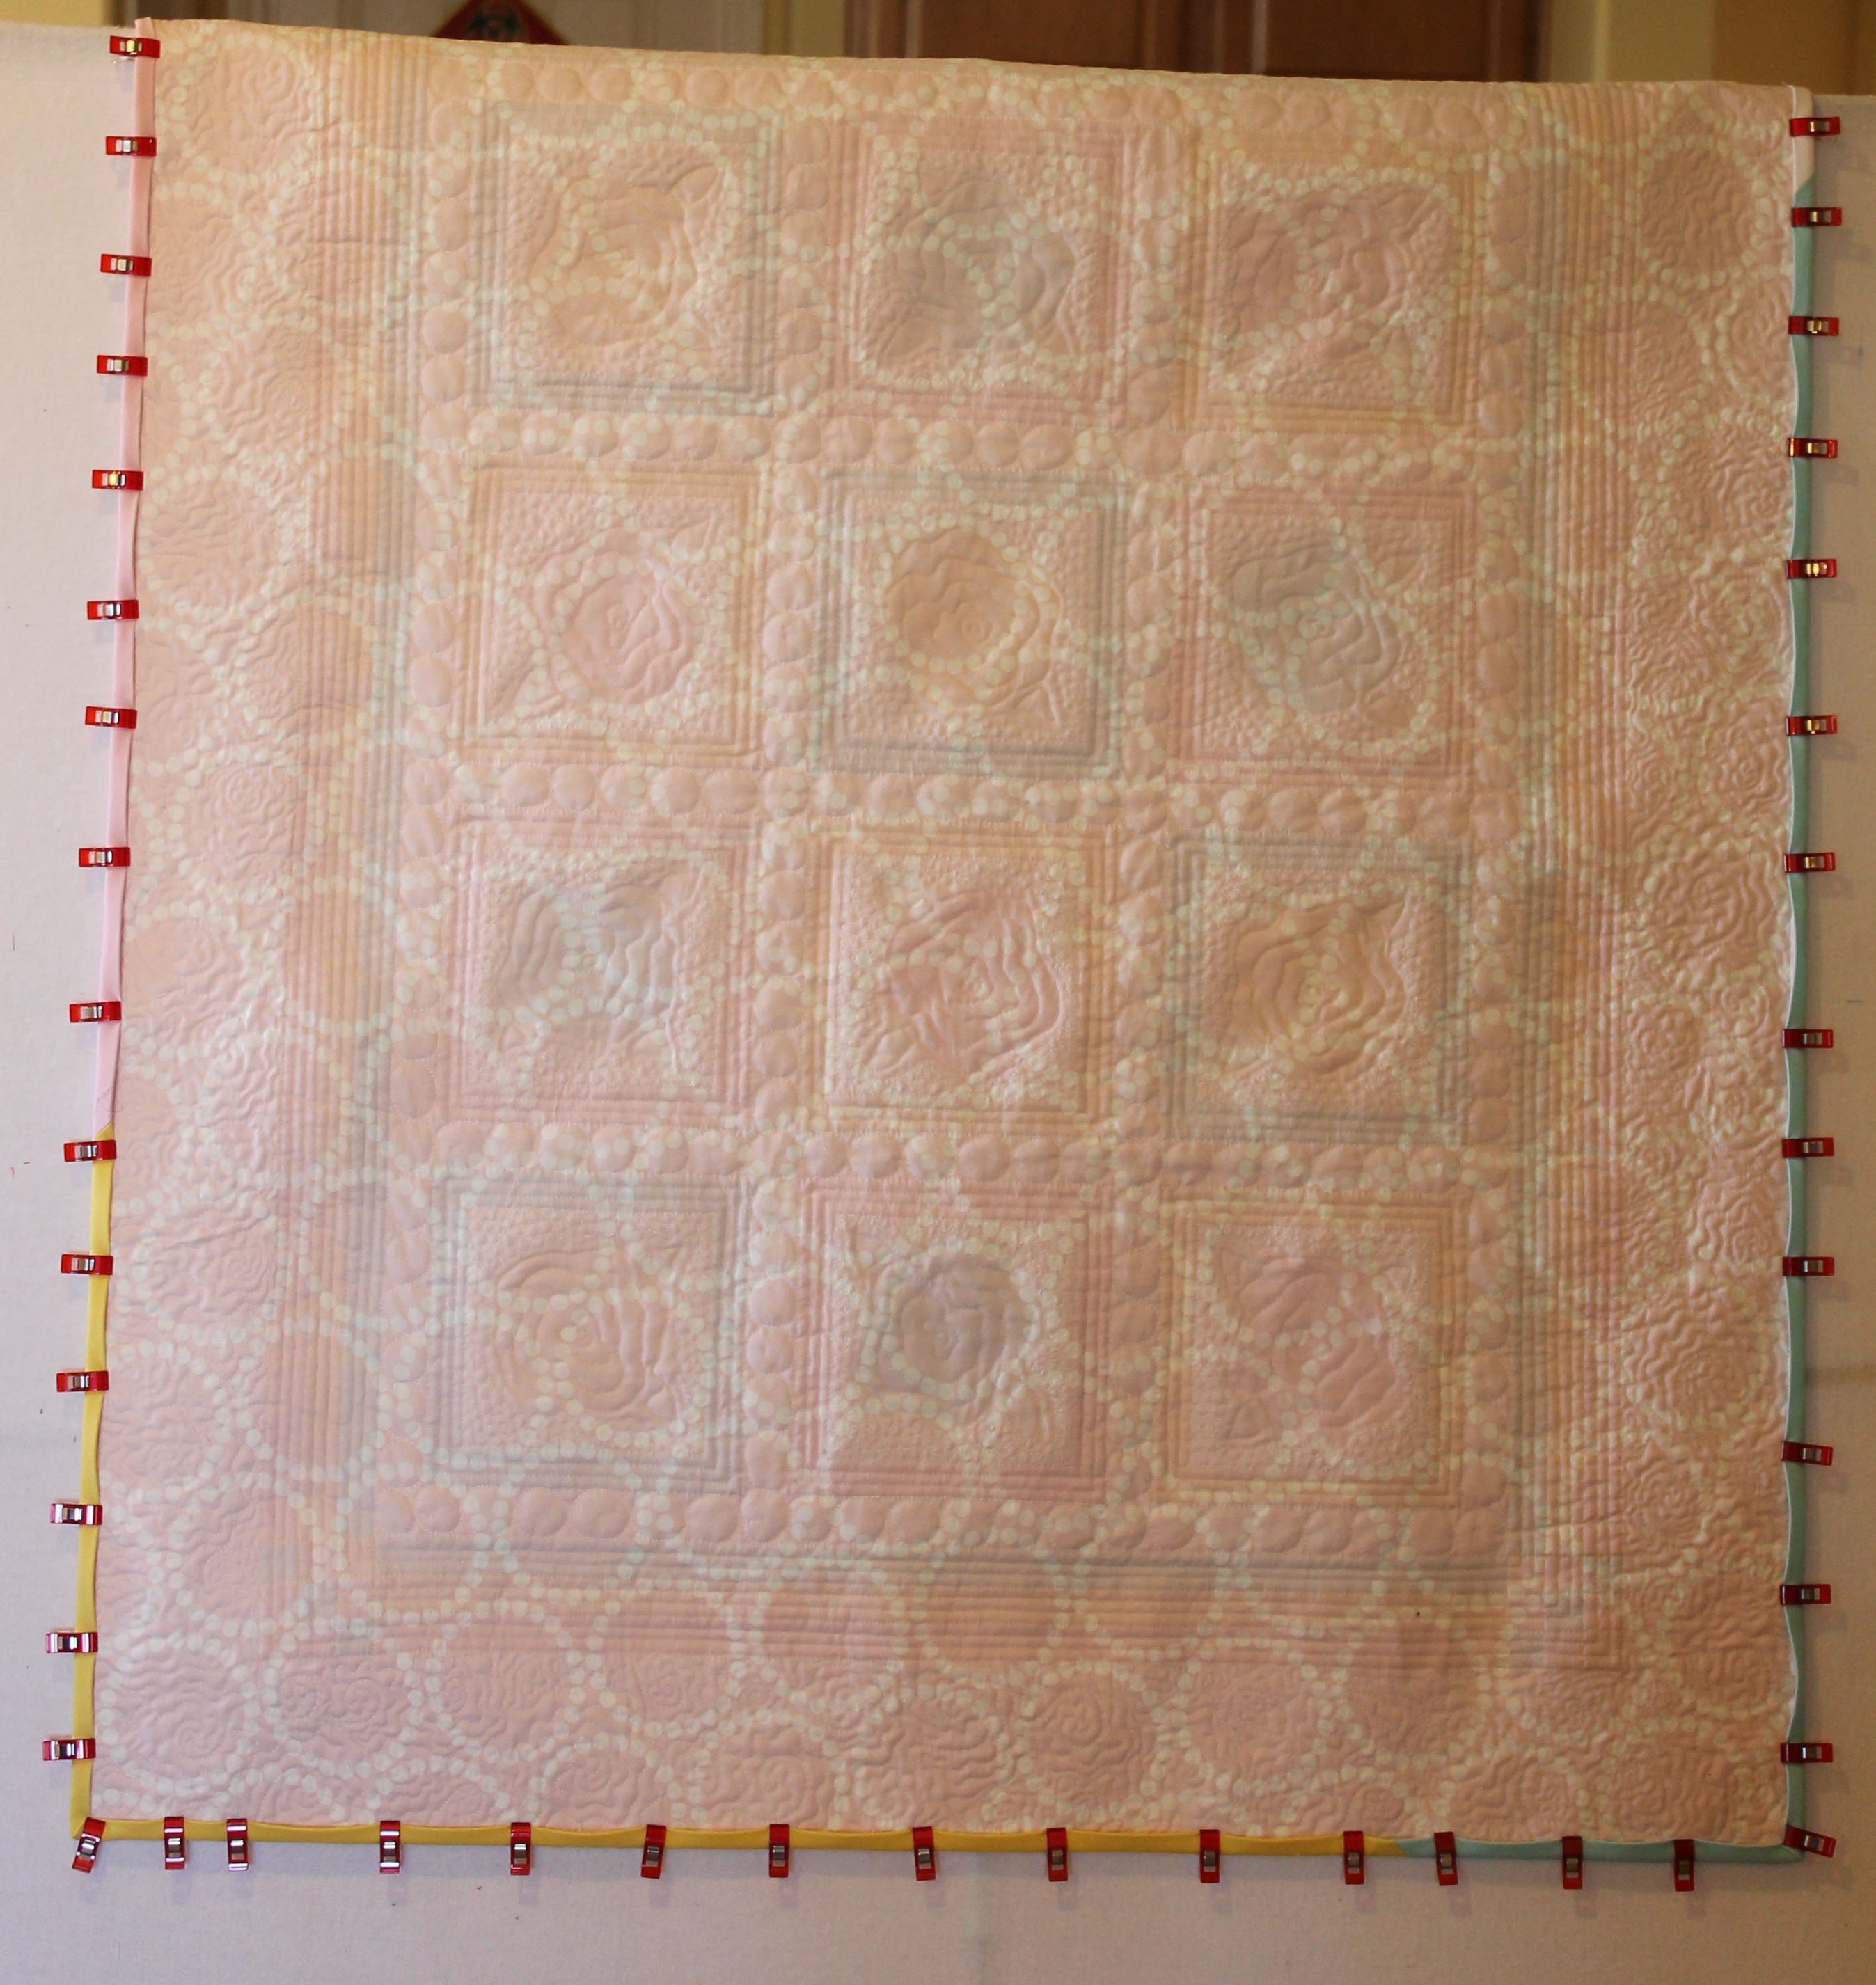
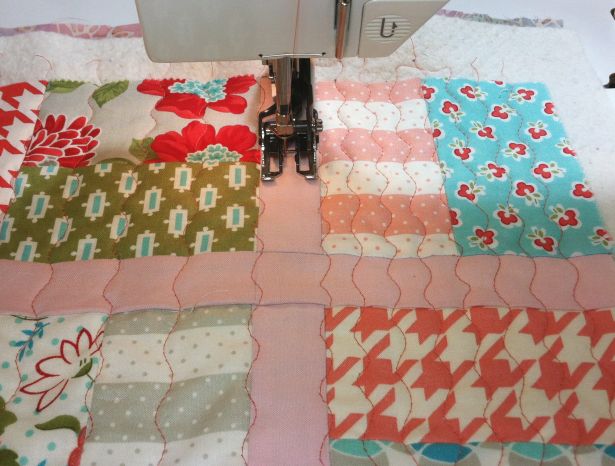
Here are a couple more quilting doodles I tried, to get a feel for the process. I just used some scraps I had lying around, quilting with whatever thread was in the machine.
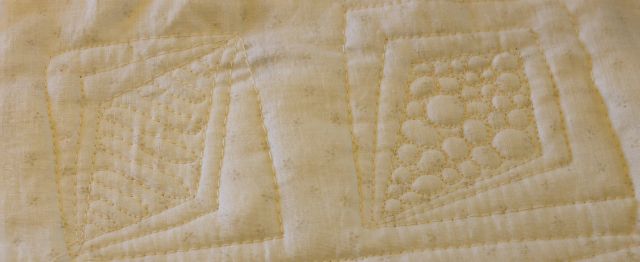
Filling in the Diamonds
Because I enjoy learning and sharing free-motion quilting techniques, I appreciate it when Angela demonstrates things that I also teach, such as using a blending thread whenever possible. This allows you to see the quilting texture, rather than the stitches themselves.
Dot to Dot Quilting is broken down into 8 different segments of about 8 to 10 minutes each, plus an introduction at the beginning. This is a wonderful way to watch because for me personally, I only have about 10 minutes of uninterrupted free-time at any given point in the day!
More of Christa’s Quilt Doodles – This is Fun!
Angela first shows how to quilt the designs in roughly square shapes, then uses a variation on a theme to show how to fit the designs into other shapes, too. Her designs are very scale-able, which means you can quilt them in any block size, large or small. She shows how to quilt them in a regular, classic way, and then she changes it up by starting off-center, or in a corner. The possibilities are endless!
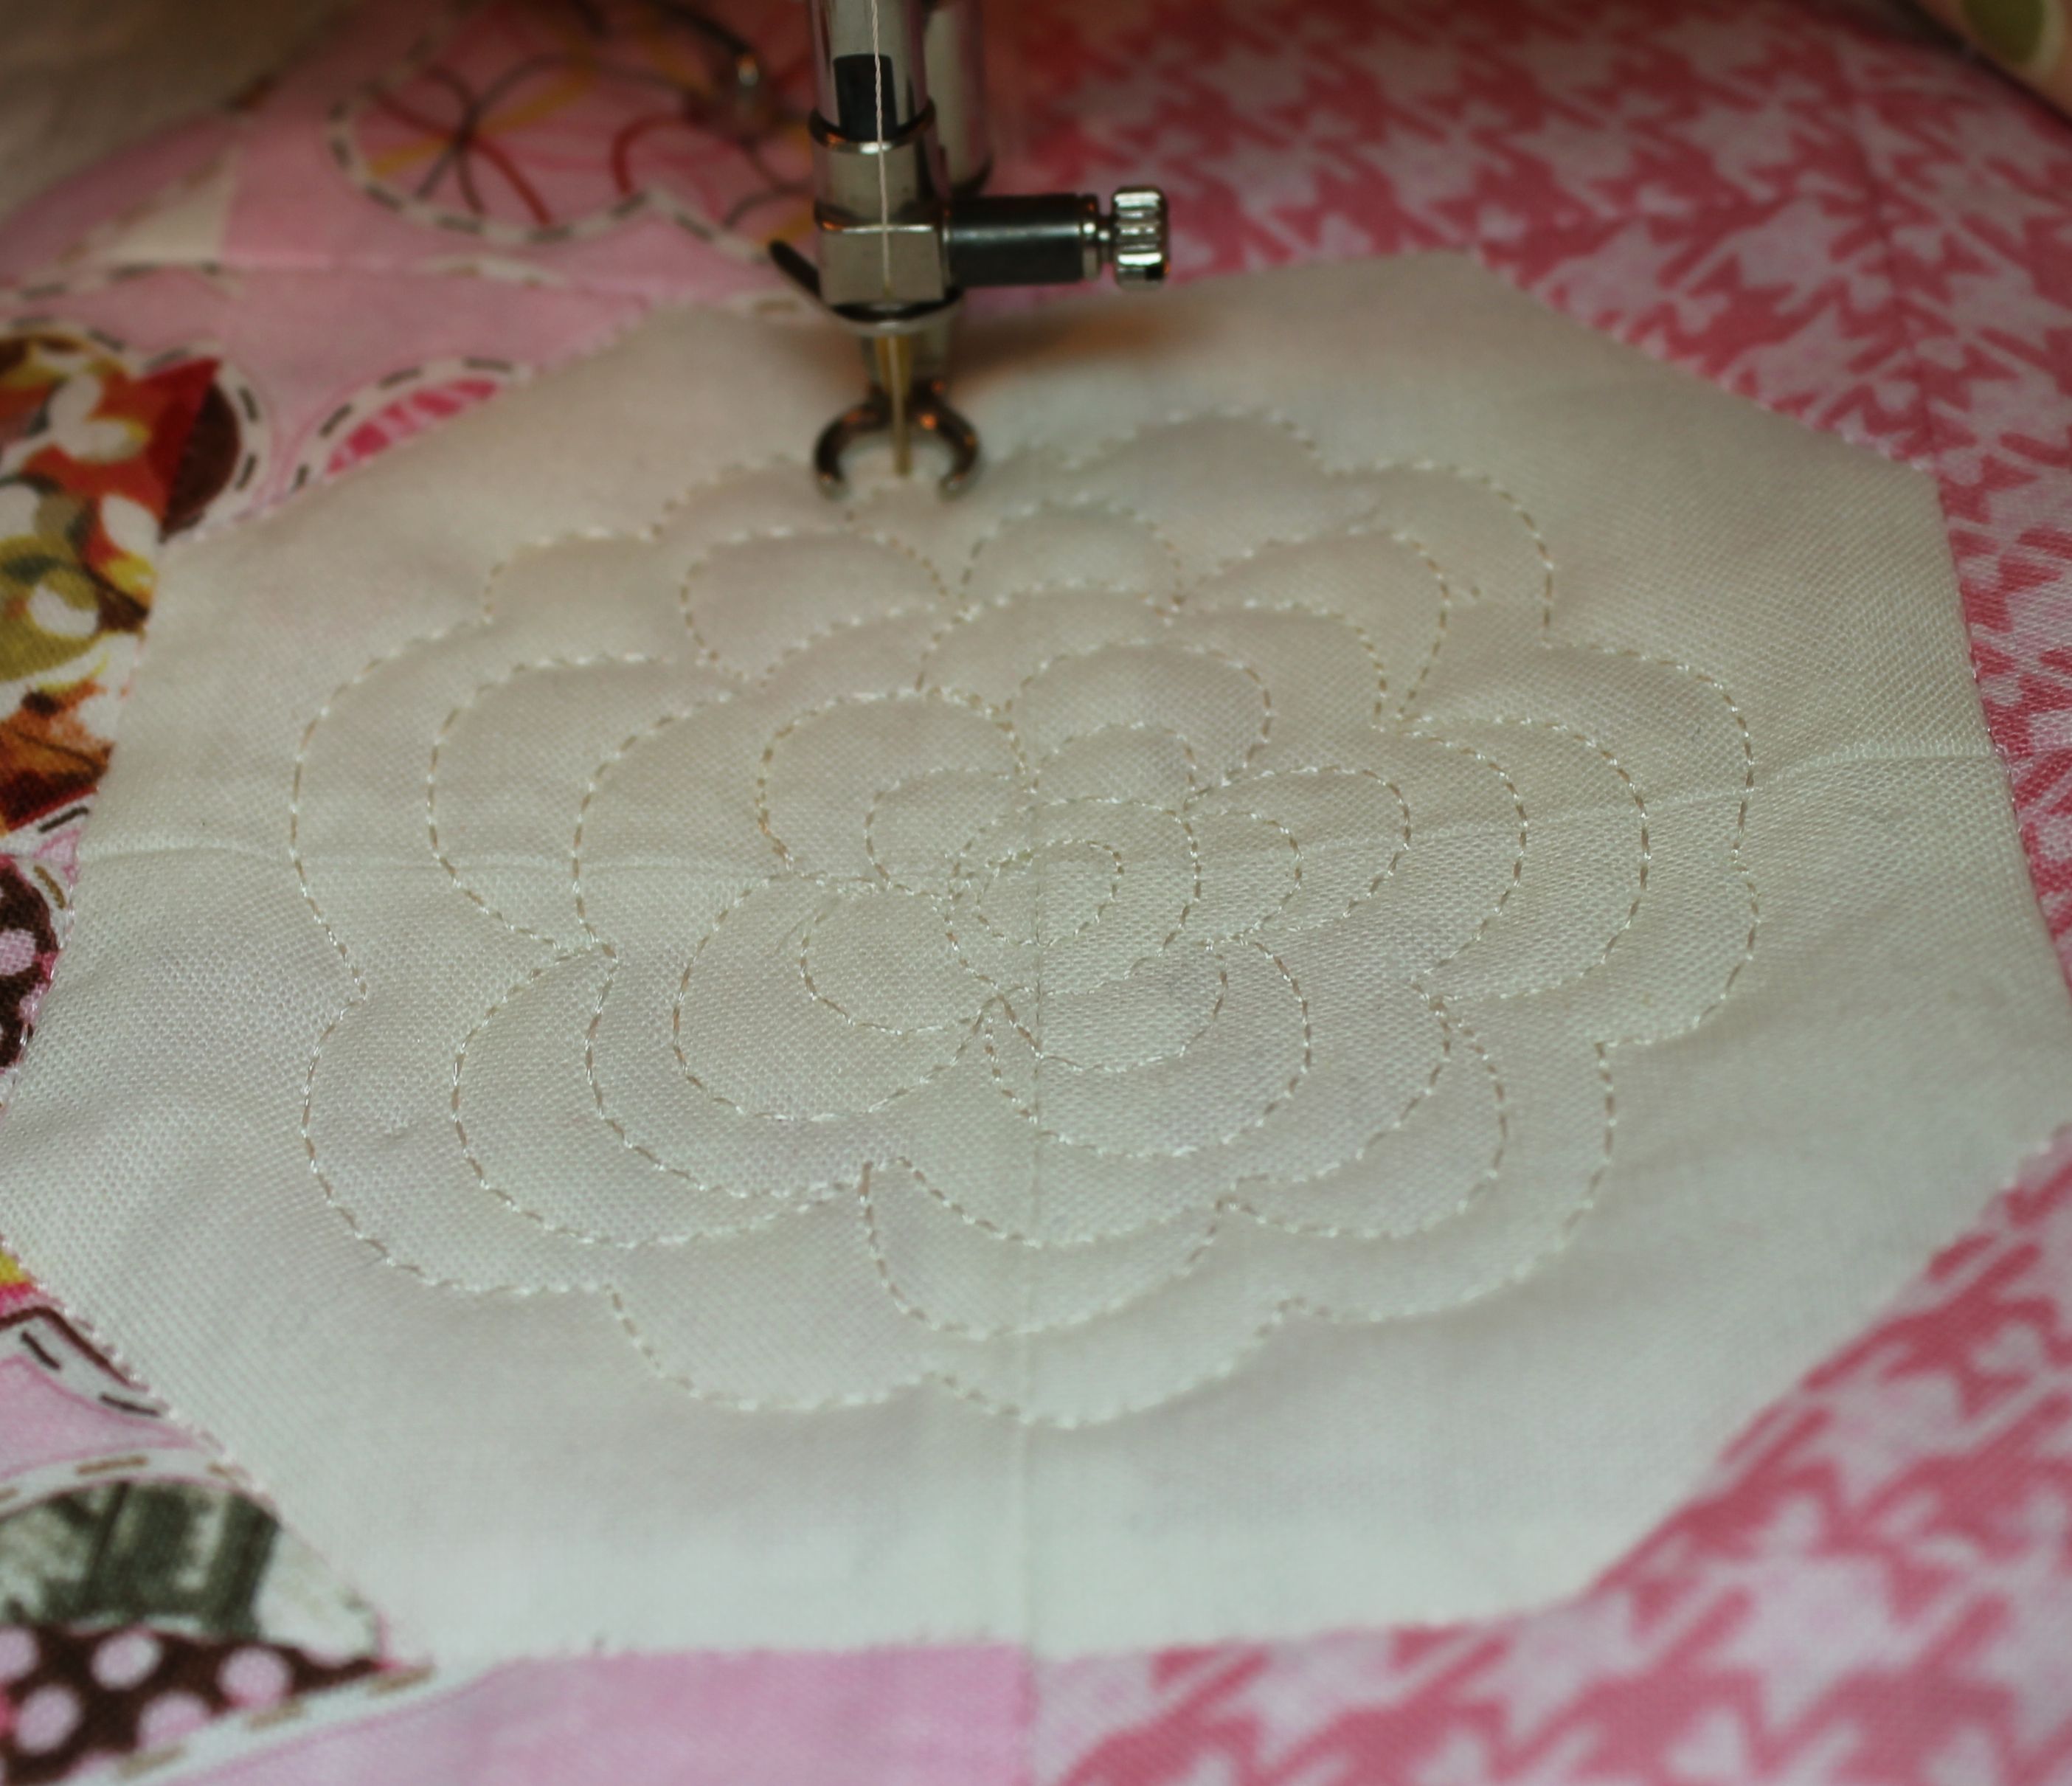
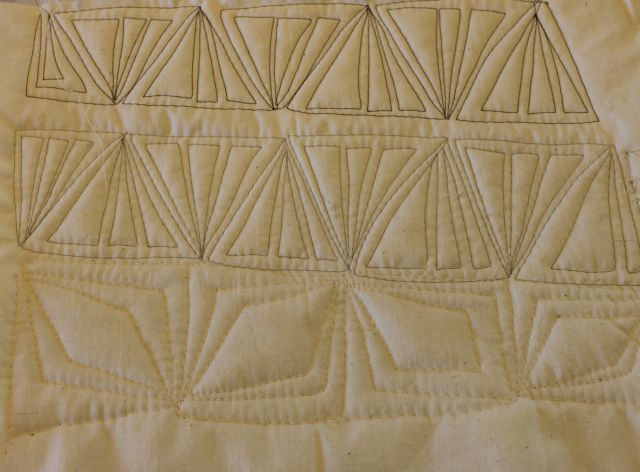
My favorite motif I quilted is this diamond star. I stitched it completely with my free-motion foot and no marking. 🙂
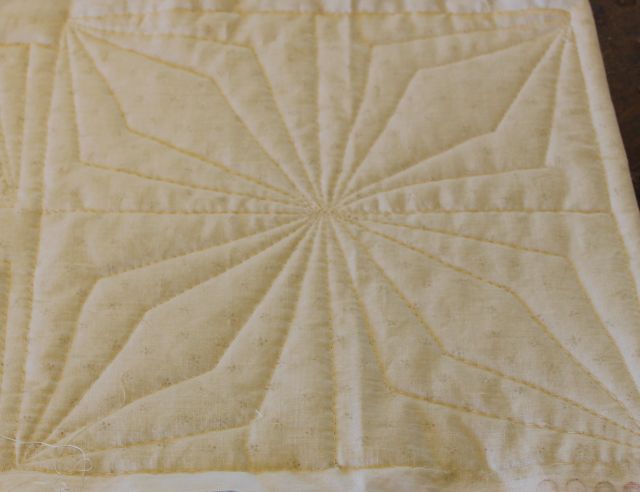
Christa’s Diamond Star, FMQ
Angela states that quilting is like handwriting – she can show you how to form the shapes, but it’s up to you on how you develop your own signature style.
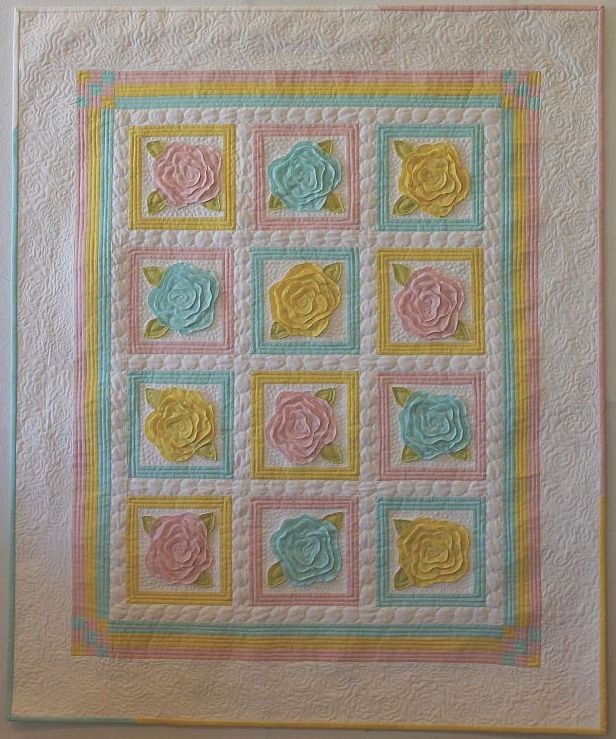
At the end of the class, she shares tons of different examples of dot-to-dot quilting from quilts that she has finished. This was one of my favorite parts of the class – I love looking at all that quilting eye candy!
Angela Walters’ Dot to Dot Quilting
Angela includes a free sample pattern in the course materials along with stitching diagrams and quilting design variations. I recommend tracing them with your fingers or sketching them on a piece of paper before quilting to get your “muscle memory” flowing.
Another highlight of the class is reading the comments left by other class members as they watch. Both Angela and the other classmates are quick to answer the questions I have while watching. I highly recommend Dot to Dot Quilting!