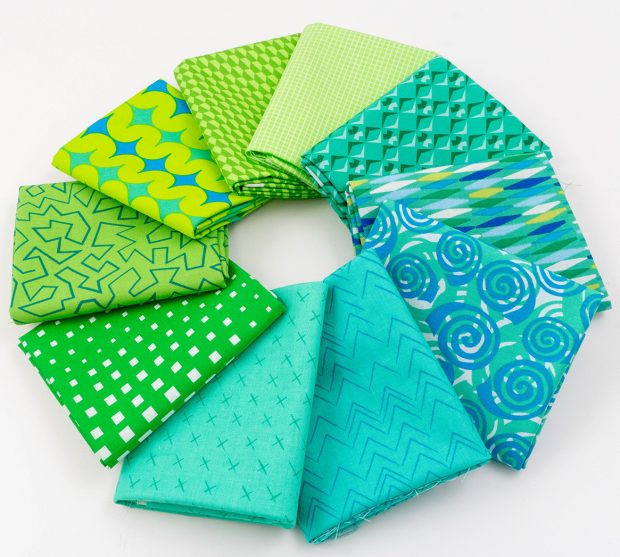
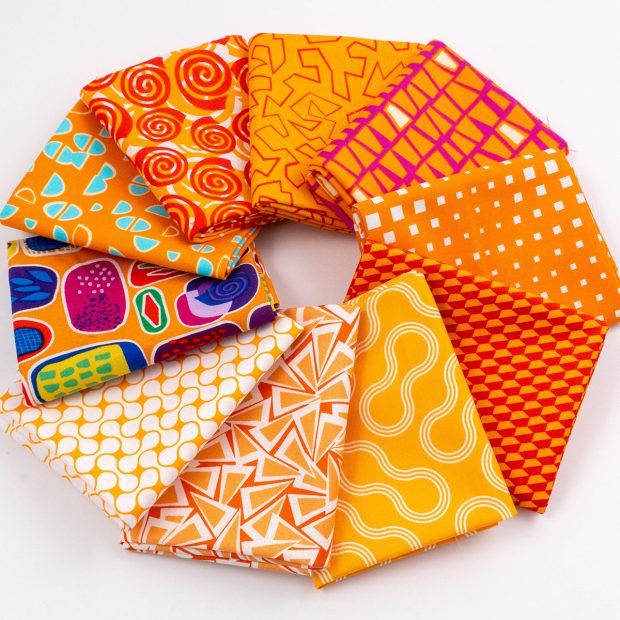
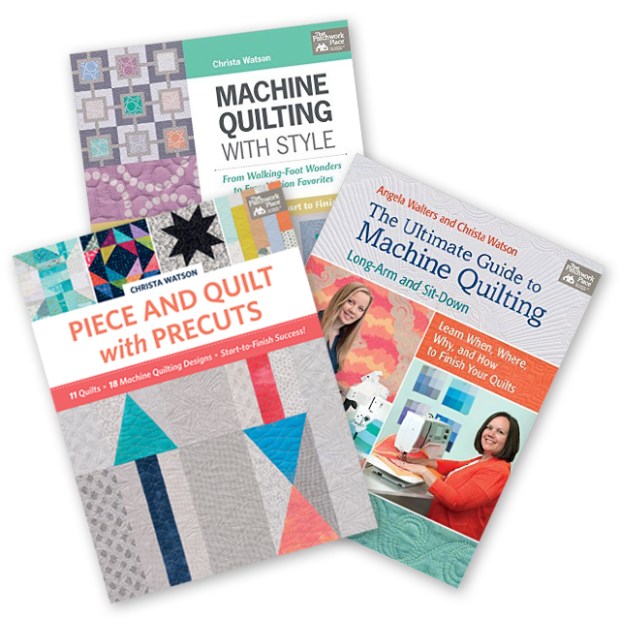
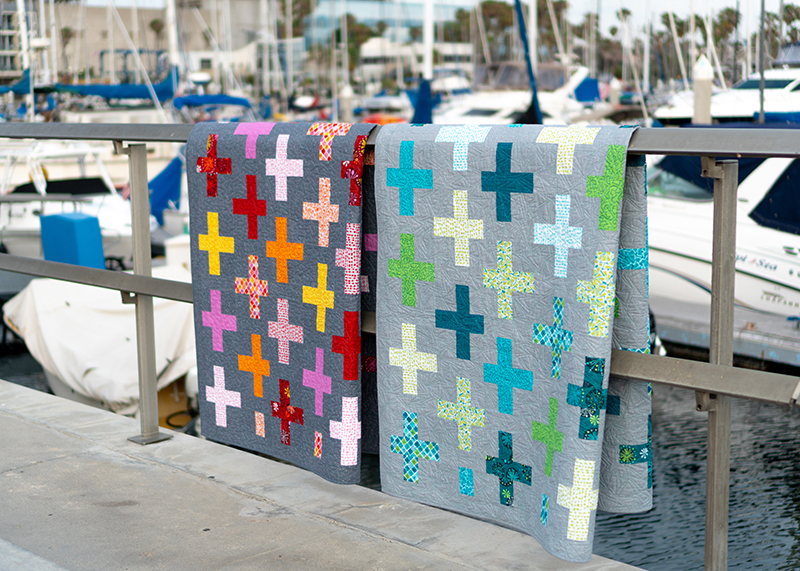
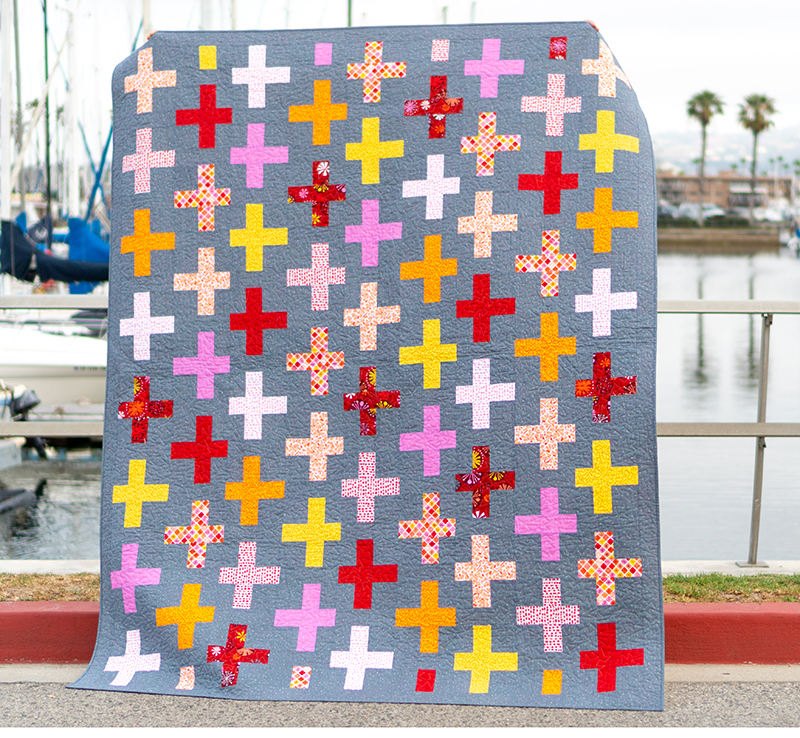
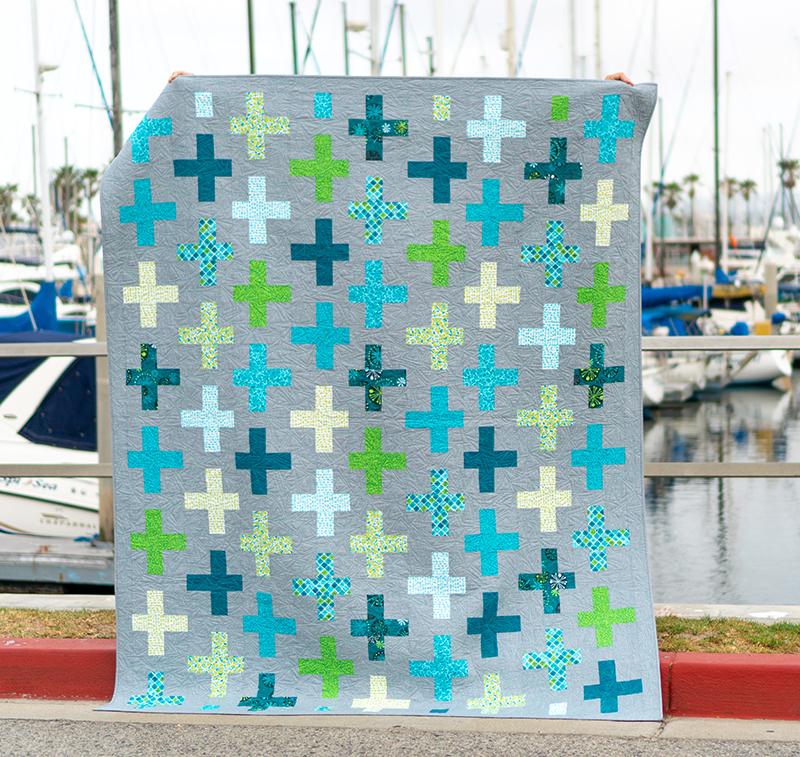
It’s time to embellish our quilts with some fun machine quilting this week! In my book Piece and Quilt with Precuts, I’ve shared 18 different quilting ideas that you can mix and match along with the 11 projects in the book. We are going to do a little bit of mixing and matching of motifs this week!
(By the way, If you are a little unsure of your free-motion quilting skills, be sure to check out my machine quilting class on Craftsy for my best machine quilting tips and tricks!)

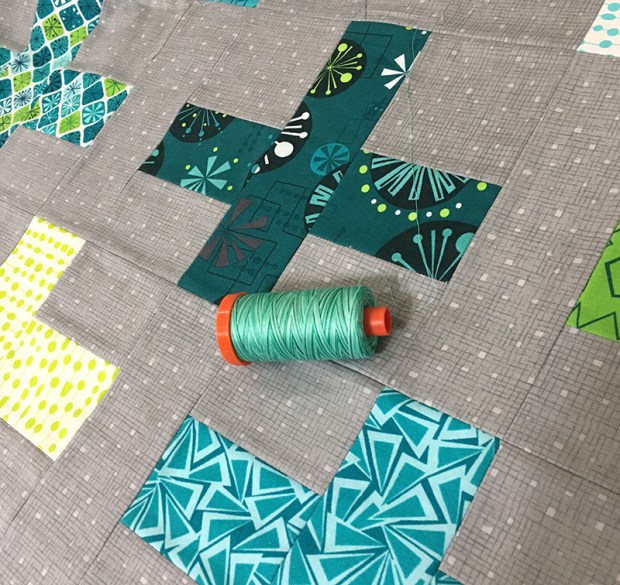
Original Dot N Dash Quilting
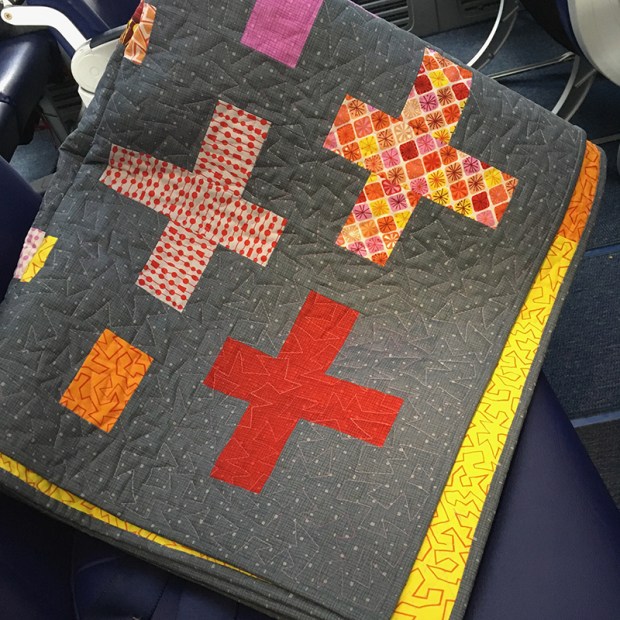
Here’s how I quilted the original Dot ‘n’ Dash quilt. I quilted “crazy 8’s” in the background areas, and wavy lines in the print strips. I followed a similar quilting plan to what we are doing today, but with different designs. If you’d like to follow this quilting plan, see pages 50-55 of the book.
Original quilting plan for Dot ‘n’ Dash – from the book.
For this week’s quilting “assignment,” we are going to play with one of the walking foot designs from another project in the book to come up with a really fun variation. Take a look at the “Frequency” quilt on page 28 of Piece and Quilt with Precuts. You can create amazing texture by quilting “sort of” straight lines, zigging and zagging from side to side across each strip.
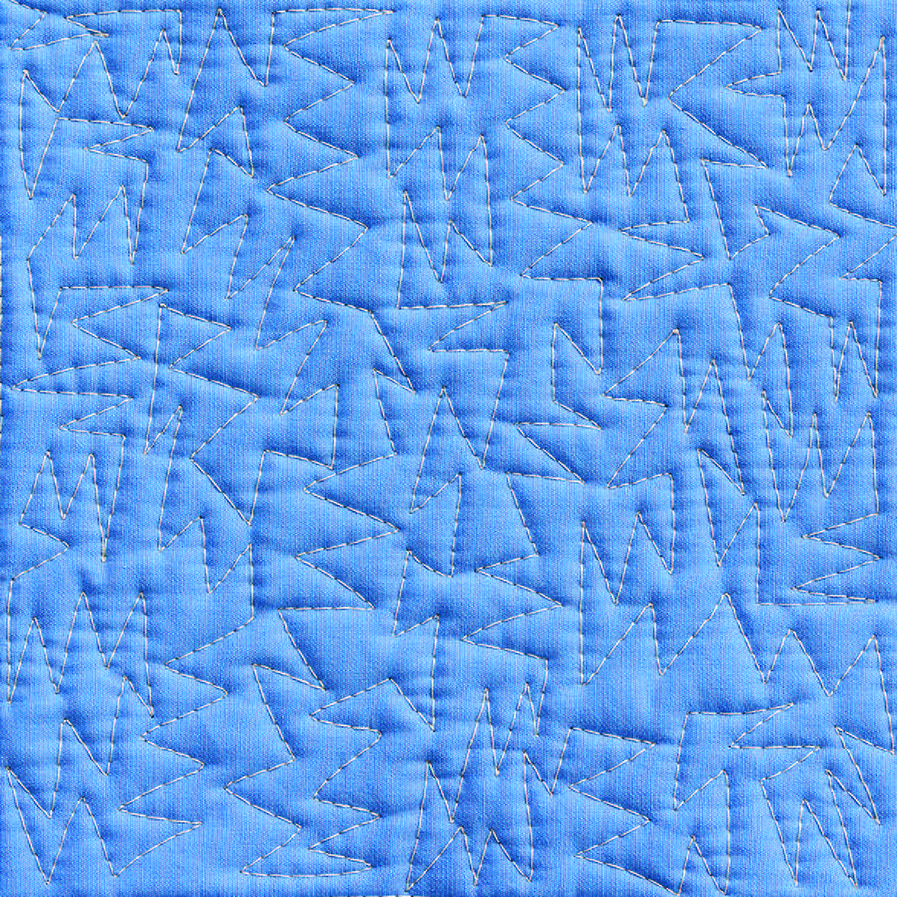
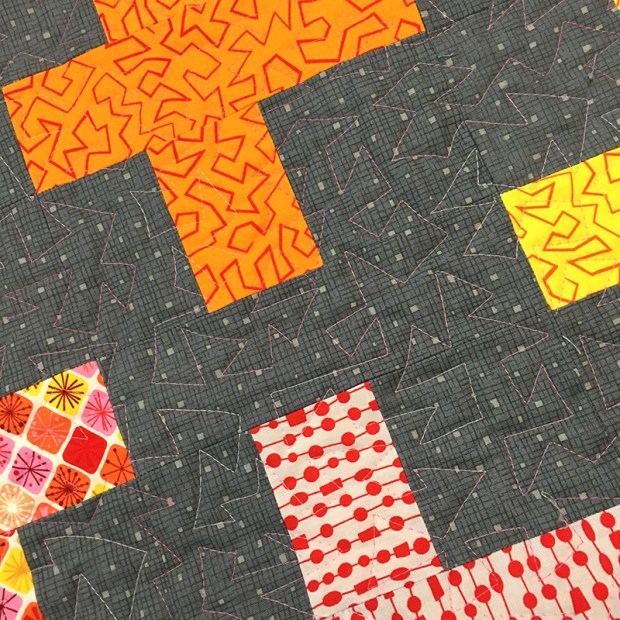
Quilting Modern Zig-Zags
Notice the random irregularities. Not only do they add interest to the quilt, they are fast and easy to do because there’s no marking involved and you don’t have to measure any spacing. This is MY kind of perfectly imperfect quilting!!
See page 28 of Piece and Quilt with Precuts to practice this design.
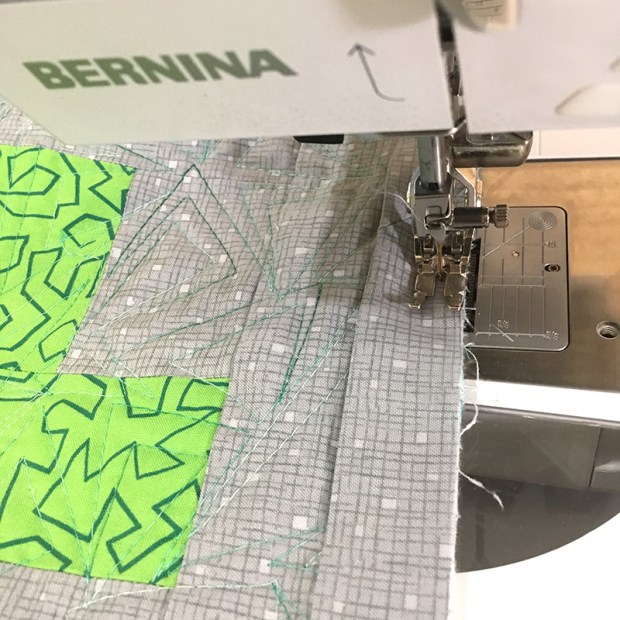
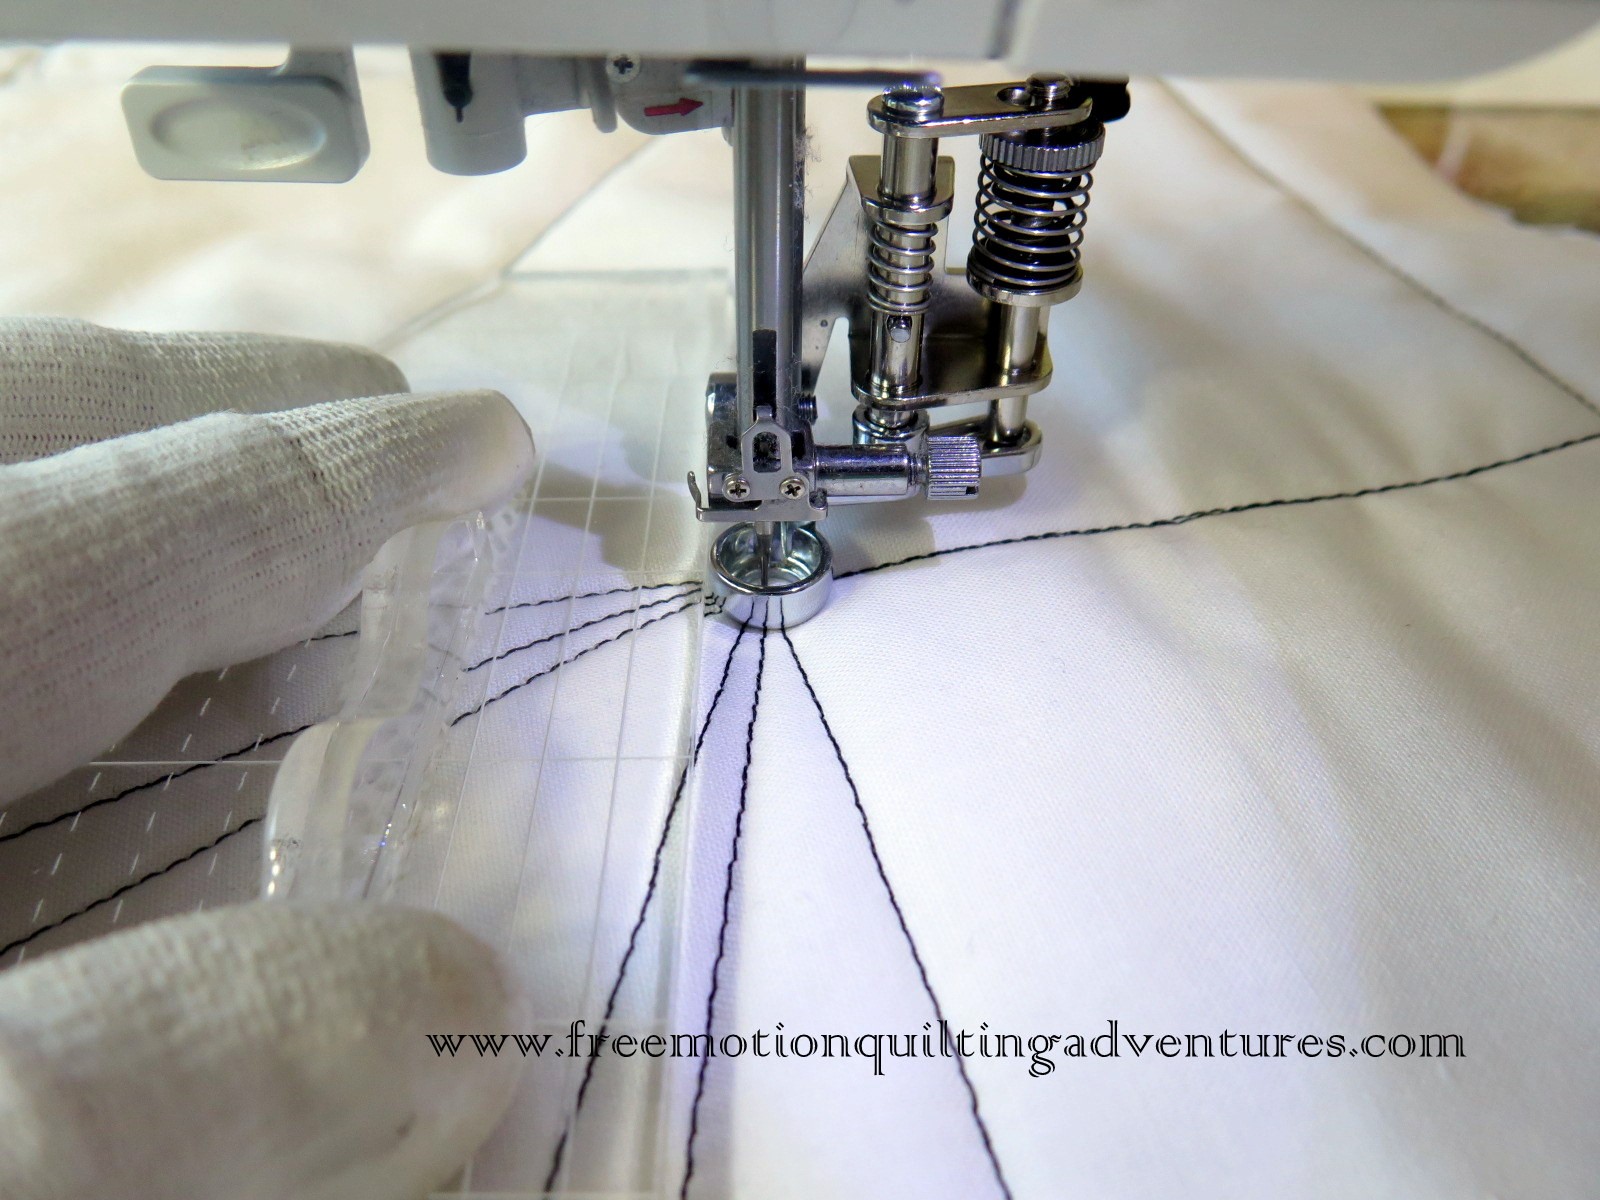
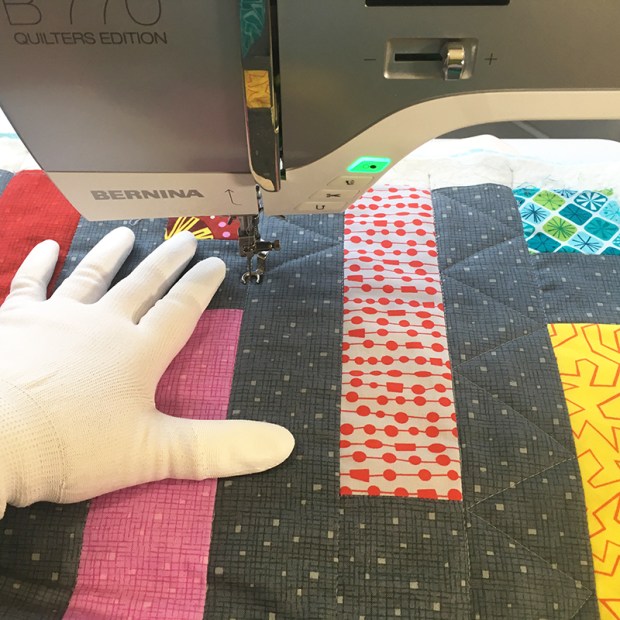
quilting with your walking foot/dual feed
Rotate the quilt so that you are quilting each strip row from the top to bottom. Quilt a short line by eye and stop with the needle down when you get to the side of your strip. Lift the foot up and slightly rotate the quilt so that you can angle the line in the opposite direction. Keep going, quilting the irregular lines from side to side. If you have a knee-lift or hover feature on your machine, use it so that you can leave your hands on the quilt the entire time.
To prevent whiskering (wrinkles) or puckers on your quilt, quilt each row starting at the top of the quilt and working your way to the bottom each time. Just like when I stitched in the ditch last week, I’ll start on the right side of the quilt and work my way towards the center, then rotate the quilt and keep going from the center out.
Alternate Method: Free-Motion Quilting the Zig-Zags
To get started free-motion quilting, I recommend using a Supreme Slider – a slick sheet that clings to the bed of your sewing machine, and a pair of Machingers gloves that will give you a better grip on your quilt. Just remember to only use the Supreme Slider while FMQ, not walking foot quilting, so that you don’t accidentally stitch through it! (Ask me how I know….)

The gloves and slider will help me control the quilt with less strain on my hands.
I’ve lowered my feed dogs and I’m quilting with an open toe free motion foot so I can better see what I’m doing. Although my machine does come with a stitch regulator, I actually prefer quilting without it. I learned without a regulator so that’s the movement I’m most comfortable with.
However, if you have a stitch regularot, give it a try and see which feels more comfortable to you – with or without. Here’s another tip I picked up from my good buddy Leah Day: try quilting both with your feed dogs up and down to see which gives you a better stitch. The nice thing about using a Supreme Slider is that it covers the feed dogs, keeping them out of the way if you decide to keep them up!
Free-motion quilting is faster, but requires more control and lots of practice.
Did you know you can free-motion quilt short straight lines without a ruler? If they are done in short bursts, you can eyeball a straight line if you look ahead and pick a point you are trying to get to.
The reason I’m quilting this design free-motion instead of with a walking foot is that it’s faster, since I don’t have to stop and turn the quilt for each zig and zag. However, it requires more muscle control, so practice both ways first on a scrap of batting and fabric and then decide which technique is easier for you to master.

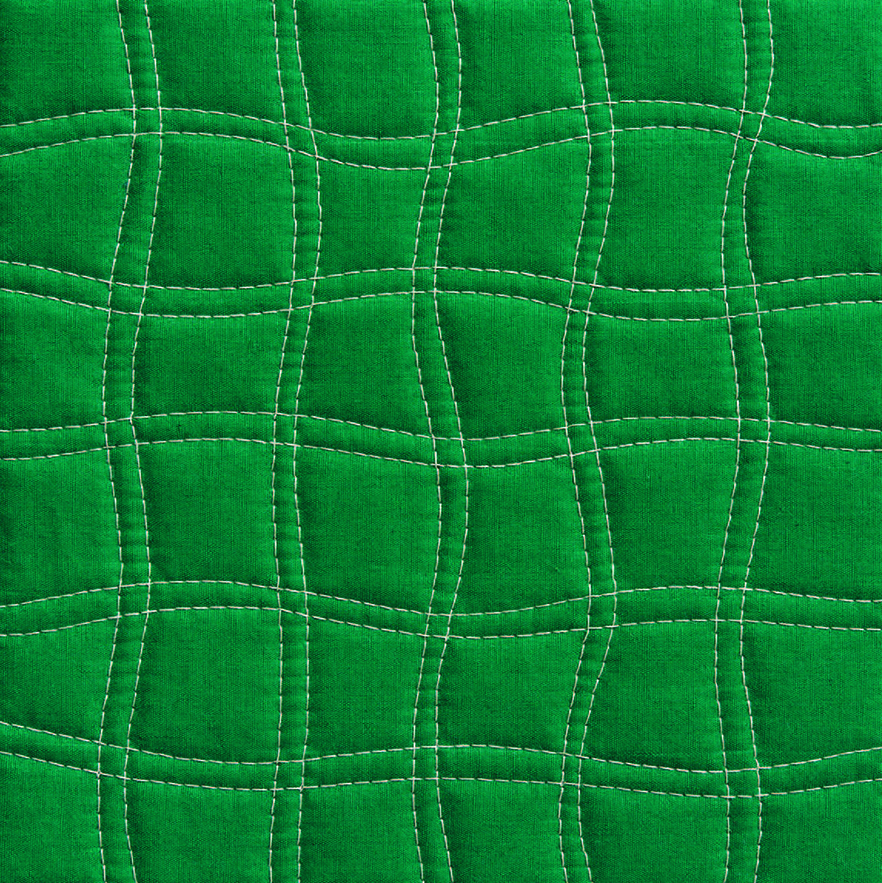
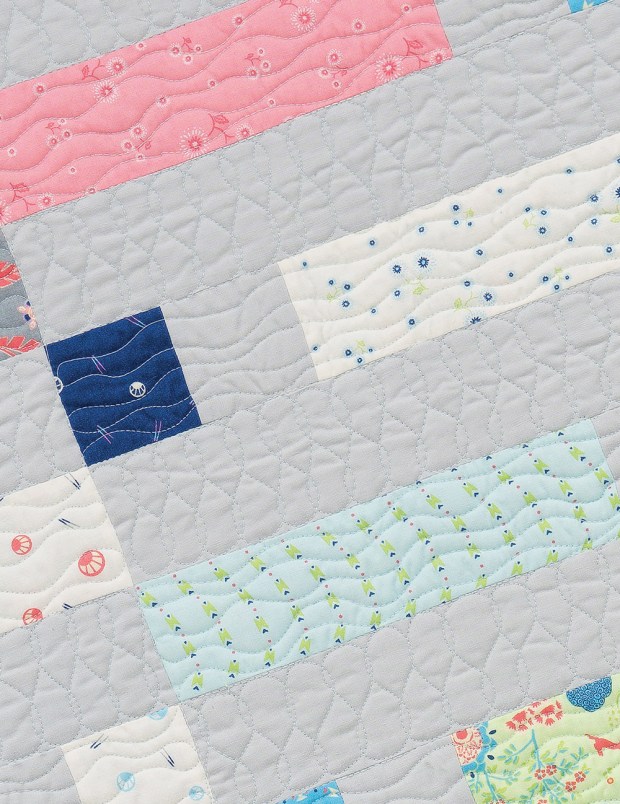
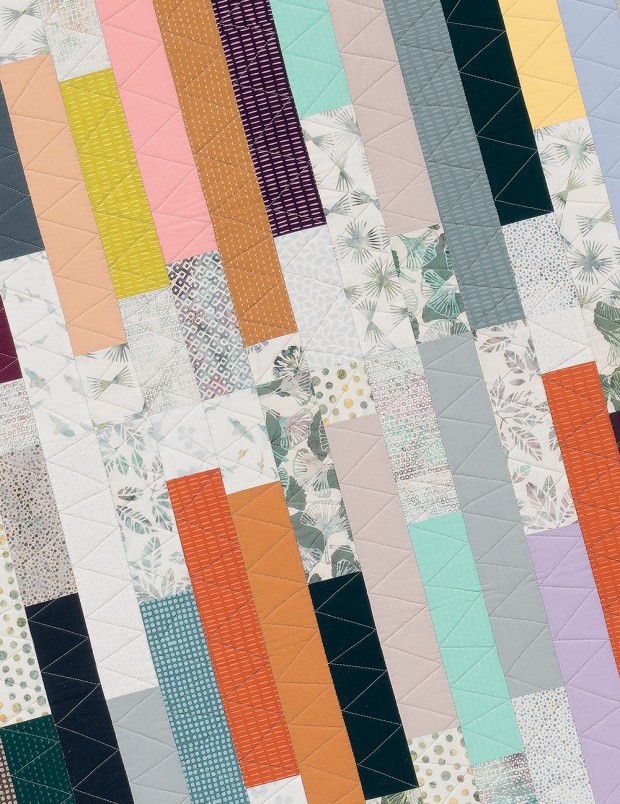
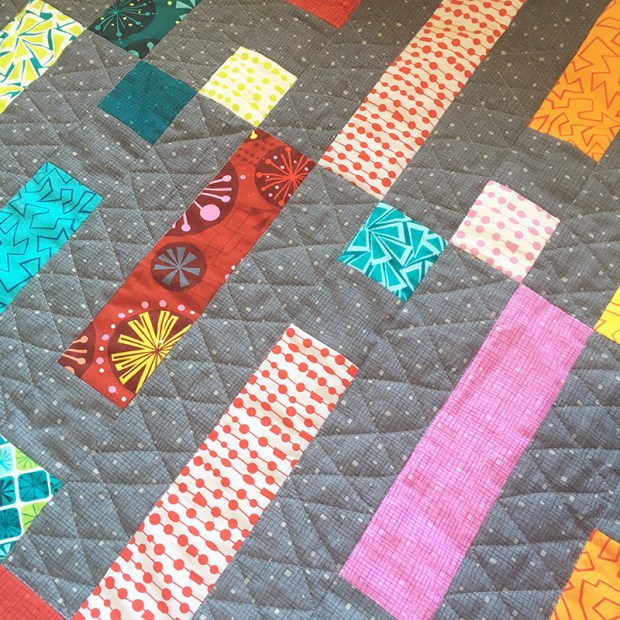
First pass across the quilt – zig-zags in all the gray areas.
Notice that I’m quilting modern, random zig-zags in the gray strips between each print strip (not including the small gray squares). To quilt one long continuous line without breaking thread, zig or zag over to the next gray section to quilt. If needed, it’s okay to backtrack (or quilt over a precious quilting line) in the seam to get to where you need to go.
After quilting one pass of zig-zags, I decided that I wanted to quilt another set of lines, intersecting what I had already done. I’m using the same method to quilt the random short lines, but crossing over each previous line as shown below:
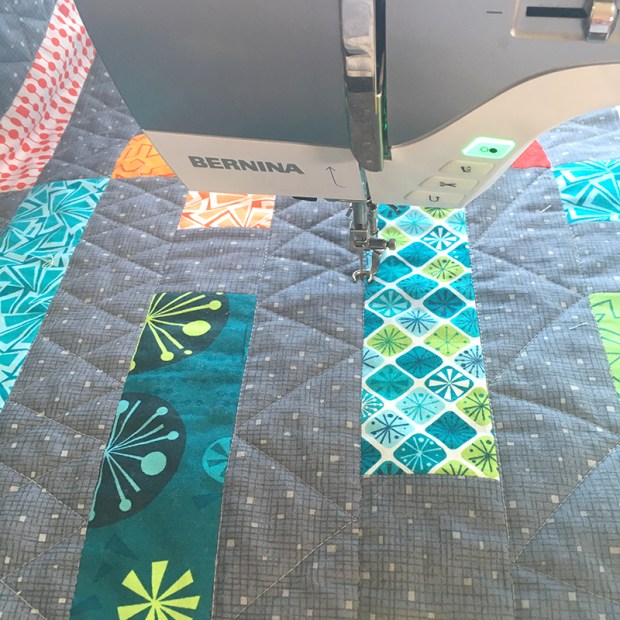
Notice how I’m quilting each row from the top of the quilt to the bottom.
I will rotate the quilt as needed to find a comfortable quilting position.
Machine Quilting Homework
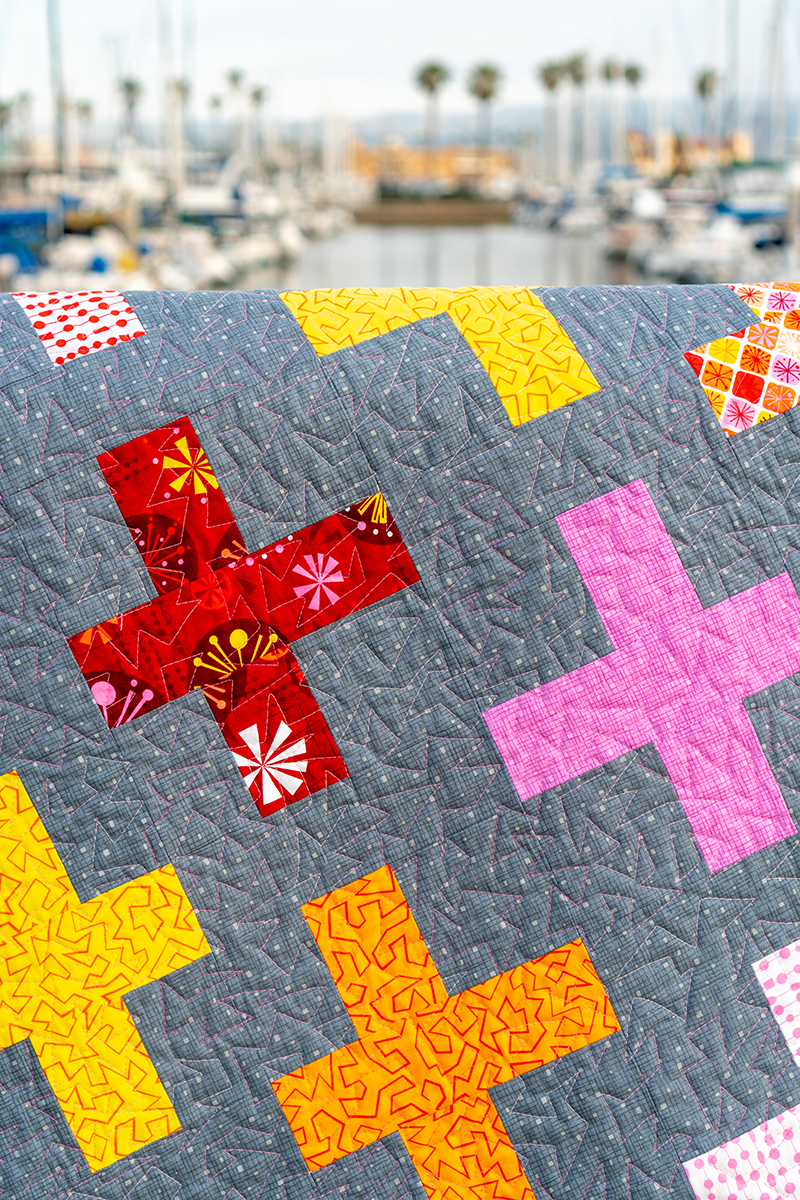
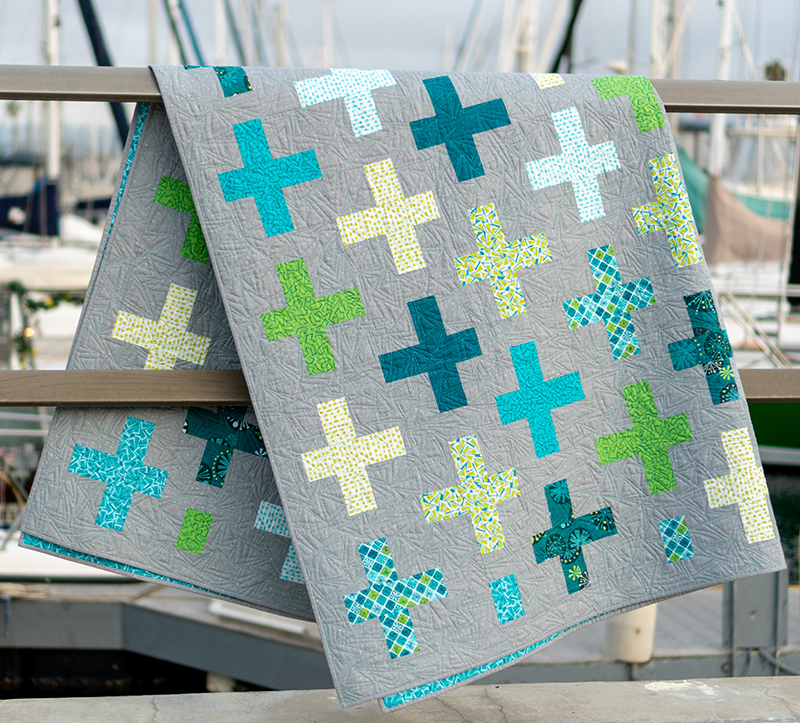
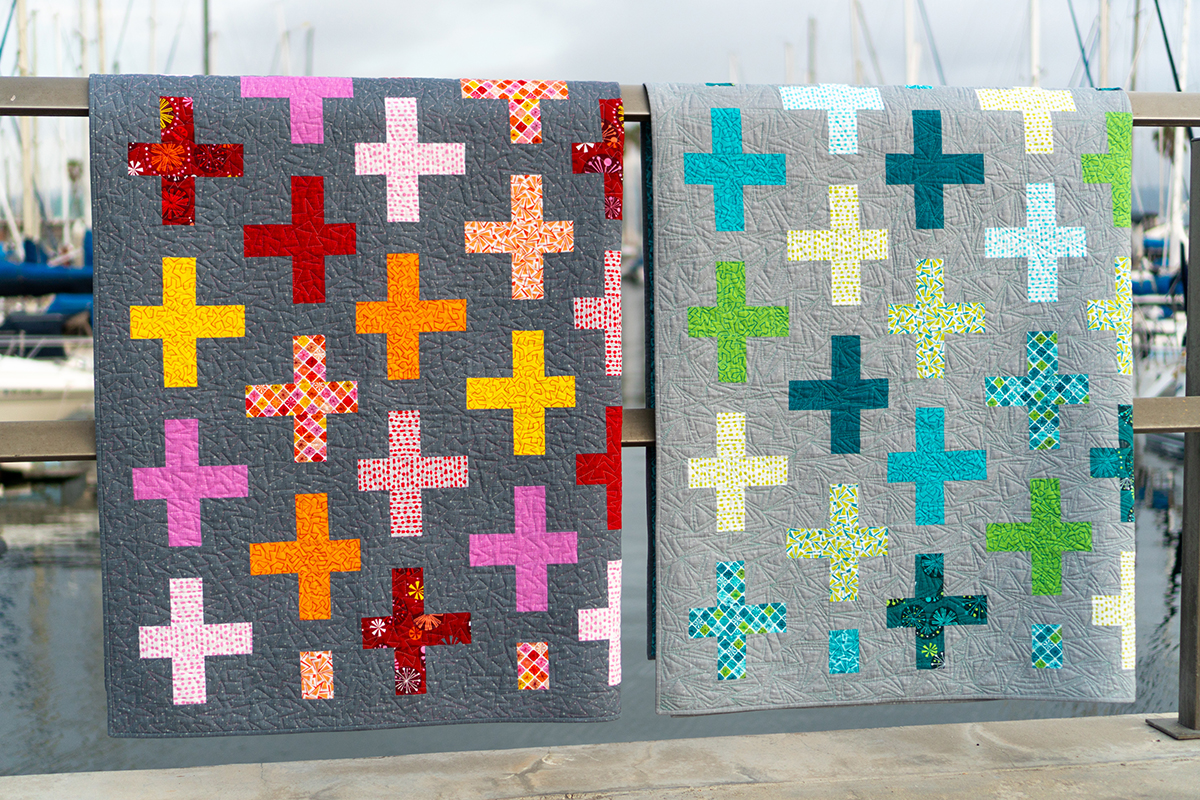
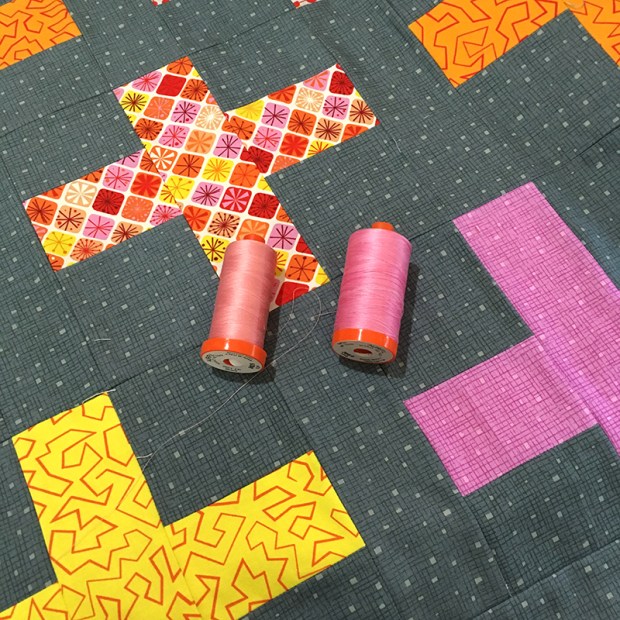
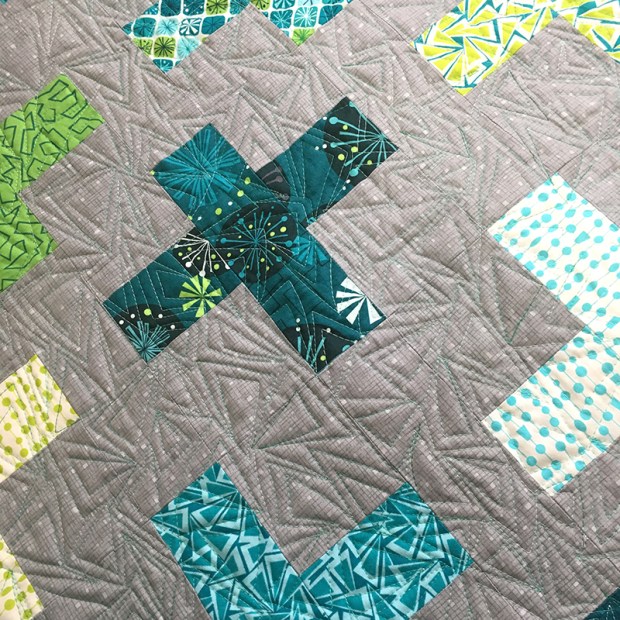
Quilt all of the gray areas with a blending thread. I used the same Aurifil 50 weight gray that I used for stitching in the ditch last week. Quilt one pass across the quilt like the pictures I showed above. Then quilt a second pass across the quilt to give it more random texture.
We will tackle the print strips next week, using another free-motion motif from a different quilt in the book. It’s been fun to mix and match the designs to show how versatile they can be!
Divide and Conquer – quilt all of one design first before moving on to the next.
It’s Not to Late to Start!
Remember – you can jump in and make this quilt any time. Just grab a copy of the book and your favorite fabrics (strips, scraps, or stash).
Click here for the supply list and links to all of the previous posts.
Then share your progress on instagram #dotndashqal or in my Christa Quilts facebook group.

I love yummy machine quilting texture!! Next week I’ll show you how to quilt the rest.