QuiltCon Together Begins Feb 18, 2021 – See My Schedule of Events!

I’m very excited about QuiltCon Together, the annual event presented by The Modern Quilt Guild. So far, I’ve been to every show and I’ve had a quilt in every show, too. Even though this year’s event is virtual, I still wouldn’t miss it. Here’s where you can find me – and my quilts – online from February 18-22, 2021.

QuiltCon Together 2021

My Workshops

Carefree Walking Foot Quilting (On Demand) – Sold Out
Carefree Free-Motion Quilting (On Demand) – Click here to register for DSMQ009

My Walking foot quilting class is completely sold out. However, as of this writing I still have room in my Carefree Free-Motion Quilting workshop. These classes are the next best thing to being live in person. They’ve been pre-recorded and you’ll have access to them the entire length of the show. That means you can view them on your schedule and then pause to do the “homework” given in each class.

There’s an “enhanced” option meaning that students have the option of meeting with me live online in a small group setting to get additional help on anything they need from in class.

Free Motion Quilting

Click here to register for my Free Motion Quilting class at Quiltcon Together.

My Lectures

BERNINA 770QE

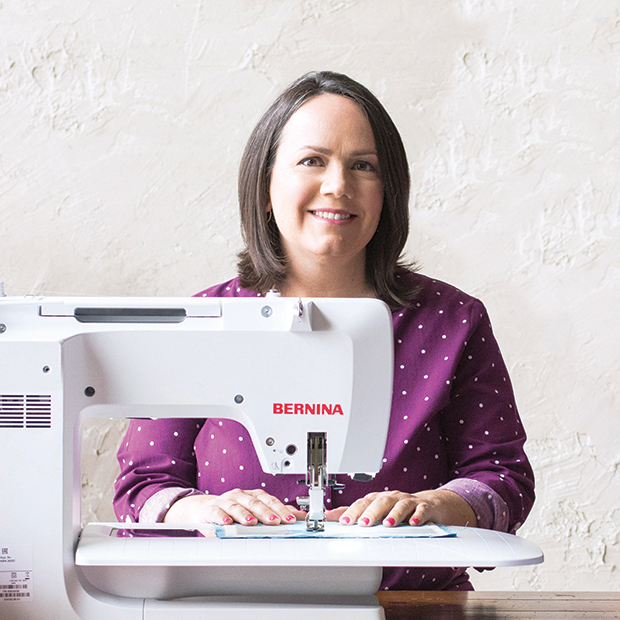
#1 BERNINA LIVE 2/18 at 10:30 – FREE for QuiltCon participants
CLICK HERE TO REGISTER FOR THE SHOW

I’m kicking off the event first thing on Thursday morning, February, 18th at 10:30 AM Central time with a live presentation sponsored by BERNINA. It will be about 30 minutes of me chatting about my favorite machine feet for quilting. Following that, I’ll stick around for about an hour to chat with everyone and answer any questions you may have. Best of all, this event is FREE for all QuiltCon attendees. So be sure to pop over to the vitrual BERNINA booth that morning and join the fun!!

#2 Quilt Perspectives Panel 2/20 at 11:00
CLICK HERE TO REGISTER FOR LE17

Join me and industry experts Riane Menardi Morrison, Sandra Johnson and Tia Curtis as we chat about all things machine quilting. This will be another live event that you can register for separately, or as part of an all access lecture pass.

#3 How Do I Quilt It Lecture 2/21 at 5 PM
CLICK HERE TO REGISTER FOR LE29

I’m excited to be presenting my ever popular lecture “How Do I Quilt It” at QuiltCon Together. It will be shown on Sunday, February 21 at 5 PM Central Time. It also includes a Q&A live chat so that you can better understand the material presented. Through the magic of technology I’ll also be answering your questions live during the pre-recorded presentation.

My Quilts In the Show

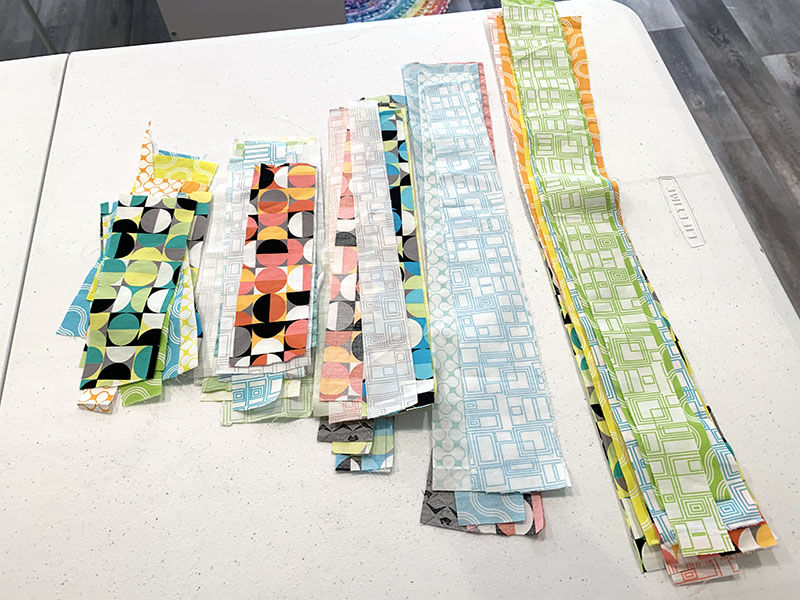
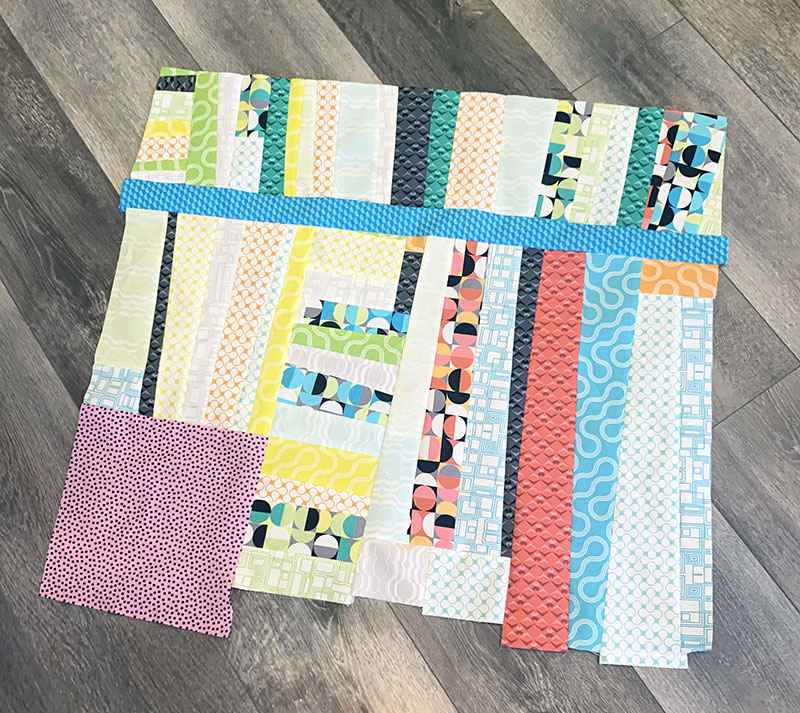
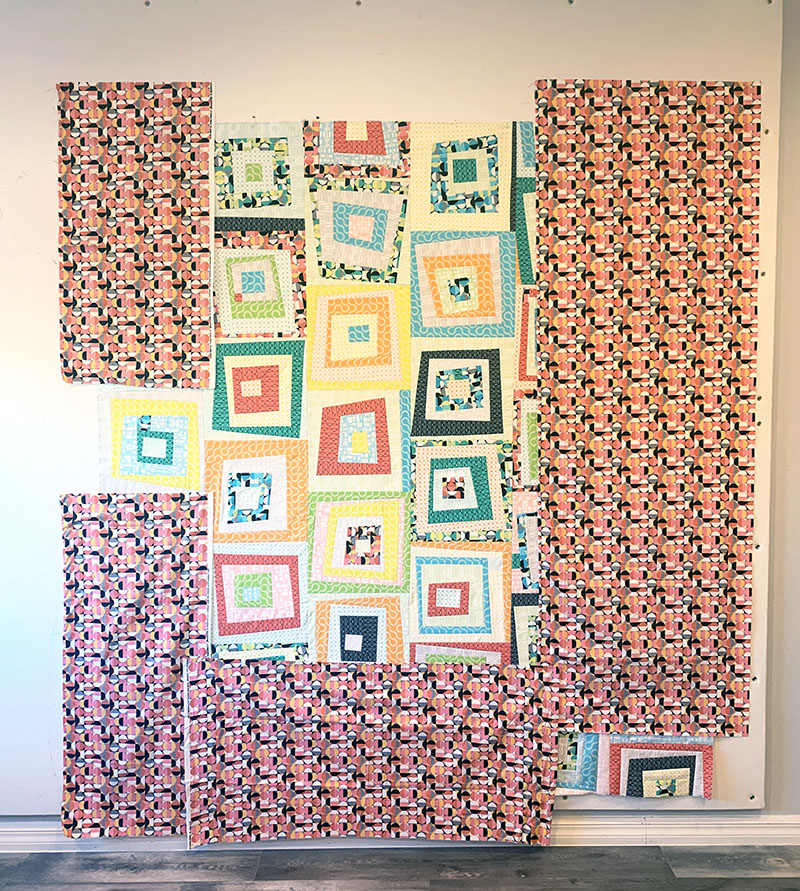
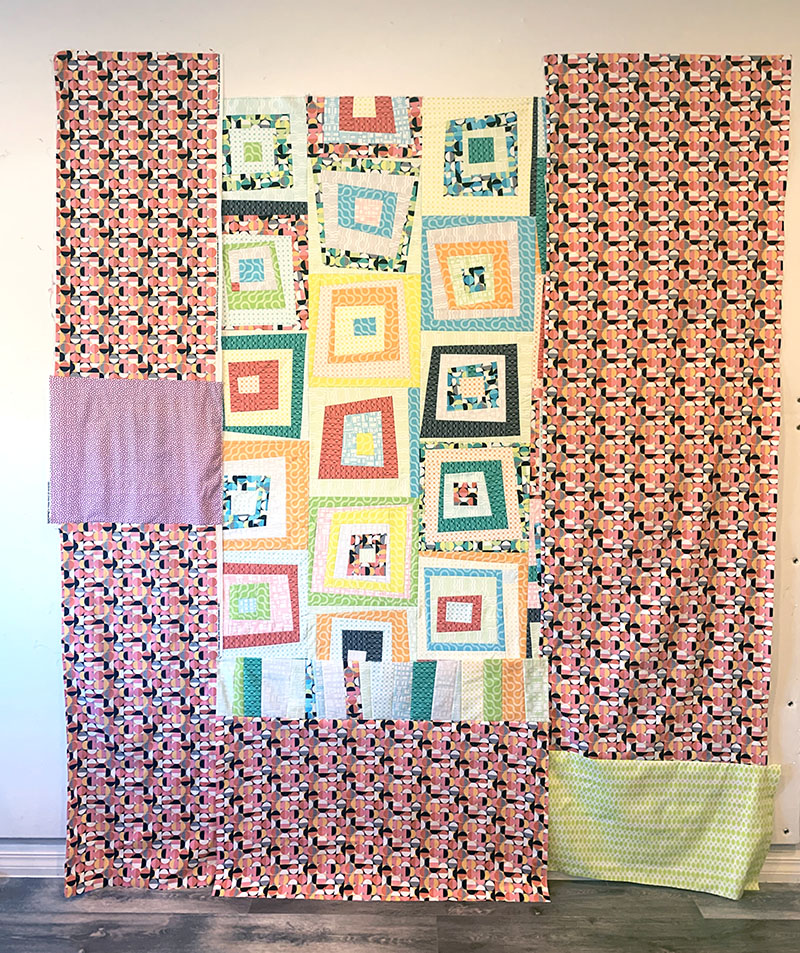
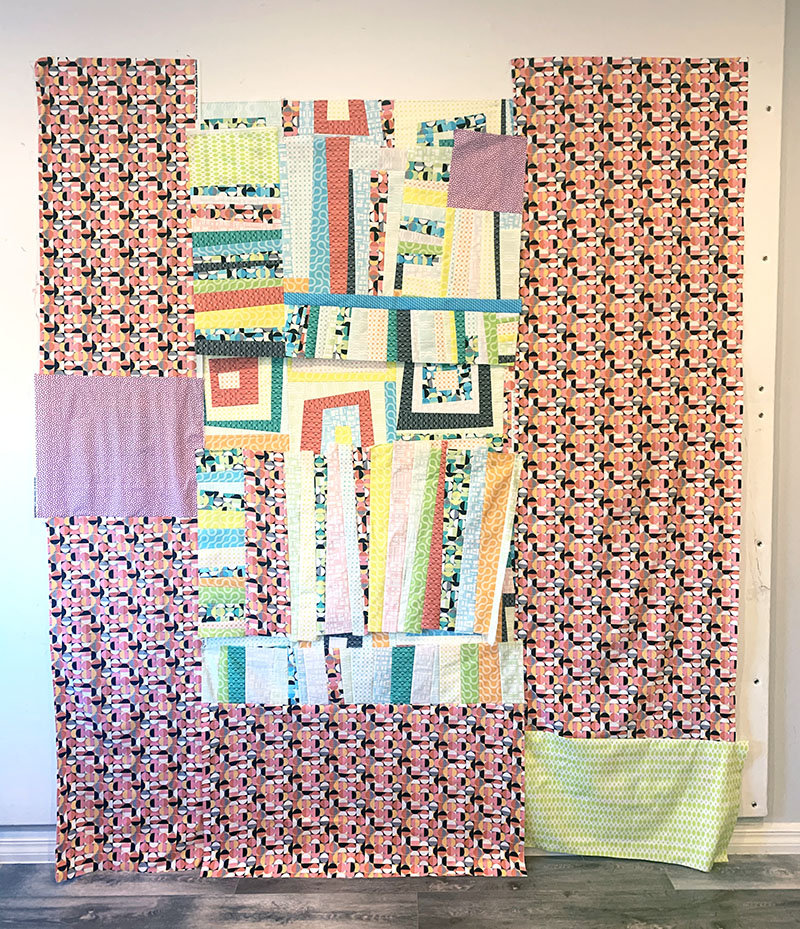
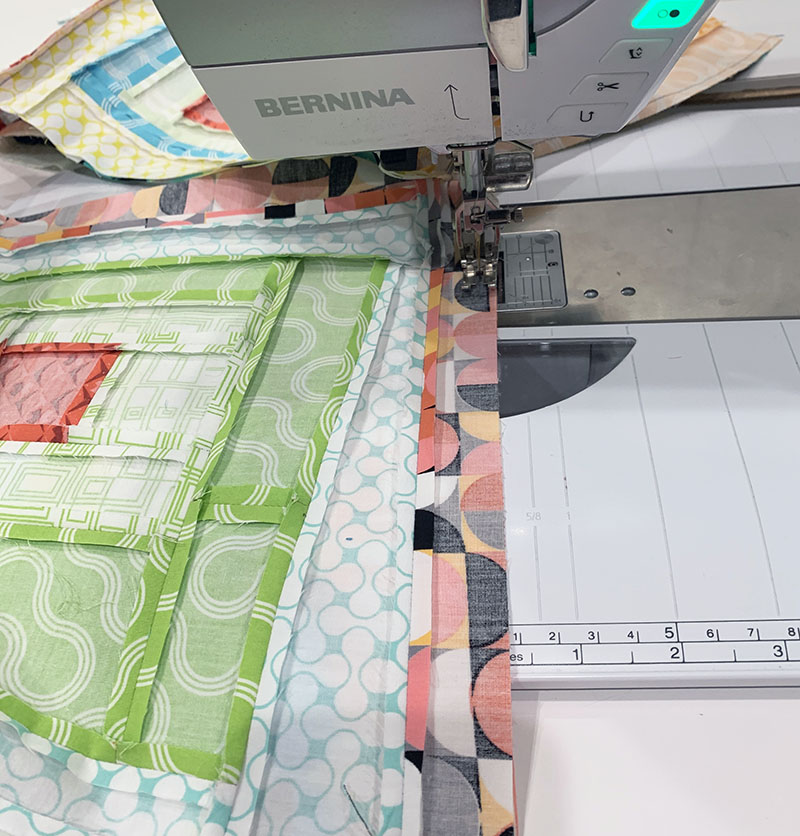
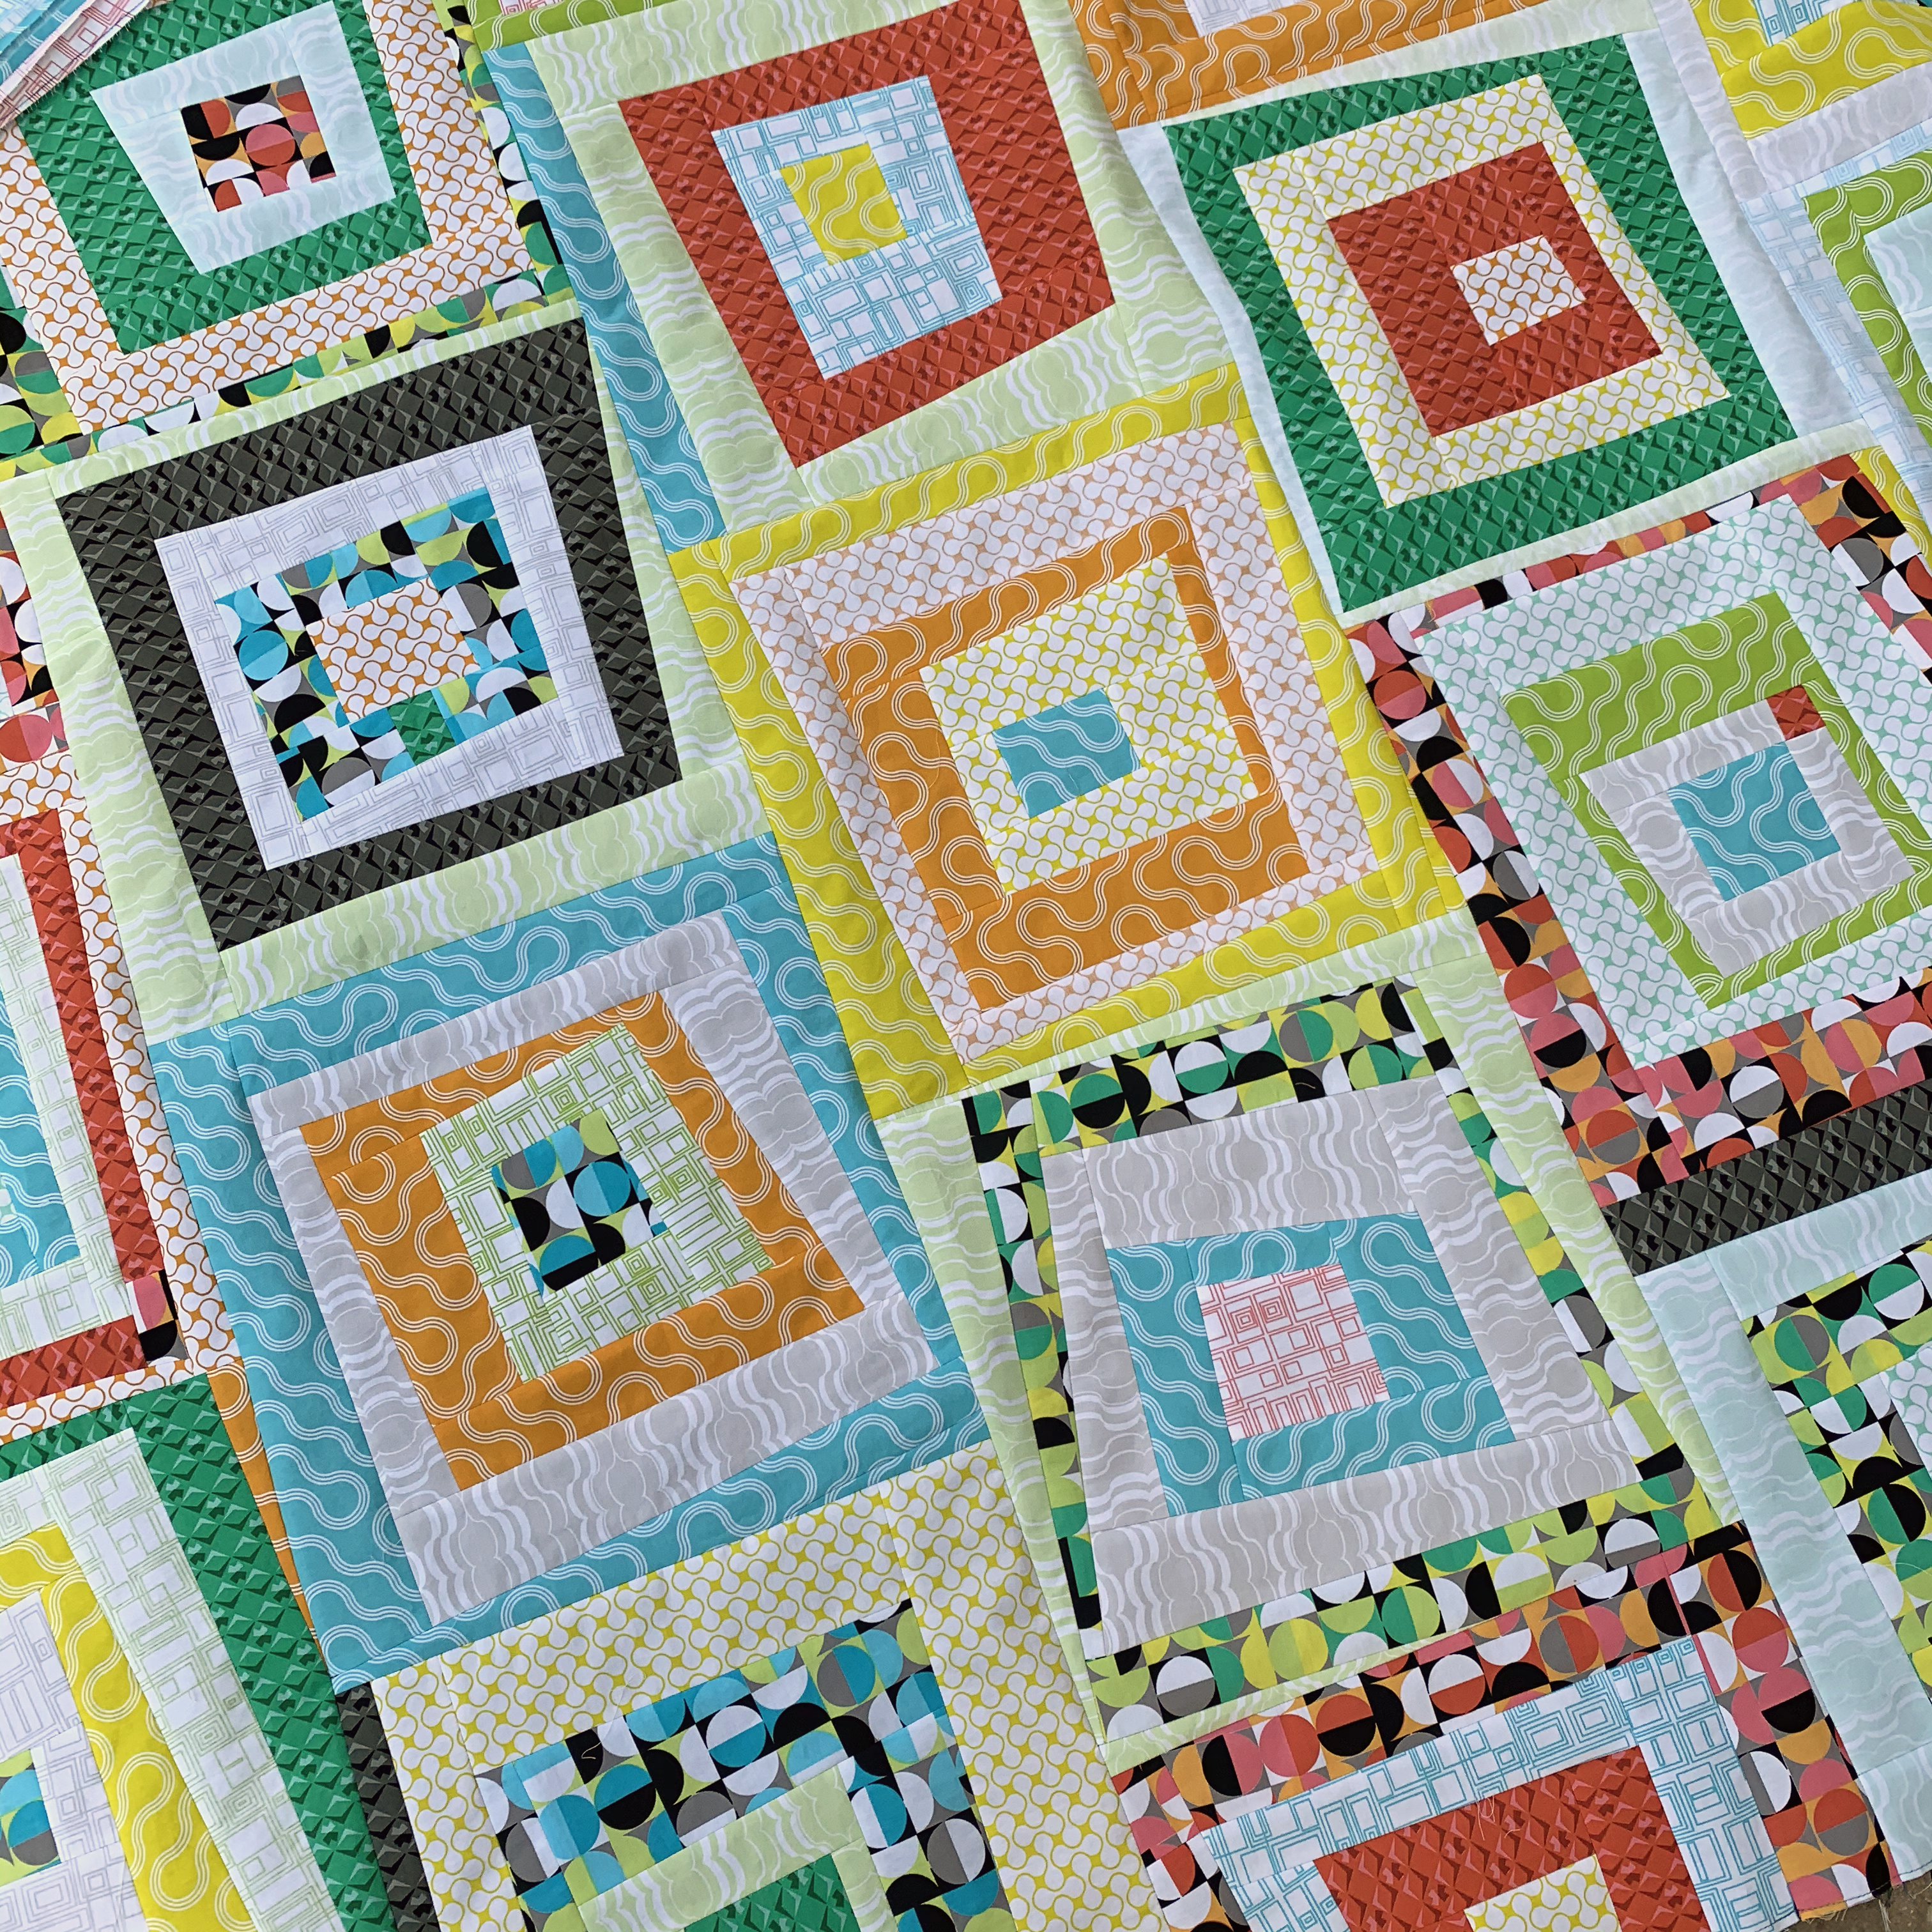
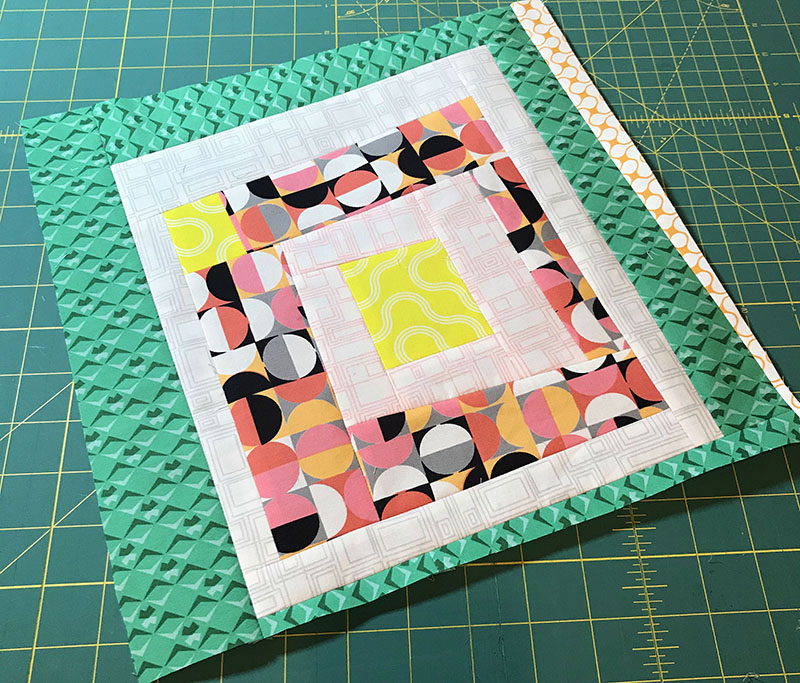
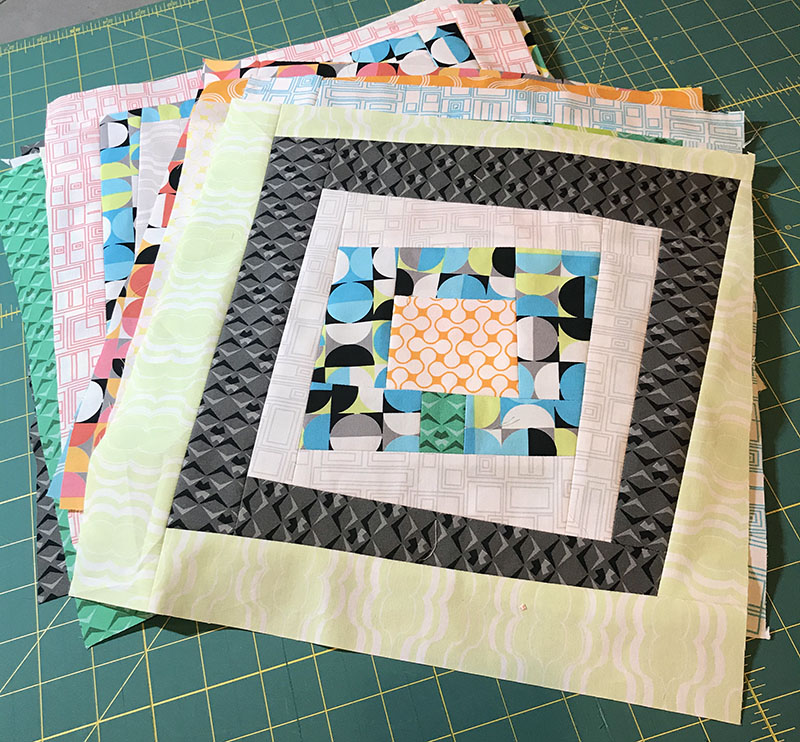
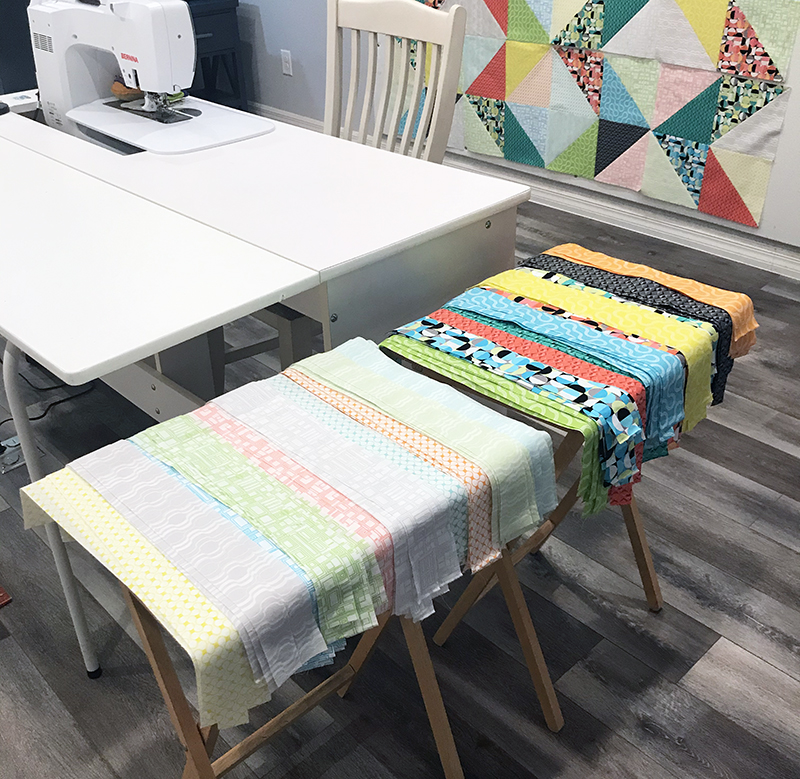
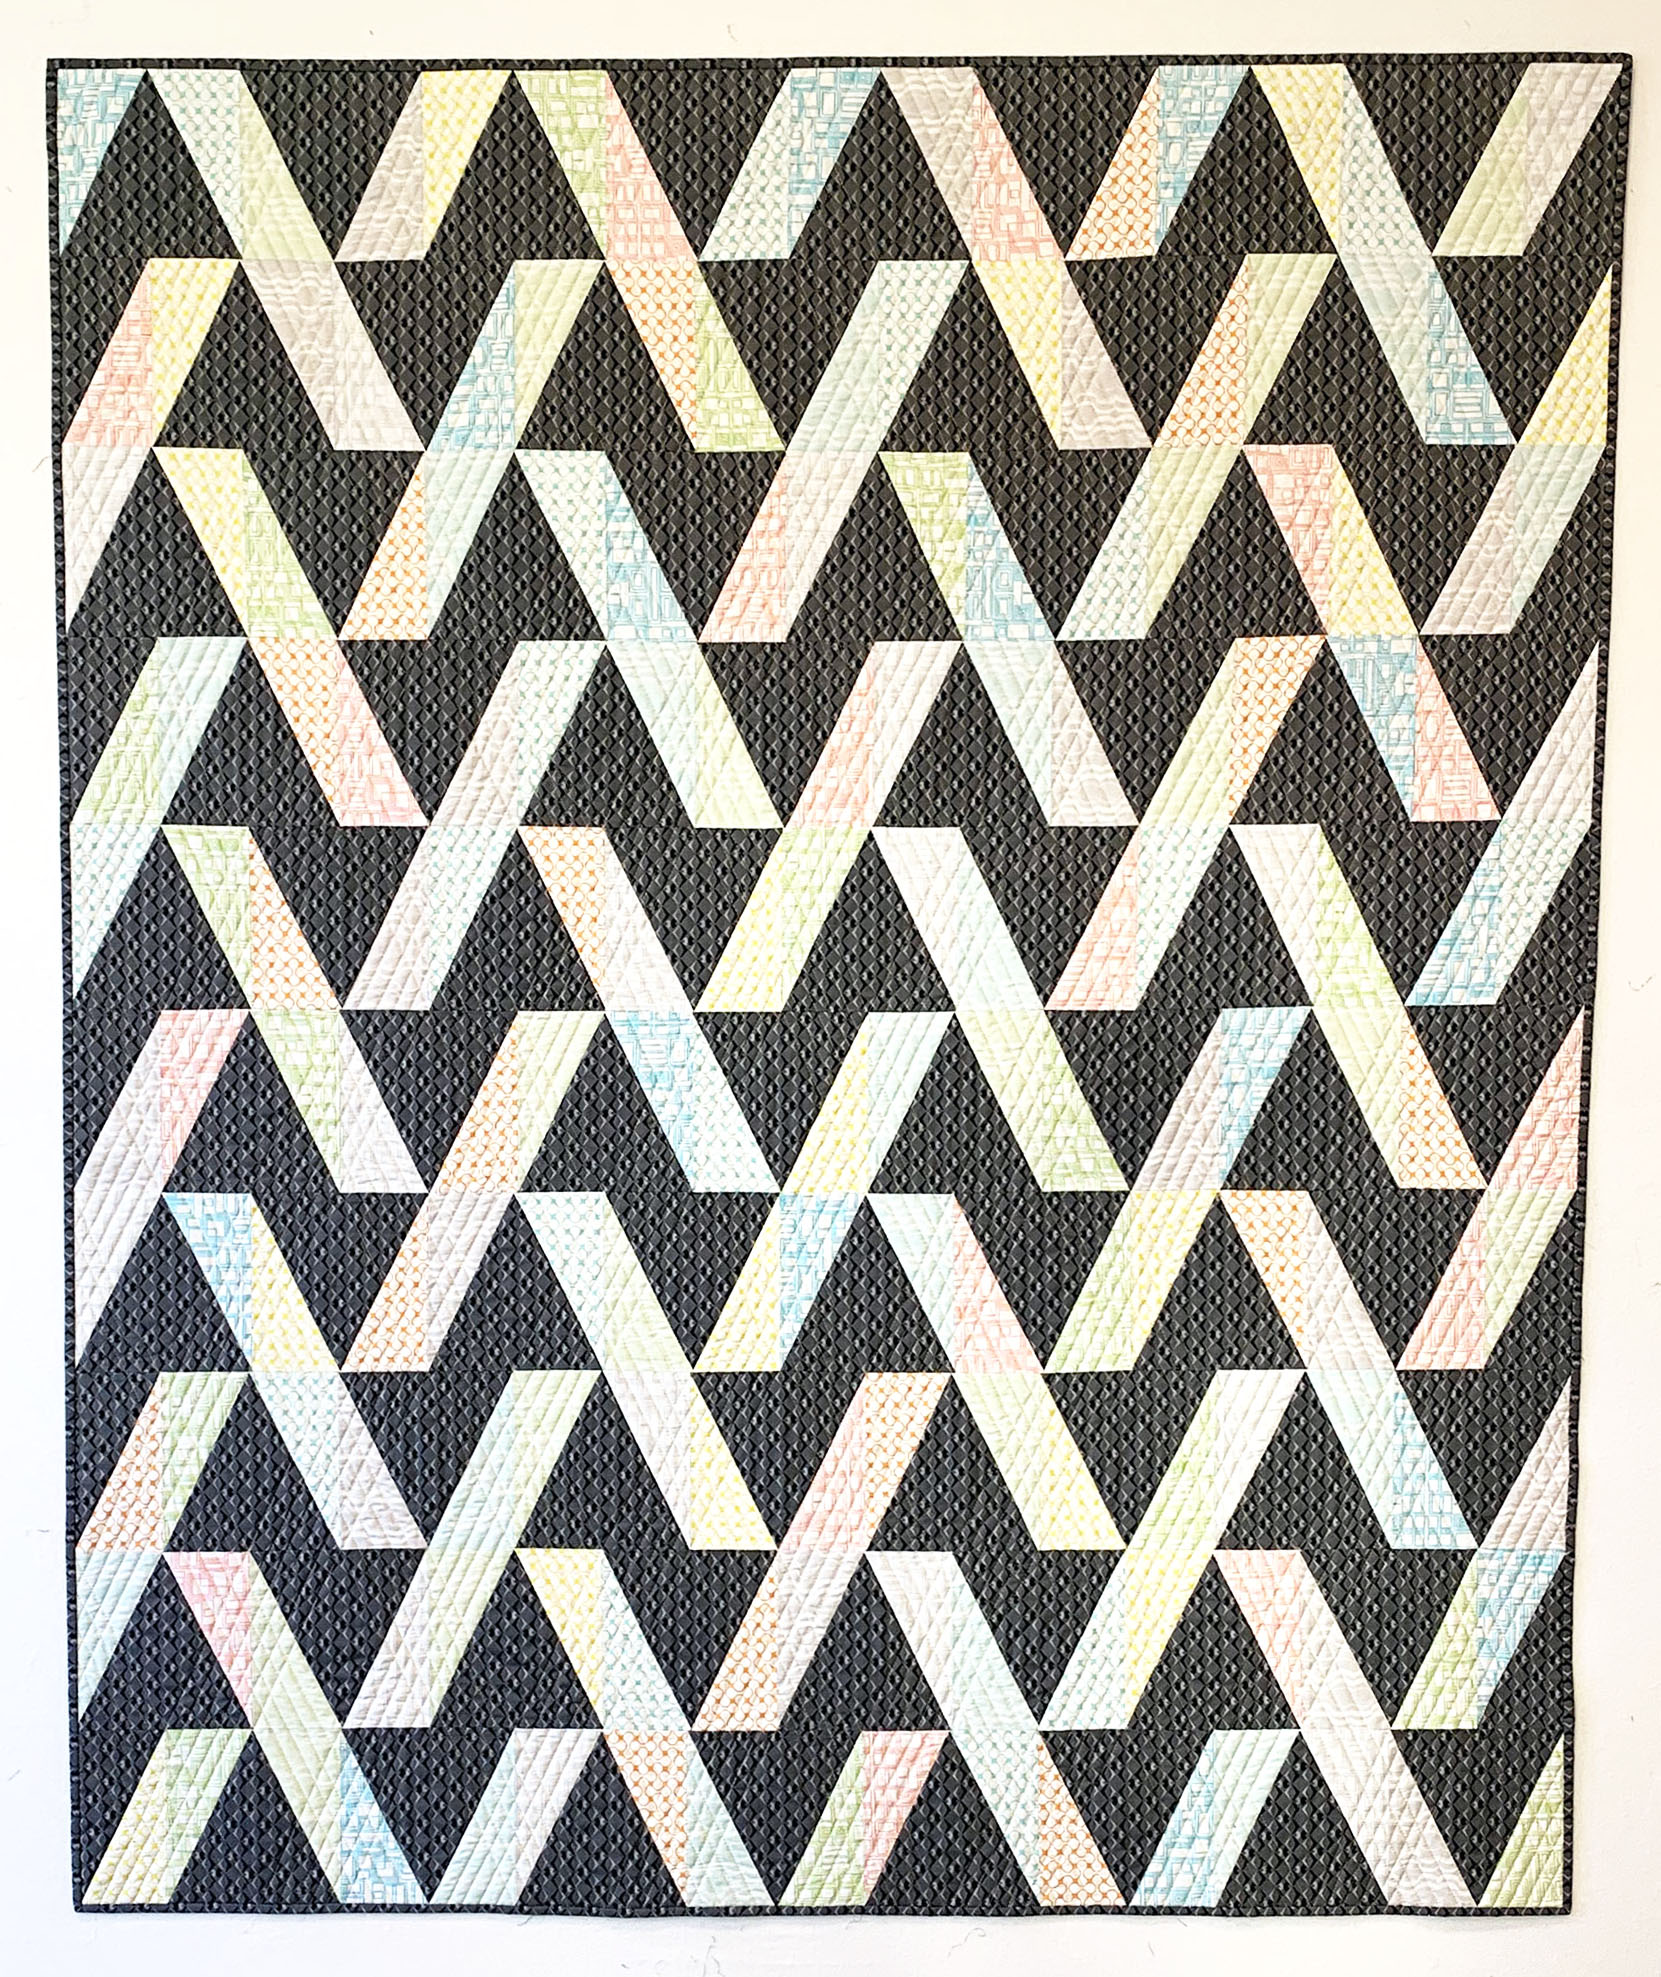
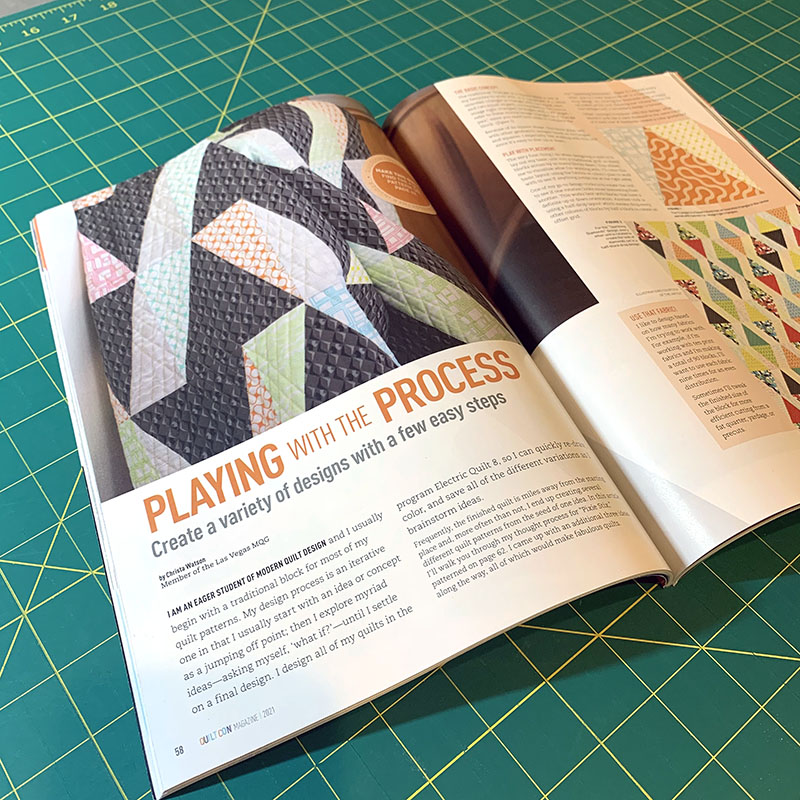
I’m thrilled to have 2 quilts in the virtual show this year. The first one is a brand new design called “Pixie Stix” that in included in this year’s version of QuiltCon Magazine.

Pixie Stix by Christa Quiltss

Click here to get QuiltCon Magazine 2021 for the Pixie Stix Quilt Pattern

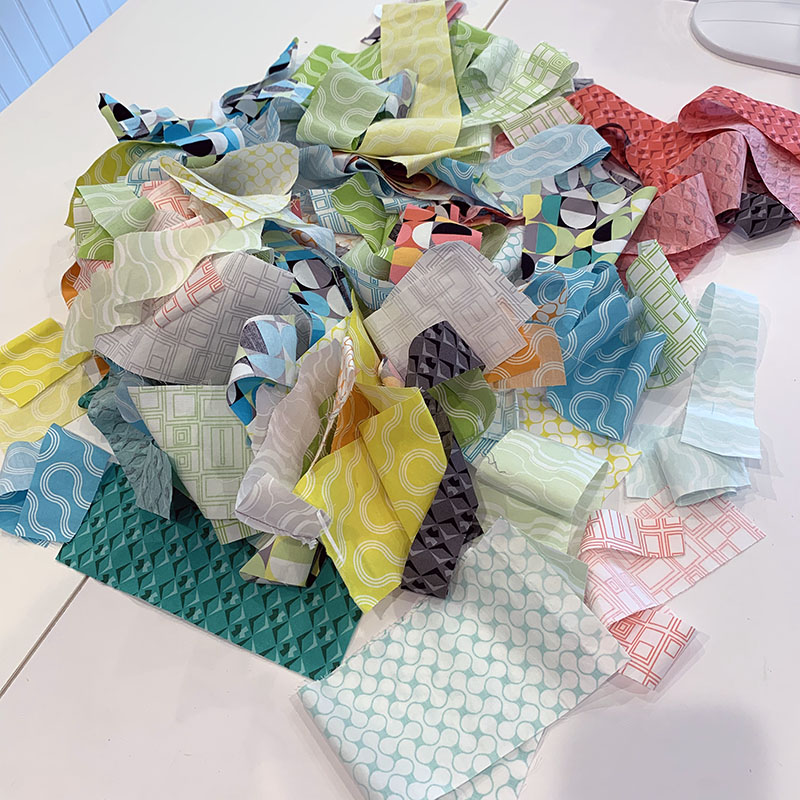
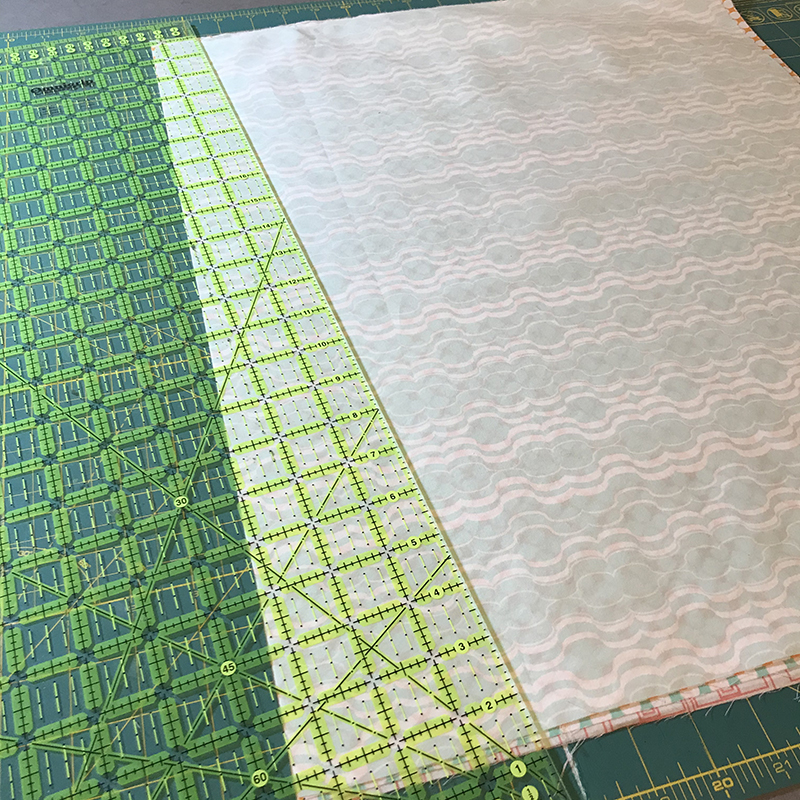
Pixe Stix is made from a fat quarter bundle of my Good Vibes low volume fabric plus the Bedazzled print in dark gray for the background and binding.

Good Vibes by Christa Watson

Click here to get my Good Vibes Low Volume prints.

It was fun to design and make this quilt and there’s a bonus article in the magazine all about my design process and different versions I came up with until I settled on the final layout.

Pixie Stix QuiltCon Magazine

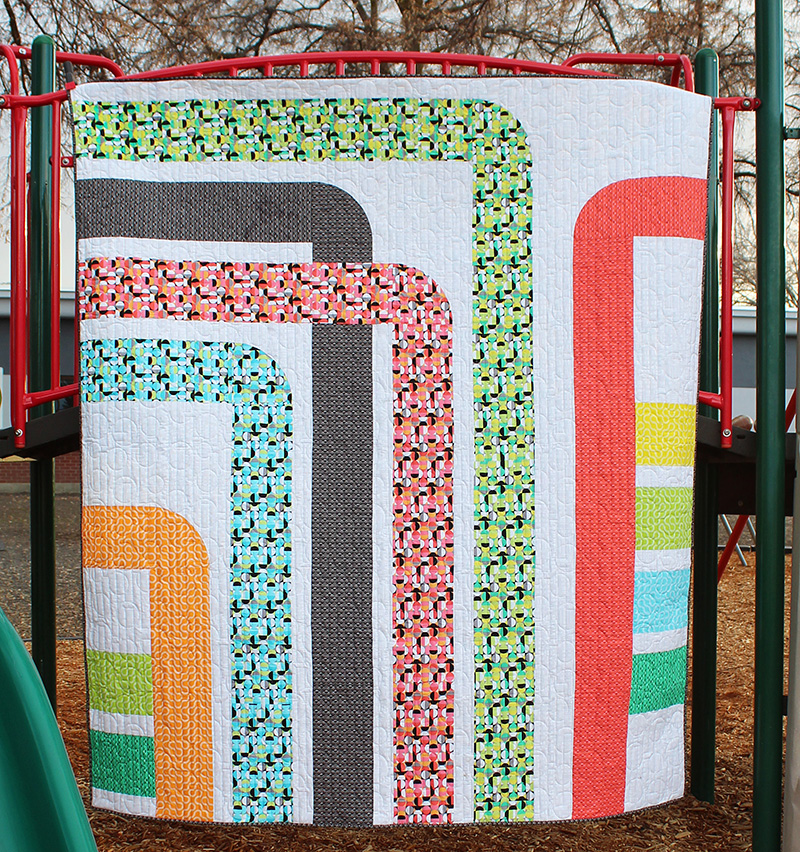
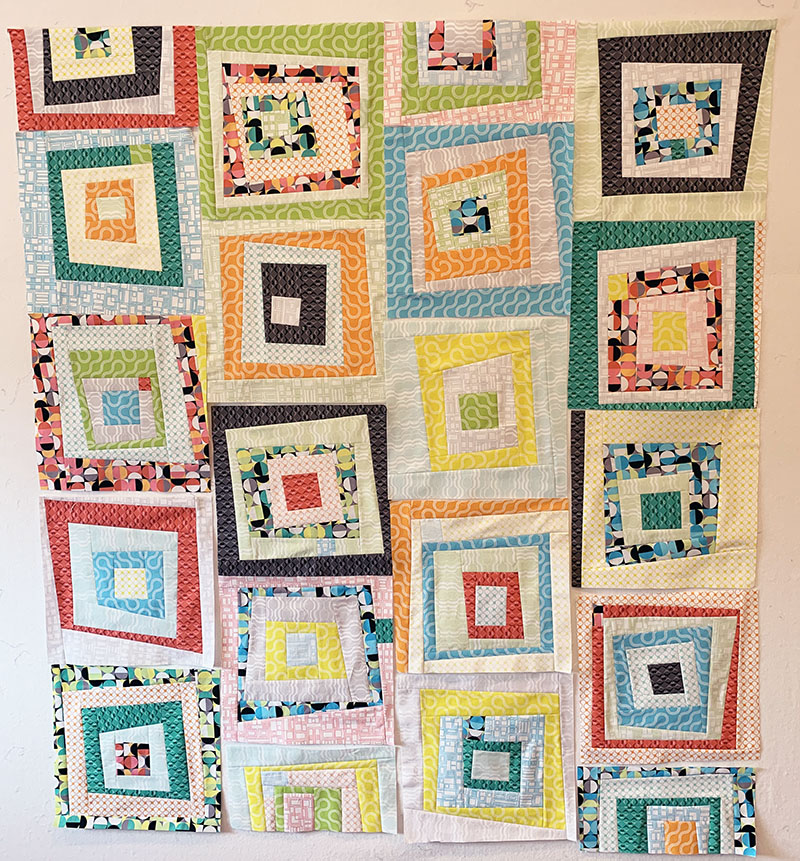
My other quilt in the show is called “Interlinked” which was patterned in Make Modern Magazine isue #34 last year. This is one of those “try, try again” situations. I actually submitted it to QuiltCon last year and it didn’t get in. But this year it did – so you just never know how things will turn out!

Interlinked Quilt by Christa Watson

Click here to get issue #34 of Make Modern Magazine for the Interlinked Quilt Pattern

I’m currently in the process of updating the Interlinked pattern with more information and hope to release the PDF version along with some kits, soon. So be on the lookout for that in a few weeks!

Free Quilt Pattern – Connections by Charisma Horton in Modern by the Yard Ezine from Benartex

One of the things that I love about working with Benartex on fabric design is that they produce a fantastic free digital magazine called Modern by the Yard. In each issue, they share inspiring projects that you can make from their fabrics. So each time I have a new line that comes out, one of my amazing designer friends creates a fabulous pattern for you for free!!

Connections Quilt in Modern by the Yard

Click here to download Modern by the Yard for free from Benartex.

In the current issue of Modern by the Yard, my talented designer friend Charisma Horton has created and shared her amazing quilt  pattern called Connections, which is right up my alley!! She made it using my latest fabric line, Good Vibes from Benartex.

Good Vibes by Christa Watson for Benartex

Click here to get your hands on Good Vibes yardage, precuts and bundles.

Here is what Charisma has to say about her latest project:

 “I am a big fan of Christa’s fabrics. I have made a few projects with her collections. They are fun, colorful and diverse. I actually designed Connections years ago before I was a professional designer.

I have learned that sometimes you have to wait for the designs to speak and decide when they should be released and where. I have always been a fan of quilts with negative space. This quilt decided that it was time and she is shining in all her glory.

 If you’d like to check out some of my other patterns you can visit my shop here:Charismas Corner on Etsy

Thanks so much for letting me share! I can’t wait to design with Christa’s next line of fabric. We make a great team.”

Connections Quilt by Charisma Horton

Connections Quilt made by Charisma Horton from Good Vibes fabric.

Thanks Charisma!!!
Click here to see other beautiful quilts and projects that Charisma has made from my fabrics.

I can’t wait to see what she makes next!

Featured Designer: Charisma Horton

I’m having a ball seeing what everyone makes from my fabrics so I thought I’d share some of the amazing quilts my good friend Charisma Horton from Charisma’s Corner has made from my prints. She’s a prolific and talented pattern designer and chances are, you have one of her patterns in your stash! I’ll let Charisma tell us a little bit more about these beauties in her own words….

Charisma Horton

Hi Everybody! I am so excited to share a little about the quilts I have designed using Christa’s fabrics. I met Christa a few years ago in a design group. She has always been so generous with sharing information and collaborations.

I was a really new designer when I originally contacted Christa to use her fabrics. Since then I have designed several quilts using her lines of fabric. I love working with her lines because they are so versatile. You will find that many of my designs are based upon color as a feature design element.

Check out The Hive made from geo pop:

Click here to get The Hive quilt pattern from Charisma’s Corner on Etsy

“The Hive” was designed and waiting for the perfect line of fabric to come along and bring it to life. That was Geo Pop.  I was so excited that Christa loved my design & displayed it in her booth at quilt market last year:

The Hive made from Geo Pop

The Hive pattern with the white background looks great next to Christa’s Bling pattern in Black!!

All the rest of the quilts that I have designed using Christa’s fabrics were a direct result of seeing her lines. Meaning that I designed the quilts specifically after seeing her fabric swatches.

Mid Mod was designed with Gridwork:

Mid Mod by Charisma Horton

Click here to get Mid Mod quilt pattern from Charisma’s Corner on Etsy

First of all, I have to say that I LOVE-LOVE Gridwork. I made 2 published projects with this line and I have another coming out in a magazine that I can’t share yet. But it’s a very special quilt and I can’t wait to share that one as well. I am a HUGE fan of this line because I love the colors, the grids and all of the lovely textures.

Mid Mod is my take on Mid Century modern art. I wanted to create a quilt that was easy to complete but looked random and freeform. I think many people are pleasantly surprised when they make this pattern. It’s WAY easier than it looks. I also have these blocks mocked up in several different layouts. There are so many ways to arrange these blocks and make the quilt your own.

Before I was a pattern designer, when I bought patterns, I treated them as a jumping off point. I wanted to make them my own. This pattern can easily be changed to fit your own style.

Nate and Tate Pillows Made from Gridwork

I am one of those quilters that loves all styles. This next pattern looks vastly different than the Mid Century modern one that I just shared!

Nate and Tate PillowsClick here to get Nate & Tate pillow pattern from Charisma’s Corner on Etsy

Can you get any more cutesy than these gnome bench pillows? I had some scraps left from my Mid Mod project and I didn’t waste one inch! LOL. I keep my Christa fabrics in separate bags, away from the rest of my scraps so that I can save them for something special.

Who else does that? Haha! I can’t help it!  I just knew I could use them for something else and I whipped out these pillows. They have been a great addition for the seasons. They are also great gifts.

Groovy Chutes from Good Vibes

Groovy Chutes by Charisma Horton

Click here to get Groovy Chutes quilt pattern from Charisma’s Corner on Etsy

Since Christa and I have been working together on these projects we have become great friends, even though we’ve never met in real life!! We realized we were about the same age and we are both 80’s kids. So when she released her next line, Good Vibes, it was like totally, radically, awesome! Haha!

I immediately channeled my spiral perm, mall bangs, watermelon Bubblicious and thought about the times I carried my boom box to the playground to listen to my tunes. Yes! I actually did that! D batteries were in high demand in the 80’s!

Groovy Cutes is clean, simple and takes us back to simpler times. Little things made us happy or maybe I was just intoxicated from all of the aqua net? Haha! Either way, good times.

I am so blessed to get to work with Christa. Whether her fabrics help bring my designs to life or whether her designs spark creative designs from me I feel like we are a great team! I am anxiously waiting for the next set of swatches! *hint-hint*

From Christa:

Thanks Charisma – I sure hope everyone loves your fun, colorful quilts as much as I do. And here’s a hint… I’m working on my next fabric line right now – you’ll be one of the first to see it before anyone else!!

EQ Design Challenge Call for Entry: You Could Win Good Vibes Fabric

Design challenge alert!! I’ve partnered with Electric Quilt and Benartex, LLC. to bring you a fun design contest. Download swatches of my Good Vibes fabric, design an original quilt using EQ, and enter to win a bundle of my fabric. This is a great way to stretch your creativity and you don’t even have to make the quilt.GoodVibes-Challenge

You DO have to use Electric Quilt to enter this contest, but you DO NOT have to make the quilt! 2 lucky winners will each win a Bundle of my Good Vibes fabric.

The exciting part about this design challenge is that I get to pick one of the winners! My friends over at Benartex will pick the other. I’ve done this contest for most of my fabric lines so far and I just LOVE seeing what you all create!!

Good Vibes fat quarters

To enter

Design your own, original quilt in EQ using the Good Vibes fabrics then submit an image of it to EQ by 11:59pm ET on October 31, 2020. Download the free Good Vibes fabrics for EQ here.

For other rules and to submit, click here to visit the Electric Quilt Blog.

I can’t wait to see your entries!!


Modern Logs QAL Part 5 – Spray Basting

It’s time to baste your Modern Logs quilt – are you excited?? I’ve developed my spray basting method using a design wall and it cuts the basting time in half!! I made a YouTube video below explaining the entire process. Hit play to watch and let me know if you have any questions!

HELPFUL LINKS

Modern Logs QAL Part 4: Optional Pieced Quilt Backing

Whenever I make a super scrappy looking quilt like Modern Logs, I often have a lot of leftovers that I love to incorporate into the back of the quilt. This allows me to use up more fabric, personalize the quilt a bit, and make the back (almost) as interesting as the front! If you prefer to use a plain pieced back, this week will give you more time to finish your quilt top.

Modern Logs pieced quilt backing, made from leftover Good Vibes fat quarters, 2 yards of Gumballs print in Coral and a few leftover odds and ends from previous fabric lines.

Set aside the Binding Strips

Before you begin the pieced backing, be sure you’ve set aside enough of the straight strips for a scrappy binding. See the note in the pattern on page 3. Or you can use all of one fabric for binding and use up ALL of the leftovers on the back. The choice is up to you. We will come back to binding at the end of the QAL so stay tuned.

The image above shows half of the binding strips I cut from one set of Good Vibes fat quarters. I decided to double the size of my quilt so in reality I had twice as many. Notice how a couple are shorter – that’s because I ended up using a few extra chunks of fabric for my blocks.

There’s also 20 fabrics in the group, but only 18 strips here because I used a couple of them to finish some blocks. I still had plenty of leftovers for binding, and if for some reason you ever run short, just grab a similar color from your stash and no one will ever know!!

Now, let’s get on with sewing the pieced back!

Sew Scraps into Larger Pieced Chunks

When making a pieced backing from leftovers, think of it like a puzzle. You want to cover the quilt top with enough extra fabric on all sides (about 5-6″) and you want each of the “chunks” of the puzzle to be rectangular or square in shape so it all fits together.

First I sorted all of my leftover strips in similar lengths.

Then I sewed similar length strips into pairs and joined those into bigger complete chunks. Be sure to alternate seams when sewing so that the strips don’t warp or bend out of shape.

Now, your sizes and numbers of leftovers will vary so don’t overthink it too much. I sewed these together randomly and it was fun, mindless sewing! You can even do this anytime you have leftovers!

Once the leftover bits are sewn, it will look pretty messy and uneven. But not to worry, just trim off the ends and you’ll have a nice piece of “made” fabric that you can treat just like you would a regular piece of fabric with evenly trimmed sides. It doesn’t matter how long or wide this pice is. It’s just one of the “chunks” in your puzzle piece!

Repeat this process until all of your leftover bits are sewn into larger pieced chunks. You get to decide how small of a piece you want to use. I think my smallest pieces were about 4″-6″ long and the longest ones were full sized strips.

If you want to, you can sew some of the smaller pieced chunks into larger chunks, filling in with bits and pieces of other fabrics – leftover charm pack squares or jelly roll strips, odd shaped pieces that are too big to go in your stash, but too small to throw away.

When making these improv pieced blocks, the size doesn’t matter because it all depends on what you have to work with. Just square up the pieced chunk once you join the pieces together. When it’s finished, trim all sizes so that you have a pieced rectangular or square in shape. Make as many of these as you can, or save some of the improv patchwork to fill in the holes in your puzzle.

Piecing the Puzzle

Now comes the really fun part! Using your “puzzle” pieces, start covering up your quilt top! You can do this on the design wall, floor, bed, or anyplace you can lay out the quilt nice and flat. You can calculate all the math ahead of time, or just let it take shape randomly, which is what I did. Just like sewing your quilt blocks, it’s important to always sew straight edges together.

Step 1 – establish a framework

In the image above, I first started with a big chunk of fabric. I had 2 yards of Good Vibes Gumballs in Coral so I cut it into a few random pieces. I wanted these to be big chunks but none of them was large enough to go across the entire quilt. I’m establishing a framework here of 3 big areas to piece: left, middle and right.

Look how the edges are hanging over a few inches all around. I also left the selvages intact on both pieces on the left side. Because it’s my fabric with my name on it, I thought that would be a fun addition to the quilt!

Now it’s time to fill in the gaps!

Step 2 – fill in the gaps

I used two leftover chunks of fabric from my Gridwork line in coordinating colors to fill in 2 of the holes. These will give a pop of color to the back and keep things interesting. The piece looks more dynamic with the seams placed at different eye levels. Just remember that anything placed around the borders will get trimmed off so keep any border pieces nice and big.

I also started filling in the middle section with a bit of pieced patchwork near the bottom. I made it the same length as the chunk of Gumballs fabric below it so the edges wold match up nicely. This meant trimming off the selvage on one edge of the Gumbals print in the center bottom section.

Step 4 – add more pieced chunks

Keep in mind that the entire center section will need to be the same pieced width, so use a round number that’s easy to remember. My center section is somewhere around 36″ wide if I remember correctly. That math works nicely with leftover 40″ long pieces since they are quick and easy to trim up.

I filled in the center section with the rest of my pieced patchwork chunks. Trim them down, or add more pieces to make them all the same length. The fun part is deciding how far apart to space them and what else to use as fillers. Once I have an idea of where the patchwork units will go, them I trim them to size and treat them like regular pieced blocks.

Don’t forget to press as you go!

Be sure to use good technique while sewing: accurate 1/4″ seams and lots of pressing. I pressed seams open for all of the patchwork improv chunks and to the side when the chunky seams were sewn next to a plan flat piece of fabric. Press each seam just like you would when sewing blocks and rows together.

Step 5 – add pops of color  between the pieced units

I wanted to separate the pieced chunks a little so that I could admire the patchwork and allow my eyes to move around the piece. It was fun to add pops of color to tie it all together. Once the 3 sections were finalized, I sewed them together to finish the backing.

At this point, it’s ok that the outside edges aren’t even because that will get trimmed off after quilting. As long as the pieced backing covers the quilt a few inches on all 4 sides, it’s good to go!

Next week we will baste the quilt!

Helpful Links

Modern Logs QAL Part 3 – Sewing the Quilt Top

Did you have fun sewing your Modern Logs improv blocks from last week? If you are still working on your blocks, that’s totally ok! Take as much time as you need to make this quilt; these helpful hints will stay here on my blog indefinitely and you can scroll to the end of the post for links to all of the previous QAL posts.

Modern Logs Quilt Top

Click here to get the pattern, fabric, or optional kit to make Modern Logs (while supplies last).

This week we are working on sewing the blocks together to complete the quilt top. In my image above, you can see how some light fabrics touch and some dark fabrics touch and that’s totally ok!! You won’t have an even number of blocks that end on a light or dark fabric and the more random it looks, the better! Just remember, you can rotate the blocks and lay them out however you like.

Sew the rows

Due to the offset nature of the design, the blocks will be joined together into vertical rows rather than horizontal rows. Notice that every row has a partial block added to it either on the top or the bottom of the row. Be sure to turn it the right way when sewing the blocks together.

Modern Logs Crib Size layout

I made 20 blocks for the crib size layout shown above. Then I decided I wanted to make the bigger throw size. That’s the beauty about this design – you can always make more blocks at any time!

I spent a lot of time arranging the blocks on my design wall until I was happy with their placement. Take a picture with your camera phone to help you stay organized.

Modern Logs Quilt in Progress

This quilt goes together super fast fast and easy because you don’t have to pin the individual blocks. As long as they are the same size everything will fit together nicely because there are no seams to match in each row!!

Just remember to use accurate 1/4 seams allowances, lower your stitch length, and press seams open to keep everything nice and flat:

Sewing in progress

When joining the rows, be sure to sew them in opposite directions so that everything stays nice and flat. Refer to the Modern Logs quilt pattern on pages 8-9 for size layout and quilt top assembly diagrams.

Modern Logs by Christa Watson

It’s a lot easier to handle the bulk of the quilt if you press your blocks after each pair sewn. Then press each of the finished rows, then pairs of rows etc. In general I like to press my work after each seem is sewn as part of the process.

Once the entire quilt top is finished, take a “victory lap!” Sew around the edges of the quilt to keep them from stretching out of shape and to secure the edge seams from splitting open.

Modern Logs by Christa Watson

Before you know it you’ll have a finished quilt top!! Next week we will prep the backing. You can either purchase all new fabric, or use up the leftovers with some yardage chunks depending on the size you are making. The choice is up to you but it’s easier (and more fun) than you think!

HELPFUL LINKS

Modern Logs QAL Part 2 – Sewing the Blocks

Now it’s time to take our wonky strips and sew them together into improv Log cabin blocks!
Follow along with the Modern Logs quilt pattern on pages 4-7.

Thinking ahead: you can sew scraps together if you need more length for each of the logs. You can also use either side of the fabric to give your blocks more interest and sparkle. The key is that these blocks are wonky and improv so no two blocks will be exactly the same!

The block below is what I call “super improv”.  It has a couple places where I’ve added extra fabric to make the units large enough. I’ve also used both front and back of the low volume Good Vibes fabric.

Video Demo & Chat

As you sew it’s okay to have extra seams or bonus pops of color. Because the improv nature makes it hard to say EXACTLY how much fabric you’ll need, it’s ok to add filler pieces or sew shorter pieces together to get a loner piece. It all just adds to the charm! Notice that I used the same fabric for each round of blocks and all of the front or back, but you can even change that up too.

So now, let’s get to it! I share and indepth chat about making these blocks which you can click play below or watch over on my YouTube channel.

Follow the Modern Logs quilt pattern to sew as many rounds of logs as you need to get them to be slightly larger than the correct unfinished size. I recommend just making a few blocks at a time until you get the hang of it.

Bonus sewing tips:

When you are sewing the logs don’t overthink it! As long as the pattern goes light-dark-light or dark-light-dark it will look good, no matter which colors are in each block. Sew with shorter stitch length and press seams open for nice, flat blocks.

Match up a different light with a different dark for each block you are making for a scrappier look. Try to use different fabrics in each block

Remember to trim your edges even right before you sew it each time. That keeps the edges straight and keeps the chaos under control!

Unlike regular log cabins, you don’t have to sew the blocks in the same order or add strips to the same side of each block. Just remember, the more variety the better. It looks more interesting when the seams aren’t all in the same spot.

Show me your blocks!!

Modern Logs Blocks

Homework: Finish Sewing all of the Full Blocks and Partial Blocks

Make as many as you need according to the size you are making in the quilt pattern. Just remember: if your leftover strip pieces aren’t long enough to finish a round of logs, either save it for a shorter piece on another block, or sew part of another strip to make it long enough. Or fill in the extra with a leftover scrap from another strip.

Modern Logs Partial Blocks

Save YOur Leftover Strips!

For those of you who want to use up the leftovers on the back, set aside your leftover strips, hunks and chunks. We will put them to good use soon!

HELPFUL LINKS

Modern Logs Quilt Detail

Facebook Live Chats are Back: Tuesdays at 3 PM PST

To go along with the Modern Logs Quilt Along that just recently started, I’m hosting a weekly Facebook Live chat for the duration of the Quilt Along. This will allow me to share some bonus tips and tricks along with a chance for you to ask any questions you have while making this quilt!

Click here to get the Good Vibes fat quarters above

Bonus Tips and Tricks on YouTube

In case you missed it, I posted the first Modern Logs Q&A over on my YouTube channel. You can enjoy last week’s chat by clicking the play button below. Then join me live in my Facebook group for the next chat!


I’ve found that many people have questions around improvisational piecing and of course the whole quilting process. I’m excited to answer your questions about this quilt during the entire process, and I think you’ll feel confident about your skills by the end of the QAL! 

Click here to get the Modern Logs Quilt Pattern – paper version
Click here to get the Modern Logs Quilt Pattern – PDF version

Although the quilt along has just begun,  it’s not too late to follow along. Feel free to work at your own pace and access all steps of the quilt along indefinitely.

Modern Logs by Christa Watson

Click here to get the optional Modern Logs Kit

One of the things people like best about my FREE quilt alongs is the help I offer on machine quilting so that you can finish the quilt yourself.

It is the best feeling to make a quilt from the first stitch to the last! I really enjoy sharing the things I’ve learned about quilting on a home sewing machine so that you can be successful at it, too.

 If you already have questions for me, please leave them here in the comments and I’ll answer them live on the air tomorrow, September 8 at 3 pm Pacific/6 Eastern in the Christa Quilts Group on FB. I can hardly wait!

Modern Logs QAL Part 1: Cutting the Fat Quarters

Let’s dive in and cut out our Modern Logs fat quarters, shall we? I’m using Good Vibes fat quarters, but you can use anything with good contrast between light and dark. In case you missed it, click here for last week’s post on prepping your fabric and choosing colors.

Good Vibes Fat Quarters

Click here to grab Good Vibes fat quarters from my online shop.

Follow along in the Modern Logs quilt pattern on page 3 for the numbers and sizes of wonky strips to cut.

Fat Quarter Cutting Tips

Layer fabrics to cut them out faster! If you are cutting 4 layers at a time, cut each stack differently so no more than 4 strips are the same. Then when you are ready to sew, remember that each strip has a top and bottom, front and back so you’ll have more variety of angles and color intensity when you sew.

Next week when we start to sew the blocks we are doing what I call  “structured improv.” This means you want your strips to have straight edges, even though the angles themselves are wonky. Cut the wonky strips using a rotary cutter and ruler. This allows the blocks to lie flat when sewn, even if all the pieces are different shapes and sizes.

You can see above why it’s easiest to work with fat quarters and a long ruler for straight clean cuts.

After cutting, stack the same fabrics together.  Im going to use the front and back of the lights in this quilt to create more depth and sparkle. The number of strips you get per fat quarter will vary. You can cut a few strips to start, or go crazy and cut up the entire piece.

Don’t forget to cut the block centers. Each side will be straight but these may be more square in shape or more rectangular. The choice is up to you!

Once my strips and centers are all cut and sorted into lights and darks, I like to stack them up next to my machine so they are ready to sew. Warning: this will get a little messy as you sew! So give yourself plenty of room to spread out and work.

Do you see the Charming Chevrons quilt in progress on my design wall??
It’s made from Good Vibes precut squares.

Thinking ahead: it’s ok to cut some of your wider strips in half along the length if you need more pieces to go around the logs. Now it’s your turn – show me your wonky strips!! Share pics of your progress and feel free to ask questions in my ChristaQuilts Facebook Group.

HELPFUL LINKS