Have you guys ever tried ruler work on your domestic sewing machines? I’m just getting started on this new-to-me machine quilting technique. However, today, I’m going to share a few words from my friend Amy Johnson who blogs over at Amy’s Free-Motion Quilting Adventures. She’s an expert on quilting with rulers and has a brand new Craftsy Class out. But before I do, I have to share a funny story of how we “met”.

I stumbled upon Amy’s blog about 2 years ago and was immediately in awe of her amazing free-motion skills. In fact, she went back and found the first comment I ever left on her blog:
“Oh my gosh – you are like my long lost kindred spirit/free-motion quilter friend! Ruler work on a domestic machine – who ever heard of such a thing? Tell me more!! I would love to be able to do this on my BERNINA. Please find out whatever you can. I’m on a mission to convince more and more quilters that they can do amazing fmq on their domestic machines and this is like the missing link.”
Ok, so maybe I was a bit over-excited about the idea of using ruler work on a domestic machine. In fact, once Amy realized that I wasn’t an internet stalker, we began to get to know each other a bit better online. Hopefully one day, we’ll even be able to met in person.
Now here’s Amy, in her own words (photos courtesy of Amy and Craftsy):
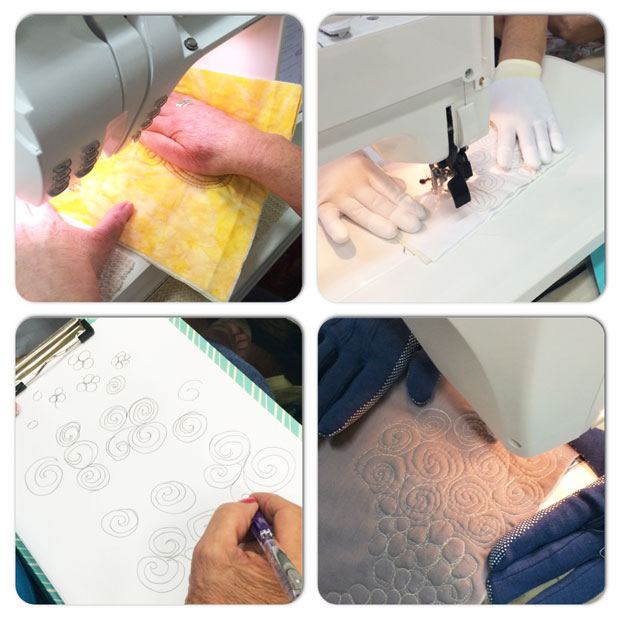
So what exactly is ruler work? Actually, it’s not a new technique. What is new is my adaptation of this long arm technique for use on a stationary machine, whether that’s a regular sewing machine or a sit-down long arm. A thick, usually acrylic ruler is laid down on the quilt top and the free motion stitches are laid down by pressing the foot, a special ruler foot, alongside the edge and letting that ruler guide the stitches for straight lines and smooth curves.
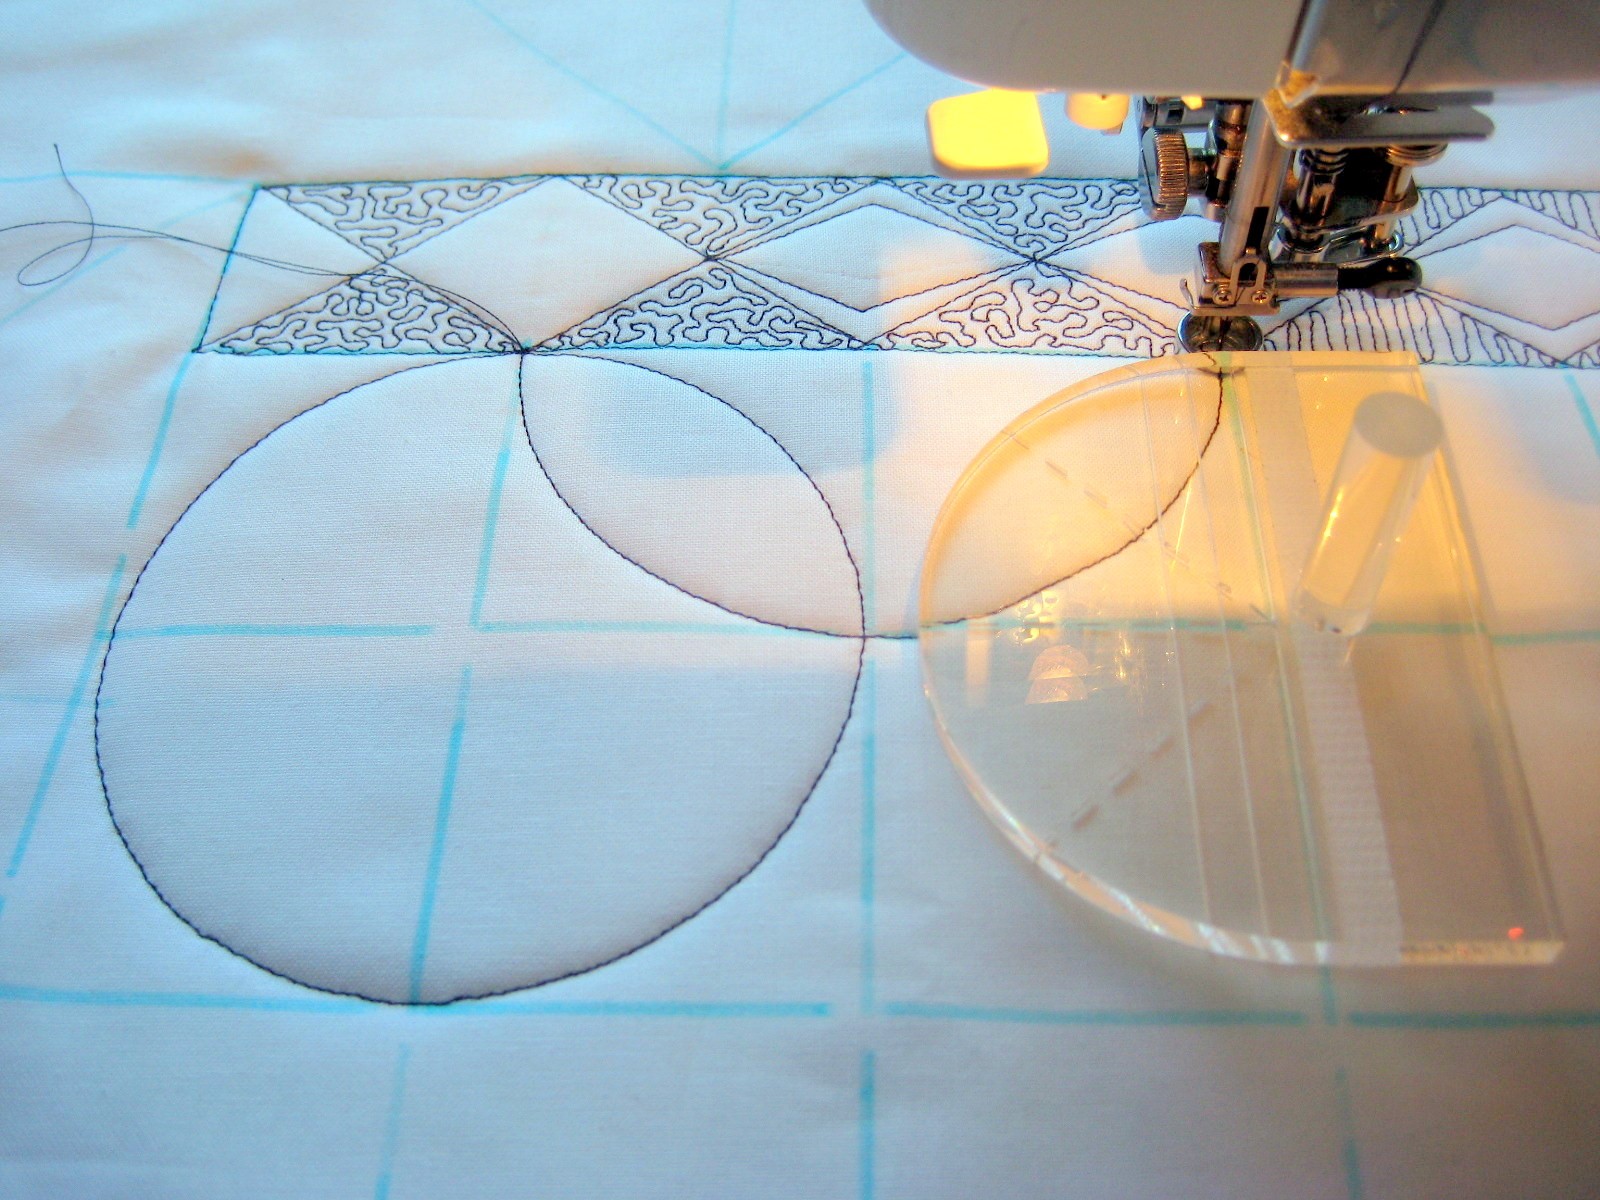
The main difference is that a long arm quilter moves the machine’s foot over the quilt to run alongside the edge of the ruler and with a stationary machine, we have to move the quilt and ruler as a unit alongside the foot. Trust me, it’s easier than it sounds!
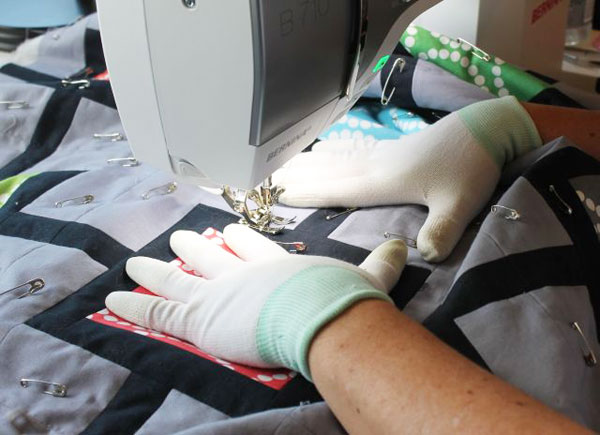
In fact, you don’t have to be an expert at free motion quilting in order to use rulers. You can use this technique as long as you are comfortable moving the quilt sandwich under the needle. Some FMQ novices like how the ruler ‘tells’ them where to go next and there are some fancy rulers available that can help make more complex quilting motifs by just following the edge of the ruler.
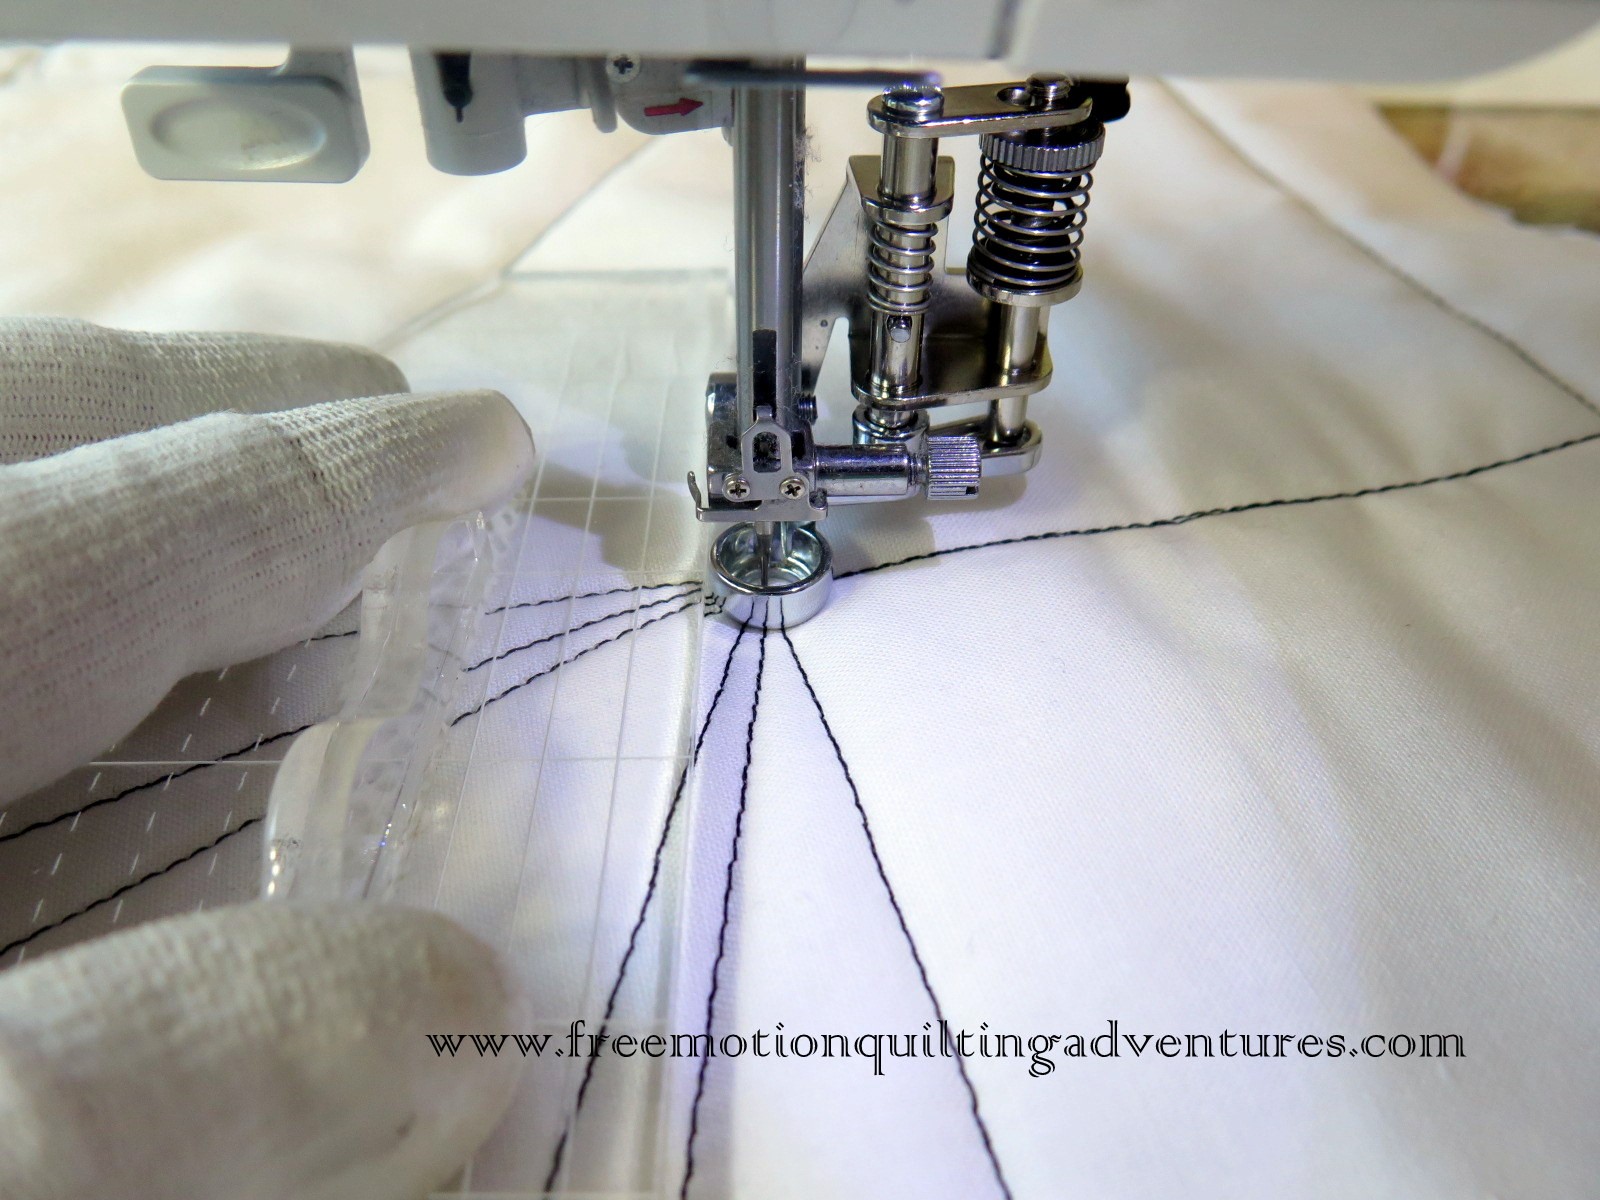
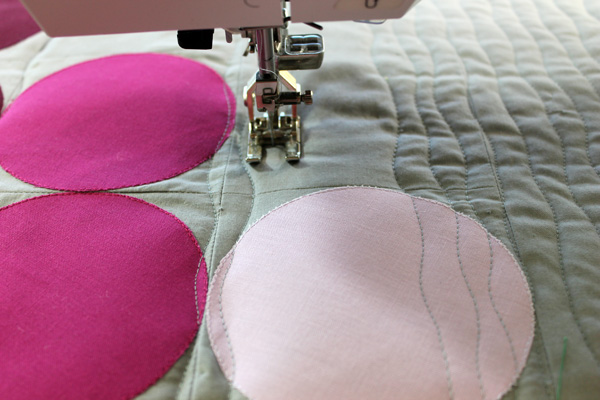
One thing you do really need is a “ruler foot” for your machine. This is a high edged free motion foot that safety guides the ruler without allowing it to slide over or under the foot. Not all machine brands have such a foot available yet, but there are at least two “after market” manufacturers of ruler feet that make feet to fit nearly every brand machine out there. Additionally, the Janome ruler foot that I use fits on many other makes and model of machine.

Then there are the rulers. We all joke about our fabric stash, followed by a thing for threads, especially if you do a lot of your own quilting or are an art quilter. But rulers are a new addiction for me and anyone who messes with ruler work will start eyeing these pretty pieces of acrylic. Thankfully, they don’t get used up or worn out!
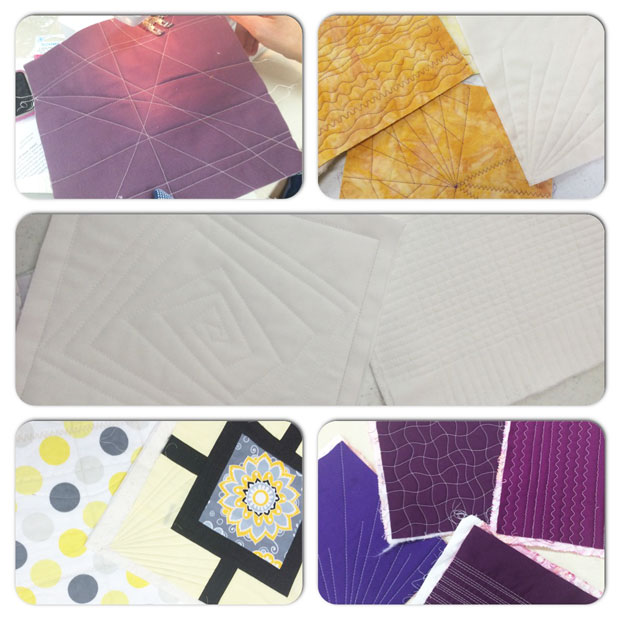
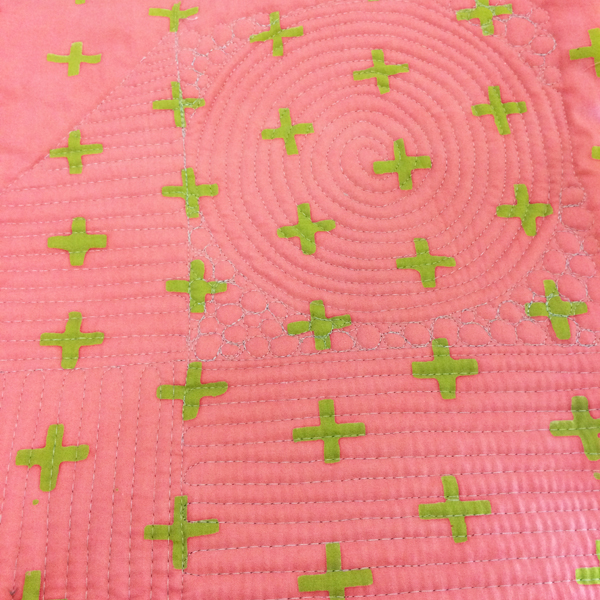
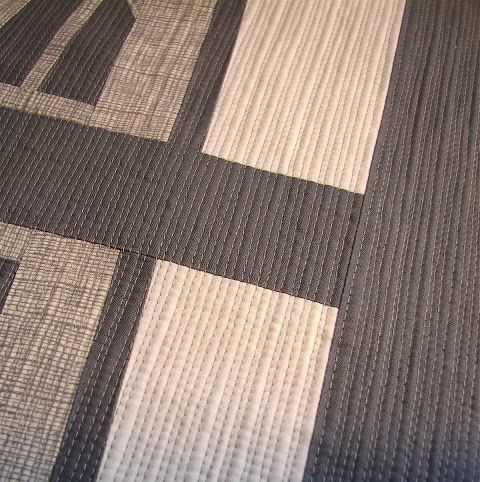
Why would someone want to use rulers in quilting? Well, for one, they yield straight lines and smooth curves without a bunch of marking, or with the use of a walking foot which can be tricky if there’s much turning of a large quilt needed. The use of rulers by long arm quilters aids the quilter in making designs that were common with hand quilting, in a time efficient manner: stitch in the ditch, crosshatching, swags, piano keys, and even spines on feathers. So adapting the use of rulers on stationary machines helps us with these designs. Not to mention that the use of rulers can give a nice structure to a quilt from which to then fill in with regular free motion quilting. It’s also a great way of making a cohesive design with great impact, without a lot of dense stitching. Though ruler work looks great with dense fillers worked between it, too.

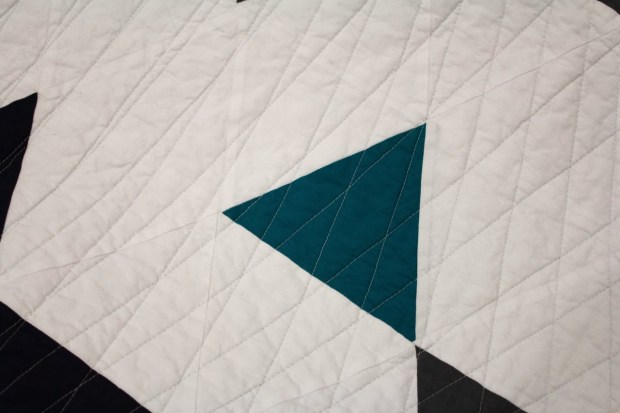
Is ruler work just for traditional designs then? Absolutely not! Take a look at some of the quilting by Angela Walters and Judy Madsen for starters. They’re long arm quilters, but they do pretty modern style work and they both use rulers for a lot of their designs. Rulers can help give a great geometric structure to the negative space commonly found in modern quilts.

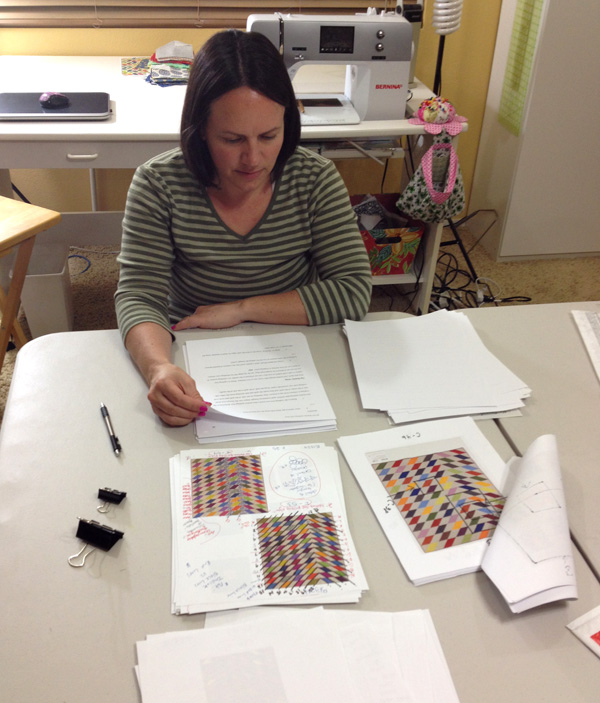
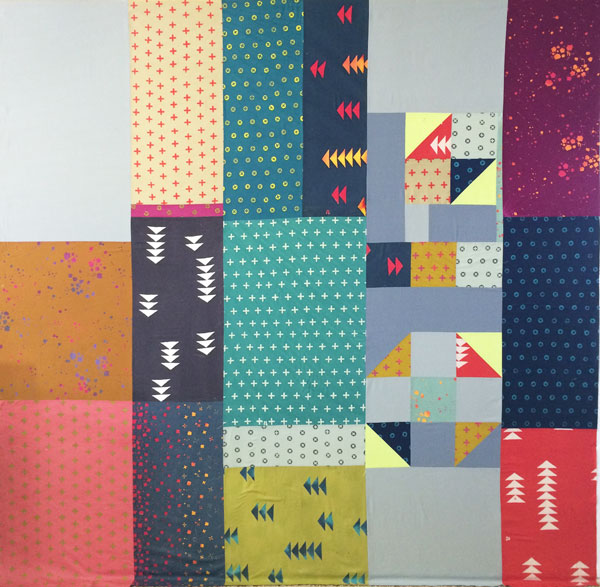
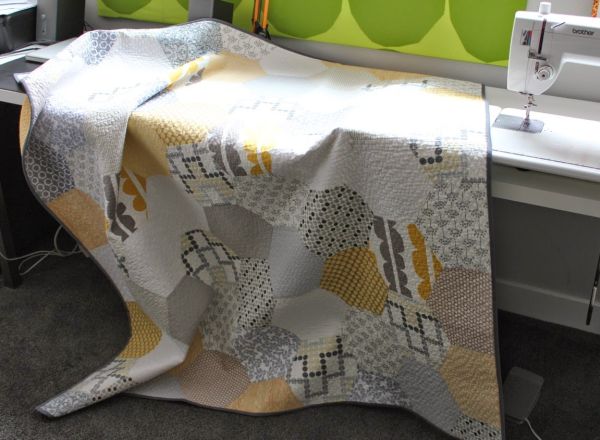
Then there’s my work. My quilting style runs a wide swath across genres of quilting, from art, modern, and traditional. I like to just say I’m an artistic quilter. The improvisational vibe and large amounts of negative space in many modern quilts speak to me. I’m currently working on a sampler quilt that shows a more modern feel, and the majority of the quilting design work is done with rulers followed by some dense fills of FMQ.

I am so excited to have this technique turned into a class with Craftsy, Quilting with Rulers on a Home Machine. I’ve shared ruler work on my blog and even made videos on YouTube but nothing compares to the in depth instruction on the Craftsy platform. Students can ask me questions and get answers quickly. We can all share projects on the platform, too, and their camera guys are miles ahead of my own photography skills. I’m so tickled to hear back from my students and they are loving the class.
Thanks to Christa for allowing me space on her fabulous blog to tell you about quilting with rulers and my new Craftsy class. I am so glad she turned out to be a fabulous quilting teacher, blogger, and hard working business woman!
You are welcome Amy! I do what I can to help spread the word about other amazing domestic machine quilters. After all, everyone has their own style and I highly recommend learning from as many different instructors as you can. 🙂
Don’t you think Amy’s class sounds fabulous? It’s on my to-watch list for sure. I just checked, and Quilting With Rulers on a Home Machine is on sale at Craftsy now, so be sure to grab it while you can!