It’s here – it’s here! The launch of my third Craftsy class – whoo whoo! Just after I made the sneak peak announcement earlier this week, the class went live! So today I’d like to introduce you to Startup Project: Starry Path Quilt.

Click here to preview my class Startup Project: Starry Path Quilt
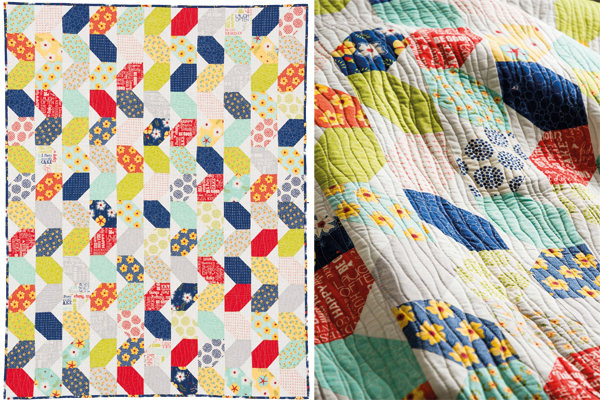
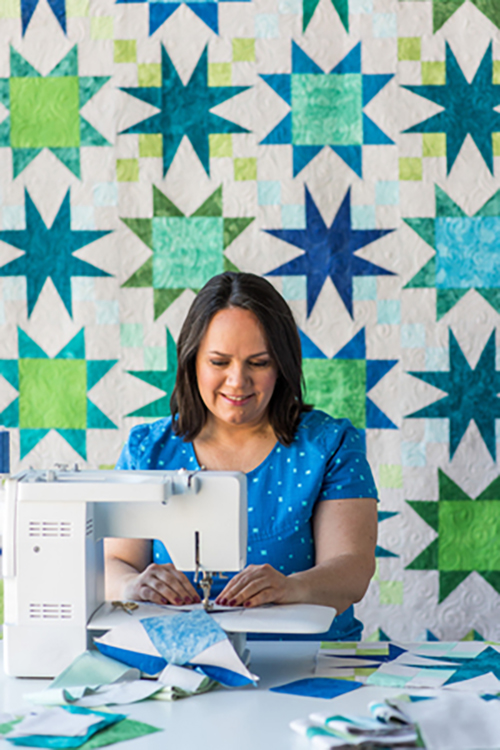
In this nearly 3 hour long class, I teach how to make this stunning quilt I designed featuring two different types of star blocks and three different types of triangles.
It was created as a followup class to my comprehensive start-to-finish class, Startup Library: Quilting. But of course, anyone can enroll and make this stunning quilt:

Click here to get the Starry Path Quilt Kit, while supplies last
The class comes with the complete pattern to make the Starry Path Quilt above, and there’s even an optional kit. I chose to make it from basic blenders in a cool color scheme of lime, green aqua, blue and turquoise. I paired it up with a solid gray background for maximum impact. I’m really pleased with how well the design turned out and I loved taking my time to be as accurate as possible.
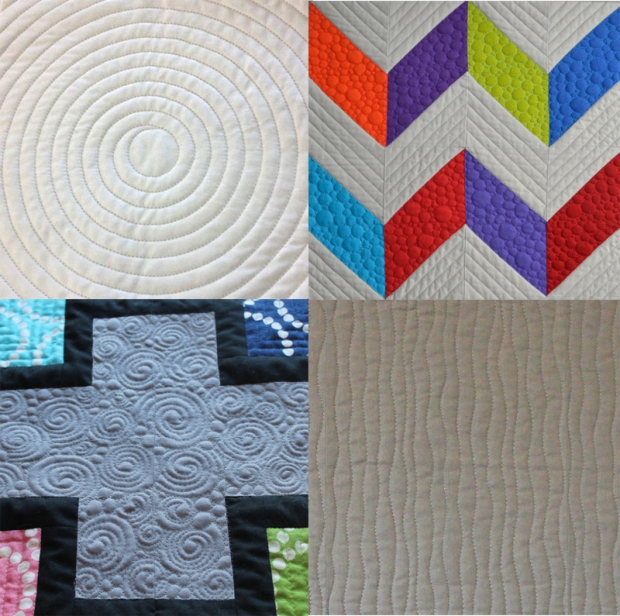
And, because you all know I loooove machine quilting, I threw in a bonus lesson on how to quilt elongated swirls. Isn’t it just fully of yummy texture??

The class materials include step-by-step drawing lessons showing how to form the basic swirl design, plus a page for you to print off and practice drawing your own quilting plan. (It’s a nod to the technique I first introduced in my machine quilting class, The Quilter’s Path.)
The exclusive Starry Path pattern is easy to follow along as you watch the class, and I’ve sprinkled in as many helpful hints as I can to ensure your success with this quilt!

I can’t help fondling my quilts, LOL!!
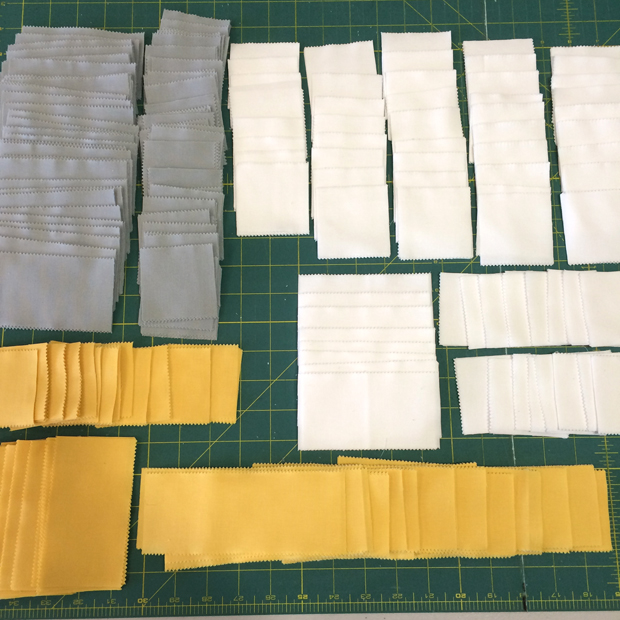
In Startup Project: Starry Path Quilt, I share my best tips and tricks for accurate cutting and piecing so that you can get stunning results, every time. My top tips for piecing any quilt?? Slow down when you are sewing, maintain an accurate 1/4″ seam and use lots of pins to get those intersections to line up precisely.
The best thing about my Craftsy classes is that unlike my live classes, you actually get to watch me sew and quilt. That way you can and see where I place my hands, and how I manipulate the fabric. With the magic of filming to speed things up, it’s actually fun to watch!
Starry Path Class Overview
Here’s a breakdown of what’s covered in each section and length of each lesson. The total class runs for just under 3 hours, and if you’ve ever heard me speak, you know that I can cover a lot of info in a short amount of time. So you really get more “bang” for your buck with my classes!!

1. Getting Started (32 min)


6. Machine Quilting Swirls (20 Min)

I had so much fun making this quilt and I’m sure you will too! The best part about enrolling in my class is that you have my help and support 24/7. Got a question about the class or want to share your progress? Use the interactive class platform to share with me and fellow students. It’s like a virtual classroom with me at your side!!
Click here to enroll in Startup Project: Starry Path Quilt
Click here to get the Starry Path Quilt Kit

I can’t wait to “see” you in class!