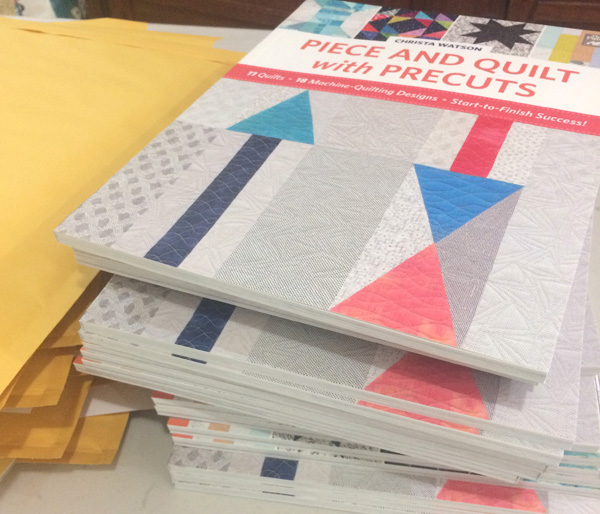
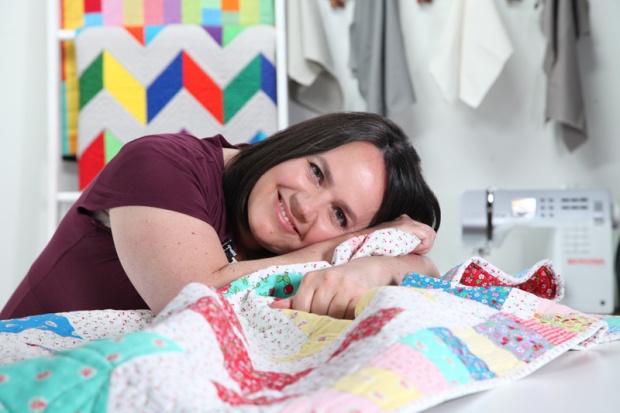
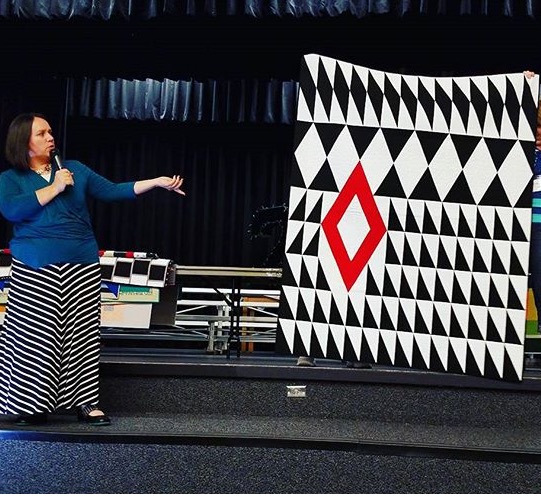
It’s just been a month since the launch of my new Craftsy class, Startup Library: Quilting, and already I’ve taught hundreds of students how to make a complete quilt from start to finish!! I love how the Craftsy platform allows me to interact with my students and see their progress, even though we might be thousands of miles apart! For those of you who are new to the blog, or Craftsy, let me tell you a little more about this class. Then see the end of this post for a giveaway to get you started!!

Click here to get 50% off Startup Library: Quilting (valid thru 10/8/17)
In class, you’ll explore a range of key tools and techniques as you learn to make a quilt from start to finish. I’ll guide you step-by-step through preparing your fabric, cutting out the pieces and sewing them into blocks, as well as basting, machine quilting, and binding to help you finish your quilt with ease. Plus, when you learn with Craftsy you can work at your own pace and ask me questions as you go. By the end of my class, you’ll be quilting with confidence in no time!
WHAT YOU NEED
Lesson 1: Fabrics & Tools (28 min)
It’s every quilter’s favorite part of project prep: shopping! In this first lesson, I’ll explain the fundamentals of quilting and what to keep in mind when shopping for supplies.

Lesson 2: Know Your Machine (24 min)
Understand what type of sewing machine best suits your needs, including the features worth splurging on (or not!). Then, get familiar with your machine as you learn to thread it, wind a bobbin and keep an accurate seam allowance.
SETUP
Lesson 3: Working with Patterns (9 min)
Follow along as I go over the information included in your quilting patterns. Find out how to work with patterns as you piece your tops, plus get tips for successfully choosing projects.
MAKE IT
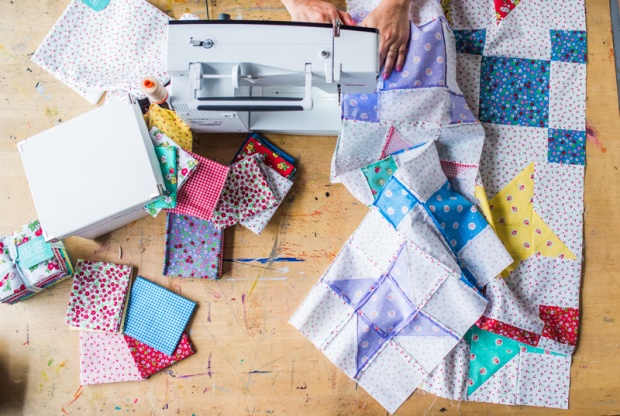
Lesson 4: Cutting the Pieces (38 min)
Before you begin sewing, you’ll need to cut the pieces for your blocks. Learn to work with a rotary cutter and mat as you cut yardage, fat quarters and more.

Lesson 5: Chain Blocks (24 min)
Get right into action by sewing up your first quilt block, the Chain! Find out how to keep track of all nine pieces as you sew and press the first block, then make quick work of the piecing by sewing several blocks together at once.
Lesson 6: Star Blocks (32 min)
Ready to throw some half-square triangle units into the mix? Here, you’ll sew the second block of your quilt. Find out how to tame stretchy edges and ensure all of your star points face the right direction.

Lesson 7: Assembling the Quilt Top (27 min)
Now, it’s time to have some fun! Arrange and organize your quilt blocks before you sew them together. Then, sew blocks into rows and rows into the inner top – you’ll love my method for keeping blocks in order as you sew!
Lesson 8: Borders (27 min)
Your quilt top is almost done! All you need to do is add the solid and scrappy borders to set off the design. Learn how to piece and add each border, and fix it if it’s slightly too long for your quilt.
Lesson 9: Backing & Batting (11 min)
In this lesson, you’ll prepare the remaining layers for your quilt. Learn how to choose and prepare batting — the center layer of the quilt — and piece the backing fabric.

Lesson 10: Basting (8 min)
The secret to quality quilting? Basting, which holds all of the layers together securely. I’ll teach you how to spray-baste the layers and assemble your quilt, explaining why pressing helps you ensure solid results.
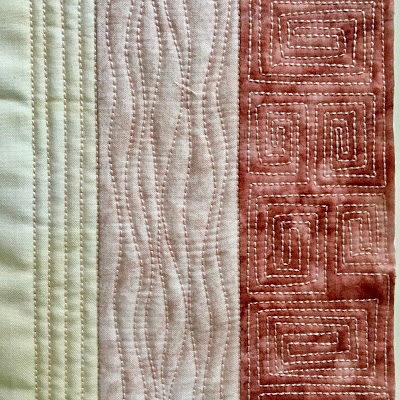
Lesson 11: Find Your Quilting Path (38 min)
Quilting — the stitching that holds layers together — can really accentuate your piecing work. Discover different ways to accomplish this, from working with a long-arm quilter to using your domestic machine. And, see how to stitch-in-the-ditch and apply decorative wavy lines using your walking foot.
Lesson 12: Free-Motion Quilting (23 min)
Ready to dip your toes into free-motion quilting? This method allows you to move your needle in any direction. If you’d like, stitch a stipple and continuous curve design on your quilt, or practice for your next quilt project.

Lesson 13: Binding (13 min)
Finish the edges of your quilt by applying a binding. I’ll show you how to prepare for this step. Learn to cut and piece the strips to create the binding, calculate the length you need for any quilt, and square up — or trim — your quilt.
Lesson 14: Binding the Quilt (37 min)
You’re almost there! In this final lesson, find out how to sew the binding to the quilt and finish it by hand. Easily turn with the corners and join the tails with my expert instruction, then get ready to enjoy your quilt!

For a limited time, you can get 50% off the regular price of my class when you use this link. The regular price will show on the home screen, but once you click “add to cart” you’ll see the discount. Just for comparison, this class is approximately 2-3 times longer than a “regular” Craftsy class, so it’s a tremendous value, especially when you get it on sale!
GIVEAWAY TIME!
Here’s a behind the scenes secret to share: as I was making the quilt, Craftsy sent me extra fabrics just in case. I ended up with enough fabric for an extra kit. Since I’ve already made the quilt twice (once ahead of time to test it, and a second time on video) – I don’t need to make a third, so I’d rather pass the extra fabric along to you! The kit includes one fat quarter bundle + background to make the quilt top and binding as shown in the class.

This giveaway is open to all (int’l winner just pays shipping). To enter, leave me a comment letting me know how many UFO’s (Unfinished Fabric Objects) you currently have! Once you take my class, you’ll be armed with the skills to finish them up! The giveaway will remain open through Sunday night, Aug 13, 2017 and I’ll choose a winner first thing Monday morning.
Click here to learn more and watch a preview video for Startup Library: Quilting
Update: Winner Selected and Comments Closed
Congrats to Susan M. who has been contacted via email.