Last week I taught a week-long class at John C. Campbell Folkschool on how to make a complete quilt from start to finish. Everyone made the same quilt from my Stepping Stones quilt pattern – but as you can see in the group pic below, they all look so different – and so fabulous!

A Colorful Plethora of Stepping Stones Quilts
Last Saturday, I flew to Atlanta, Georgia along with my mom, Jason and two of my kids. My mom and the kids stayed with my aunt and uncle for the week while Jason and I drove over to the Folkschool. He took a photography class while I taught quilting, and we both had a fabulous time!

Cutting in Progress. Each student chose their own fabrics and they were all fabulous!
My students got to work right away, cutting their fabrics to make their quilts. I love how most of them chose bright colors, but I’ve seen this design worked up in a wide variety of fabrics and it always turns out great!

Quilt blocks in progress – some students sewed theirs together randomly while others took time to carefully arrange each piece and either way works great!
It was fun to see the blocks going up on the design walls in the studio space. There was plenty of room to spread out and most students had their quilt tops pieced by the second day.

Quilts in progress decorated the walls beautifully all week!
They were excited to try out my spray basting technique and we had a gorgeous spot to baste, just outside the studio door in the lush green hills of Brasstown, NC.

Can you imagine a more beautiful place to baste a quilt??
Once the quilt top and back are sprayed outside, we brought them in doors to assemble on a couple of work tables.

The trick to good basting is to smooth out each layer of the quilt! A long acrylic ruler helps.
Although there were lots of quilts to baste, we made a party of it, helping everyone get theirs done so the process went very quickly!

Another trick is to iron the quilt once it’s basted to set the glue and smooth out wrinkles.
During class, I did a mini-lesson on both walking foot quilting and free motion quilting. and the students picked which techniques and designs they wanted to try, based on their skill level and ambition.

Students learned how to “scrunch and smoosh” a real quilt underneath their machines.
Walking-foot quilting detail of the quilt above is shown below:

I was so proud of them for going outside their comfort zones and trying out different techniques. Those that wanted to do custom quilting practiced on a sample block like I suggested so they could see how the design would work with the thread and fabrics they chose.

One student’s custom quilting design. Although it’s taking her much longer to quilt this intricate design in each block, the results will be well worth it at the end!
Once the quilts were quilted, it was time to bind. I taught them how to apply an even 1/4″ binding by starting with 2″ strips. They were even willing to finish it by hand and most of them added the final stitches on the last morning before the closing ceremony.

You can get a LOT of binding done while chatting hanging out!!!
Although class time went for 6 hours a day Monday-Thursday and 1/2 day class on Friday, most of the students took advantage of bonus sewing time in the evenings. I also worked on an upcoming project during that time (which I’ll reveal shortly) and we all had a grand time! It really was like an intimate quilting retreat. None of the students knew each other before class but were BQF’s (best quilting friends) at the end of the week!
It really felt like quilt camp for adults and I have to say I had just as much fun as they did!!

First quilt!! It’s never too late to learn!!
It’s rare that I get to teach an intense in-person class like this but it’s such a joy to see them all do such a fabulous job. We even had one sweet quilter that had never made a quilt before and hadn’t even touched a sewing machine in over 30 years. But with help and encouragement of the class, she had a fabulous finish and was so proud of it!!
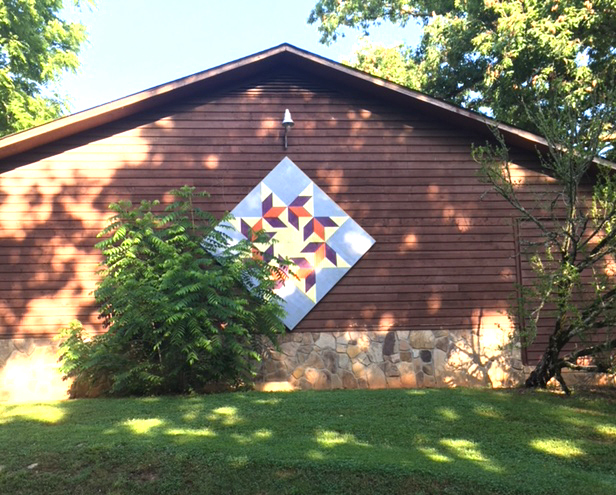
The Fiber Arts Studio wouldn’t be complete with out a Barn Quilt Block!!
We were very lucky to call the Fiber Arts Studio at the Folkschool our home away from home for a week. This is the third time I’ve been able to teach here, and it just gets better and better! (See my previous two classes here and here.)
Folkschool Quilt Class, June 2018
Just remember – if you decide to have fun making your own version of Stepping Stones quilt – I’m here to cheer you on!!


