As I quilted my Charming Chevrons quilt this week I realized it would be way too much “homework” to try to get it all into one post. Therefore, I’ve broken down the steps into two parts. I’ll cover the straight line quilting this week, and then the free-motion quilting (FMQ) in next week’s post.
I had so much fun quilting this quilt! Machine quilting is my absolute favorite part of making any project. I often spend much more time on the quilting than I do in piecing the top.
It took me a total of 5 Hours to quilt the straight lines.
Step 1 – Stitch in the Ditch
Probably one of the most important (and often overlooked) parts of quilting any quilt successfully is to first outline all of them major seams by stitching in the ditch. This may be the most boring step because you can’t really see your stitches. However, it can really make your quilt “pop”, no matter what additional quilting you add to it.
Be sure to start with a brand new needle when quilting. I used a Size 90 Topstitch needle for all of my machine quilting. The longer shaft and larger eye eliminated stress on the thread passing through the needle. My quilting was smooth and trouble free!
Though I list step 1 and 2 separately, you can combine them if you wish, and do all of the quilting at the same time.
Step 2 – Quilt The Chevron Echoes
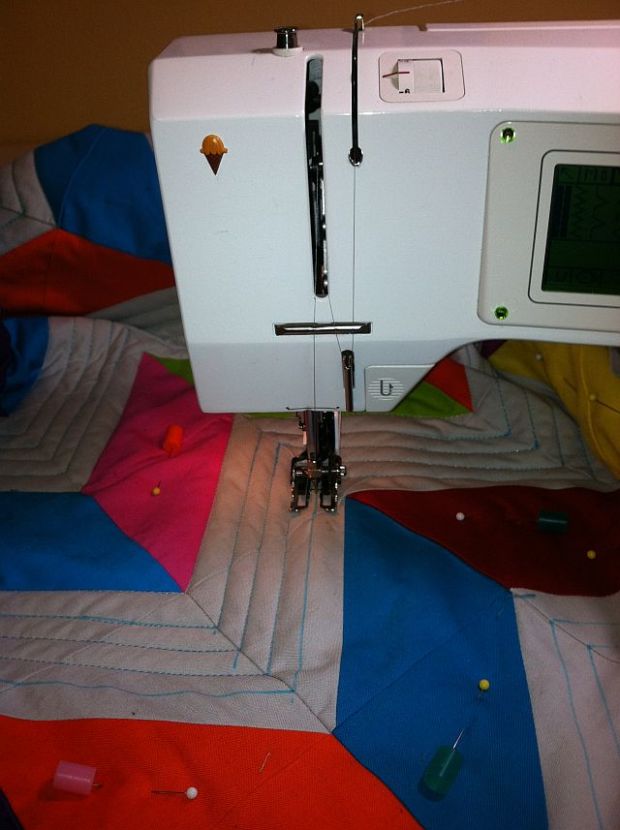
If you have marked straight lines onto your background, you can stitch them with a walking foot. I like to match my thread as closely as I can do my background so that you notice the quilting first, not the thread. I used Isacord polyester in the Sterling silver color for all of my straight line quilting. It was weighty enough to show the quilting and there were no issues with thread breaks.
Starting on one edge of the quilt, stitch one straight line at a time all the way over to the other edge of the quilt. This means no tying off or needing to bury threads. I simply started a few stitches off the quilt on either side to anchor my threads.
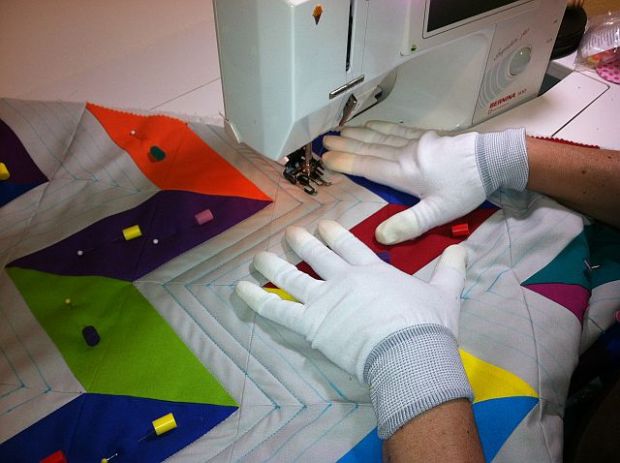
I started quilting in the center row of my quilt and worked my way across half of the quilt. When I got to the end I rotated the quilt and finished the other side.
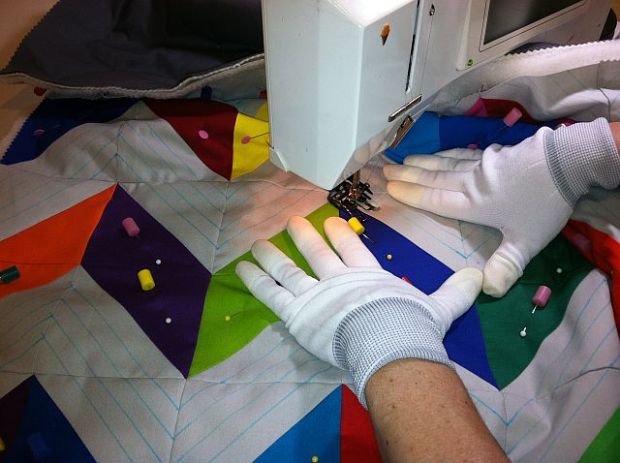
I did have to pivot each time the lines zigged and zagged so I got really good at pushing and scrunching the bulk of the quilt out of my way. The Machingers gloves helped me keep a good grip on the quilt. (They also helped keep the quilt clean from any chocolate residue left on my fingers during snack break time!!)
I removed the Pinmoors, one a time as they got in my way while quilting. Once the straight quilting was finished, I removed the rest of the pins.
Step 3 – Removing the Blue Lines
Because I like to see my work as soon as possible, I like to remove the lines immediately once I am done quilting them. One word of caution here, be sure to test your fabrics to make sure they are color fast before you spray water all over your quilt. If there are any worries about color bleeding, you can remove the lines with an aqua eraser pen or a wet toothbrush instead so you can more easily guide where the water goes.
If the blue lines resurface later, I simply wet them again, or soak the whole quilt when finished (if I know I’m not going to have any issues with fabric bleeding).
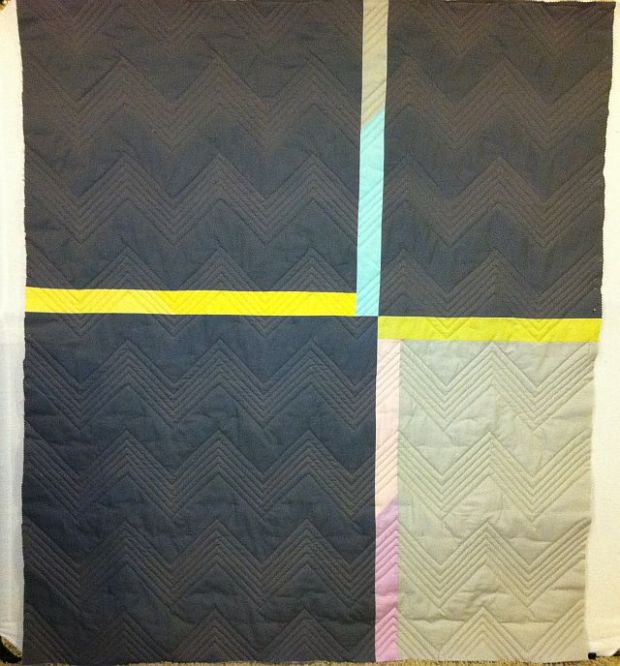
Doesn’t the back of the quilt look scrumptious, too?
Additional Ideas
If you don’t want to hassle with marking or quilting straight lines, you can quilt a wavy decorative stitch instead. It goes a little faster and you don’t have to be so precise. I used this type of quilting on my first tutorial – The Jolly Jelly Roll Quilt.
I feel very accomplished this week – how about you?
Quilt Along Schedule (Links are active once each step has been completed.)
- Week 1 – Supply List and Introduction
- Week 2 – Marking and Sewing the Charms
- Week 3 – Cutting and Trimming the Triangle Squares
- Week 4 – Sewing the Chevron Blocks
- Week 5 – Assembling the Quilt Top
- Week 6 – Marking and Basting
- Week 7 – Machine Quilting Straight Lines (today’s post above)
- Week 8 – Free Motion Pebble Quilting
- Week 9 – Binding and Finishing Your Quilt


Thanks for the tutorial showing the chevron quilt being made from beginning to end. I do much the same until I get to the basting. Here I tape down all 3 layers as I do this pull the layer I am working on very snugly with no wrinkles – perfectly flat like a stretched canvas. I then pin. Next step I hand baste with thread and needle, removing the pins as I progress along. I find it much easier to machine quilt without pins of any style in my way – stopping to remove them often, usually at bad time while the quilting is flowing. I find I come out with the best end result with no bagging on the bag between quilting styles and free space, no rippling along seam lines.
Happy Quilting – I love following your blog. It is very helpful and fun to read.
Thanks for all the great comments! I hope you all are enjoying making these quilts as much as I am 🙂
Although I’m not quilting along with you, I have purchased all the supplies for this awesome quilt – actually for 2 of them – one for each grandson. I’m planning to make the 2 quilts over the winter. I love the simplicity and elegance of the solid colors and the zig zag pattern. You have done a fabulous job with this and the quilting you’ve now completed is the icing on the cake!! Thank you SO much for sharing your talent. Your creativity is awesome.
I love the lines you quilted in between the Chevrons it looks so beautiful I might try that with the one I am currently working on. It really is worth the effort the results say it all. Need to go buy a marking pen already have the gloves. And a grid ruler too that’s how you got the lines so nice and answered my question of how did you get the lines so straight. Hope mine looks half as good as yours. The tips are great especially the one about starting quilting in the middle as I tend to start at the ends but starting in the middle makes a lot more sense. Thank you. Ellie
It looks fantastic! I love the solids!