I am so excited that things have finally slowed down enough this summer that I can get back to working on some quilts that don’t have any set deadline! I originally made my HST quilt shown below a couple of years ago, then it got ruined in the wash when the “mild” wash powder I used bleached out some of the squares. (Note to self- stick with liquid detergent only!!)
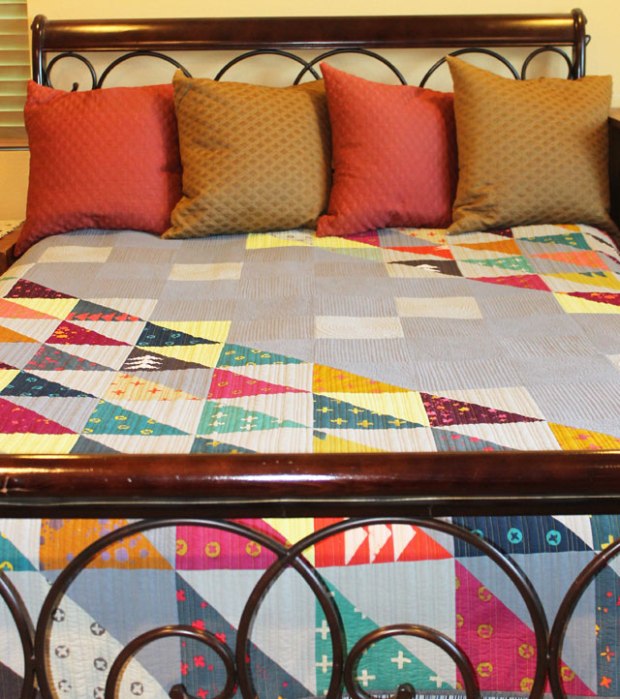
The original HST quilt – I still fits on my bed and is very warm and usable!!
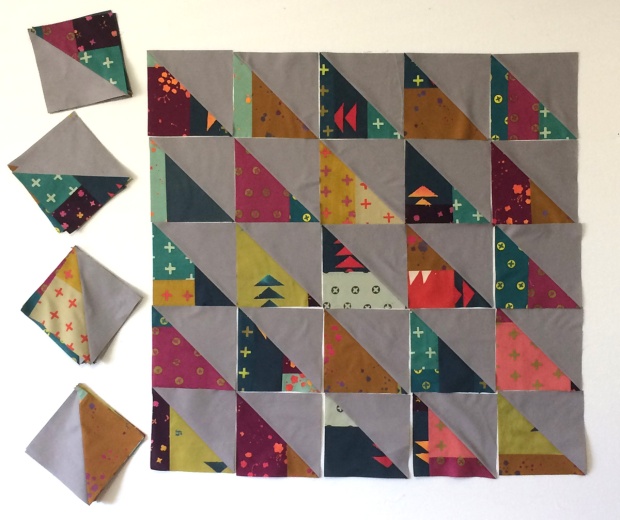
The Remake – Improv Triangles
However, I loved the design so much that I had to remake it. I’m calling the new one HST Remix. I’m using the same Alison Glass batik fabrics as I had in the original, but the background fabrics are different and the fabric arrangement will be slightly different. One of the problems with the original is that I used a “textured” background fabric that had a lot of stretch. I never could get the quilt to hang straight. I do much better sticking with regular cotton fabrics, but it’s always fun to try something new, even if it doesn’t work out so well!
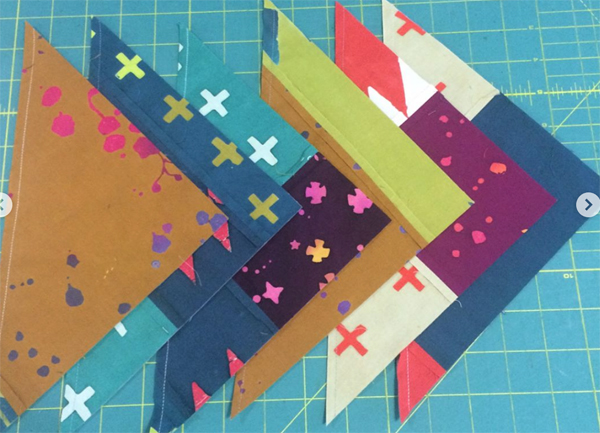
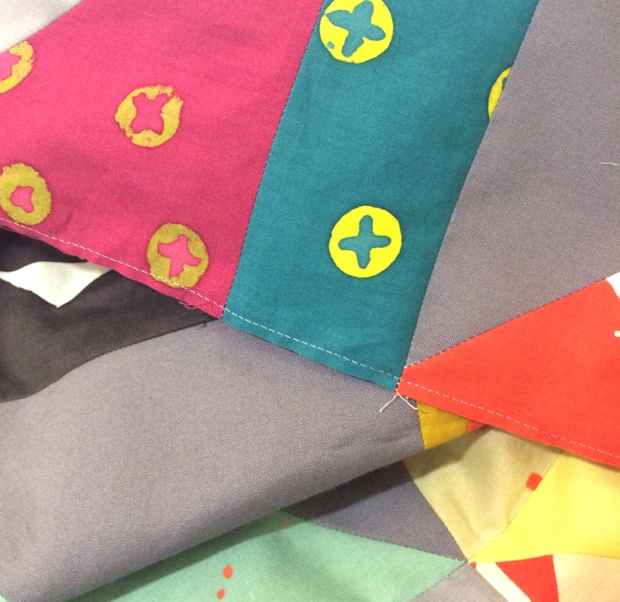
Because I’m working with leftovers from the first quilt, I didn’t have enough yardage to cut the squares large enough to make the half-square triangles so I improvised. And honestly I like the new blocks even better! I cut the yardage I had into straight strips with no wonky angles, then sewed them together randomly and cut them into the squares I needed. So many of them now have an improv look which I just love!
I also decided to make the blocks slightly larger the 2nd time around so that the overall quilt would be a few inches bigger.
Some of my improv HST blocks in progress.
If this quilt turns out well, my plan is to enter it into a few upcoming quilt shows. That’s the one weird thing about me. It’s hard to make a quilt just for the sake of making a quilt. My quilts need a purpose, even if that purpose is just to delight a viewer at a quilt show!
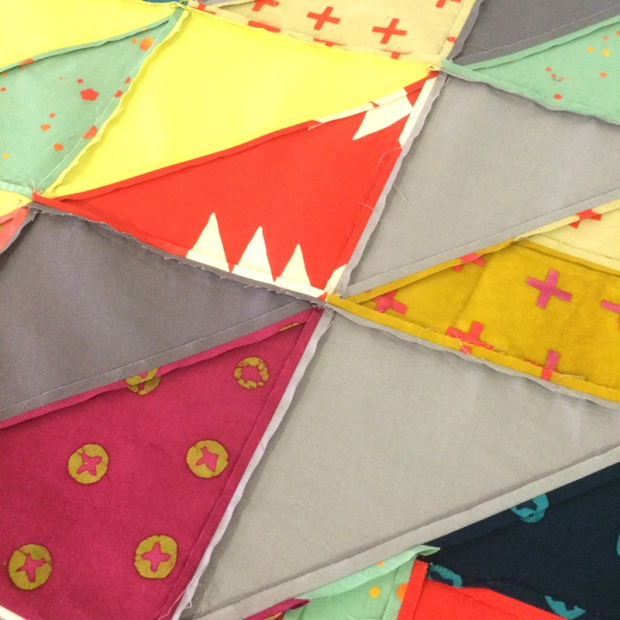
Pressing Tips
Because the construction of this quilt includes a lot of bulky seams, I’ve pressed them open to help the quilt top lie flat. Contrary to popular myth, this will NOT weaken the seams. My tip for pressing seams open is to press with a hot dry iron so you don’t burn your fingers. First I open up the seams with my fingers or using a handy device called a wooden seam roller. (This is a device made for other applications but is one of my favorite tools for quilting!!)
I also use a shorter stitch length (2.0 rather than 2.5) when sewing the seams together to ensure they won’t split apart while handling.
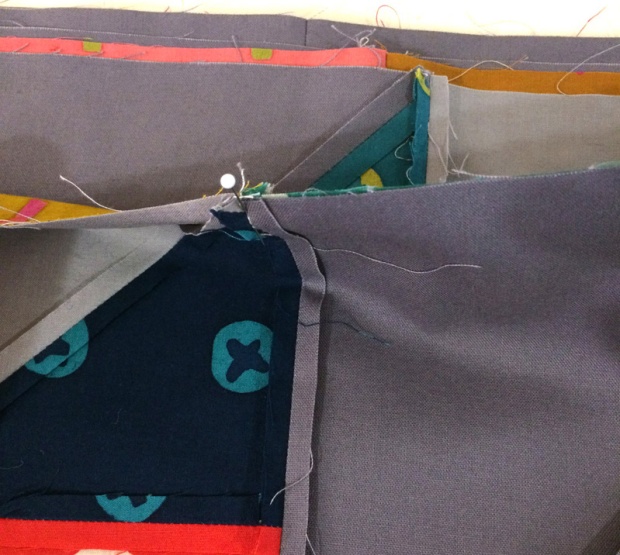
The biggest question I get asked is how do I get the seams to align when they are pressed open? I use lots of pins and pin right through the intersections where the points are supposed to match. The nice thing about pressing seams open is that I never have to worry about which way they need to go! I also like to press seams open to prevent shadowing – which is what happens when you can see a darker fabric underneath a light one.
I’m also a pressing maniac. Pressing a lot (without steam) helps me keep the quilt top flat as I make it. I will usually sew 3-4 rows together and then press a section before sewing all the rows together. That way I’m dealing with less bulk under the iron at one time. When I press, I press from both sides – back and front. I want a nice, super flat quilt top!
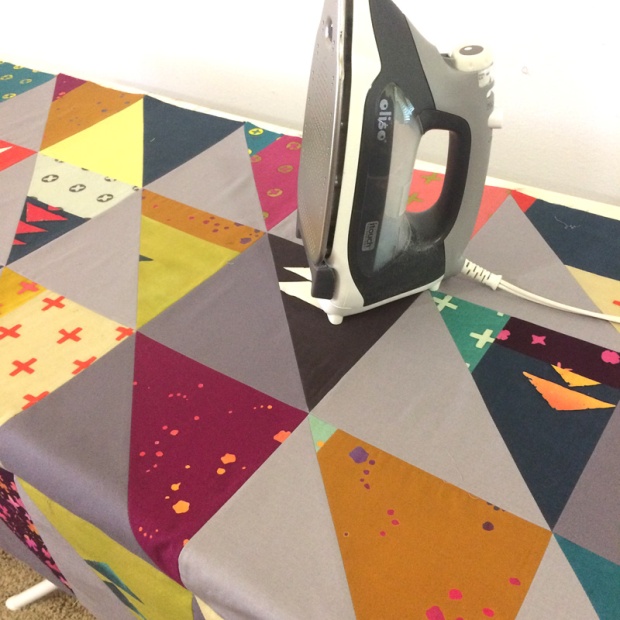
Pressing is very meditative for me – I listen to an audio book or podcast while I work.
Victory Lap!
Whenever I’m working on a quilt without borders (which is most of my modern quilts), there’s lots of seams along the edges. To secure them from splitting open, I take a “victory lap” around the quilt by stitching about 1/8″ in from the edges of the quilt. I’ll use a longer stitch length here which then gets covered up by the binding.
Victory Lap – aka “topstitching” around the edges to secure the seams.
Now that the quilt top is finished it’s time to make a pieced backing and start thinking about how I want to quilt it. In the original, I quilted lots of straight lines and some fun spirals and pebbles as shown below.

Original HST Quilting Motifs
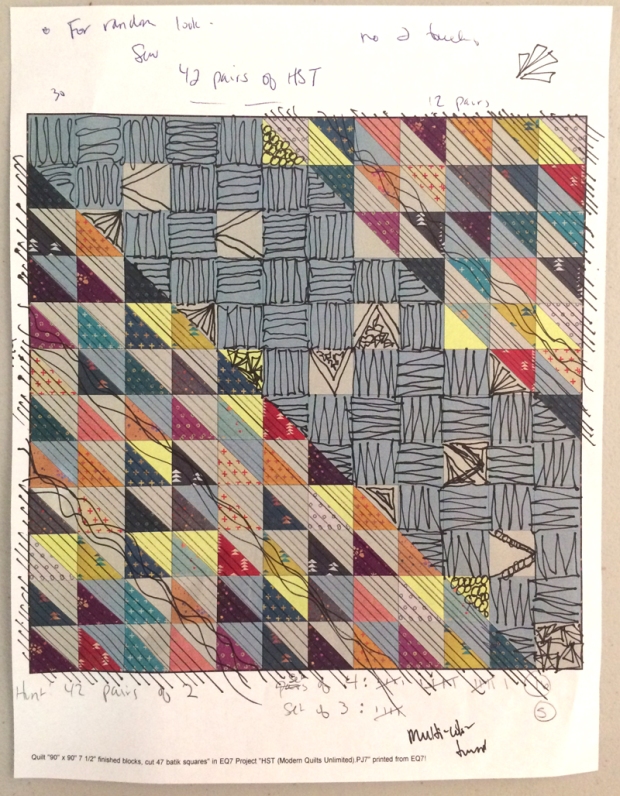
For HST remix, I still want to utilize straight lines and create a woven effect with the quilting, but I might change up the design a bit. In the original, I quilted straight lines vertically through the HST blocks and that was a lot of starting and stopping!! So this time around I’m thinking of quilting them diagonally instead so I can start and end off the quilt.
Whenever I’m trying to figure out how to quilt, I’ll print out a copy of my EQ7 design (or a photo of the finished quilt top) and I simply draw on top of it. I might come up with several different ideas, and it can look like a hot mess. So it may take a few tries until I come up with something I like. This is the method I teach in my Craftsy class, The Quilter’s Path – if I can create a pathway for myself to follow, the quilting doesn’t seem so overwhelming, even on a larger quilt!
Here’s the finished quilt top. The picture isn’t so great because I just took it with my iphone and it’s actually larger than my design wall, so it’s wrinkling up a bit at the bottom. That’s my next note to self – make quilts that are smaller than my 8′ x 7′ design wall, LOL!! Jason will help me photograph it when the quilt is finished, so I’ll leave it to him to help me figure out how to take prettier pictures!!
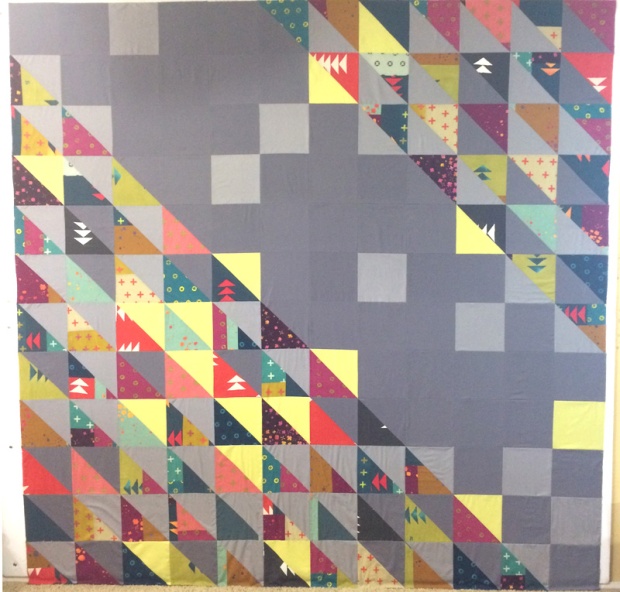
I’ll post again when I’m ready to baste the quilt. Since I don’t have a deadline to complete this quilt, it may be a few more weeks (or months) before I can get back to it, but I sure do enjoy sharing my process. Hopefully you’ve been able to pick up a tip or two!

Nice work and some very interesting tips. thank you
Love your Quilt !! You never cease to Amaze me !!!
Christa, I love this – something about it feels different than your usual (the colors?) but I absolutely love it! And I love the “victory lap” trick, too. I do that often to make sure nothing begins to unravel when I load on my longarm.
I love, love, love this quilt! Thanks for the “Victory Lap” tip. Sometimes my quilts sit while trying to decide on borders or not. This would certainly help with keeping seams from opening.
I really appreciate your sharing the details. The way you break it down it makes me think “I could do this too”. Thank you.
I’m so glad to hear that! That’s my goal – to help others realize that quilting can be fun and easy by breaking it down step by step 🙂
Christa Watson Instagram @christaquilts website/blog: ChristaQuilts.com Click here to join my facebook group: Quilt with Christa
It looks great, and it was good to read your comments about pressing seams open. I’ve been sewing for the last 100 (LOL) years, and the “seams open” seams to the side” discussion always leaves me at a loss as to what is best. Thanks for the info!! Hugs, H
I really like this one. I like the regularity of the HSTs slightly brightened with a bit of improv, and I like the diagonal band of background. So I guess I’m smack in the middle of traditional and modern where patchwork is concerned. Thanks for this inspiration, Christa; I’m off to the scrap bin!
I love this design and the quilting. Sometimes the most simple design can be the best!
Love the name “victory lap” for that stay stitching around the edge. I even do it if I have borders, to stop the raveling that always seems to occur while I’m quilting, if I don’t do a victory lap. I always learn something new from you and enjoy your fresh take on quilting.
I really like the Improv HST. Great idea. I’ll be ironing more from here on out..
This is lovely! What is the yellow color (the more frequently used one)? I am always looking for a food yellow.
Thanks so much! I can’t remember the exact number or name, but it’s a leftover bright yellow that I had in my stash from another quilt 🙂
Christa Watson Instagram @christaquilts website/blog: ChristaQuilts.com Click here to join my facebook group: Quilt with Christa
Thank you for sharing your details. Really like your idea of “patching” your HST. Adds alot of interest. Love your quilting ideas.
I love this quilt so, so much!! The new version is just fantastic! I love how the stripped pieces look. I love the negative space in the middle with several different shades of color. I loved reading this article too. My favorite tip is planning out the quilting. This is so helpful and makes it not as scary to begin! Christa, you are the best teacher. Thank you so much.
I love that you used multiple shades of gray in this quilt. I have a bunch of scraps of many shades of gray… I might need to try a quilt like this… Thank you for the clear quilting ideas, too…
Beautiful.
Wow I learn so much from you!
Thank you so much for your detailed process and what works and what doesn’t and why. You are definitely an influence. I might do a modern style quilt :). But I do not like the ironing process but I will iron by section and not when I complete the top. Lol
Thanks for sharing this. Love the victory lap. That seam roller can be found in a local hardware store. I have had one for years. Use it for paper piecing.
I think this is my new favourite quilt! I love your idea of a victory lap (I don’t usually have a border on my quilts either). Thanks for sharing!
Very nice. It was fun reading about your process.