
When I wrote my latest book, How Do I Quilt It, I wanted to include information on binding. However, there wasn’t enough room to include detailed step by step photos, so I’m happy to share that with you here. All photography by my dear friend Susanne Shultis Photography.

Click here to get a signed copy of my book, How Do I Quilt It?
Learn to make all of the projects shown here as well as my complete machine quilting process, including preparing your quilt and making a quilting plan.
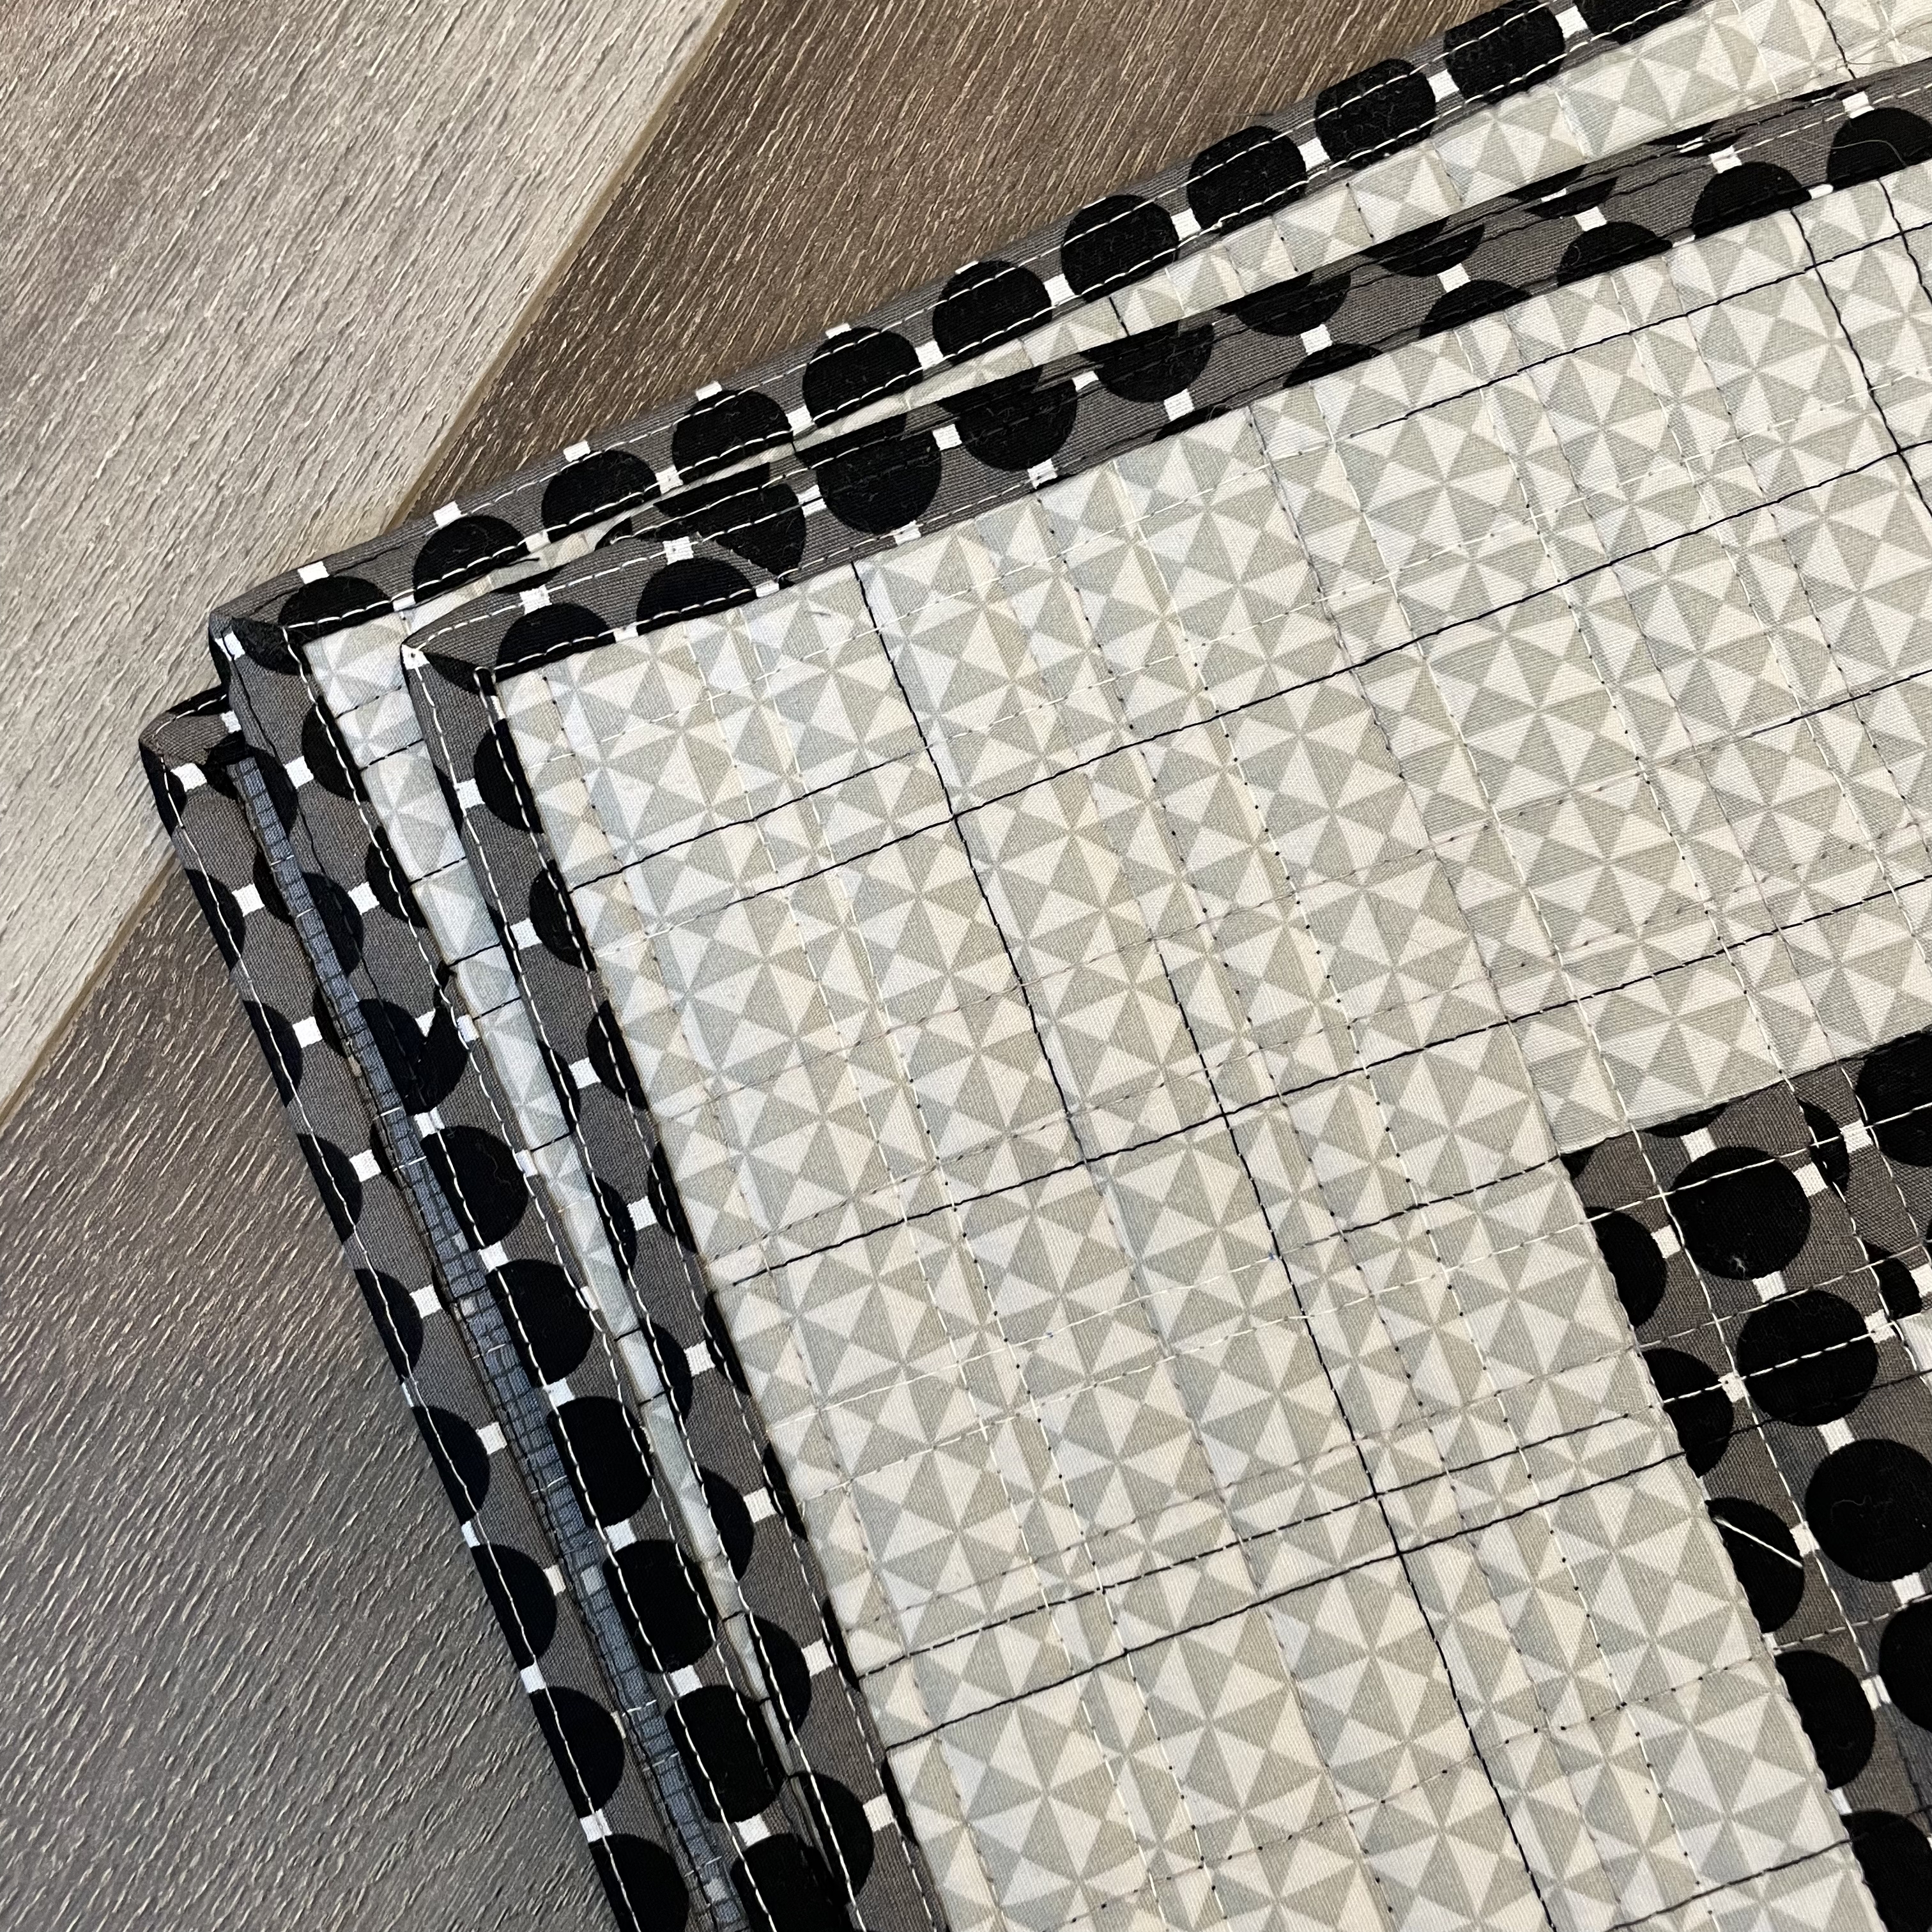
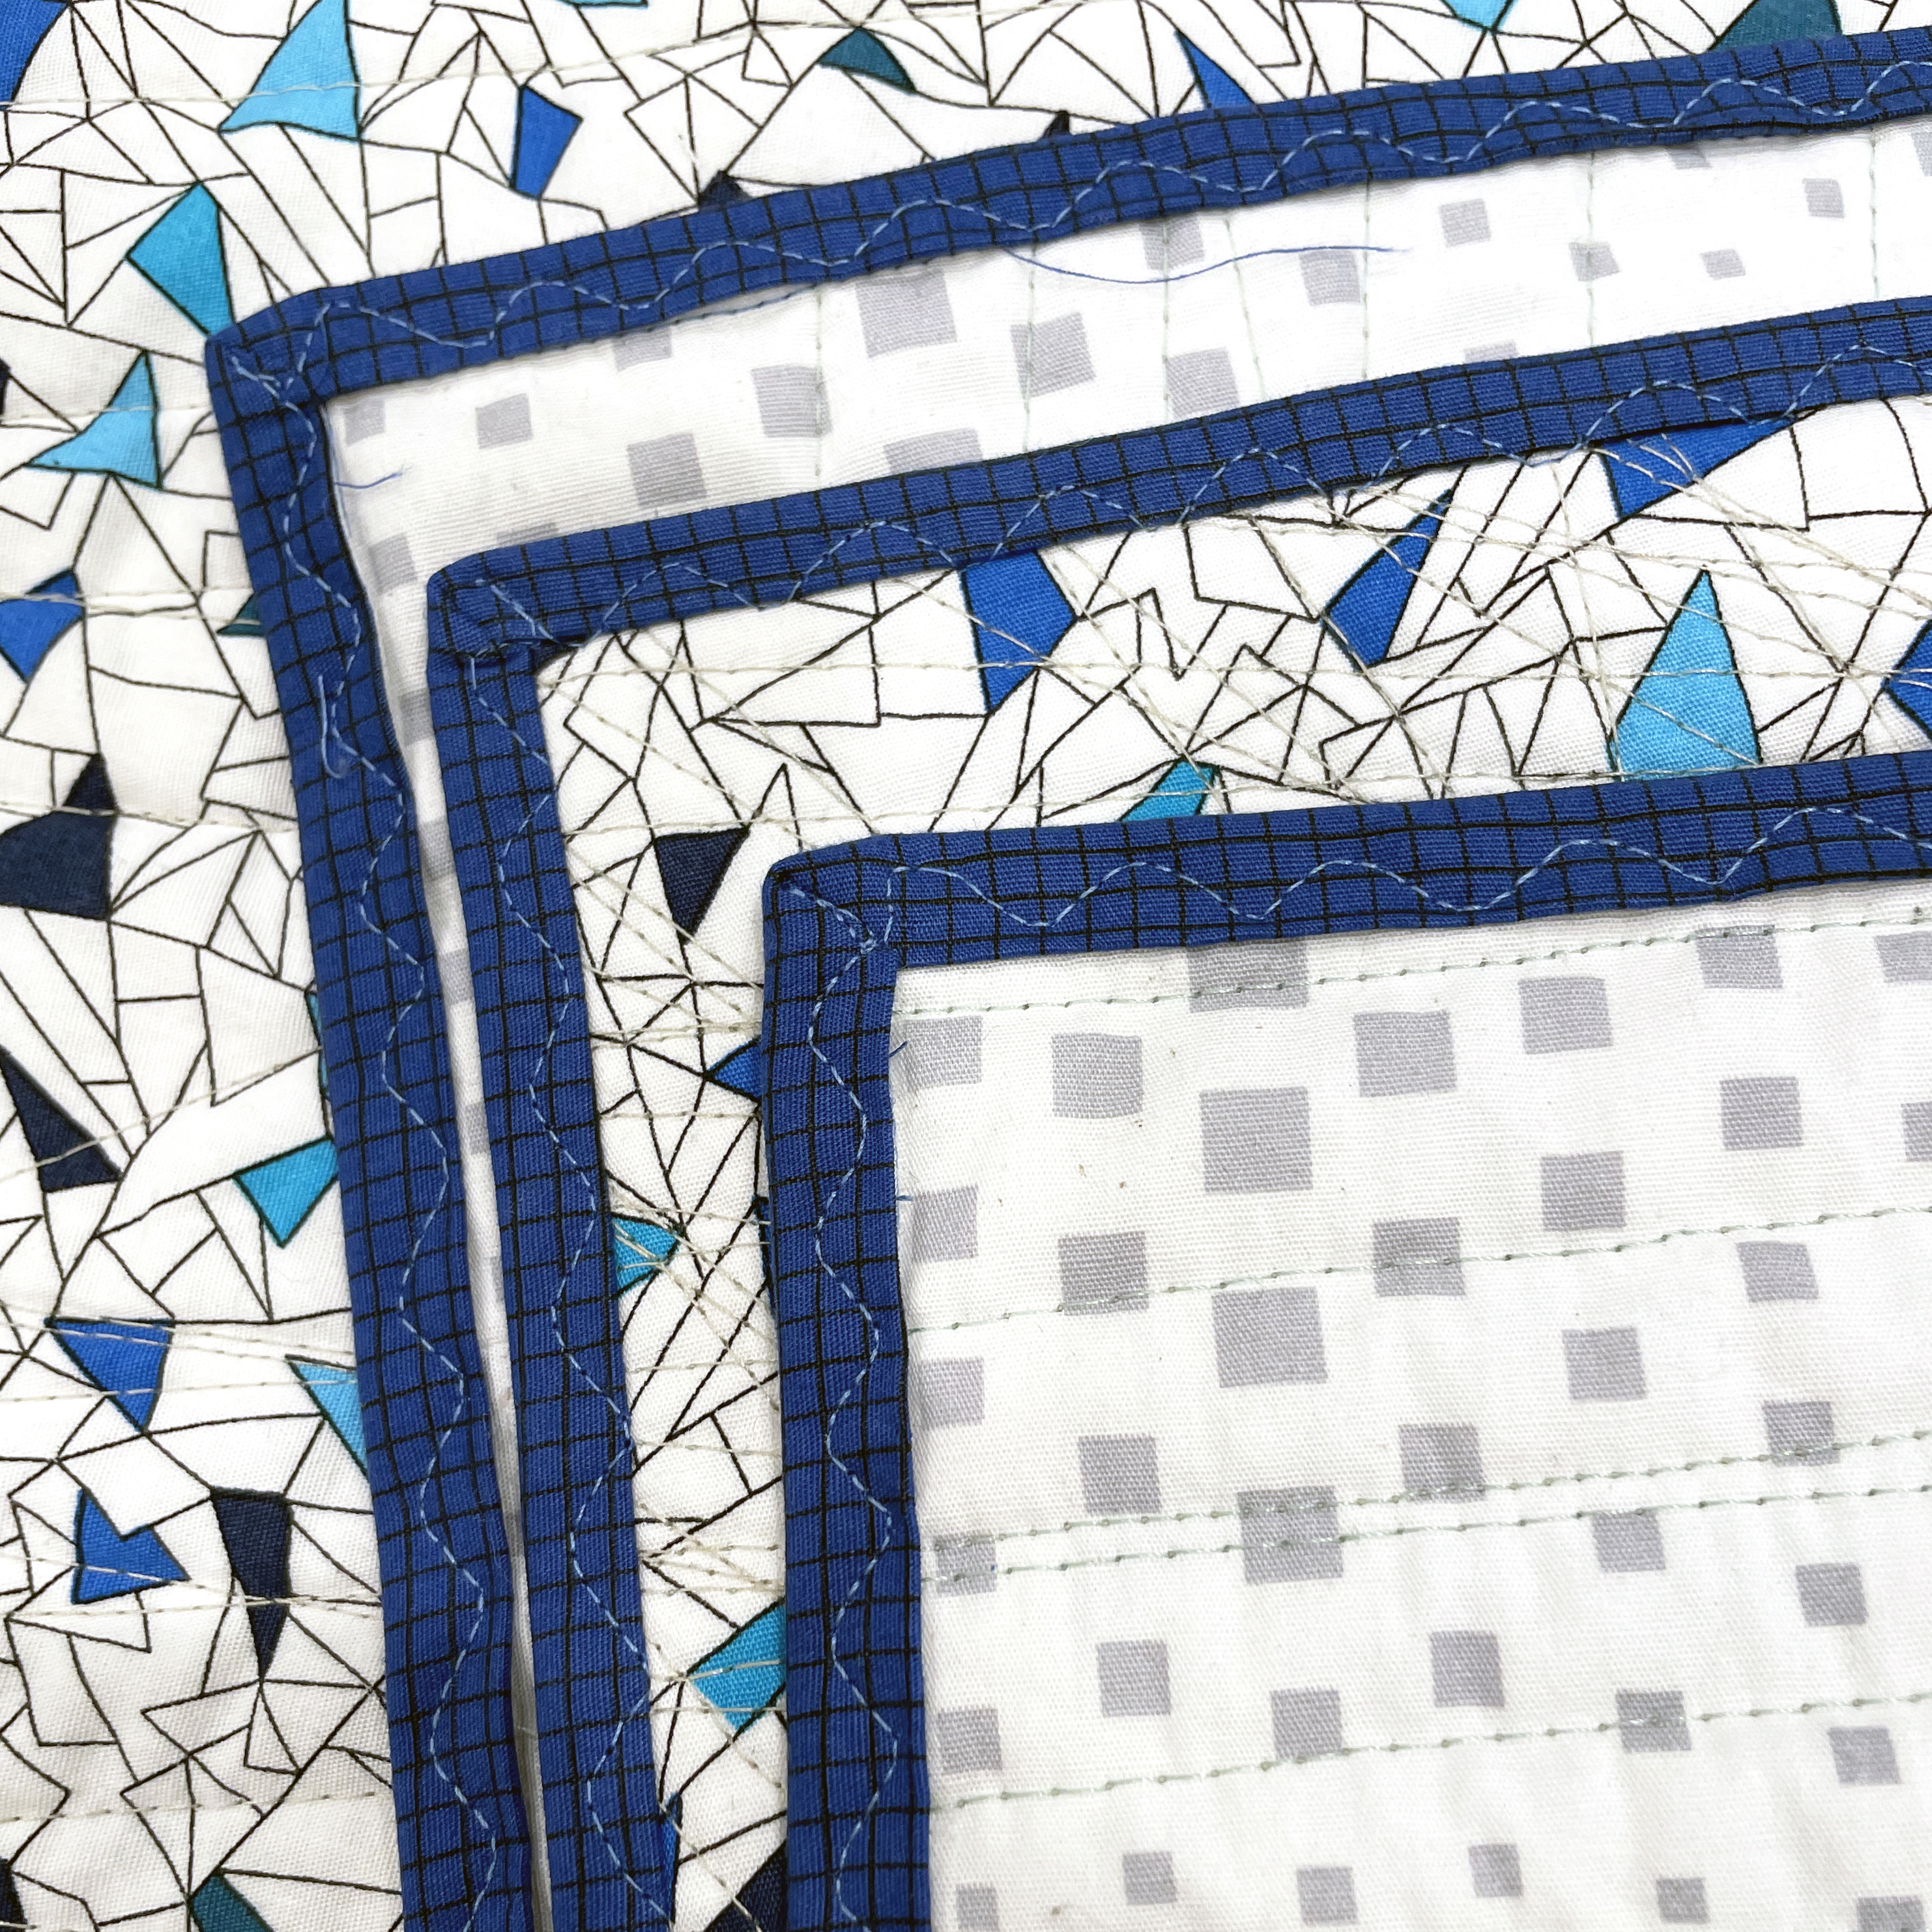
When it comes to choosing binding colors, consider whether you want to match the binding to the border or to the background fabric to create a seamless look. Or you may prefer a contrasting fabric that will serve as a frame around the quilt. You can even add a touch of whimsy to your quilt by using up leftover fabrics to piece a scrappy binding.

There are two ways to attach the binding, by hand with hidden stitches, or by machine with decorative stitches that become part of the design of the quilt. There’s no right or wrong answer – it’s all a matter of personal preference. No matter which method you choose, there are a few steps you need to take before applying the binding.
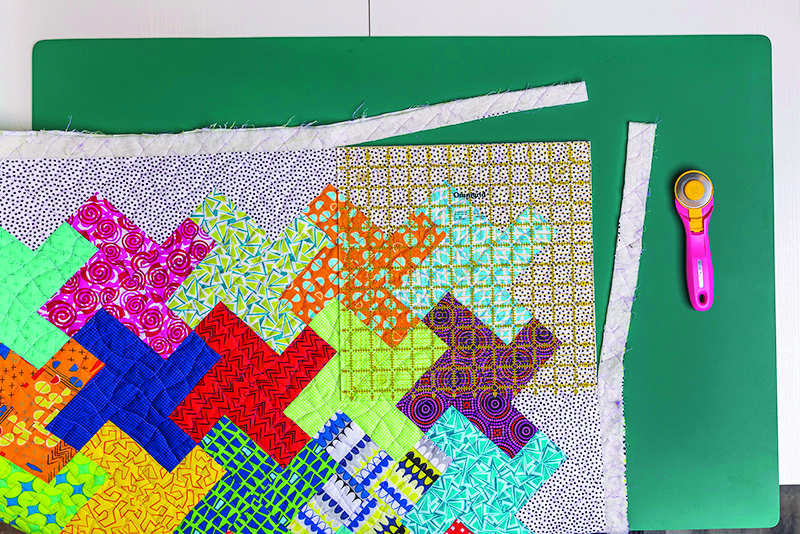
Prepare the Quilted Quilt
Trim off the excess fabric and batting so that the edges are straight and flush. I prefer to use a large square ruler to trim the corners of the quilt, and long straight rulers to trim the edges.
Prepare the Binding
No matter how I finish my binding – by hand or machine, I use the same method to prepare my binding and attach it to the quilt. I always make a standard double fold, hidden seam binding.
Step 1 – Calculate the total length of binding needed by adding together the measurement of all 4 sides of the quilt, then add an extra 10” for seam joins. For example, to calculate the binding needed for Pinwheel Tessellation quilt shown above, it’s 51+51+62+62+10 =236”. Next, figure out how many binding strips you need to cut by dividing the perimeter by the usable width of fabric. This would be 270” / 40 = 5.9. Round up, so 6 strips of binding are needed for this quilt.
Step 2 – I cut my binding 2” wide and sew it to the quilt with an exact 1/4” seam. This ensures a binding that finishes 1/4” wide on both sides of the quilt. However, if you prefer a wider binding, you can cut your strips 2 1/4” or even 2 1/2” by width of fabric. You can also cut them even wider and sew with a wider seam allowance if you want more of the binding to show on the quilt.
Step 3 – Join the binding strips. Place two strips right sides together at a 90 degree angle. Sew them together at a 45 degree angle across the diagonal. Sewing mitered seams like this helps distribute the bulk for a smoother binding with no lumps and bumps. If needed, you can draw a straight line across the diagonal, or press one of the ends along the diagonal to form a sewing line.
Tip: I like to sew all the strips together at once. I join the first two pieces right sides together, and then add the next binding strip to the end of the previous one, right sides together. This keeps all the mitered seams going in the same direction, too. If the selvages are still on the fabric, you can let them hang over beyond the spot where the fabric overlaps and trim them off later.
Step 4 – Join all the binding strips into one long continuous strip. Trim the excess triangles and press the seams open. Trim one end of the binding at a 45 degree angle. This becomes your starting ”tail.” Finally, press the binding wrong sides together all the way along the length.

Sew the Binding to the Quilt
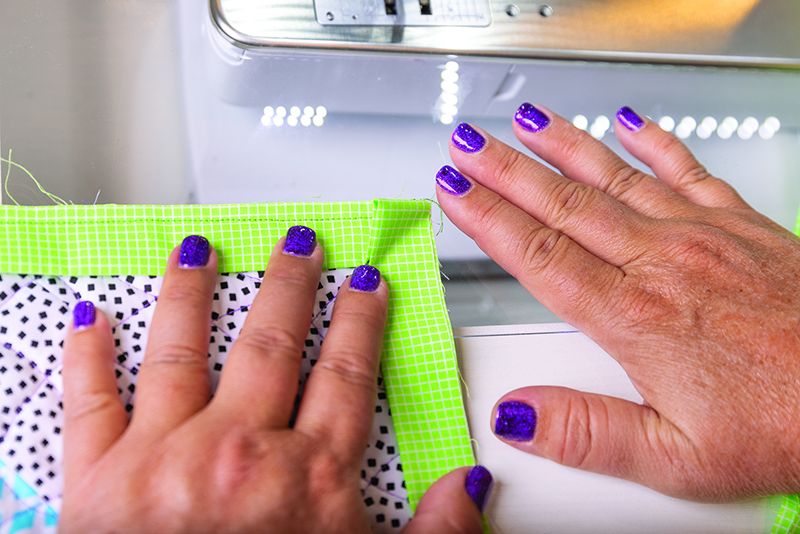
Step 1 – Starting several inches away from the corner, place the binding on the front side of the quilt. Line up the open the open edges of the binding flush with the edge of your quilt. The folded edge should be facing towards the middle of the quilt. Pin the binding strip to the quilt, leaving about 6” – 8” of loose starting ”tail.”
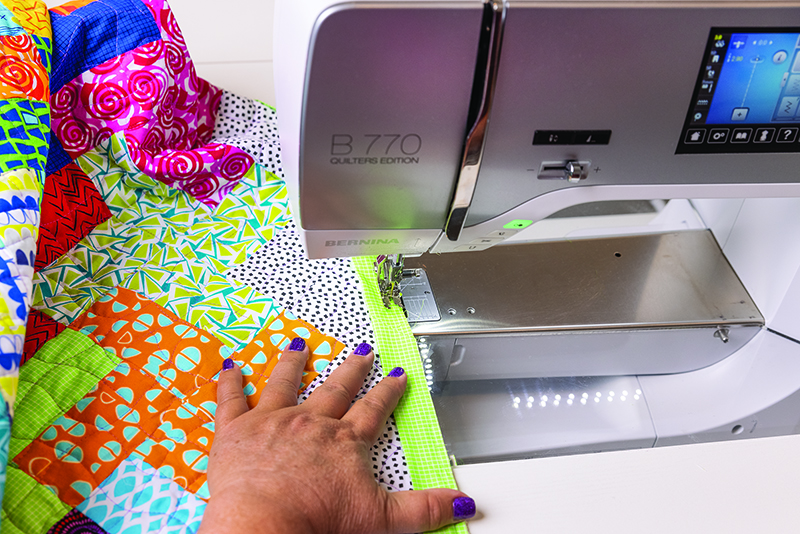
Step 2 – Begin stitching using 1/4” seam allowance. Use a walking foot or dual feed system if possible. When you get near a corner, stop and mark the stopping point, which is 1/4″ away from the corner, or stop stitching at the line on your presser foot that’s 1/4” away from the tip of the foot.

Step 3 – Stop stitching 1/4″ away from the corner and then diagonally sew off the corner.
Tip: To ensure that you don’t have any binding seams that wind up in the corners, ”walk” the binding all the way around the perimeter first: pin the starting binding tail anywhere along one of the sides and place a few pins all the way around the binding, folding the corners as you go to ensure the binding makes it all the way around the quilt.
If any of the seams end up in the corner, simply move the starting point an inch or two in either direction to offset the seam at the corner. If you still end up with a seam close to the corner when sewing the binding on, you can cut the binding apart and sew it back together to move the seam away from the corner.

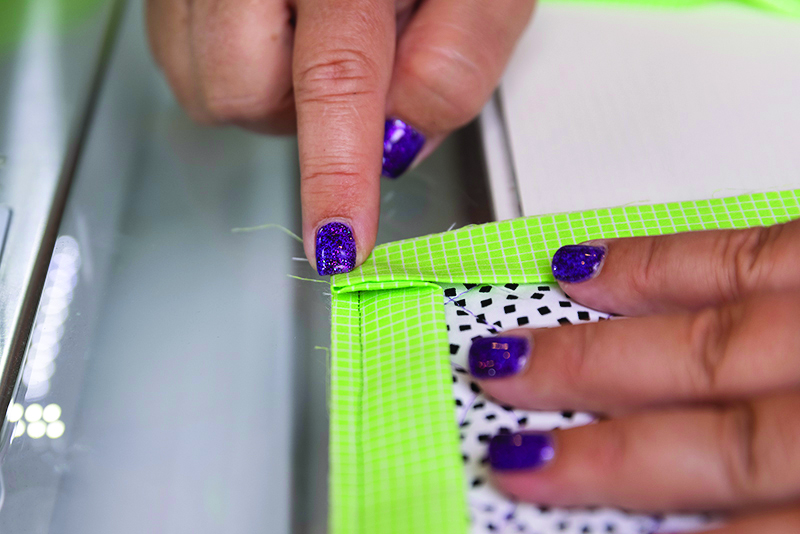
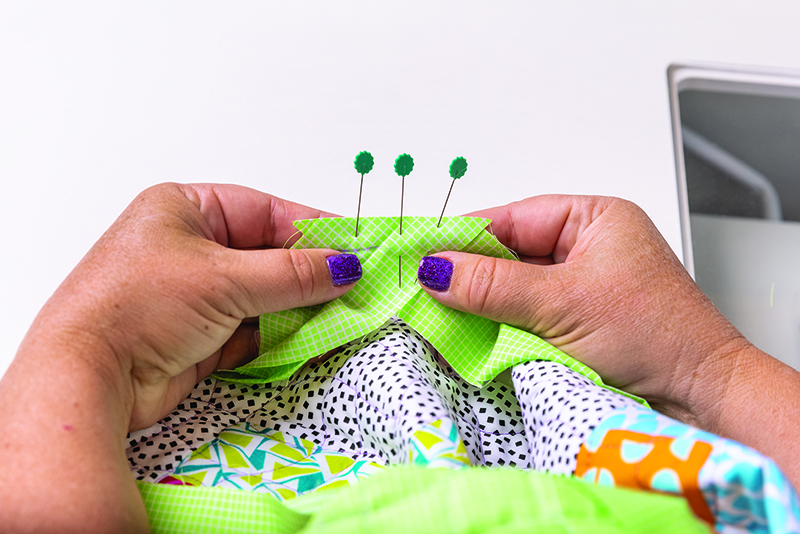
Step 4 – Do the ”funky fold.” Take the quilt off the machine and fold the binding up and away from the quilt as shown. Keep the edge of the binding in line with the edge of the quilt.
Step 5 – Bring the binding back down, creating a tuck of fabric underneath. This will form the miter on the front of the quilt. The folded edge of the binding should line up perfectly with the trimmed edge of the quilt.
Step 6 – Start stitching from the corner edge of the quilt. Grasp the starting thread tails with your hand and give an extra nudge on the quilt to push it through the machine. This helps ensure that the threads aren’t caught in the corners. The corners are very thick at this point with the extra layers of mitered fabric.
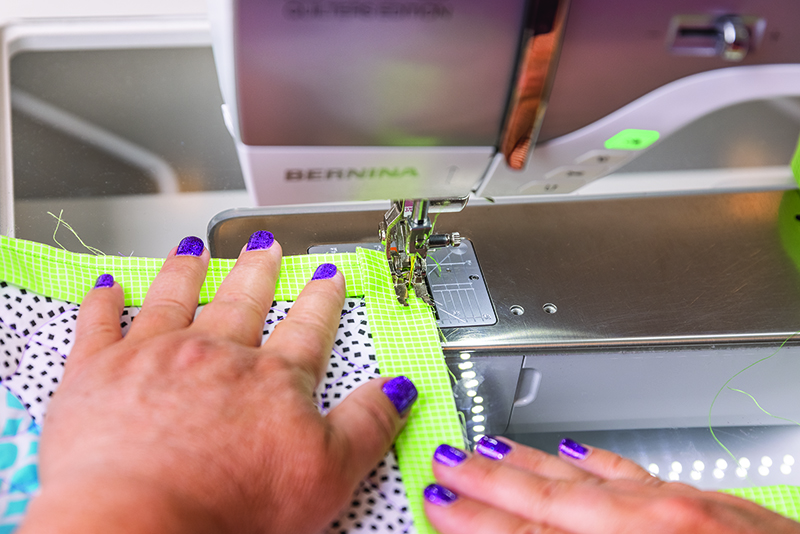
Step 7 – Stitch the next side of binding to the quilt edge until you reach the next corner and repeat this process for all four corners and sides.
Step 8 – As you near the spot where you began attaching the binding, stop stitching, trim off the excess binding, leave an ending tail of 6” – 8” to work with. Open up the straight end of binding and place the beginning tail with the 45 degree cut edge inside it.

Step 9 – Using the cut angled end as a guide, lightly mark a line next to the angled end on the open straight end. Then measure and trim 1/2” away from this marked line to allow for seam allowances on both ends.

Click here to get my mini mat and ruler set! This makes trimming those ends at the machine “sew” much easier!
Step 10 – Place the two binding ends right sides together, offsetting the corner tips by 1/4” and pin generously.
Sew with 1/4” seam to complete the continuous loop of binding. Finger press the seam open, and press the binding wrong sides together. Pin the remaining binding to the quilt and finish stitching it down on the front of the quilt.
Step 11 – Press the binding away from the front of the quilt and then fold it over to the back of the quilt. Fold the corners in the opposite direction that they were folded on the front to reduce bulk.
Pin generously or use binding clips to hold it in place as you stitch the binding down to finish.

Finish by Hand
Binding by hand gives the cleanest look and most professional finish. Although it takes longer to accomplish, it’s one of my favorite things to do when the quilting is finished. There’s nothing like curling up on the sofa on a cozy evening and stitching away the cares of the day!
For a successful finish, you’ll need a sturdy hand sewing needle and thread. Choose a needle that glides through the fabric easily and feels comfortable to grip. (I usually keep a variety pack of needles on hand and grab whatever is close by.) I use the same thread that I piece and quilt with and take tiny stitches to secure my seams. You can also double up your thread if needed for extra strength and durability.
Click here to get my Aurifil thread sets. These are the threads I use for everything, piecing, quilting AND binding!!
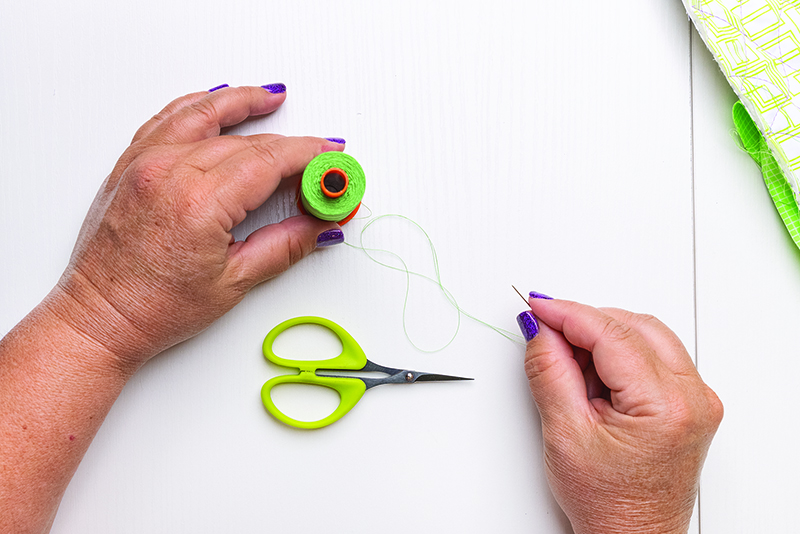
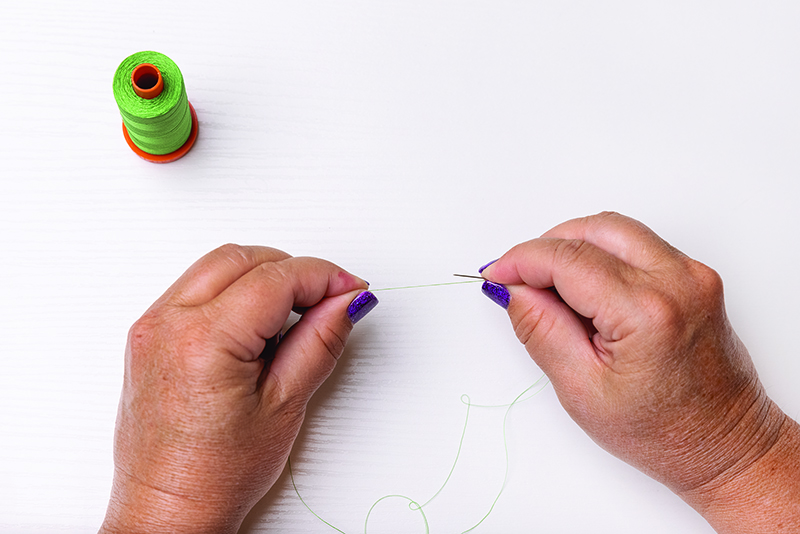
Step 1 – Thread your needle and trim the thread so it is about 18″ long. Tie a knot on the thread end that you just cut. This ensures the thread fibers are in the correct orientation to pull smoothly through the fabric.
Tip – How to Tie a Quilter’s Knot: Hold the threaded needle in your right hand with the ending thread tail in your left hand.
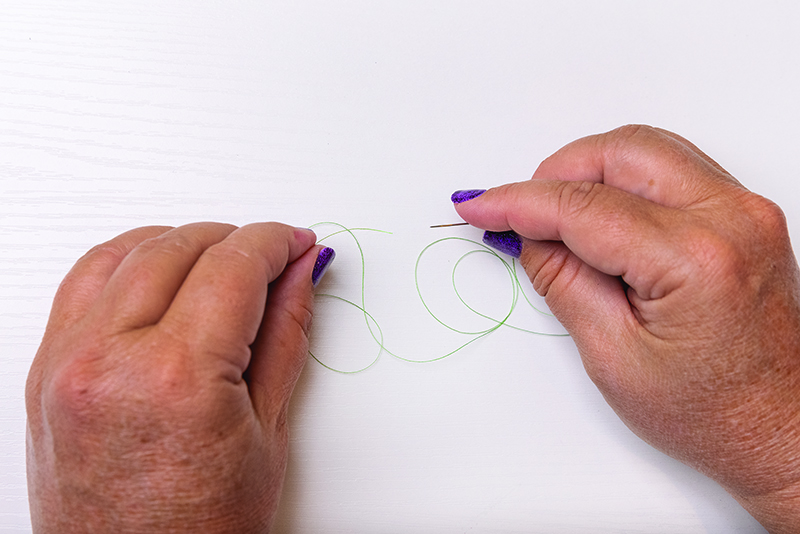
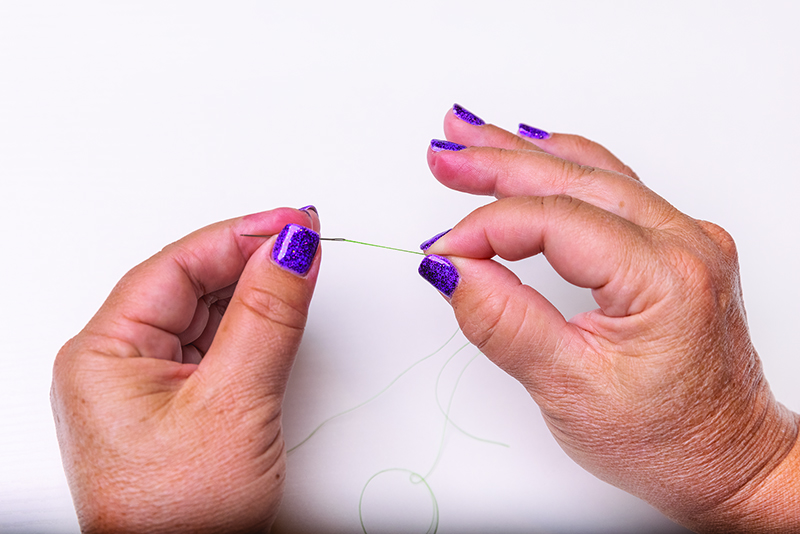
Pinch the thread tail with your right hand while holding the needle at the same time. With your left hand, wrap the freshly cut thread end around the head of the needle 3 times.
Pinch the wrapped thread with your right hand while your left hand grasps the needle and pulls away. With your right hand, slide the knot all the way to the end of the thread. Make a second knot on top of the first one if your thread is very thin. Reverse the movements if you are left-handed.
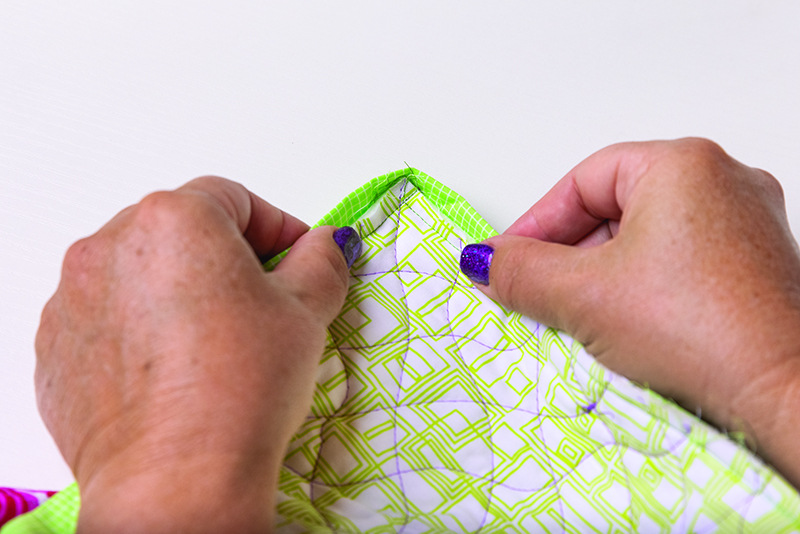
Step 2 – Tuck the knot underneath the binding, then grab a bite of the backing of the quilt and then a bite of the binding to complete each stitch. For a hidden finish, insert the needle right along the fold of the binding each time. Use a thimble to help push the needle through the quilt if needed.
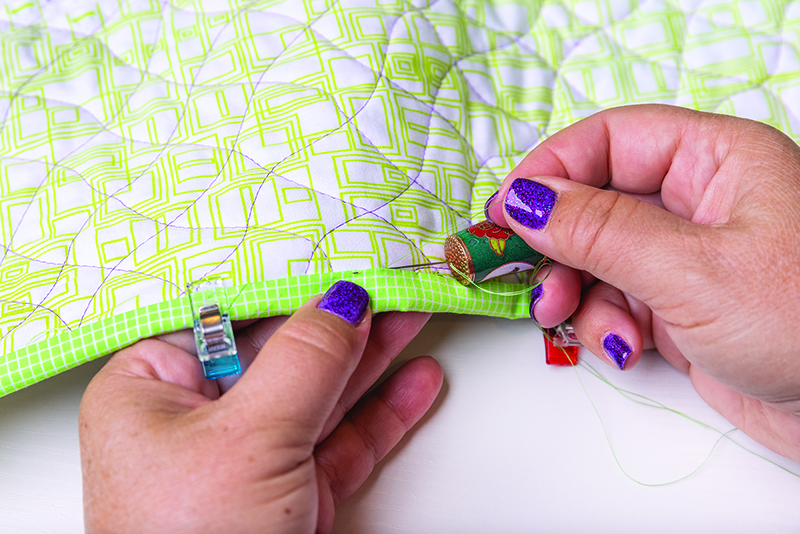
Some quilters prefer to stitch from right to left with the bulk of the quilt away from them; others like to stitch the opposite direction, from left to right with the bulk of the quilt towards them. There’s no wrong way to do it as long as you feel comfortable with the process.
Step 3 – Continue stitching until you are about to run out of thread. To end a segment of hand stitching, tie a knot with the needle still threaded, and take a backstitch. Pull the needle through the previously stitched area and hide the knot under the binding. Cut off the excess thread, and cut a new length of thread as needed. Stitch until the entire binding is secured and stitch past a few stitches from where you began. Tie another knot and pop it through the quilt so it’s hidden in the batting.
Tip: When you get to a corner, be sure to sew the corners closed on both the front and back.
Finish by Machine
My process for attaching the binding to the quilt by machine is similar to my hand binding process, except that I attach the binding to the quilt on the back of the quilt instead of the front. Then I fold over the binding to the front and secure it with machine stitches that become part of the design of the quilt. I have tried the method of stitching in the ditch to secure the binding, but it always ends up looking messy and I don’t always catch all of the seam. Instead, I developed the following methods which are neater and more secure.
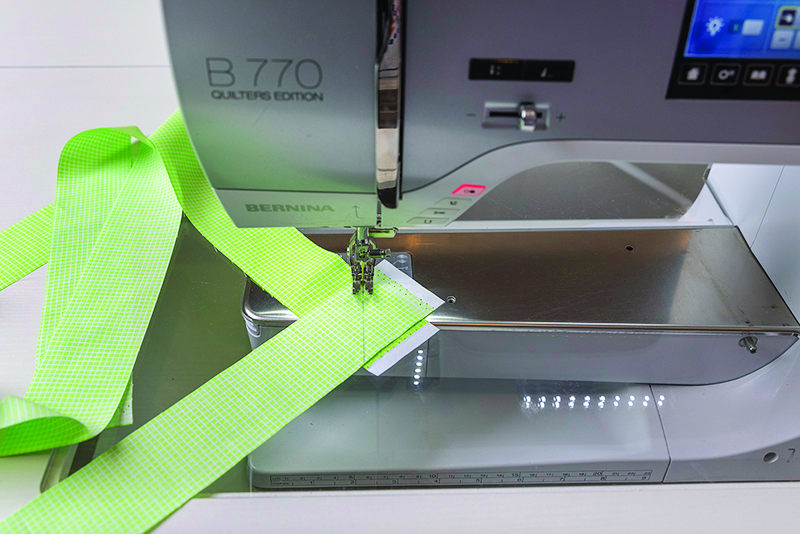
Option 1: Straight Stitching
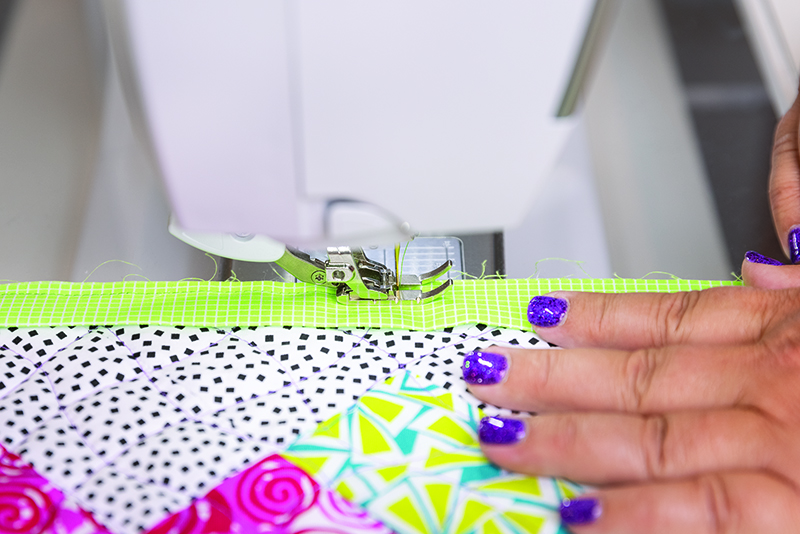
Starting anywhere on the right side of the quilt, pull up the bobbin thread to the quilt top. Set your needle position so that you will be stitching just to the right of the folded edge, onto the binding fabric. Hold the top and bobbin threads in place and stitch about 6-8 teeny tiny stitches to secure. Set your stitch length back to normal and stitch next to the folded edge all the way around the perimeter of the quilt. When you get to the corners stop with the needle in the down position and rotate the quilt to continue stitching. When you get back to your starting point, stitch on top of your previous line of stitches for about 6-8 teeny tiny stitches. Clip thread tails for a smooth finish.
If desired, stitch another straight line of quilting all the way around the perimeter, approximately 3/16” to 1/4” away from your first line of stitching, almost right next to the right edge of the quilt. You can use your foot as a guideline for even spacing all the way around the binding edge. This is similar to topstitching in garment making, where the stitched edge adds a clean-looking professional finish!
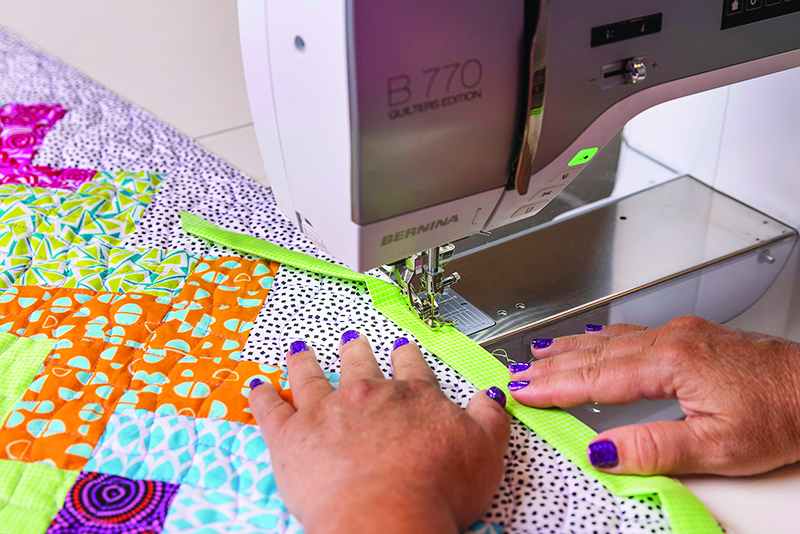
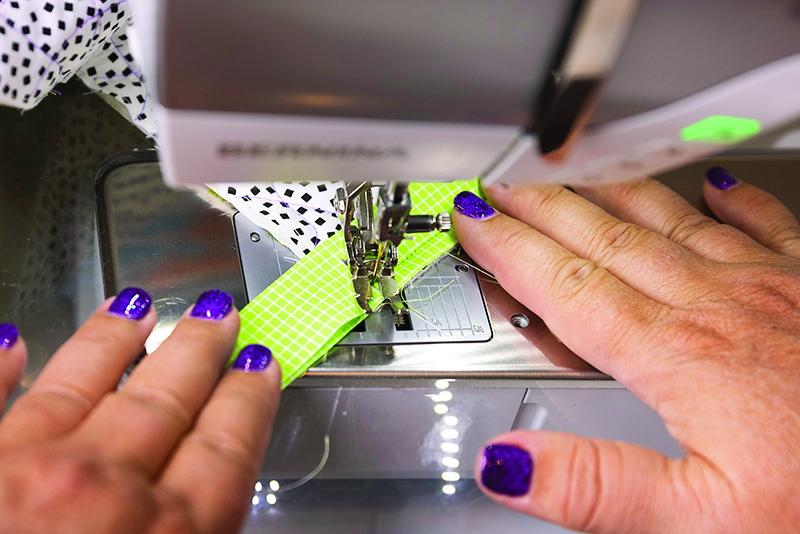
Option 2: Decorative Stitching
Begin stitching anywhere along the edge of your quilt with a decorative stitch. Try to stay within the 1/4” width of the binding fabric as you stitch. Alternatively, you can stitch right next to the ditch or on top of the ditch for a different look. When you get to the corners, stitch slowly so that the decorative stitch can complete its pattern as you rotate and stitch around the corners.
Be sure that the decorative stitching catches the corners on the front and back of the quilt to secure the mitered folds. When you get back to your starting point, stitch on top of your previous line of stitching to secure and clip your thread tails. Or you can bury the starting and ending thread tails as desired.
Watch My Quilt Binding Video Tutorials
Watch my YouTube videos below to see the same techniques in action on two additional quilts, either by hand or machine:
Whew! I know that was a LOT of information for one blog post, but congrats on making it to the end!! Please me know if you use any of these techniques and how they work out for you!

One thought on “Detailed Quilting Tutorial: How to Bind Your Quilt”