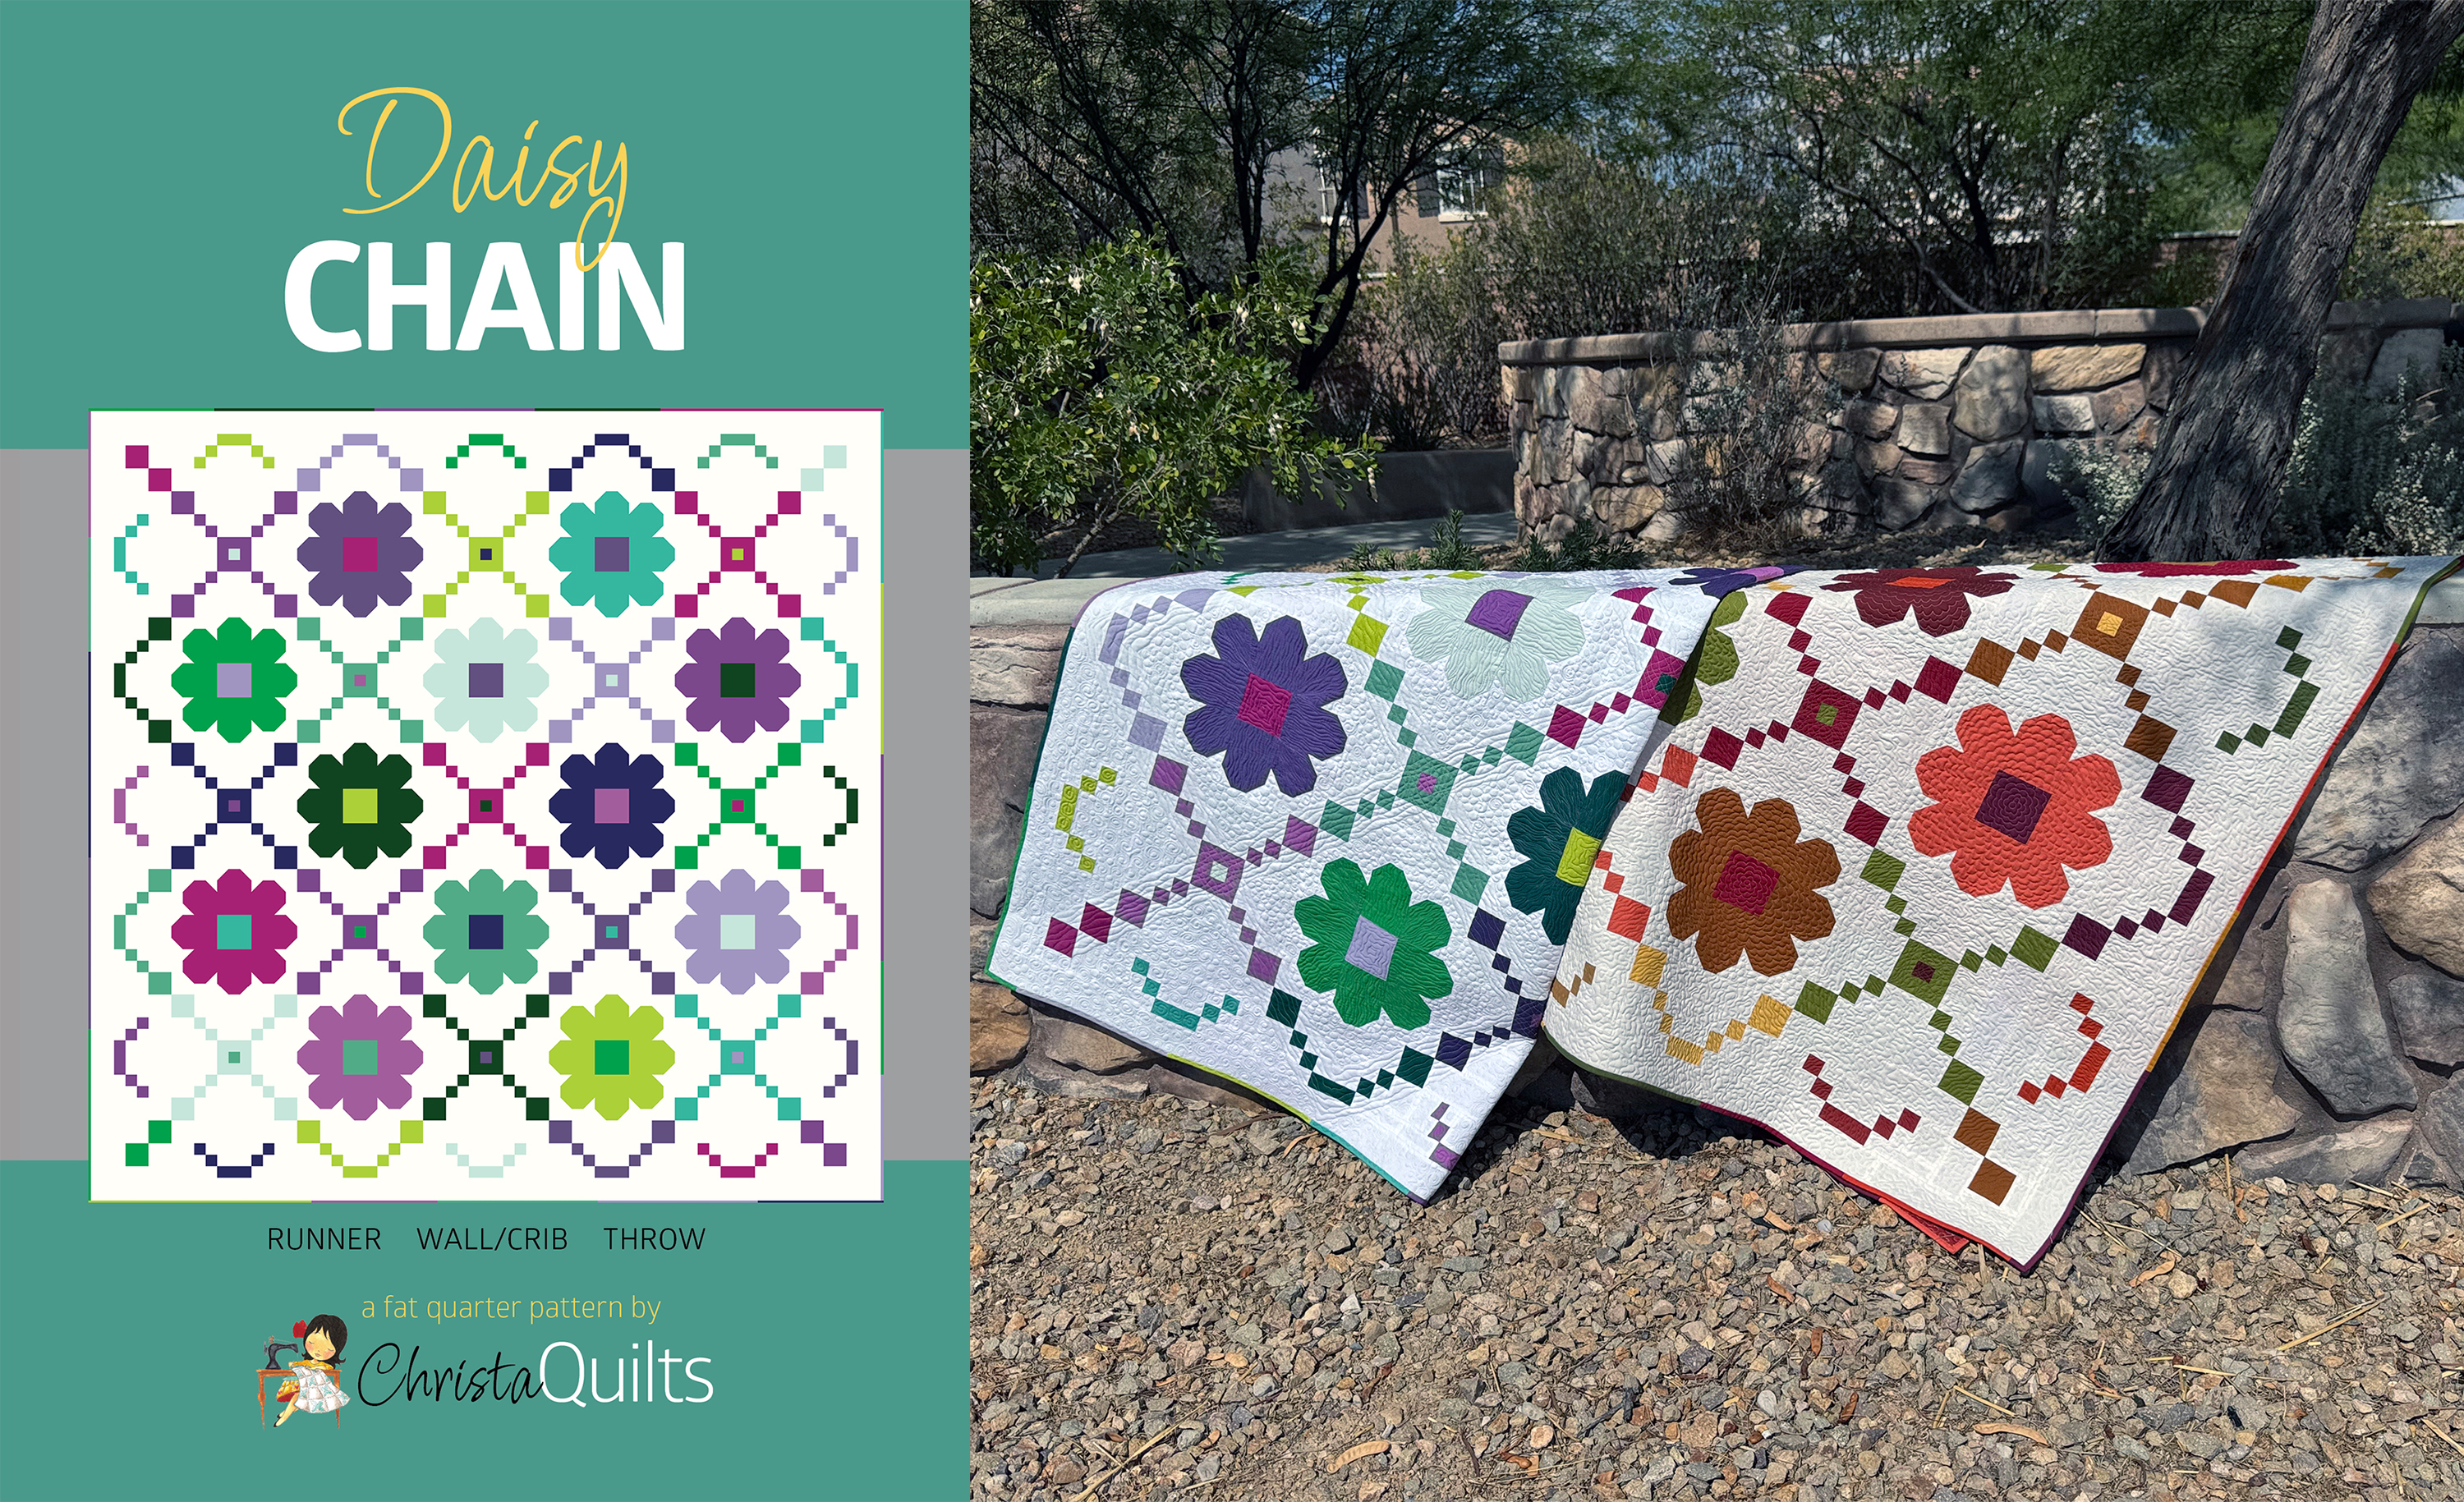
Follow along in the Daisy Chain quilt pattern pages 8-11 as you work on this week’s quilty “homework.” Start by chain piecing your strips that create the small 4-patch units. I’ve given step-by-step diagrams to follow in the pattern so it shouldn’t feel so daunting. Just remember to take it one section at a time!
Aren’t these units so cute??
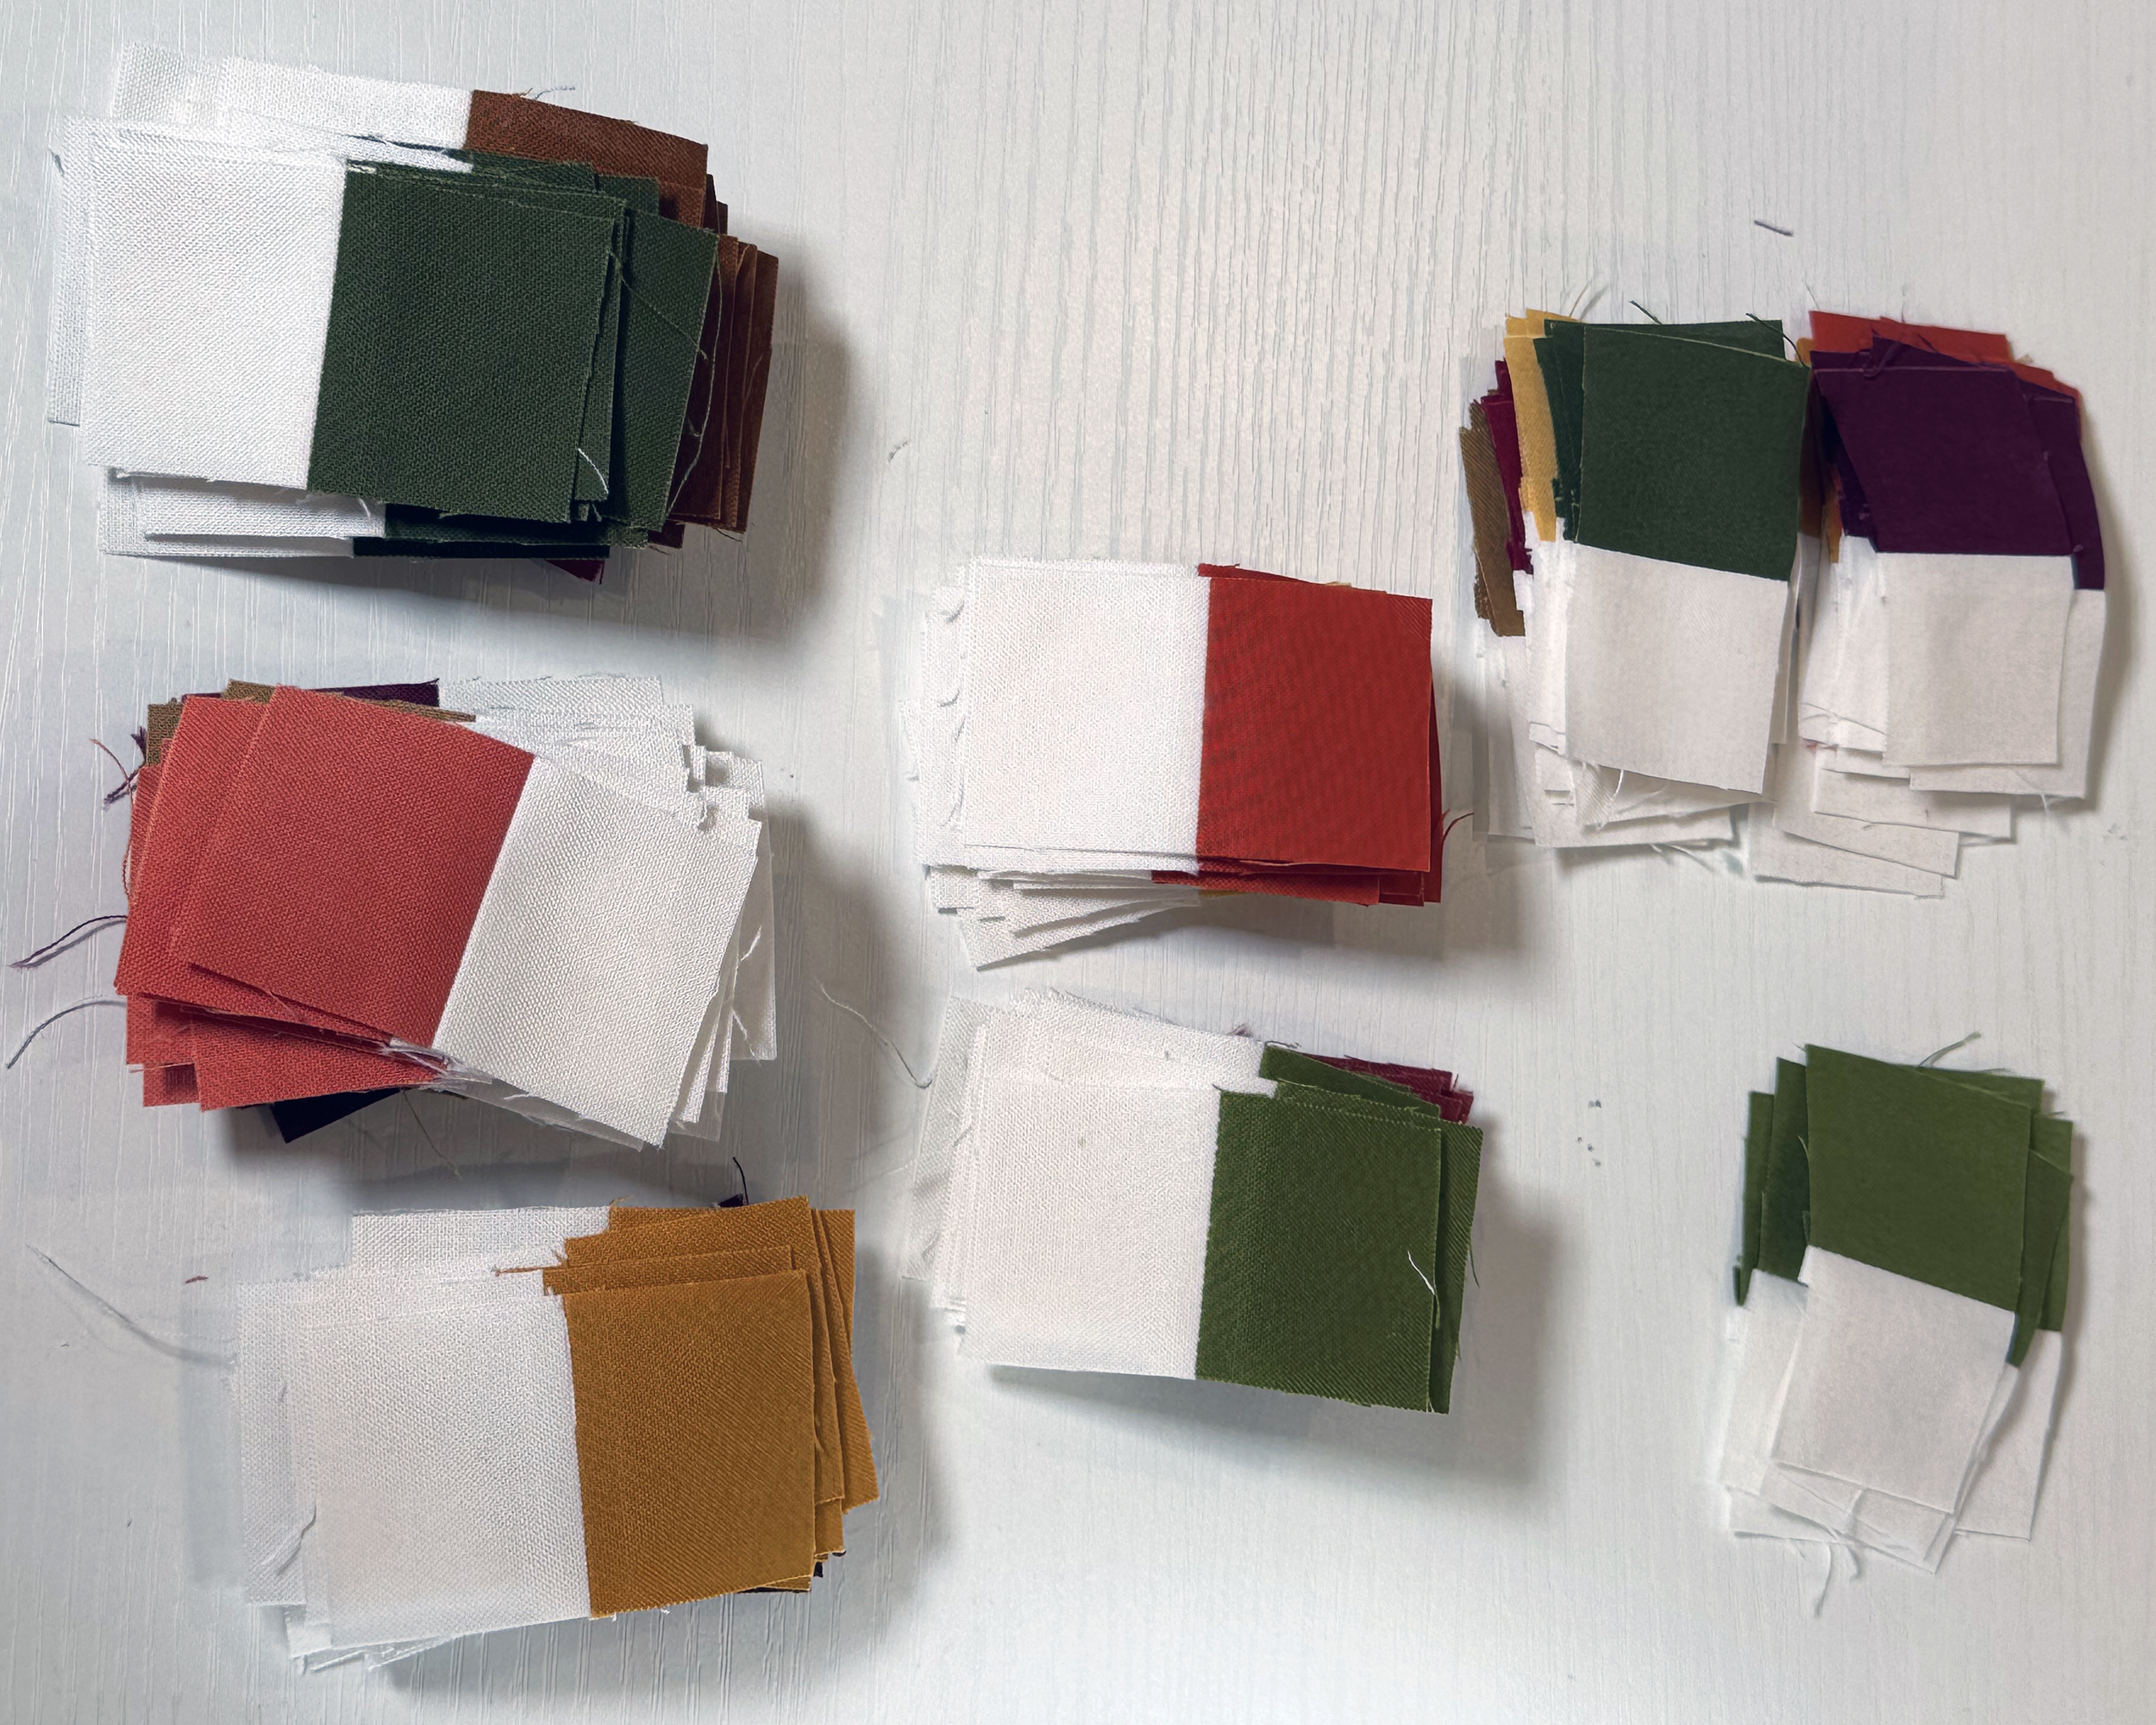
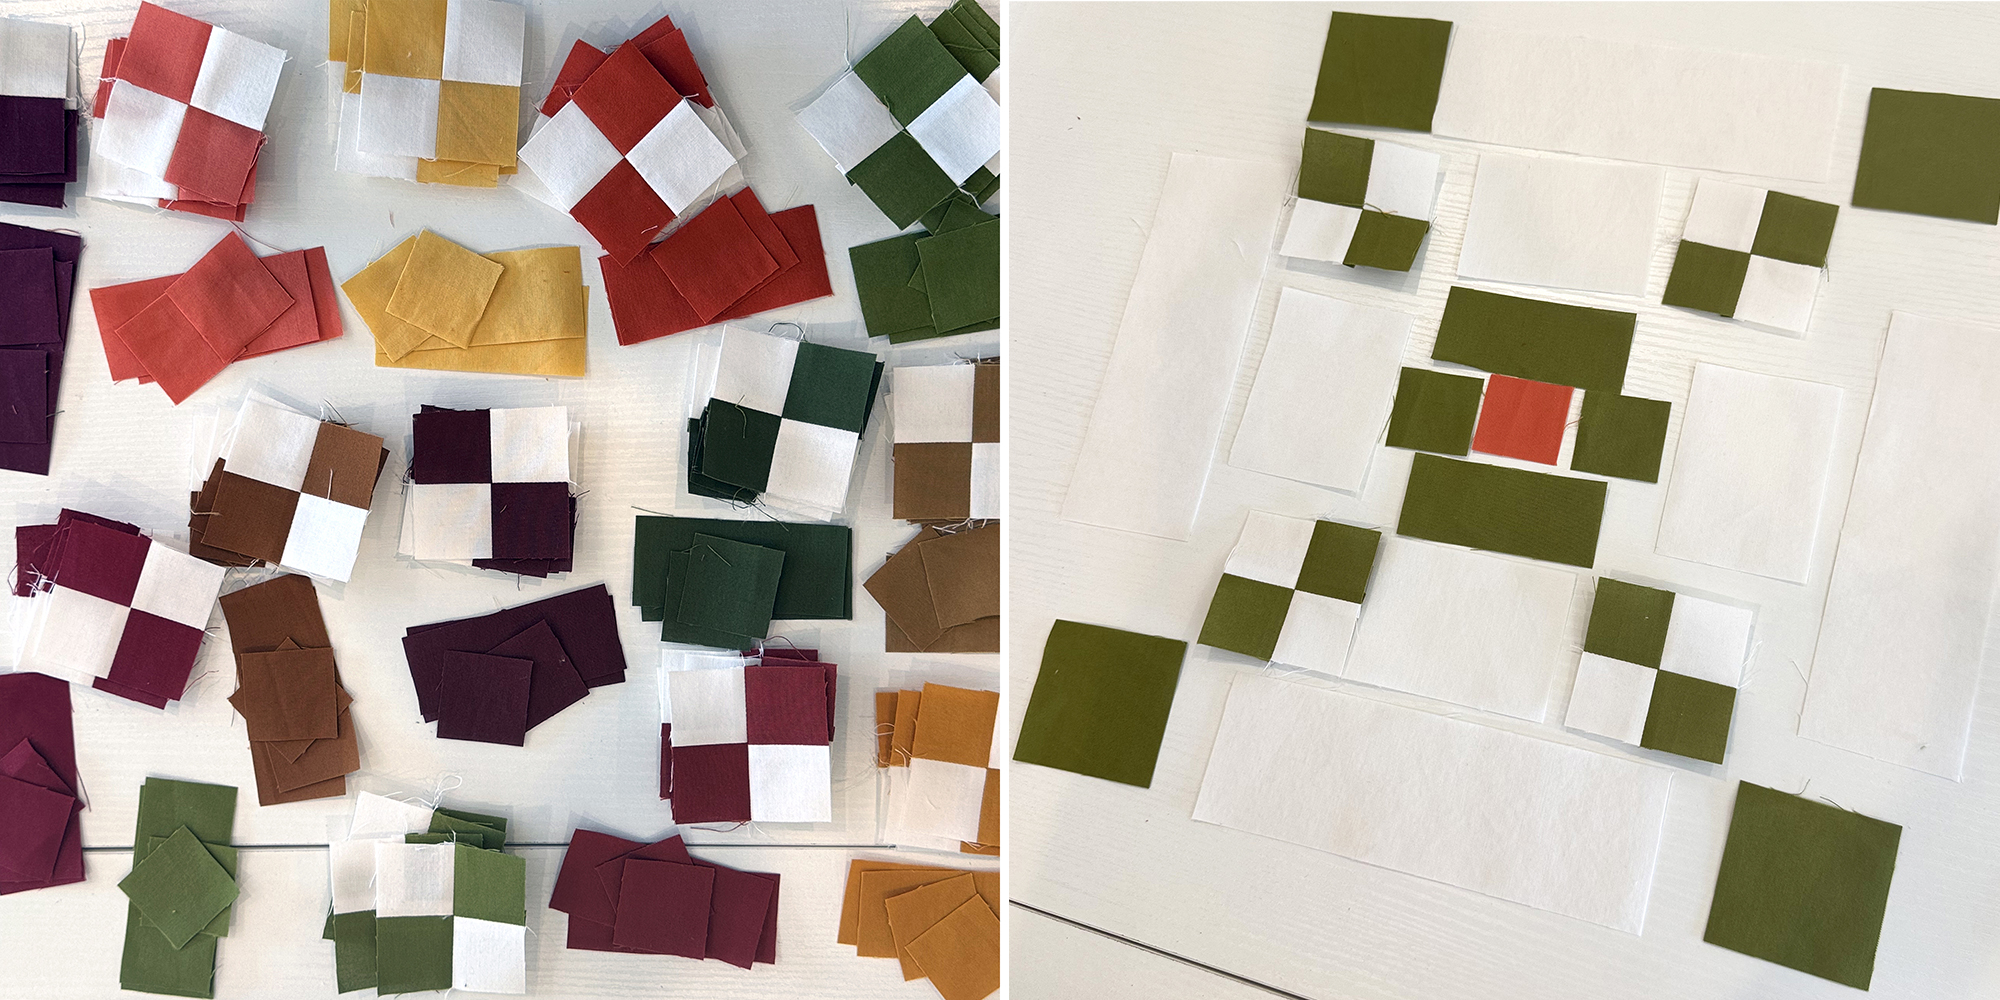
Keep all similar colors together so it’s easier to create each chain block or border unit. I’m pressing all of my seams open and sewing with a shorter stitch length so my small pieces will lie flat as everything goes together. I’ll work on the border blocks first, since those are smaller and it’s nice to get them out of the way.
Once the 4 patches are sewn, they can be treated as a single unit when sewing the rows together in each block. I’ll stack all of the same units on top of each other so I can sew a whole bunch at once.
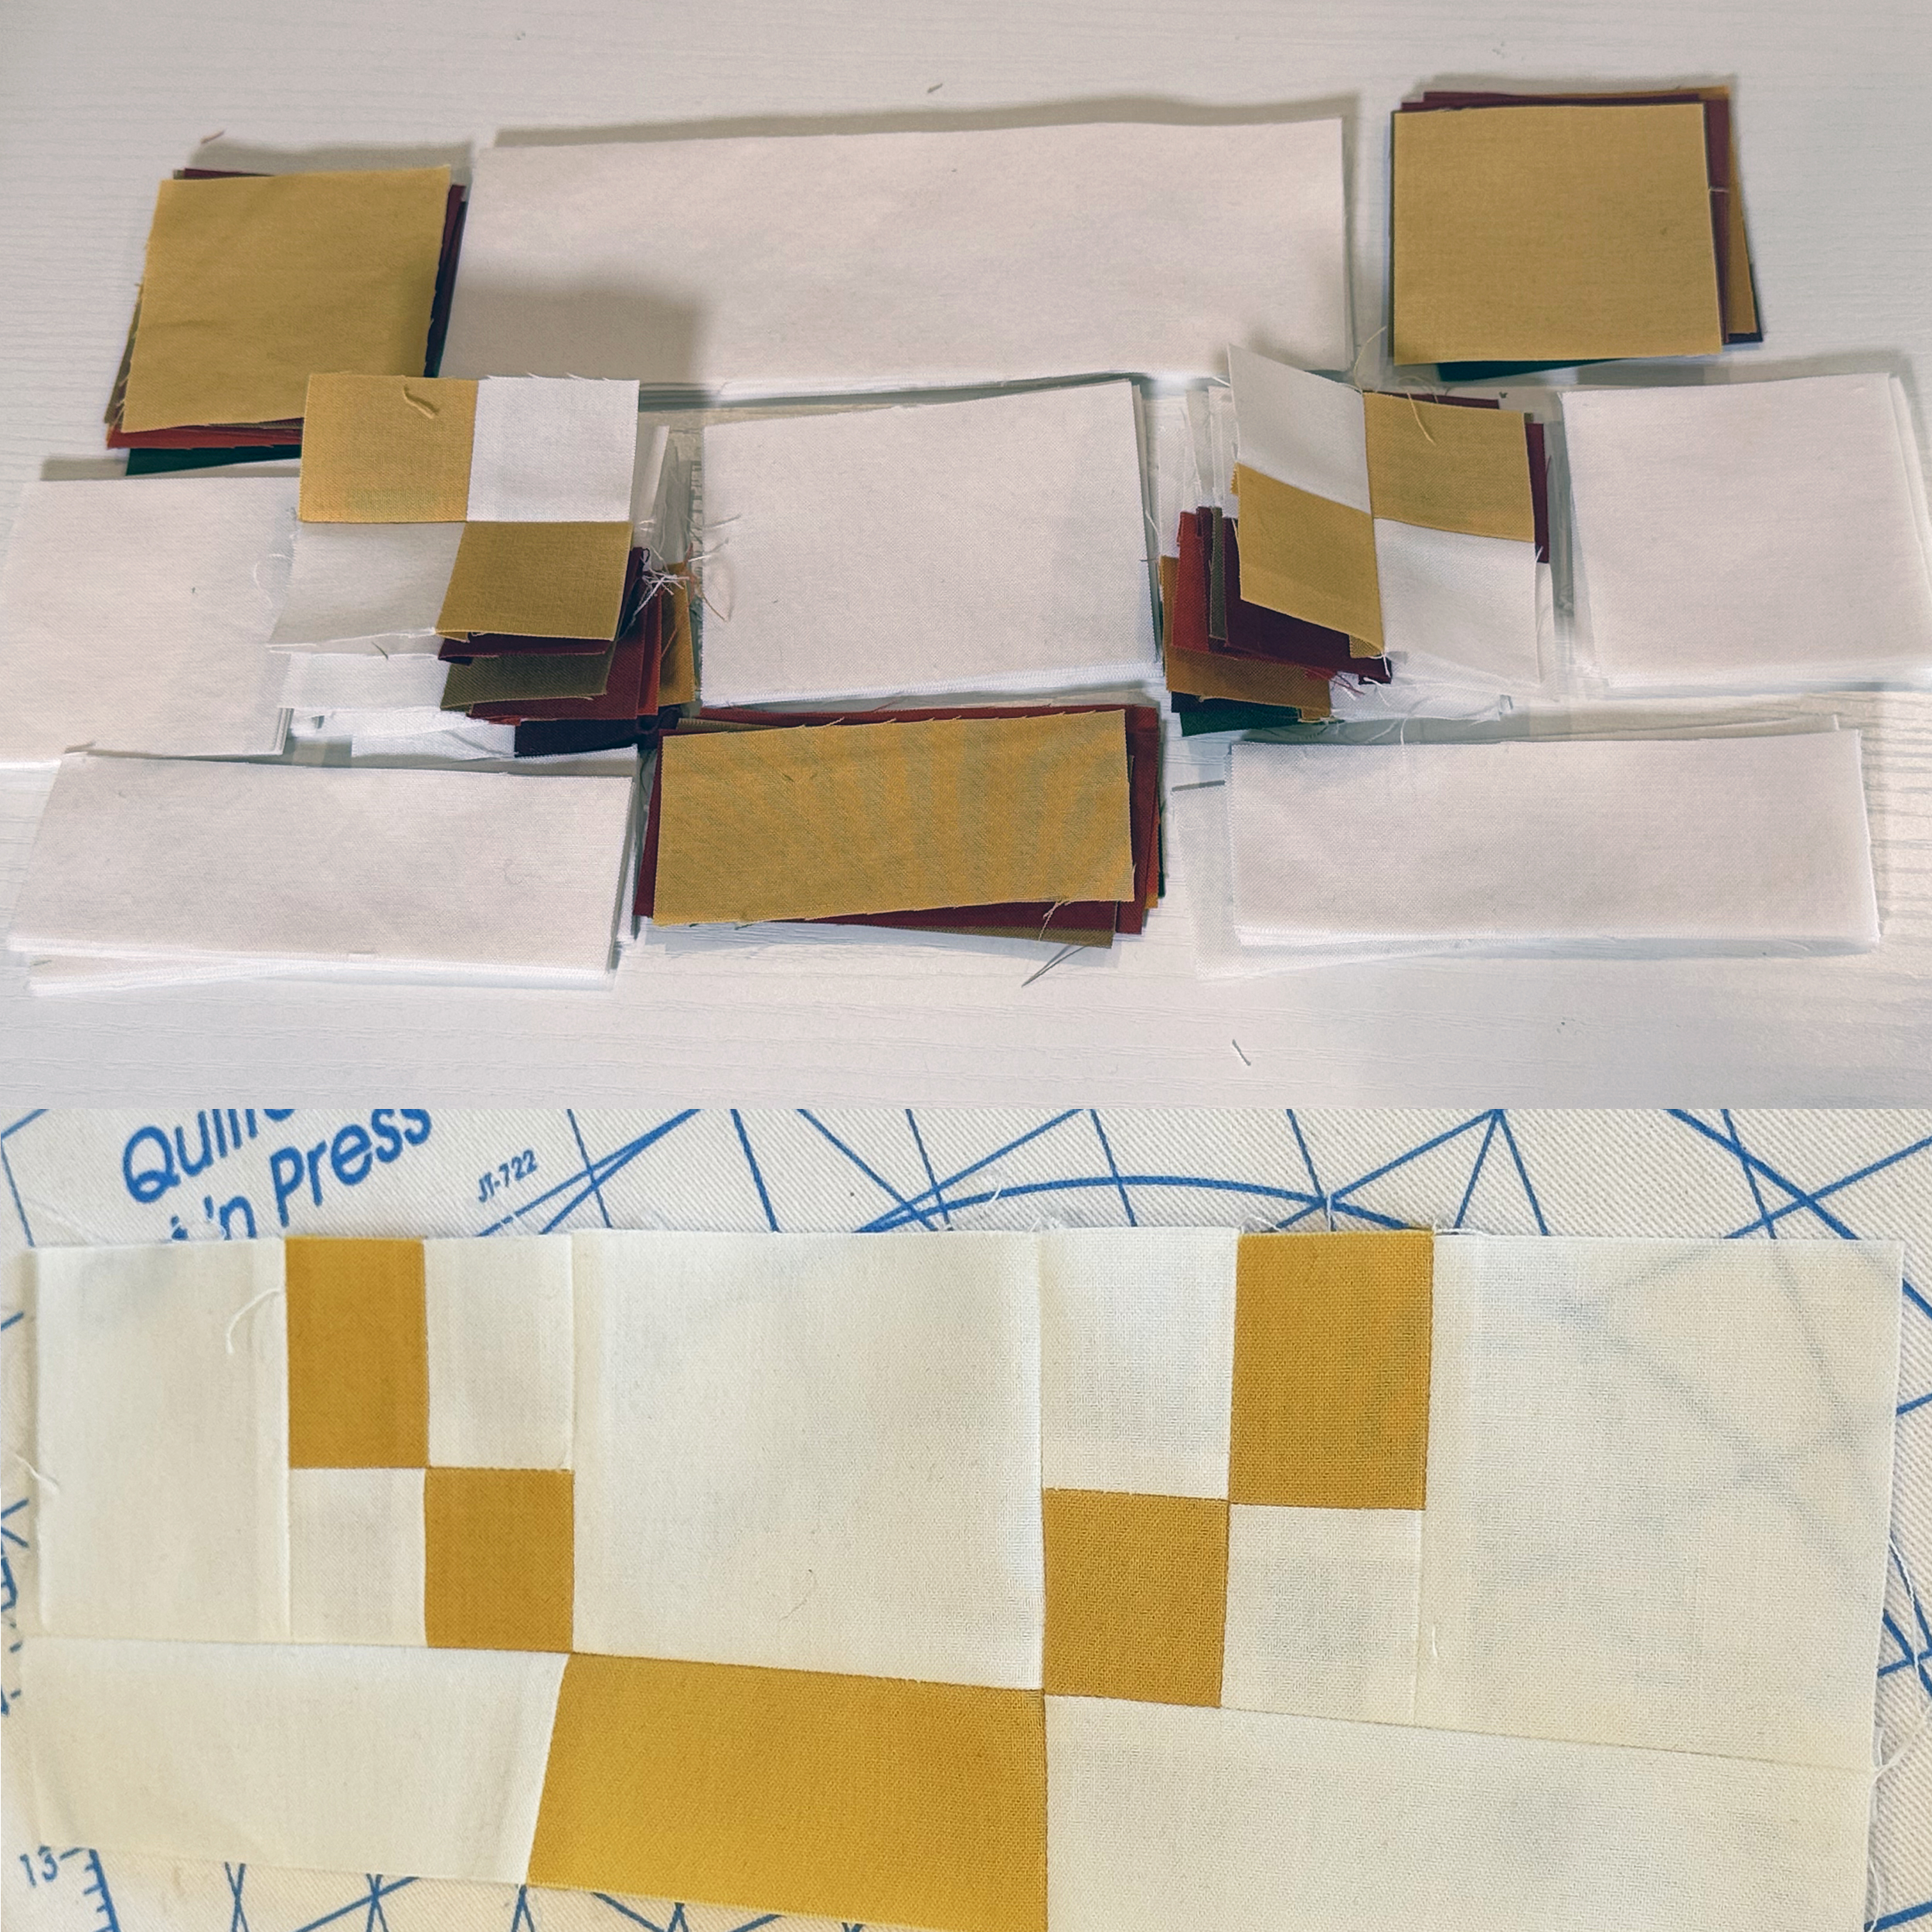
This is one of the border units. Each piece is the same color so you can play around with final block placement later.
I use lots of pins and press after each and every seam. The Daisy Chain pattern includes the correct sizes that each unit should be at each step so you can double check your measurements as you sew. Accuracy is key to getting things to line up, so test your 1/4″ seam allowances and adjust if needed.
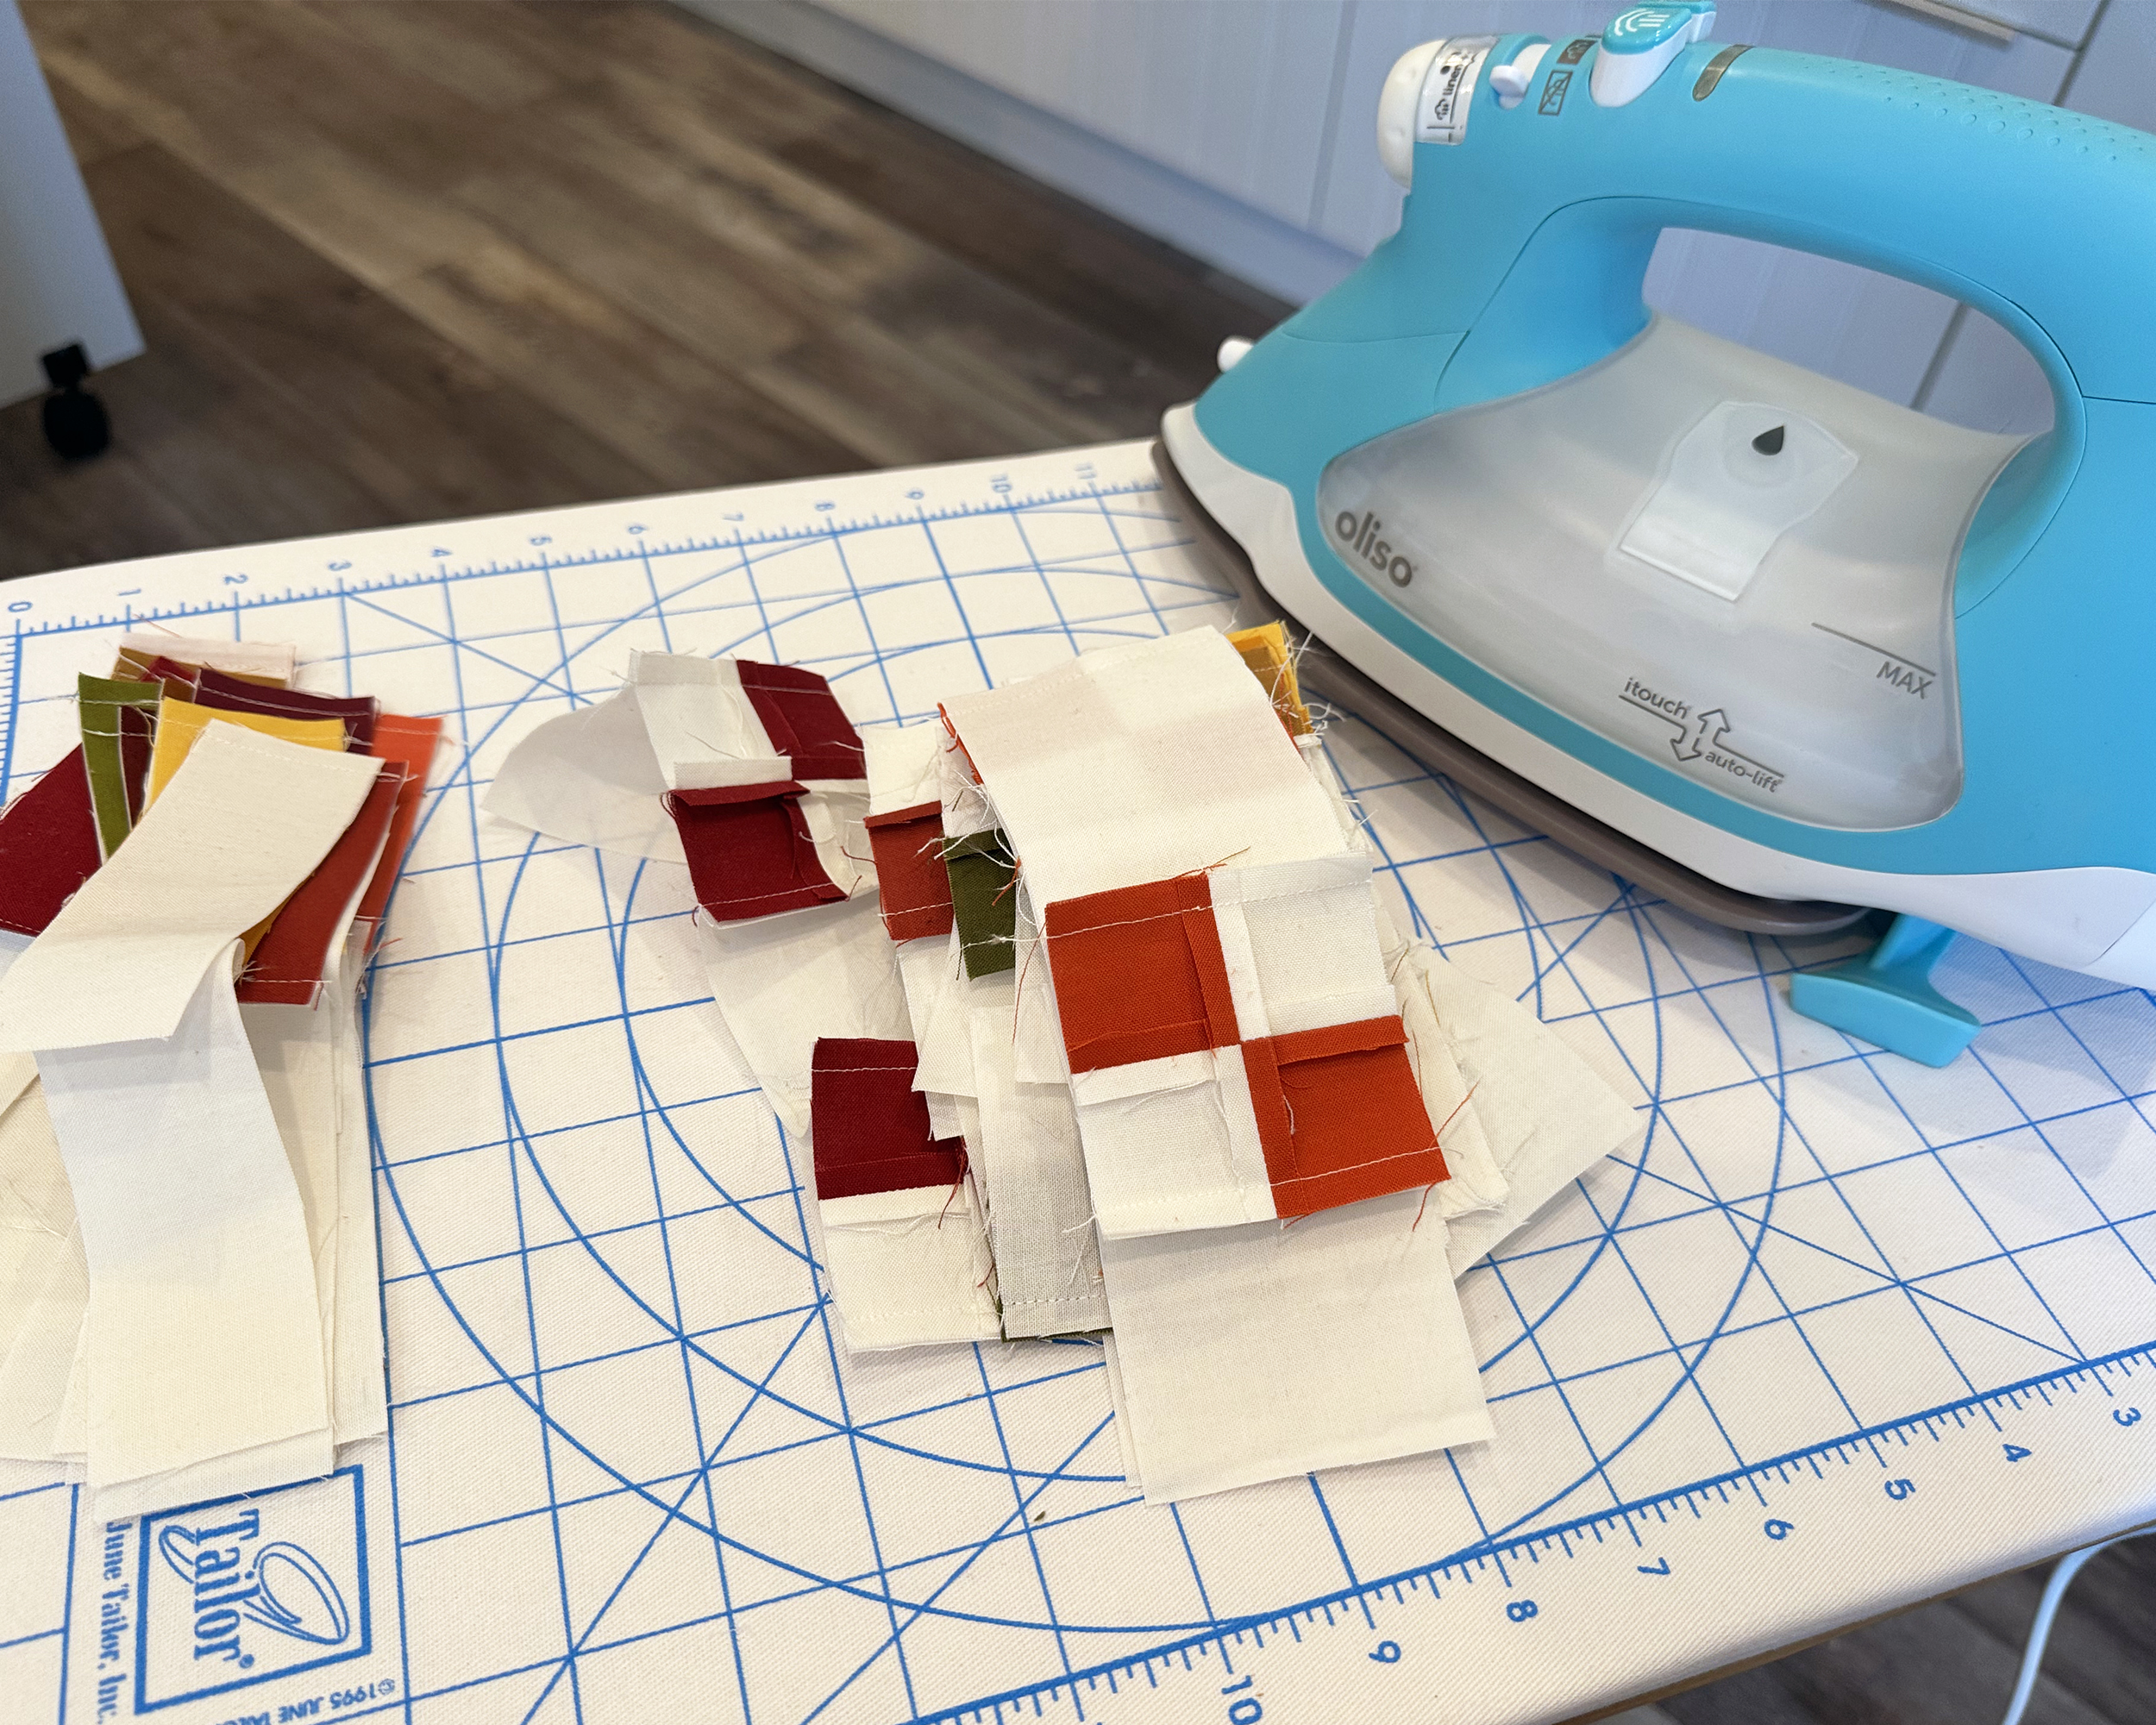
I chain piece, and then I assembly line press to speed things up.
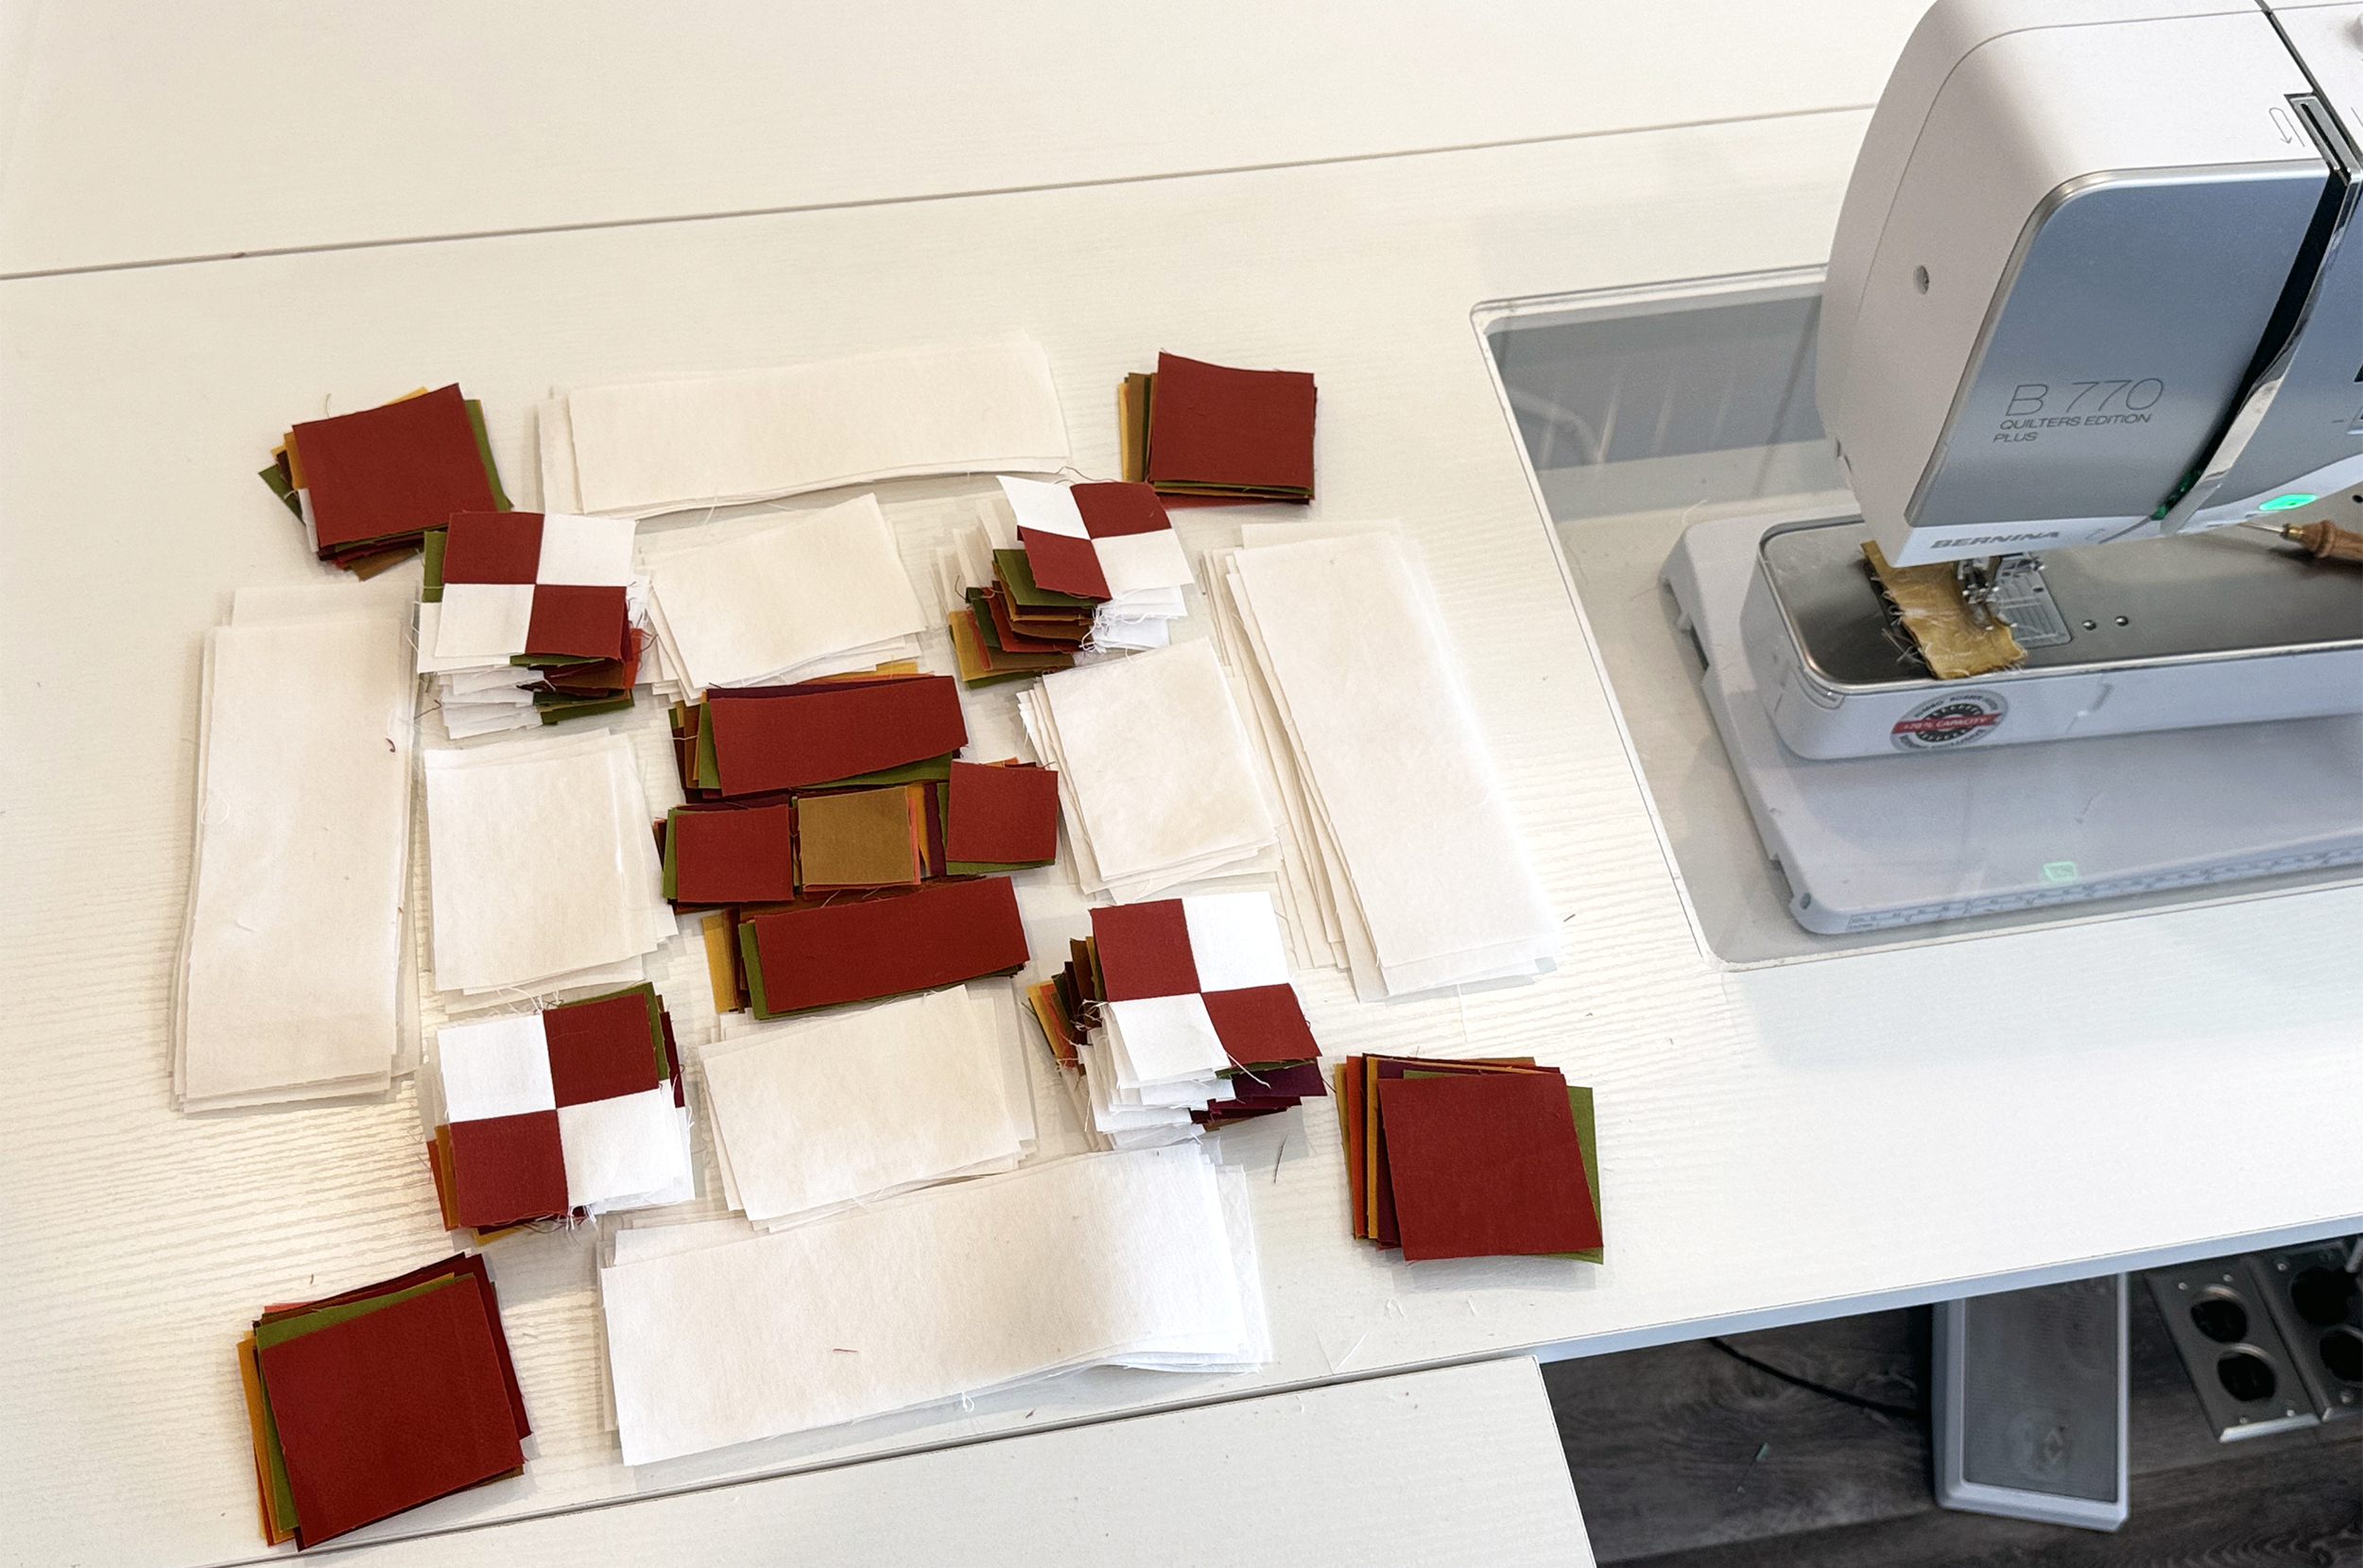
Now it’s time to organize everything else for the full size chain blocks. It’s a lot of pieces but as long as you organize all the smaller units by color, they go together fairly quickly. I make sure that the pieces for all of one block are laid out correctly first.
It’s really fun to sew all of these units at once, then stack them together by color.
Next, I stack all of the rest of the units on top right next to my sewing machine. I like to chain piece, or assembly line sew as I go. This means I don’t cut threads in between each pair of units I’m sewing. I’ll do that at the end. It looks like the background pieces are so much smaller, but that’s only because the seam allowances aren’t sewn yet.
Bonus tip: be sure to use a contrasting fabric for your center square of each block so the colors don’t look “muddy.”
When I chain piece, I will sew 2 units together at a time and finish up a whole stack at once.
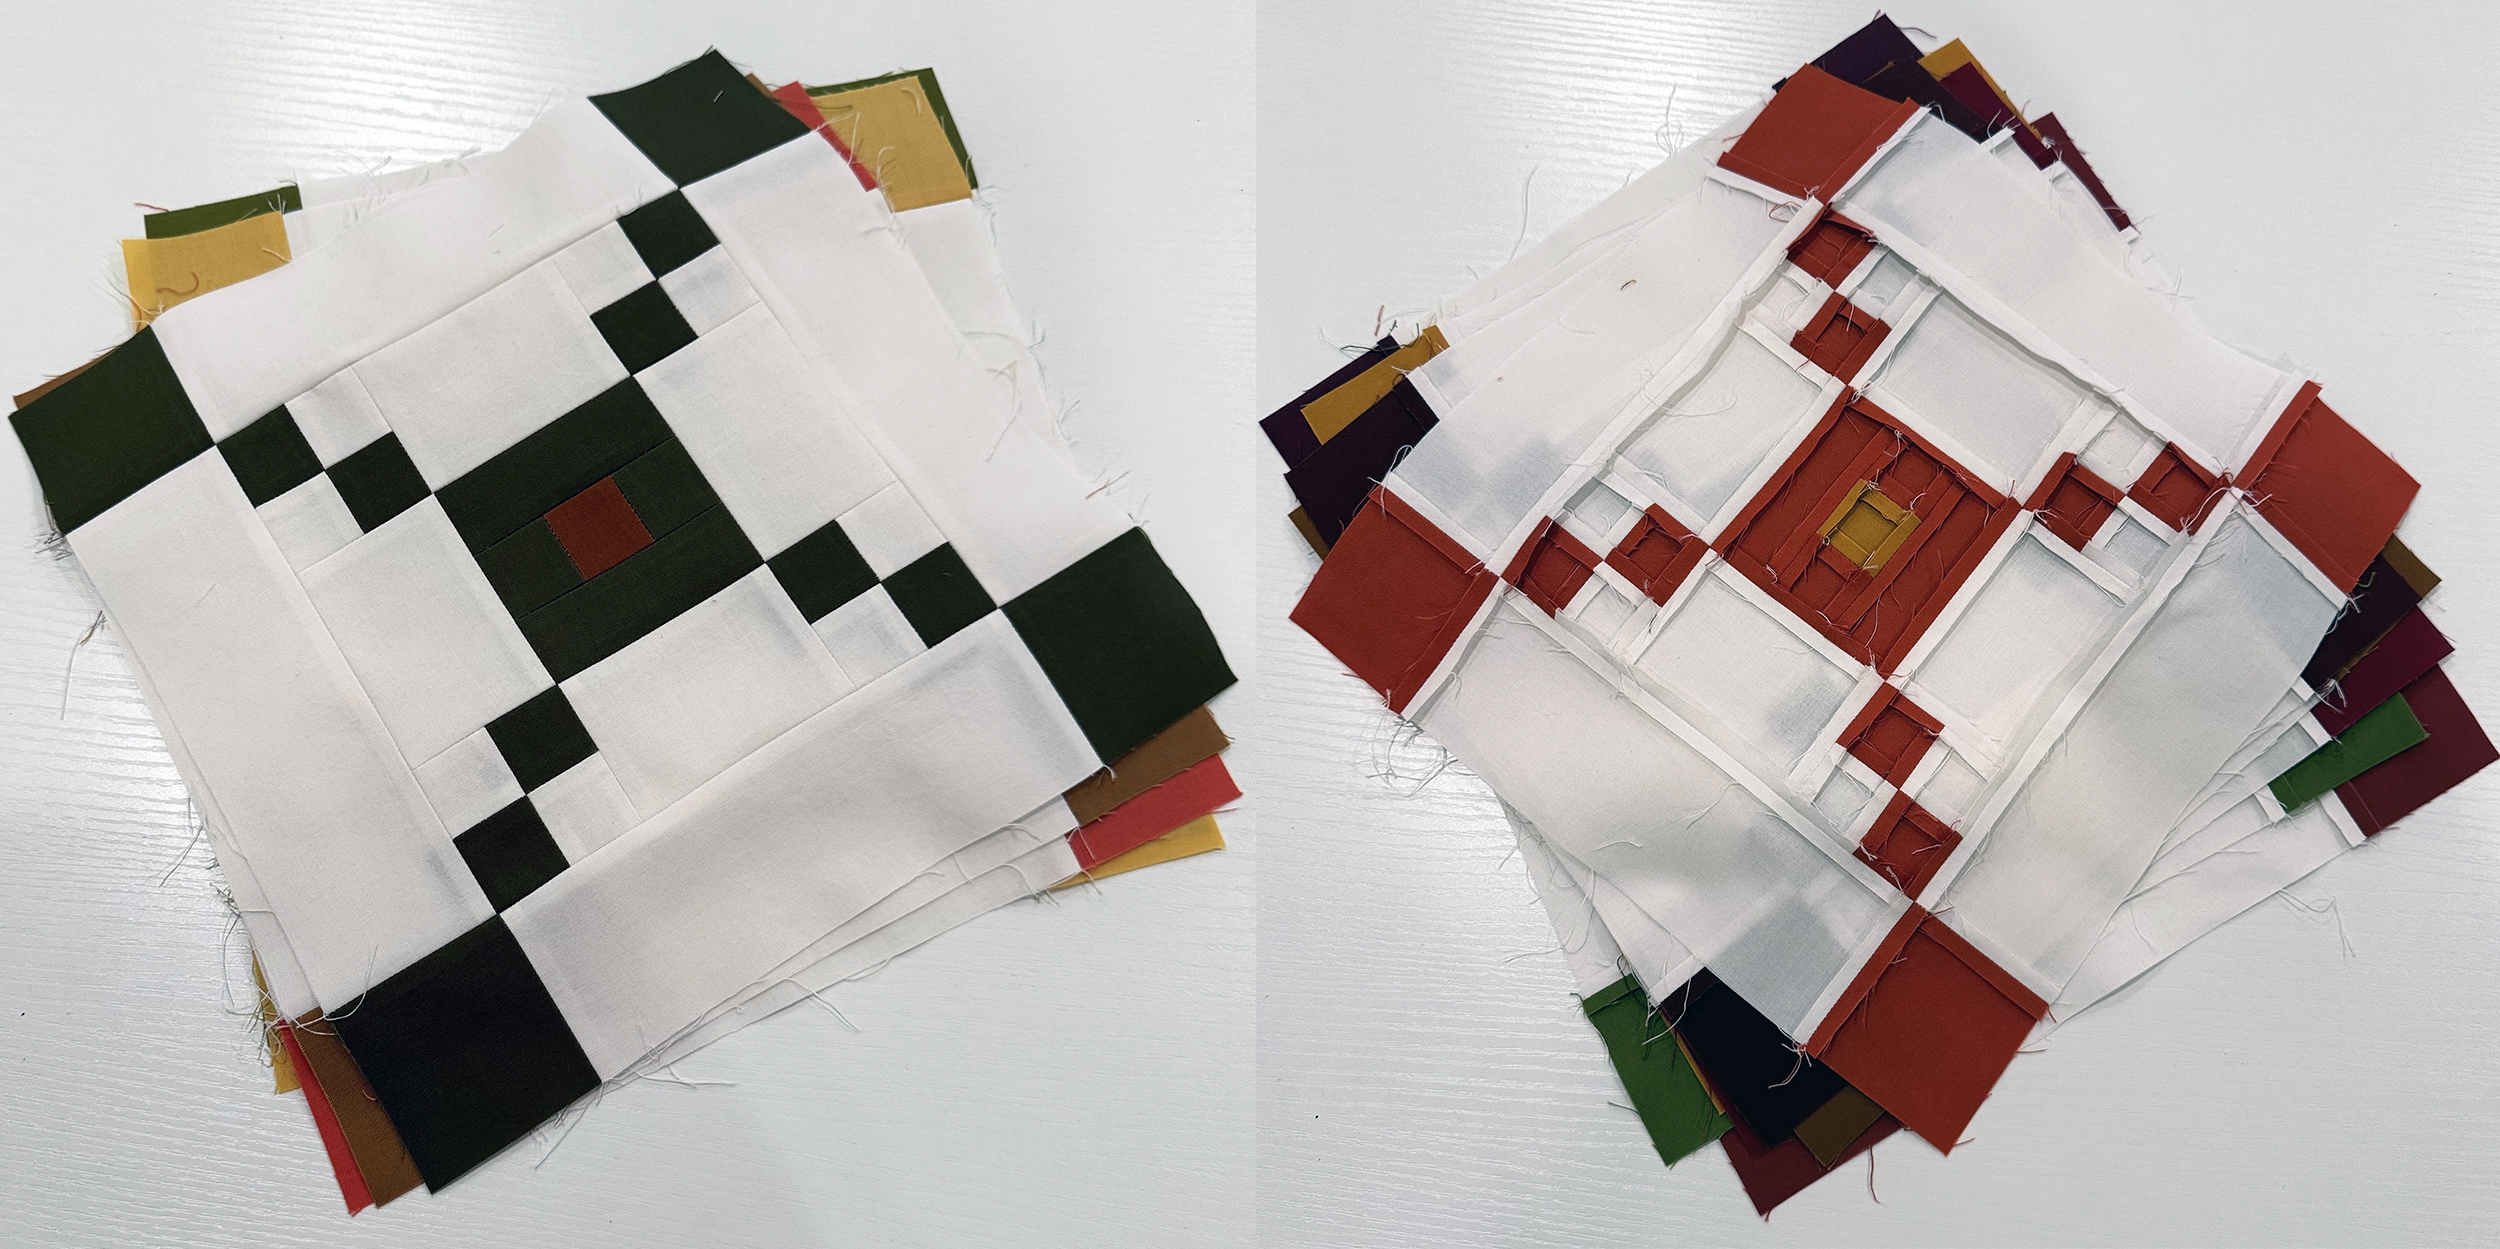
Below is my pretty stack of finished blocks! I used pins at each intersection so that my corners matched up nicely. Here you can see that I’ve pressed each an every seam open, resulting in super flat blocks!! I made another stack in another colorway, but sadly forgot to take a pic of my finished blocks, but you’ll see more of the other version in the next post, so stay tuned!
Homework for next time
Don’t forget to sew the corner blocks, and next week it will be time to assemble the Daisy Blocks, Chain Blocks and border blocks into the quilt top.
- Click here to share pics in my ChristaQuilts Facebook group
- Click here to get the Daisy Chain PDF pattern
- Click here to get the Daisy Chain printed pattern
If you are just finding the quilt along, it’s never to late to jump in! Grab a copy of the quilt pattern and get started!