I am enjoying sharing the making of this quilt in real time with no strict deadlines. If you’d like to follow along as I make this quilt, click here to read about Positive Direction Part 1.
Once I sewed the blocks together, I quickly got them up on my design wall following the quilt pattern layout. This wasn’t the final arrangement, but it let me see at a glance what it was going to look like.

Next, I spent a bit of time rearranging all of my blocks in a pleasing order. I wanted to keep the colors in the same position, but balance them out so you could start seeing the diagonal rows emerging. I purposefully made a few blocks that were a little lighter or darker to give the quilt some depth and sparkle.

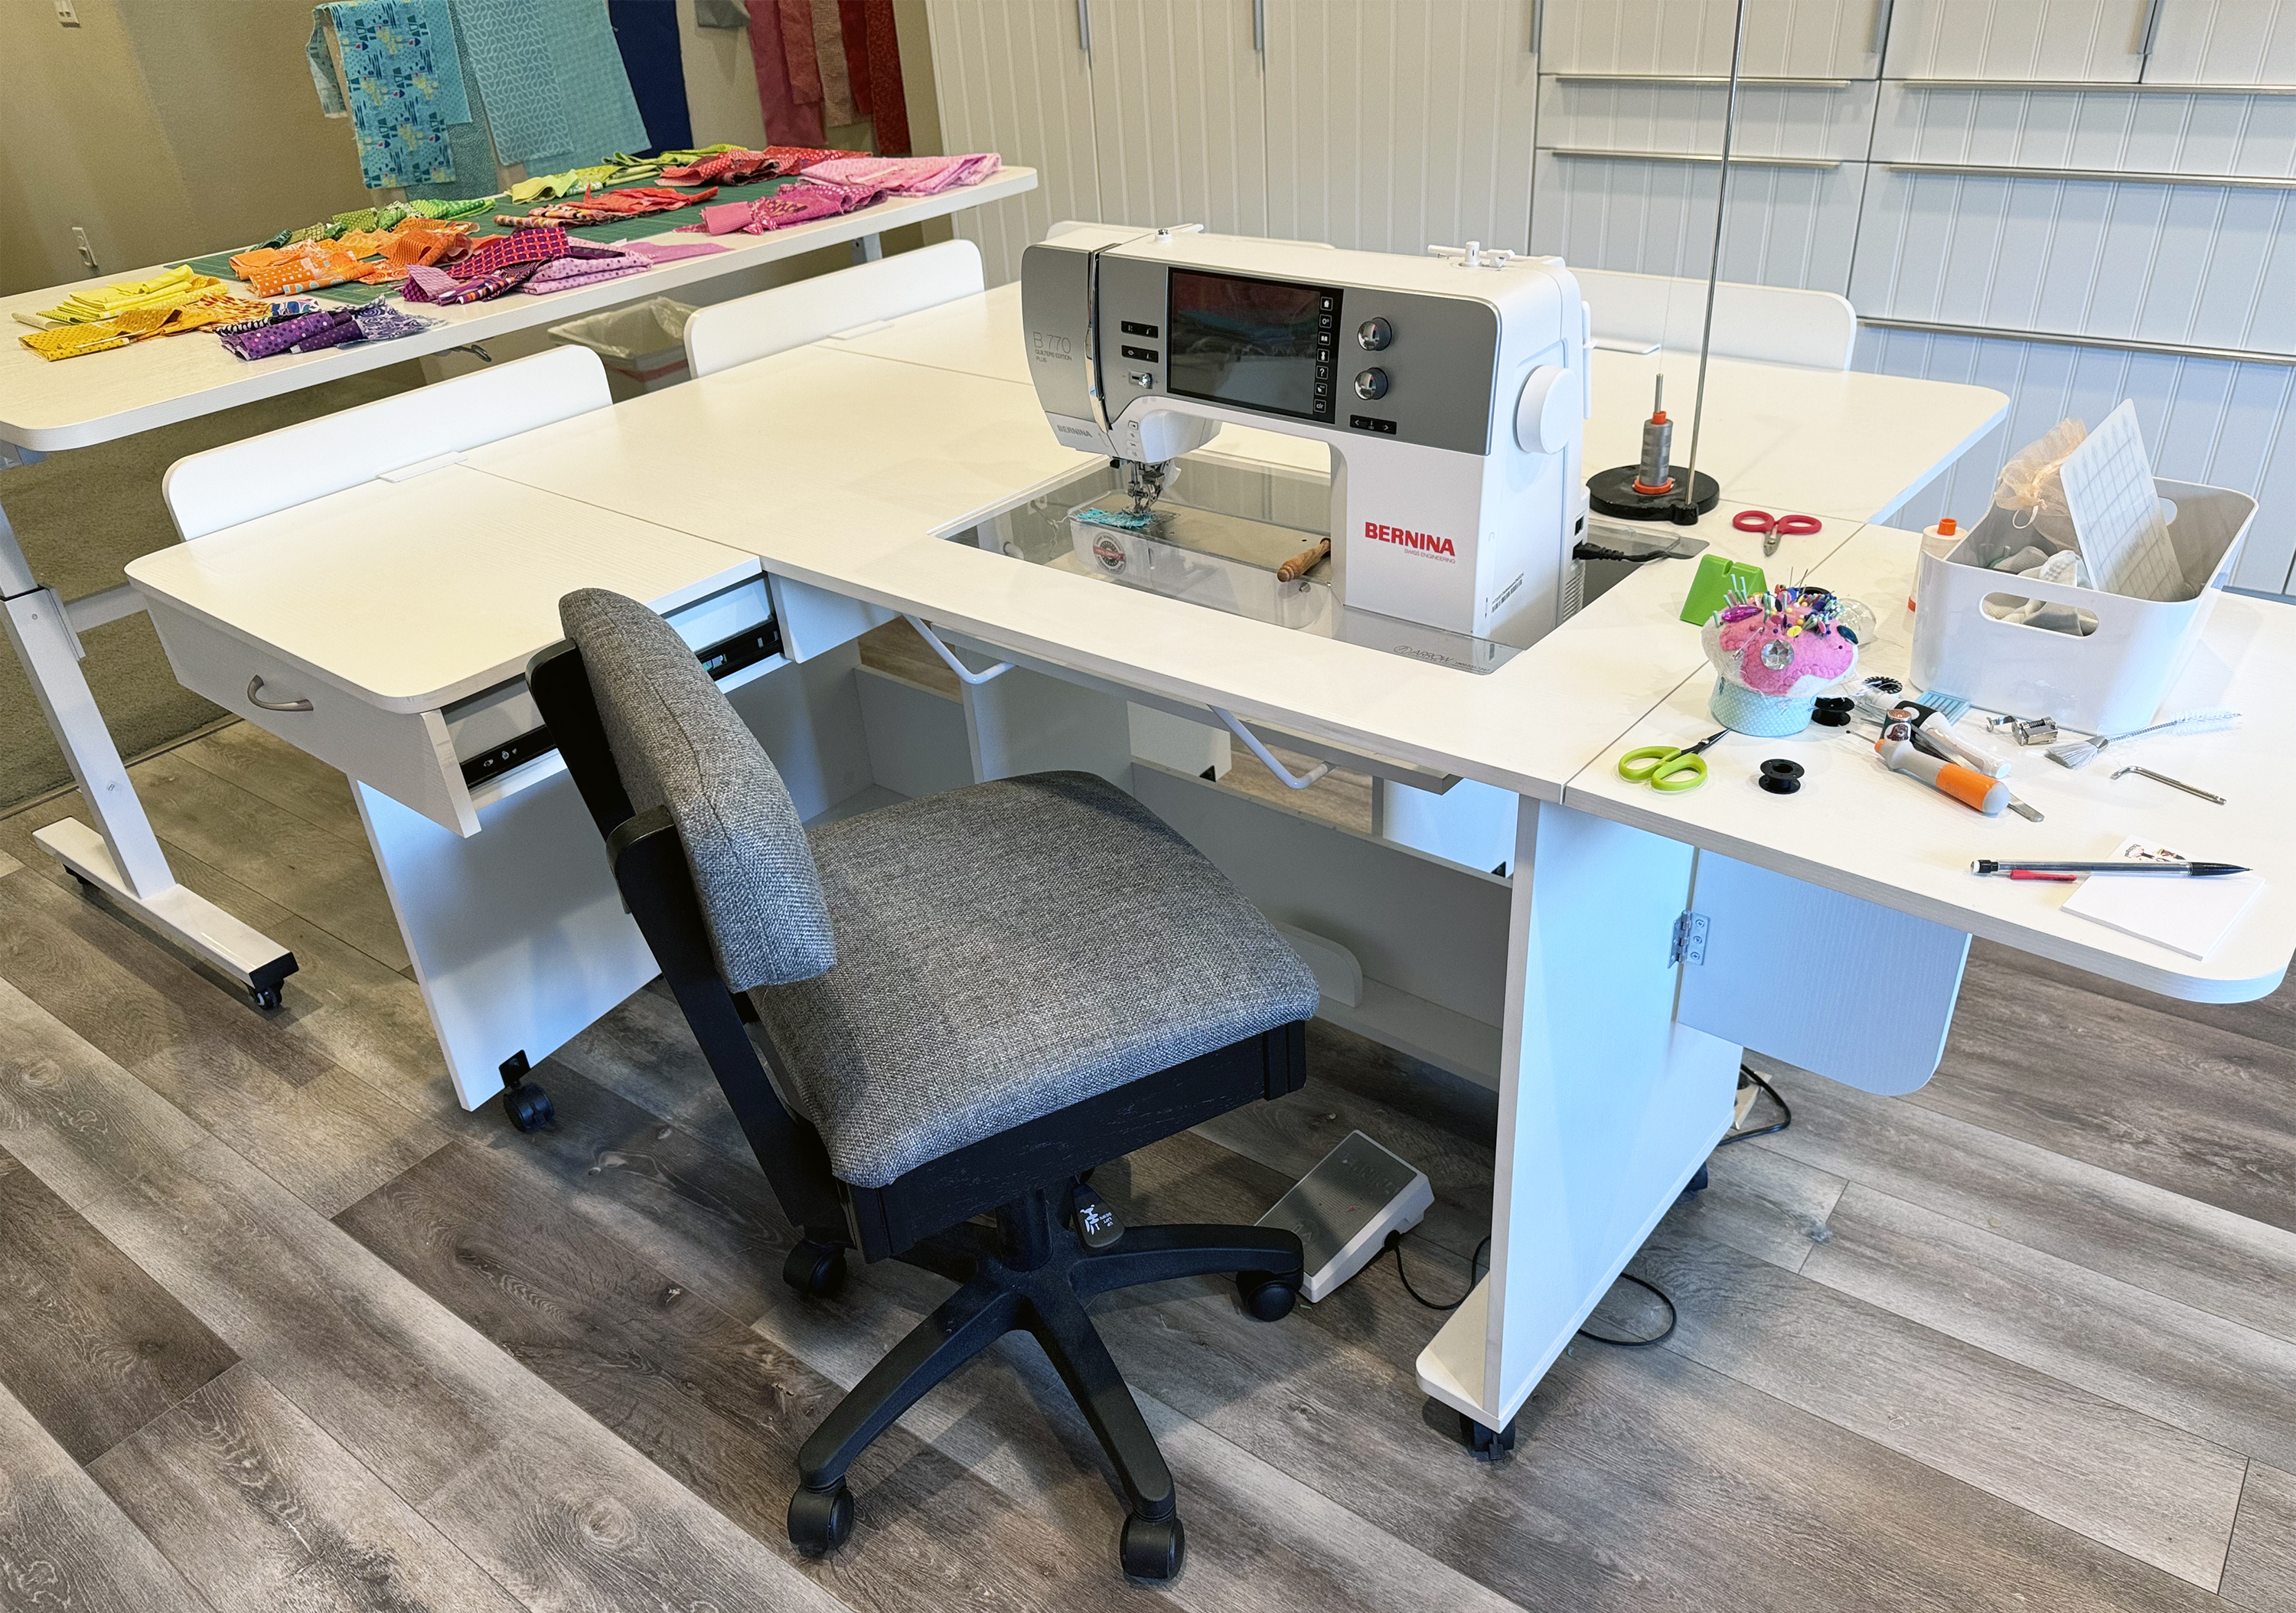
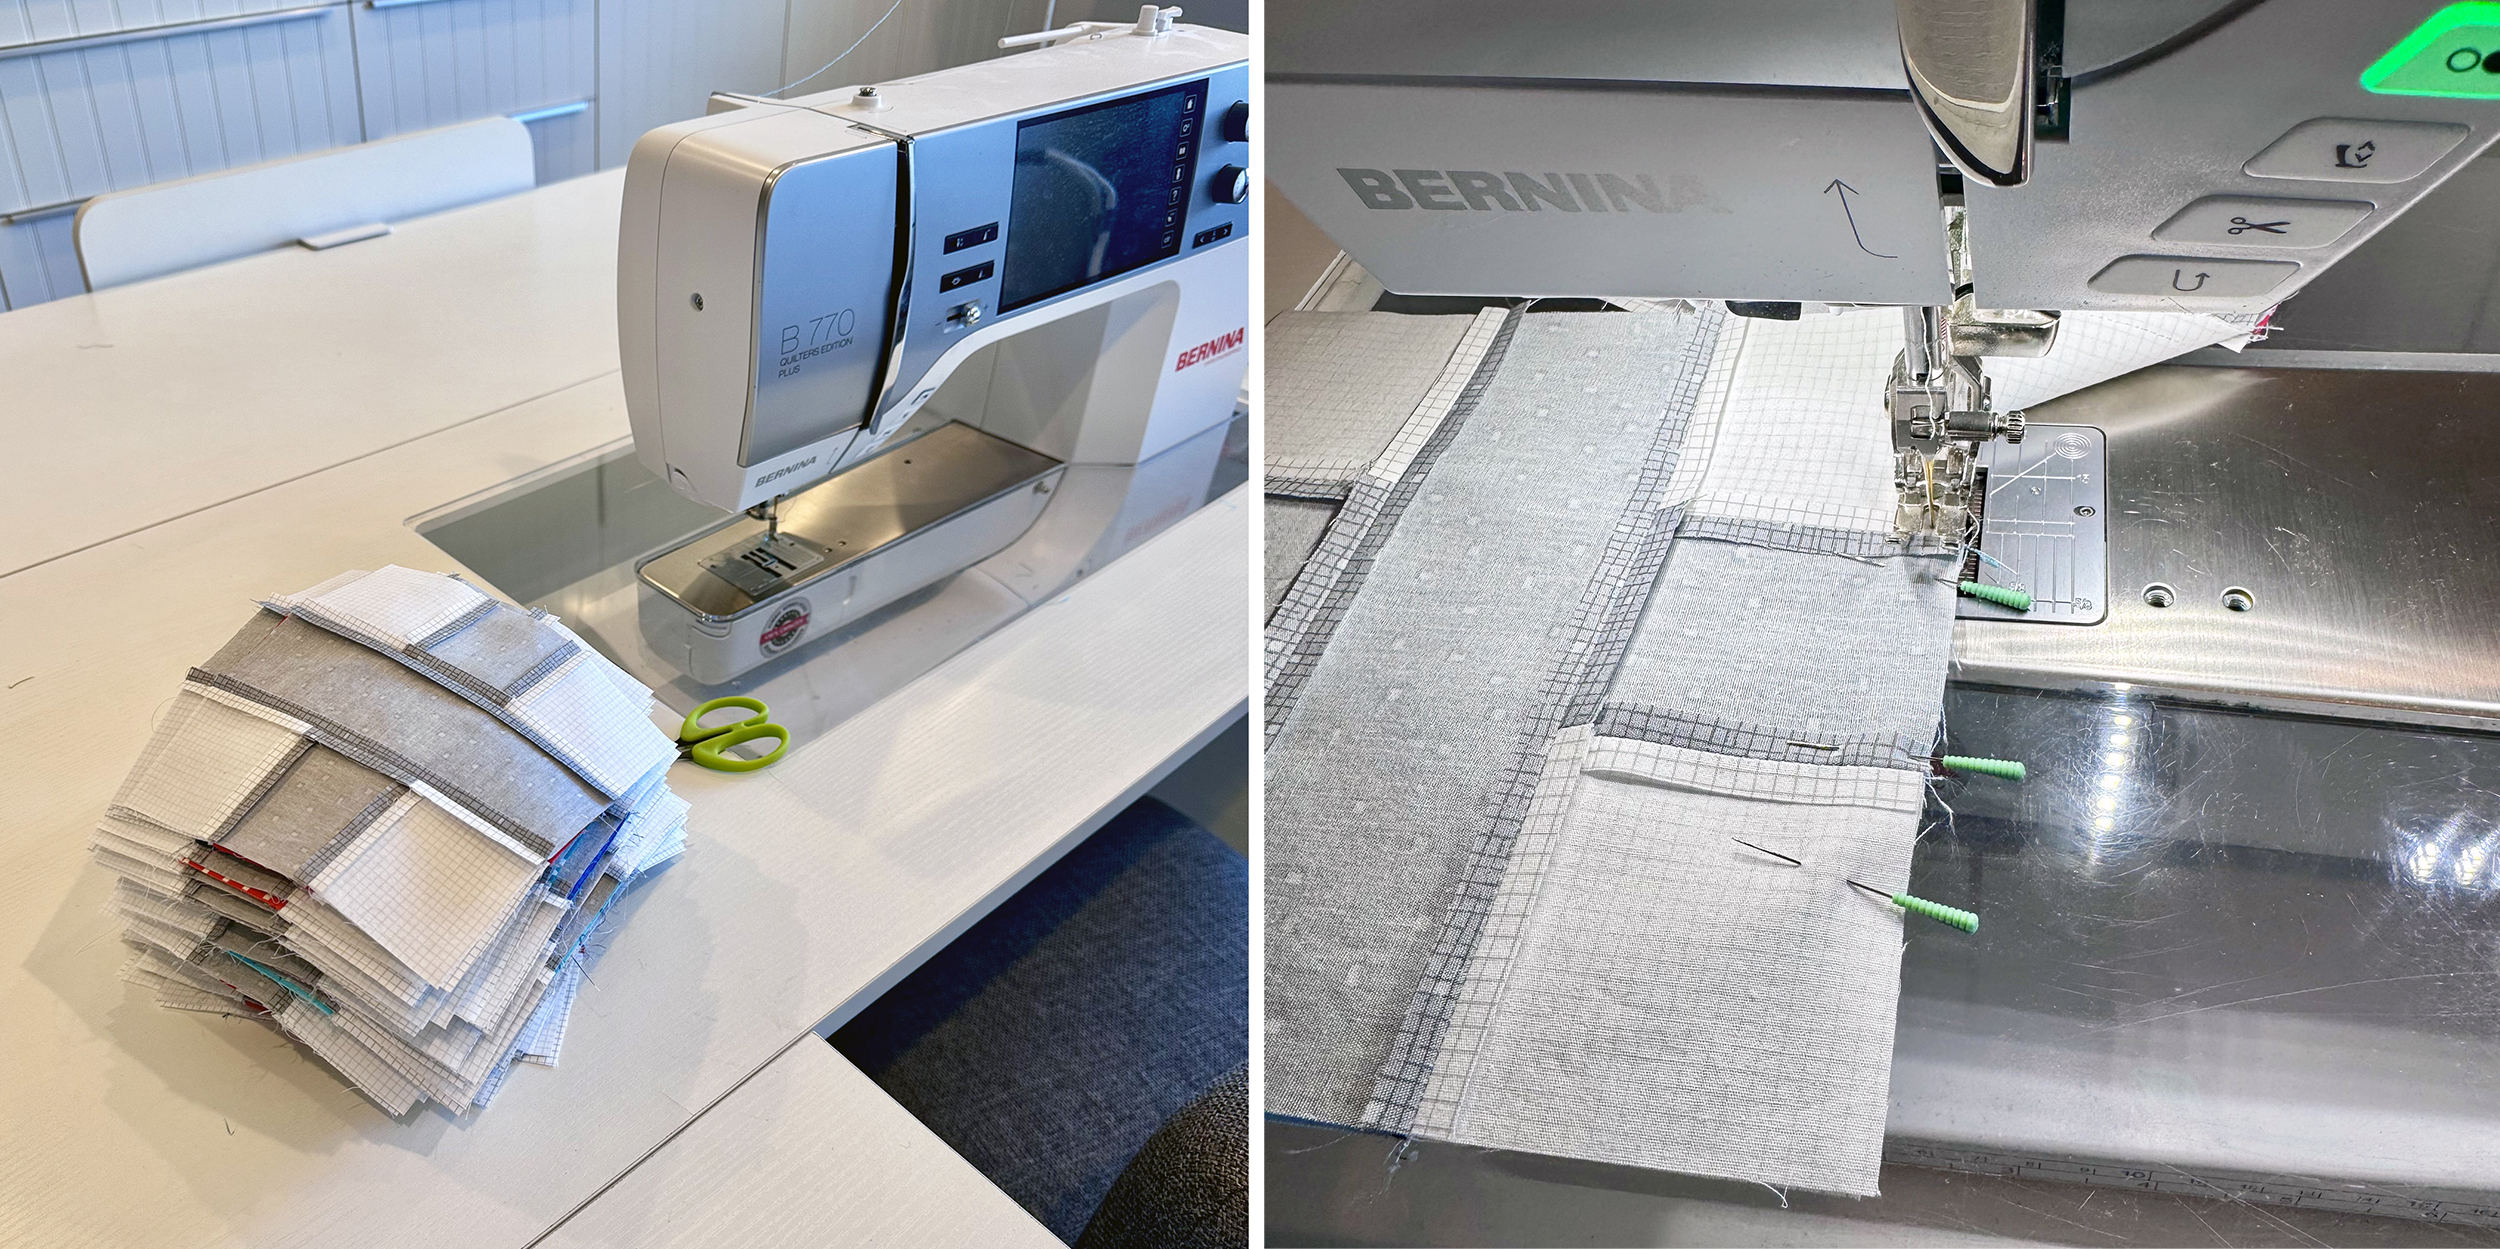
I took a picture with my phone so that I could gather up each row of blocks and sew them all together, assemby-line style. I placed each row of blocks in a stack next to my sewing machine in order. I oriented them so that each pair of blocks is right sides together and the right hand side of the block closest to the machine is the side I’m sewing on.
I press all of my seams open so that the blocks lie super flat and I pin next to each intersection so that my points and corners wil match. I place my pins perpendicular so I can quickly grab them before sewing over them.
Each row had an odd number of blocks, so I left the odd block on the design wall. I can refer to my layout image and match up with each row with the missing block to keep things organized while I’m sewing.

As each row was completed, I started laying them out in order on my cutting table. This is so that I could press each row flat before adding it to the design wall to check the overall layout.

I put together a little video montage showing how it was starting to look as I sewed each row together. It’s fun to see the quilt shrink and the design to appear more prominent. Click the image below to watch. It’s only 20 seconds long, but of course took much longer in reality!
I’m really happy with how the finished quilt top turned out.
My Positive Direction quilt pattern is available as a PDF download and includes instructions for 4 sizes, including the one seen here.

Click here to get your copy of my Positive Direction quilt pattern.
Next up, I need to make the backing, then baste & quilt it. Those will all be separate posts, so stay tuned for more behind the scenes as I continue to make this quilt!