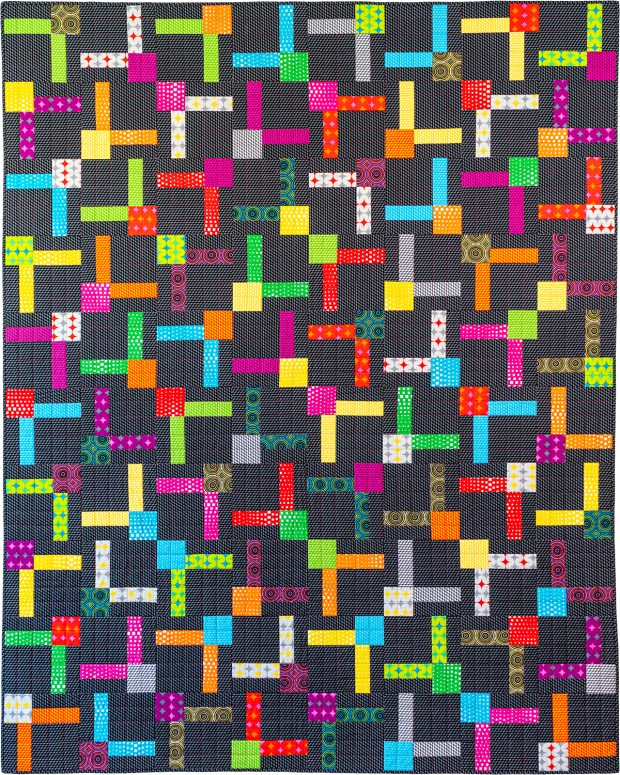
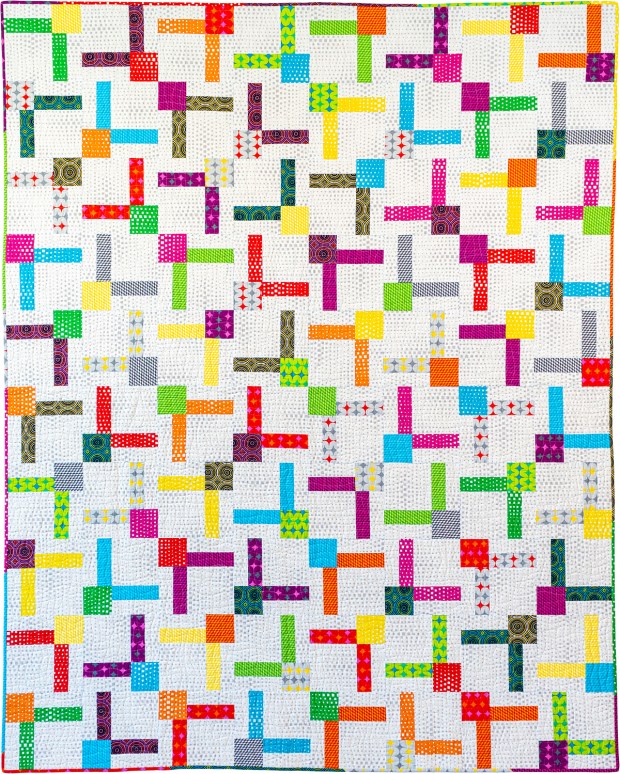
This week I’m super excited to give you additional options for machine quilting your Bling quilt. I quilted both of my versions with two different walking foot quilting designs. Last week, I shared my basting tutorial along with option 1; and I wanted to add one more plug for pressing your seams open:

When you press your seams open, not only will the quilt lie flat and make it much easier to quilt, but you wan’t get any “shadowing” of the seams, which is when a darker fabric shows up under a lighter fabric seam. The darker fabric always goes to the darker side, and the lighter fabric always goes to the lighter side.
But here’s a bonus tip when working with lighter background fabrics such as in this version of Bling: be sure to clip off any excess darker threads underneath so you don’t see them from the front of the quilt. If this does happen, you can always use a needle or tiny crochet hook to grab any pesky threads that show underneath the quilt top.
Machine Quilting Wavy Grid
To recap both both machine quilting options mentioned in the Bling quilt pattern, check out this short video below which shows me quilting wavy lines on the white version and a straight-line grid on the black version:
Check out more fun tutorials on my YouTube channel.
The basic idea for either quilting plan is to “divide and conquer” – quilt one pass of lines in both directions all the way across the quilt. Then quilt additional passes across the quilt until you like the density. You can do this with straight lines, or irregular wavy lines. I’ve even used a decorative stitch on my sewing machine using the same process!
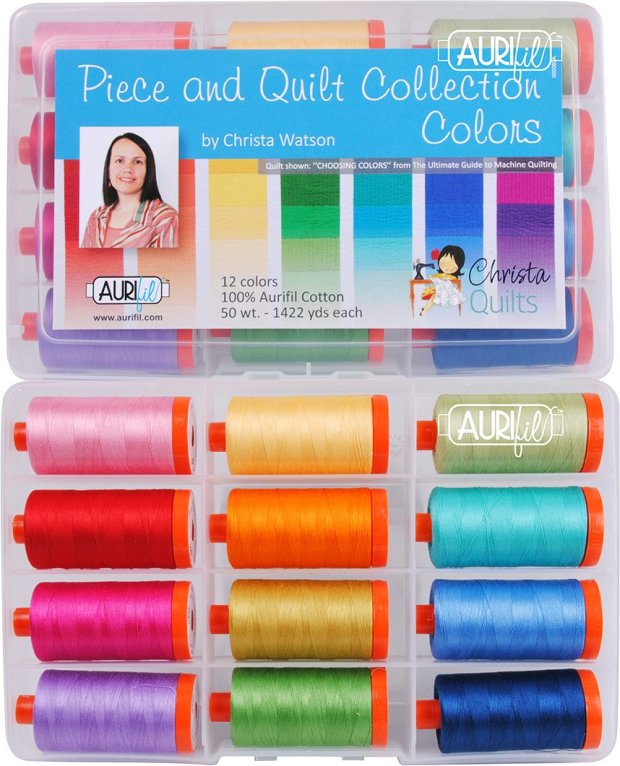
Choosing Thread
For the white version of Bling, I went with a more subtle thread than the hot pink I chose for the black version. I like to take a picture of the thread I’m using on the quilt so I can document it to know which one I used. This black/white/gray thread is included in my Variegated Thread Collection from Aurifil. 
I prefer to quilt with 50 weight, 100% cotton thread from Aurifil.
1st pass across the quilt
So let me break it down for you a little bit in photos. In the first pass across the quilt, you can barely see any quilting. I’m quilting an organic wavy line “near” the ditch rather than “in” the ditch and it really blends in. The lines are really widely spaced apart, in between each of the block rows.

Click the image above to enlarge. Can you spot the quilting lines?
To quilt wavy lines, my machine is set up for regular straight line stitching, but I gently move the quilt from side to side to form the organic looking wavy lines.
2nd pass across the quilt
The next quilting pass is roughly through the center of the blocks. I use the seam lines as a guide for where to quilt. The wavy lines are fast and easy to quilt because you can eyeball where you are going and the lines don’t have to be perfectly spaced.

It helps to have a large work surface and a drop in table to hold the weight of the quilt.
The wavy lines are actually must faster, and it’s my go-to design when I’m in a hurry! In fact, by quilting wavy lines “near” the ditch, instead of “in” the ditch, it’s a great choice when your ditches (seams) don’t line up perfectly.
Quilt in both directions
To keep the wavy grid as evenly spaced as possible, you will want to quilt in both directions – horizontally and vertically with each pass. Just rotate the quilt in the direction you need to go!

Now the yummy quilted texture is starting to appear!!
Just remember, the more lines you quilt, the less your imperfections will show!
use the seamlines as a guide
Here’s a really good example where you can see how I lined up the wavy lines with the pieced seams in both directions. The block design is a little off center so the lines aren’t all evenly spaced, but that’s hardly noticeable. This allows me to avoid marking because much easier to eyeball the wavy lines rather than straight ones.

Keep Quilting more lines!
By the time I’m finished, my lines will be quilted about 3/4″ to 1″ apart in both directions. This is completely a personal preference and it’s up to you how dense you’d like to quilt. Just remember, if you are using natural fiber materials (ie cotton fabric, cotton thread, cotton batting), the quilt will NOT get stiff the more you quilt it. And the more you love it, use it and wash it, the softer it will become!

I eventually lost track of how many passes I quilted, but I kept going until I liked the results!
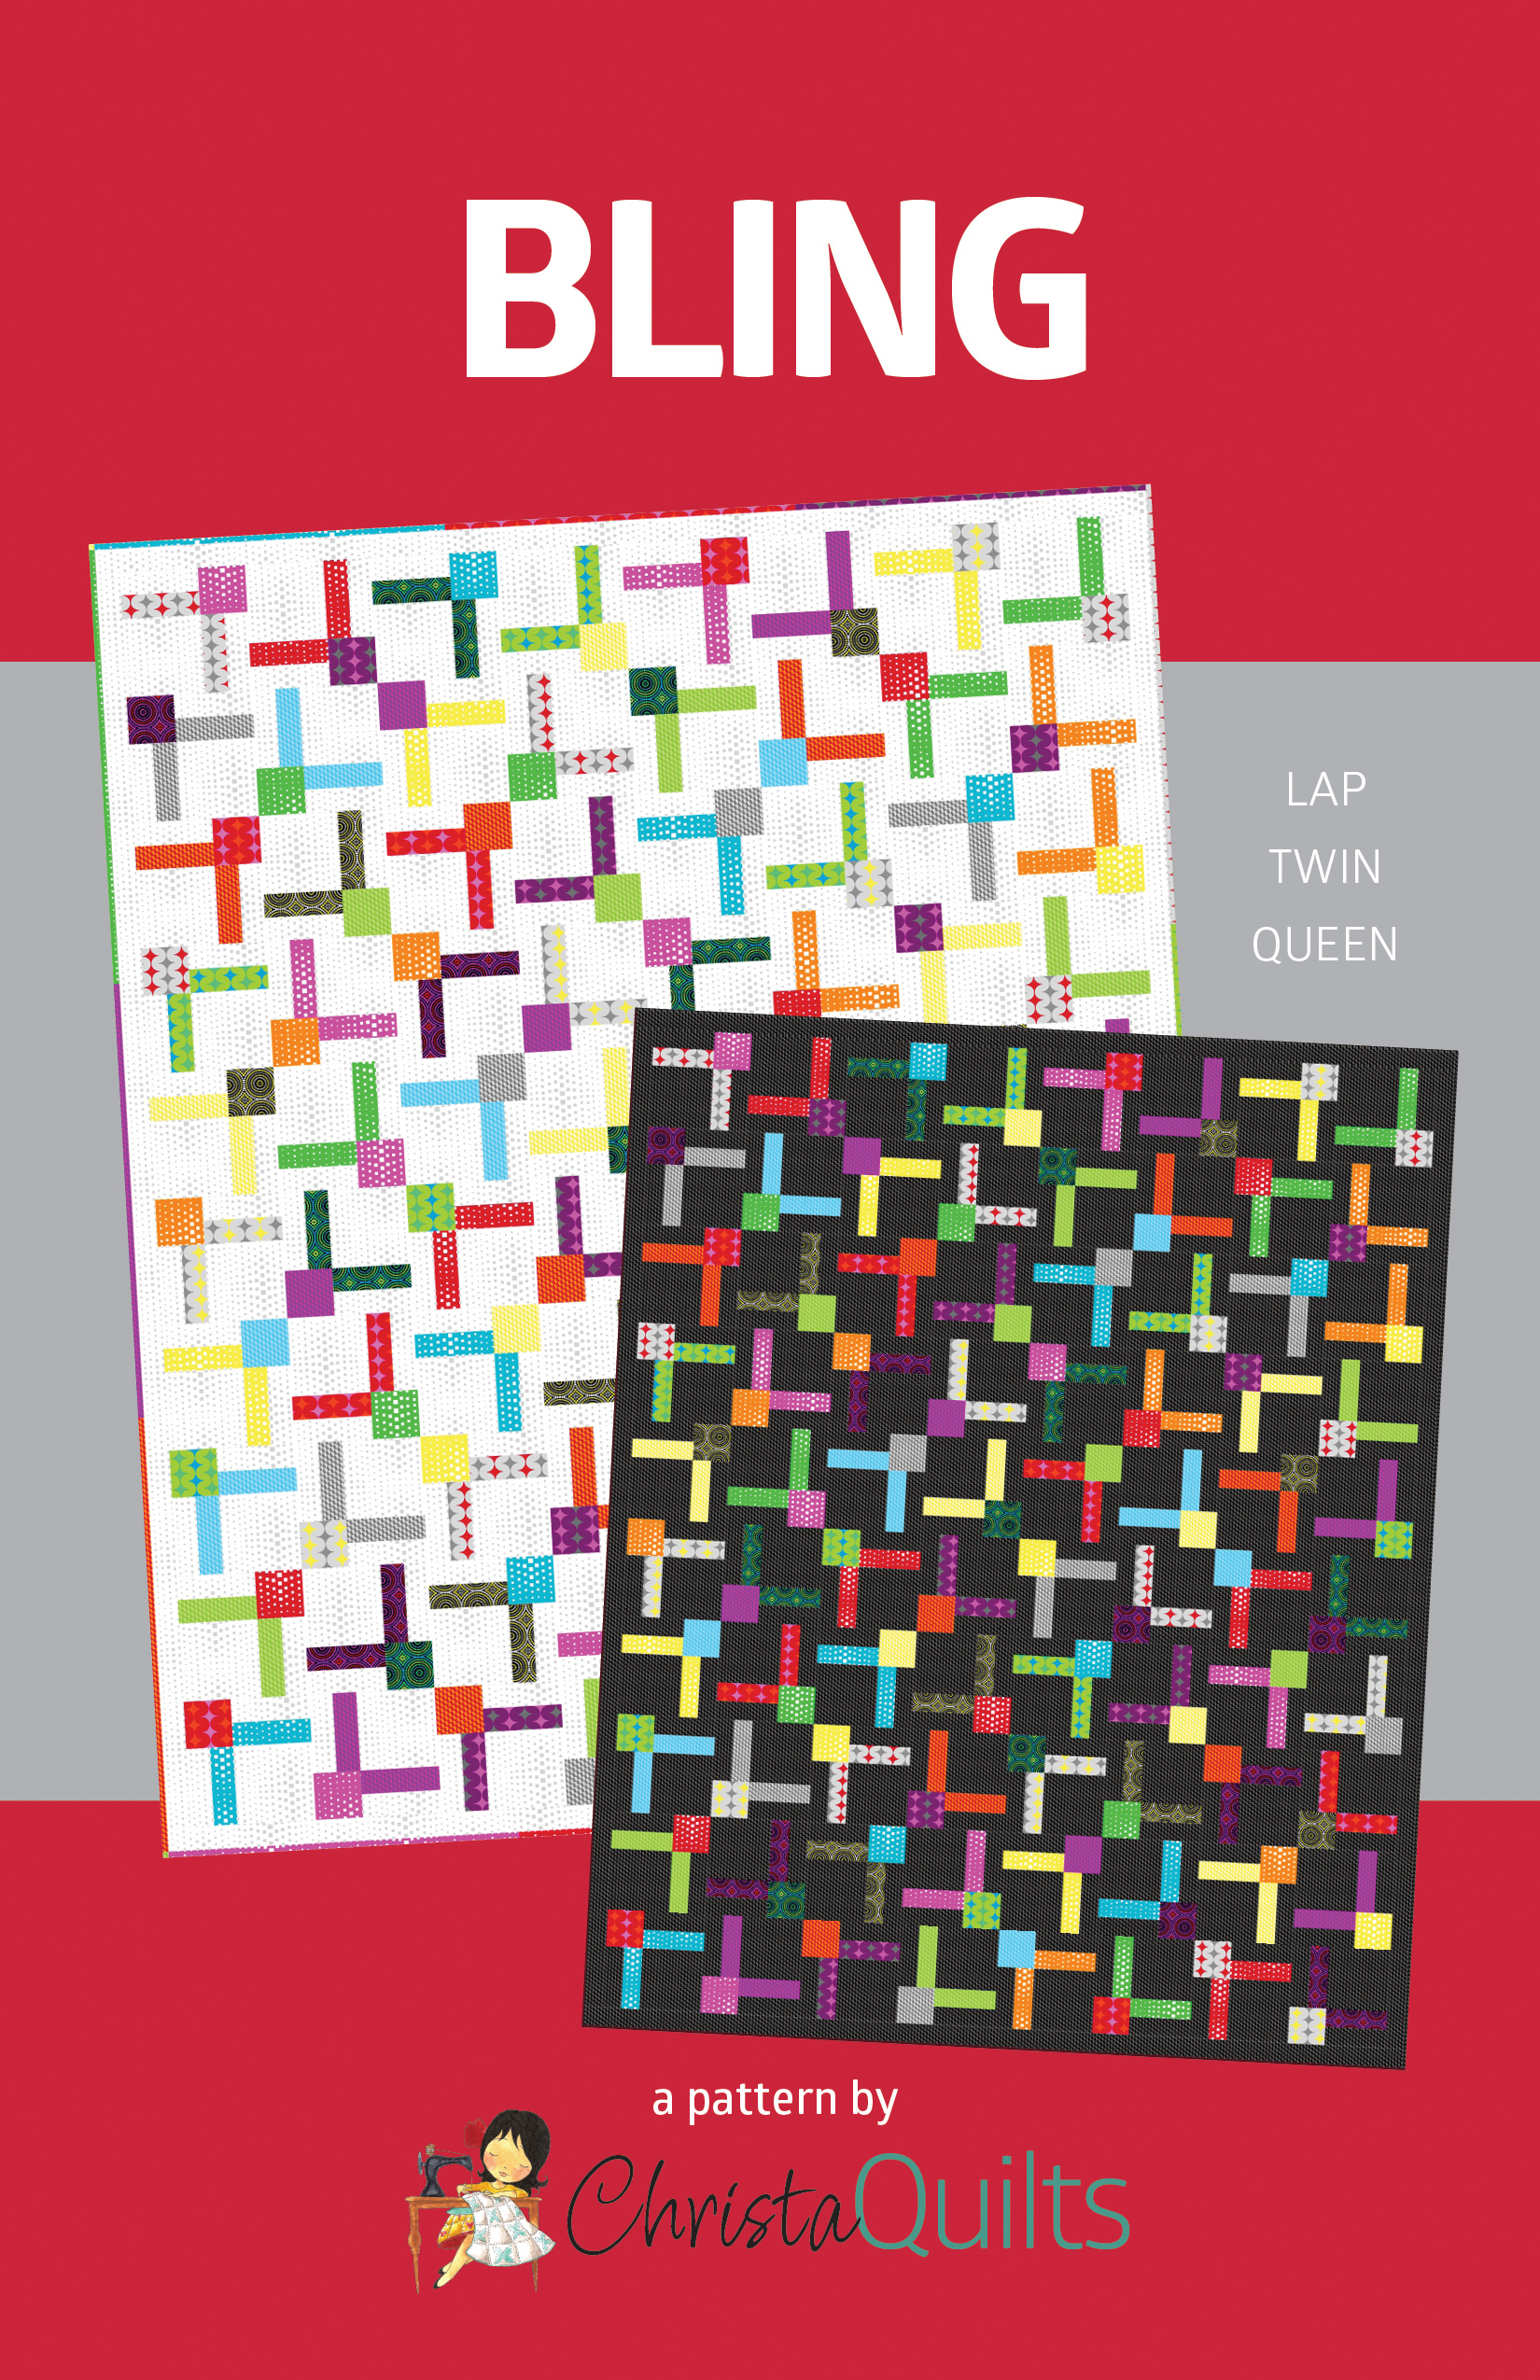
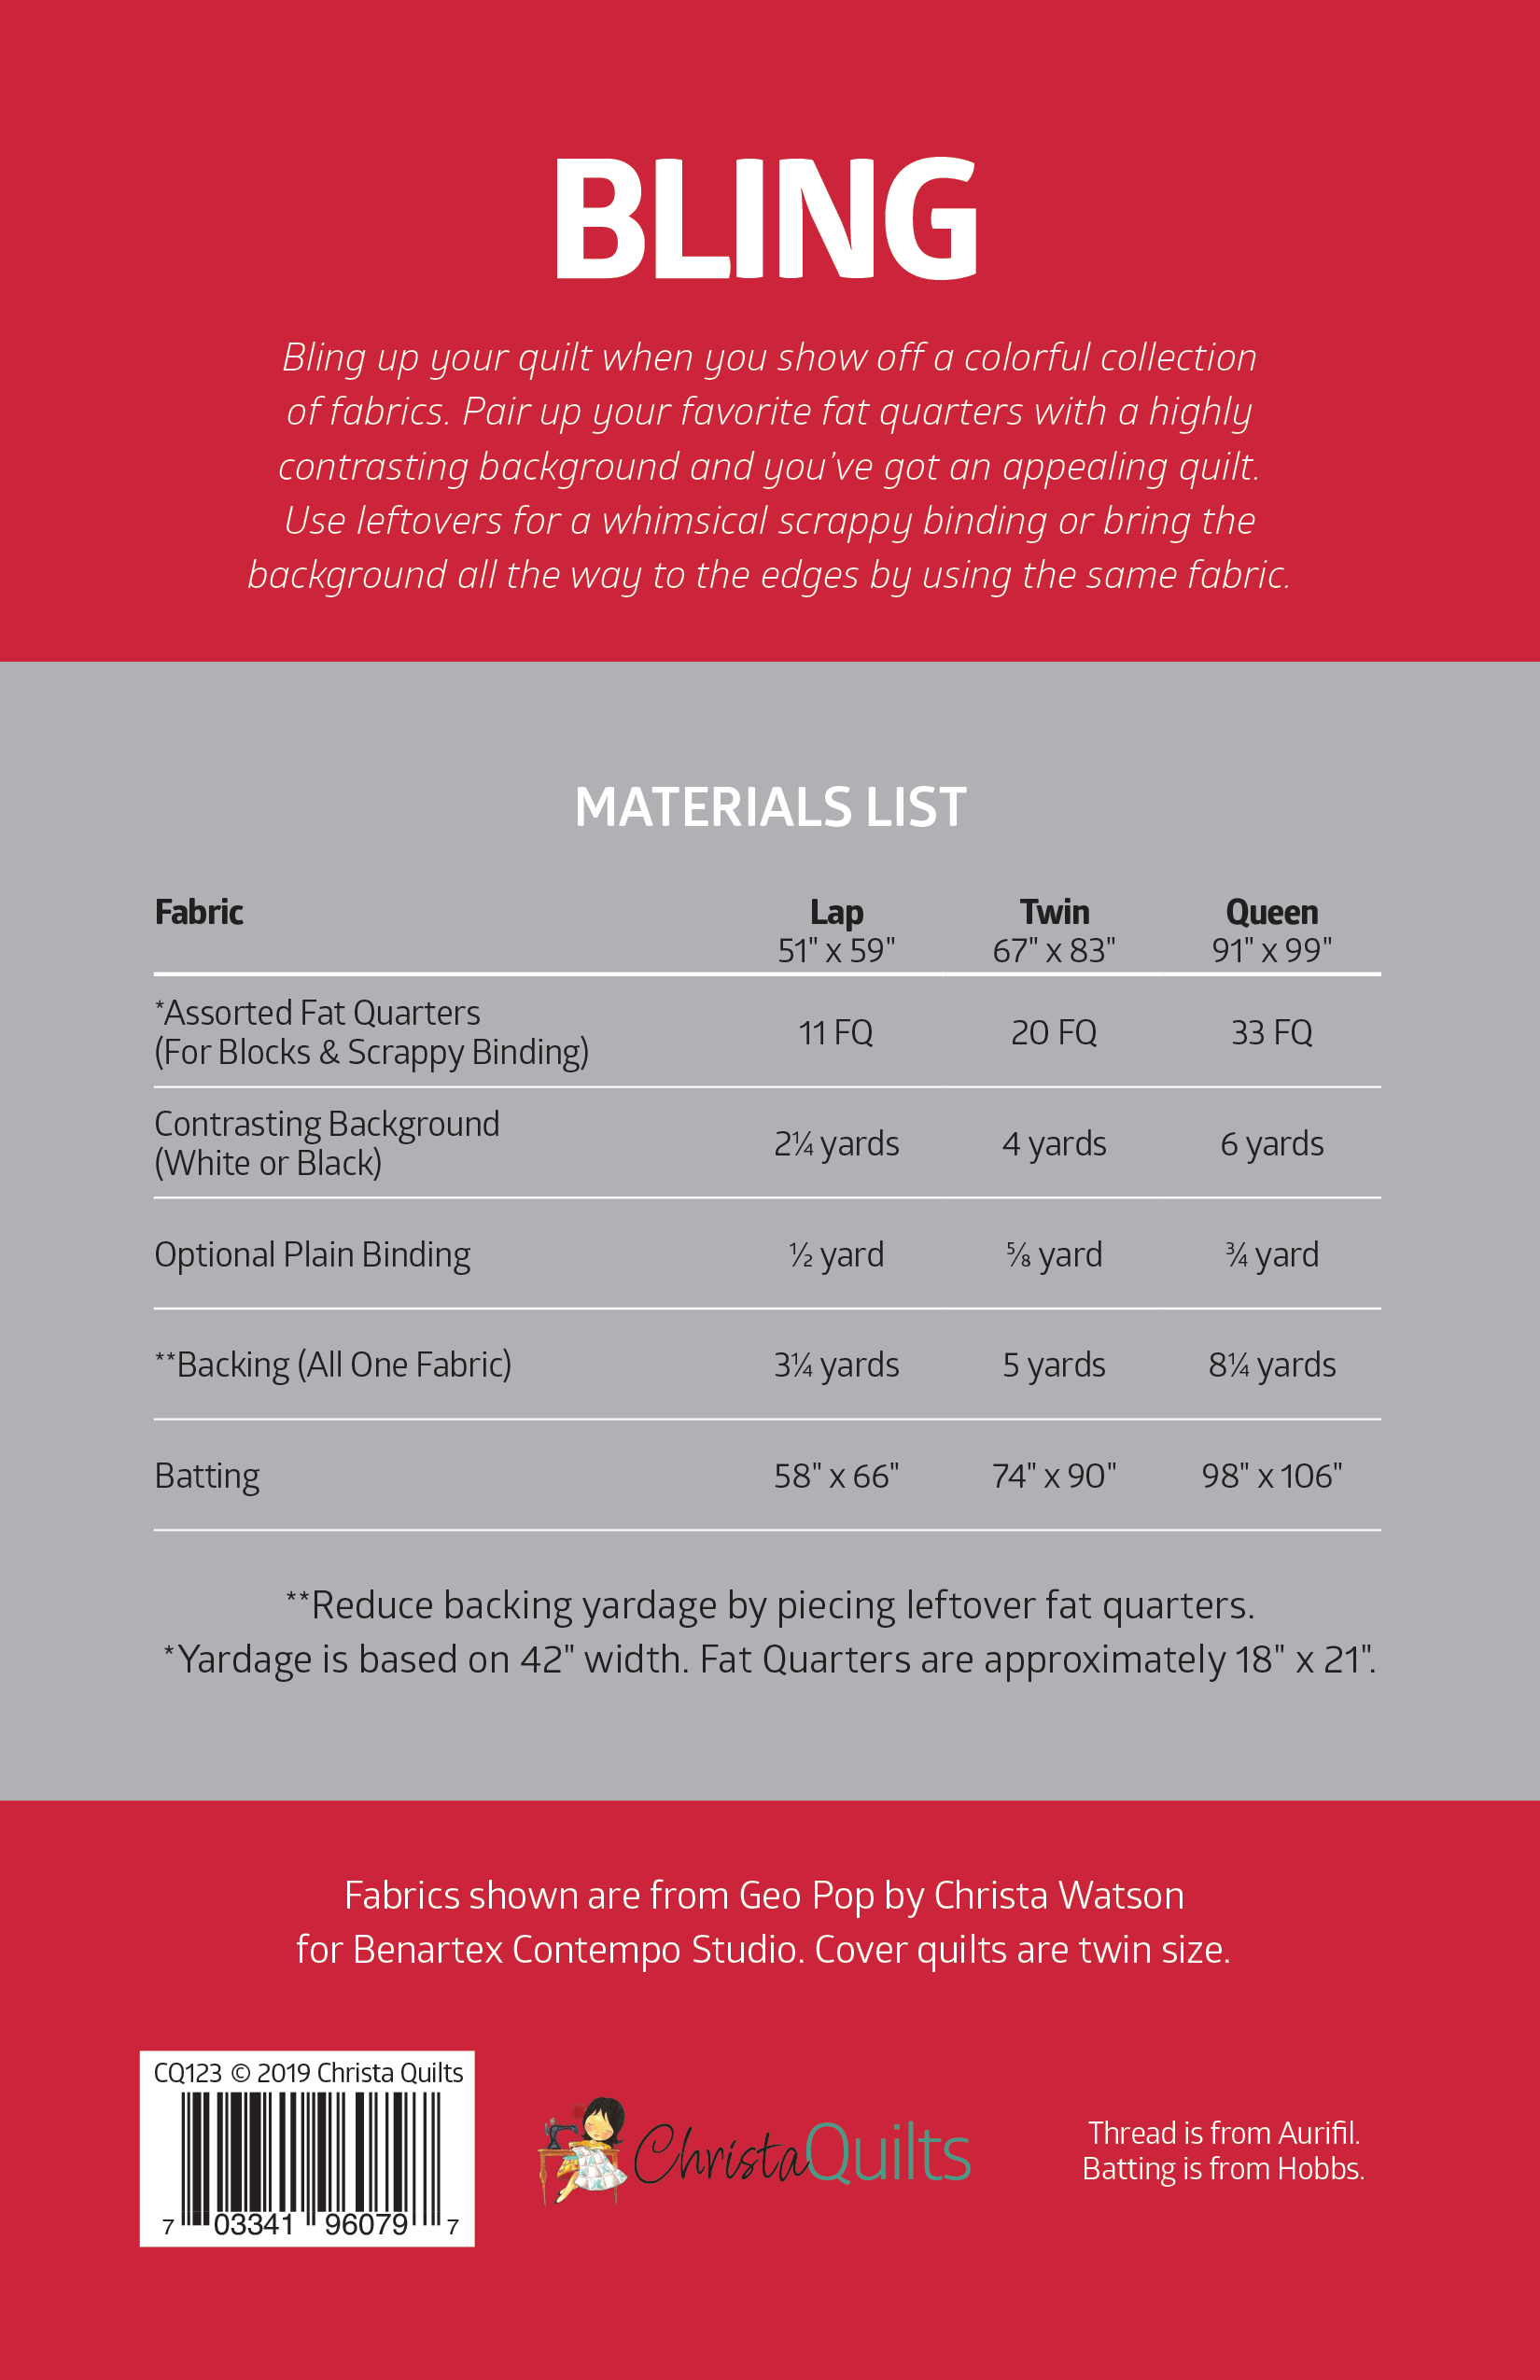
Additional QAl resources for Bling
- Click here for the Bling quilt along supply list and schedule.
- Click here to get the Bling quilt pattern – PDF download version.
- Click here to get the Bling quilt pattern – printed paper version.
- Click here to purchase the optional kit to make this quilt.
- Click here to share your progress with me and ask questions in my Facebook group.


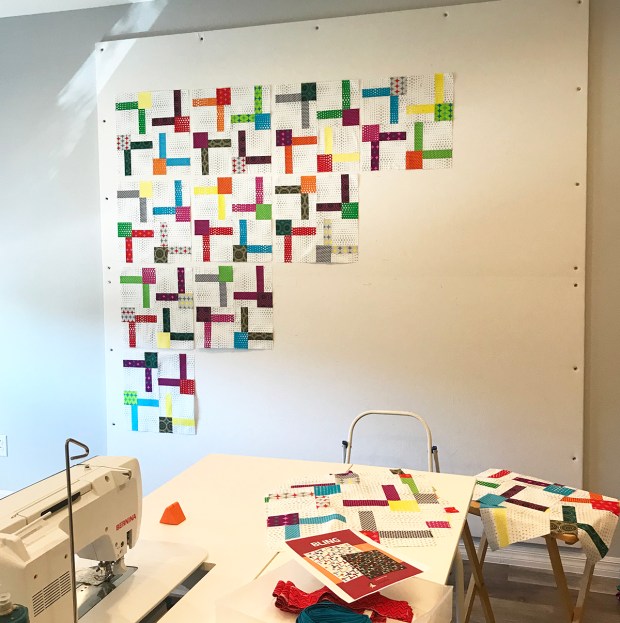
 Basting in process on my design wall.


 Kathleen Hetzler Riordan on Smith Mountain Lake, Virginia