I’m making way for some new patterns coming this summer (to go along with some new fabric) so it’s time to clear out some of my older paper patterns. The following 4 printed patterns are on sale now until they are sold out – first come first serve!
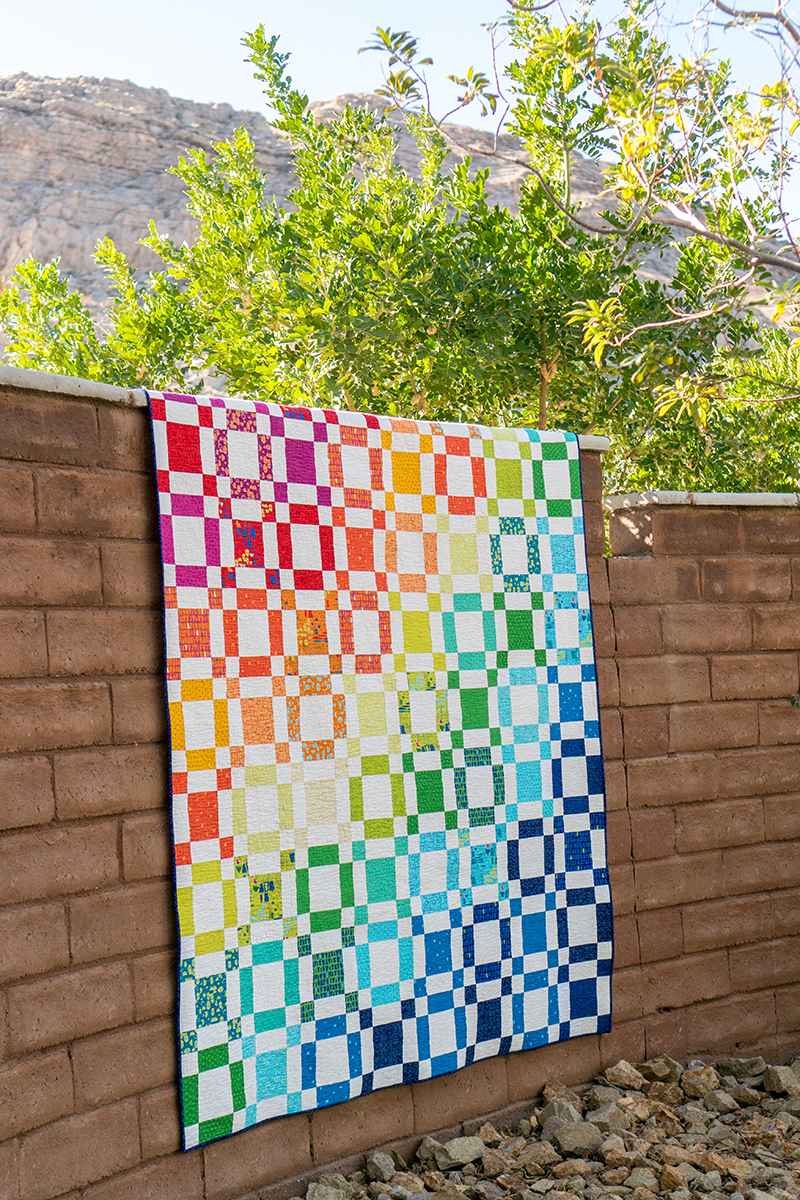
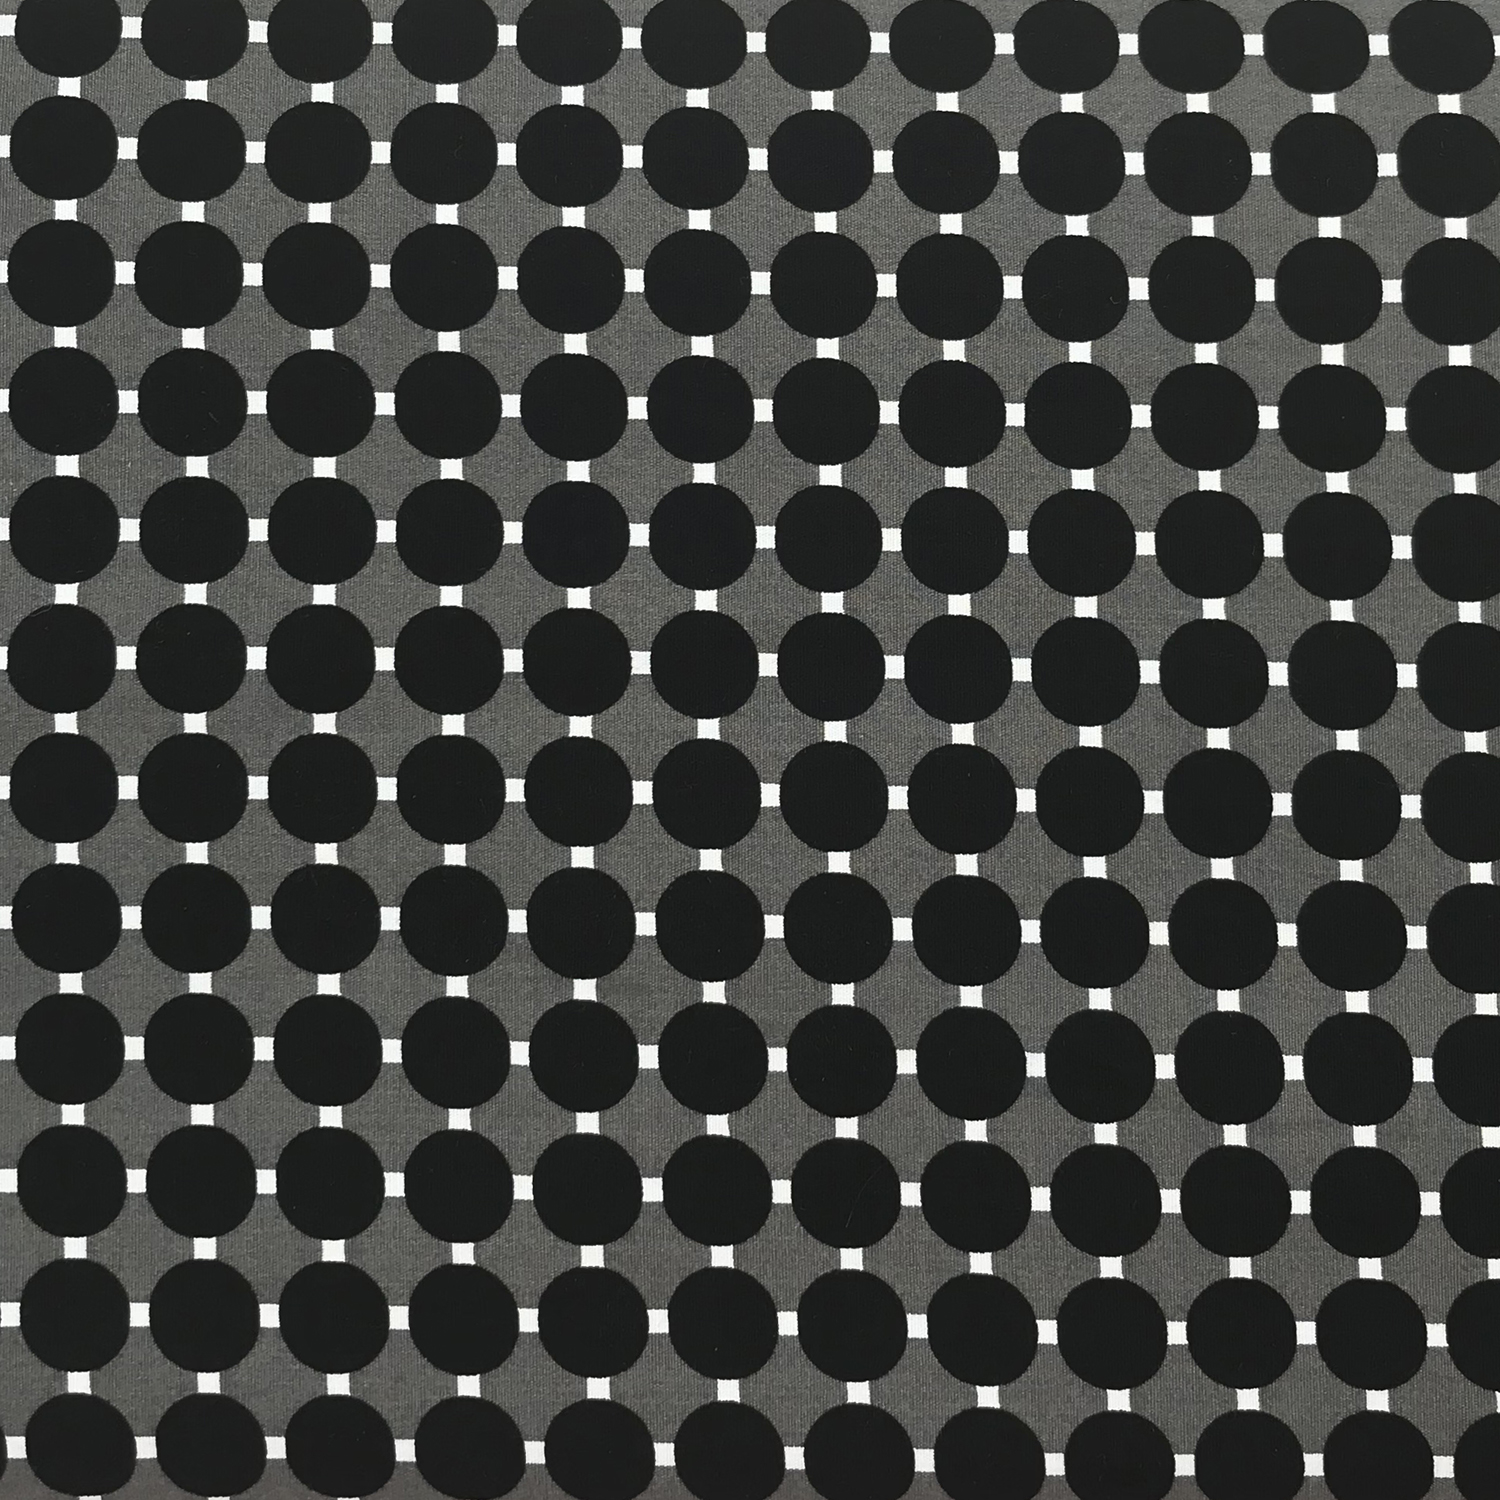
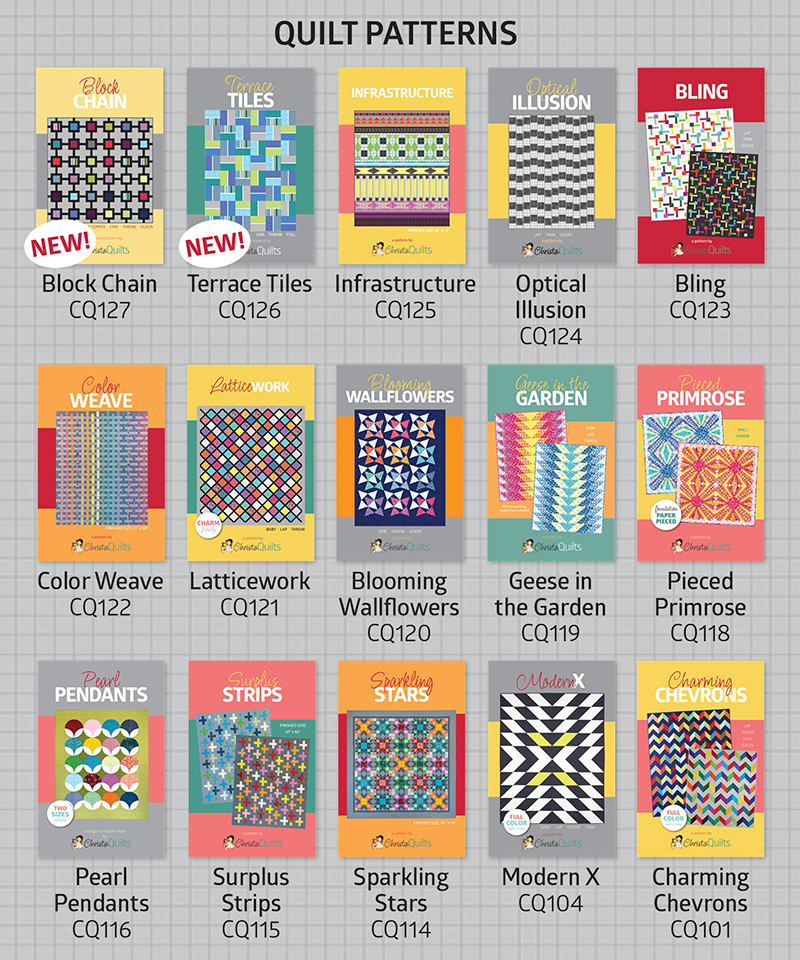
Charming Chevrons
Click here to get Charming Chevrons for $4.95 with Free US Shipping
![]()
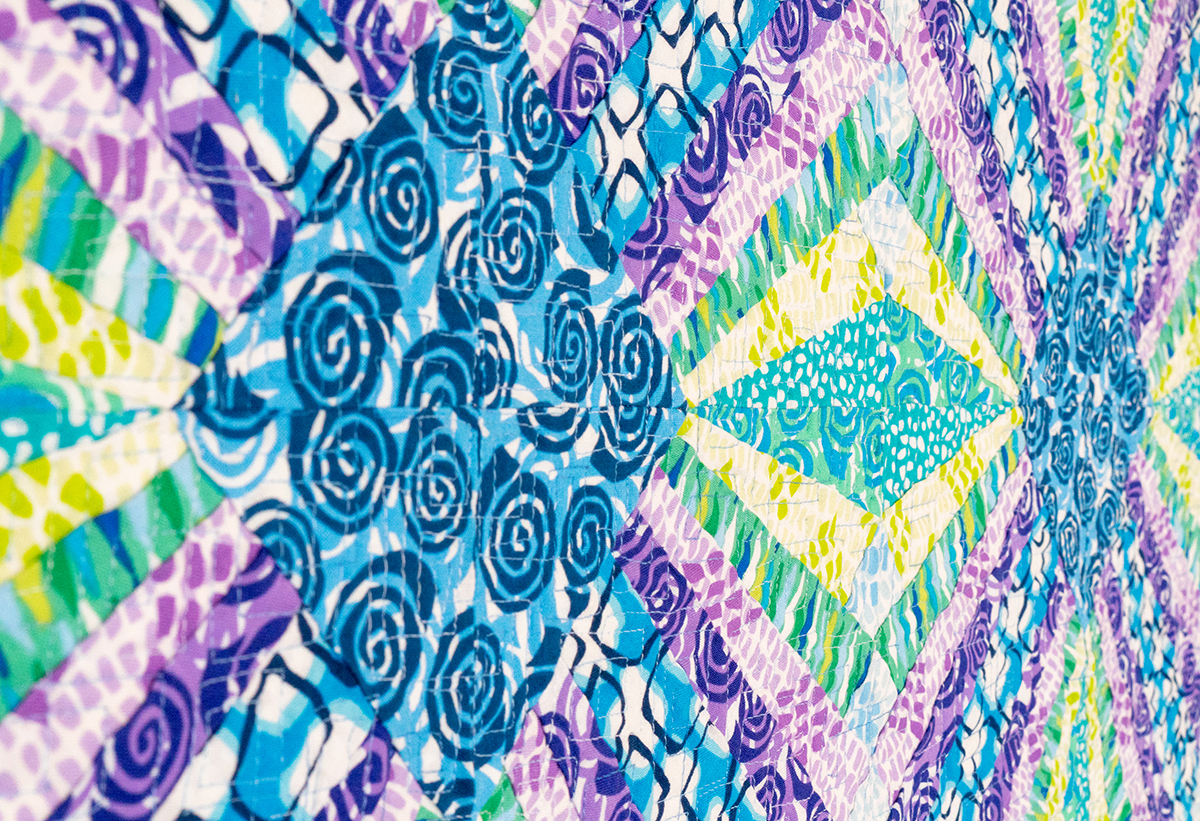
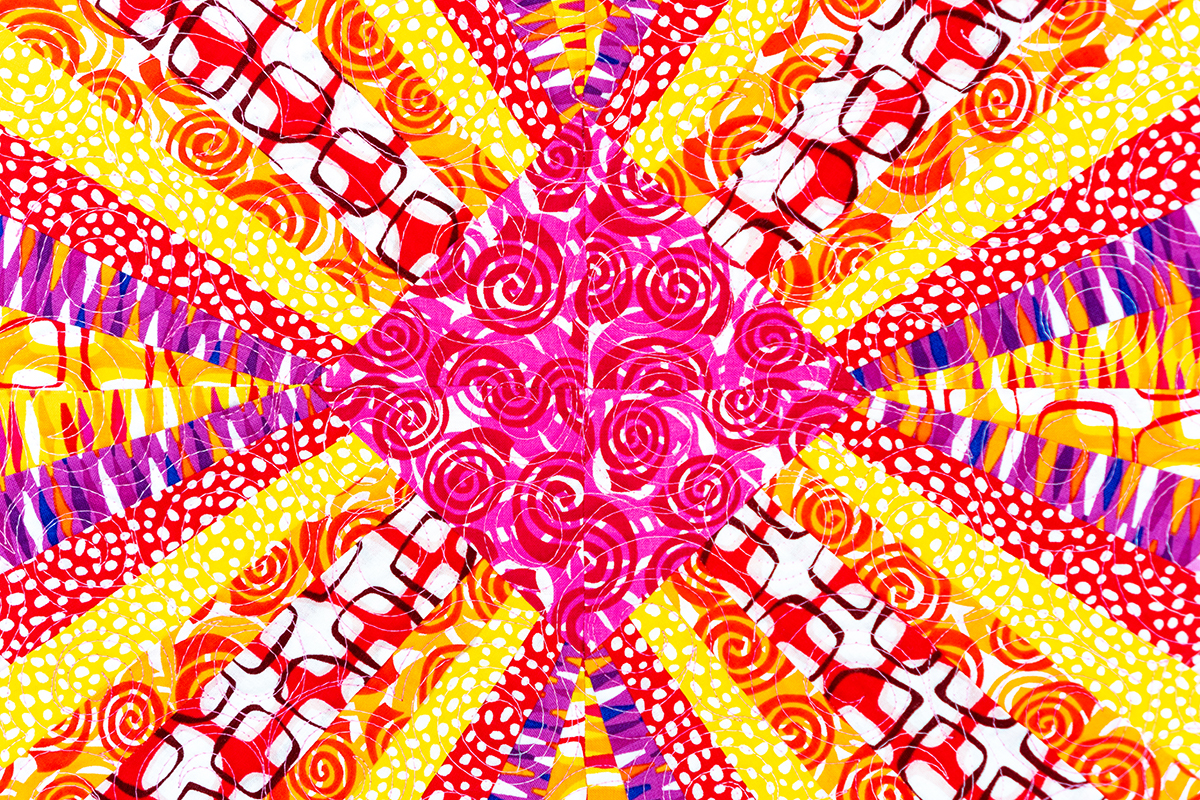
This was my very first pattern I ever released and the good news is I will actually be releasing a newer updated version with upcoming fabric. But in the meantime, you can get the original version of Charming Chevrons for a killer price!
Here’s another version I made when I was on a solids kick:
![]()
It was so fun to quilt this one!!
![]()
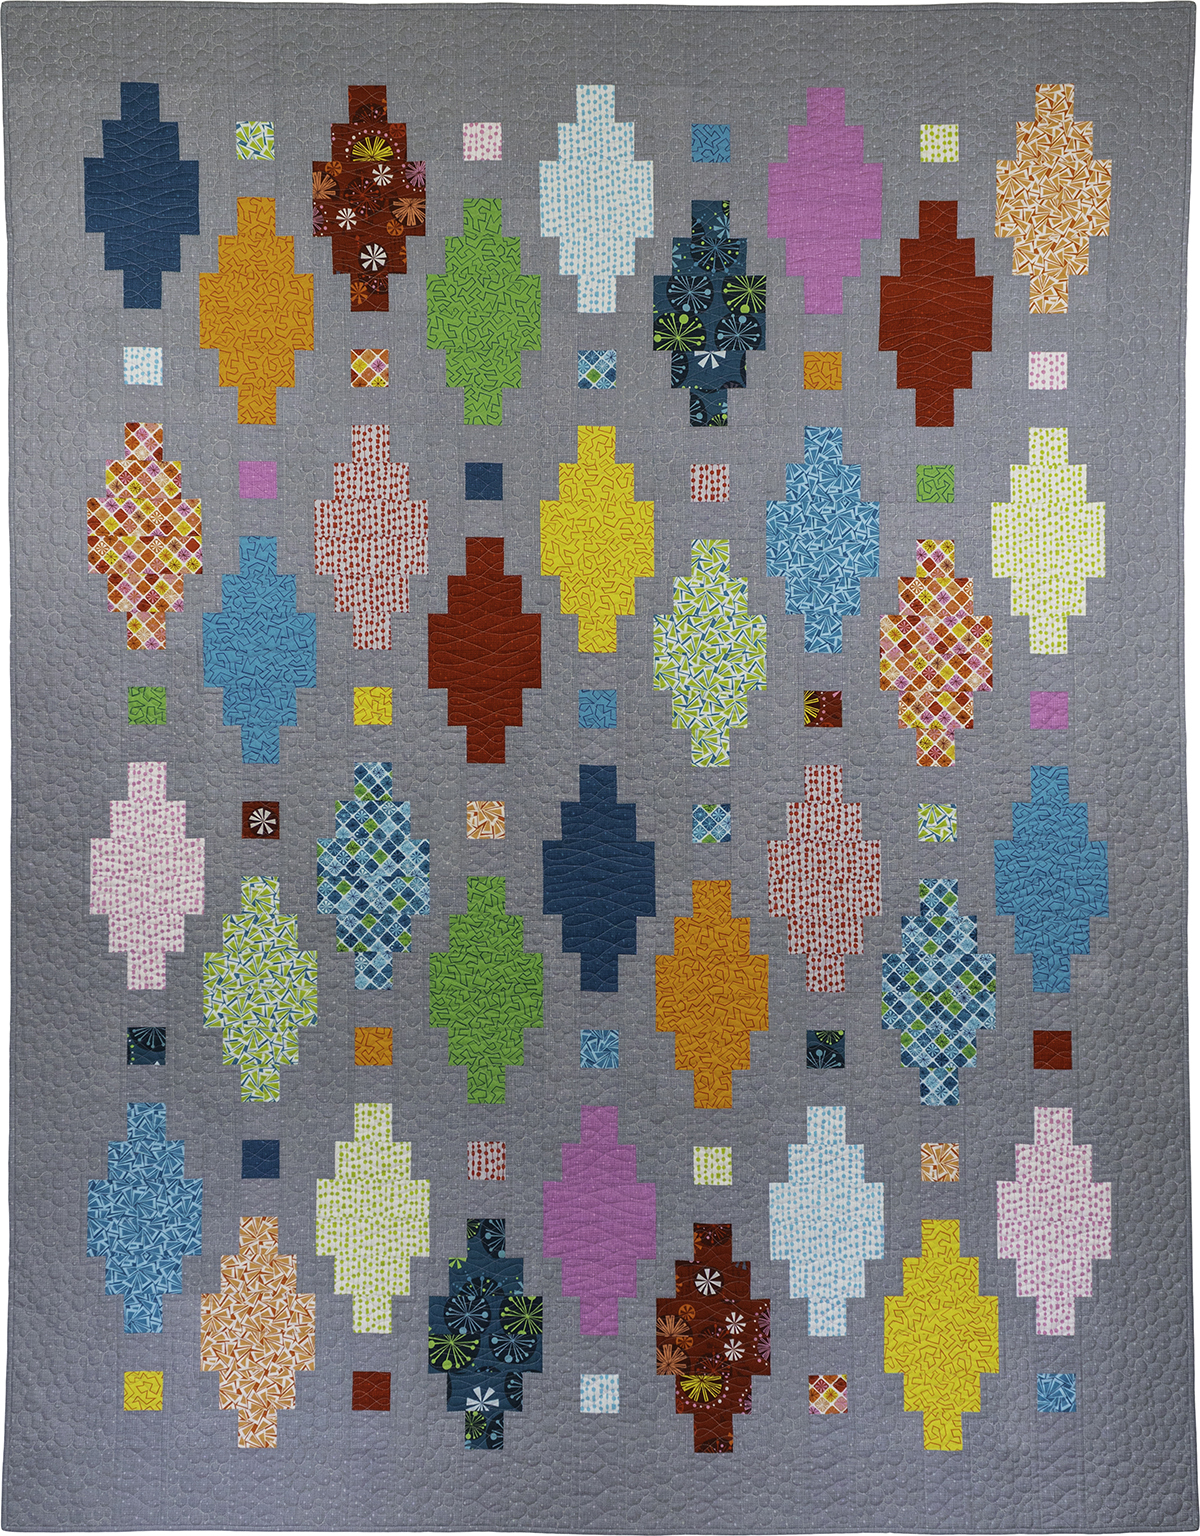
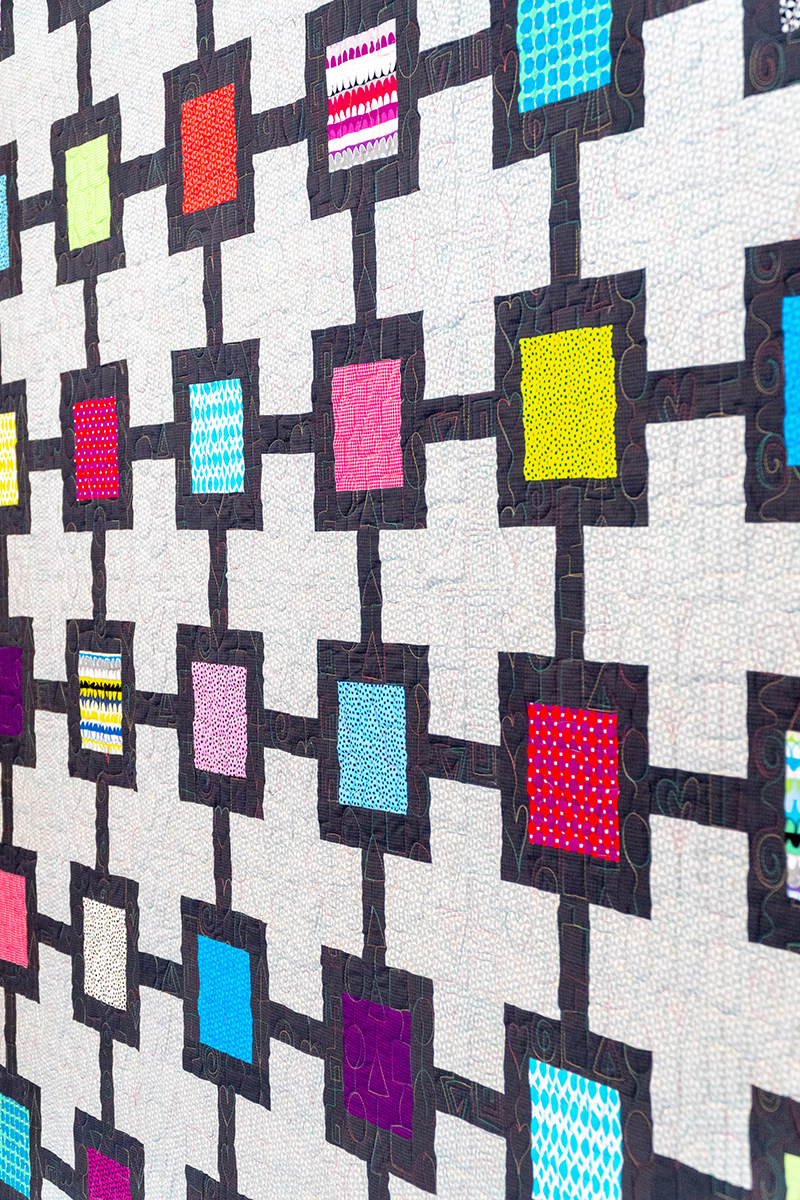
Positive Direction
Click here to get Positive Direction for $4.95 with Free US Shipping

This was one of my earlier patterns from before I started designing fabric. It’s perfect for using up scraps or leftover strips!
Here are some beauty shots of the quilt + quilting. I combined simple straight lines with pebbles, alternating the quilting design to emphasize the colorful blocks.
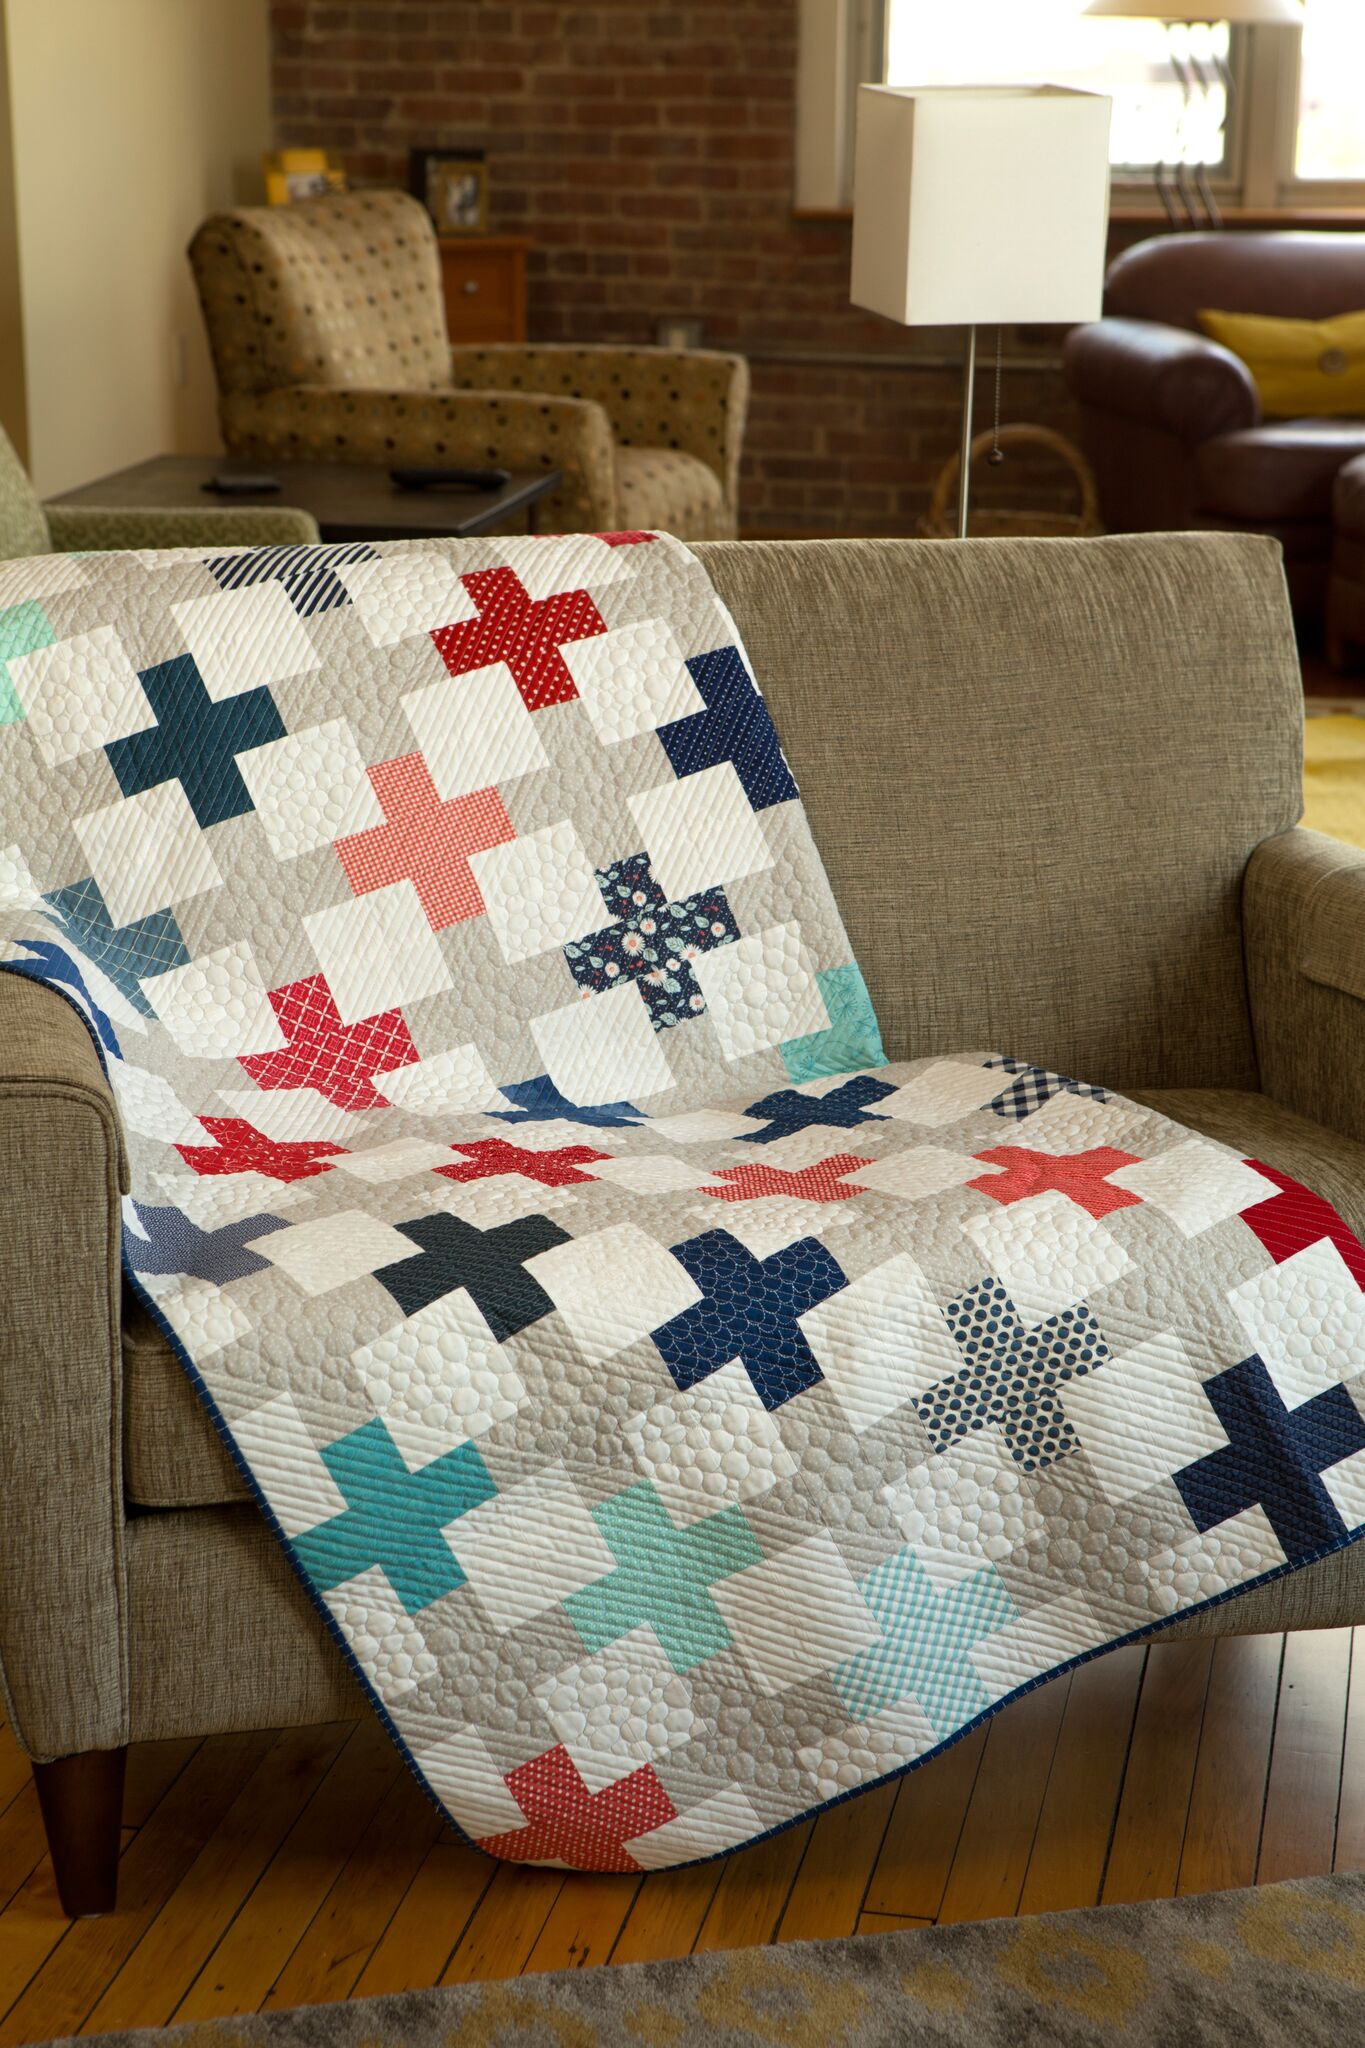
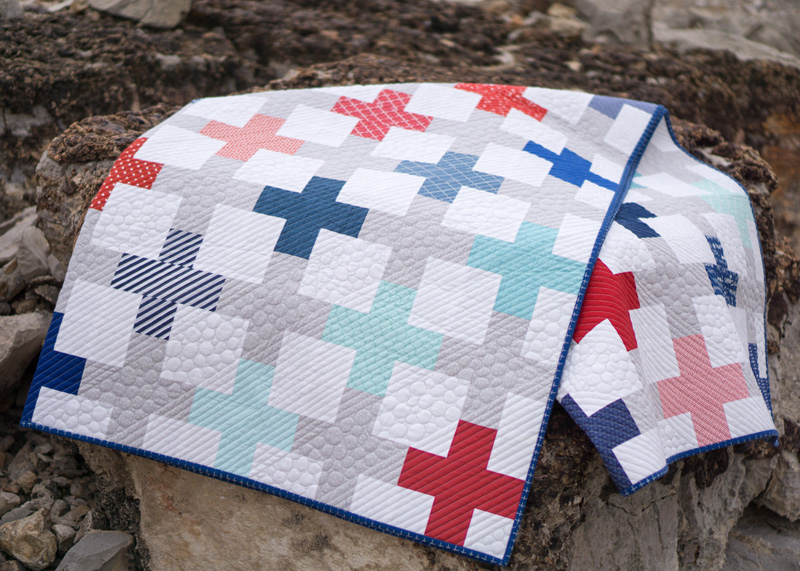
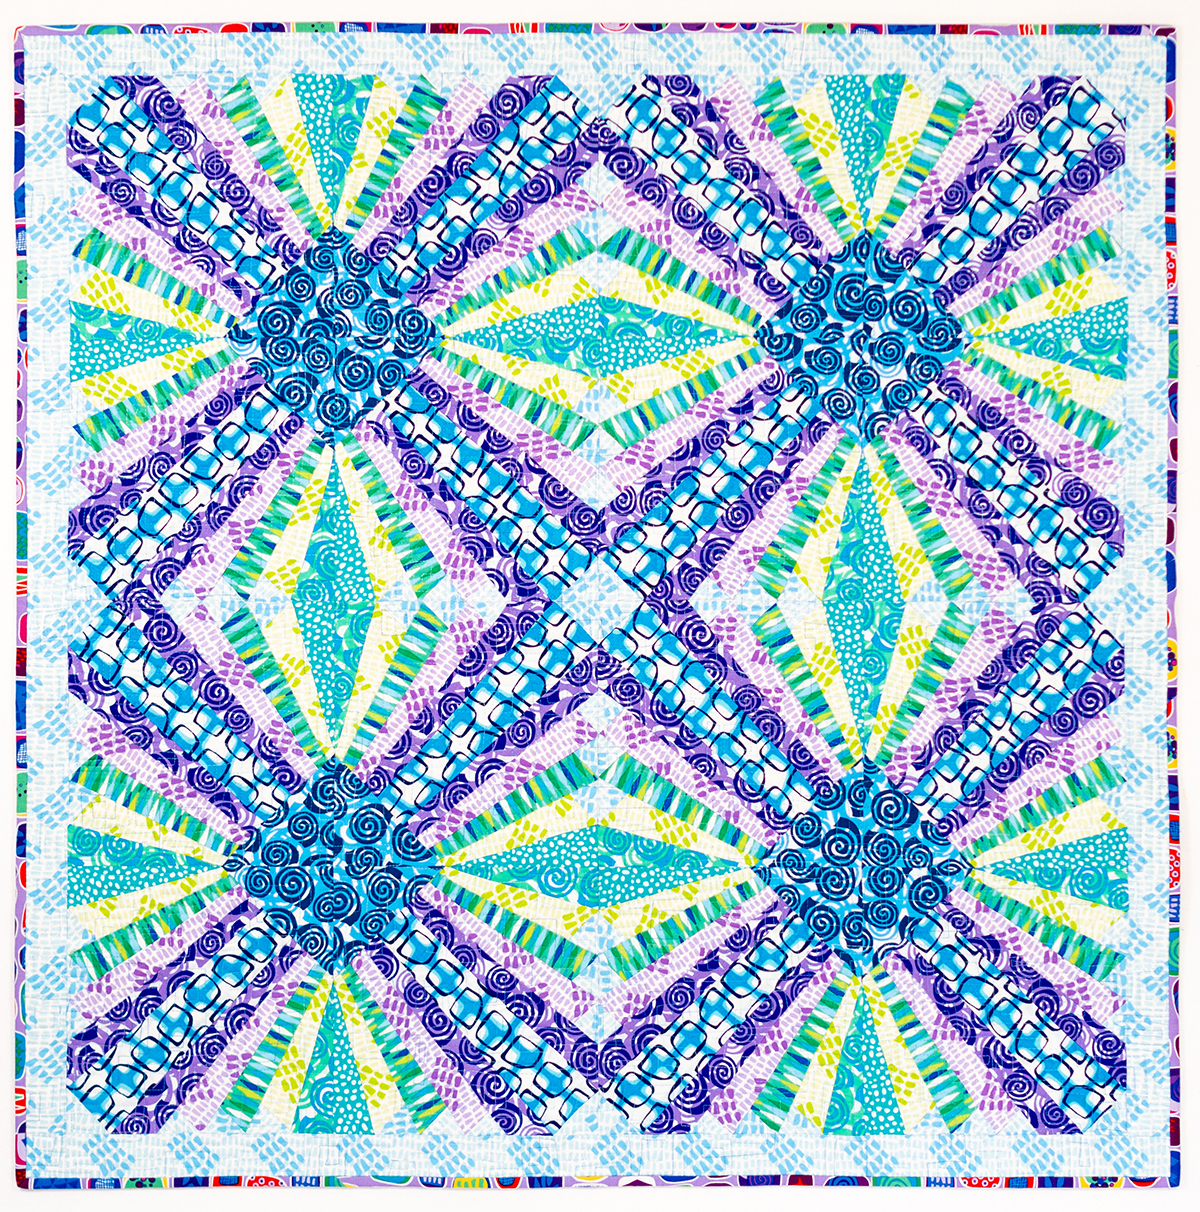
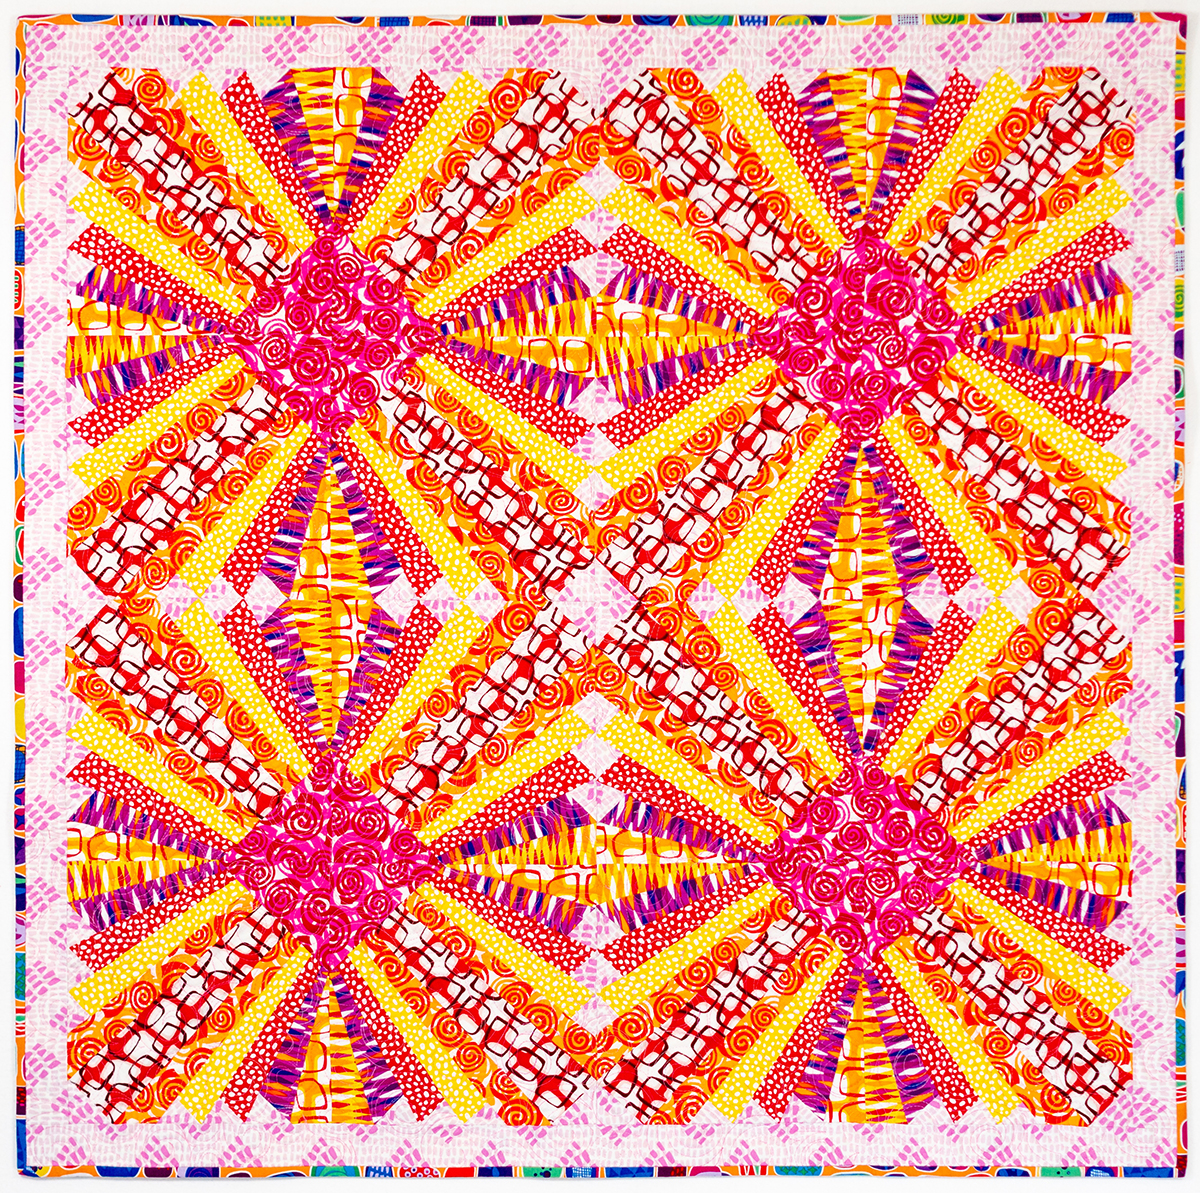
Modern X
Click here to get Modern X for $4.95 with Free US Shipping
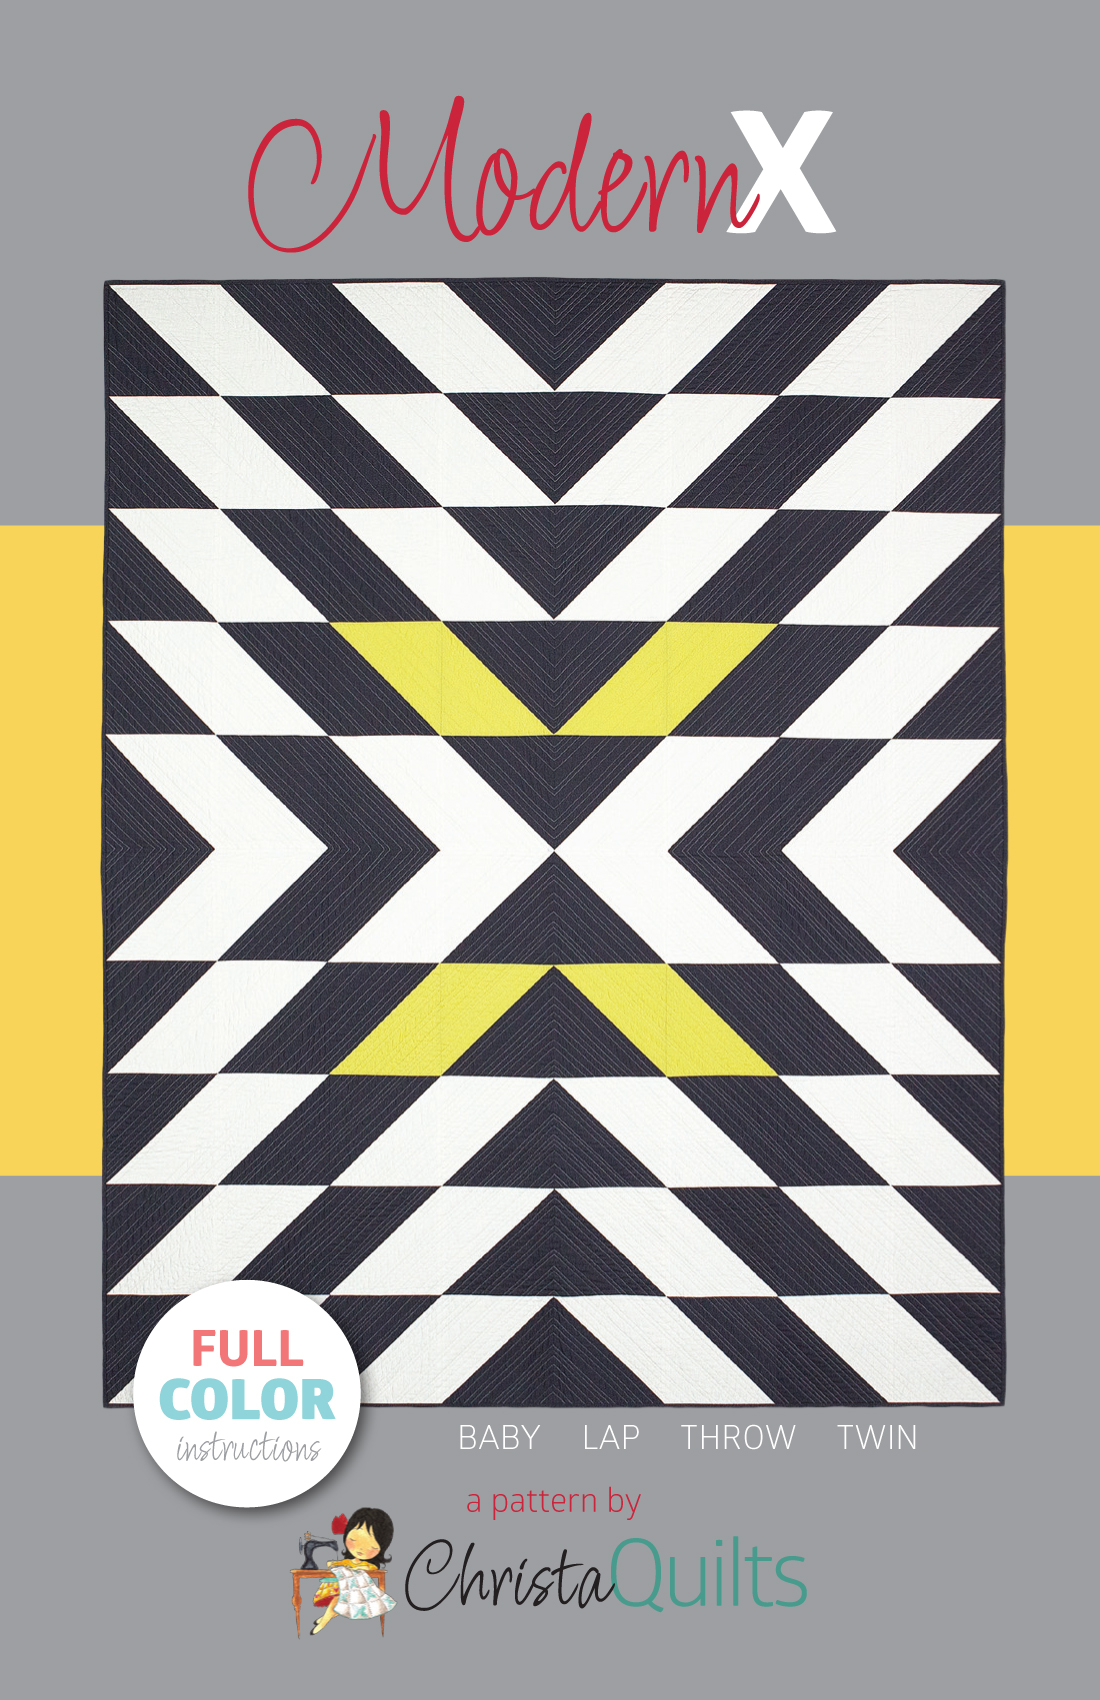
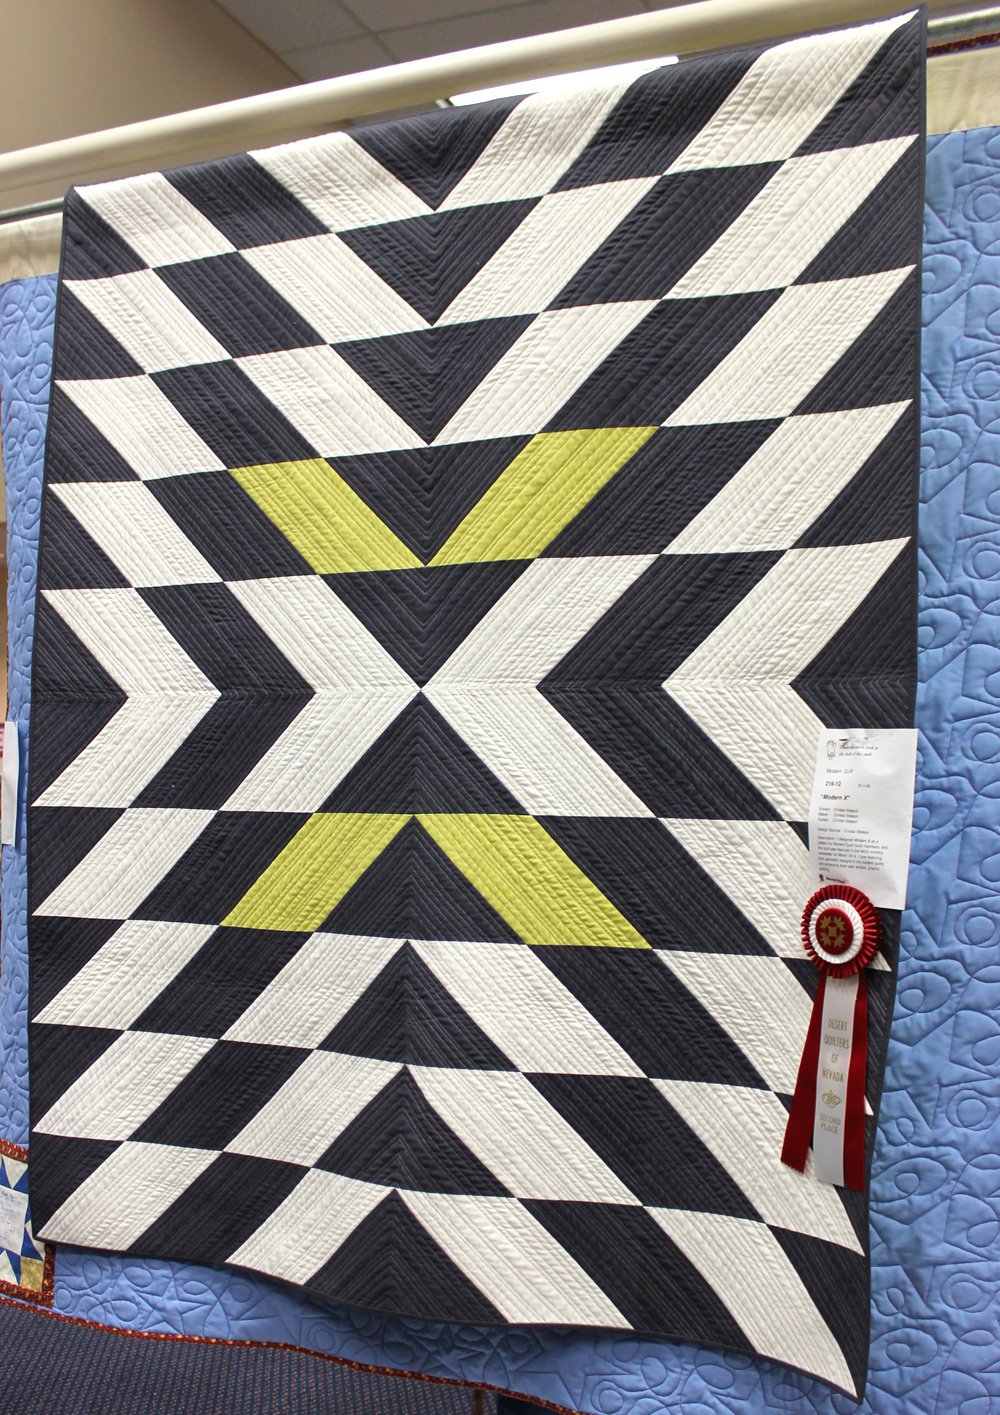
This has been one of my all time most popular modern designs. It’s simple yet eye catching and one of these days I will remake it using my own fabric prints in similar colors.
Irregular straight line quilting brings a wow factor to this modern minimalist quilt. I was thrilled when it won a ribbon at my local quilt guild’s show several years ago.
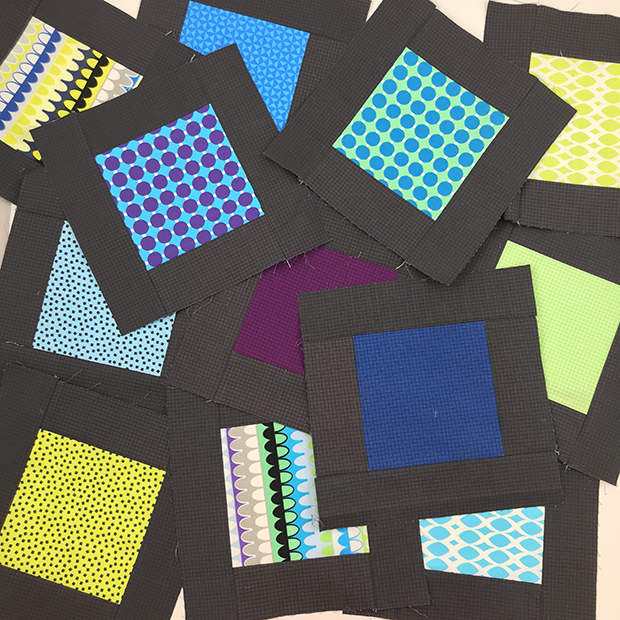
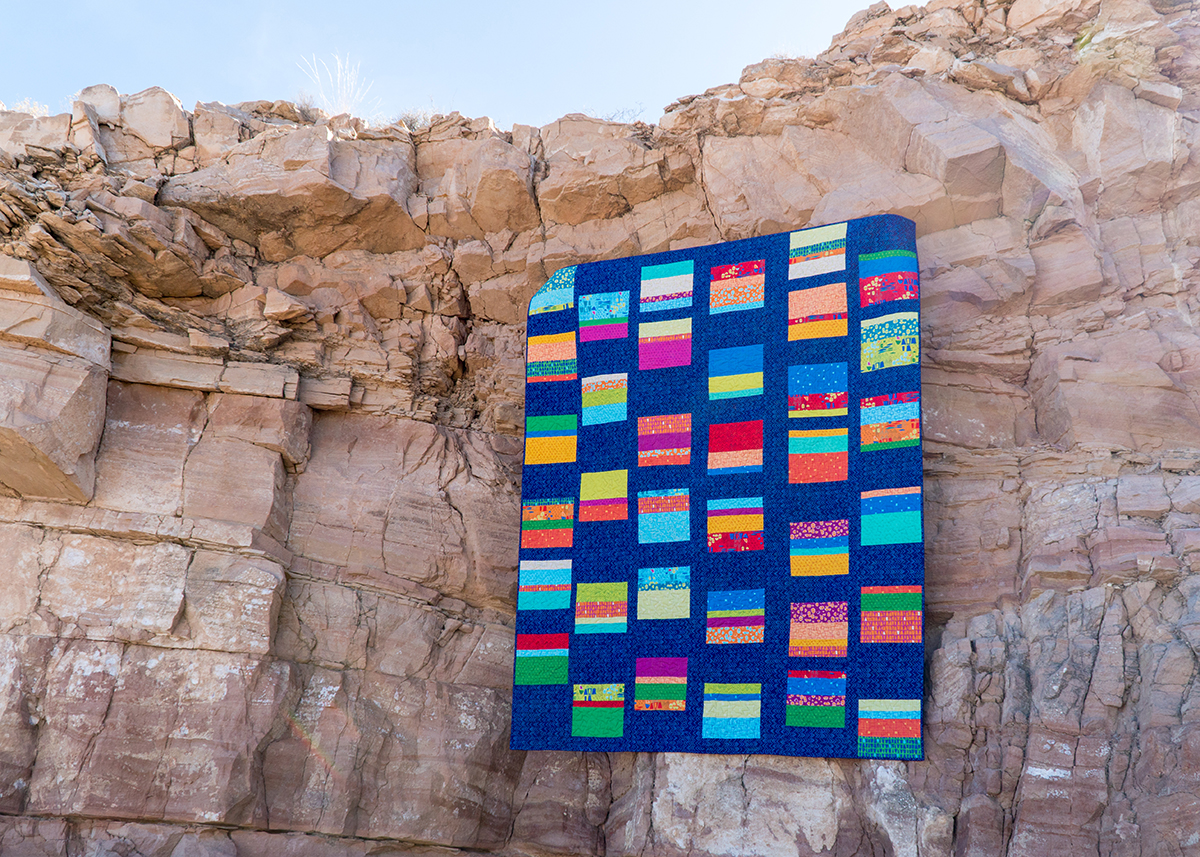
Improv Squares
Click here to get Improv Squares for $4.95 with Free US Shipping
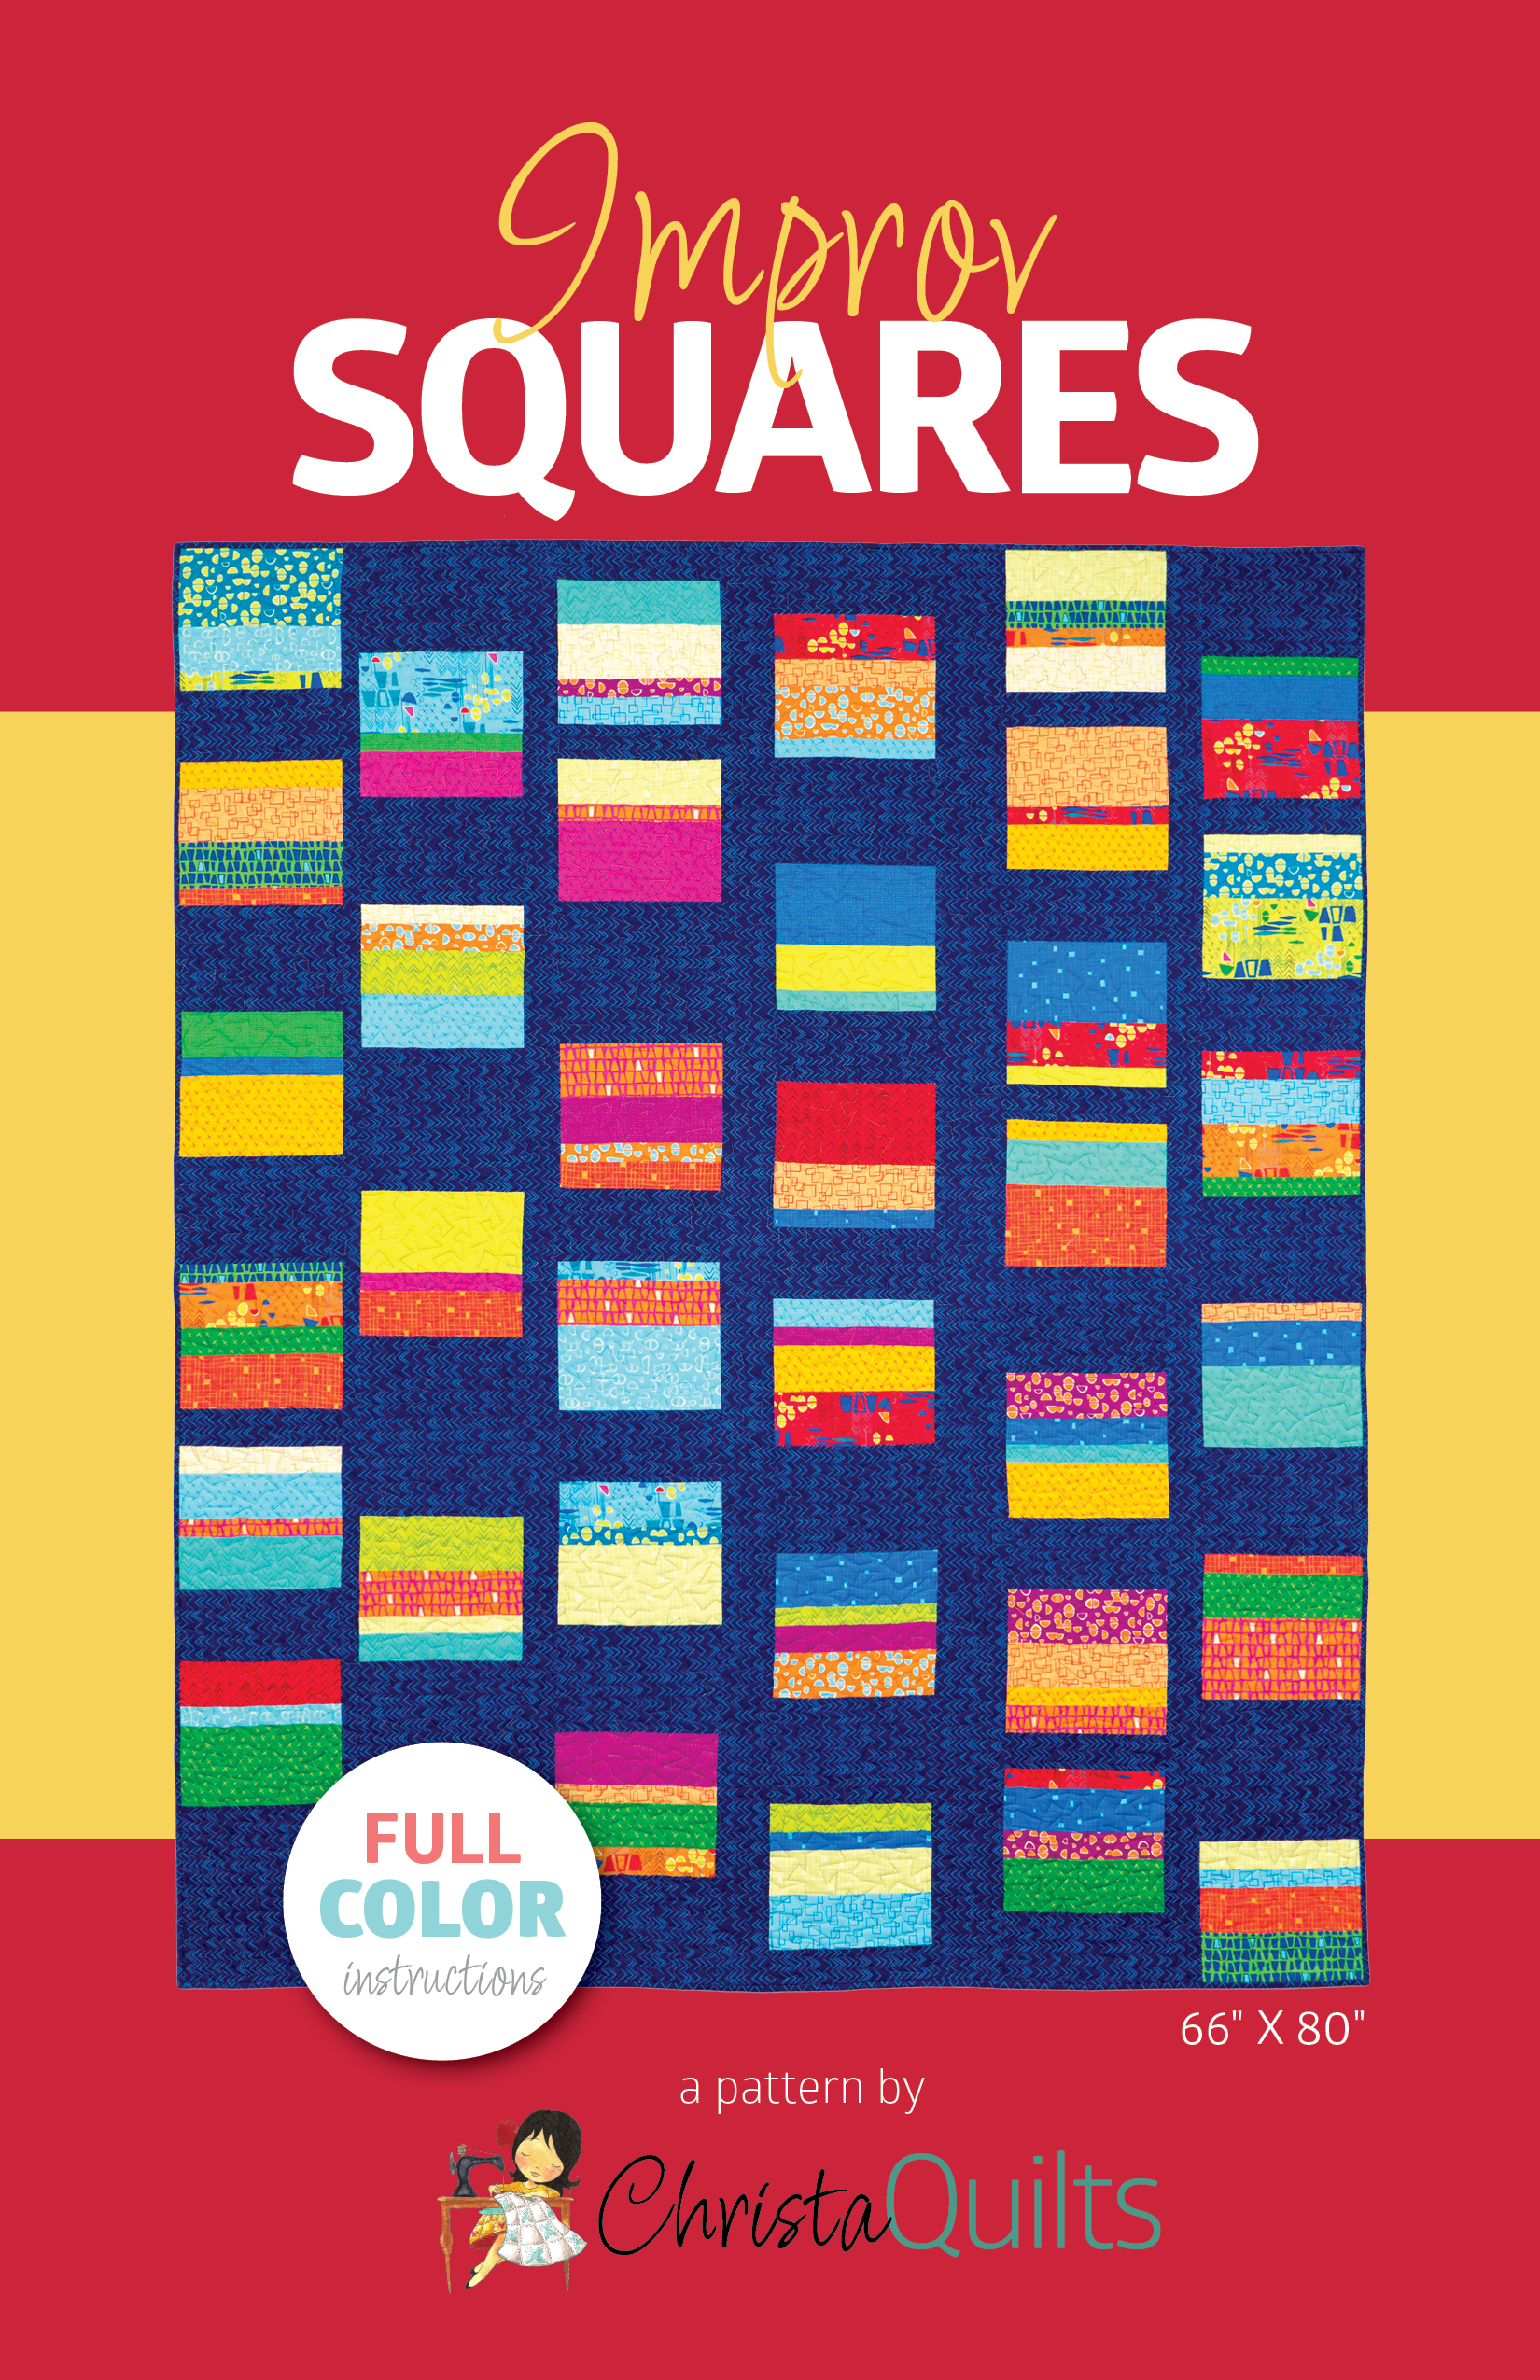
This quilt pattern is a fun way to ease into improv piecing and it’s made from one layer cake + background fabric. I only have a couple of these left, so grab it before they are gone!
Click here for all printed patterns on clearance.
PDF Patterns on Sale
Once the paper versions above are gone, that’s it! I need the shelf space for new stuff to come!
However, if you prefer instant download patterns, many of my current line of my PDF patterns are on sale in my Etsy shop for 15% off the regular price.
Click here for my entire line of PDF patterns on Etsy.
Happy Sewing, Friends!