When I’m prepping a quilt for machine quilting, I do everything I can to get a nice, flat quilt sandwich. This is especially helpful when quilting on a domestic machine because of all the quilt wrestling, scrunching and smooshing that happens during the process.
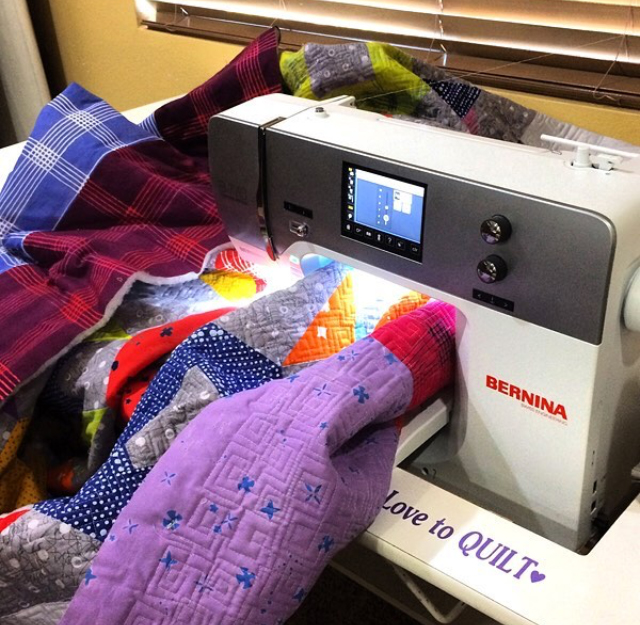
“Scrunching and Smooshing” in progress!
In order to make my quilt as flat as possible, I press ALL of my seams open. I know this can be a bit controversial, but contrary to popular belief, it will NOT weaken your seams. After all, dressmakers have been pressing seams open forever, and clothing certainly gets a lot more wear and tear than a quilt.

Seams pressed open on my Color Weave quilt.
In order to ensure that the seams don’t split apart, I recommend sewing with a shorter stitch length (such as 2.0 instead of my default 2.5). This has the added benefit of hiding the piecing thread in the seam, so you don’t have to worry about perfectly matching your thread to your fabrics while piecing. Another reason I love Aurifil 50 weight cotton thread is that it really seems to sink onto the seams!
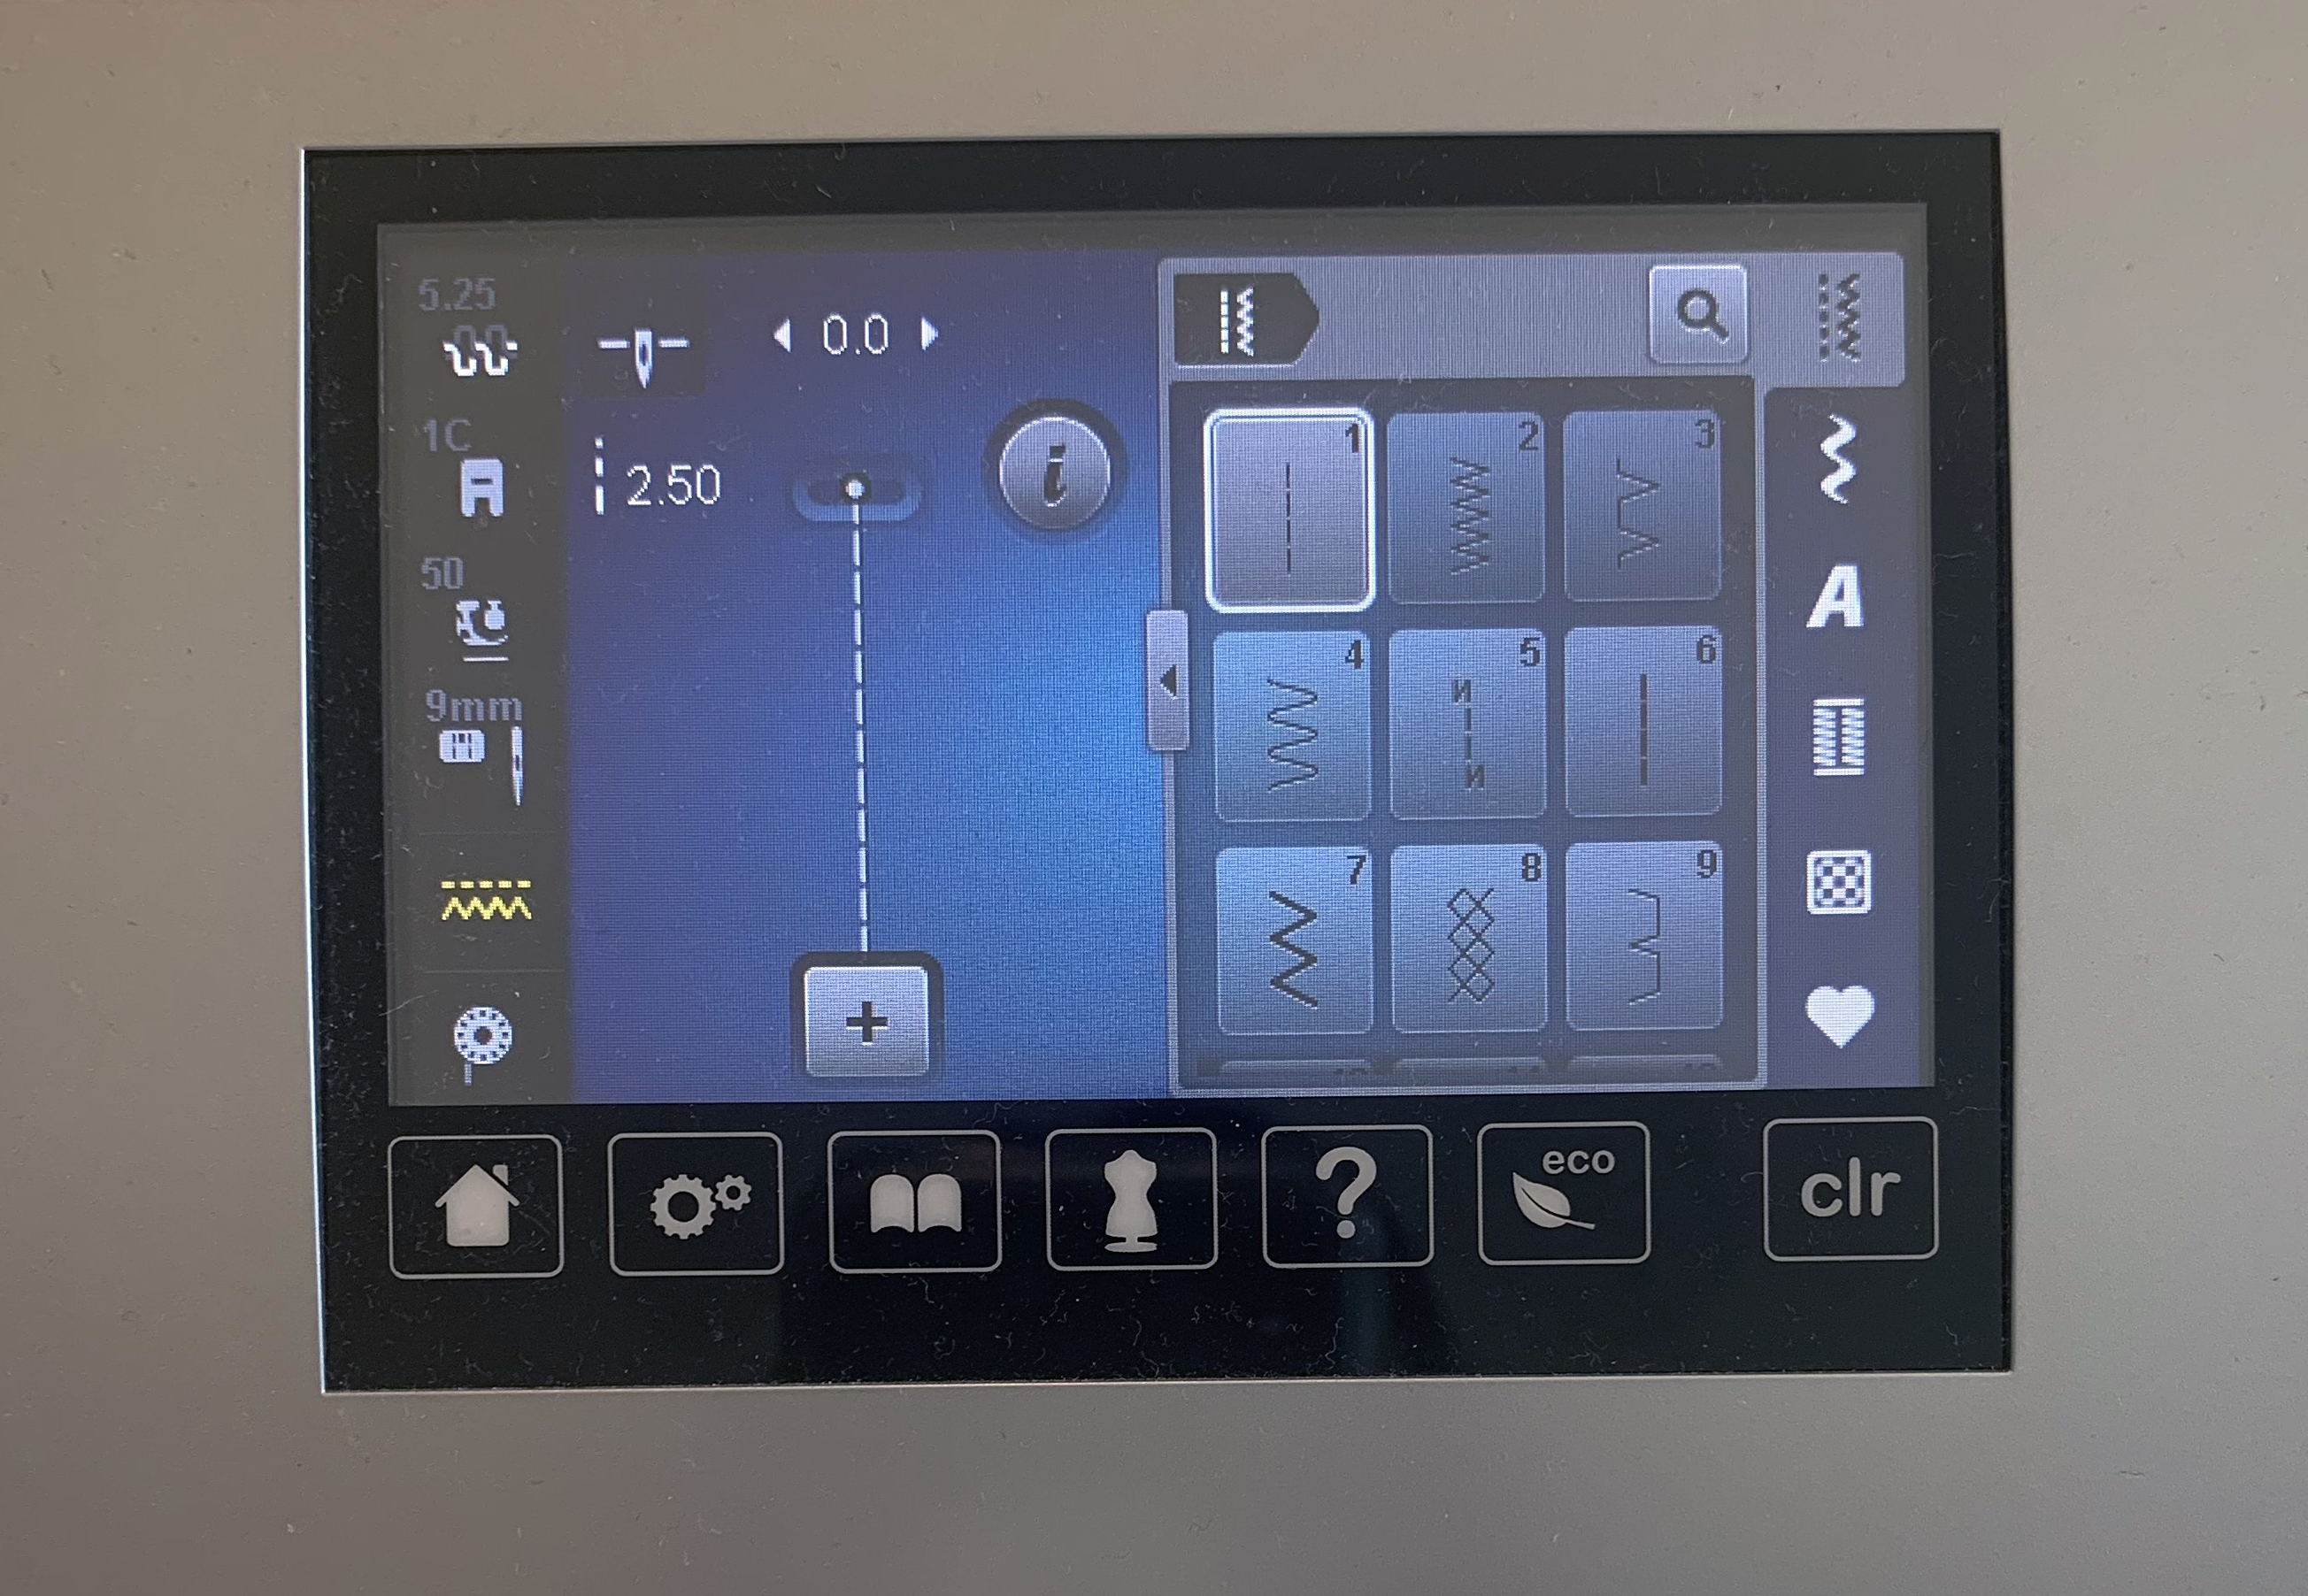
This is my default setup. I reduce the stitch length and usually lower the tension.
When it comes to preparing my fabric for quilt making, I do prewash any fabric that’s a fat quarter or larger. Sadly I’ve seen too many issues with fabric bleeding to leave it to chance. If I’m using precuts, I don’t prewash since that will shrivel them up. However, I DO wash the finished quilt with dye magnet sheets such as Color Catchers. This grabs any excess dye in the wash and makes a huge difference in protecting your quilts!

I also starch my fabric yardage after washing and before cutting into it. This makes a huge difference in how well the fabric sews together without stretching, and it’s an important step when sewing together larger lengths of fabric for a quilt backing.
Click the short video below for my starching tutorial on a small piece of fabric. This works well for larger pieces, too!
The other thing I’ll do to get my quilt layers nice and flat is to iron the quilt batting if it has any wrinkles. I prefer to use natural fiber battings (cotton, wool, or silk) rather than synthetic battings because they are more breathable AND ok to iron.
I’ll spray a bit of water on the batting, then iron it directly. If I’m worried about damaging the batting with my iron, I’ll cover it with a piece of fabric first. As with any new technique in quilting, be sure test on a smaller pice first to ensure you get the results you are looking for.

I use a “big board” that fits on top of my regular ironing board.
Once all 3 layers are nice and flat, it’s time to baste them together. I’ve written several basting tutorials over the years, but my favorite method is to use basting spray and my design wall.
Click the clip below for my most recent spray basting video tutorial.
Just for your reference, here are several links to other basting tutorials I’ve shared over the years. Feel free to pick and choose which techniques resonate with you.
- Safety Pin Basting Tutorial
- Pin Basting with Pinmoors and Straight Pins
- Spray Basting Using one Table
- Spray Basting Using 2 Tables and Taping the Backing Down
Just remember there’s no “right” or “wrong” way to quilt – just different techniques that work for your particular situation!
If you’ve enjoyed these hints, Click here for my full series of Machine Quilting Tips and Tricks.
 To continue supporting my sewing and sharing, you can pick up any of my fun fabrics, patterns, thread and books on my website at shop.ChristaQuilts.com.
Happy quilting, friends!!

I like what you said about not washing the quilt until the dye is set. I need to get a quilt made for my sister. She wants something with bright colors.
I am so happy to see thaat your machine is very similar to mine! I thought you would have some fancy beast with a really wide throat length. This makes me feel more confident about machine quilting on my machine! Just received your beautiful book!