Free Quilt Pattern
New to my blog? Be sure to sign up for my email newsletter to get a free pattern!
Binding
I have really come to love hand binding my quilts. There’s nothing better than curling up on the sofa with some mindless TV and hand stitching for awhile. However, for those of you who prefer a quicker finish, be sure to check out my machine binding tutorial.
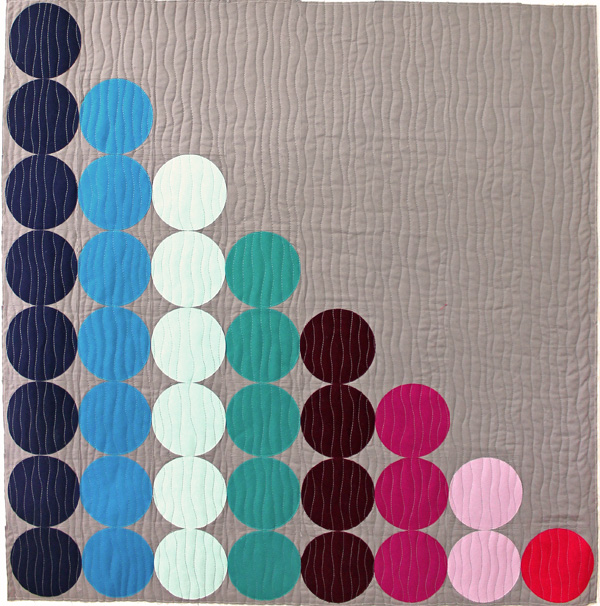
And now, it’s onto binding! It took me a total of 3 hours to bind Abacus.
 Step 1 – Trim the Quilt and Prepare the Binding (1/4 hr)
I use a large square ruler to square up the corners flush with the edge of the quilt. I use a longer ruler to trim up the sides. Be sure you have 1/4″ of background left around the edges of your beads so they don’t get covered up by the binding.
I love the look of a freshly trimmed quilt, ready to bind!
 To calculate the length of binding needed, take the perimeter and add 10 inches:
32+32+32+32+10 = 138
Divide this number by 40 to get the total number of binding strips needed. 138/40 = 3.45 which I will round up to 4 strips. Cut them 2 1/4″ wide.
Join your strips together by sewing mitered seams. Place them right sides together, perpendicular to each other with a little bit sticking off on both sides. You will be sewing a diagonal seam indicated by the black line below:
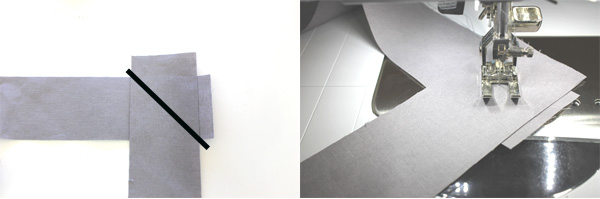 Note: if you are working with solids, take care to know which side you are working with! You can put a pin to indicate which is the front or back side of the strip.
Trim off one end at a 45 degree angle and press the binding, wrong sides together along the length. This is what it the binding strips should look like when trimmed and pressed:

Step 2 – Sew the Binding to the Front of the Quilt (1/2 hour)
Start with the trimmed end and stitch with a 1/4″ seam, leaving a tail of about 6″ dangling off the quilt. When you near a corner, make a crease indicating the edge of the quilt underneath. Stop sewing exactly 1/4″ away from the crease and sew off the end at an angle.
 To fold the miter on each corner, lift the strip up and away, parallel to the quilt. Bring it back down upon itself, even with the edge of the quilt, creating some bulk. I call this the “funky fold.”
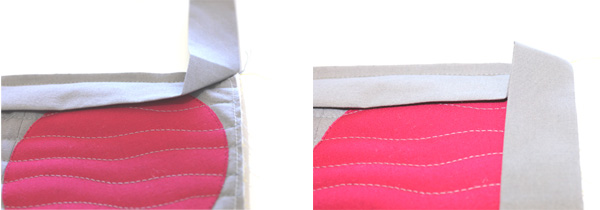 Continue sewing from the corner you just folded, all the way around the quilt, mitering each corner as you go.
When you get close to the end of the quilt, leave another tail of about 5″ – 6″.
Join the ends together by opening the beginning tail with the angled edge and placing it on top of the ending tail with the untrimmed edge. Draw a 45 degree line on the untrimmed end. I’ve drawn a black line on the photos below so you can see that more clearly. Cut 1/2″ away from the drawn line. Use a small ruler with a 45 degree angle for an accurate cut.

Pin the beginning and ending tails together and sew with a 1/4″ seam, offsetting the edges by 1/4″ (see that little triangle peeking out below). You may have to scrunch the quilt out of the way to make room. Finger press the seam open, fold the binding in half again, and finish sewing the binding to the front of the quilt.
 Step 3 – Pin or Clip the Binding in Place to Sew (1/4 hour)
With an iron, press the binding away from the quilt on the front. This creates a crease making it easier to fold over the binding and sew in place by hand or machine.
 Fold over the edges and hold in place with pins or clips. My favorite are the Clover Wonder Clips in packs of 100. I prefer to clip the whole thing in place so it’s ready to sew, and I place them pretty close together so I can quickly use up a whole bag of clips!

Don’t forget to fold the corners in place and secure with a clip. They will automatically create a nice pretty miter on the back – aim to line up the two corner edges so the miter is right in the middle of the corner.
Step 4 – Finish by Hand (2 Hours)
I forgot to take pictures while sewing the binding down by hand. I guess I was enjoying myself too much. Click here for another hand binding tutorial which basically outlines the steps above with hand stitching closeups.
Congratulations on a great finish!

Click here for all of the Abacus Quilt Along Tutorials.
Sharing is Caring
Please share your work in progress in my facebook group: Quilt With Christa . 🙂
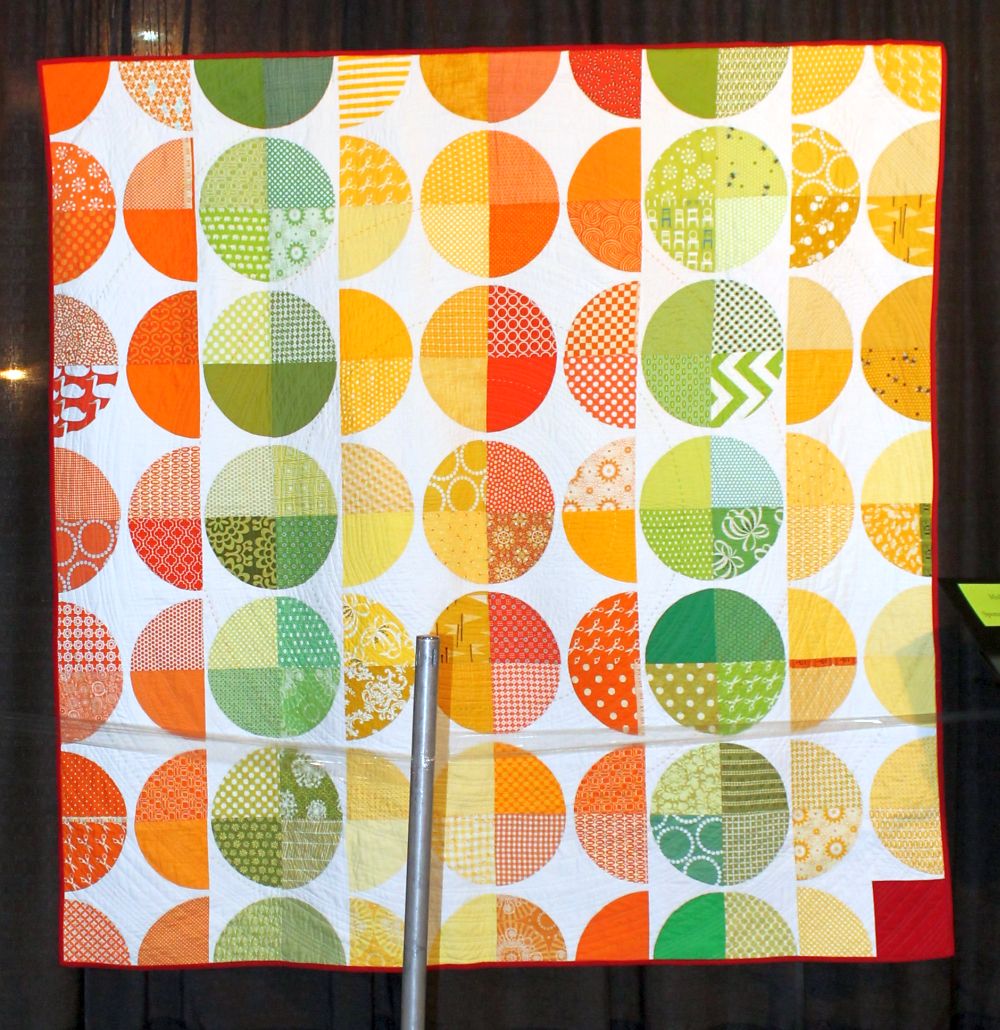
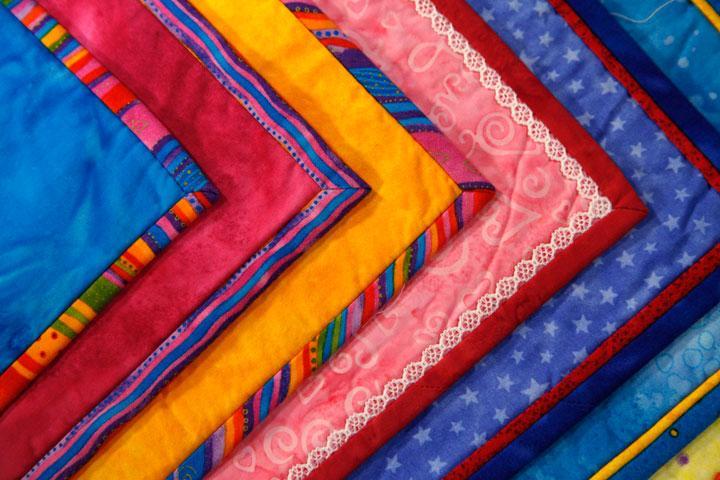
 Elizabeth aka Catskill Quilter with her rainbow colored version.
 Elizabeth even made matching bibs. How cute!
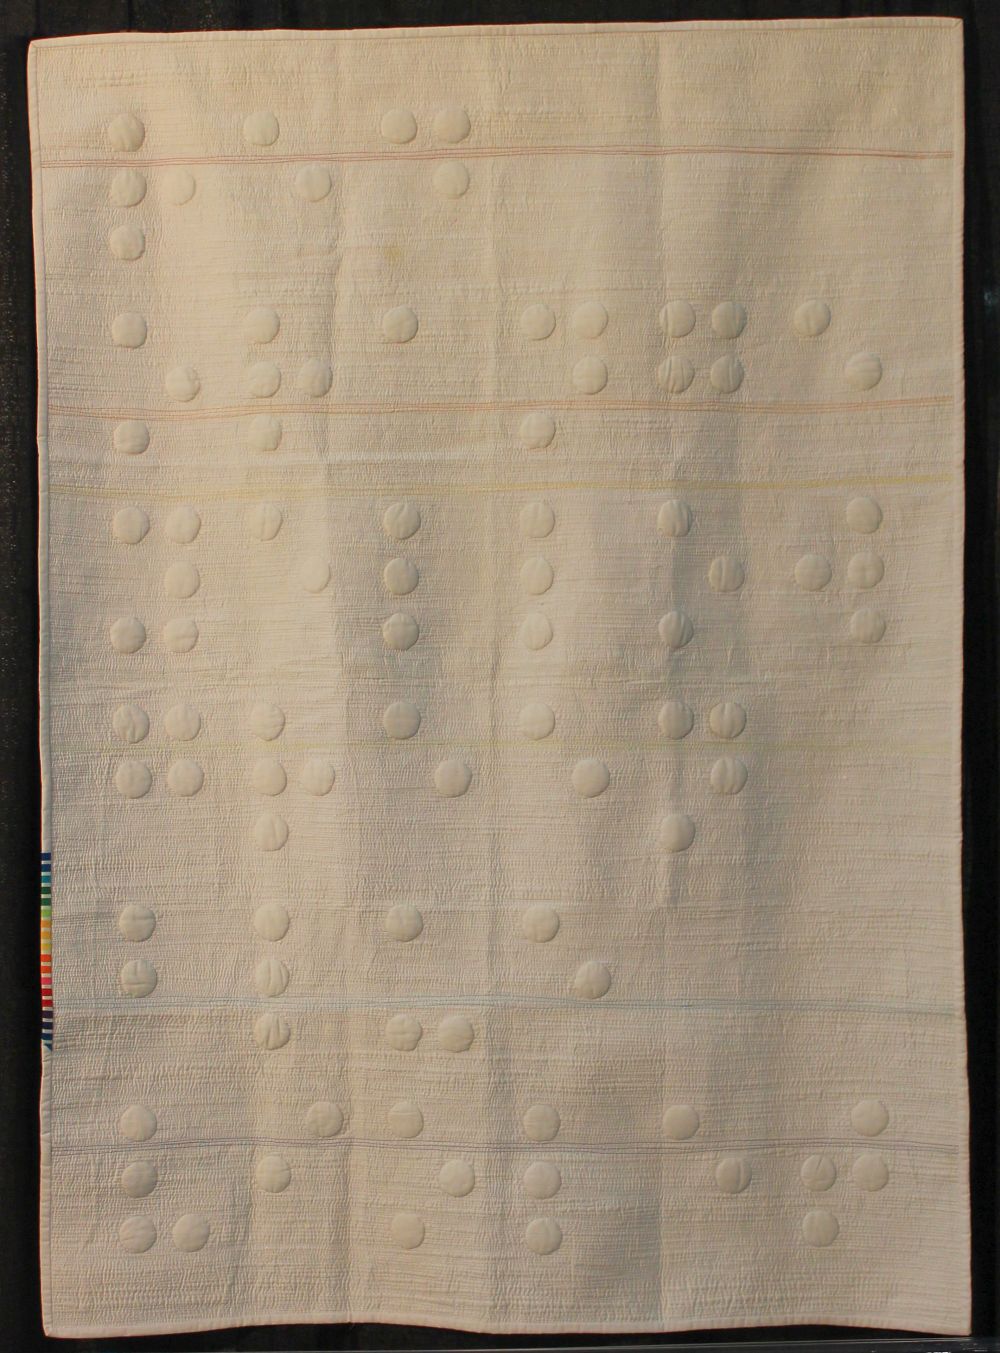
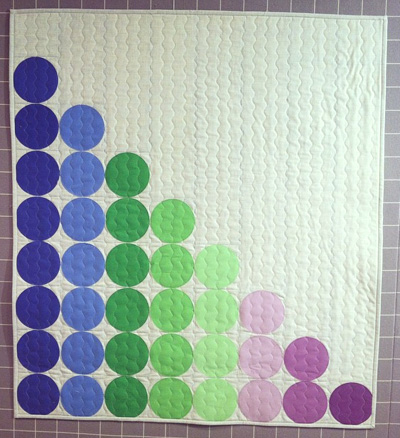 Susan C. (slusclay on instagram) chose blue, green, and purple solids for her version. She did a fantastic job on the quilting!
 Susan aka farmquilter chose a darker grey background for her top. I love it!
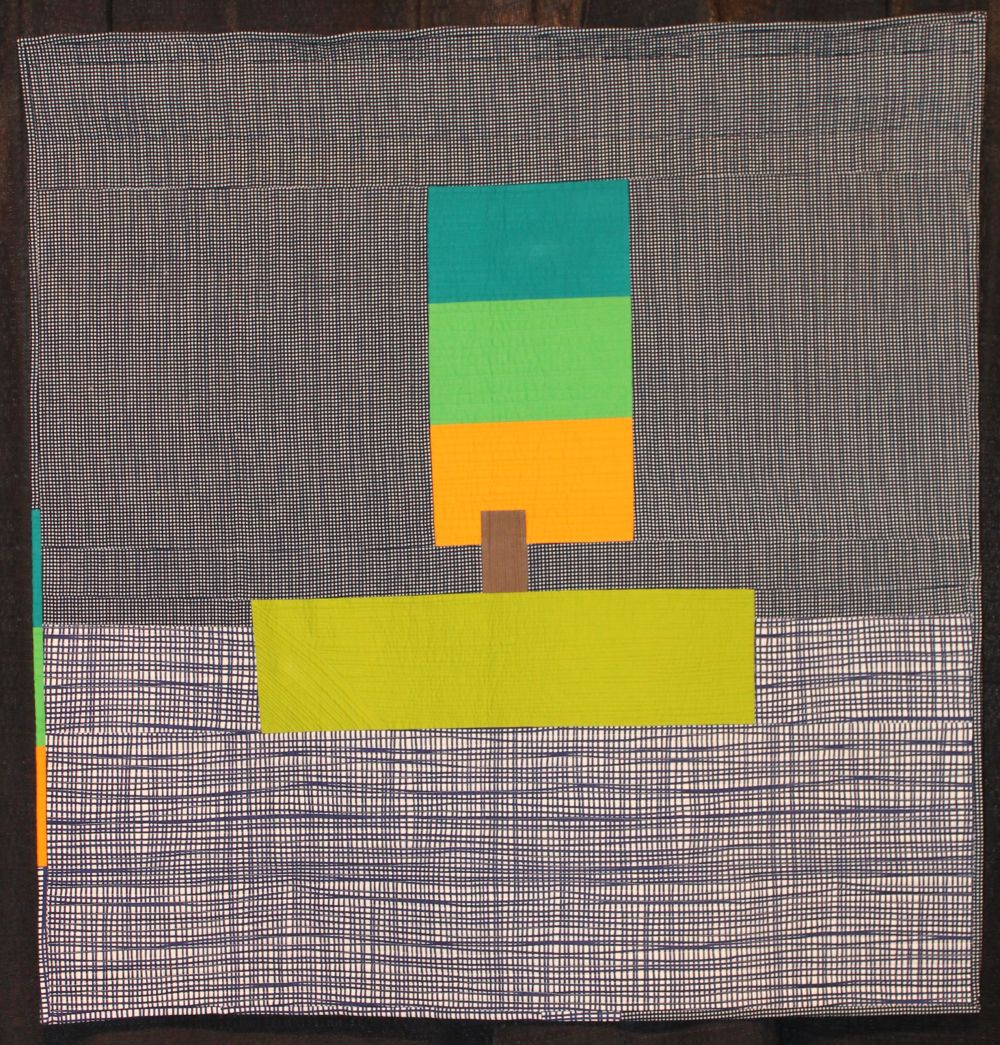
 Sconehead1 changed up the bead count and used an awesome background!
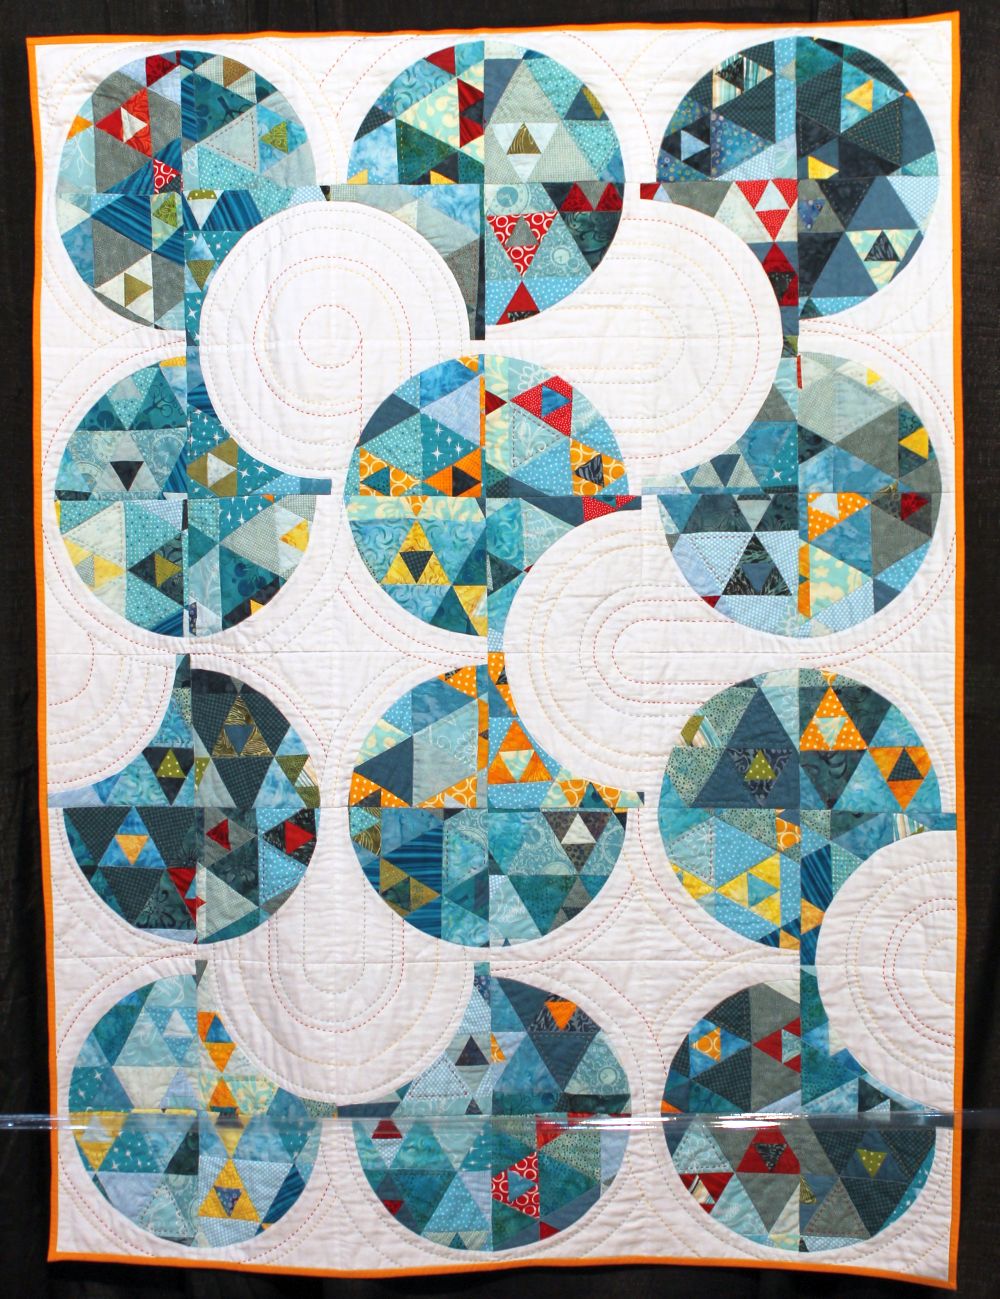
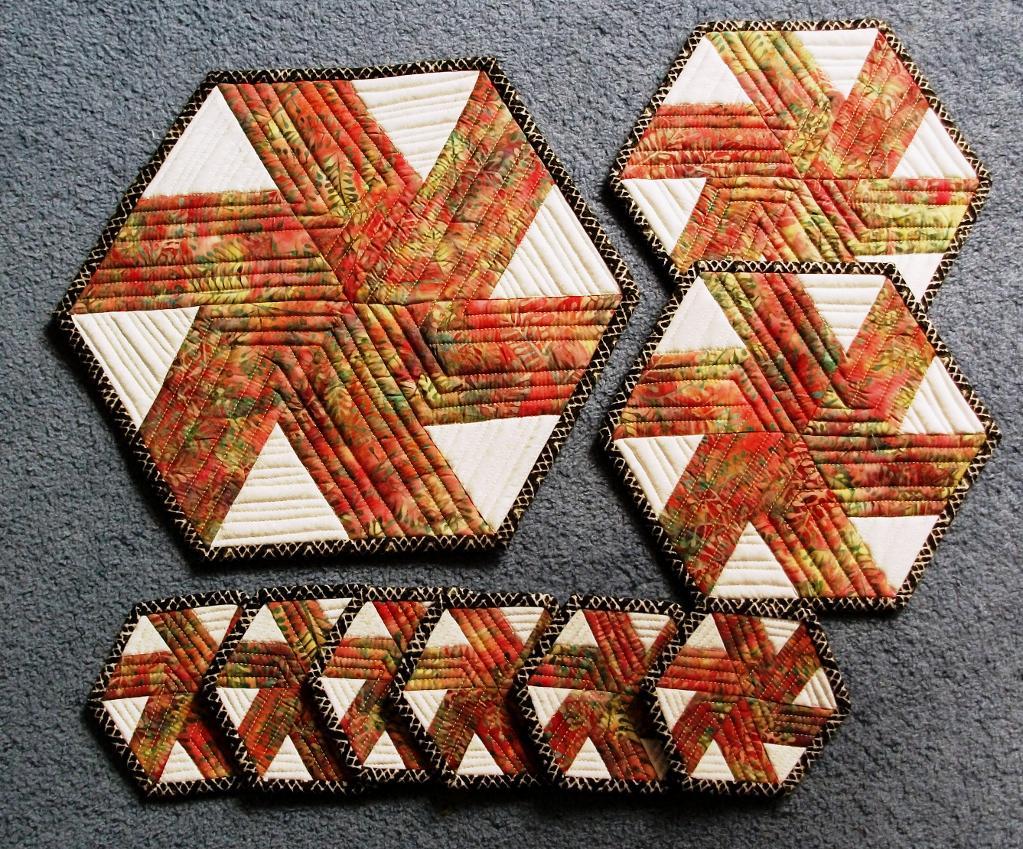
 Joanne P used batiks and made it her own with an extra bead and borders!