Li’l Rascals Charm Pack Quilt #4 – Blocking and Binding

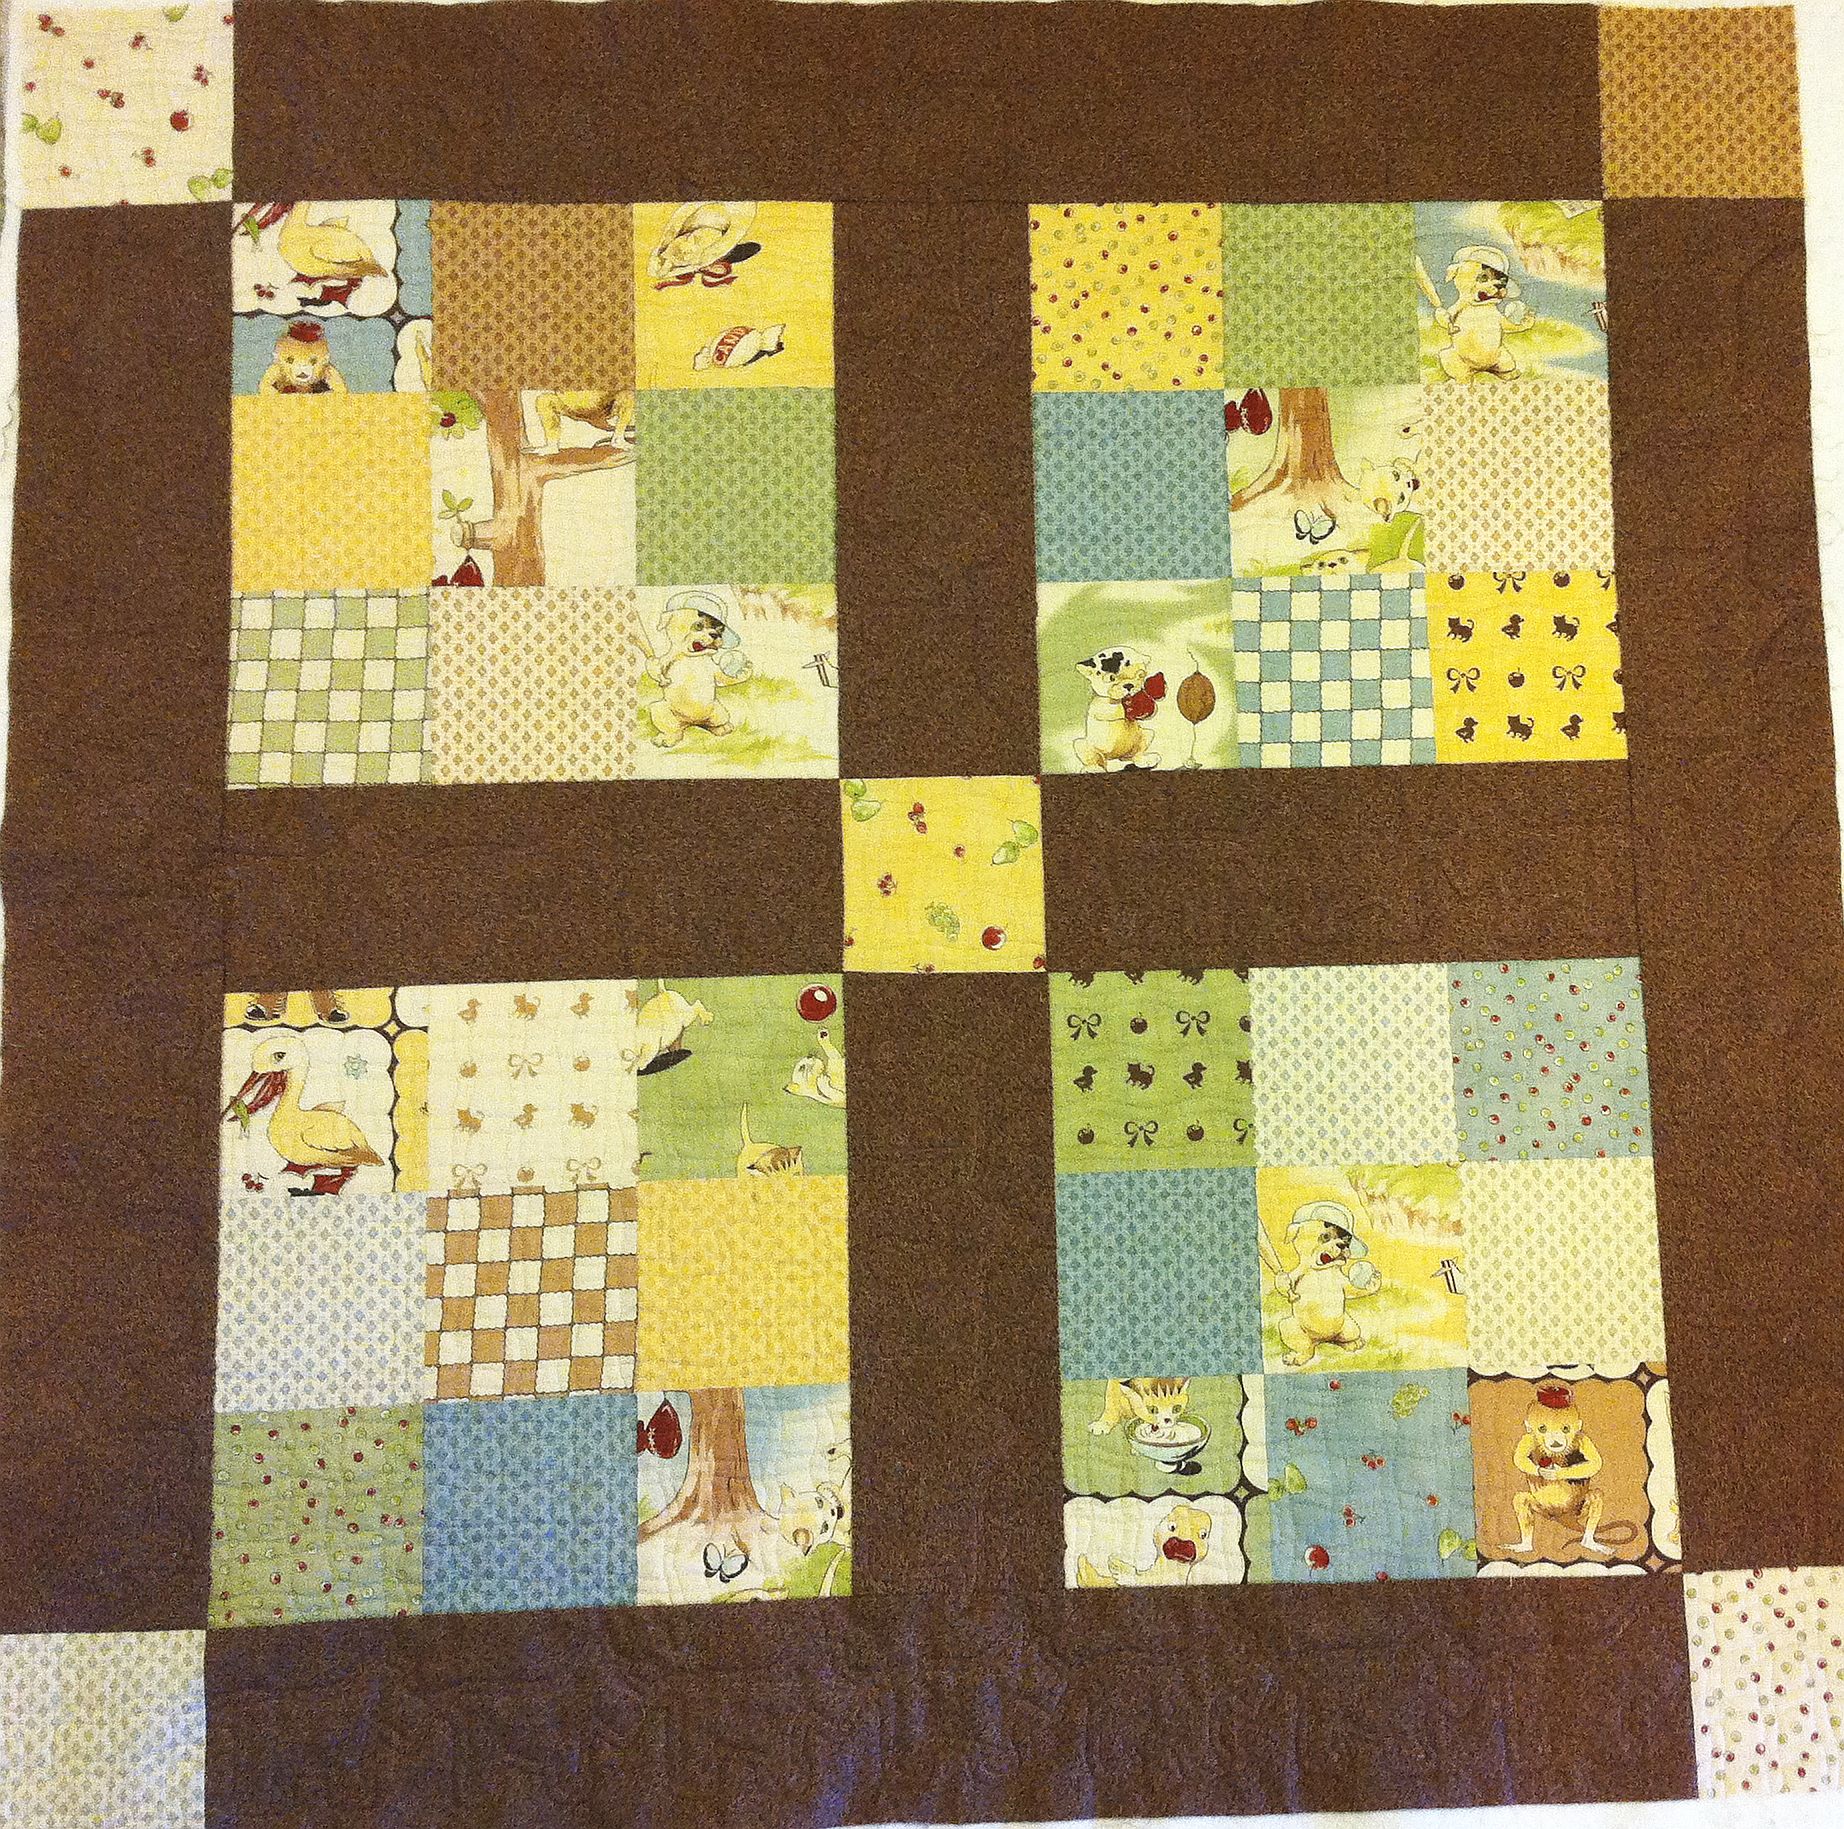
I’m finishing up my Li’l Rascals charm pack quilt this week and it has been such fun to make!

Week #1 was the free pattern and cutting instructions to make the top.

Week #2 was machine quilting the large nine-patch blocks.

Week #3 was using a stencil to mark and quilt the sashing and borders.

I will finish the quilt this week by blocking and binding it. I’ve enjoyed putting together this tutorial so much that I may make this a regular blog feature. Let me know what you think!
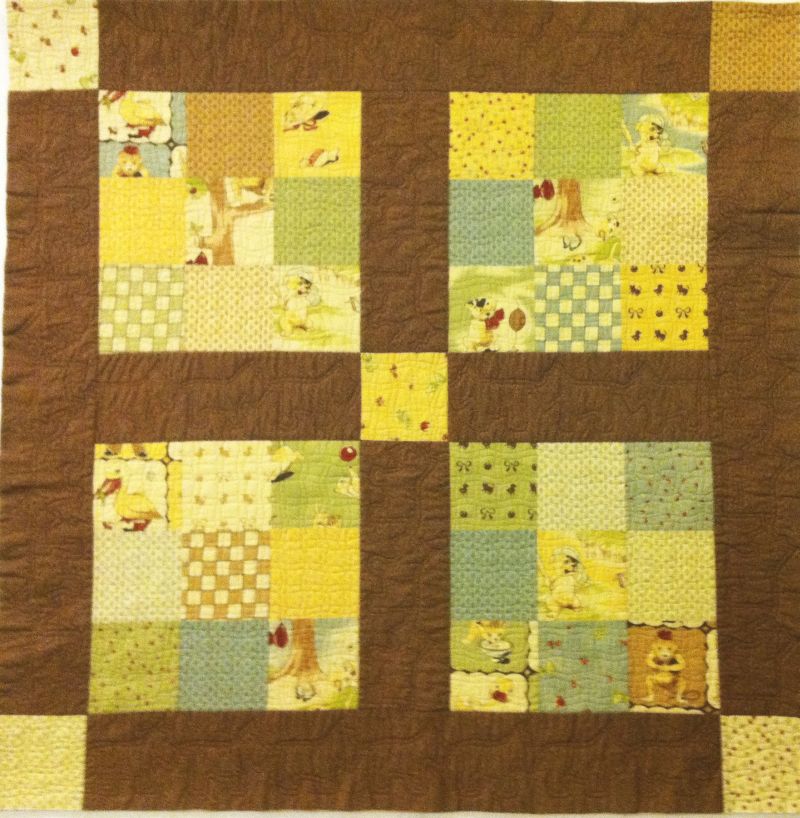
Li'l Rascals Charm Pack QuiltThe first step in blocking the quilt (whether you do this before or after binding) is to get the quilt completely wet. You can soak it in a tub, or in your washing machine on the hand-wash cycle. It will start out as a wet lump, but that’s ok, because you’ll smooth it all out.

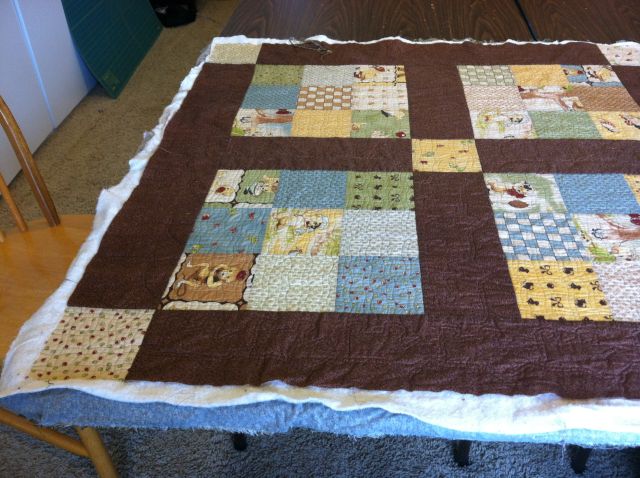
Wet QuiltSmooth the Quilt

I have 2 large tables set up in my sewing space that I use for basting and blocking. I laid the quilt out on the corner of the table and began blocking it into place.

I use several acrylic rulers to help me block it into place. I overlap them and measure some of the areas of the quilt to make sure they are nice and square. Using the numbers on the rulers I can tug and pull the quilt into place.

Acrylic Rulers for BlockingQuilt BlockingIt  takes about 1-2 days to dry nice and flat.

Once I’m happy with how the quilt looks, I use large square rulers to trim the corners and long rulers to trim the sides. The long lines help me make nice straight trimming cuts.

Trim the Quilt

Now it’s ready to bind! Here are two binding tutorials I’ve put together from previous posts. I bind most of my baby quilts using these methods. Now, onto the next quilt!

Binding Blog Post #1

Binding Blog Post #2

By the way, if you are interested in making this same quilt, it requires just one charm pack of your choice and 1 yard of coordinated fabric for the sashing. I used Lil Rascals by Chloe’s Closet for Moda with Funky Monkey Sock Texture in dark brown.

Bungle Jungle Charm Pack Quilt – Week 2

I finished my version of a modern quilt top this week:

Bungle Jungle Charm Pack Quilt TopUsing one Bungle Jungle charm pack and 2 1/2 yards of White  Solid , I whipped this puppy up in just a few days! I started working on this quilt last week.

Random Scattered Block PlacementI started off by making a total of 42 blocks since there are 42 charms in a pack.

I arranged them on my design wall randomly, turning each block in a different position.

While I like this arrangement, I didn’t love it, so I tried laying out all the blocks in the same orientation. I liked that better.

It must be my OCD kicking in!

Block PairsNext, it was a simple feat to sew the blocks into pairs and then join the pairs into rows to complete the top.

Each row had 6 blocks (or 3 pairs), and I sewed a total of 7 rows. I pressed all of my seams open so it will be easier to quilt and fabric won’t shadow through the white.

Rows of Charm Pack BlocksOnce I finished sewing all the blocks together, I realized  I needed to add a strip of white to the left of the quilt top and one across the bottom to balance the design.

This would create a continuous border of white all around the quilt with plenty of negative space for creative quilting.

Instead of cutting one long strip for each border, I cut 13 rectangles, 4″ x 8″ each and made 2 pieced borders. The left border required 7 rectangles and the bottom row needed 6 plus a 4 inch square for the corner.

Pieced Borders

I’m pleased with the quilt top and will start machine quilting it next week. It will finish around 52″ x 61″ which will make a nice sized baby-throw.

I have a few ideas that I’m going to think about over the next several days before I begin quilting. I really want to incorporate this hand stencil in the white areas:

Precious Hands StencilI’m thinking I might randomly quilt the hands in the white areas, joining them together with loopy stippling designs. I’d like to quilt something fun in the charm squares too, like perhaps a different shape in each block. If you’ve got any suggestions, please send them my way!

Weight Loss Week 11 – Summer Fun Activities

I’m into my 3rd month of my weight-loss routine and am chugging along. I lost 1 pound this week for a total of 16.2 pounds gone. It’s slow but steady. You can read about last week here.

Exercise is an integral part of my daily routine. Whether for weight loss or just general fitness, I always feel better if I start my day off with a good workout. Because it’s getting hot outside, I needed to come up with some cooler summer activities.

YogaFor a nice relaxing indoor workout, I love to do yoga at least once a week.

I have a couple of workout buddies that will humor me on a regular basis. We just pop in a video and follow along.

It feels so good to stretch our muscles, especially after a hard run the day before!

On really hot days we’ll swim a few laps in the pool. Jason’s offered to be our swim coach and give us a few pointers here and there.

Coach JasonSwimming Laps

By the way, I’m not in any of these pictures because I’m the one taking them!

Here are this week’s tips on how to beat the summer heat while still staying active:

1. Scale down my outdoor activities. My favorite exercise is running but rather than doing a long hot run,  I’ll just run around the block or two in the early morning before it gets too hot. If I do need to get in some distance, I’ll hit the treadmill at my neighborhood gym and put on some really great music on my ipod to break up the monotony.

2. Play more with the kids. My younger kids love to go to the pool every chance they get so getting in the pool and splashing around with them gets everyone moving. They like to go on bike rides too, and nothing feels cooler than the wind in your face while cycling!

3. Do it with friends. Whether it’s sewing or exercising, it’s always more fun with my pals!

Christa’s Soapbox – Celebrate Your Fabric Independence!

With the 4th of July holiday coming up next week, it reminds me of all the things I have to be thankful for – like freedom and independence, and entrepreneurial spirit!

I’ve always had a dream to own my own business ever since I was little. When I was just a little kid, I earned money selling home-made suckers from my front yard,  renting out video game time on our neighborhood’s first electronic game console,  and going door to door selling carwashes that I provided myself!  I’ve always had the belief that if you work hard enough, anything is possible!

About a week after I learned to quilt (almost 20 years ago) I was hooked and immediately thought of ways to support my habit and start making money from my craft. I sold quilts, taught quilting classes, and for the last 6 years Jason and I have been selling fabric full-time.

It’s been rewarding, exciting, time-consuming, frustrating, heart-wrenching,  and thoroughly exhilarating. We are not getting rich by any means, but it sure feels great to get up each day and love what we do.

Shop IndependentIn the spirit of independence, I’d like to introduce Fabric Shoppers Unite, a worldwide network of independent quilt and fabric shops, e-tailers, and design studios who have joined forces to promote shopping independents.

According to their statistic, 95% of fabric purchases are made through chain stores, and they are trying to change that, encouraging people to shop “local” whether that’s around the corner, or across the world!

By shopping independent shops, you support that movement and join with consumers just like yourself to ensure that you will have access to the best specialized quilting and sewing supplies, no matter where you live.

Here are three top reasons as to why you should support independent and local business:

1. Excellent Service
At independents, you can expect caring attention to your needs.

2. Superior Knowledge
Independent shops are staffed with enthusiastic quilters and sewists, and have
unsurpassed knowledge that they pass on to you.

3. Count on Quality
Fabrics, notions and tools available at independents are of the
best quality.

This Independence Day, make a concerted effort to shop  independents!

Sew and Tell – Big Stars Quilt

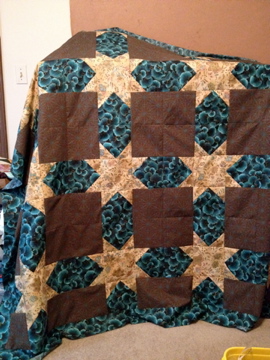
Ellie W from Oklahoma made this beautiful star quilt.  She is definitely my sew and tell “Star” of the week! I love the brown paisley Michael Miller print that ties it all together.

Ellie's Star QuiltEllie's Star QuiltEllie loved the pattern and teal tonal fabric so much she made a total of 3 bed sized quilts! She sewed them with different fabric placements to show off the teal Gingko Tonals fabric which she got from me.

Alternate Fabric PlacementAt right is  one of the other quilt tops she’s working on with the teal fabric in the sashing. I love how the brown pieces on this quilt form a square. That would be a perfect spot for some really jazzy quilting!

Ellie made 16 blocks, set 4×4 for a queen sized quilt. For a king sized quilt she made 25 blocks, set 5×5 plus an added border. Hey, I could whip up 16-25 blocks in a few days…

Ellie says she loves to make herself one big bed quilt every once in awhile, and she likes to give the others away as gifts so she can get started on the next one!

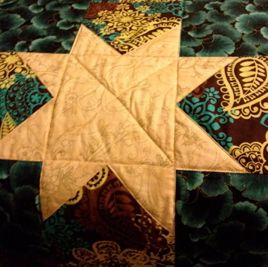
Star BlockHere’s a general idea of how to make one of these big block beauties:

Start with a 6 1/2″ center square for your star. For the star points, cut four 6 1/2″ squares of the fabric that will show as sashing (the paisley fabric in the picture at left). Sew two 3 1/2″ squares of the cream star fabric onto one side of the paisley for the points.  Line these squares up in the corners “snowball-style” and trim off the ends. Then add four 6 1/2″ squares of the teal fabric to complete one 18 1/2″  block.

Share Your Project

If you would like to share a project you’ve made with at least one piece of fabric purchased from me, please email christa@christaquilts.com with your high quality photos and what makes your project interesting or special to you. If you are selected as my show and tell star of the week, you’ll get a $5 gift certificate as my way of saying thanks!

Little Rascals Quilt Part 3 – Stencil Quilting

This week I finished quilting the brown sashing on this adorable Li’l Rascals baby quilt. You can learn how I free-motion quilted the blocks in last week’s blog post.

Li'l Rascals Baby QuiltFirst, I selected a cute Scottie Dog quilt stencil. I lucked out because each dog motif was about the size of one of my charm squares, so I didn’t have to adjust the size of the design. I love collecting all sizes and styles of quilting stencils. I probably have over 100!

Scottie Dog StencilSewline Marking Pencil

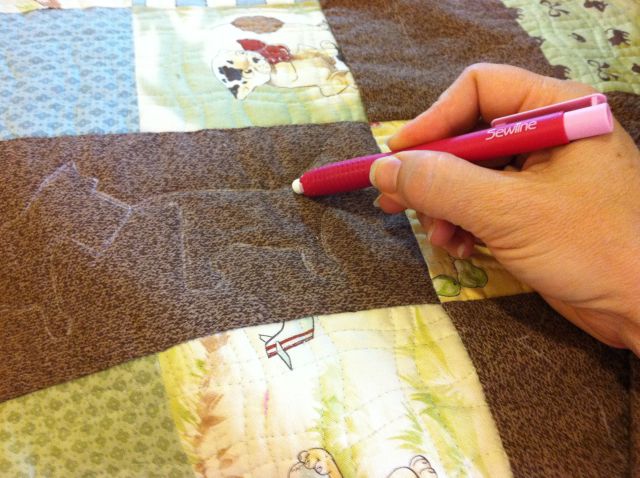
To mark the design, I used a Sewline mechanical pencil with white ceramic leads. It made a nice clear line to follow.

The lines came off easily with a Sewline eraser stick after quilting. The left picture below shows 2 marked and quilted motifs. The right picture is after I erased the right motif. You can clearly see the quilting, but not the lines!

Sewline Fabric EraserRight Motif Erased After Quilting

After I quilted the dogs with a matching brown thread, I decided I wanted to see them a little better, so I quilted them again, going over my previous lines, but this time with metallic thread. (To avoid problems using specialty threads I use titanium-coated top-stitch needles from Superior Threads.)

The design still wasn’t quite finished, so I added another line of quilting, echoing the shape of the dogs. Then I was happy with the quilting. Echo Quilting with Metallic ThreadNext time I think I would try a much darker or lighter thread so that I can see the design even better. I’ve been quilting for so many years with matching thread to hide my mistakes. But now that I’m getting better with my free motion quilting I want my stitches to show!

Next week, I will finish this quilt by showing how to block it and bind it.

If you’d like to make a similar quilt like mine, it requires just one charm pack and 1 yard of coordinating fabric for sashing.

Bungle Jungle Modern Quilt – Week 1

Before I’ve even finished my current project, the Little Rascals baby quilt, I’ve already started on my next charm pack design! I was inspired by Leah Day’s modern quilt on her free-motion quilting blog.  However,  I’m making mine a little more uniform and less wonky.

I started with one charm pack of Bungle Jungle – a set of 42 precut squares that measure Bungle Jungle with Solid White5 inches. That means the finished size of each square is4 1/2″. I wanted to surround the squares with lots of open space for quilting, so I grabbed 2 yards of  of Kona Cotton Solids in white.

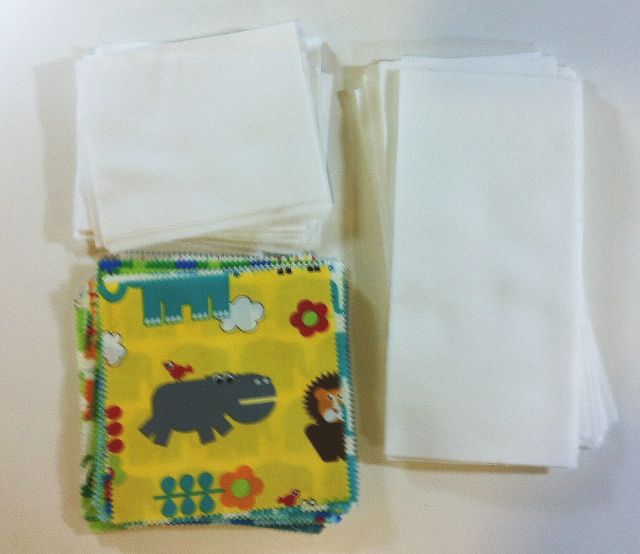
I cut  fifteen 4″ wide strips of white and sub-cut them into 42 pieces that measure 4″ x 5″ for the short side of the blocks and and 42 pieces of 4″ x 8 1/2″ for the long side of the blocks.

I stacked the pieces up next to my sewing machine in order so they were all ready to sew. Some of the prints are directional, but I won’t worry about that as I sew this quilt together. That will add to the “charm!”

Stacked and Ready to Sew

Bungle Jungle Block

To help with quilting later, I pressed all of the seams open. This helps reduce bulk and prevents shadowing of the seams. I will sew a total of 42 blocks, one for every charm square.

This week I will work on arranging the blocks into a pleasing setting. I’m loving it already!

Bungle Jungle Blocks LayoutThe Modern Quilt aesthetic really appeals to me with lots of negative space and clean lines. One of the hallmarks of this design style is to use lots of solid fabric and crisp, clear colors.

If you’d like to follow along, grab 1 charm pack of your choice and 2 yards of background fabric, then sew a total of 42 blocks like those shown above. (I’ve only finished 12 blocks so far.) I’ll continue to blog about this project until it’s done, including quilting and binding.

Summer Job

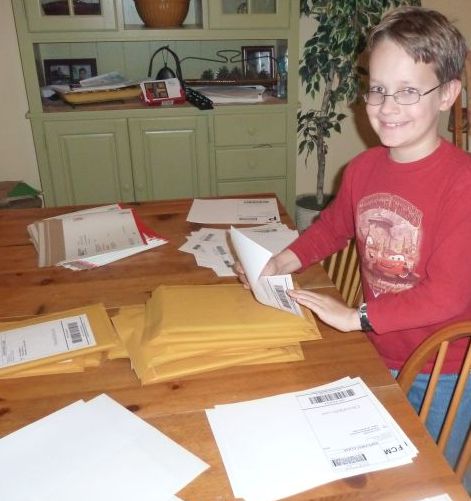
My husband and I like to teach our children to be pretty self-reliant. Part of their daily routine includes the usual chores and helping out around the house with meals, etc. Our oldest son Jason will be 16 soon (scary!) so he’s decided he wants a summer job with us. All 3 kids have been helping us out with our on-line quilt shop in some way or another but they are now ready to step it up a bit.

Cutting Fat QuartersI took the plunge this week and started teaching Jason how to cut fabric. I figured if he’s old enough to learn to drive, he’s old enough to handle a rotary cutter. I started him on fat quarters since we sell tons of those. I showed him how to lay out fabric, make a clean cut, and slice through multiple layers of fabric for efficiency. Once he gets the hang of that, I’ll move onto having him help cut customers orders, too.

Right now Jason is one of my fabric pullers which means when an order comes through, he grabs the labeled bolts and all of the precuts that go along with the order. He’s been doing a great job of that so far, and now he’s started training his younger brother Ryan to do it, too.

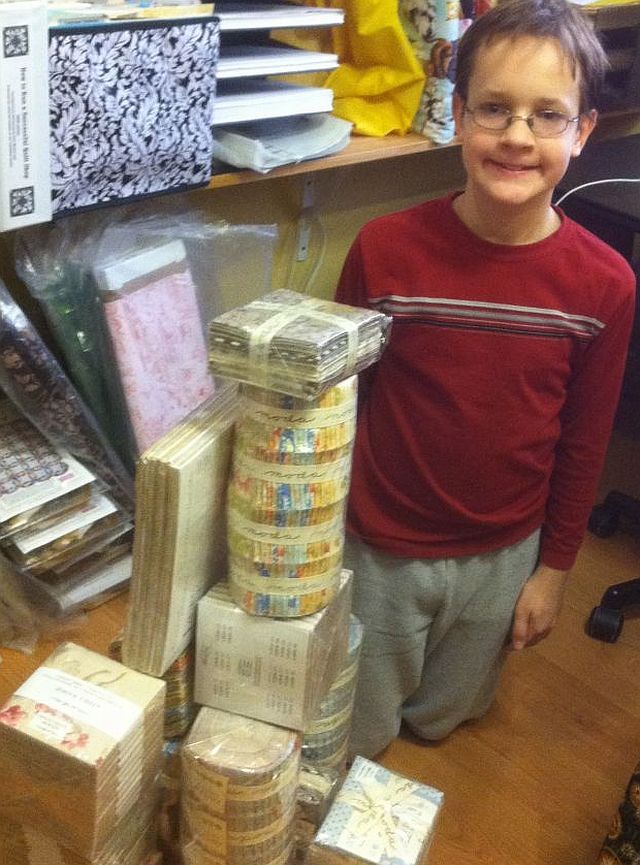
Ryan's Summer JobFabric TowersRyan’s other tasks are to label all the packages and open new boxes of material that come in. He likes to get a little creative with the precuts, and I have to remind him they are not building blocks!

Mother-Daughter TeamJenna’s  favorite thing to do is fold fat quarters and bag and label charm packs.

She’s got her own system down and has already told me she wants to take over the business when she grows up. Fine with me!

As you can see, we have our work cut out for us this summer.

Our kids love earning money with their jobs and we get a sense of satisfaction knowing we are teaching them to work hard!

Weight Loss Week 10 – The Importance of Sleep

I’m down .4 pounds this week for a total of 15.2 pounds lost since I started. I’m so excited to be over the 15 pound weight-loss mark. Now I can’t wait to get to 20! In case you missed it, here’s last week’s blog post.

One thing I’ve been thinking a lot about lately is sleep.

I recently read about some studies that scientists are conducting on mice. They took two Goodnight Monkey Fabricsets of mice, fed one group round the clock and fed the other group more food but only during waking hours with a long “fast” in between and plenty of sleep. The second group of mice lost more weight even though they consumed more calories! Isn’t that crazy? Now I know we are not mice, but that got me to thinking….

So for the last couple of weeks I tried my own mini-experiment. I logged not only my calories but also what time I went to bed each night and whether or not I ate a snack right before bed. I also recorded my weight-loss twice a day, at night and in the morning.

What I found was very interesting. On the nights where I did not have a bedtime snack and went to sleep early, my weight loss was up to 2 pounds lighter the next morning. Conversely, on the evenings where I stayed up later (and had a snack) the next morning’s weigh-in was either the same as the night before or just slightly down.

Even though it’s not exactly scientific, this mini-experiment tells me just how important sleep (and not snacking late at night) can be!

So here are this week’s tips on how to get more sleep:

1. Go to bed at the same time each night. That’s hard to do with my busy life but I’ve realized the commitment to sleep is just as important as a healthy diet and exercise. Plus, it’s much easier to get up early the next day when I have a regular sleep cycle.

2. Get the whole family committed to an early bed-time routine. Even though it’s summer and my kids want to stay up late, we allow that only on weekends. During the week they still need their rest so they can get up early and play (or get a jump-start on their daily chores – and then play.)

Sweet dreams!

Sew and Tell – Christmas Runner

Barb N from Idaho recently completed this beautiful Holiday runner and is this week’s Sew & Tell star!

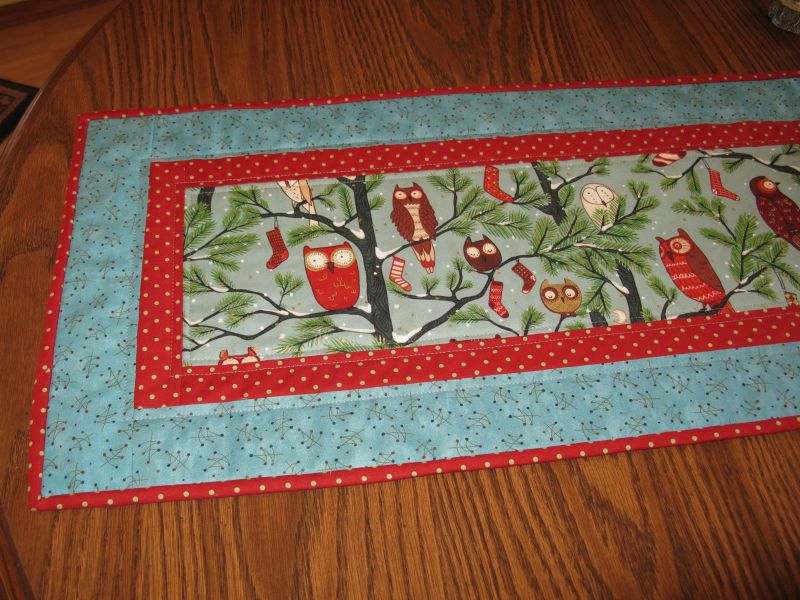
Barb's Christmas RunnerBarb made it as a commission piece for a client of hers who wanted an extra long table runner, 90 inches in length. What a great way to use up a piece of vary narrow but very long batting! It’s a simple to make yet very effective piece.

Barb chose “Holiday Hoot” from Alexandar Henry  for the middle and cut it wide enough to really show off the print. She surrounded it with a thin red sashing (Nature’s Gift by Deb Strain) and then a wider piece of Chistmas teal (Adoring by Sandy Gervais , which she got from me).  Don’t you think she did a great job of blending fabrics from 3 different collections?

This is what Barb had to say about her holiday runner, “With such a great focal fabric, I let the fabric do the talking and simply machine stitched around the rectangular borders to give it hold and definition.  I also made matching placemats and a smaller version of the runner.”

Christmas Table Runner DetailBe sure to check out Barb’s blog at mountainquiltworks.blogspot.com.

Share Your Project

If you would like to share a project you’ve made with at least one piece of fabric purchased from me, please email christa@christaquilts.com with your high quality photos and what makes your project interesting or special to you. If you are selected as my show and tell star of the week, you’ll get a $5 gift certificate as my way of saying thanks!