Charm Pack Quilts – Sew Easy Even a Child Can Do It!

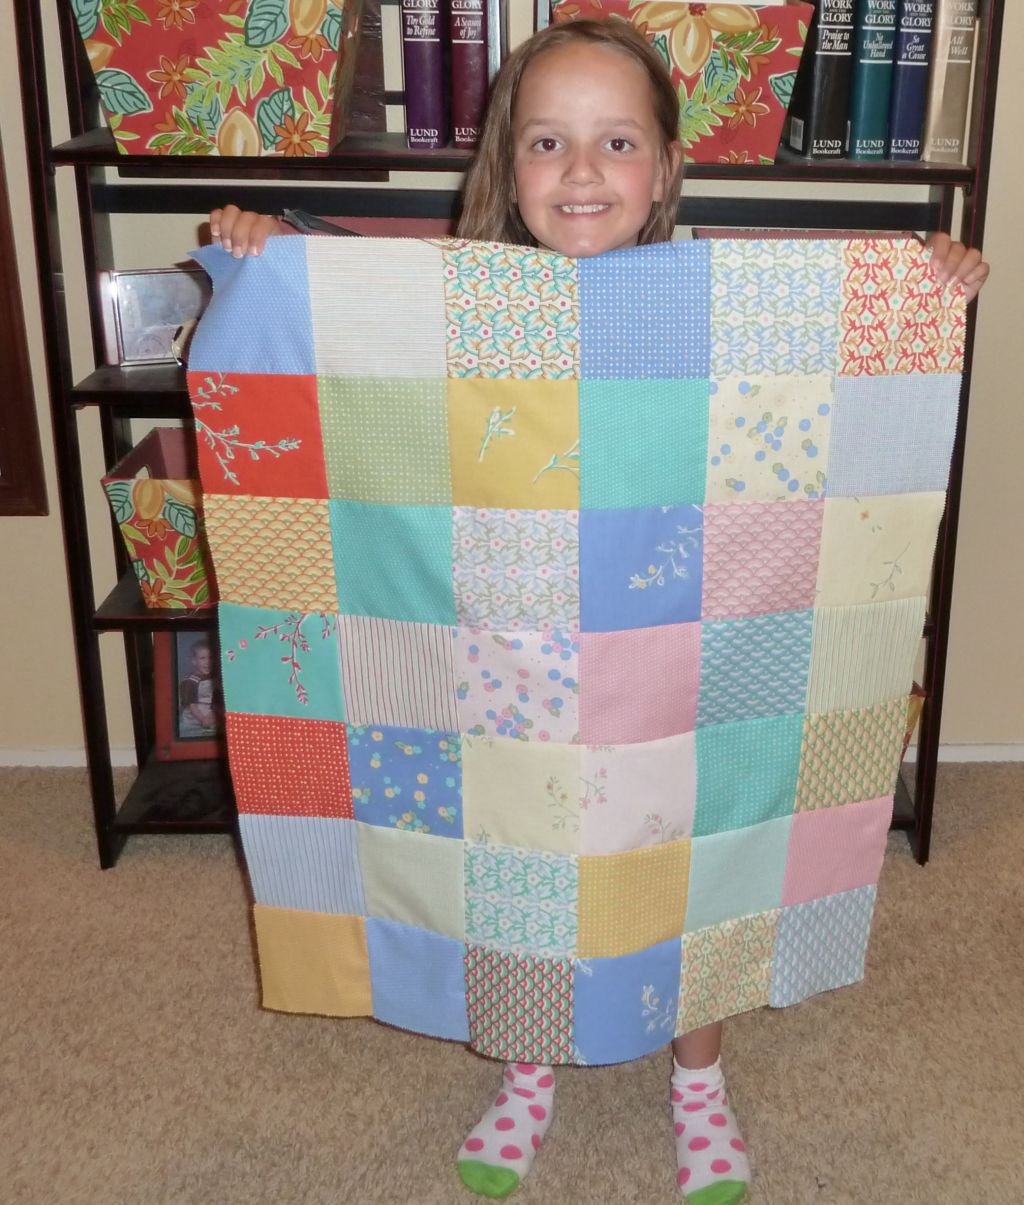
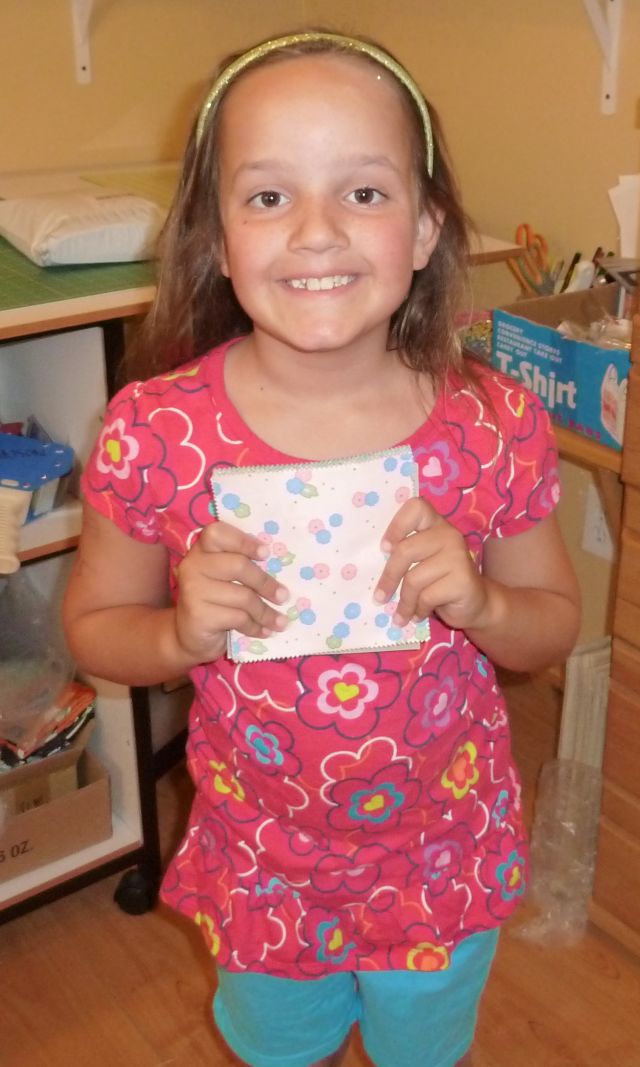
Opening the SquaresJenna completed her Charm Pack quilt top!

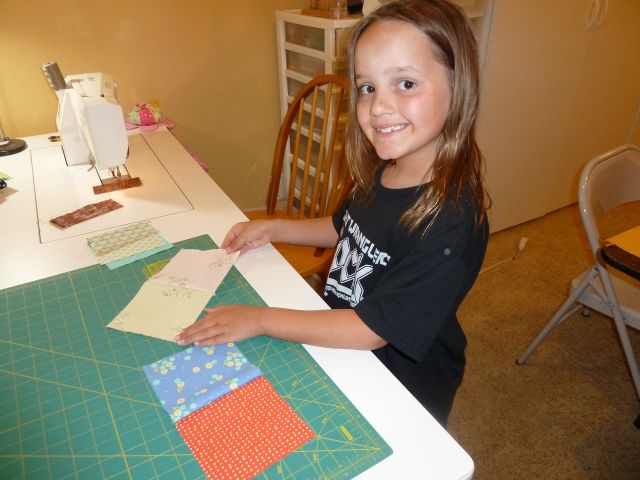
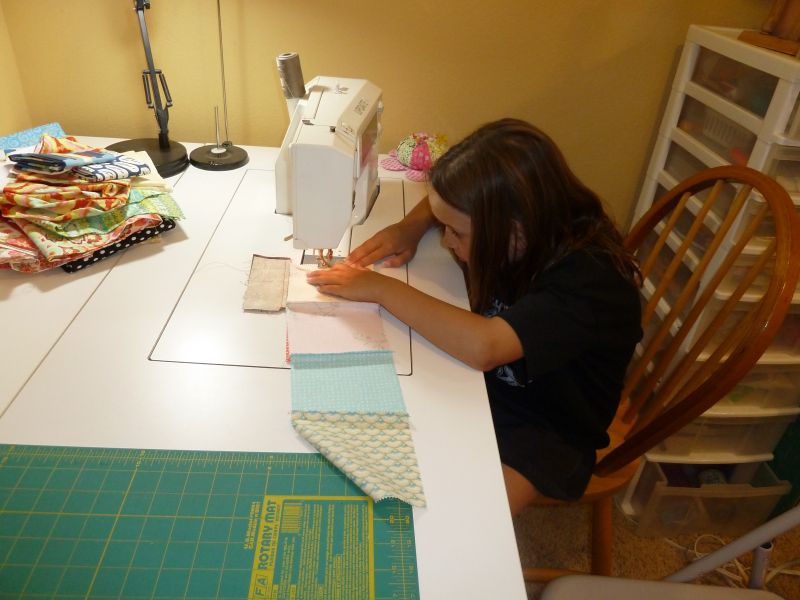
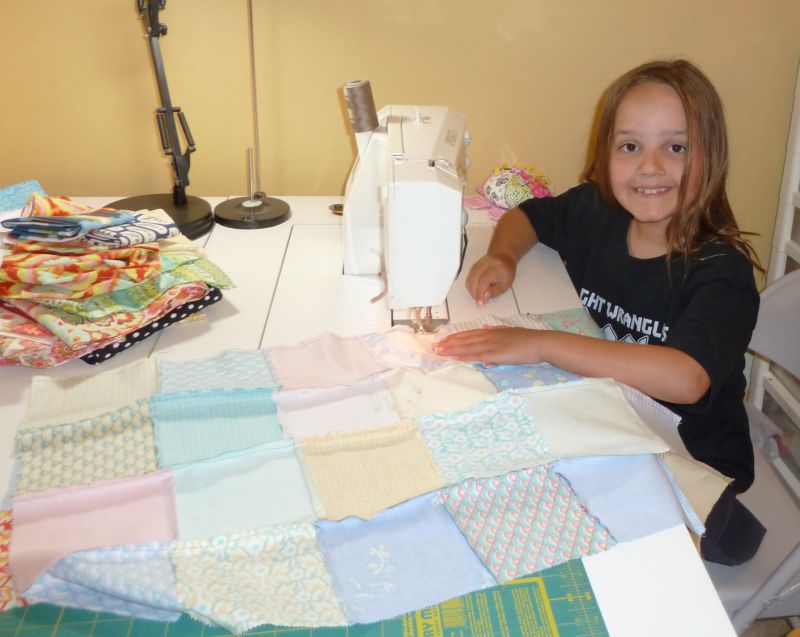
Big Girl SewingAlmost Done!By Wednesday she was comfortable putting the squares together and sewing the rows all by herself. She had to watch out for those sticky pins and I helped guide her to keep accurate quarter-inch seam allowances.

Each time she finished a row, it reminded me of my own excitement when I finished my first quilt.

The key to success I believe was choosing a pre-cut charm pack so we didn’t even have to worry about sharp rotary cutters or scissors. Jenna chose City Weekend by Oliver + S for her first masterpiece. Isn’t it beautiful?

Finished Quilt Top Watch for part 2 of our mother/daughter sew-in where we’ll baste, quilt and bind!

Mother & Daughter Summer Sew-In!

Oliver + S Charm PackMy boys are attending tennis camp this week so I thought I’d have a little quilt camp with my daughter while they are gone. Jenna has been wanting to make a quilt so I let her pick her out any charm pack she wanted to make a quilt. I thought that would be pretty simple since the squares are already cut. She chose City Weekend by Oliver + S because it had lots of pink along with fun pastel Sewing the Squarescolors.

We actually got quite a bit done in just an hour of sewing this morning.

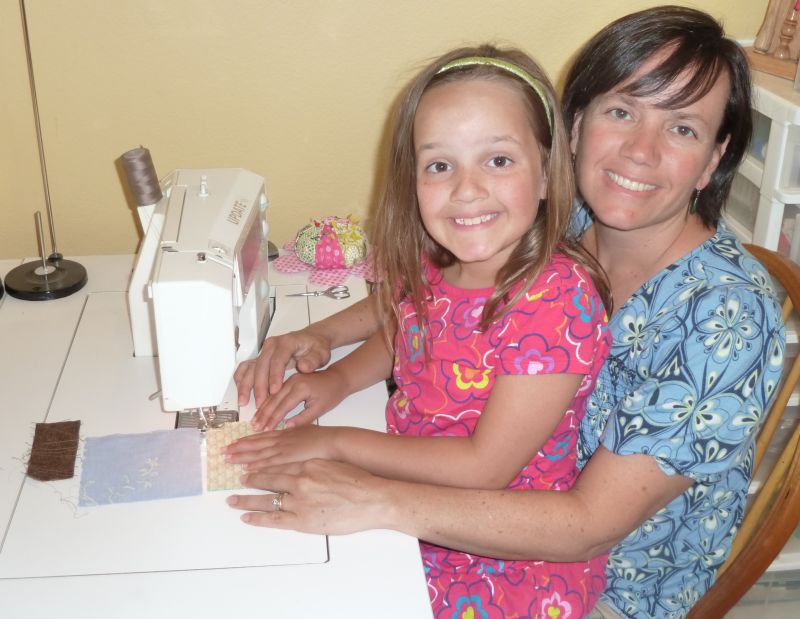
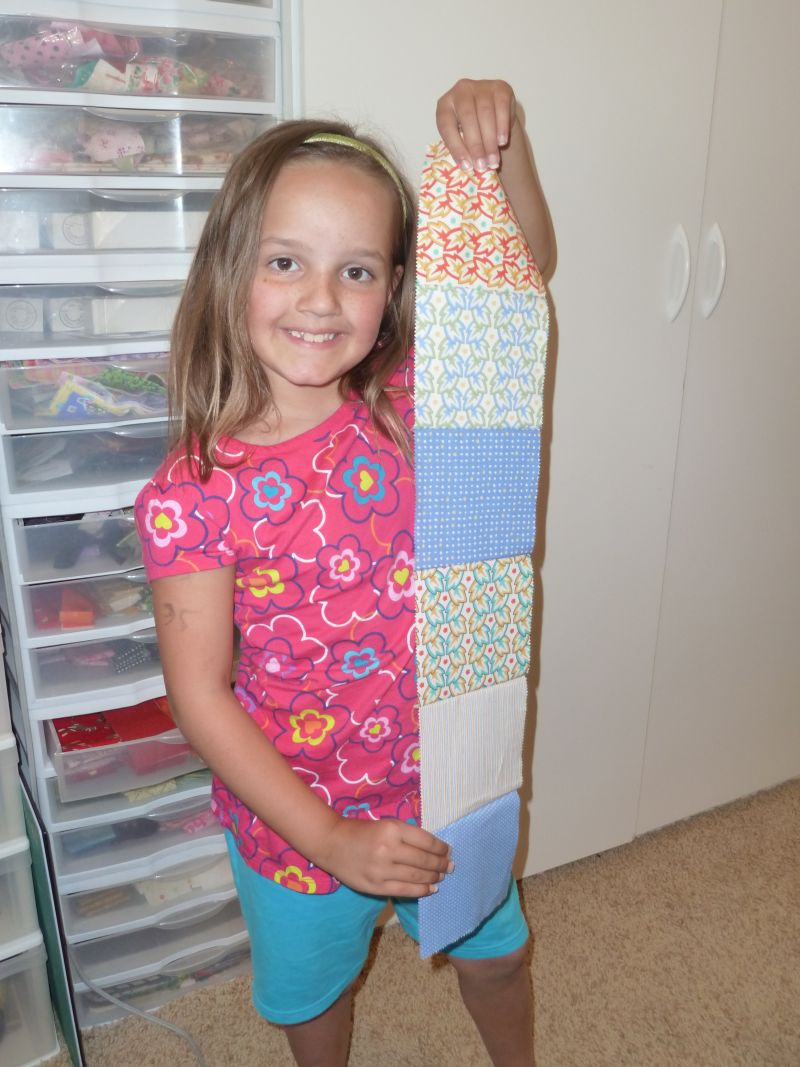
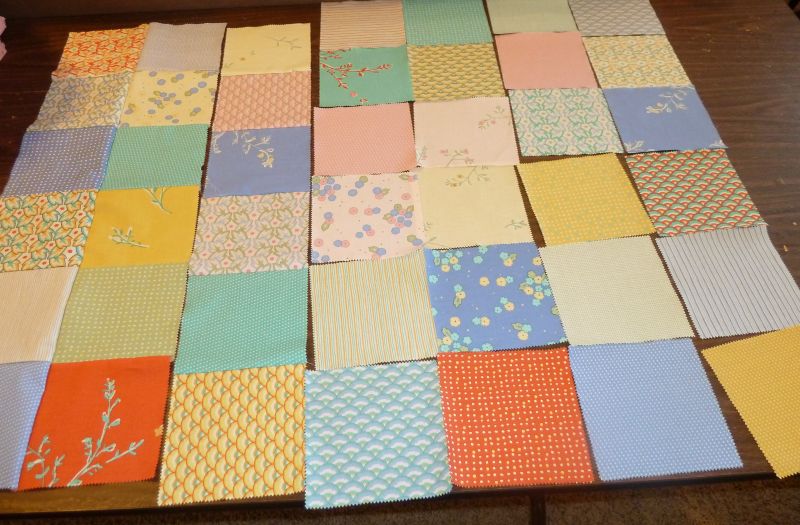
Strip of SquaresQuilt LayoutFirst we practiced with a few scraps so that she could get comfortable guiding the fabric. I worked the pedal while she sat on my lap. She was “sew” proud of her first finished strip! She wanted to lay out all the squares and sew them in just the right order. It’s nice to have someone who shares my passion for sewing!


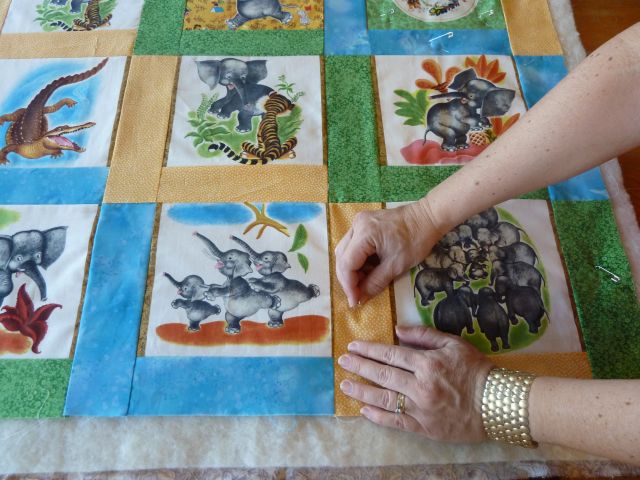
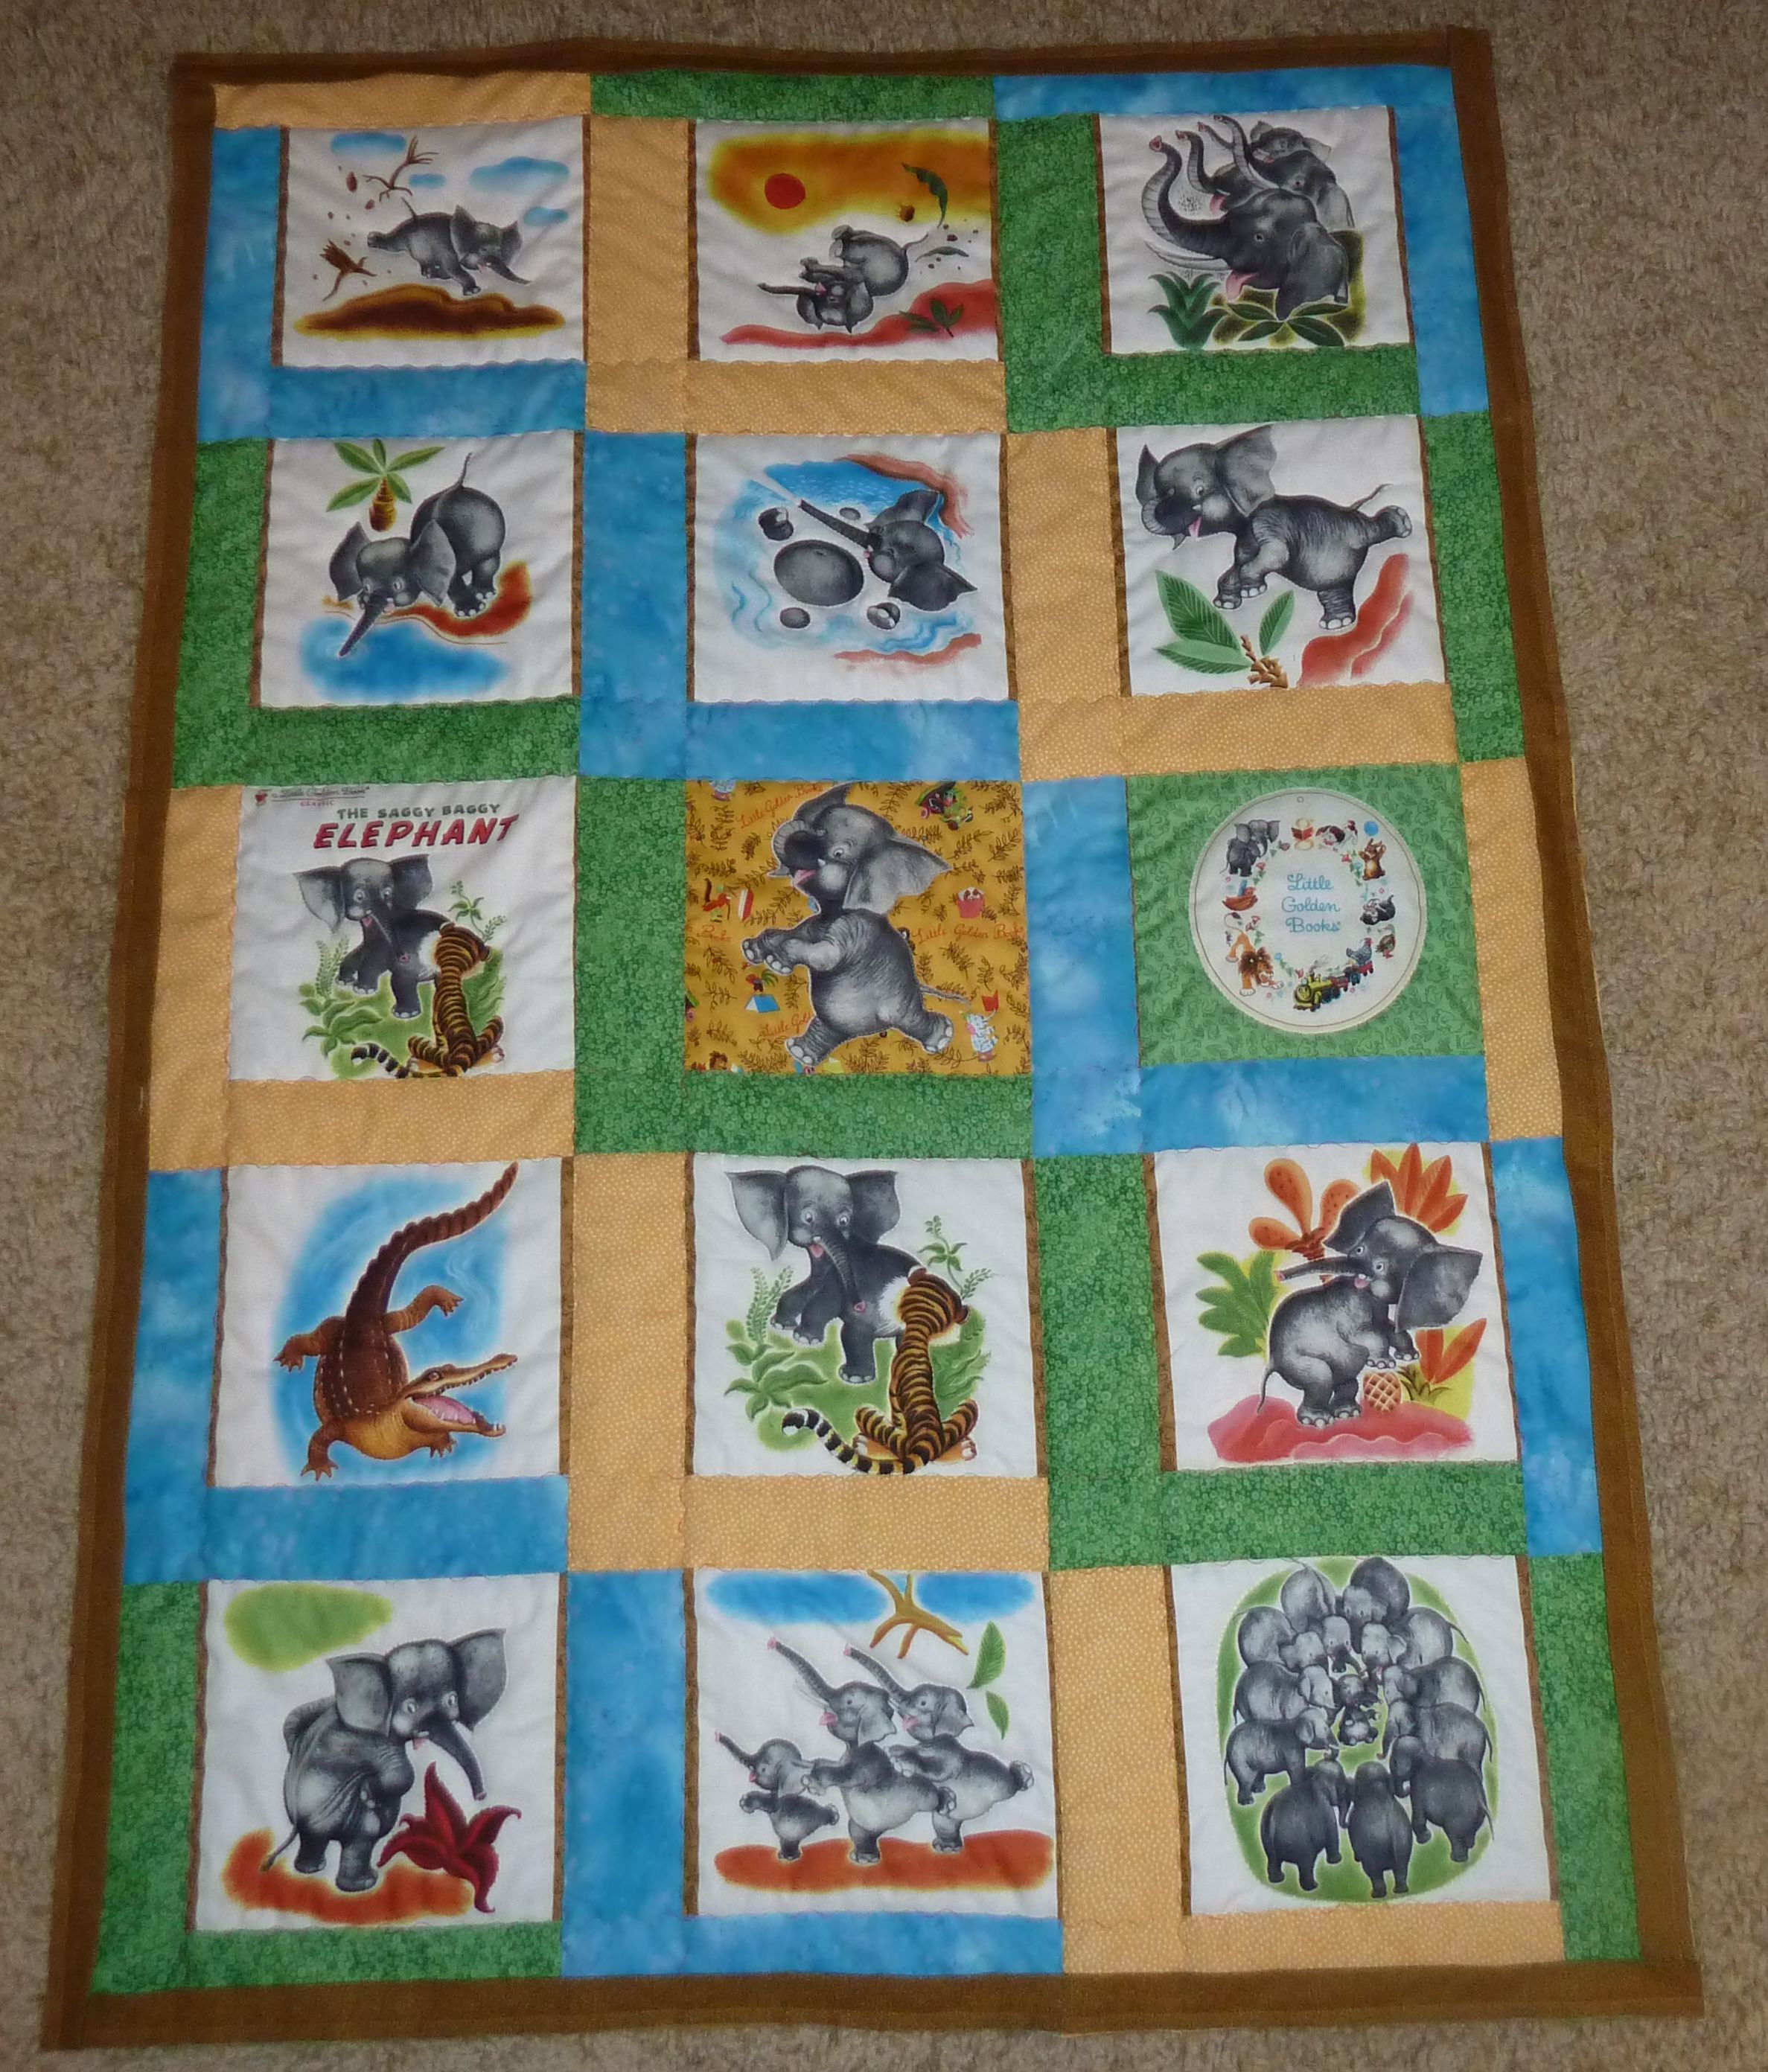
Saggy Baggy Elephant Story Quilt

I finally finished a simple quilt that my friend Jessica and I have been working on. We got together one day this spring and put together the top in just under a day. Then it took me several more weeks to finish the quilting. Finally, Jessica is adding the finishing touches by hand-stitching the binding and we are going to present it to our friend later this week.

Quilt Basting

Story Quilt LabelSaggy Baggy Elephant QuiltWe started with a panel of the story-book and cut out all the pictures, then arranged them in a pleasing order. We added a sort of log-cabin frame to the blocks in matching primary colors. Then I machine-quilted around the motifs and between the blocks. It was easy to make and a friend of ours did the embroidery for the label on her Bernina. Cute, huh?

Lily Ashbury Summer House

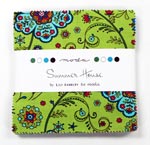
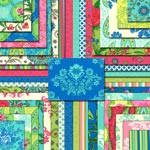
I’m so excited for the new collection I just ordered from Moda, Lily Ashbury’s Summerhouse. Below is a picture of the precuts along with a sampling of the entire color scheme. I ordered the entire line, so the yardage should be arriving shortly.

Summer House Fat QuartersSummer House Jelly RollSummer House Charm PackLily Ashbury Summer House

I just love the spring-filled color-scheme and I’ve already set aside one of the charm packs to sew a baby girl’s quilt. I don’t know who I’ll make it for yet but I have plenty of friends who are expecting, so one of them will be the lucky recipient!

More Friendship Blocks

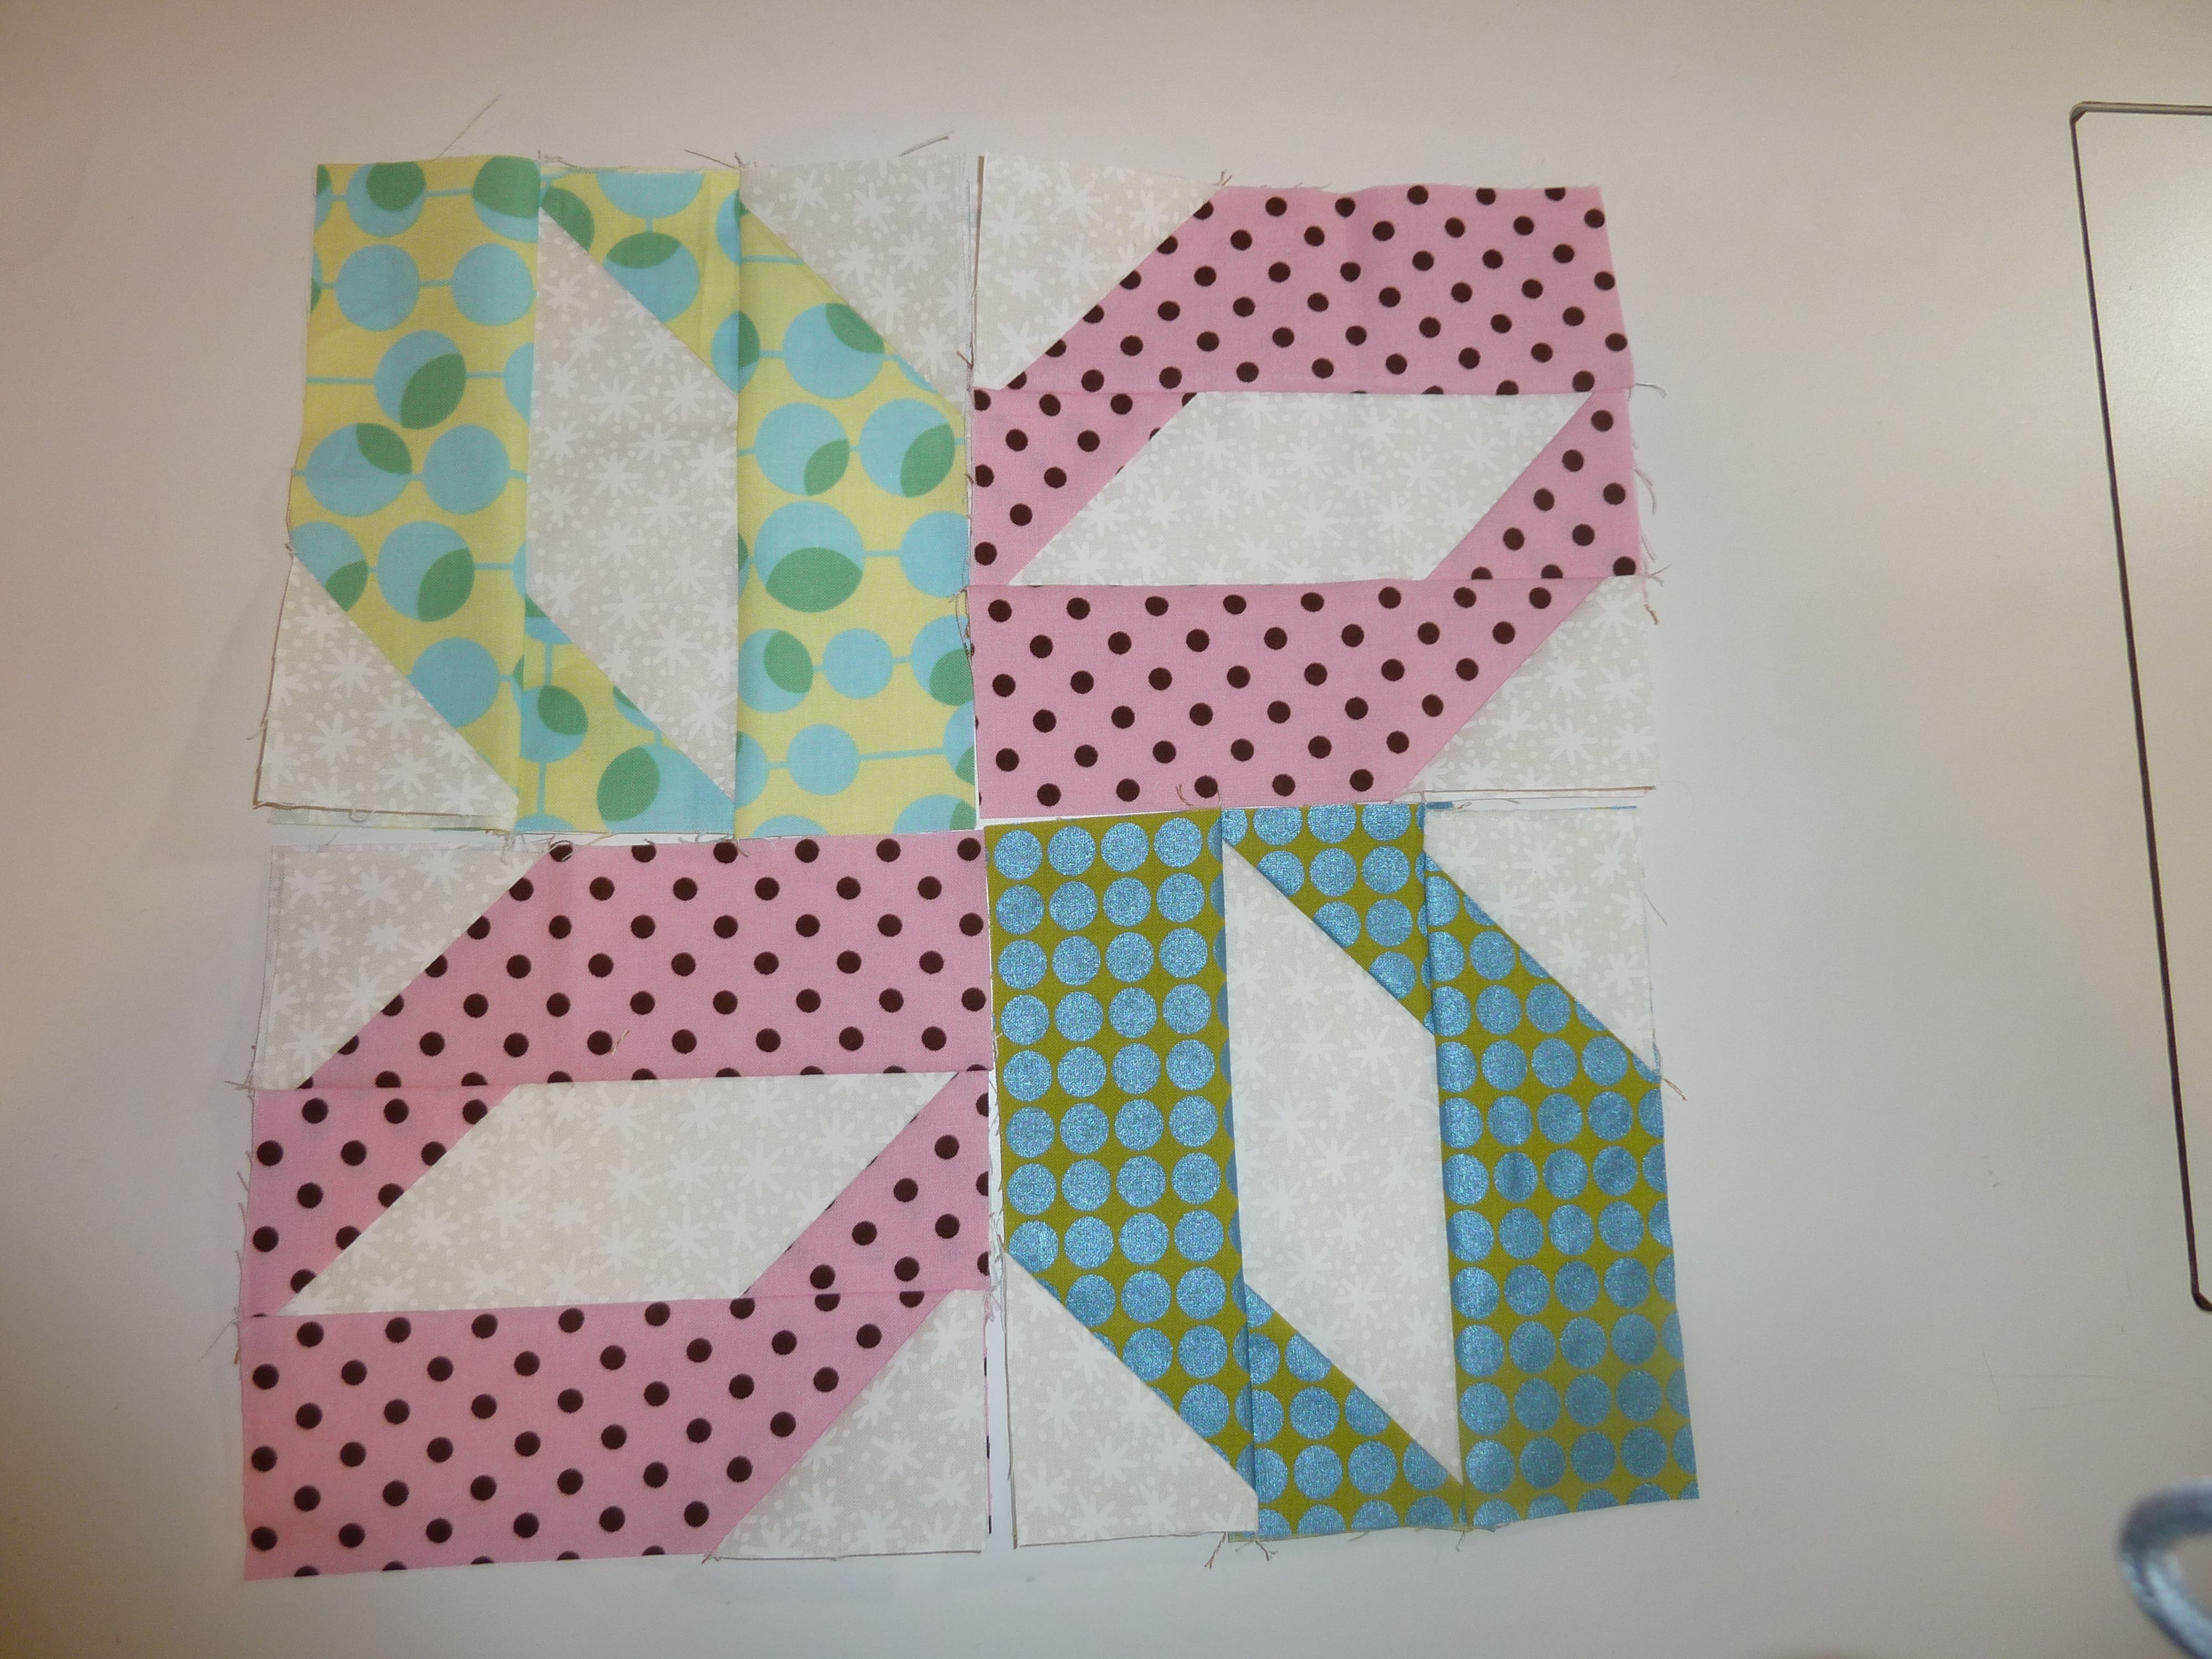
Here’s a short little update to my earlier post about the friendship/signature quilt blocks. The gals in the guild actually arranged them like this to form a ribbon design:

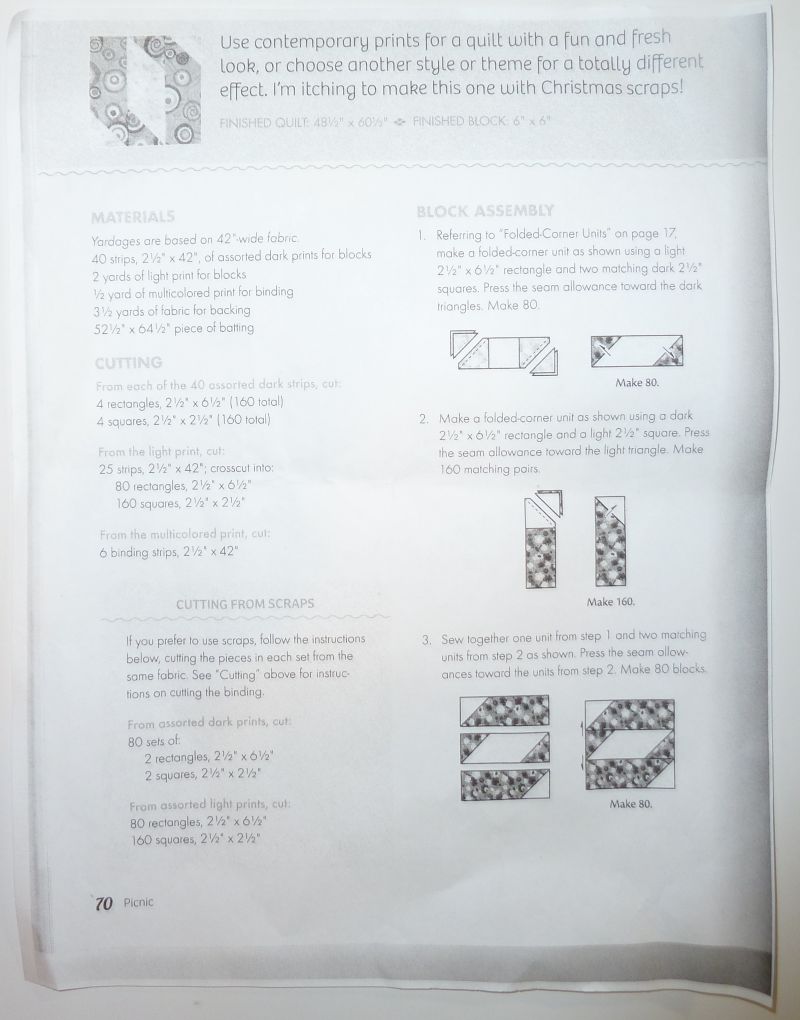
Friendship BlocksAnd if you can read it, here’s a picture of the directions to make blocks like this:

Ribbon Block Directions

Signature Quilt Blocks

Signature BlockToday I went to my monthly quilting circle where we made signature blocks that will get turned into a quilt as a thank you for our past leader.

It was super easy to make this block! Here are some basic diretions: first start with one 2 1/2″ wide strip by the width of the fabric. One strip will make 2 blocks. Cut 2 rectangles that are 6 1/2″ long for the top & bottom of each block. Then cut 2 – 2 1/2″ squares for the middle.

From the background fabric cut one white 6 1/2″ long rectangle for the middle and two 2 1/2″ squares for the corners. Join each part of the strip using the flip and stitch method. Layer the square on top of the strip, sew across the diagonal and flip back to reveal the design. Then sew all 3 rows together to make the block. There’s no need to cut off the excess fabric. Then sign the block in the middle.

Here are a few of the completed blocks. We chose a polka dot fabric theme for our group. Each person made 2 blocks and signed one of them. What a fun quilt this will be!

Signature Blocks

Amy Butler’s Sunday Sling Bag

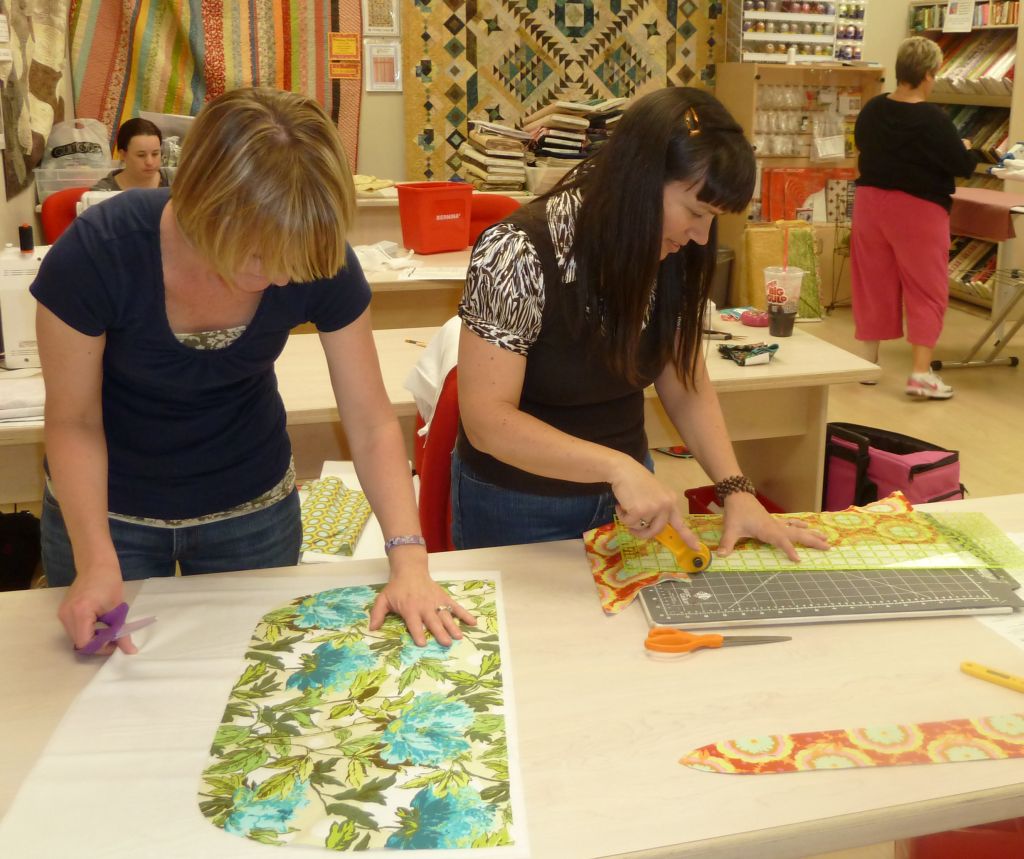
Sunday Sling Bag ClassCutting the FabricI began making Amy Butler’s Reversible Sunday Sling Bag in a sewing class with my friend Jessica about 2 months ago (you can tell it’s an older picture since this is pre-haircut!!). Anyway we both used different techniques to cut our pieces. Jessica used scissors while I wanted to rotary cut as much as I could.

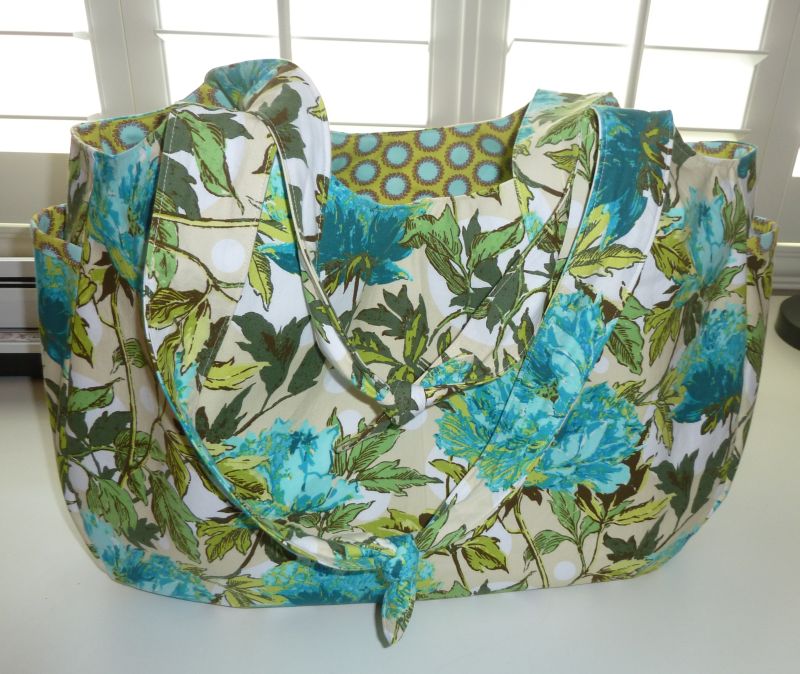
Finished Amy Butler BagBook BagJessica chose to make the large bag which is big enough to hold lots of kids’ books!

Isn’t it cute? I love the fabric she chose for the lining inside. We both used regular quilt-weight cotton which holds up really well. I am working on the smaller sized bag but mine is still in pieces while she recently finished hers. At least one of us is getting things done!

Marathon Girls

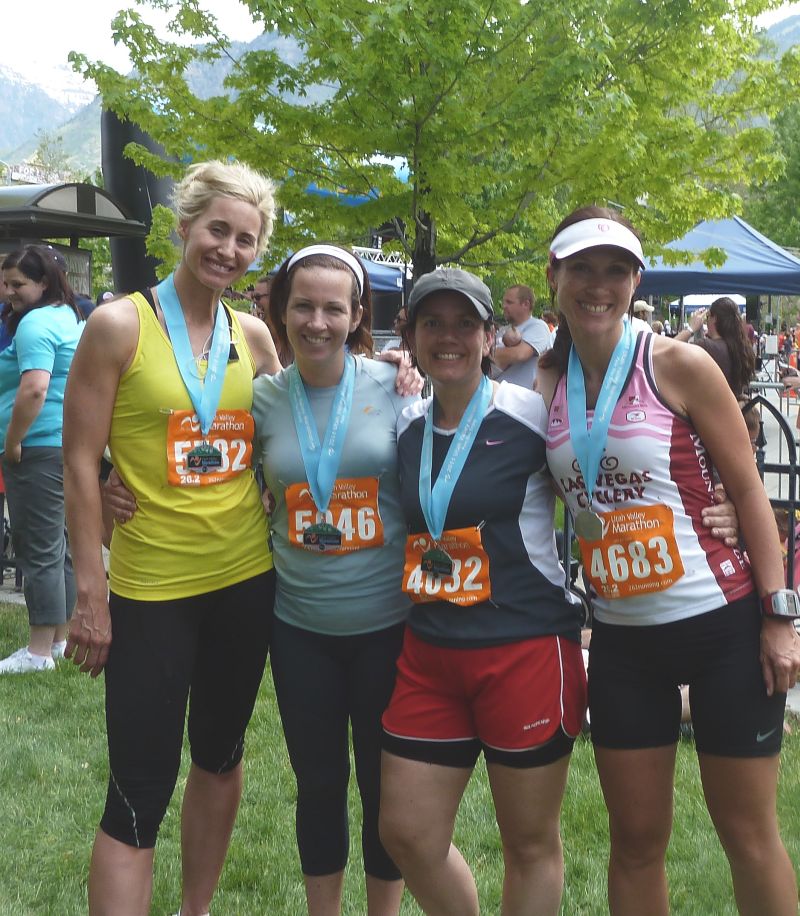
Marathon Girls

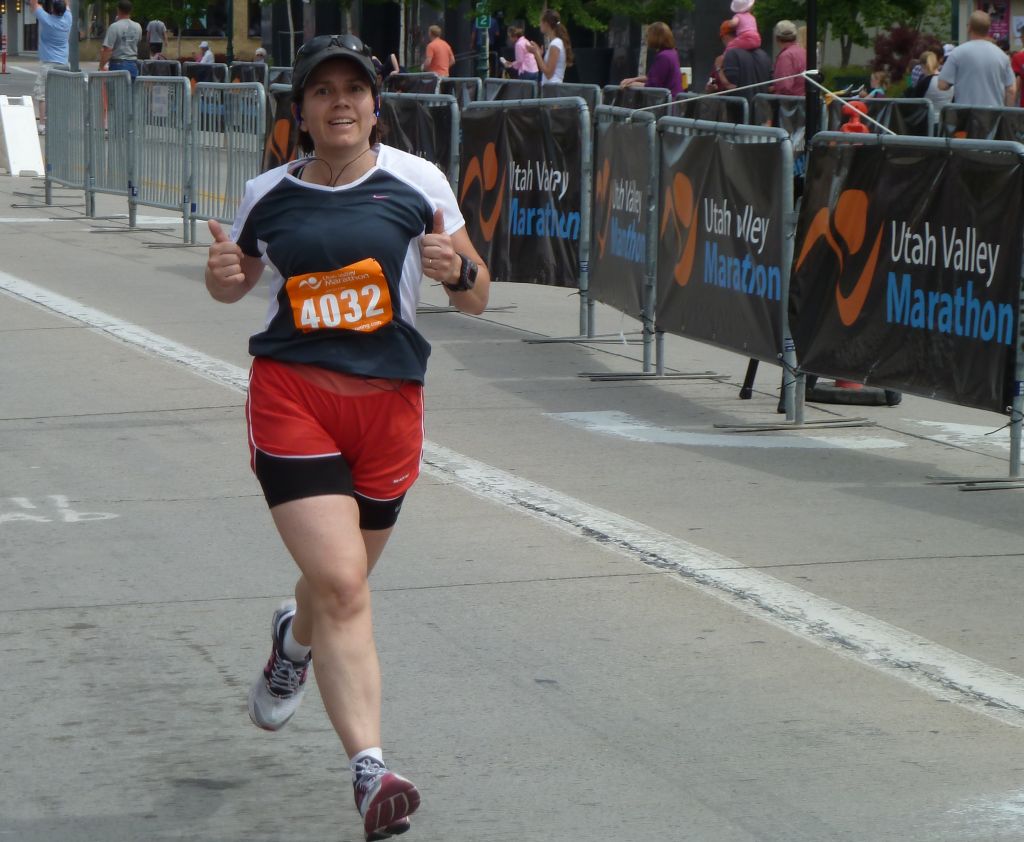
I ran the Utah Valley Marathon on Saturday with 3 friends of mine. Pictured left to right are Becky, Suzanne, Christa (me!) and Marci. Our finishing times ranged from 3 1/2 hours (speedy Marci) to just over 5 hours (slow me).

I ran about an hour slower than my first marathon in 2009 because of a recurring problem with plantar fasciitis. (Not fun!)

However, we all had a great time doing it and we all met our running goals.

It took weeks and weeks of training to build up our distance, with harder workouts thrown in mid-week to build our endurance. At about mile 20 I thought, why the heck am I doing this?? But then at the finish (26.2 miles later) I had the answer: because I can!

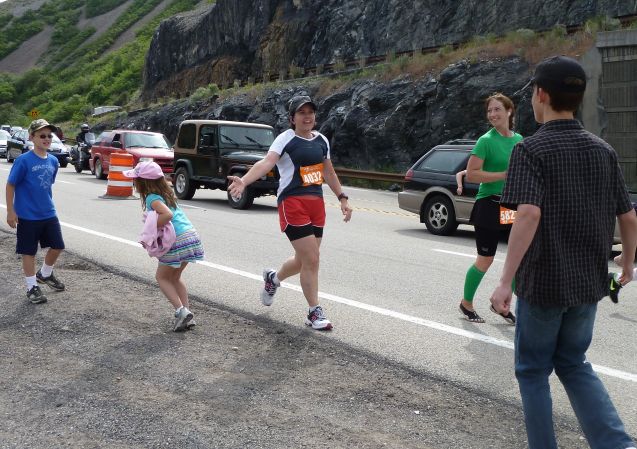
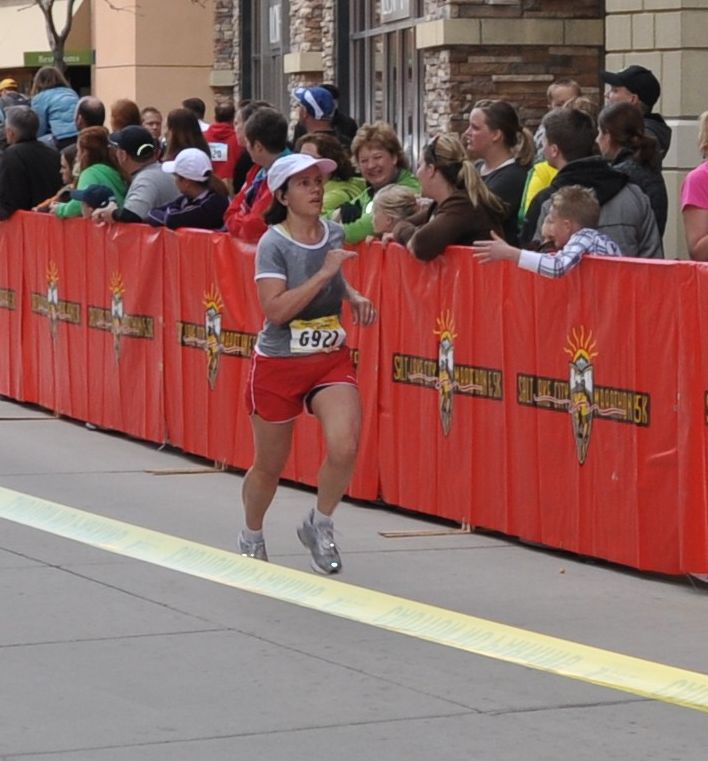
Here are some pictures during the race:Mile 20Jason and the kids met me at mile 20 to give me a high 5. I needed the support by then!

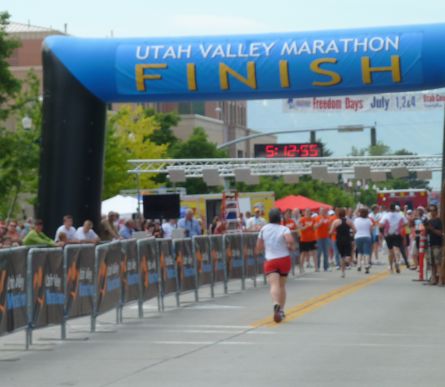
At the FinishHere’s me at the home stretch. That finish line never looked so good! I am so glad I did this race. I am sore, but not injured and now I can look forward to much shorter workouts (and more time for sewing!!)

Wish Me Luck!

St. George MarathonThis weekend I’m heading north to run the Utah Valley Marathon. My first marathon was in St. George in 2009 (pictured left) in which I “earned” a foot injury that took more than a year to recover from. This time around I’ve been much more careful during my training, and have taken better care of myself.

My goal will be to finish without injury and to have a good time. I’m a little slower and still a few pounds away from my goal weight but it’s been great getting back up to speed and running long distances again. Wish me luck!

Laurel Burch’s Holiday Celebrations

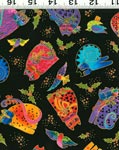
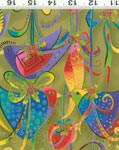
I love fabric. I mean, don’t we all? But every now and then a really special fabric collection comes along. Now don’t get me wrong – I usually try to buy at least one to two new fabric lines each week so that I have something  to list for my on-line quilt shop. However, I usually shy away from Christmas fabrics because they are seasonal and don’t really sell well all year long. But, boy, when I listed Laurel Burch’s Holiday Celebrations, I couldn’t believe the response! Here’s a sampling of just a few of the fabrics from the line:
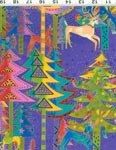
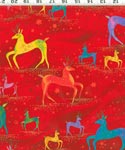
Laurel Burch Holiday Trees PurpleLaurel Burch Reindeer RedLaurel Burch Cats BlackLaurel Burch Holiday Birds

I bought her previous Christmas collection and it didn’t sell well. So I’m not sure if the designs are better, or if there is just more demand for her fabrics; whatever the reason, I’ll take it! Cotton prices have been increasing and I felt bad that this was the first line that I had to list at the 9.95 price point, but that hasn’t seemed to matter (especially since I’ve seen it on-line for much higher). As soon as I could tell this was going to be a hot-seller I immediately called Clothworks, the manufacturer, to order more so I can try to keep up with demand.
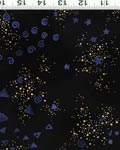
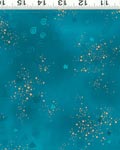
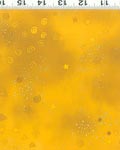
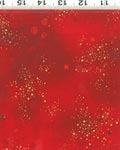
Laurel Burch Glitter Basics BlackLaurel Burch Glitter Basics TurquoiseLaurel Burch Glitter Basics YellowLaurel Burch Glitter Basics RedHere are pictures of some of the glitter basics tonals.  At first, I was a little worried because so-called “glitter” fabrics I’ve bought in the past from other fabric companies have usually been very messy. However, these are actually more like sparkling tone-on-tones where the metallic doesn’t rub off.  That was a relief! (The glitter basics are just 9.5o per yard so that helps lower the average cost a bit.)

Finally, here’s the crowning jewel of the collection, the focus panel with wonderful whimsical winter motifs and plenty of metallic gold sparkle:
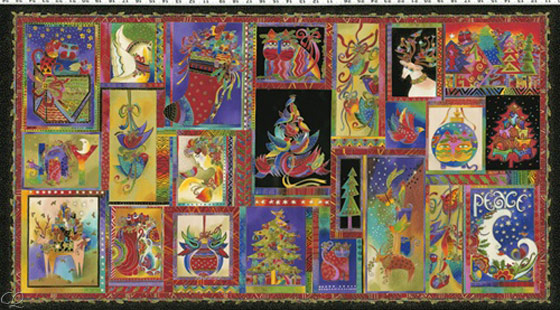
Laurel Burch Holiday Celebrations PanelI can’t wait until my customers start sending me pictures of what they make with this line!