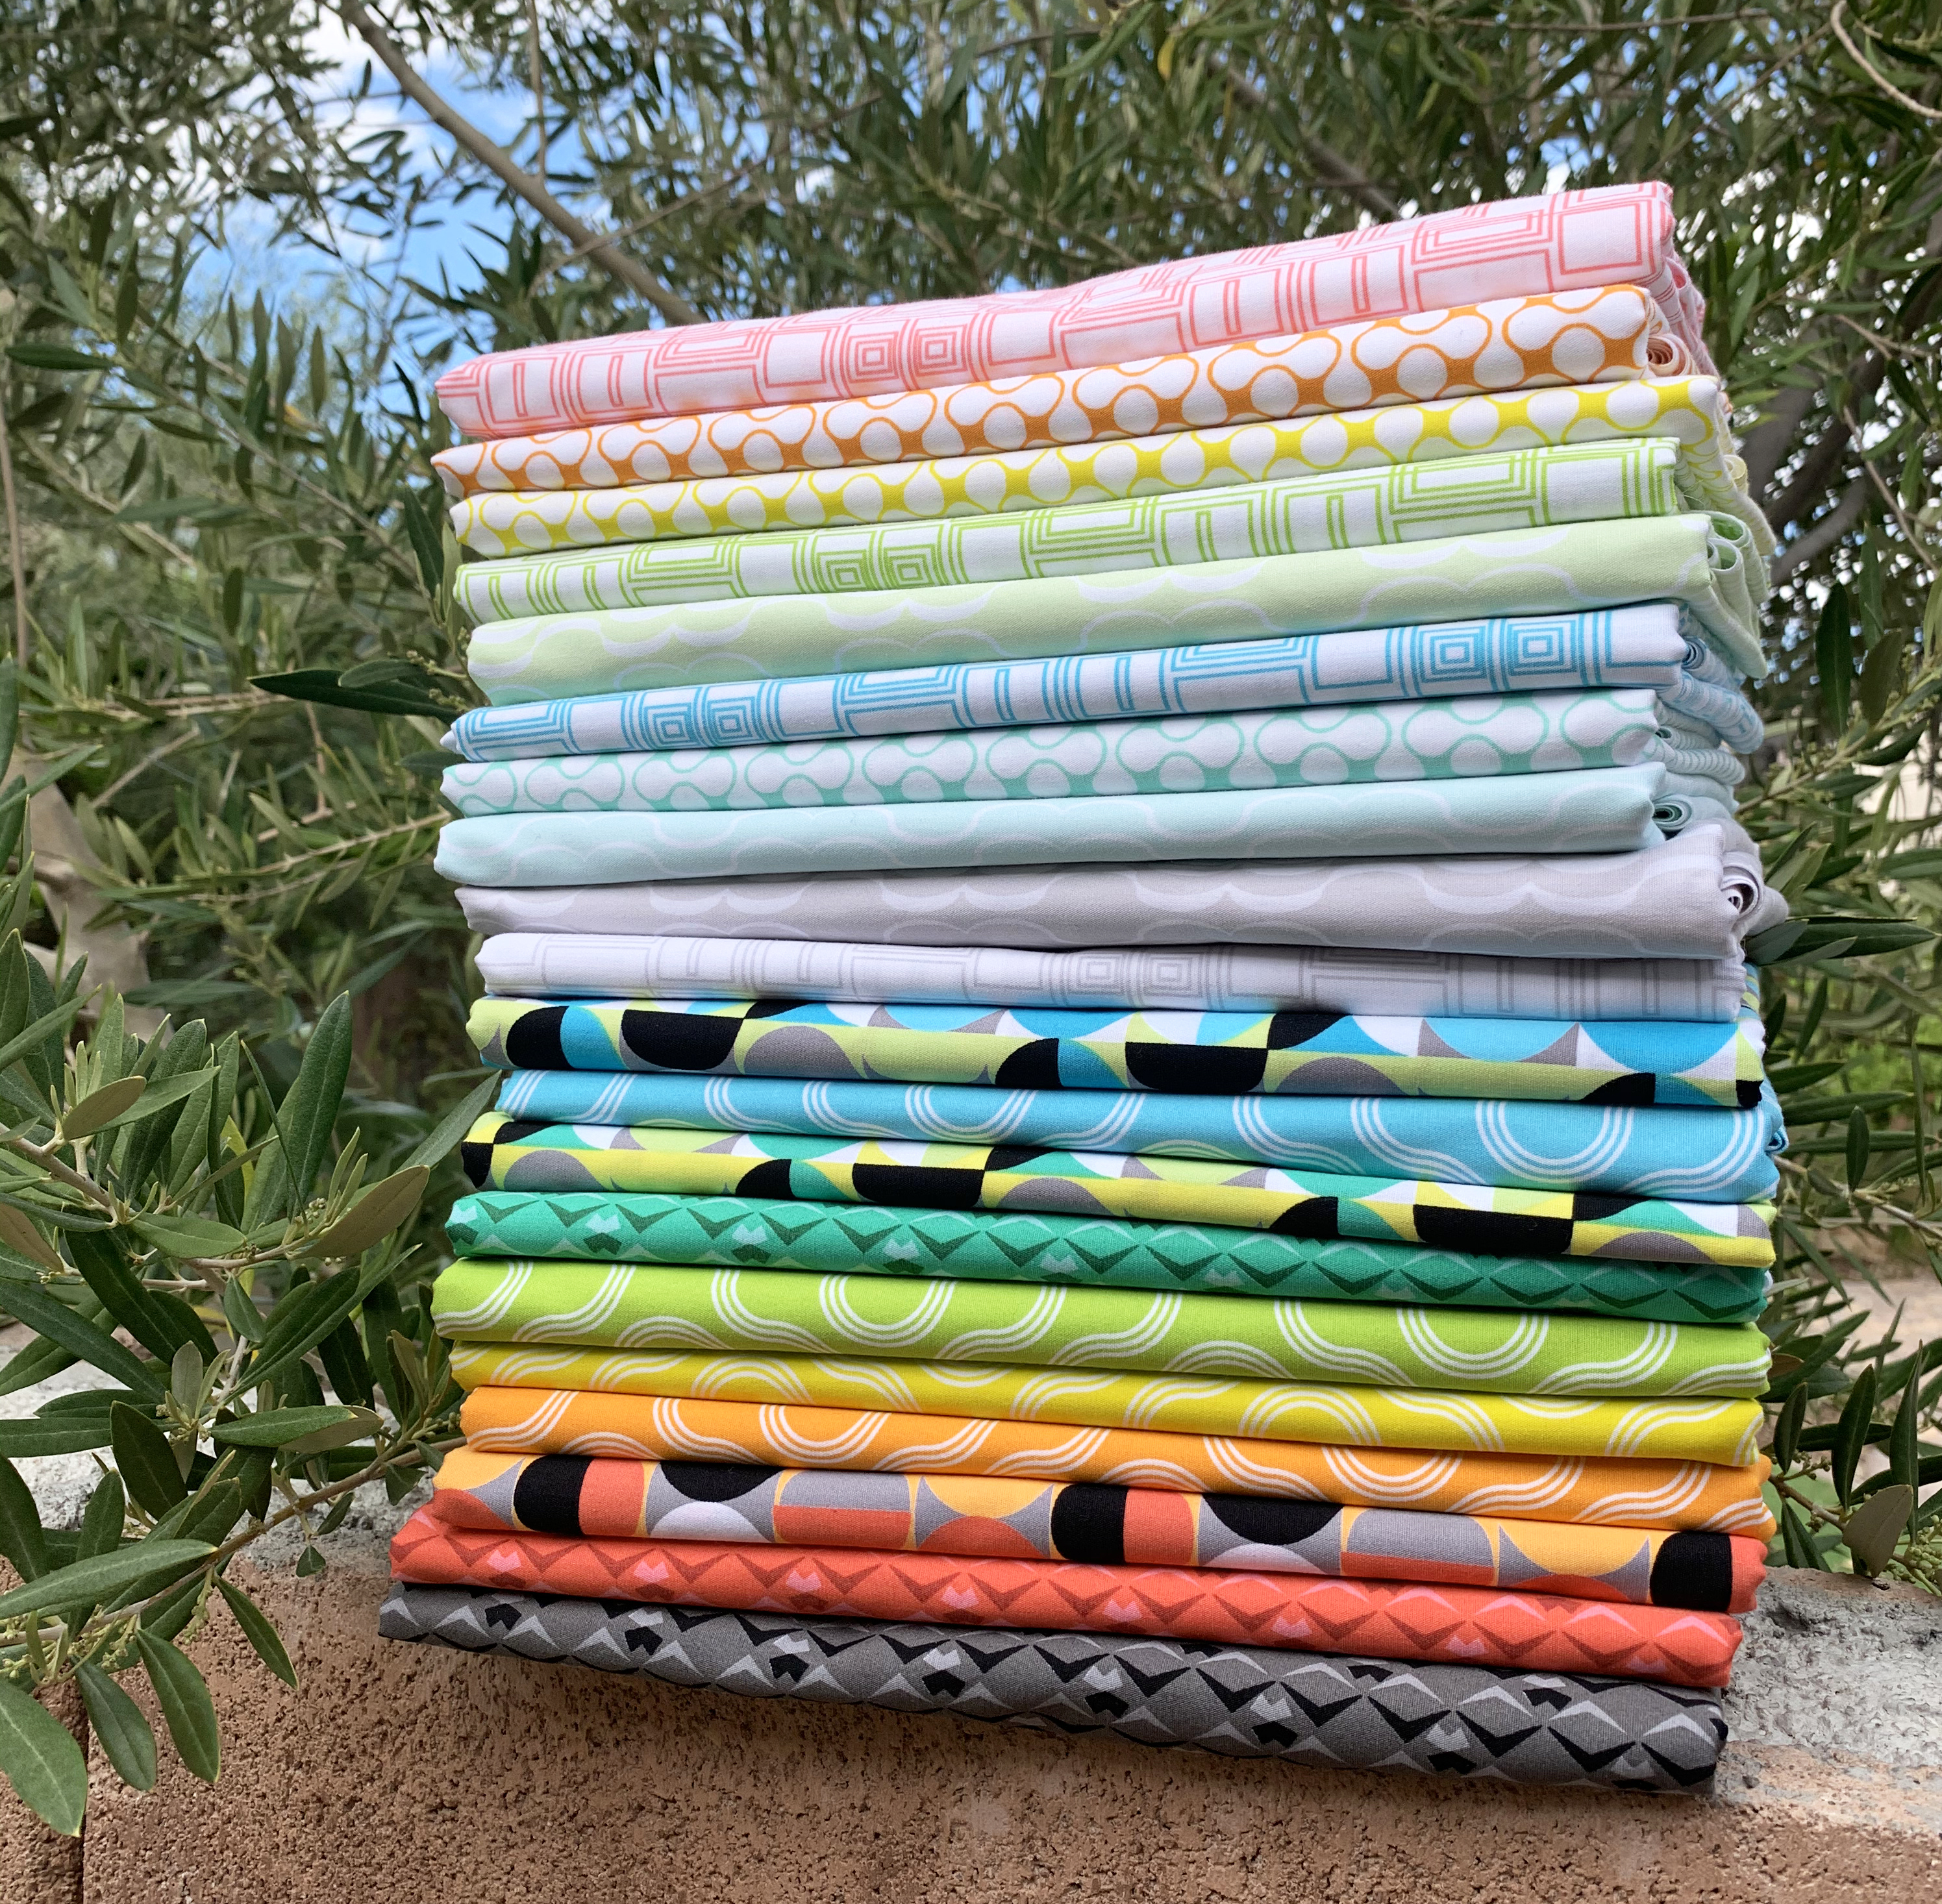
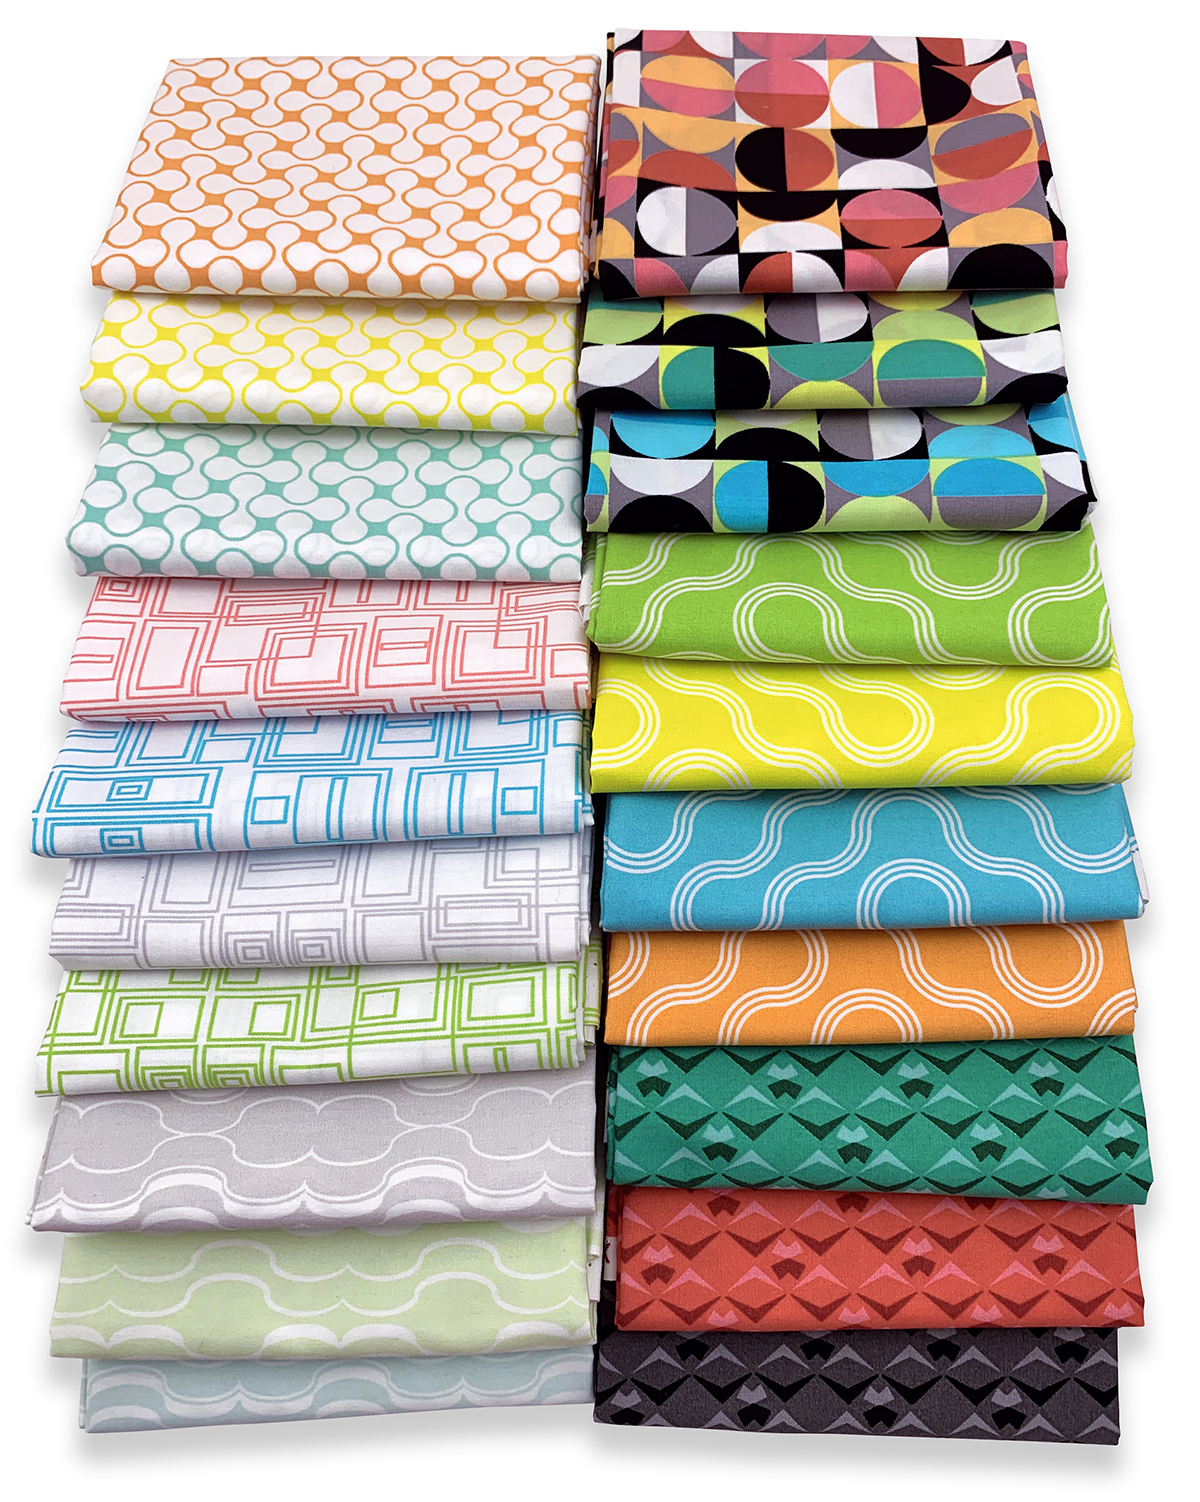
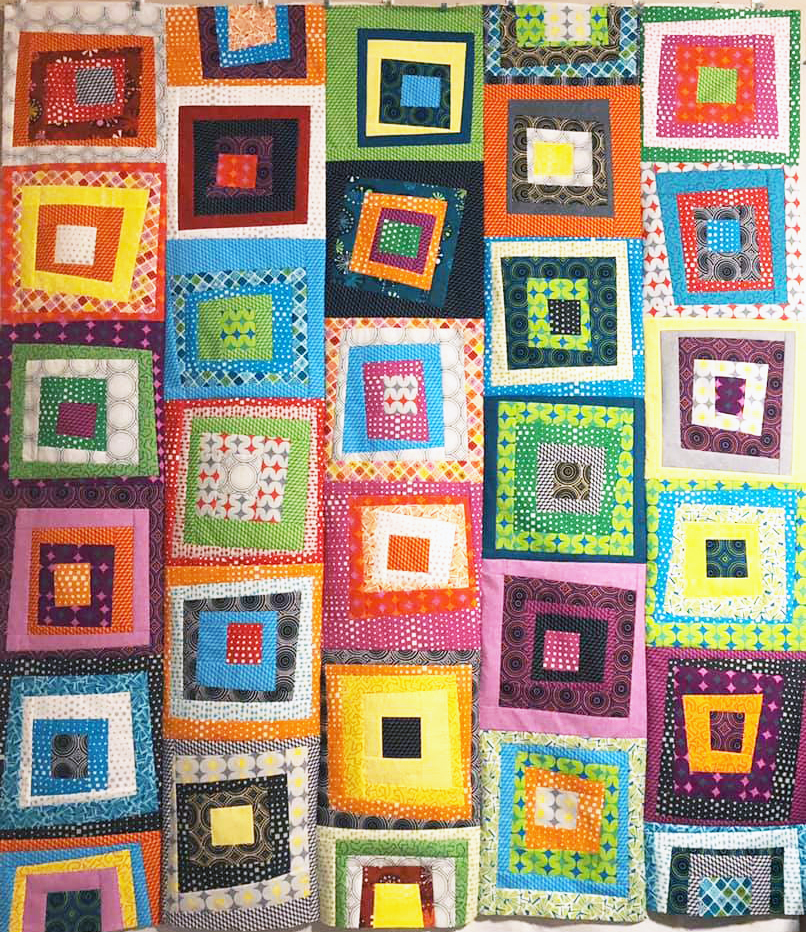
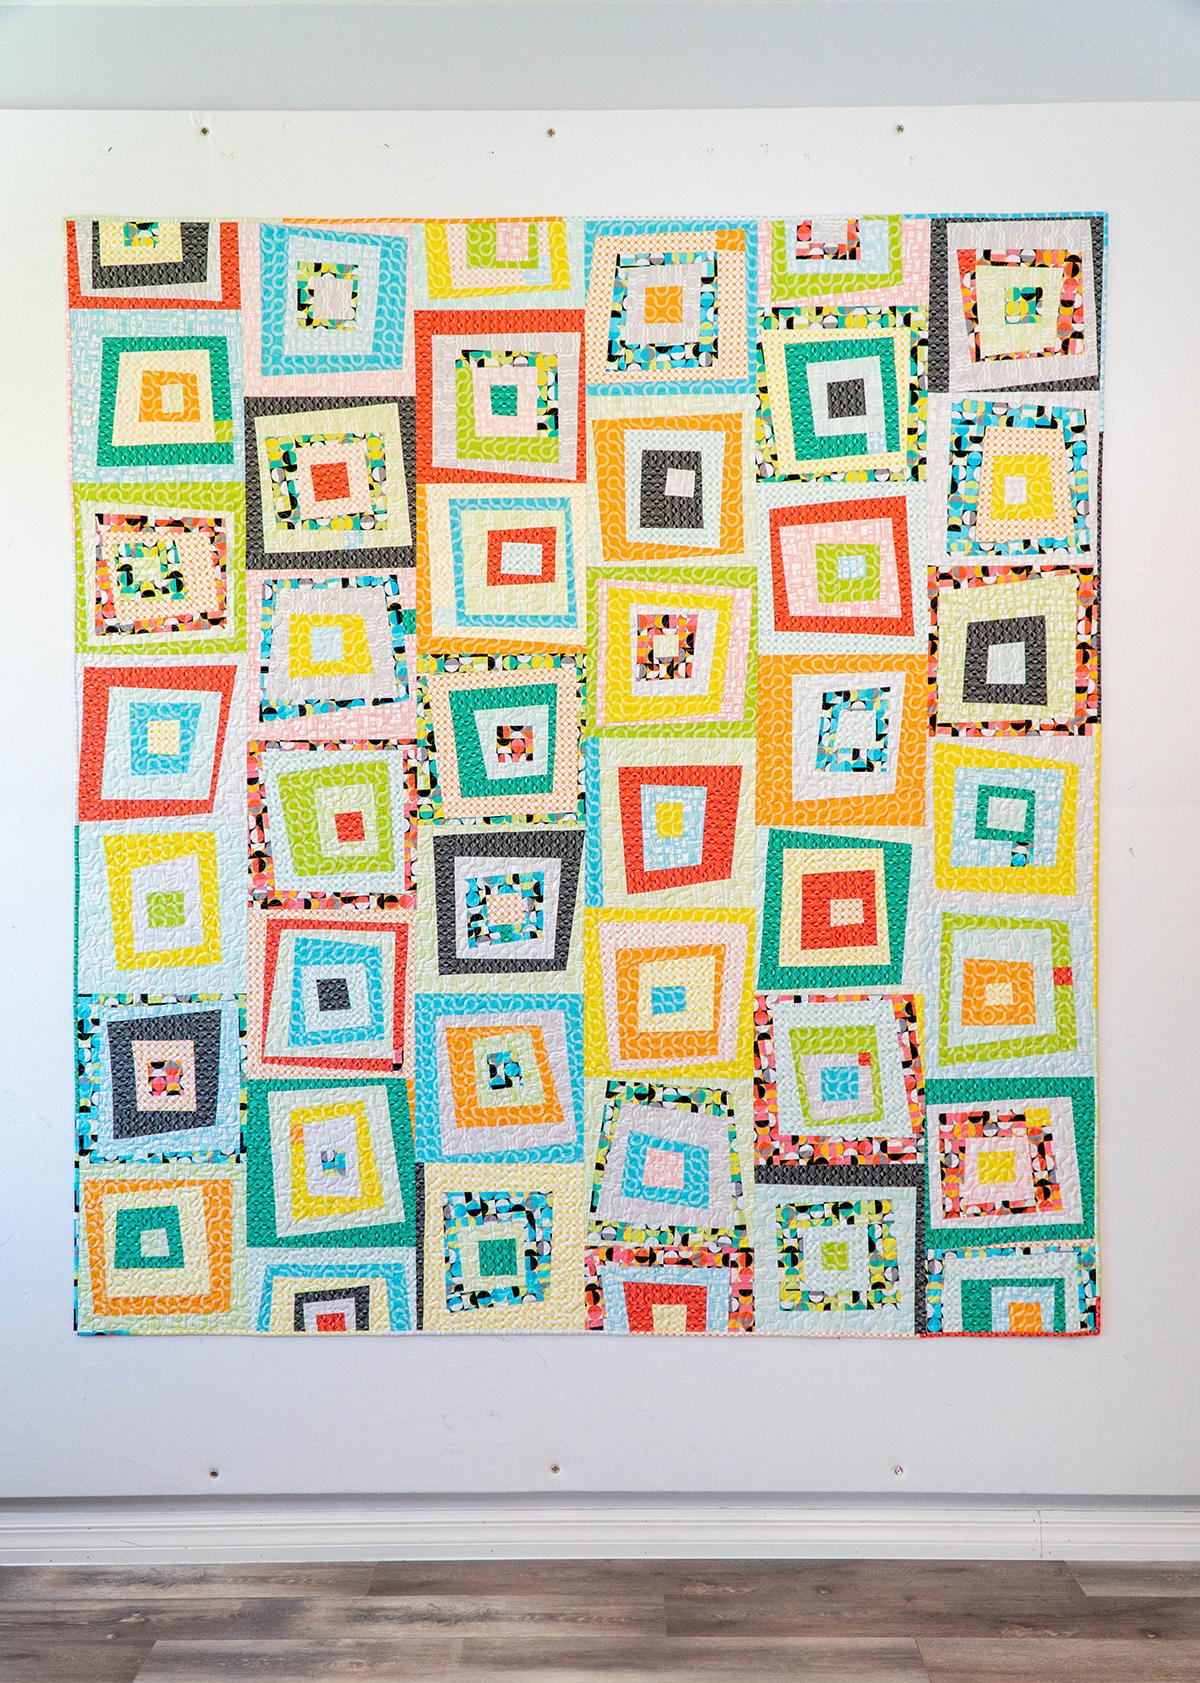
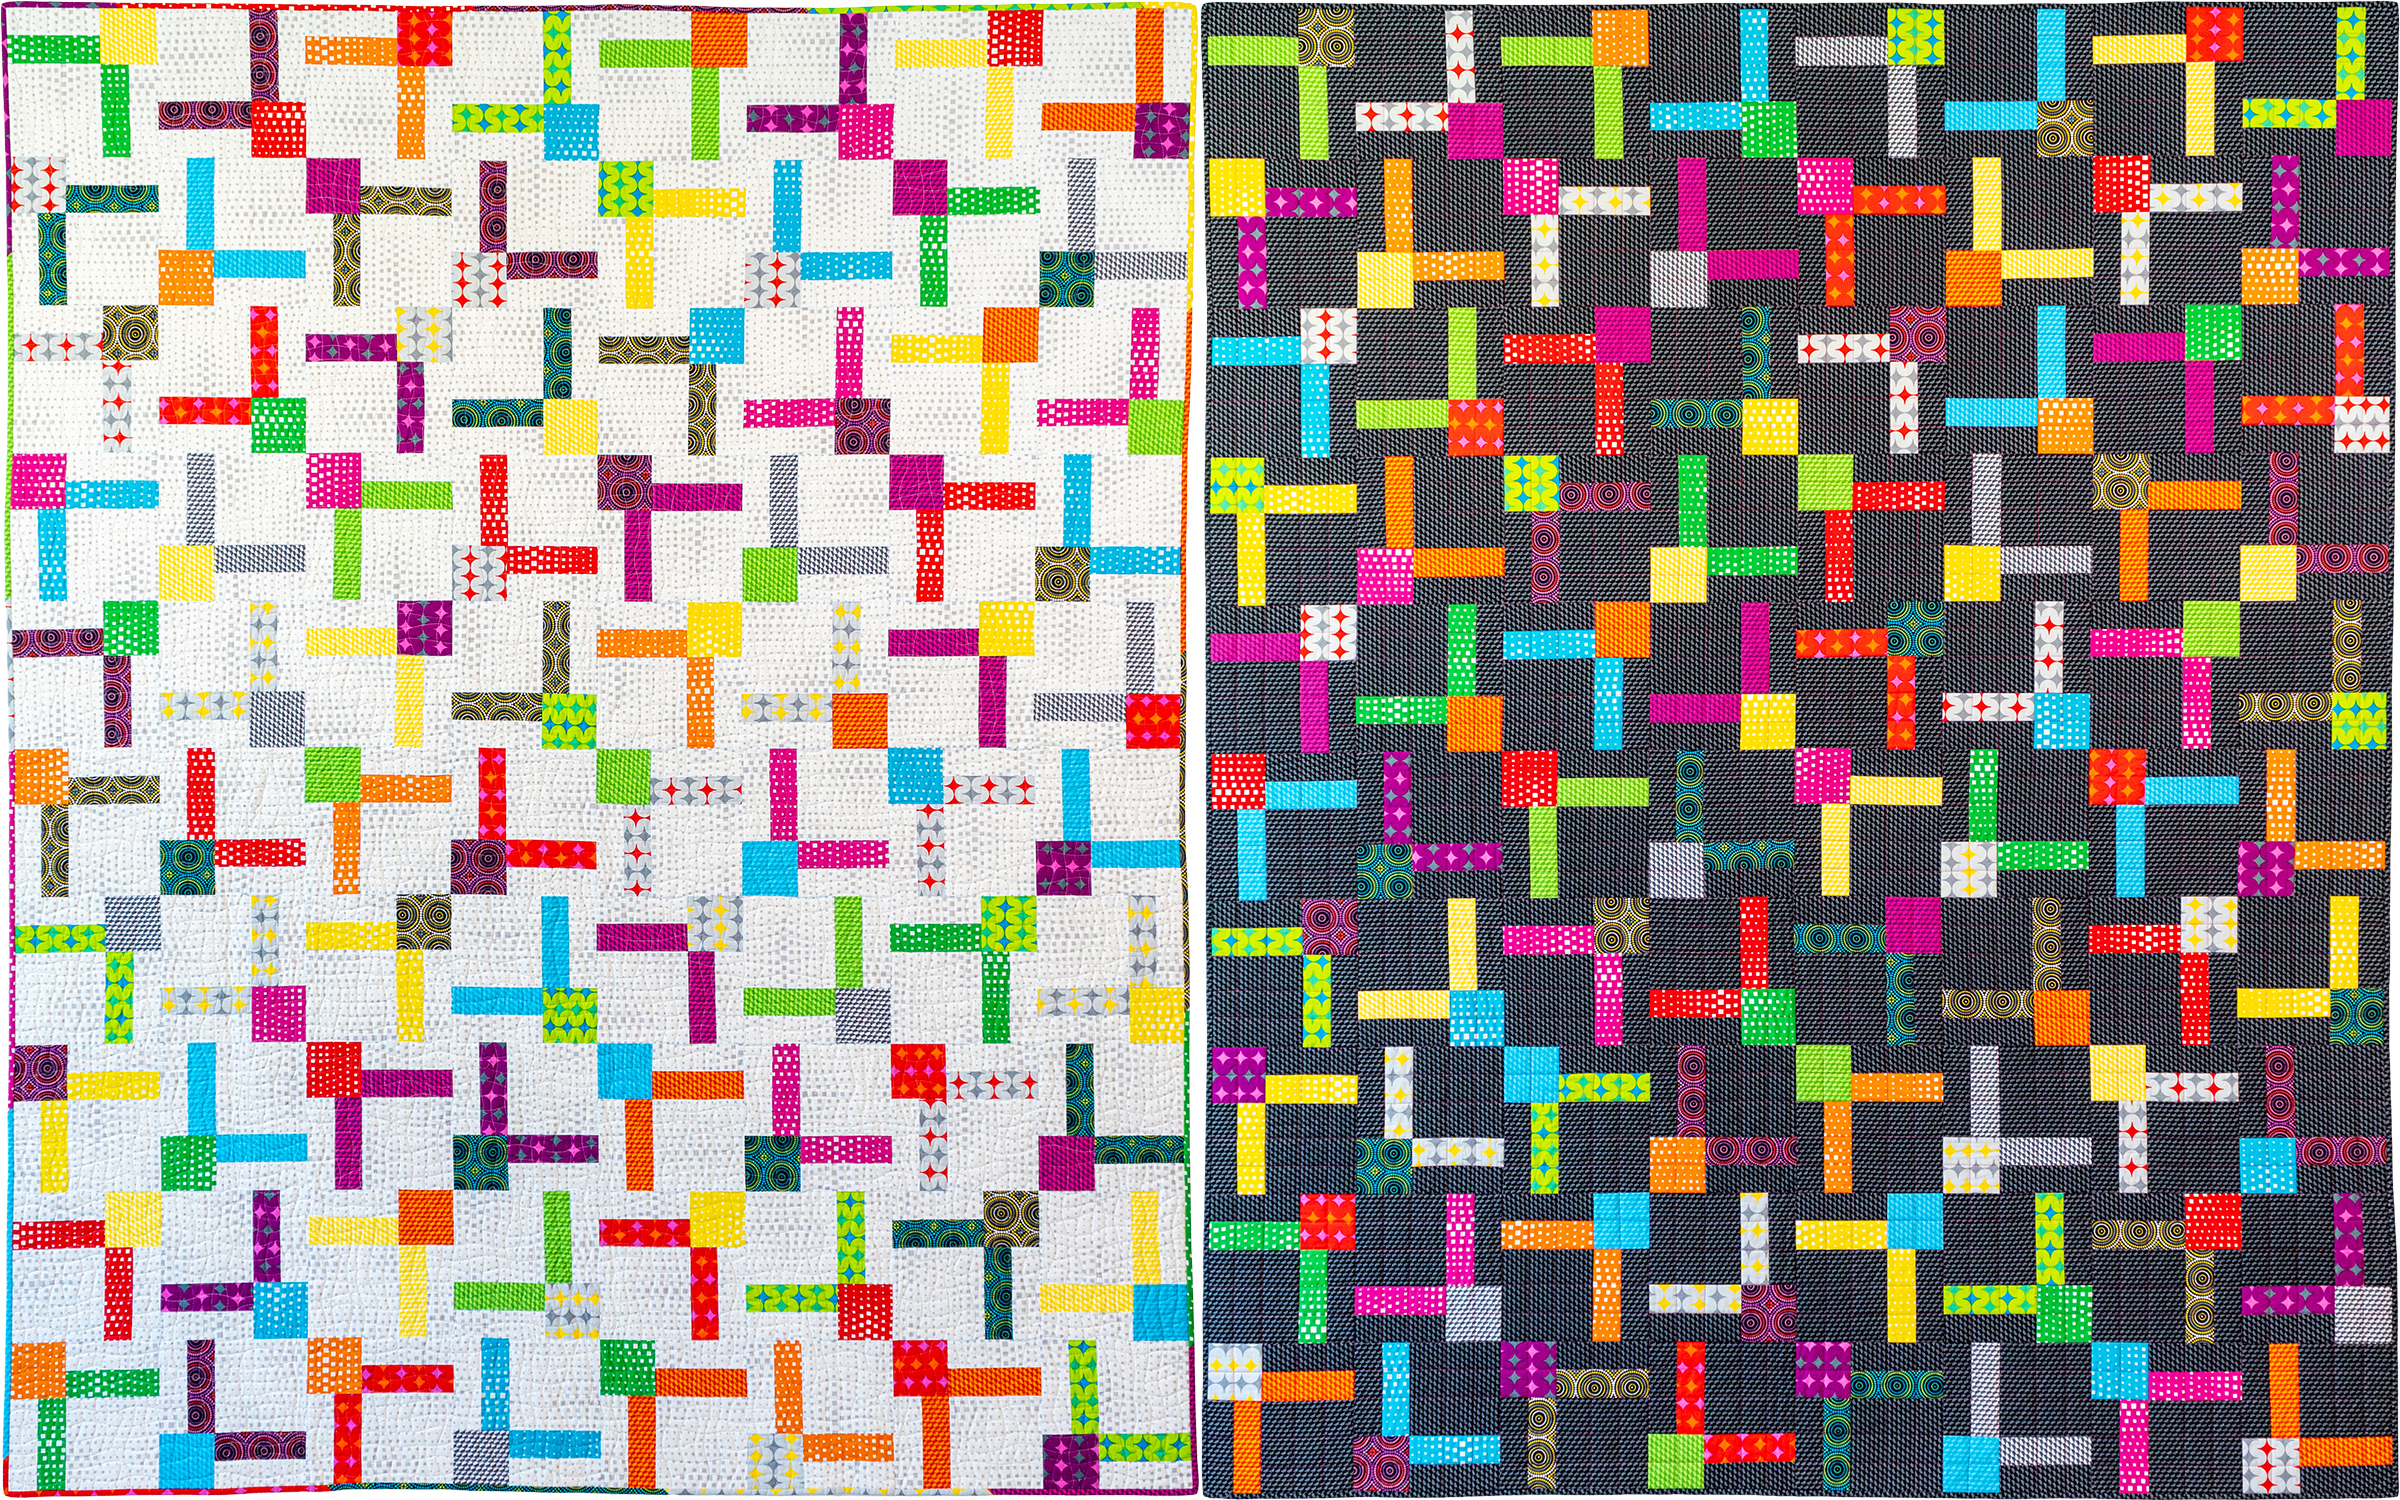
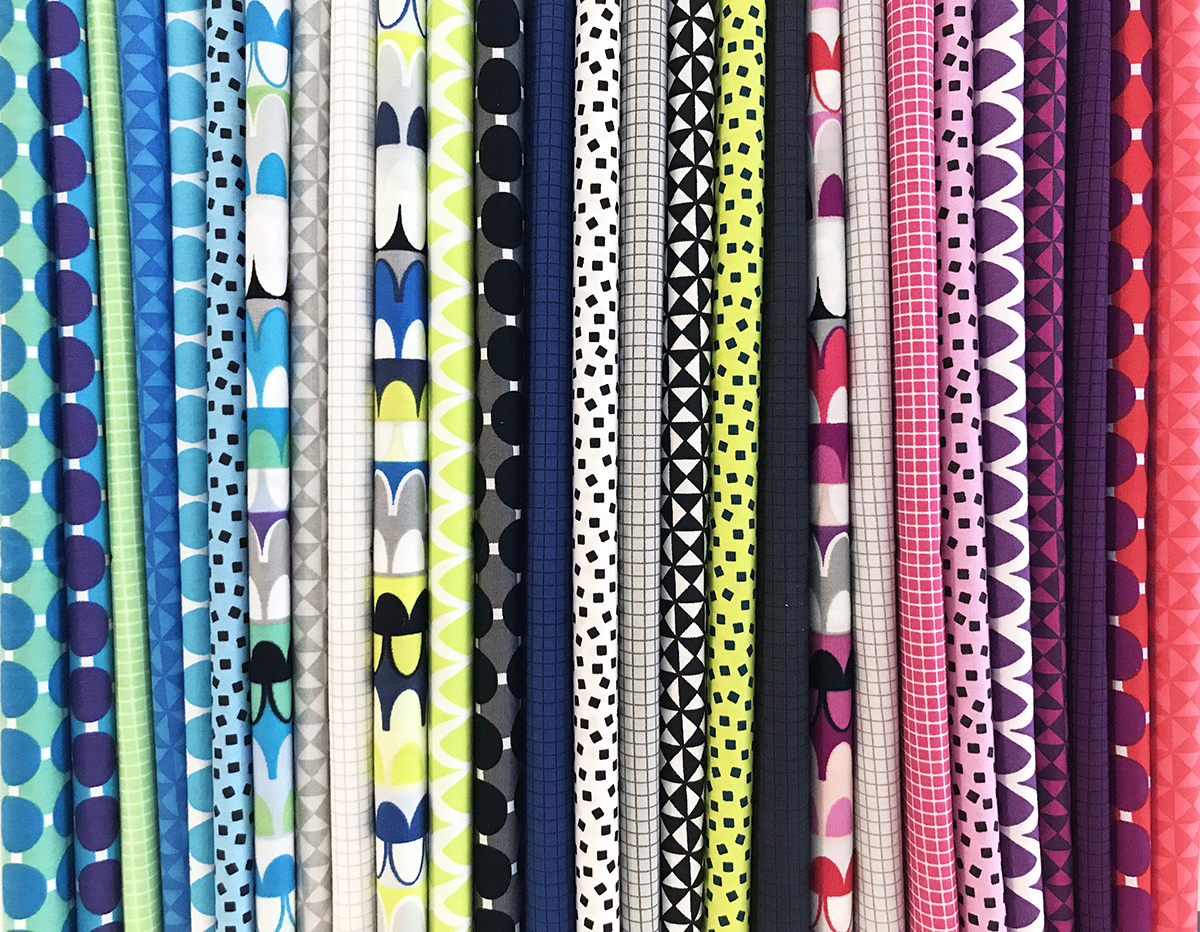
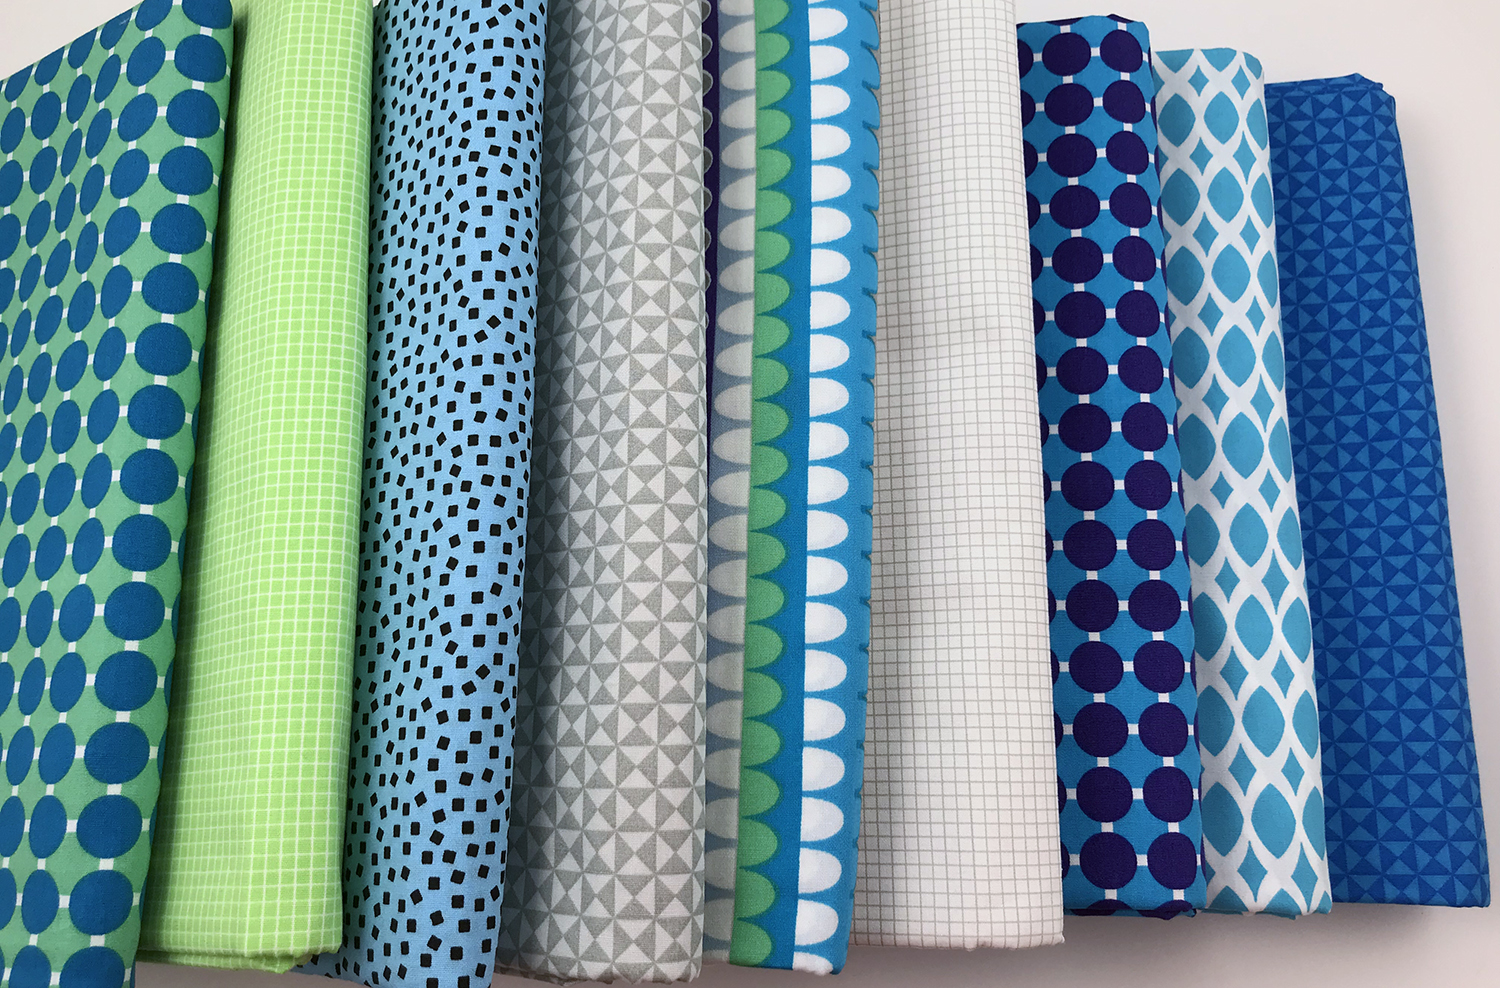
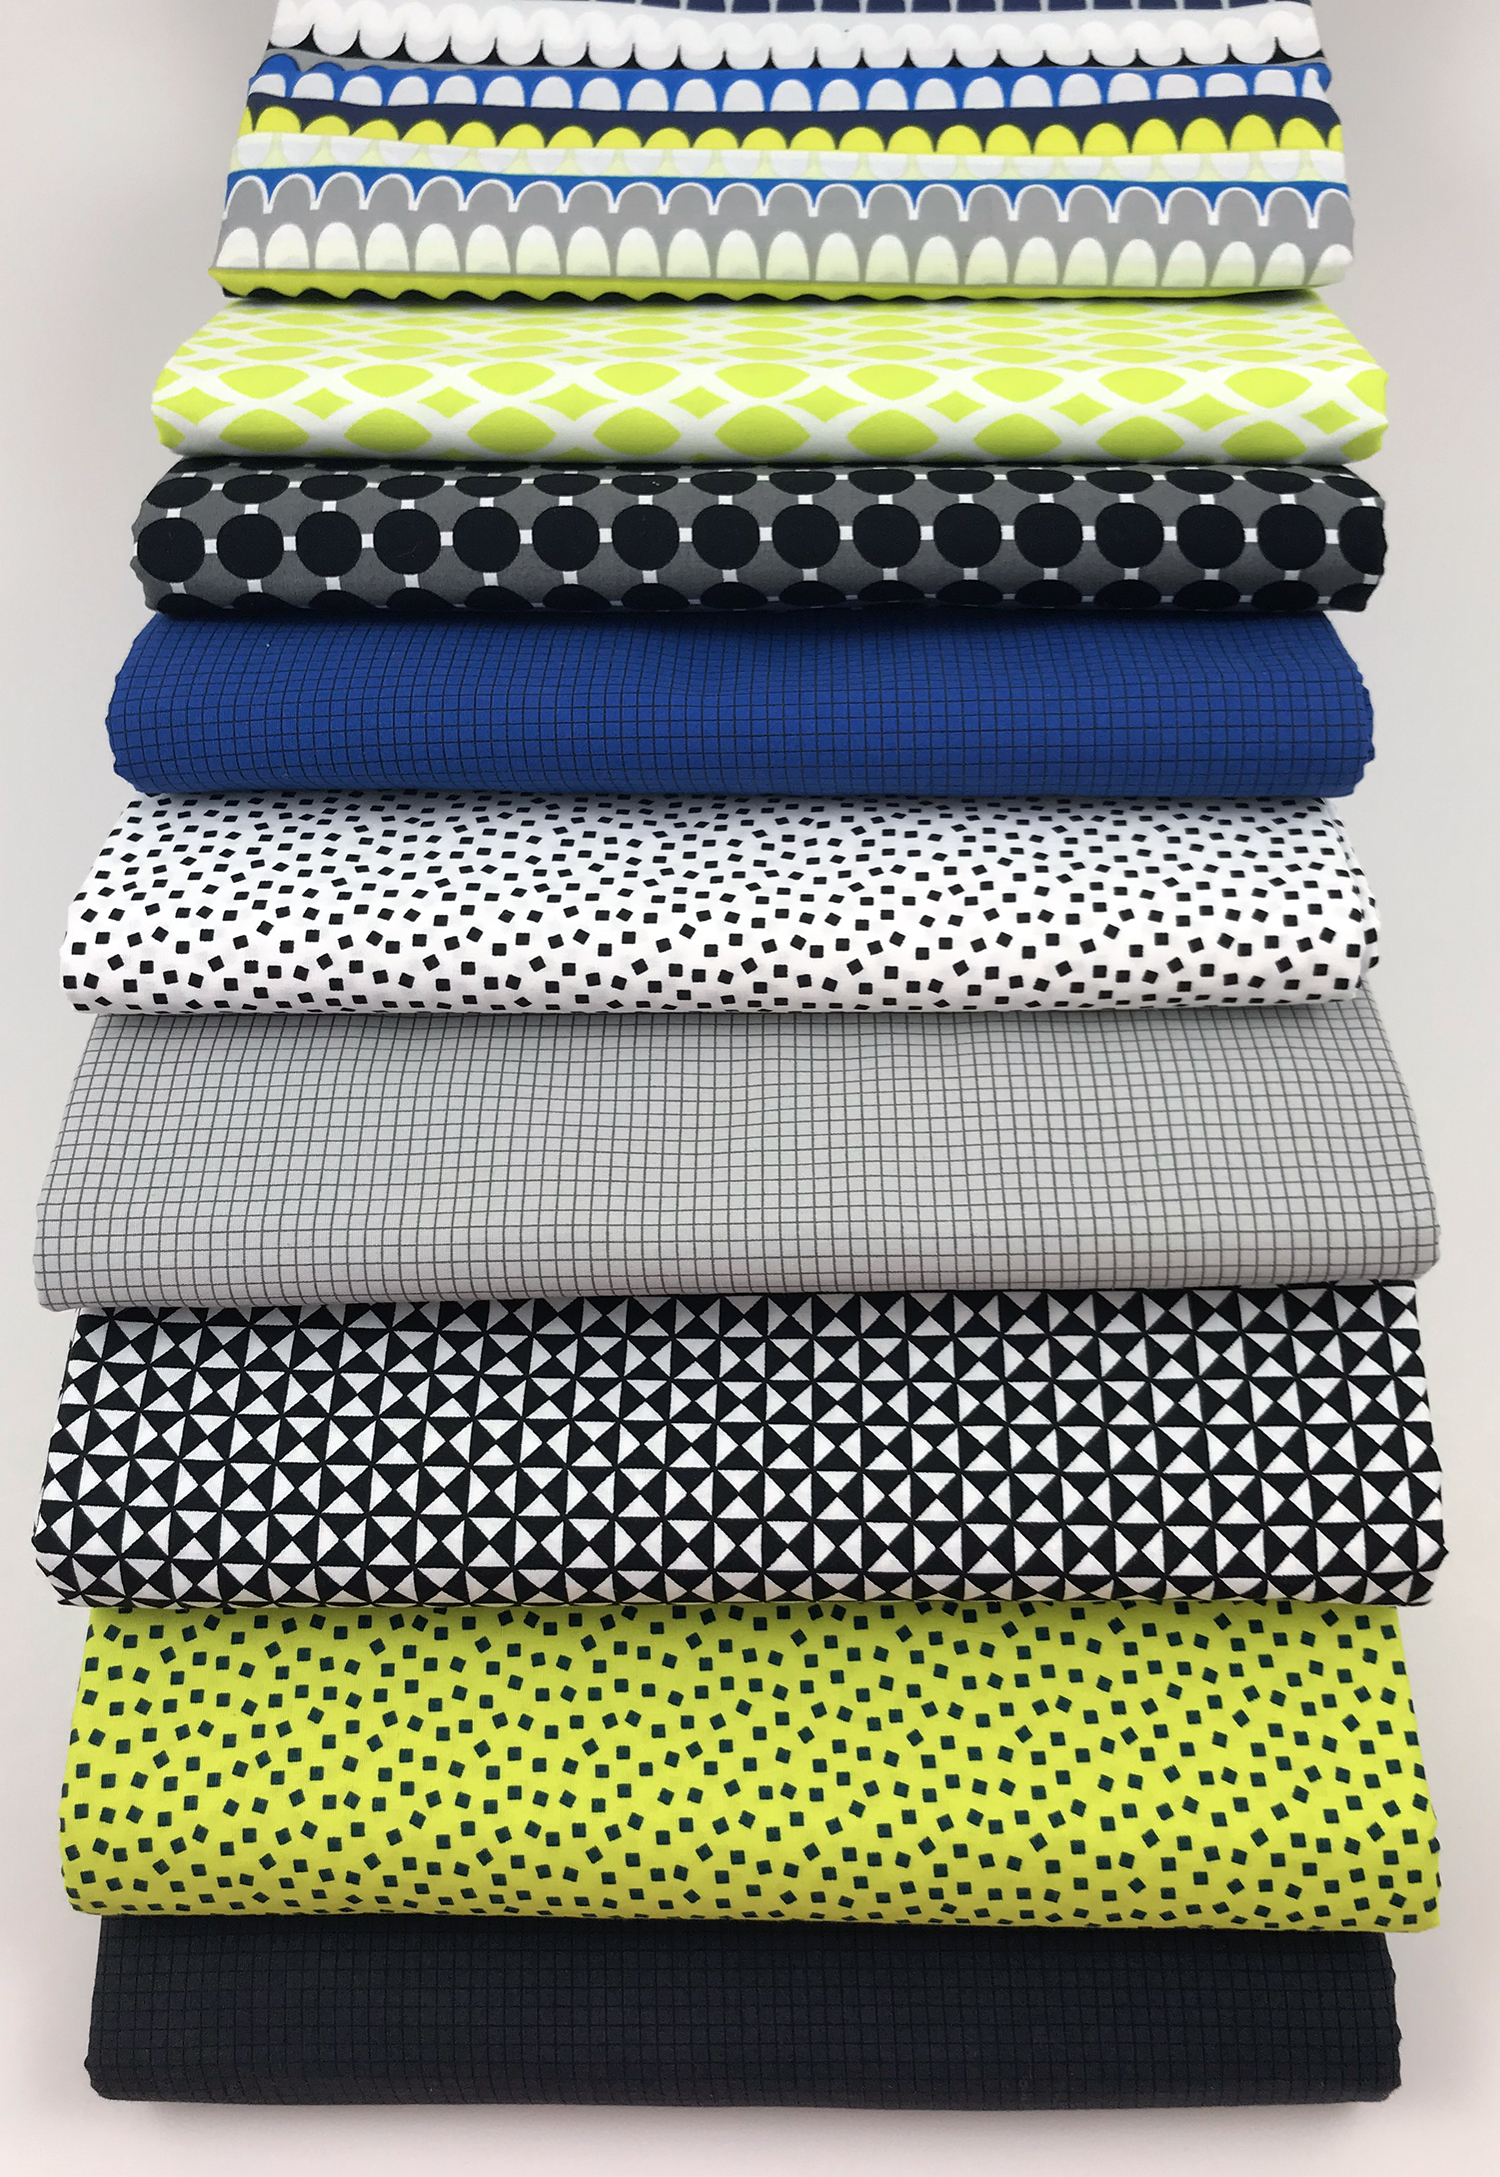
Let’s dive in and cut out our Modern Logs fat quarters, shall we? I’m using Good Vibes fat quarters, but you can use anything with good contrast between light and dark. In case you missed it, click here for last week’s post on prepping your fabric and choosing colors.

Click here to grab Good Vibes fat quarters from my online shop.
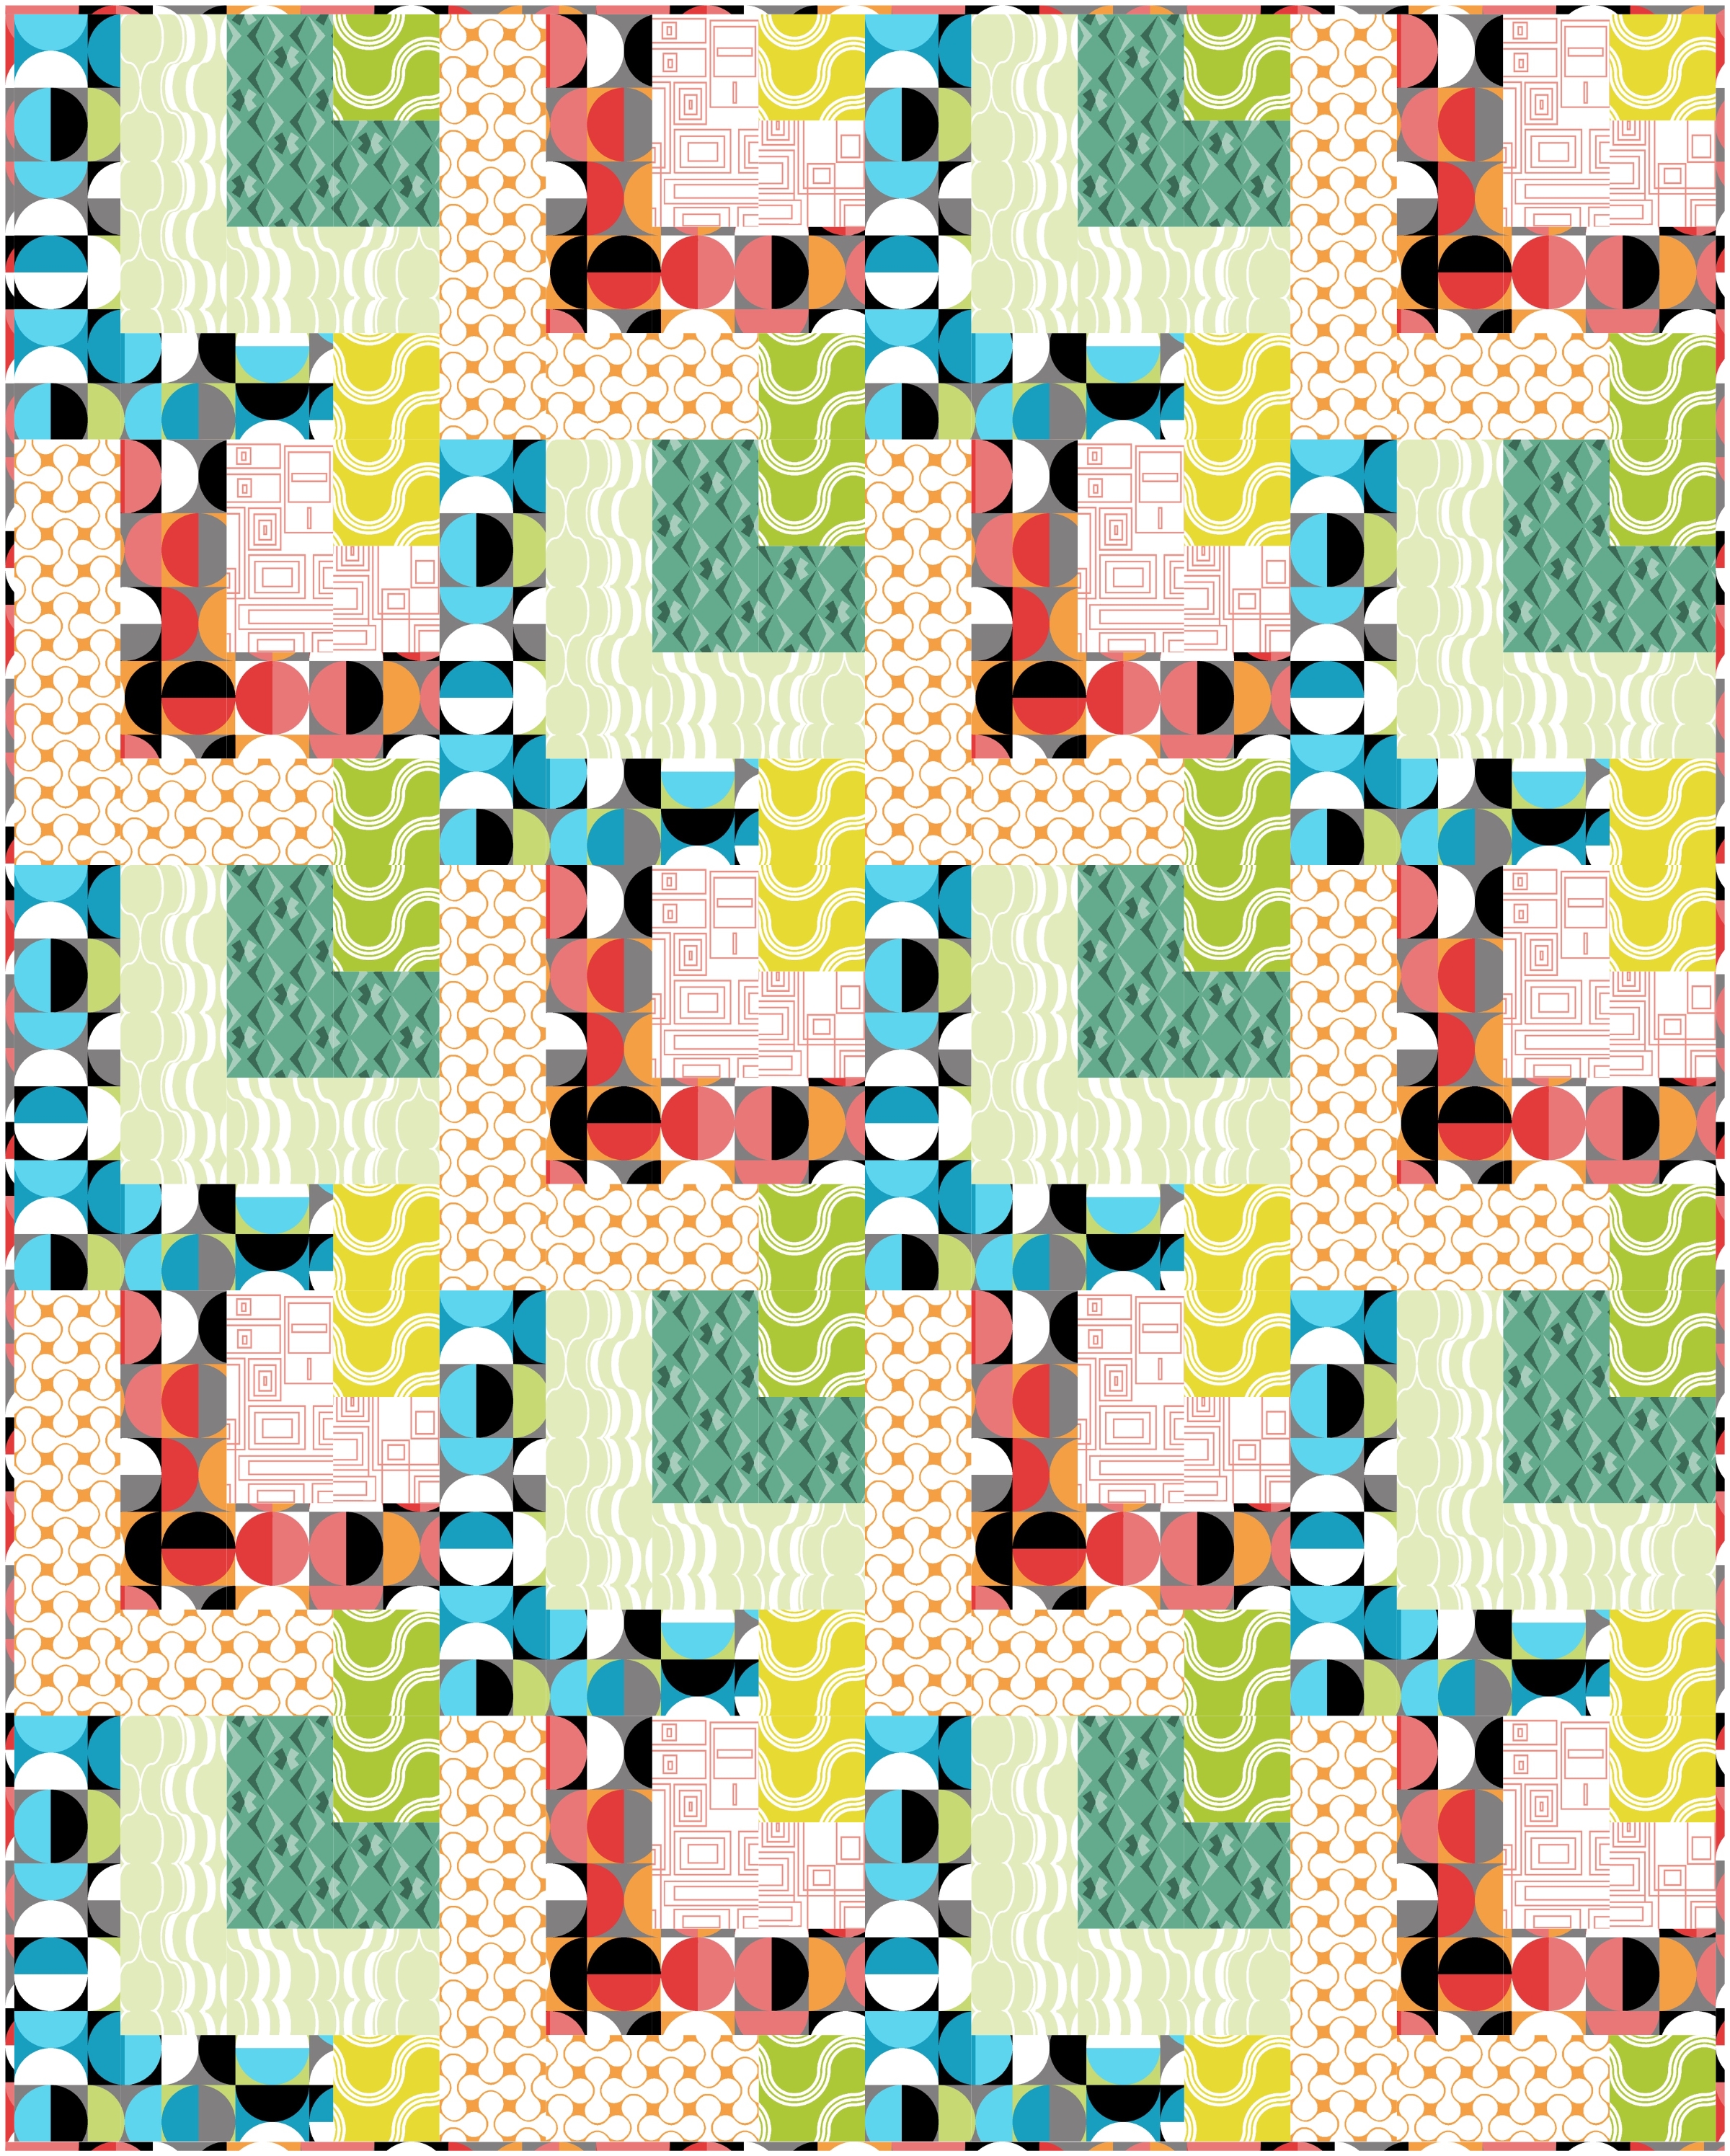
Follow along in the Modern Logs quilt pattern on page 3 for the numbers and sizes of wonky strips to cut.

Fat Quarter Cutting Tips
Layer fabrics to cut them out faster! If you are cutting 4 layers at a time, cut each stack differently so no more than 4 strips are the same. Then when you are ready to sew, remember that each strip has a top and bottom, front and back so you’ll have more variety of angles and color intensity when you sew.

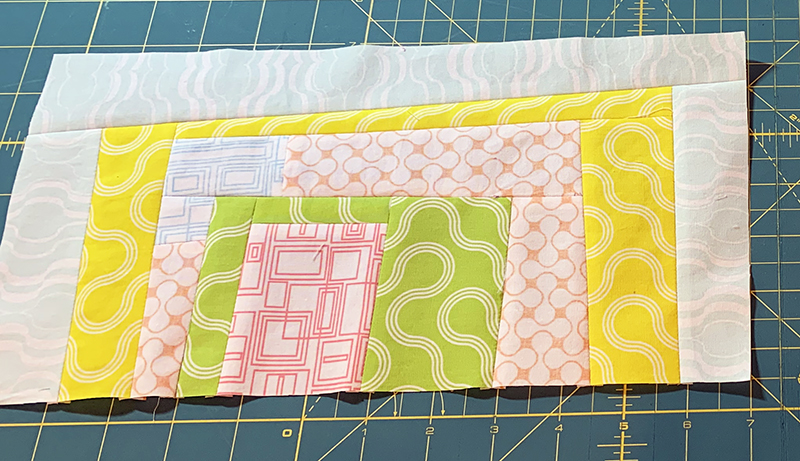
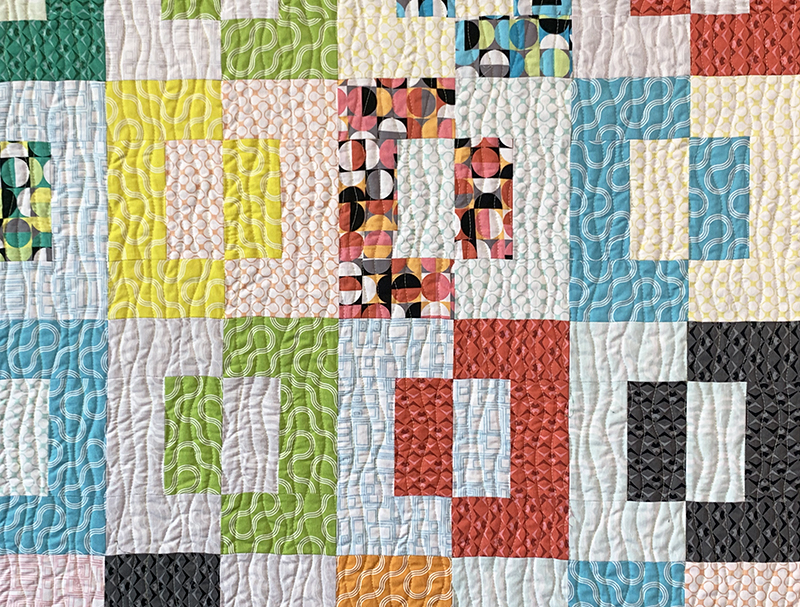
Next week when we start to sew the blocks we are doing what I call “structured improv.” This means you want your strips to have straight edges, even though the angles themselves are wonky. Cut the wonky strips using a rotary cutter and ruler. This allows the blocks to lie flat when sewn, even if all the pieces are different shapes and sizes.
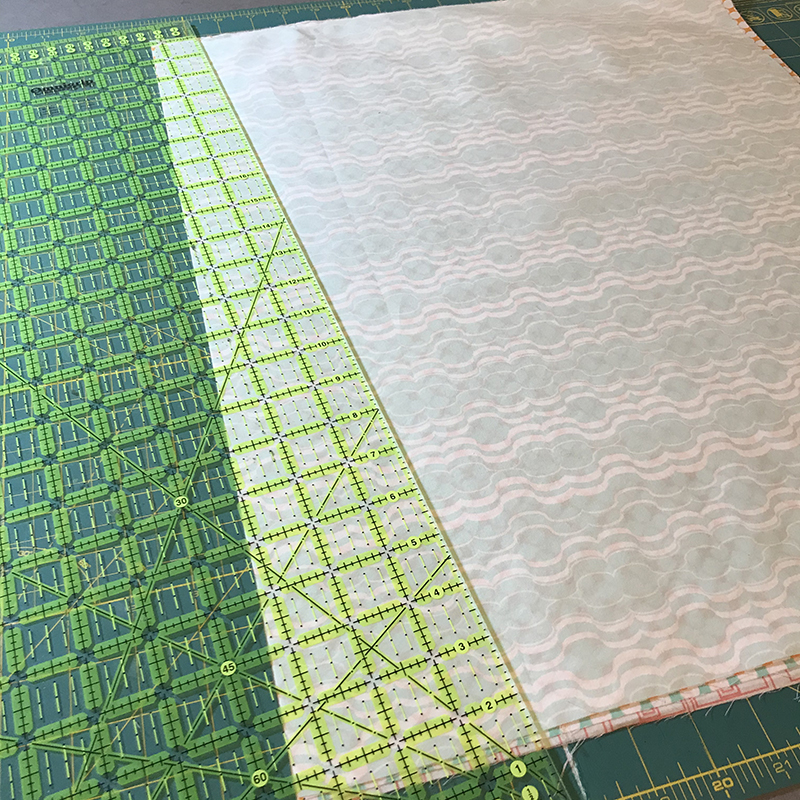
You can see above why it’s easiest to work with fat quarters and a long ruler for straight clean cuts.

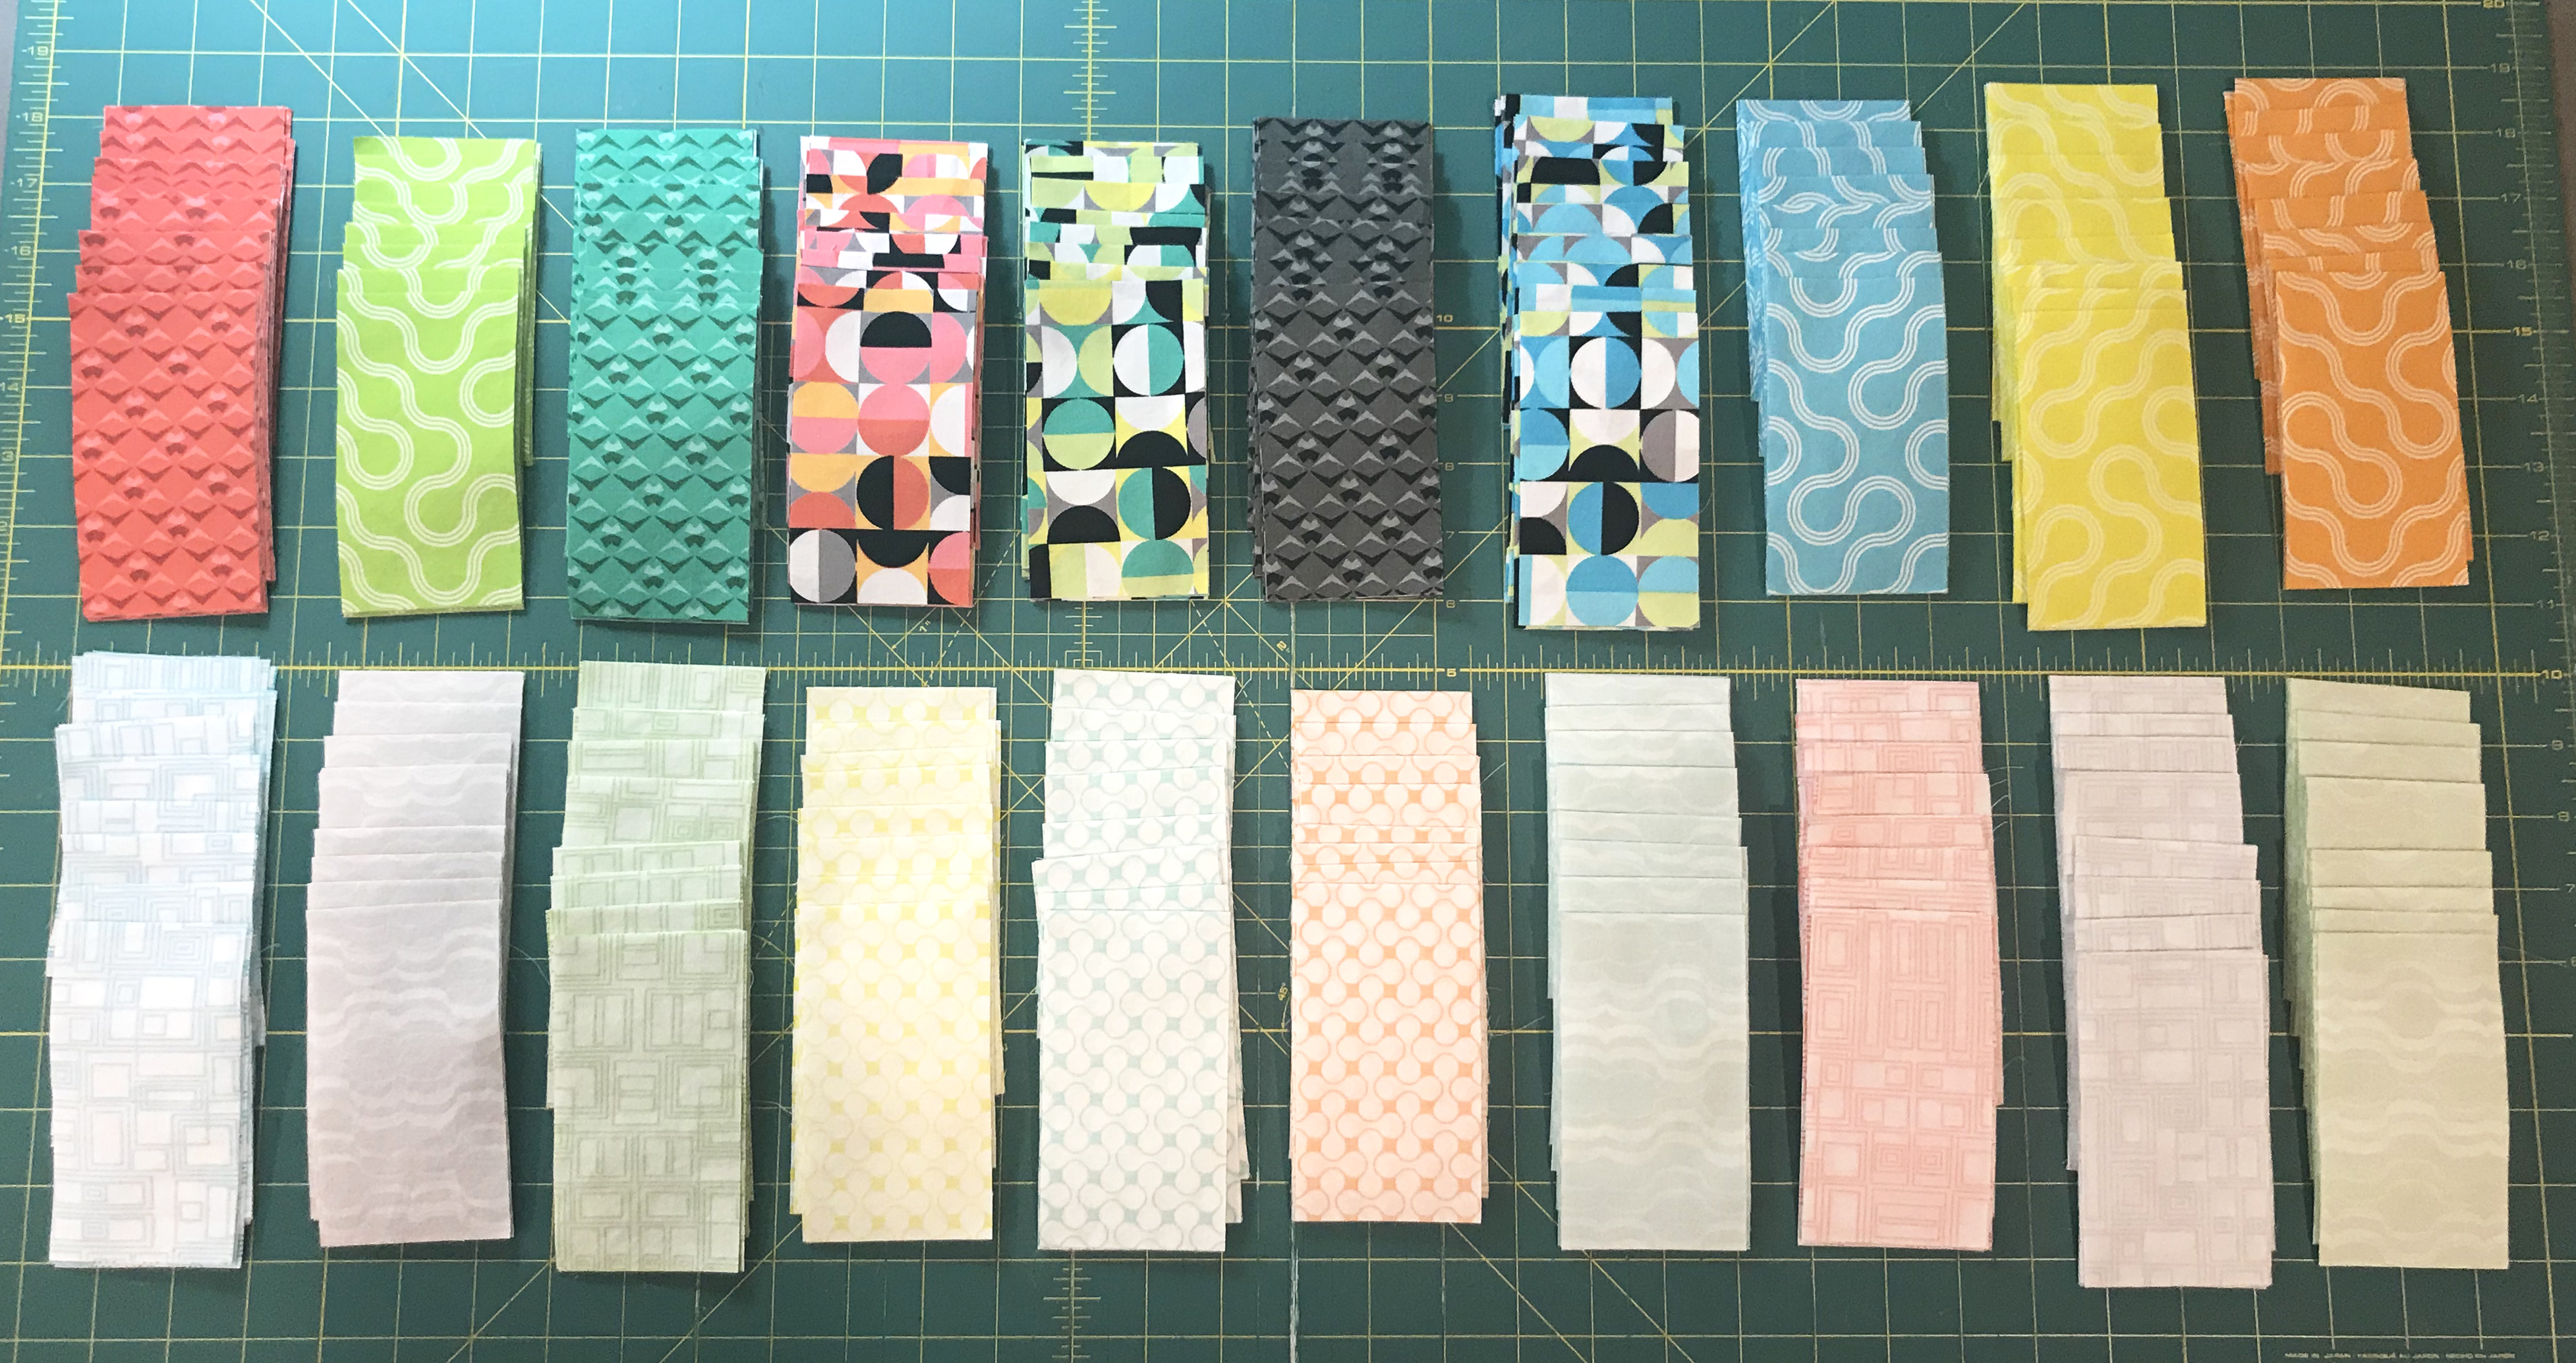
After cutting, stack the same fabrics together. Im going to use the front and back of the lights in this quilt to create more depth and sparkle. The number of strips you get per fat quarter will vary. You can cut a few strips to start, or go crazy and cut up the entire piece.

Don’t forget to cut the block centers. Each side will be straight but these may be more square in shape or more rectangular. The choice is up to you!
Once my strips and centers are all cut and sorted into lights and darks, I like to stack them up next to my machine so they are ready to sew. Warning: this will get a little messy as you sew! So give yourself plenty of room to spread out and work.
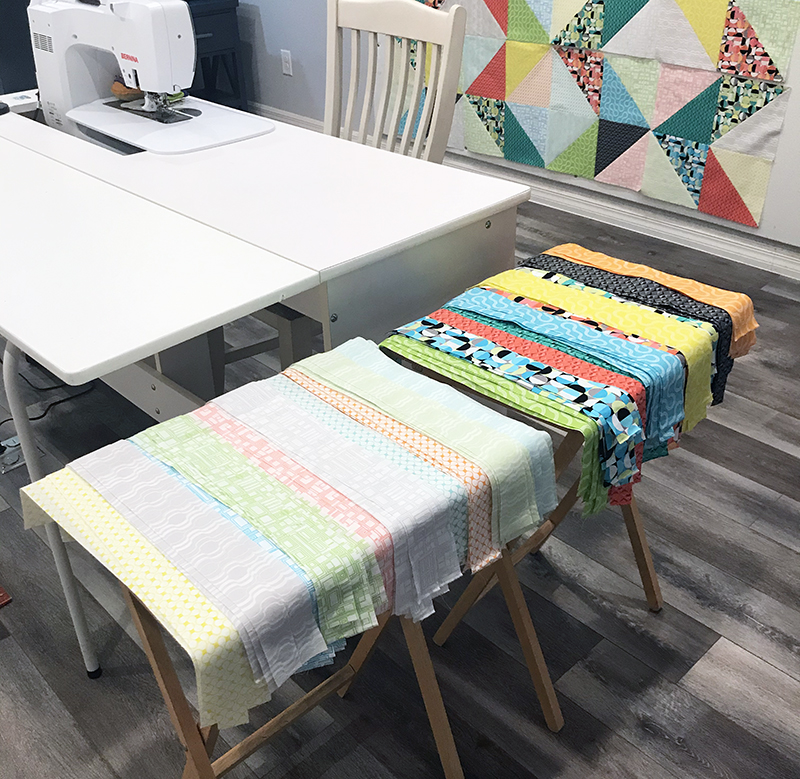
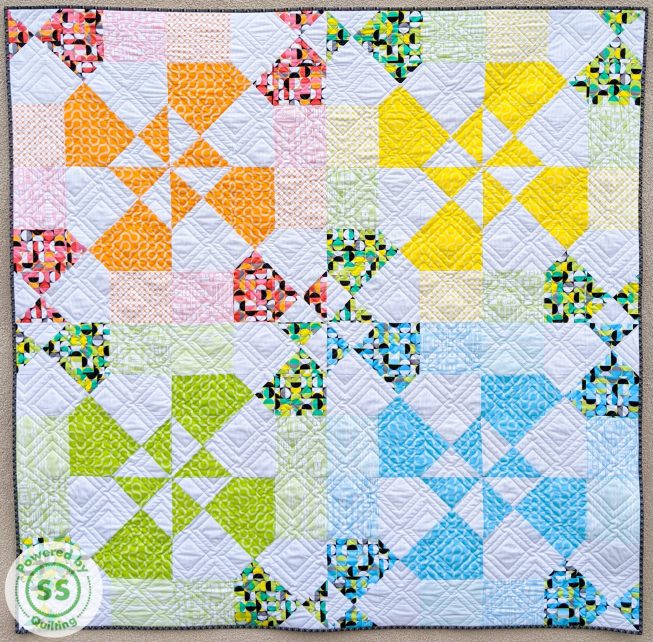
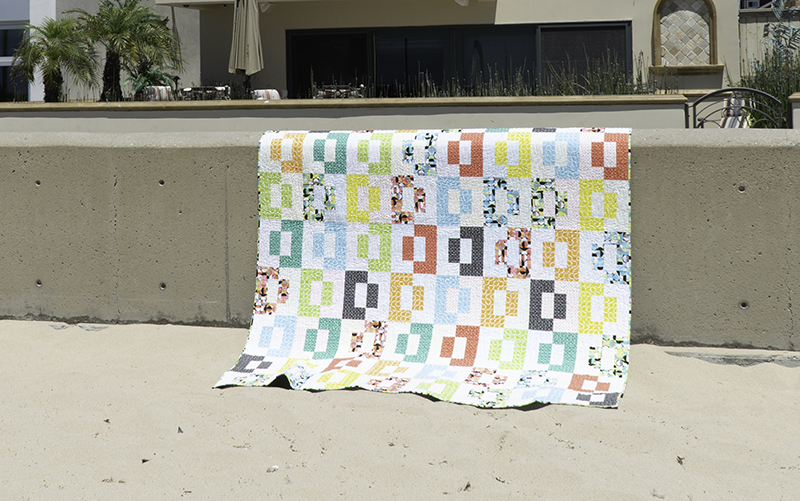
Do you see the Charming Chevrons quilt in progress on my design wall??
It’s made from Good Vibes precut squares.
Thinking ahead: it’s ok to cut some of your wider strips in half along the length if you need more pieces to go around the logs. Now it’s your turn – show me your wonky strips!! Share pics of your progress and feel free to ask questions in my ChristaQuilts Facebook Group.