Are you ready to dive in and make this dynamic looking quilt? All you need is a copy of the Blooming Wallflowers quilt pattern and you can jump in anytime! See the end of this post for all relevant links.

Blooming Wallflowers can be made in three sizes: Crib, Throw, or Queen
Cutting the Center Triangles
The triangles used in this pattern are a specific shape and require either the use of the full-size templates included in the pattern, or a specialty ruler. Tri recs is recommended for the smaller sizes or Creative Grids Triangle Squared AND Perfect Rectangle for the larger size. Of course you can use the larger rulers for the smaller blocks, too.

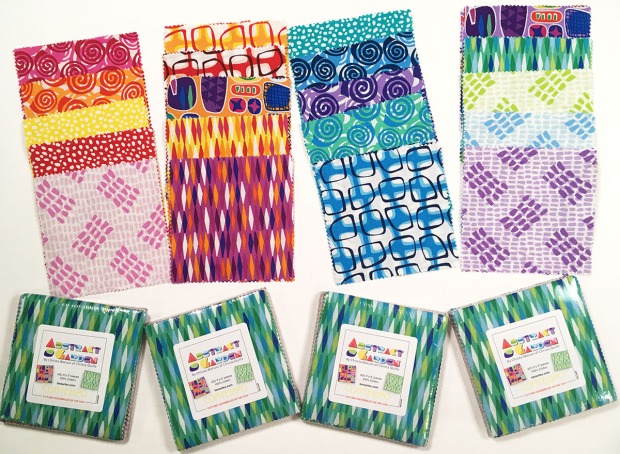
These are all of the cut pieces used to make Blooming Wallflowers.
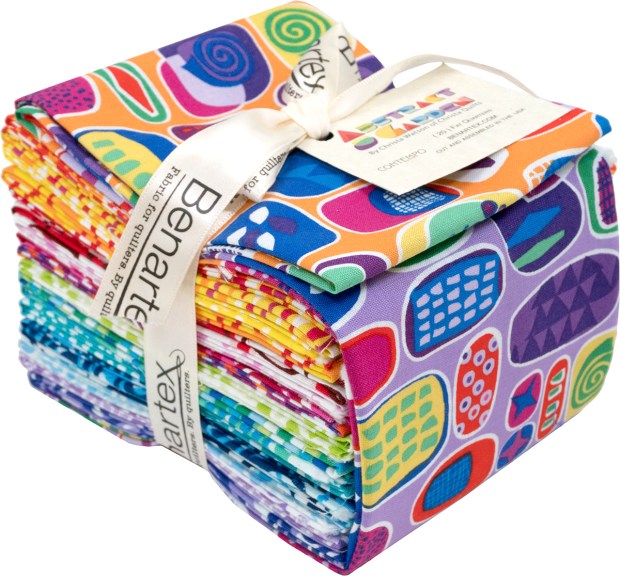
I used my Abstract Garden fabric line for the “flowers.”
Stack and layer the fabric strips for faster cutting. Follow the chart on page 6 of the pattern to cut the center triangles from the colorful prints. Here’s a quick 1 minute video demo showing how I used the specialty ruler. Notice the position of the blunt end on the ruler.
Corresponding diagrams can be found on page 2 of the quilt pattern.
Cutting The Triangle Pairs
The background triangle pairs s are cut in the same way except you will want to make sure to cut one left and right triangle at the same time. The easiest way to do that is to make sure the background fabric strips are folded in half. Then you’ll get one pair per cut. See the step by step cutting diagrams on page 3 of the pattern.
Here’s another short video showing how I cut the triangle pairs. Don’t forget to trim off the little triangle tip at the top to ensure proper matching when sewing them together next week. I used the ruler to trim off the left edge of the fabric strip first, and didn’t worry about the direction of the print while cutting.
The background fabric is Navy Herringbone from my Modern Marks fabric line.
Cutting the rest of the background
The rest of the background is pretty straightforward. Follow the chart in the pattern on page 6 to cut extra background squares that allow the design to float, plus the side and corner triangles and the binding strips. See the diagram on page 3 to cut the corner and side triangles.

I love a pretty stack of cut pieces, don’t you?
Once everything is cut, you’ll be ready to sew the blocks together next week! Don’t forget to share pics of your progress in my Facebook group, or on Instagram using the hashtag #bloomingwallflowersquilt.
Important Links
- Click here to receive quilt along updates via email.
- Click here for the supply list and schedule.
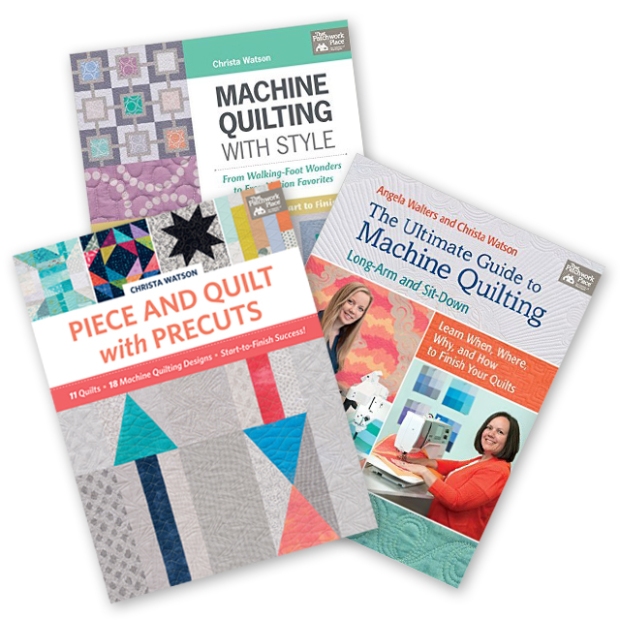
- Click here to get the Blooming Wallflowers Quilt Pattern (print)
- Click here to get the Blooming Wallflowers Quilt Pattern (digital PDF)
- Click here to purchase the optional kit while supplies last.
- Click here to share your progress in my ChristaQuilts Facebook group.


 This version was a “reject” for QuiltCon 2018


