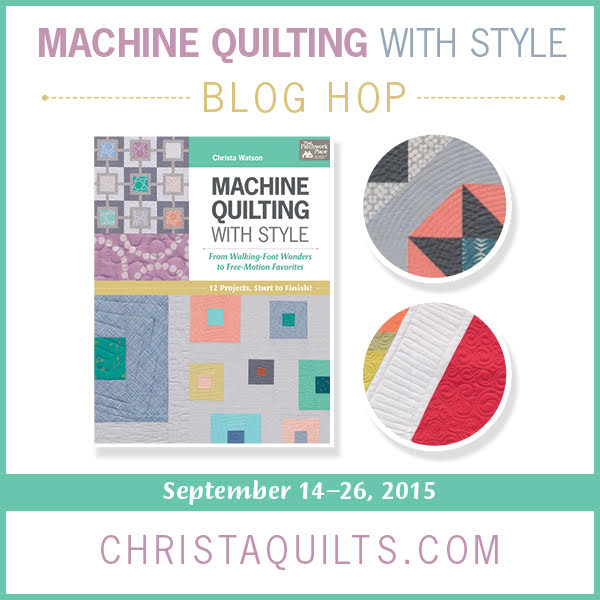
As you check out each of the quilts from Machine Quilting With Style, don’t forget to vote for your favorite quilt. The “winner” at the end of the hop will be the quilt I will feature in an upcoming quilt along in January, so stay tuned!
Candy Pop – The Background Story
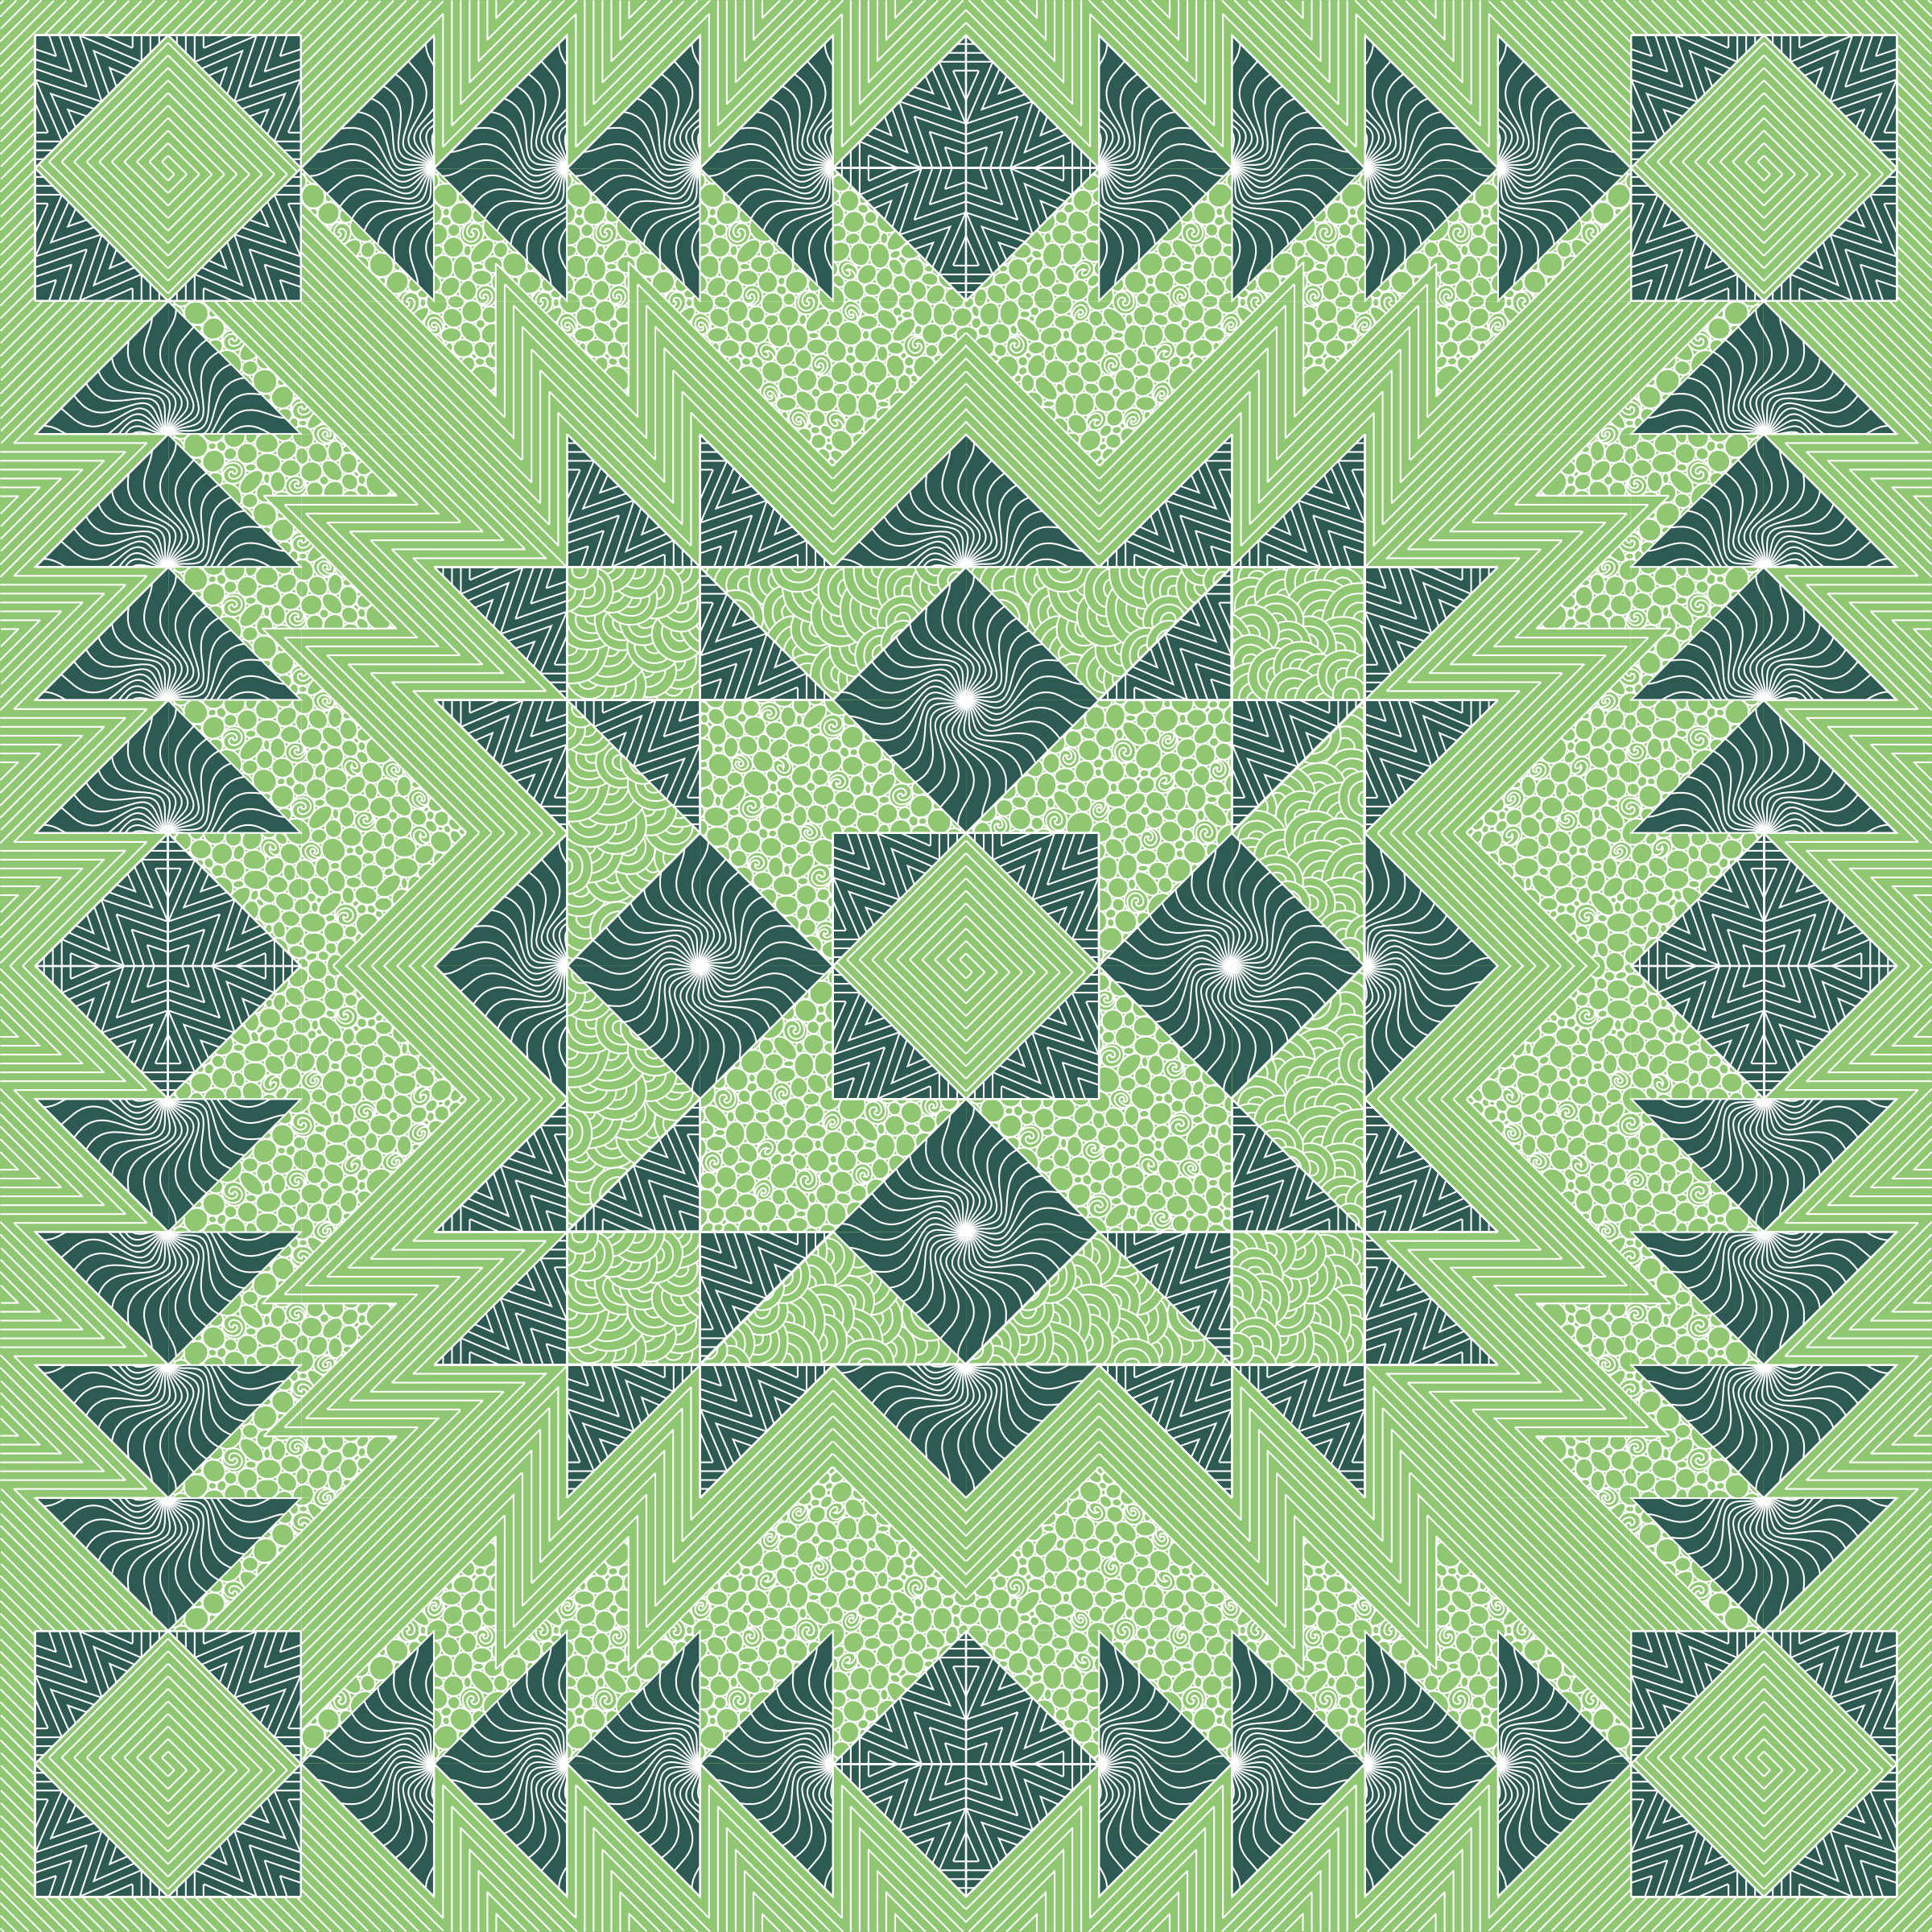
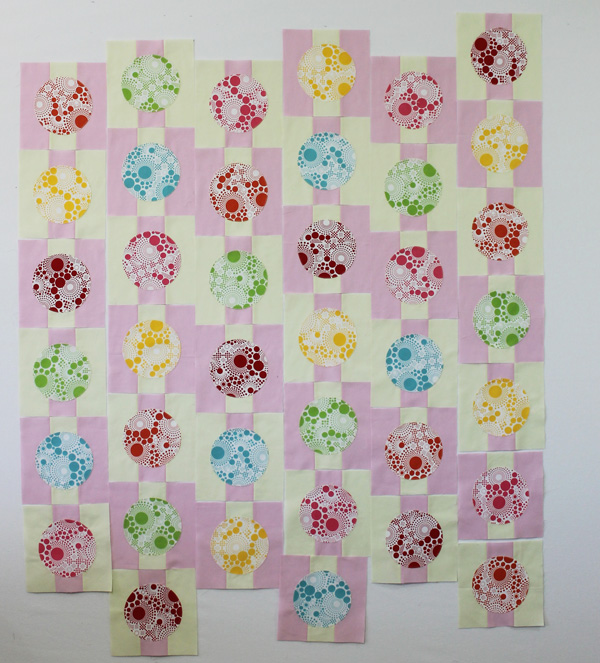
 Candy Pop 45″ x 45″ by Christa Watson. Photography by Brent Kane.
Candy Pop explores my love affair with easy machine applique. Next to machine quilting, I would have to say it’s my next favorite technique. The reason I don’t do it more, though, is because I can’t draw very well to create the images I want to stitch. However, with the emphasis on bold geometric shapes in the modern movement, I may just have a few more ideas up my sleeve….
 In the book, I explain how to applique the blocks and trim down the edges for a perfect fit!
I am just in love with the Riley Blake Pop dots I used to create the circles. They remind me of candy treats like button dots or lollipops. Instead of laying out the blocks in a standard grid format, I chose to offset them to add a little interest to the design. Don’t you love the blocky diagonals that form in the background? I do, too!
 You can center the dots like I did, or you can make them wonky for a more spirited, whimsical look! In the book I show you how to prevent shadowing of background fabric through the circles.
I’ve told each of my children they get to choose a quilt from the book to keep, once they are done with publicity. My daughter chose this one and she can’t wait to get it!
A Bit More
I love creating pieced backs whenever I can, so I decided to make a few extra blocks and piece them into the backing. Now that I’m gaining confidence in my quilting skills, I love to put solids on the back so you can really see the machine quilting pop. There wasn’t room to include this picture in the book, but you can easily replicate this idea from your leftovers. I machine bound the quilt with leftover fabrics using a decorative stitch, and instructions on how to do that are included.
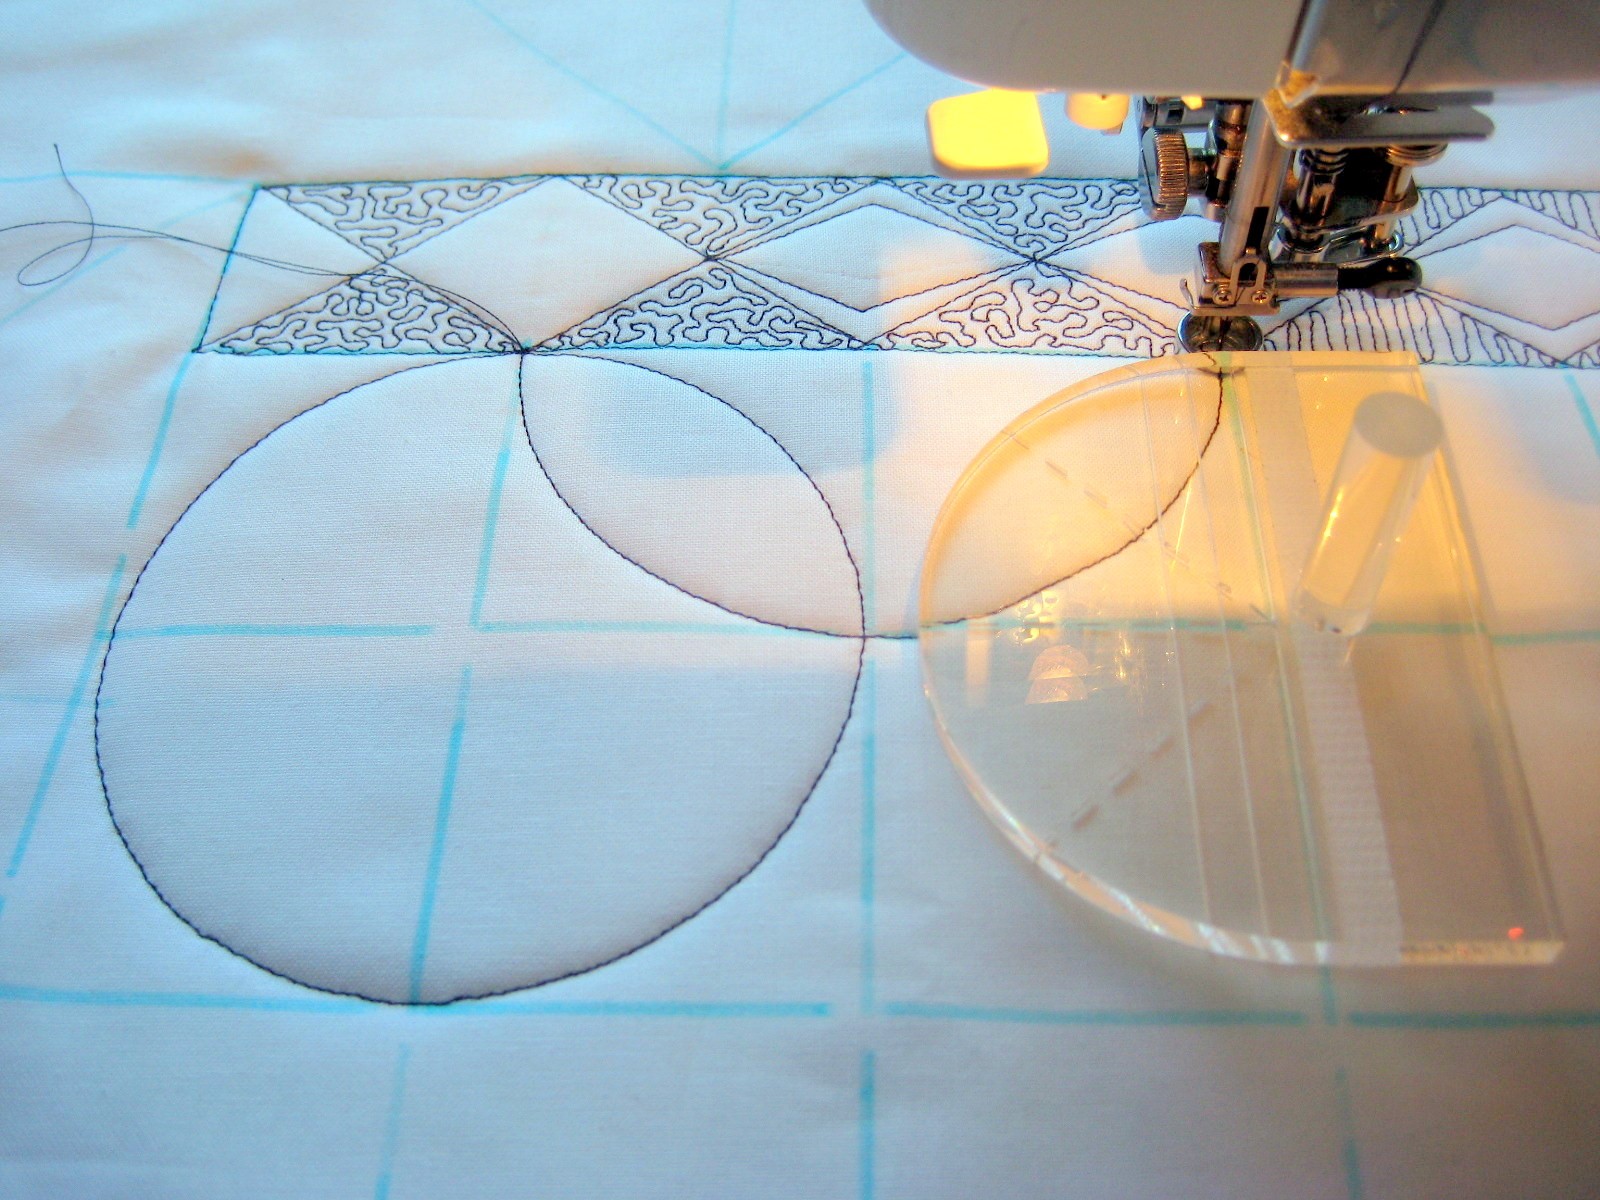
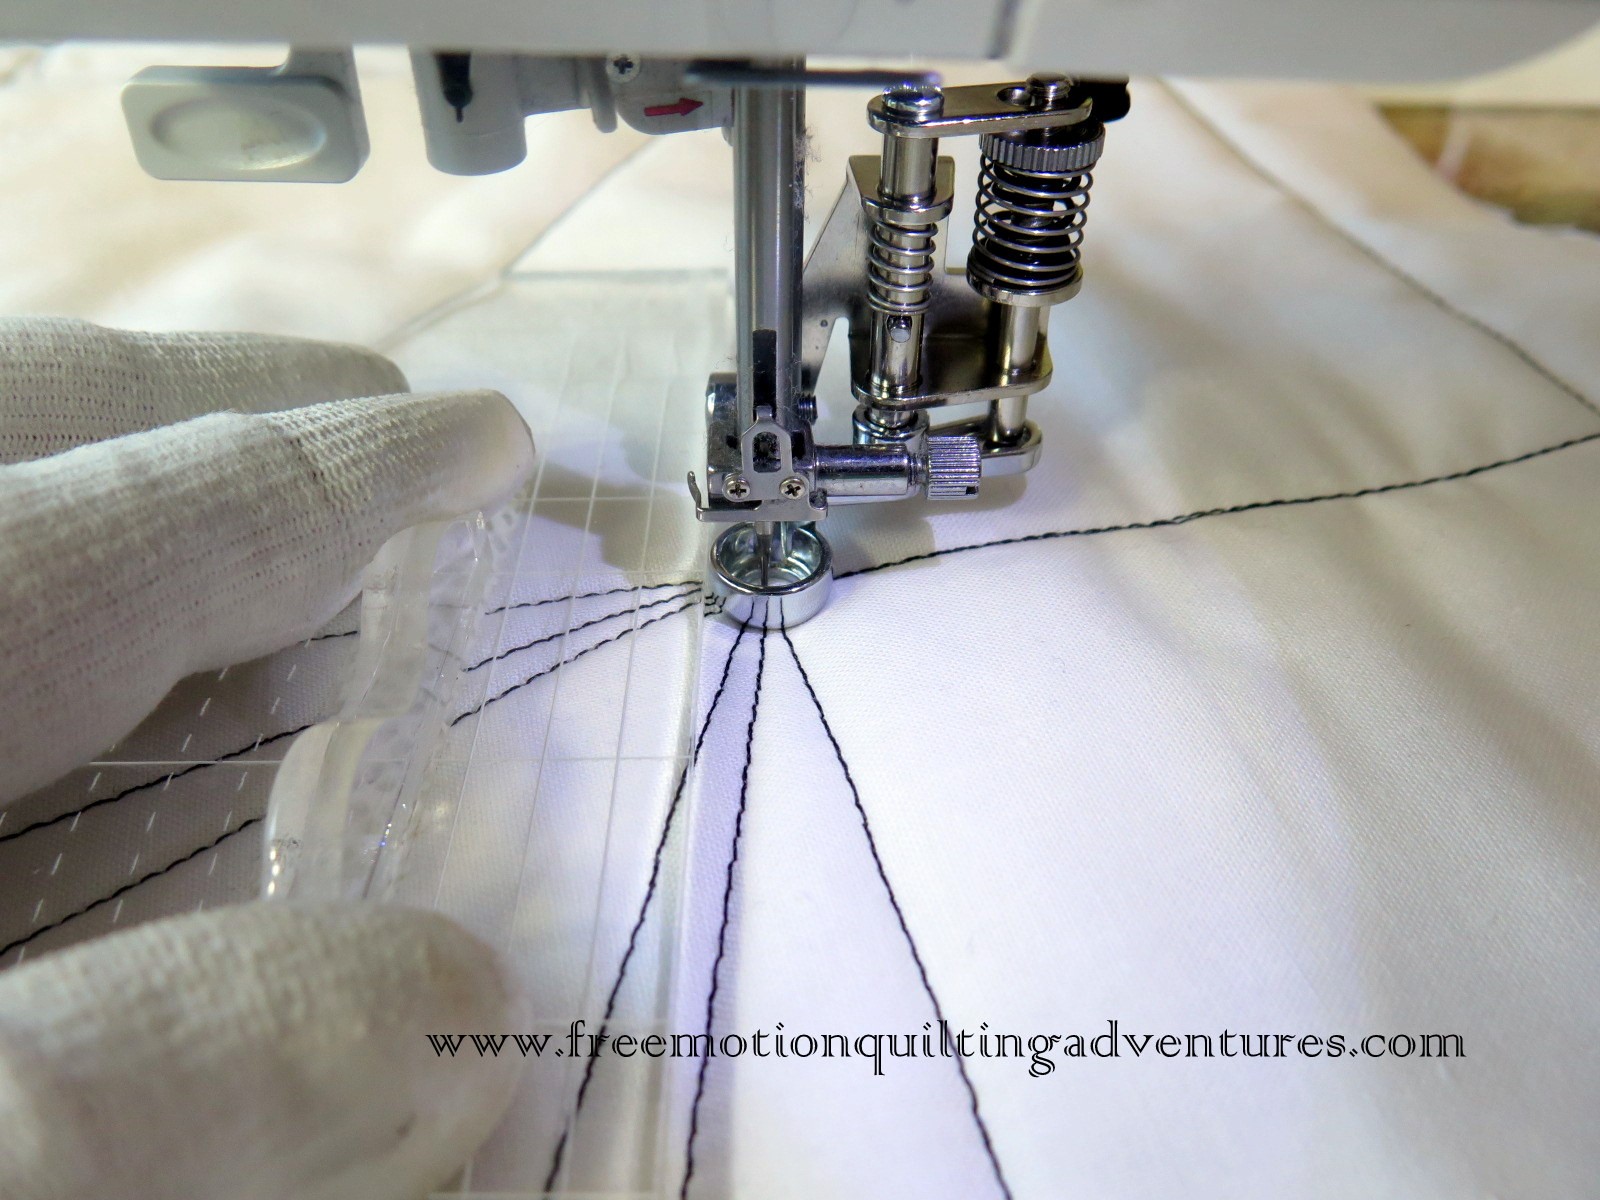
 I love including fun details in my quilts, like pieced backings and bindings. Machine quilting motifs you can practice on this quilt are loops and spirals. It’s a continuous design which goes fast!
Modern Elements – Asymmetrical grid formation, bold colors, use of solids, irregular machine quilting, secondary composition, geometric fabric prints, repetitive use of large simple shapes.
Time for me to Complete – 22 hours from start to finish.
Quilting Inspiration from Linda

Linda Hungerford (from Flourishing Palms) and I met online and immediately bonded over #domesticmachinequilting. (Search that hashtag on instagram and you’ll see what I mean!) Linda is an author herself and an excellent quilting instructor. Once you see it, her quilting will really knock your socks off! She shared sneak peaks while she was making the quilt, and I think she went above and beyond the call of duty!
Be sure to pop on over to Linda’s blog to see her amazing rendition of Candy Pop, and enter to win her giveaway. I love how she made it her own with her choice of rainbow colors, and slightly different applique method. I’m also honored that she has chosen to teach this pattern as an upcoming class, and I can’t wait to see her students’ finishes.
Visit Electric Quilt and Quilt Shop Gal For More Prizes
Hopefully you all know what a huge fan I am of Electric Quilt. I am a current EQ artist, and I designed 11 out of 12 of the quilts from the book using EQ7. (My husband Jason designed one of them on his iPad, but more on that later…) The EQ folks have been great partners and I can’t wait to meet many of them in person when I teach at EQ Academy next spring.
 You can win this!!
My friends at EQ are offering a huge prize for the hop! Head on over to the EQ blog and enter for you chance to win copy of EQ7 for windows of Mac. You’ll also be able to see some of my EQ sketches, along-side the finished quilt. Then get started designing your own fabulous quilts!

Darlene from Quilt Shop Gal is super supportive of the quilting industry as a business, and especially of machine quilters. She’s offered fun challenges and inspiration over on her blog and I feel like we are great friends, even though we’ve never met in person. Head on over to Quilt Shop Gal for a nice review of the book, along with your chance to win a free -copy!
Click here for the complete blog hop schedule.
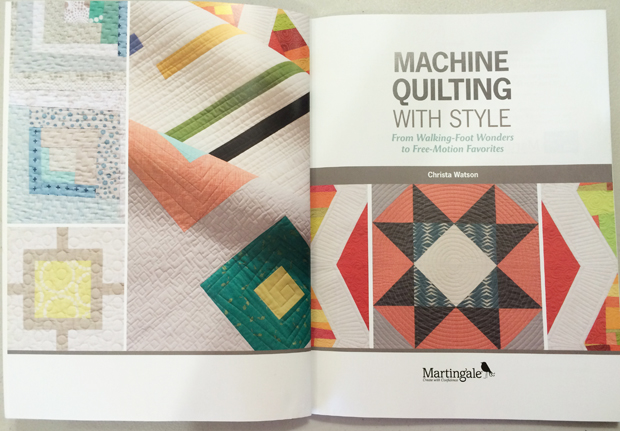
Click here purchase your autographed copy of Machine Quilting With Style.