I have been a quilter for over 20 years, but I’ve only been using basting spray on my quilts for about the last 2 years and it’s now my favorite go-to method. Although there are a few drawbacks: it’s more expensive, you need to do it outside or in a well-ventilated area, the convenience of not having to remove pins while machine quilting more than makes up for it!
Be sure to share your progress in my facebook group: Quilt With Christa!

I can usually baste about 2-3 throw sized quilts from one can of basting spray.
Tips before starting
- My spray basting method works best for quilt batting that is mostly or all cotton.
- I use 2 large plastic tables that fold up and out of the way for storage. You can also use just one table for this method.
- Make sure your batting is at least 2″ all around all four sides of the top (4″ larger than the finished measurement).
- Make sure your backing is at least 3″ bigger all around (6″ larger than the finished quilt top).
- If using a lot of black like I did, consider using a black batting (I used an 80/20 blend).
- Grab a helper and a long acrylic ruler to help smooth things out.
- If the quilt top or backing sticks to itself, you can easily pull it apart to reposition as needed.
Step 1
Press all 3 layers – quilt top, quilt backing and batting with a dry iron. This works best for 100% cotton or a cotton blend, but yes, you can iron your quilt batting. If you are worried about the batting sticking to your iron, put a piece of clean fabric on top of the batting and iron on top of that. If you have stubborn wrinkles, lightly spray the batting with water before pressing.
Step 2
Cover your table or work surface with a clean bed sheet or cardboard to protect the table from overspray. If it’s not windy outside, you can place pieces of white paper around the edges of the fabric and then remove them easily once the top and backing have been sprayed.

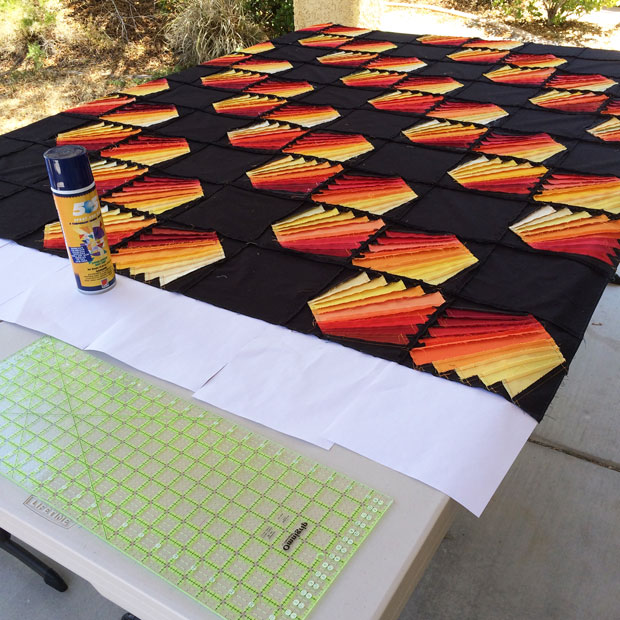
Spray outside to let the fumes dissipate. I used sheets of paper to catch the overspray.
Lay out the quilt top, wrong side up on a large table outside. Gently and evenly spray the entire top with 505 basting spray. (This is the brand I recommend.) I will usually spray in sections, following the pieced design of the quilt. Set aside the quilt top.
 You want the adhesive to completely cover the back side of the quilt top – just don’t overdo it.
Step 3
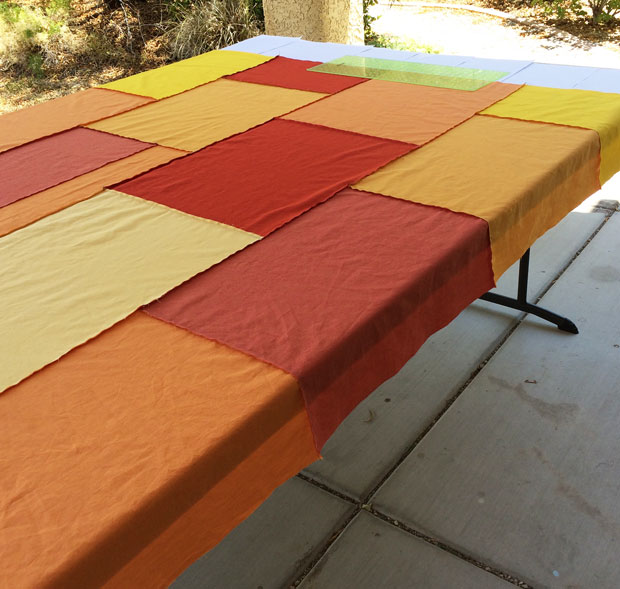
Lay out the quilt backing wrong side up and repeat the process to spray the entire backing. If the backing hangs over the edges, spray the center first and then the sides. Remove the bed sheet or papers and leave the backing on the table.
 By using paper to catch the overspray, it’s easy to remove and leave the backing in place.
Dead summer grass and dirty concrete patio optional!! 🙂
Step 4
With a helper, lay the batting on top of the quilt backing. It may help to fold the backing in half and then in quarters first. Lay it on the corner of the backing and then unfold it and smooth it out as you go.
With a long acrylic ruler, smooth the batting across the backing, working out any lumps and bumps.
Step 5
With a helper, lay the sticky top right side up on top of the batting and backing piece. Again, smooth it out with a long ruler if needed. Flip the quilt sandwich over to ensure there are no wrinkles on the back and that the entire top has batting and backing underneath. Trim the excess batting and backing with batting shears leaving only an inch or two all around.
 Smooth the layers out the best you can with your hands and a ruler.
Step 6
Bring all 3 layers inside and iron it from the back of your quilt to set the glue. If you have an oversized board that fits on top of your regular ironing board, this comes in really handy! Once the backing is smooth, flip the quilt over and iron it again from the front side.
If spray basting isn’t your thing, here’s a link another quilt along with my pin-basting tutorial. 🙂
You are now ready to quilt! Start choosing your thread colors and meet me back here August 26th to begin the quilting. Or get a jump start on it now if you can’t wait!
Click here for all of the Paper Pieced Quilt Along Tutorials
New to my blog? Be sure to sign up for Friendly Threads – my email newsletter!
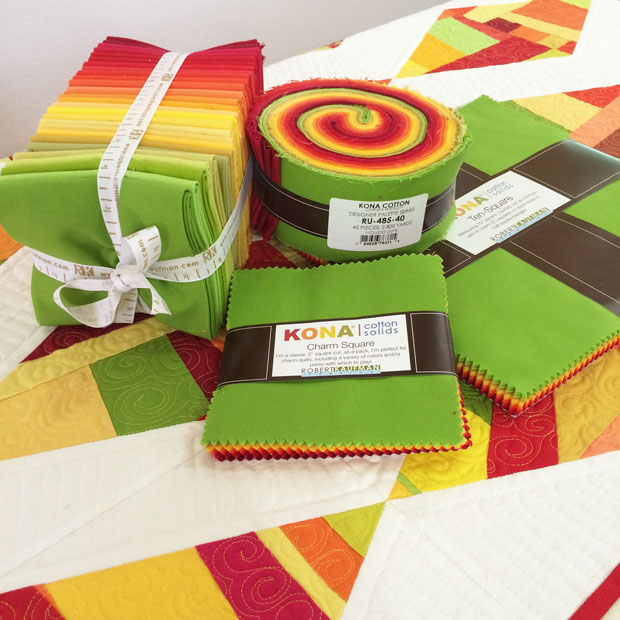
 Christa Watson designer palette plus Kona solids in Coal
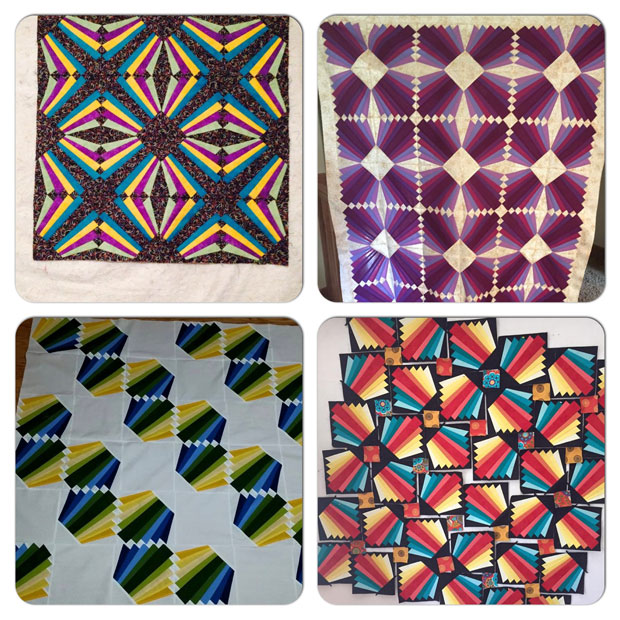
 Feathered Chevrons Layout from my Charming Chevrons Pattern.