Modern Love Mini Quilt Along #3

This weekend I finished my Love table runner. Today I will show you how to applique and quilt it all at the same time! Scroll to the end of this post for links to the previous tutorials.

If you have followed along so far you will have a top that may look something like this:

Lover RunnerThe letters were traced and applied to the background fabric with  Steam-A-Seam 2, my favorite type of fusible web. Now it is time to applique them down.

Step 1 – Baste your Quilt

You can use safety pins, or my favorite basting tools – straight pins and pinmoors. I chose a scrap of thin cotton batting (Warm-N-Natural) because it lies very flat which is what I want.

Pin Basting

Step 2 – Choose Your Thread and Decorative Stitch and Practice First

Open Toe FootI use an open toe foot with a wide needle plate. The open toe allows me to see my work so that I can be more precise.

I prefer to use silk thread in a color matching my fabrics for the applique. It is so thin that it nearly disappears into the fabric. A lightweight cotton works well, too. If you don’t have a thread color that’s an exact match, go with a darker thread color rather than a lighter color.

I like to use a buttonhole or blanket stitch rather than a thready satin stitch because it’s much lighter on the quilt and more forgiving to stitch out.

Practice Stitches

Practice with a few decorative stitches on scrap fabric until you find one you like. You can use a regular straight stitch, too, sewn closely to the edge of your fabric pieces. You need to learn the “rhythm” of your stitch so you can anticipate where the needle will next pierce your fabric. Sew slowly and “count” how many movements it takes to complete the decorative stitch.

Step 3 – Appli-quilt Your Letters

Since you will be stitching through all the layers of your quilt, you don’t need a stabilizer. I suggest using the same thread color in the bobbin as well as the top to hide any less-than-perfect stitching or tension issues.

Stitch the Letters

Start in the middle of your letter and bring the bobbin thread up to the top. Take a few small straight stitches to lock your threads. Then switch to the decorative stitch on your machine. You may need to scoot your quilt over so the needle position lines up correctly.

Pivot

Anticipate where your needle will pierce the fabric on each movement of the stitch. Turn the top slowly and smoothly as needed so as to avoid stitching outside the letters into the background. If you have the “needle down” function on your machine, use it. Always stop with your needle down before turning your quilt. Pivot when needed.

Inside Angle

When you have an inside turn, try to land your stitch right in the middle. Don’t be afraid to pivot every stitch or two when needed to completely outline the letters.

Finished Letter

When you reach the beginning, change back to a straight stitch and end with a few small locking stitches. Clip your threads close. When you get to the ‘O’ stitch the inside first.

Finish stitching all of the letters the same way.

Step 4 – Finish Quilting Your Quilt

Now you can have fun quilting the rest of your quilt however you like. I like a lot of quilting, and the background fabric can give you a chance to add a lot of texture.

Quilting Detail

I stitched in the ditch with a thin matching polyester thread, quilted paisleys in the backgrounds with high-sheen polyester in cream, added a fun heart loop motif in the border with high-sheen heavy polyester and quilted the straight brown accent lines in cotton. I use whatever thread I have that will match best!

Step 5 – Bind Your Quilt and Check off Another UFO!!

Using your favorite method, bind your quilt and finish stitching either by hand or machine. Megan from Canoe Ridge Creations has recently put up a wonderful double-fold binding tutorial here on her blog.

My table runner measures 12″ x 30″. I am pleased to add  a little more LOVE to my home!

Love Table Runner

For my fabrics I “borrowed” a few strips of BasicGrey’s Kissing Booth from a jelly roll I have set aside to begin my next quilt-along (starting in 2 weeks). I cut the letters from a fat quarter of Pearl Bracelets in watermelon. The binding and backgrounds were from my stash.

Here is the complete mini-quilt along schedule. Click the links to go to each section.

Please join my ChristasQuiltAlong flickr group to share pictures of your work-in-progress.

If you make any of the other arrangements below, or even a pillow or larger quilt, I’d LOVE to see it! Or if you are inspired to go in a different direction I’d love to see that, too. 🙂

Love Wall QuiltLove Squared
The vertical love wall banner uses the exact same directions as the table runner except that the letters are arranged vertically instead of horizontally. The love block would make a great wall-hanging, pillow, or center of a larger quilt.

Modern Love Mini Quilt Along #2

Thanks for joining me for part 2 of my Love Mini Quilt Along. Links for the supply list and the tutorial schedule are shown at the end of this post.

I am making this table runner which finishes approximately 30″ x 12″. I played around with EQ7 and fabric swatches from BasicGrey’s Kissing Booth to come up with a couple of different color options. My version is shown for the step-by-step photos and at the end.

Love Runner

Step 1 – Cutting the Fabric

  • Cut 4 roughly 4.5″ squares for your letters (red).  You will prepare them in step 2 below. Or you can fussy cut your appliques by using a big chunk of fabric instead.
  • Cut 4 – 5″ squares of background fabric (cream).
  • Cut 13 – 2″ x 5″ rectangles for sashing (red check).
  • Cut 10 – 2″ squares for sashing squares (red).
  • Cut 2 – 2.5″ x 8″ strips for side borders (pink floral).
  • Cut 2 – 2.5″ x 30″ strips for top/bottom borders (pink floral).
  • Cut 3 – 2.25″ x WOF (Width of Fabric) strips for binding.
  • Cut 1 – 14″ x 32″ piece of batting.
  • Cut 1 – 16″ x 34″ piece of fabric for backing.

Step 2 – Preparing the Love Letters

Love ReversedDownload and print of a copy of the letters L-O-V-E (click here). (Or if you’d like to be a little more creative, you can enlarge any font style you like and make your own letters.)

Flip your paper over so that your letters are backwards. Trace the backwards letters onto the paper side of your fusible web.

You may need to use a lightbox to see through the paper. Or print the letters out on transparent vellum for tracing.

Rough cut around each fusible paper letter. Then following the mfg’s instructions, adhere your fusible web to the backside of  your letter fabric. Use this phrase: rough to wrong. The rough (glue) side of the web needs to be stuck to the back (wrong) side of your fabric.

Use Fusible Web

I used Pearl Bracelets fabric for my letters and positioned them to take advantage of the printed design. Cut out the letters following their outlines. Don’t forget to cut out the center of the O! You have now made your own iron-on appliques.

Love Lettters

Step 3 – Assembling the Quilt Top

Sew your inner-quilt pieces (IQ) into 3 separate rows (sash row, block row, sash row):

Sew the Rows

You will notice I have not added the letters yet. I like to add them once the top is done so I can space them just right. Press seams open or towards the sashing fabric.

Add the Borders

Join the rows and add side borders that are trimmed to size. Then add the top and bottom borders and press towards the border fabric.

Lover Runner

Remove the backing from your cut out letters. Following the mfg’s instructions, adhere them to your block backgrounds. You can eyeball them in place, arrange them whimsically, or use a ruler to measure exact placement. It’s up to you!

Next week I will demonstrate you how to applique and quilt all at the same time. The key is to use thin thread that matches your letter fabric. I prefer silk or very thin polyester thread for this, but regular cotton thread is ok, too.

Here is the mini-quilt along schedule. Links will become active once that blog post is done.

Please join my ChristasQuiltAlong flickr group to share pictures of your work-in-progress!

For these other arrangements, just follow the modified steps below.

Love Wall QuiltLove Squared
The vertical love wall banner uses the exact same directions as the table runner except that the letters are arranged vertically instead of horizontally – watch out for directional fabrics and cut them accordingly.


To make the 18″ Love Square wall-hanging or pillow, use these cutting instructions:

  1. Cut 4 – 4.5″ squares for your letters.
  2. Cut 4 – 5″ squares of background fabric.
  3. Cut 12 – 2″ x 5″ rectangles for sashing.
  4. Cut 9 – 2″ squares for sashing squares.
  5. Cut 2 – 2.5″ x 14″ strips for side borders.
  6. Cut 2 – 2.5″ x 18.5″ strips for top/bottom borders (pink floral).
  7. Cut 2 – 2.25″ x WOF (Width of Fabric) strips for binding (for wallhanging only).
  8. Cut 1 – 20″ square piece of batting.
  9. Cut 1 – 22″ square piece of fabric for backing (use muslin or scrap for pillow).

Then sew together so that it looks like the diagram above.

Christa’s Quilt Along 2.4 – Marking and Basting Baby Bricks

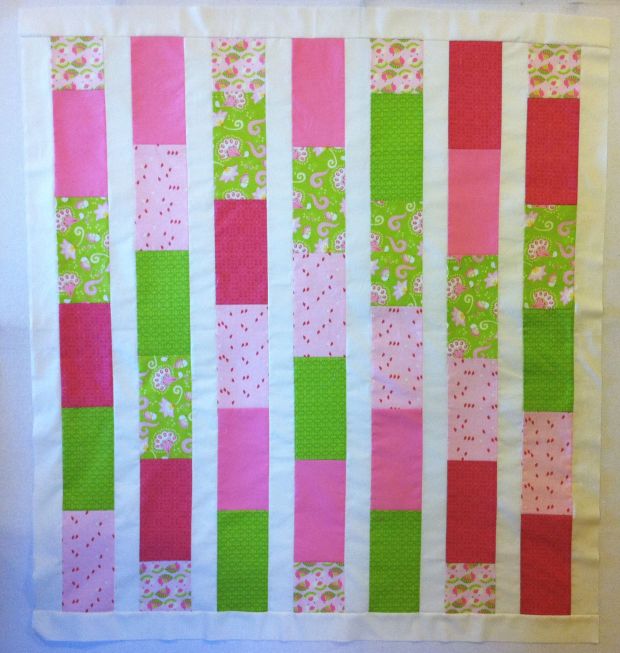
I finished the pretty pink version of Baby Bricks this week to go along with the baby blue top that I will be basting today.  (Kits are available for both colors for a limited time.)

Before I get to the most fun part of making a quilt in my opinion – the machine quilting – I’ve got to get them marked and basted! Today’s demo will be shown on the blue version.

Girl Baby Bricks

Step 1 – Marking Diagonal Lines

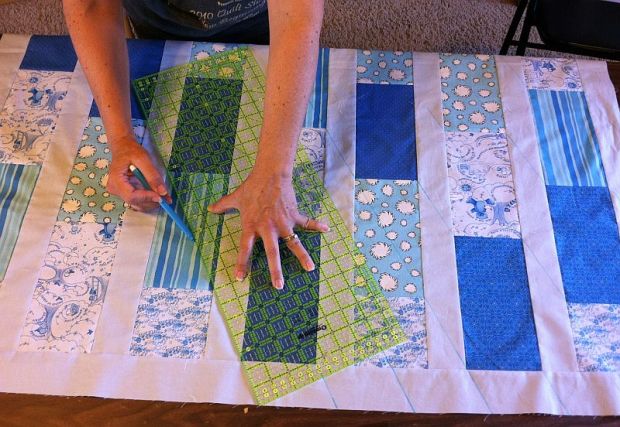
For the boy version of Baby Bricks I am going to quilt straight lines with a walking foot.  I used a water soluble blue marking pen to draw the quilting  lines. (If you are afraid of fabric bleeding or do not want to mark your quilt, you can use low-adhesive painter’s tape instead.)

Straight Lines

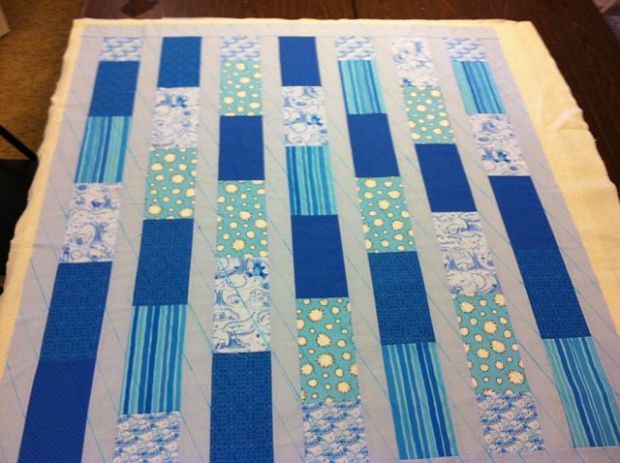
Using my longest ruler, I marked straight lines across the surface of the quilt. I started in one corner and drew a line from corner to corner of a rectangle brick. I extended the line so that it goes across the entire quilt including the borders. I spaced them 3 1/2 inches apart.

Additional Marked Lines

I added an additional line half-way in between so that the spacing of the lines is now 1 3/4″.  It took a total of 45 minutes to completely mark the top. Now the quilt is ready to baste.

Step 2 – Piecing the Backing

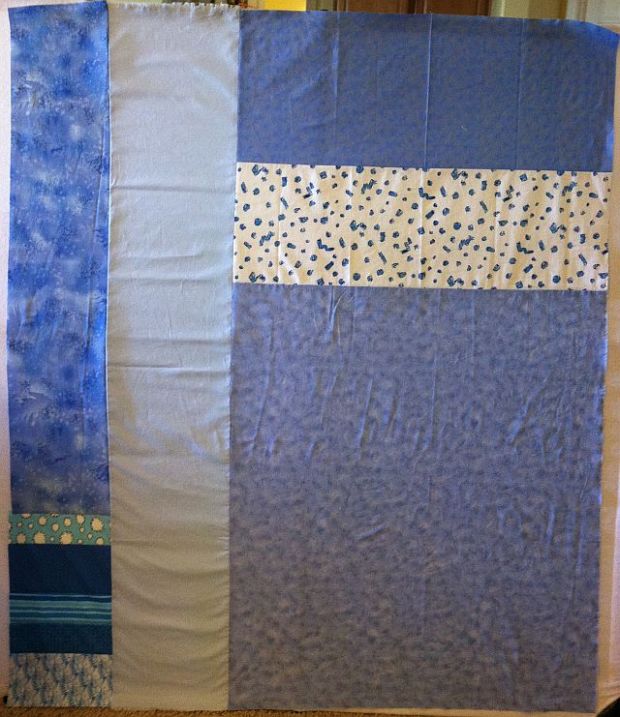
I enjoy pieced backs much more than plain ones. This satisfies my urge to go a little “wonky” with some improvisational piecing on the back. It took about 1/2 hour to sew together.

Pieced Backing

I put the back together sort of like a puzzle, adding chunks of fabric until I had a large enough piece. For this quilt I used up my the rest of my light blue solid, a few leftover bricks, and some pieces from my stash. It took about 2 yards total.

For more detail on sewing a pieced back, refer to my previous tutorial here.

Step 3 – Basting With Pinmoors

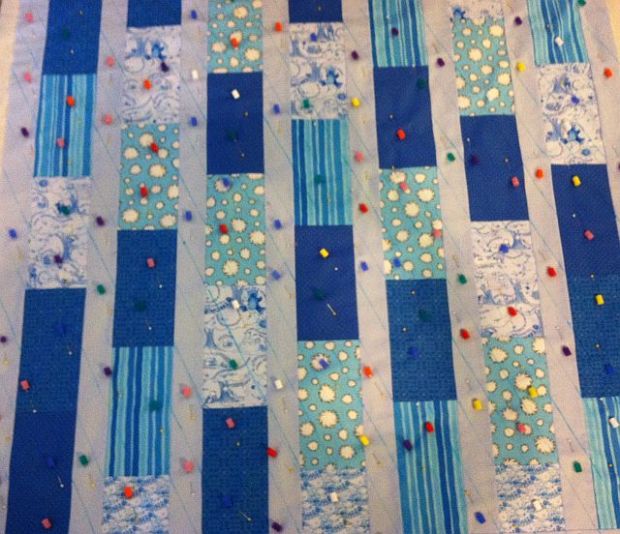
My preferred basting tools are Pinmoors and straight pins. It took about 1 hour and 100 Pinmoors to baste this baby sized quilt. You can read my previous basting tutorial here.

Basted with Pinmoors

I get better results when I use lots of pins and am careful not to pin through any quilting lines. It’s easier to stick the pin in the quilt and cap it with a Pinmoor, than it is to open and close lots of  safety pins. The Pinmoors are easy take out while quilting, but they stay in place until I’m ready to remove them.

I am going to take this quilt with me to my guild’s quilting retreat this weekend. With any luck, I’ll get it finished quickly and can start on the pink one.

Here is the schedule of tutorial posts for my Baby Bricks do-it-yourself quilt along:

Christa’s Quilt Along 2.3 – Sewing Your Baby Bricks Together

This week we will sew together the complete Baby Bricks quilt top. Kits are available if you would like to quilt-along, or scroll down to the end for a link to the supply list.

I am making two quilts at the same time so it’s double the fun! I finished the boy version just before we left on our vacation and it literally took me 2 hours to sew the whole top. We were just in time to catch our flight! (I’ll finish the girl version when I get back!)

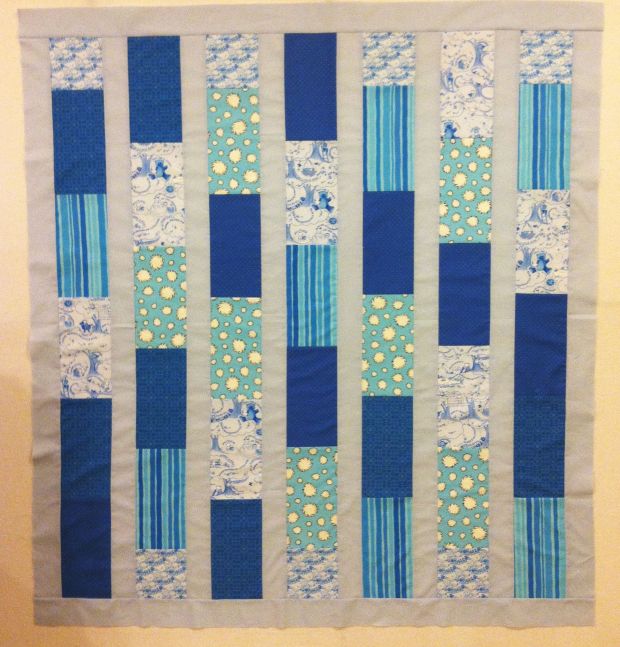
Baby Bricks Quilt Top

Step 1 – Sewing the Rows

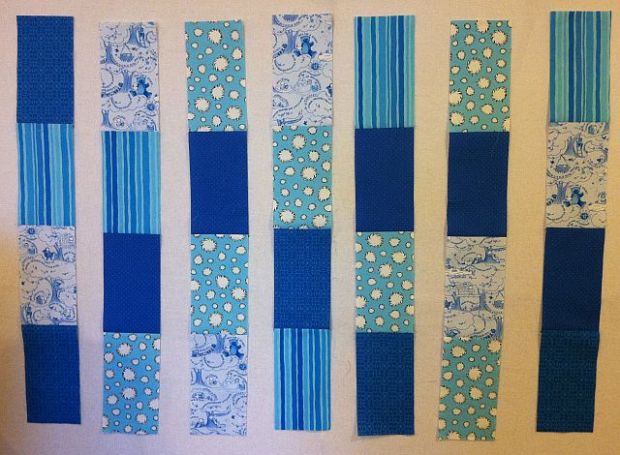
The quilt consists of 7 rows of bricks with alternating 1/2 bricks at either end. There are solid strips in between each of the rows. Watch your fabric placement if you are using directional fabrics. I used cotton thread, size 50 and a new needle, size 80/12 for piecing.

It’s easiest to sew together 14 pairs of two bricks first. I grabbed them at random.

Brick PairsNext, double up your pairs so that you have 7 rows of 4 bricks each.

Sets of 4 BricksAdd 1 full brick and 1/2 brick to the top and bottom of each row, alternating placement. (The half bricks are slightly longer than 1/2 of a brick to account for seam allowances.)

Finished RowsEach row has a total of 6 pieces.

Step 2 – Adding the Background Strips

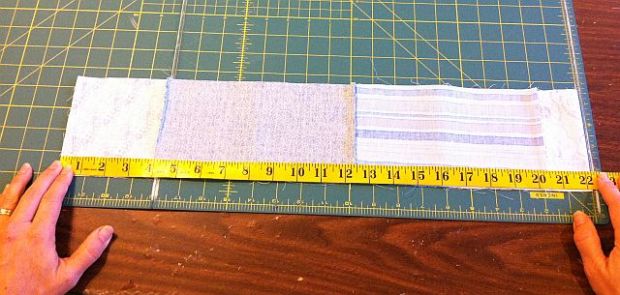
Measure the length of your rows. Mathematically they should measure 44 1/2″ at this point.
Fold a row in half to make it easier to measure. The half-measurement is 22 1/4.”

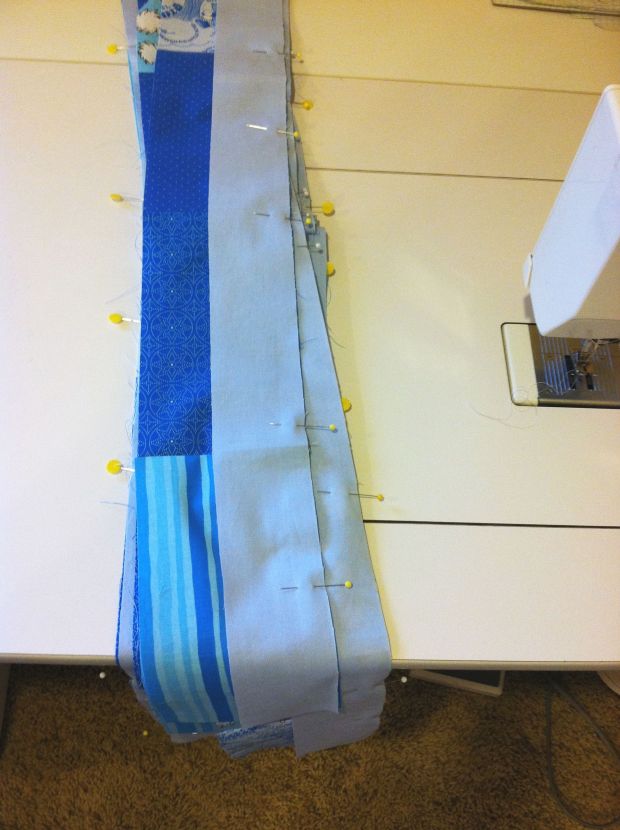
Measure Each RowTrim up 8 of your background strips to this measurement. Pin one strip to the right side of each row and sew. The first row will have a strip on the left side, too. Because the strips were cut parallel to the selvedge, they will have less give and there is less chance for distortion.

Pin the Background StripsAfter the background strips are sewn on, sew the top into wider rows, joining 2 at a time. This time, sew with the bricks on the top side and the background strips underneath. This will help ease any distortion that occurs when sewing long strips together. Again, pin well.

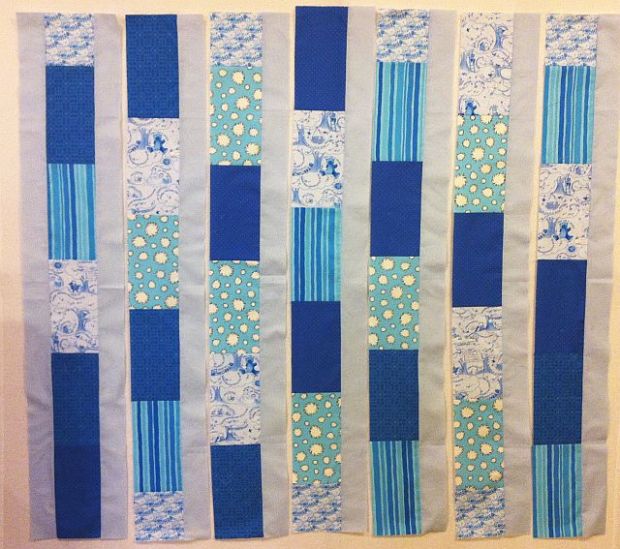
Bricks and BackgroundOnce all the rows are joined, measure across the width of your quilt.  Finished Quilt Top
Mathematically it should be around 44 1/2″ wide (the same as the length of each row).

Trim your last two background strips this length and join to the top and bottom.

Give it a nice press and your top is done! This quilt will be a nice canvas for some fun geometric machine quilting. I can’t wait to get to that step in 2 weeks.

Be sure to email me pictures of your progress and any questions you have!

The full tutorial schedule is shown below, with links to each completed step as I finish:

Christa’s Quilt Along 2.2 – Cutting the Baby Bricks

I’m so excited to start on a new quilt! Perhaps the best thing I love about creating these tutorials is that it forces me to quilt. I work well with deadlines. 🙂 It was also very fun to put together quilt kits for this project and even more gratifying that they are selling!
This week we will cut out all of the pieces for our Baby Bricks Quilt. Scroll to the end of this post for the complete schedule. For those of you needing a quick refresher on rotary cutting, Alyssa from Pile O’Fabric has an excellent rotary cutting tutorial on her blog.

Before you begin, make sure to read the instructions thoroughly and heed this advice: measure twice, cut once! You need 17″ x 18″ of useable fabric from each fat quarter.

Step 1 – Cutting the Bricks

Start with a sharp rotary cutting blade, and stack 5 of your 6 fat quarters together.

Stack of Fat Quarters

Cut each fat quarter into two 8 1/2″ x 21″ strips. Then subcut them into 4 1/2″ x 8 1/2″ bricks. With careful cutting, you can get 8 bricks per block. Repeat for a total of 40 bricks.

Two 8.5 Inch Strips

8 Bricks Per Fat Quarter

For this quilt, You only need 35 bricks, so 5 of them will be extra.

You can use the leftovers either on the back of the quilt, or use them to make a quilt label, or small throw pillow. Or swap some of them out with your 1/2 bricks shown below for variety.

Step 2 – Cutting the “Half”-Bricks

With your remaining fat quarter, cut out three 4 1/2″ strips. It doesn’t matter which direction this fat quarter is going because you will subcut them into squares.

Cut 3 Strips for Half Bricks

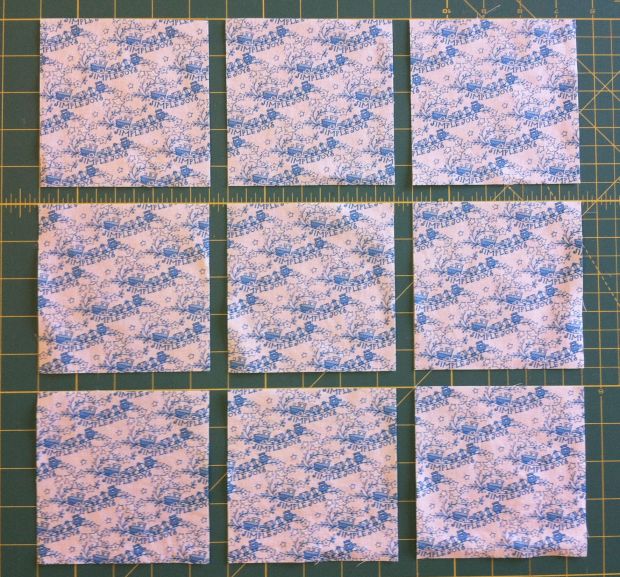
Cut the 3 strips into nine 4 1/2″ squares. These squares are actually a little longer than half of one brick so cut carefully! You only need 7 “half”-bricks, so 2 of these will be extra.

Cut Nine 4.5 Inch Squares

Step 3 – Cutting the Background and Binding Strips

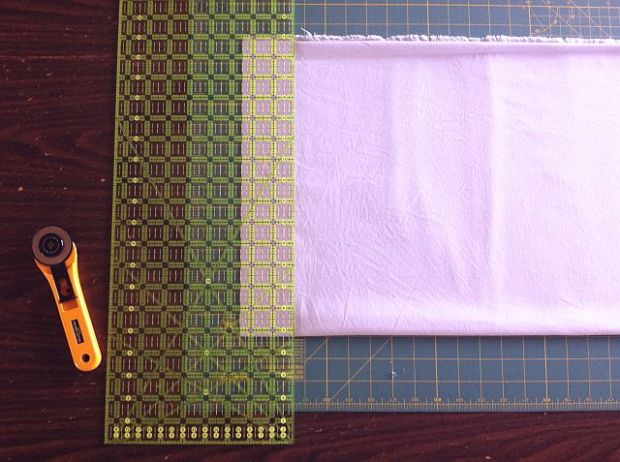
Fold your background fabric “the long way” as I call it, parallel to the selvedge. Fold the fabric into 4 layers and use a longer acrylic ruler for cutting.

Fold Parallel to Selvedge

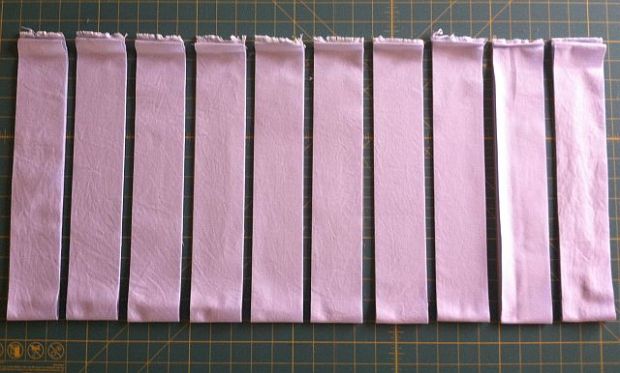
Trim the selvedge and cut ten strips that measure 2 1/2″ wide by the length of the fabric (about 54 inches).  These are for your background strips and your borders.

Cut 10 long strips by 2.5 Inches

Cut 4 more  strips 2 1/4″ x 54″. These will be your binding strips. Set them aside for now.

Cut 4 Binding Strips 2.25 Inches

That’s it for this week! Wasn’t that easy? It was so easy that I am actually making two quilts at the same time. You can see both my boy version and girl version below.

Boy BricksGirl Bricks

If you have any questions about this tutorial you can post them here on the blog. If you want to share pictures of your quilts in progress from any of my tutorials, just email me at Christa@ChristaQuilts.com. I’ll share pictures and answers next Friday.

Here is the complete tutorial schedule. Each link will be active once I’ve finished that step:

Christa’s Quilt Along 1.4 – Backing and Basting Your Jelly Roll Quilt

Welcome to part 4 of my do-it-yourself quilt along! So far we’ve gathered our supplies, sewn the blocks, and completed our quilt tops. This week we will piece our backings and baste our quilts so that our Jolly Jelly Roll Quilts are ready for machine quilting next week!

Step 1 – Piecing the Backing

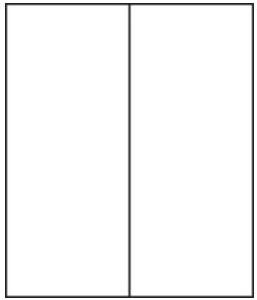
Backing DiagramIf you use one fabric entirely for your backing, sew together two lengths of fabric so that your piece is at least 5 inches longer and wider than your quilt.
For a 52″ x 52″ quilt top you would need 3 1/2 yards of fabric for the backing. Cut that into 2 equal pieces, each measuring 63″ long by 42″ wide. Sew those together on the selvedge edges with a half inch seam and you’ll get one piece that is about 63″ x 80″ – plenty of room!

I wrote up a post a few weeks ago on how to make a pieced quilt backing. With more than one fabric. You can read about that by clicking here.

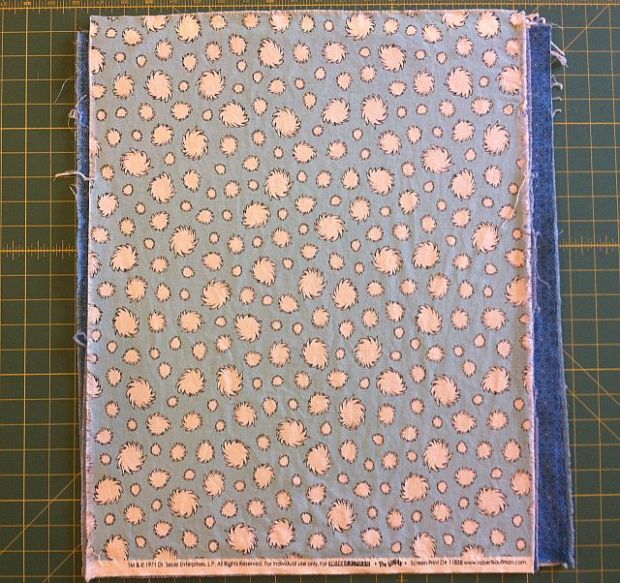
Pieced Quilt BackFor my backing, I chose to use up all of my leftover jelly roll blocks plus some other chunks of fabric, about 3 yards total, to make it a little more artistic.

I sewed two rows of leftover blocks, then filled in with strips of pink and grey fabric from my stash.

The pink on the sides is much wider so a bunch of it will be trimmed off later.

(Don’t mind the wrinkles – I finished it just last night!)

Step 2 – Layering the Quilt

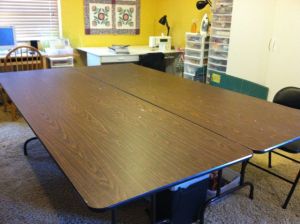
Basting TablesThe most important thing you need for successful basting is plenty of room! I have two 8-foot tables set up in my sewing room at all times. I use them for cutting and basting.

First, you need to secure your backing; this is why you want it to be larger than your quilt top.

I do this by using office clips to secure the backing to the table. I use tape when the quilt backing does not reach the edge.

Clamp Down the BackingTape the EdgesNext, it’s time to spread out the batting. I used Warm-N-Natural cotton batting which does have a right and wrong side. The side with the flakes is the front side and the whiter side is the back side. Layer it right side up.

You can start with your batting folded up in one corner, then unfold the batting one step at a time if you are basting by yourself. Be sure to smooth it down so there are no wrinkles.

Batting 1Batting 2Batting 3You can click each of the pictures for a larger more detailed view.

Finally, it’s time to add the top! I don’t clamp down the top, but I do smooth it out and line it up as much as I can so that it is as straight and square as possible.

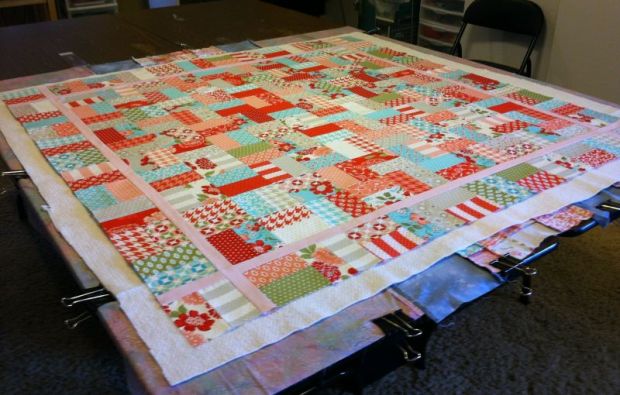
Layered QuiltStep 3 – Basting the Quilt

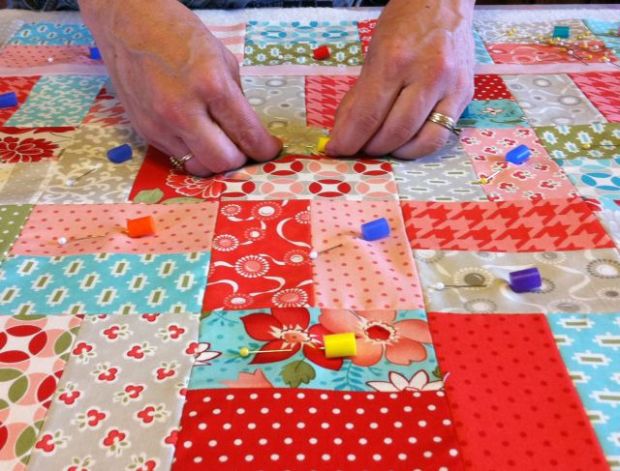
Now it’s just a matter of pinning the layers together so they won’t shift during quilting. My favorite basting tools are Pinmoor pin anchors. They are little  rubber tips that fit on the end of straight pins. You can use any types of pins with them and the pins can jab anywhere into the hard rubber piece. They last forever and are so much easier to use than safety pins.

Pinmoor BastingIt took me about 150 Pinmoors to baste this quilt in under 20 minutes. If you are not ready to buy enough for a whole quilt, start with one package and baste part of your quilt. Baste the rest of your quilt with safety pins. Then, when quilting, take note of how much easier the pins and Pinmoors are to remove and you will be converted!

Here’s a great video you can watch on how to use them, made by the makers of Pinmoors.

Next week  we will machine quilt this baby! That’s the best part of my do-it-yourself quilting tutorial; you are actually going to do it all yourself – no quilting by check here!!

Remember to send me pictures of your completed quilt tops. You can email me directly at Christa@ChristaQuilts.com. It’s “sew” fun to share!


Here is the complete Jolly Jelly Roll Quilt-Along Schedule:

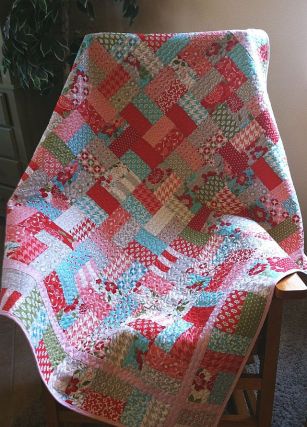
Week 1 – Supply ListJolly Jelly Roll Quilt

Week 2 – Sewing the Blocks

Week 3 – Completing the Top

Week 4 – Backing and Basting

Week 5 – Machine Quilting

Week 6 – Machine Binding to Finish