I’m so excited to start on a new quilt! Perhaps the best thing I love about creating these tutorials is that it forces me to quilt. I work well with deadlines. 🙂 It was also very fun to put together quilt kits for this project and even more gratifying that they are selling!
This week we will cut out all of the pieces for our Baby Bricks Quilt. Scroll to the end of this post for the complete schedule. For those of you needing a quick refresher on rotary cutting, Alyssa from Pile O’Fabric has an excellent rotary cutting tutorial on her blog.
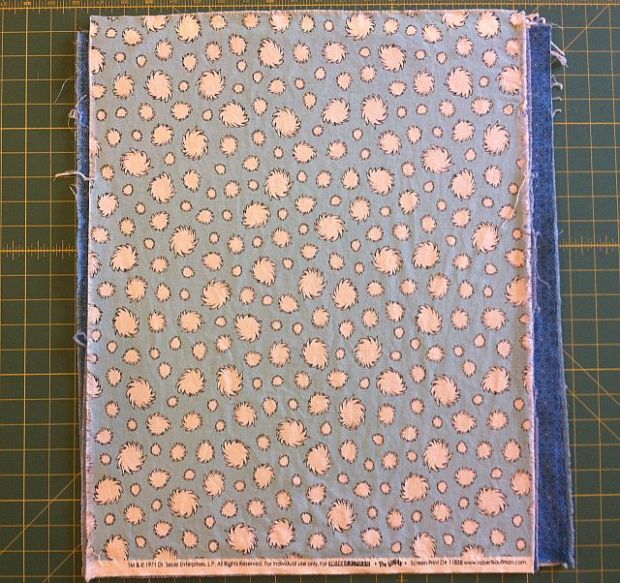
Before you begin, make sure to read the instructions thoroughly and heed this advice: measure twice, cut once! You need 17″ x 18″ of useable fabric from each fat quarter.
Step 1 – Cutting the Bricks
Start with a sharp rotary cutting blade, and stack 5 of your 6 fat quarters together.
Cut each fat quarter into two 8 1/2″ x 21″ strips. Then subcut them into 4 1/2″ x 8 1/2″ bricks. With careful cutting, you can get 8 bricks per block. Repeat for a total of 40 bricks.
For this quilt, You only need 35 bricks, so 5 of them will be extra.
You can use the leftovers either on the back of the quilt, or use them to make a quilt label, or small throw pillow. Or swap some of them out with your 1/2 bricks shown below for variety.
Step 2 – Cutting the “Half”-Bricks
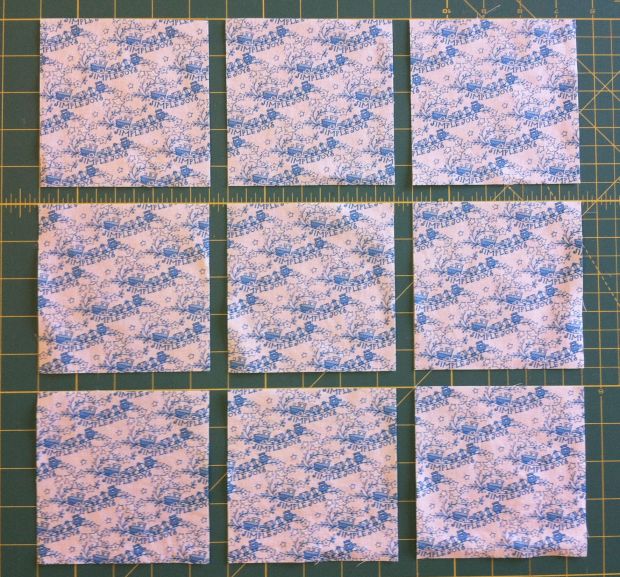
With your remaining fat quarter, cut out three 4 1/2″ strips. It doesn’t matter which direction this fat quarter is going because you will subcut them into squares.
Cut the 3 strips into nine 4 1/2″ squares. These squares are actually a little longer than half of one brick so cut carefully! You only need 7 “half”-bricks, so 2 of these will be extra.
Step 3 – Cutting the Background and Binding Strips
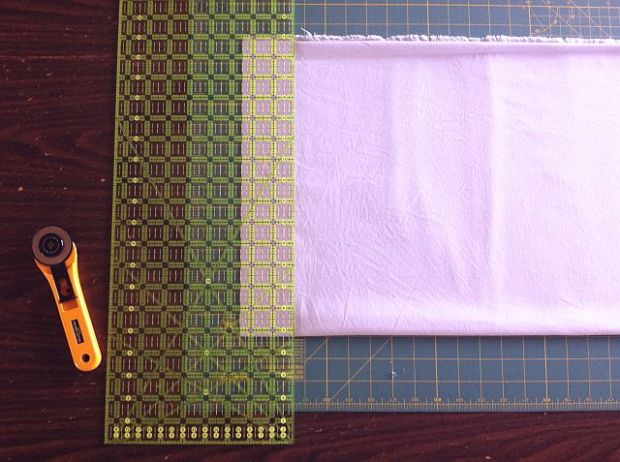
Fold your background fabric “the long way” as I call it, parallel to the selvedge. Fold the fabric into 4 layers and use a longer acrylic ruler for cutting.
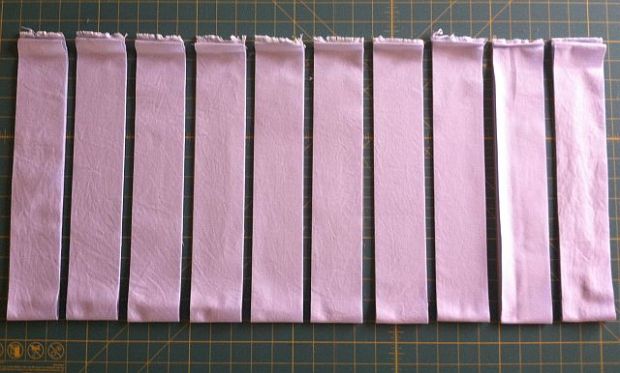
Trim the selvedge and cut ten strips that measure 2 1/2″ wide by the length of the fabric (about 54 inches). These are for your background strips and your borders.
Cut 4 more strips 2 1/4″ x 54″. These will be your binding strips. Set them aside for now.
That’s it for this week! Wasn’t that easy? It was so easy that I am actually making two quilts at the same time. You can see both my boy version and girl version below.
If you have any questions about this tutorial you can post them here on the blog. If you want to share pictures of your quilts in progress from any of my tutorials, just email me at Christa@ChristaQuilts.com. I’ll share pictures and answers next Friday.
Here is the complete tutorial schedule. Each link will be active once I’ve finished that step:
- Week 1 – Supply List & Intro
- Week 2 – Cutting Your Fabric (today’s blog post above)
- Week 3 – Sewing the Quilt Top
- Week 4 – Marking and Basting
- Week 5 – Machine Quilting Option 1 – Straight Stitching
- Week 6 – Machine Quilting Option 2 – Free Motion Quilting
- Week 7 – Binding by Hand
- Week 8 Bonus – Blocking and Labeling


Oh I have been thinking of making a brick quilt for a while now. Will have to check my fabric stash to see which will work for this.
Thank you so much for provide the tutorial.
Malini, That would be so great to have you join the quilt along!!