Finished Quilt and Pattern – Pieced Primrose Available Now!

This week, I’m excited to release 4 new quilt patterns to go along with my upcoming fabric line Abstract Garden – which starts shipping to quilt shops next month. The PDF versions are all available now for instant download in my Craftsy shop, and print versions will be ready to ship by the end of the month.

Pieced Primrose Warm Colorway

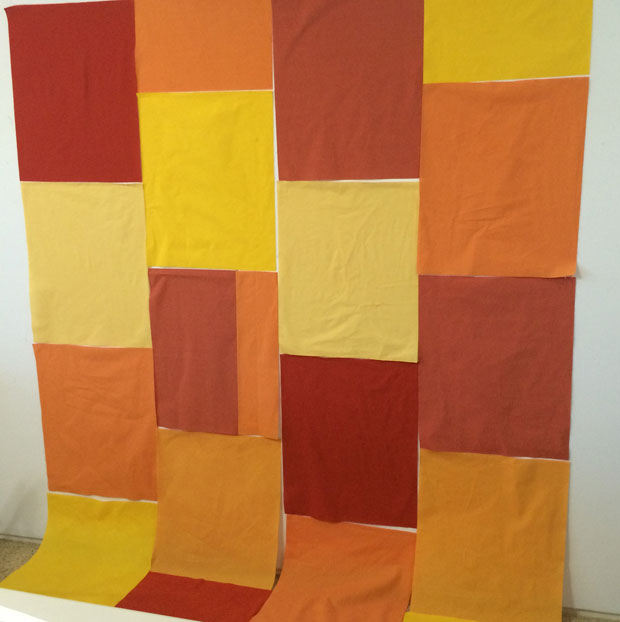
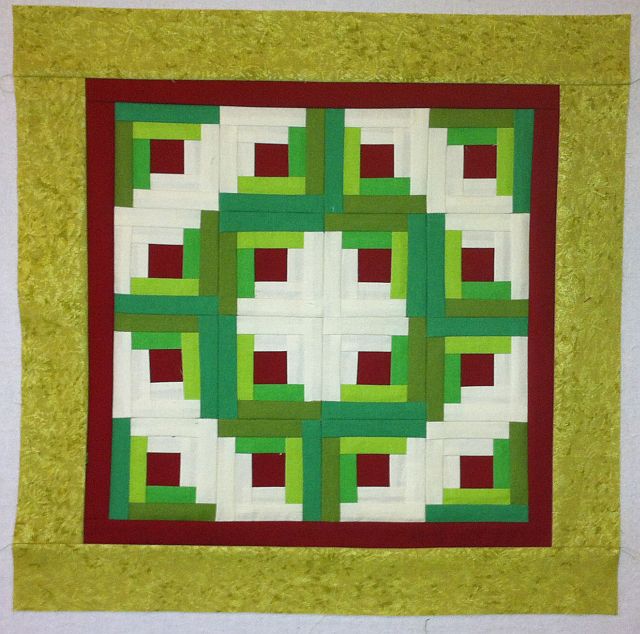
Pieced Primrose in Warm – Wall Size (Actual Quilt)

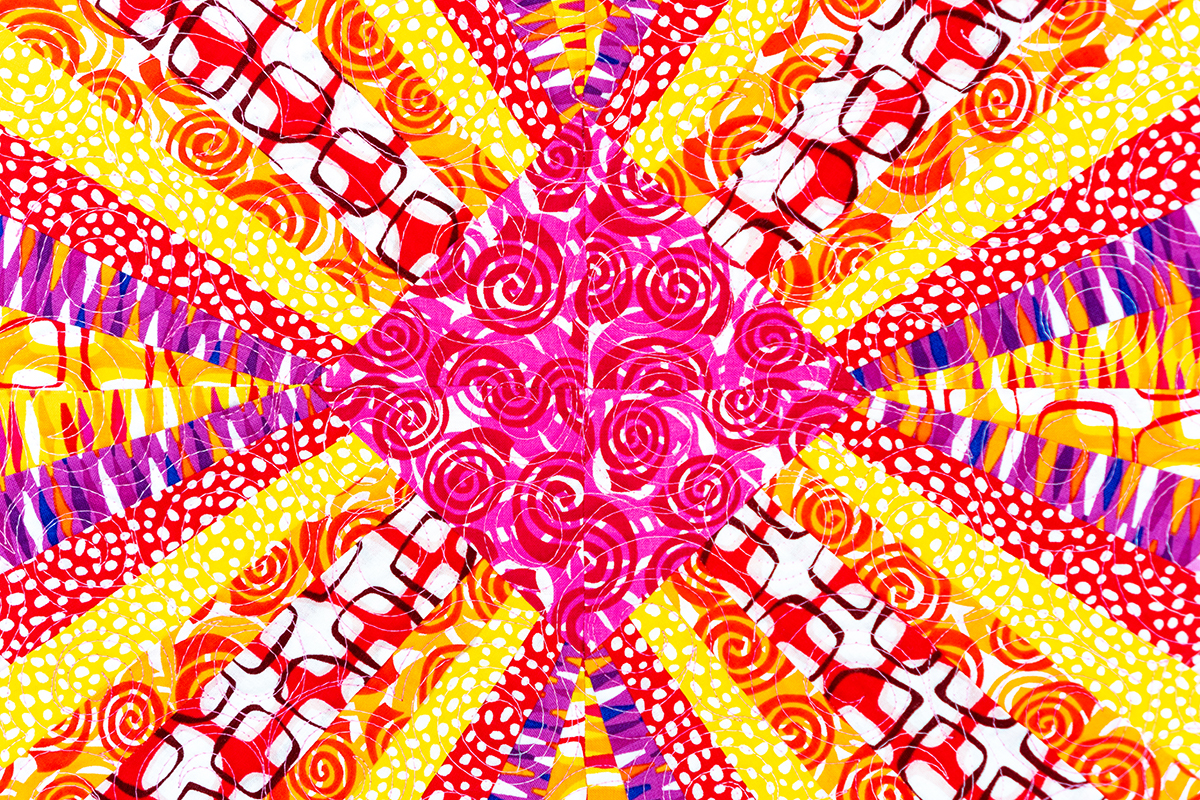
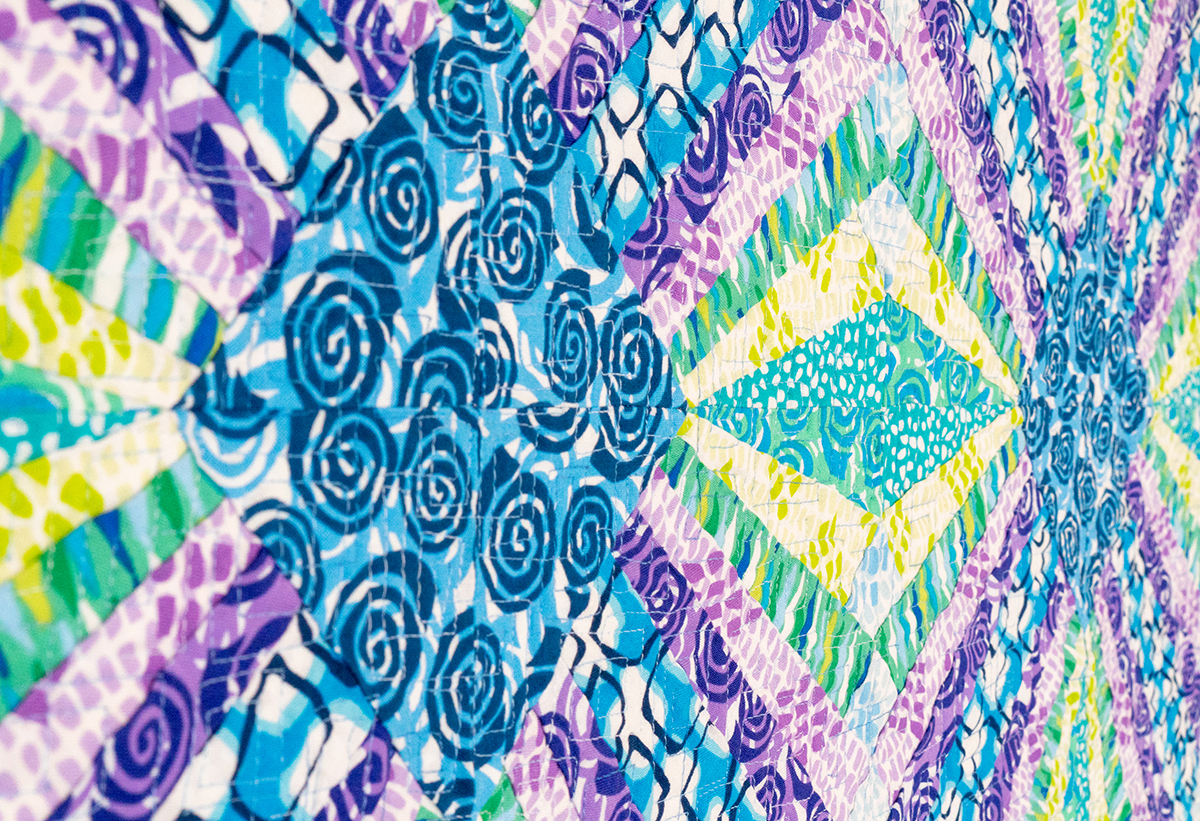
Today I’d like to introduce you to Pieced Primrose, a paper foundation pieced pattern with tons of movement. I made two versions of the quilt, in both warm and cool colorways, but the possibilities with this pattern are really endless!

Pieced Primrose in the Cool Colorway

Pieced Primrose in Cool – Wall Size (Actual Quilt)

I’ve included instructions for two sizes in the pattern. I made the wall sizes shown above for my booth at quilt market.

Below are digital images of what the quilt would look like in the larger throw size:

Pieced Primrose quilt made from Abstract garden

Pieced Primrose in Warm – Throw Size (Digital Image)

I always think it’s amazing how much the digital versions of my designs look like the actual finished quilts. It’s because I design them in EQ8 using the exact fabrics I plan to use.

Pieced Primrose EQ design in cool

Pieced Primrose in Cool – Throw Size (Digital Image)

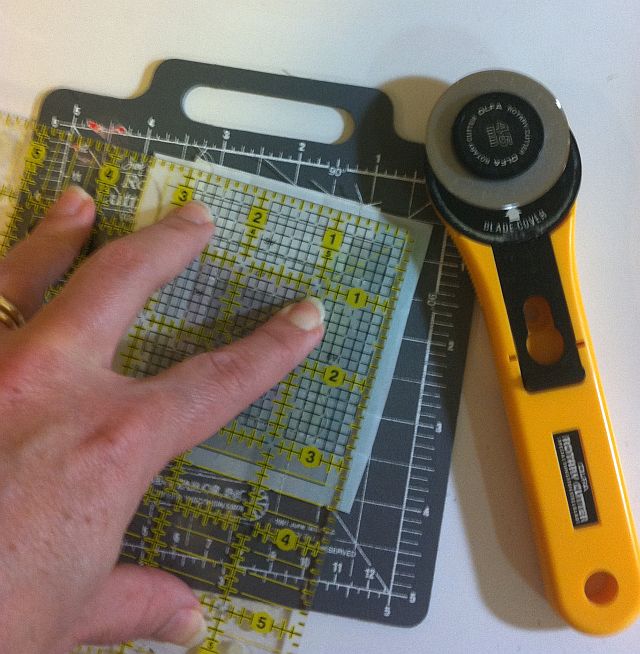
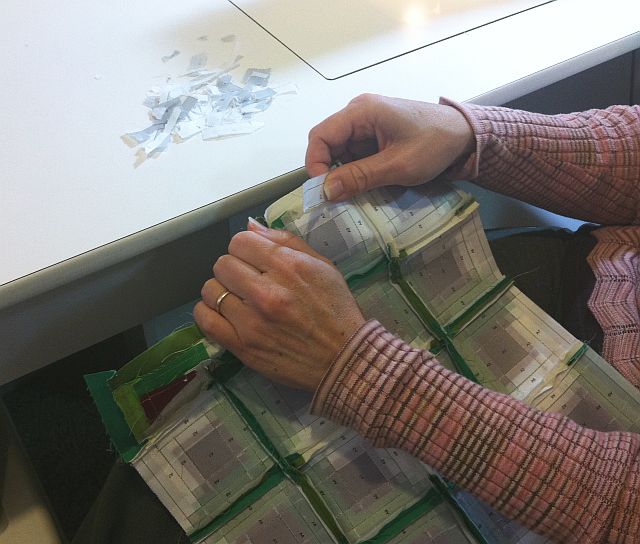
In the pattern, I’ve included full sized paper foundation templates which are super easy to print as many copies as you need for any size you wish. I’ll be sharing a tutorial later in the week for my favorite paper foundation method, so be on the lookout for that.

I’ve also included machine quilting suggestions for both quilts. Because I’ve used busy prints for both of the quilts, I recommend a simple all over free motion design. It’s a fun way to practice a motif that you’ve been wanting to try, and by the time you are finished quilting, you’ll be an expert at that design!

quilting detailsClick image above to enlarge for detail.

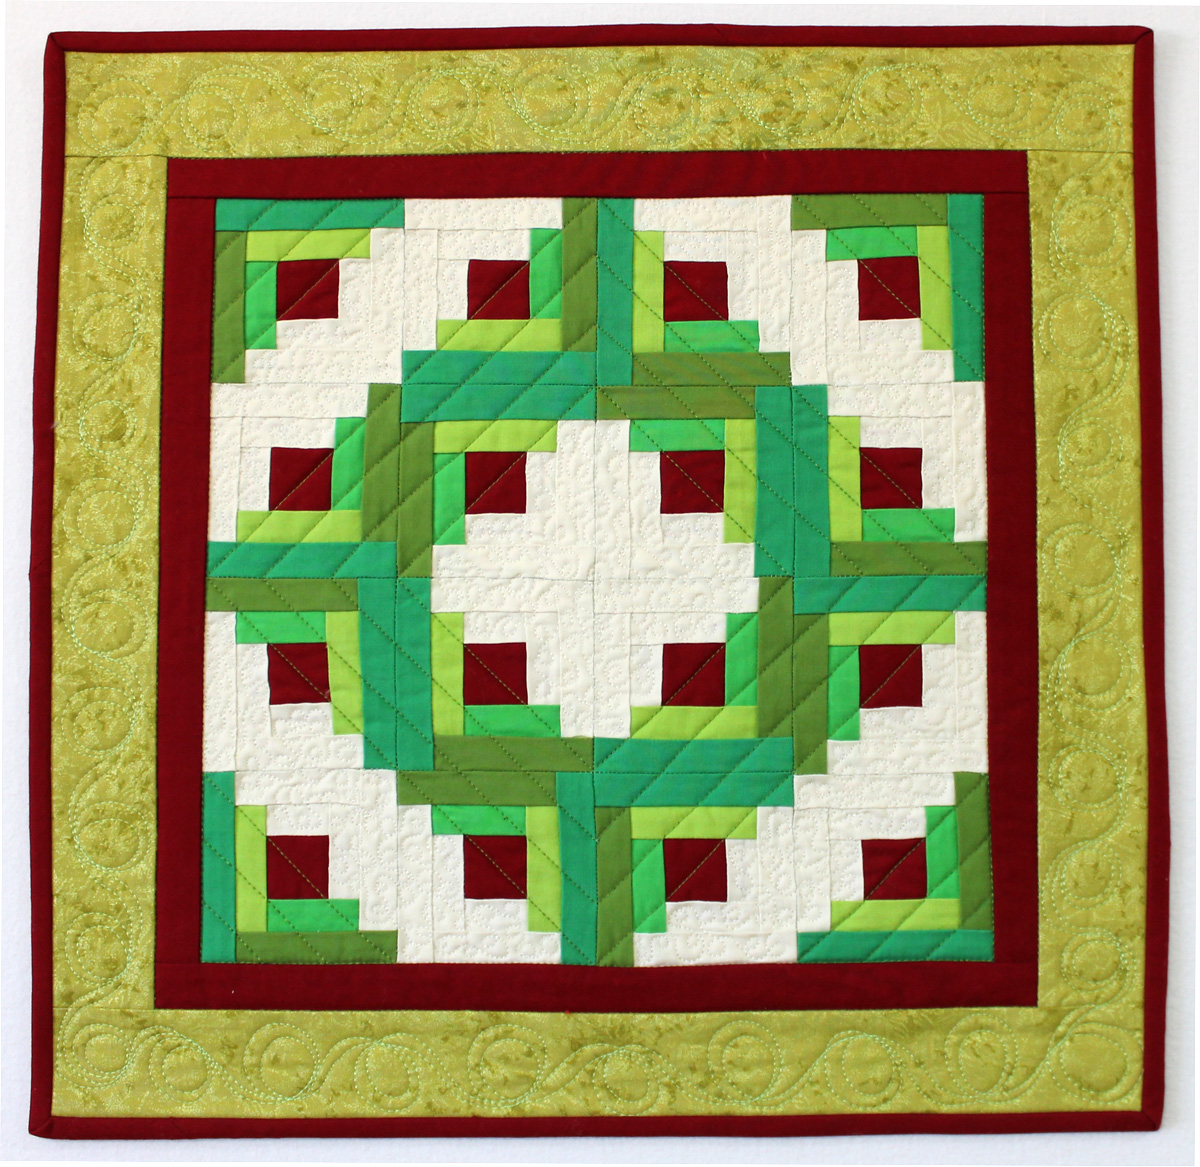
I love to include designs in my fabrics that are based on some of my favorite quilting motifs so it was fun to quilt round spirals on the warm colorway, to go along with the “blooming roses” spiral print. It’s hard to see the quilting detail, but you can click the images above and below to get a better look.

Quilting detail on PIeced Primrose coolClick image above to enlarge for detail.

I quilted allover square spirals on the cool colorway. For both versions, I used variegated Aurifil 50 weight threads to match, from my new thread collection releasing soon (more about that later when it gets here).

Pieced Primrose Quilt Stats

  • Size: 35″ x 35″ (Wall), 68″ x 84″ (Throw)
  • Completed: October, 2018
  • Machine used: BERNINA 770QE
  • Fabric used: Abstract Garden by Christa Watson for Benartex Contempo Studio
  • Batting used: Hobbs Tuscany Cotton/Wool
  • Thread used: Aurifil 50 weight cotton from The Variegated Collection by Christa Watson
  • Quilting Motifs: free motion designs – square and round spirals

Pieced Primrose Pattern Cover

Click the image above to enlarge.

Quick Links

Pieced Primrose Quilts Made from Abstract Garden

Paper Pieced Quilt Along #7 – Pieced Backing

I love a good pieced backing! There’s something about creating a secondary composition on the back that makes me giddy. Of course, you don’t have to make a pieced backing, but what follows are brief instructions for how I made my backing for the Paper Pieced Quilt Along:

backingdiagramThe backing design is interesting to stand on it’s own as a quilt top, too!

This backing finishes at 68″ x 84″ which is exactly 4″ bigger all around than my quilt top. That’s cutting it close, so if you’d like a bigger backing, just add more rectangles or make them slightly bigger.

Yardage needed – 18 assorted fat quarters (18″ x 22″ each). Note: solids tend to be a slightly wider useable width so they are closer to a true 18″ x 22″. Print fat quarters may result in less useable yardage. To use up scraps, feel free to piece sections together to get the desired rectangle sizes.

Trim 14 of the fat quarters to 17 1/2″ x 21 1/2″. Trim the remaining 4 fat quarters to 17 1/2″ x 11″

backingsquares

Lay out the rectangles on a design wall or other large surface, into a pleasing color arrangement.

Sew 4 rectangles together on their short ends to make the first and third pieced columns. Sew 3 rectangles and two half-rectangles on either end to make the second and fourth pieced columns. To reduce bulk, press all seams open.

Join the columns to create the pieced backing. Once the quilt is basted, trim off some of the excess fabric and batting around the quilt top.

backingpiecedPieced backing after it has been spray basted and trimmed.

It’s ok if the sides don’t look even at this point. Once the quilt has been quilted, it will be squared up.

Once your backing is finished, you are ready to baste your quilt in preparation for machine quilting. Have fun creating your own unique backing!

Click here for all of the Paper Pieced Quilt Along tutorials.


Paper Pieced Wreath Berry Christmas – Part 2 of 2

I’m back with the second part of my Paper Pieced Log Cabin Christmas Wreath. You can see part 1 here.

Today I will demo the rest of paper piecing the blocks, finishing the top, and machine quilting my mini-quilt to finish.

Here is a refresher of the paper piecing process from last week with a few more detailed pictures. My favorite method of paper piecing uses a straight edge and an add a quarter ruler. Be sure to click the images below for closeups.


Paper Piece 1Paper Piece 2Paper Piece 3


Paper Piece 4
Paper Piece 5

20121211_pp_6


Step 1 – Paper Piece all of your Log Cabin Blocks from Last Week

(You can download the log cabin foundations for free or you can purchase a set of printed foundations on lightweight see-through vellum paper from my store.)

  • Add your next log to a freshly trimmed side.
  • Flip over and sew from the paper side following the  numbered lines in order
  • Press your sewn seam with a wooden seam roller
  • Fold the paper on the next seam number that you will be sewing (use a business card or postcard as a straight edge)
  • Pull back your excess fabric, use the add a quarter inch ruler and trim the excess.
  • When all 16 blocks are sewn, trim from the paper side leaving 1/4″ seams all around

Wreath 1

Wreath 2

Wreath 3


Wreath 5
Wreath 5


Step 2 – Sew The Top

  • Lay out your 16 Log Cabin blocks so that they form a wreath shape.
  • Sew each row into pairs and then the pairs into rows of 4 blocks
  • Finger press your seams open, or press with a wooden seam roller
  • Join the rows to complete the top
  • Once the top is complete, carefully remove all the papers
  • Add the thinner red borders to the sides and top
  • Add the wider green borders around the outside

Log Cabin Wreath

Step 3 – Baste and Quilt

I quilt everything on my regular Bernina home sewing machine and I love it!

Straight QuiltingI use Pinmoors and flat flower pins to baste all of my quilts because they are so easy to remove while machine quilting.

Quilting Loops

Before basting, I marked straight lines around the wreath design with a water soluble pen. Always be sure to test your fabrics for marking removal and to make sure they won’t bleed when they get wet.

I quilted the straight lines with my walking foot. Then I added double loops in the borders and smaller loops in the background with my free-motion foot.

I used matching solid red fabric for the binding. For this quilt, I tried a Sewline glue pen to keep the binding in place on the back while finishing by hand.  It keeps my binding nice and tidy!

Sewline Glue PenYou can see an in-depth binding tutorial here.

Voila! It’s finished!

Log Cabin Wreath, Pieced and Quilted by Christa Wason 18" x 18"

Log Cabin Wreath, Pieced and Quilted by Christa Watson
18″ x 18″

I have tons more ideas of what you can do with these blocks:

  • Use as the center of a larger quilt.
  • Sew a pillow, wall-quilt or table topper
  • Make more blocks for a larger throw sized quilt
  • Turn one block into a Christmas Ornament
  • Make matching placemats

That was fun. Be sure to email me pictures when you make one, too!