Bungle Jungle Charm Pack Quilt – Week 2

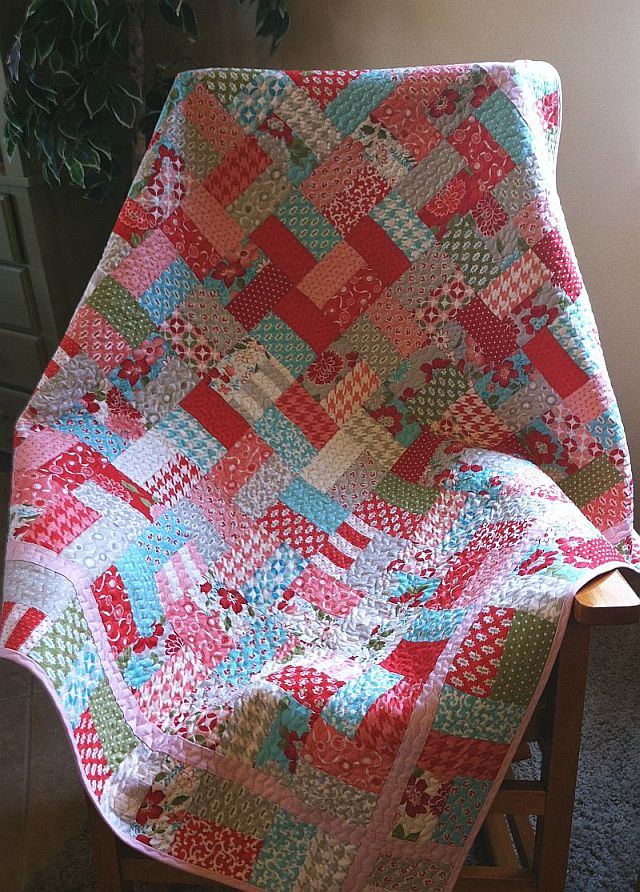
I finished my version of a modern quilt top this week:

Bungle Jungle Charm Pack Quilt TopUsing one Bungle Jungle charm pack and 2 1/2 yards of White  Solid , I whipped this puppy up in just a few days! I started working on this quilt last week.

Random Scattered Block PlacementI started off by making a total of 42 blocks since there are 42 charms in a pack.

I arranged them on my design wall randomly, turning each block in a different position.

While I like this arrangement, I didn’t love it, so I tried laying out all the blocks in the same orientation. I liked that better.

It must be my OCD kicking in!

Block PairsNext, it was a simple feat to sew the blocks into pairs and then join the pairs into rows to complete the top.

Each row had 6 blocks (or 3 pairs), and I sewed a total of 7 rows. I pressed all of my seams open so it will be easier to quilt and fabric won’t shadow through the white.

Rows of Charm Pack BlocksOnce I finished sewing all the blocks together, I realized  I needed to add a strip of white to the left of the quilt top and one across the bottom to balance the design.

This would create a continuous border of white all around the quilt with plenty of negative space for creative quilting.

Instead of cutting one long strip for each border, I cut 13 rectangles, 4″ x 8″ each and made 2 pieced borders. The left border required 7 rectangles and the bottom row needed 6 plus a 4 inch square for the corner.

Pieced Borders

I’m pleased with the quilt top and will start machine quilting it next week. It will finish around 52″ x 61″ which will make a nice sized baby-throw.

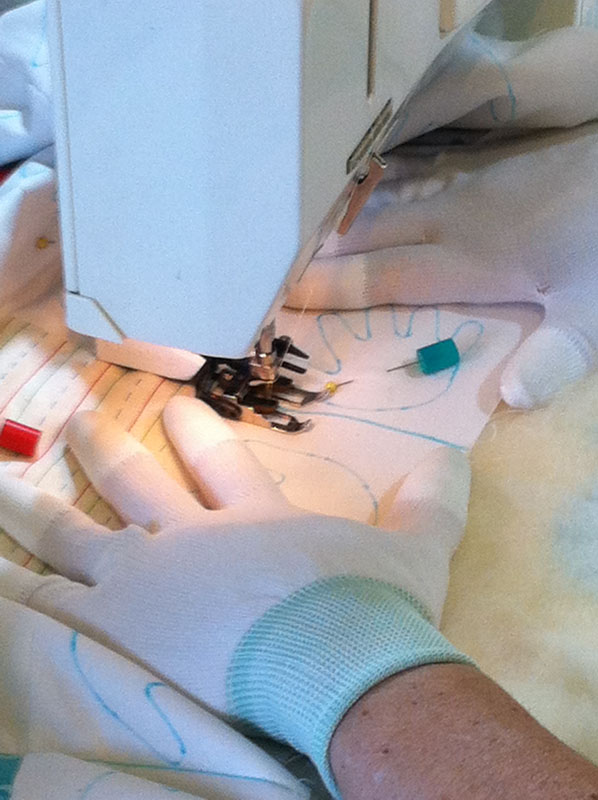
I have a few ideas that I’m going to think about over the next several days before I begin quilting. I really want to incorporate this hand stencil in the white areas:

Precious Hands StencilI’m thinking I might randomly quilt the hands in the white areas, joining them together with loopy stippling designs. I’d like to quilt something fun in the charm squares too, like perhaps a different shape in each block. If you’ve got any suggestions, please send them my way!

Little Rascals Quilt Part 3 – Stencil Quilting

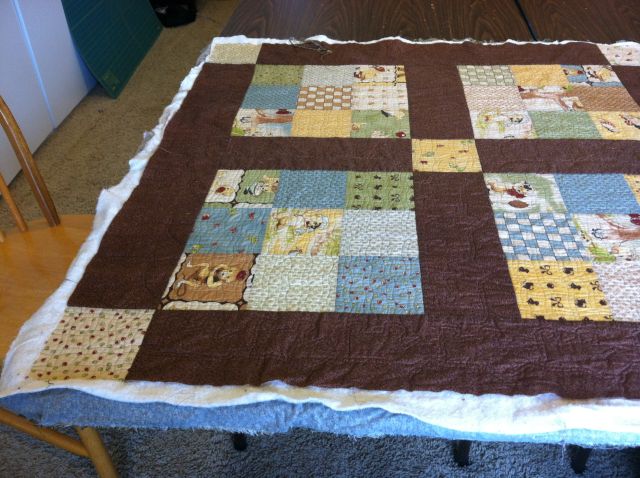
This week I finished quilting the brown sashing on this adorable Li’l Rascals baby quilt. You can learn how I free-motion quilted the blocks in last week’s blog post.

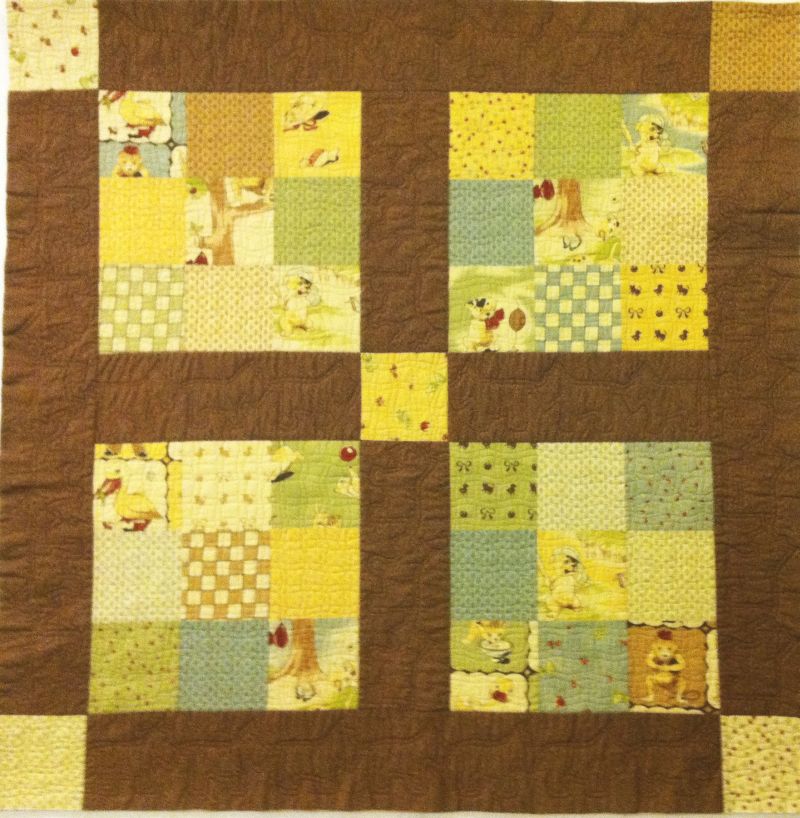
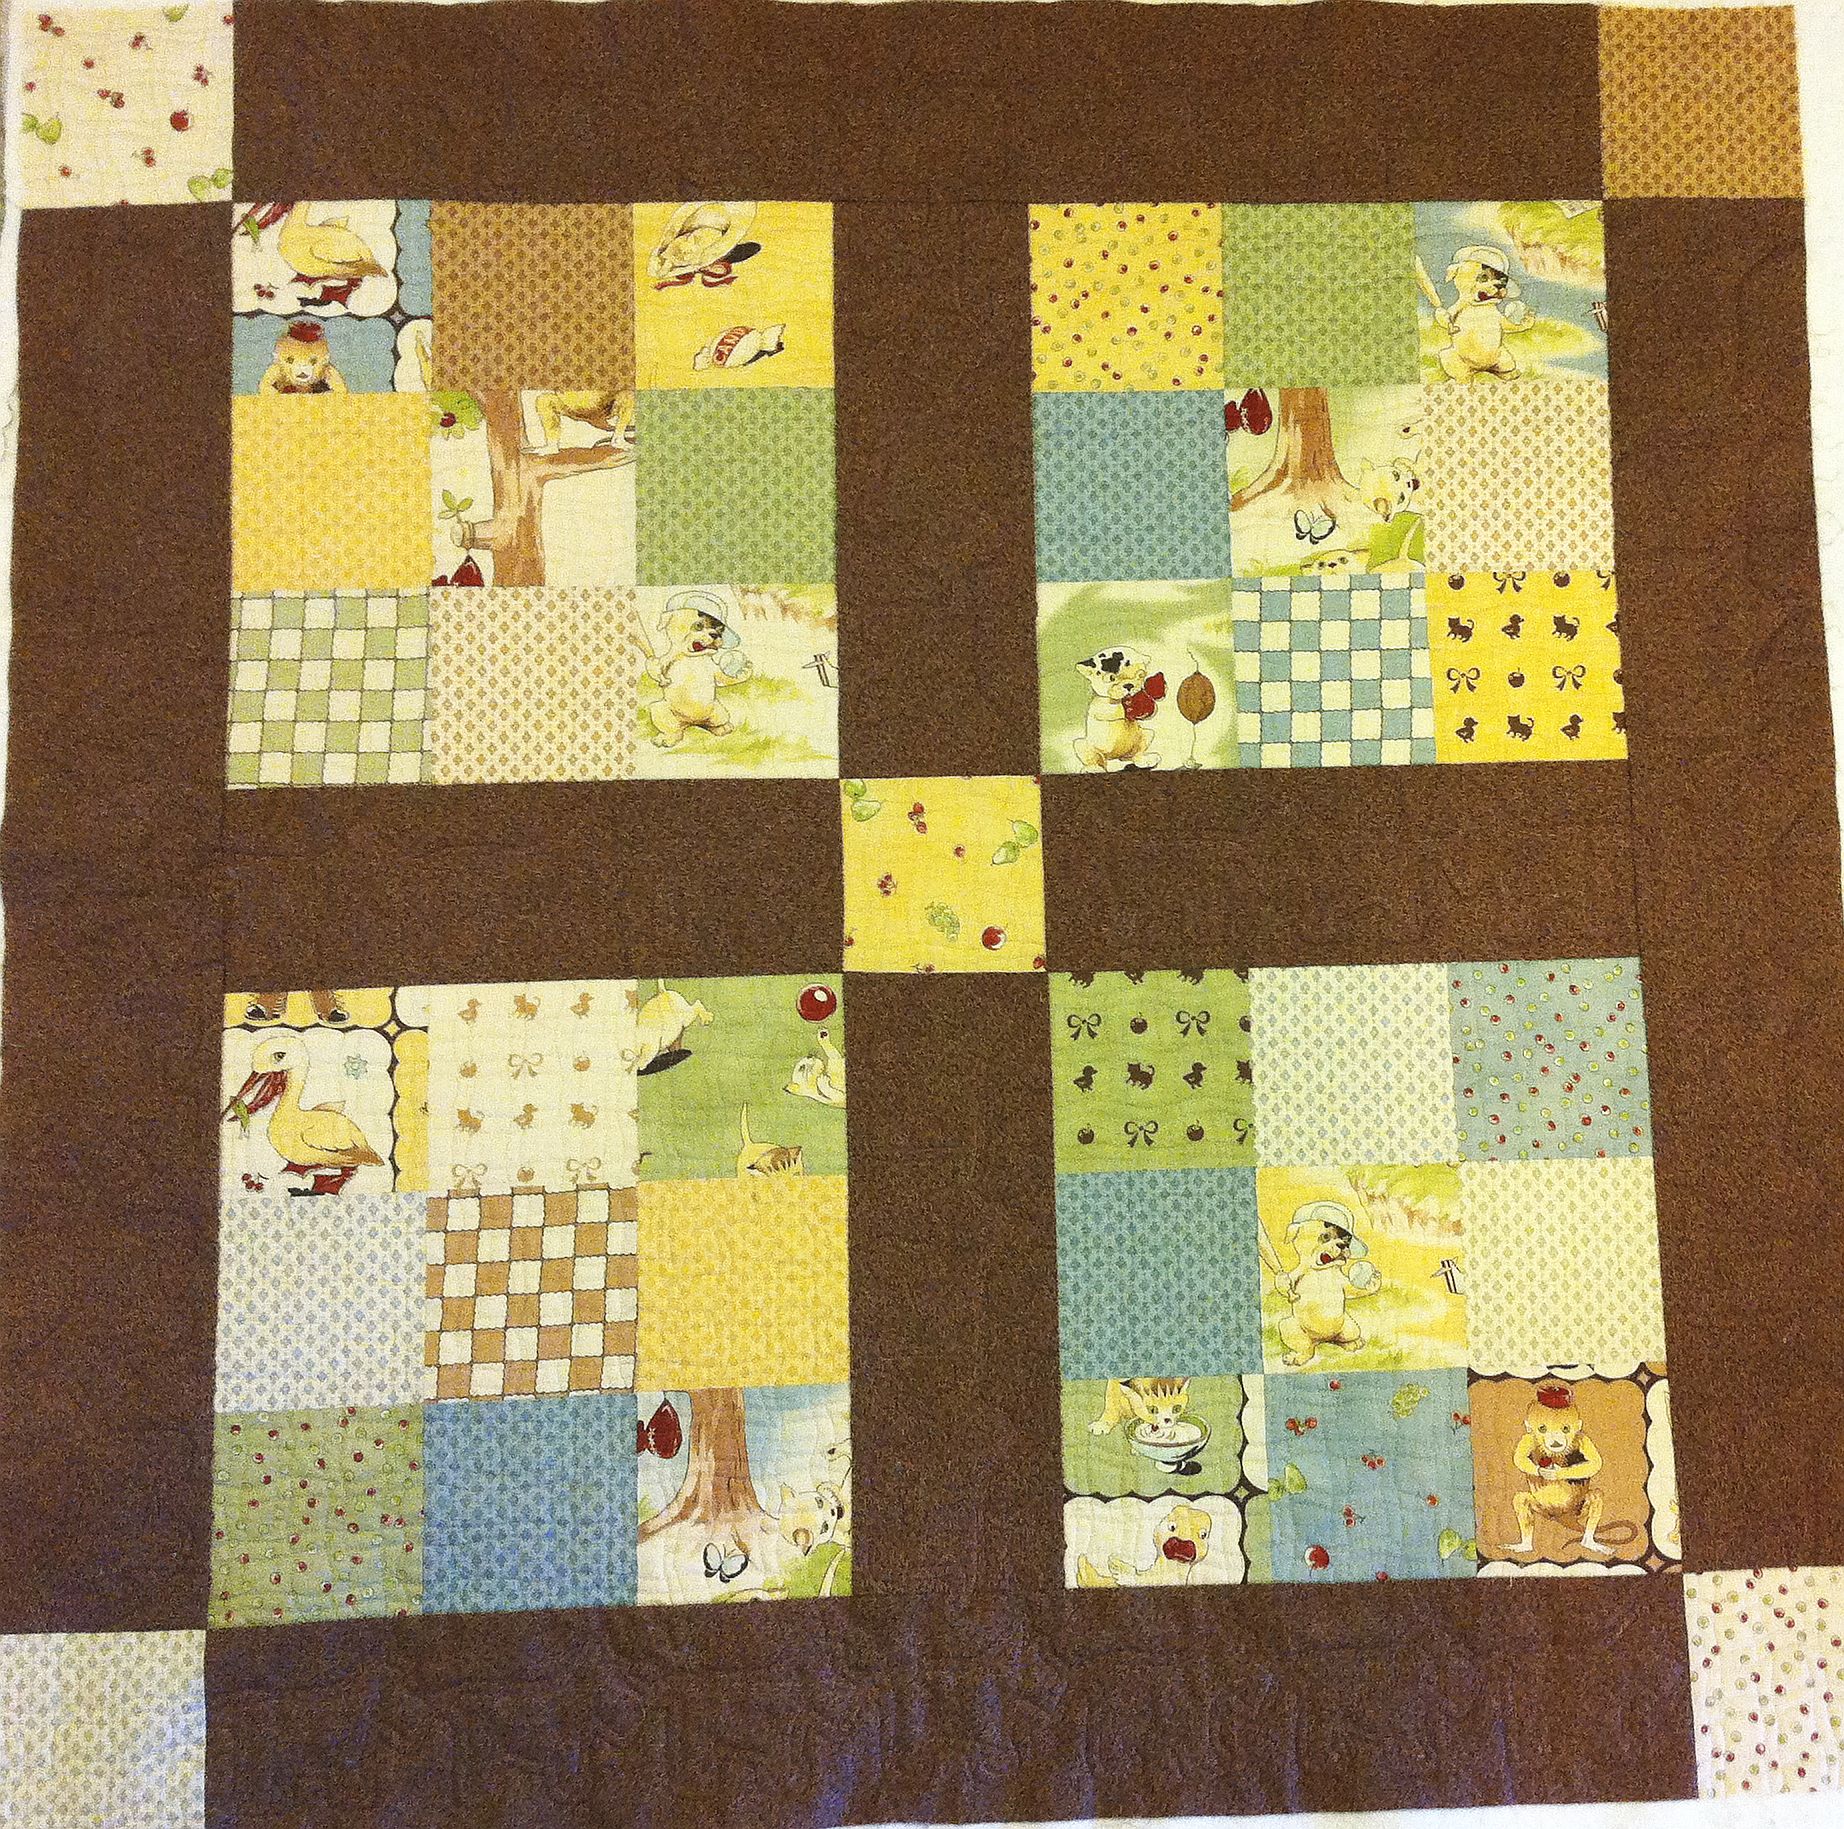
Li'l Rascals Baby QuiltFirst, I selected a cute Scottie Dog quilt stencil. I lucked out because each dog motif was about the size of one of my charm squares, so I didn’t have to adjust the size of the design. I love collecting all sizes and styles of quilting stencils. I probably have over 100!

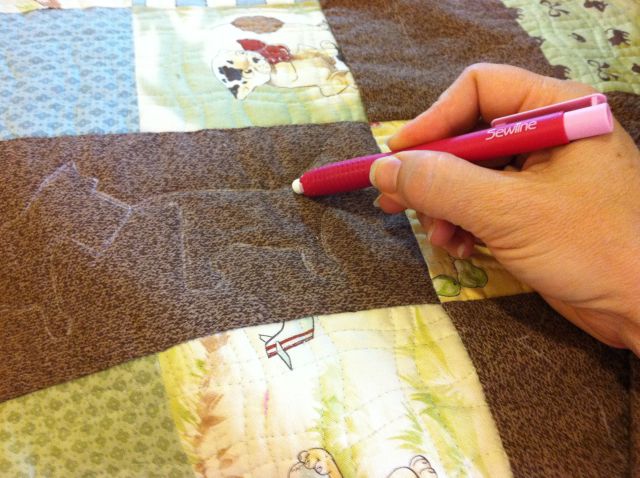
Scottie Dog StencilSewline Marking Pencil

To mark the design, I used a Sewline mechanical pencil with white ceramic leads. It made a nice clear line to follow.

The lines came off easily with a Sewline eraser stick after quilting. The left picture below shows 2 marked and quilted motifs. The right picture is after I erased the right motif. You can clearly see the quilting, but not the lines!

Sewline Fabric EraserRight Motif Erased After Quilting

After I quilted the dogs with a matching brown thread, I decided I wanted to see them a little better, so I quilted them again, going over my previous lines, but this time with metallic thread. (To avoid problems using specialty threads I use titanium-coated top-stitch needles from Superior Threads.)

The design still wasn’t quite finished, so I added another line of quilting, echoing the shape of the dogs. Then I was happy with the quilting. Echo Quilting with Metallic ThreadNext time I think I would try a much darker or lighter thread so that I can see the design even better. I’ve been quilting for so many years with matching thread to hide my mistakes. But now that I’m getting better with my free motion quilting I want my stitches to show!

Next week, I will finish this quilt by showing how to block it and bind it.

If you’d like to make a similar quilt like mine, it requires just one charm pack and 1 yard of coordinating fabric for sashing.

Bungle Jungle Modern Quilt – Week 1

Before I’ve even finished my current project, the Little Rascals baby quilt, I’ve already started on my next charm pack design! I was inspired by Leah Day’s modern quilt on her free-motion quilting blog.  However,  I’m making mine a little more uniform and less wonky.

I started with one charm pack of Bungle Jungle – a set of 42 precut squares that measure Bungle Jungle with Solid White5 inches. That means the finished size of each square is4 1/2″. I wanted to surround the squares with lots of open space for quilting, so I grabbed 2 yards of  of Kona Cotton Solids in white.

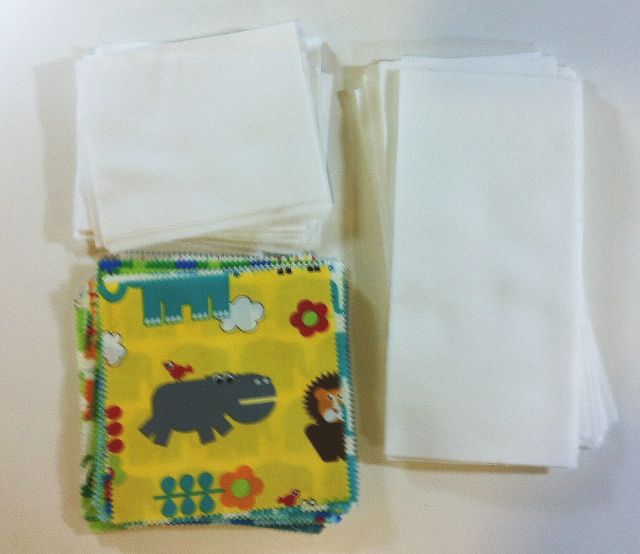
I cut  fifteen 4″ wide strips of white and sub-cut them into 42 pieces that measure 4″ x 5″ for the short side of the blocks and and 42 pieces of 4″ x 8 1/2″ for the long side of the blocks.

I stacked the pieces up next to my sewing machine in order so they were all ready to sew. Some of the prints are directional, but I won’t worry about that as I sew this quilt together. That will add to the “charm!”

Stacked and Ready to Sew

Bungle Jungle Block

To help with quilting later, I pressed all of the seams open. This helps reduce bulk and prevents shadowing of the seams. I will sew a total of 42 blocks, one for every charm square.

This week I will work on arranging the blocks into a pleasing setting. I’m loving it already!

Bungle Jungle Blocks LayoutThe Modern Quilt aesthetic really appeals to me with lots of negative space and clean lines. One of the hallmarks of this design style is to use lots of solid fabric and crisp, clear colors.

If you’d like to follow along, grab 1 charm pack of your choice and 2 yards of background fabric, then sew a total of 42 blocks like those shown above. (I’ve only finished 12 blocks so far.) I’ll continue to blog about this project until it’s done, including quilting and binding.

Lil Rascals Charm Quilt Part 1 – Free Pattern

Here’s a quick and easy charm pack quilt I came up with. It requires 1 Lil Rascals charm pack and 1 yard of brown Sock Monkey Texture fabric (with enough left over for binding). You can substitute any charm pack and any coordinating fabric for the sashing.

Lil Rascals Quilt TopI’ll blog about marking and machine quilting it next week. Now I will explain how to make the quilt top.

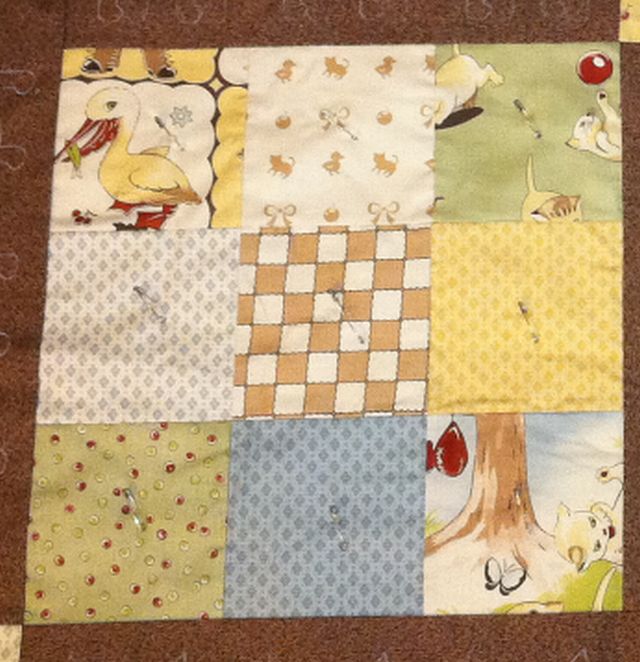
9 Patch BlockFirst, select 41 of the 42 charm squares that comes in the charm pack (you can save the 42nd square to use as a label on the back).

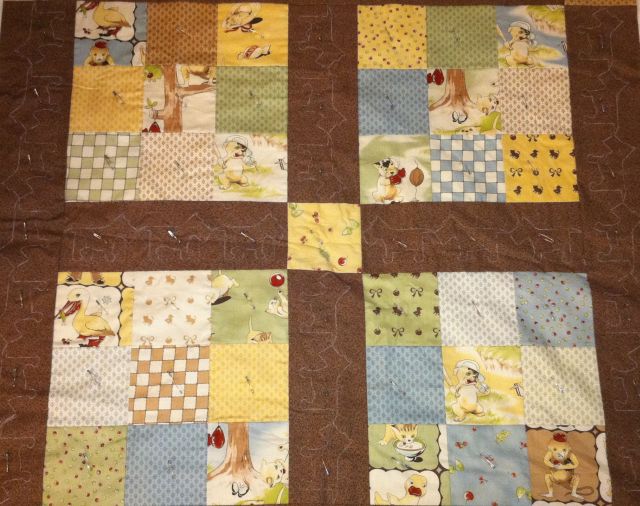
Arrange 9 of the squares to make one 9 patch block. Repeat for a total of 4 blocks. The charms are precut 5 inch squares, so your 9 patch block should measure approximately 14″ unfinished.

Measure your block and cut 4 sashing pieces 5″ wide by your block measurement.

Top & Bottom RowsMake 2 rows like the picture at left. Sew a 9 patch block, sashing piece and another 9 patch block to make the top and bottom rows. Measure the width of this row (should be 32″). Cut 4 brown border strips 5″ by this measurement.

Middle RowFor the middle row, take 2 sashing pieces and sew on both sides of a charm square. Sew all 3 rows together to create the inner quilt. Press towards the brown sashing strips.

Add Side BordersSew two long border strips to either side of the quilt top, like the picture at right.

Finally, sew the 4 remaining charm squares to each side of the two remaining long border strips (picture lower right).

Add each border  to the top and bottom to complete the quilt top.

Add Top & Bottom BordersThe quilt top measures approximately 41 inches square. It’s a little too wide to use just one length of fabric for the backing.  I pieced my backing so that I had an extra 4-5 inches around on all sides.

It requires about 3 yards if you want to use the same fabric for the entire backing, with some left over. With care, you could get away with using just one 1 1/2 yard piece for the backing, if it’s at least 42 to 44 inches wide, but that’s cutting it a little too close for my taste!

To learn about piecing a backing using two different fabrics, read my post about that here. You could also sew a few chunks of fabrics for the back, or piece together a layer cake for the backing and you’d have a double sided quilt!

Feel free to share this tutorial with your friends, and let them know to come visit my blog for more quilting tips, free patterns, and fun inspiration!

Click here for step 2 – basic machine quilting

Click here for step 3 – stencil quilting

Click here for step 4 – blocking and binding