Christa’s Soap Box – Thoughts about Doing My Own Sewing (while relaxing at the beach…)

This week I’m having a fun beach vacation with the family and since I’m not sewing, I’ve had a bit of time to think about sewing instead. Recently it occurred to me that whenever I travel and teach, I often say that I do all of my own “stunt sewing” – and I know I’m somewhat of an anomaly when it comes to professional quilters that do this full-time.  There’s nothing wrong with busy designers getting help, but I just love sewing my own stuff and don’t want to give it up!

view from the beach

View from my “office” this week at Hermosa Beach, CA where I’m writing this blog post.

Recently, someone asked me “now that you are successful in your business – when are you going to hire me to sew for you?” I know she meant it as a compliment and really wanted to help me out, but my gut reaction was – if I ever get to the point that I don’t have time to sew or quilt my own quilts, what’s the point of HAVING a quilting business??

For reals, I’d rather hire out my cooking and cleaning than ever give up sewing. In fact, I already have a team in place that helps me with some of the other tasks – a graphic designer helps lay out my patterns, and I just recently started using the services of a virtual assistant to help me with some of my pattern editing.

Family bike ride

We’re starting off each beach day with a family bike ride; we love great views and great exercise!

From time to time, I’ll enlist other designer friends to make quilts to showcase my fabrics using their patterns, and sometimes enthusiastic fans and followers will pitch in and remake some of my older patterns using my fabric. In all of those cases though, they are making THEIR quilts, not MY quilts.

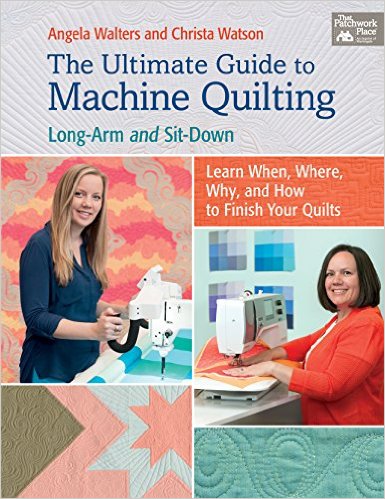
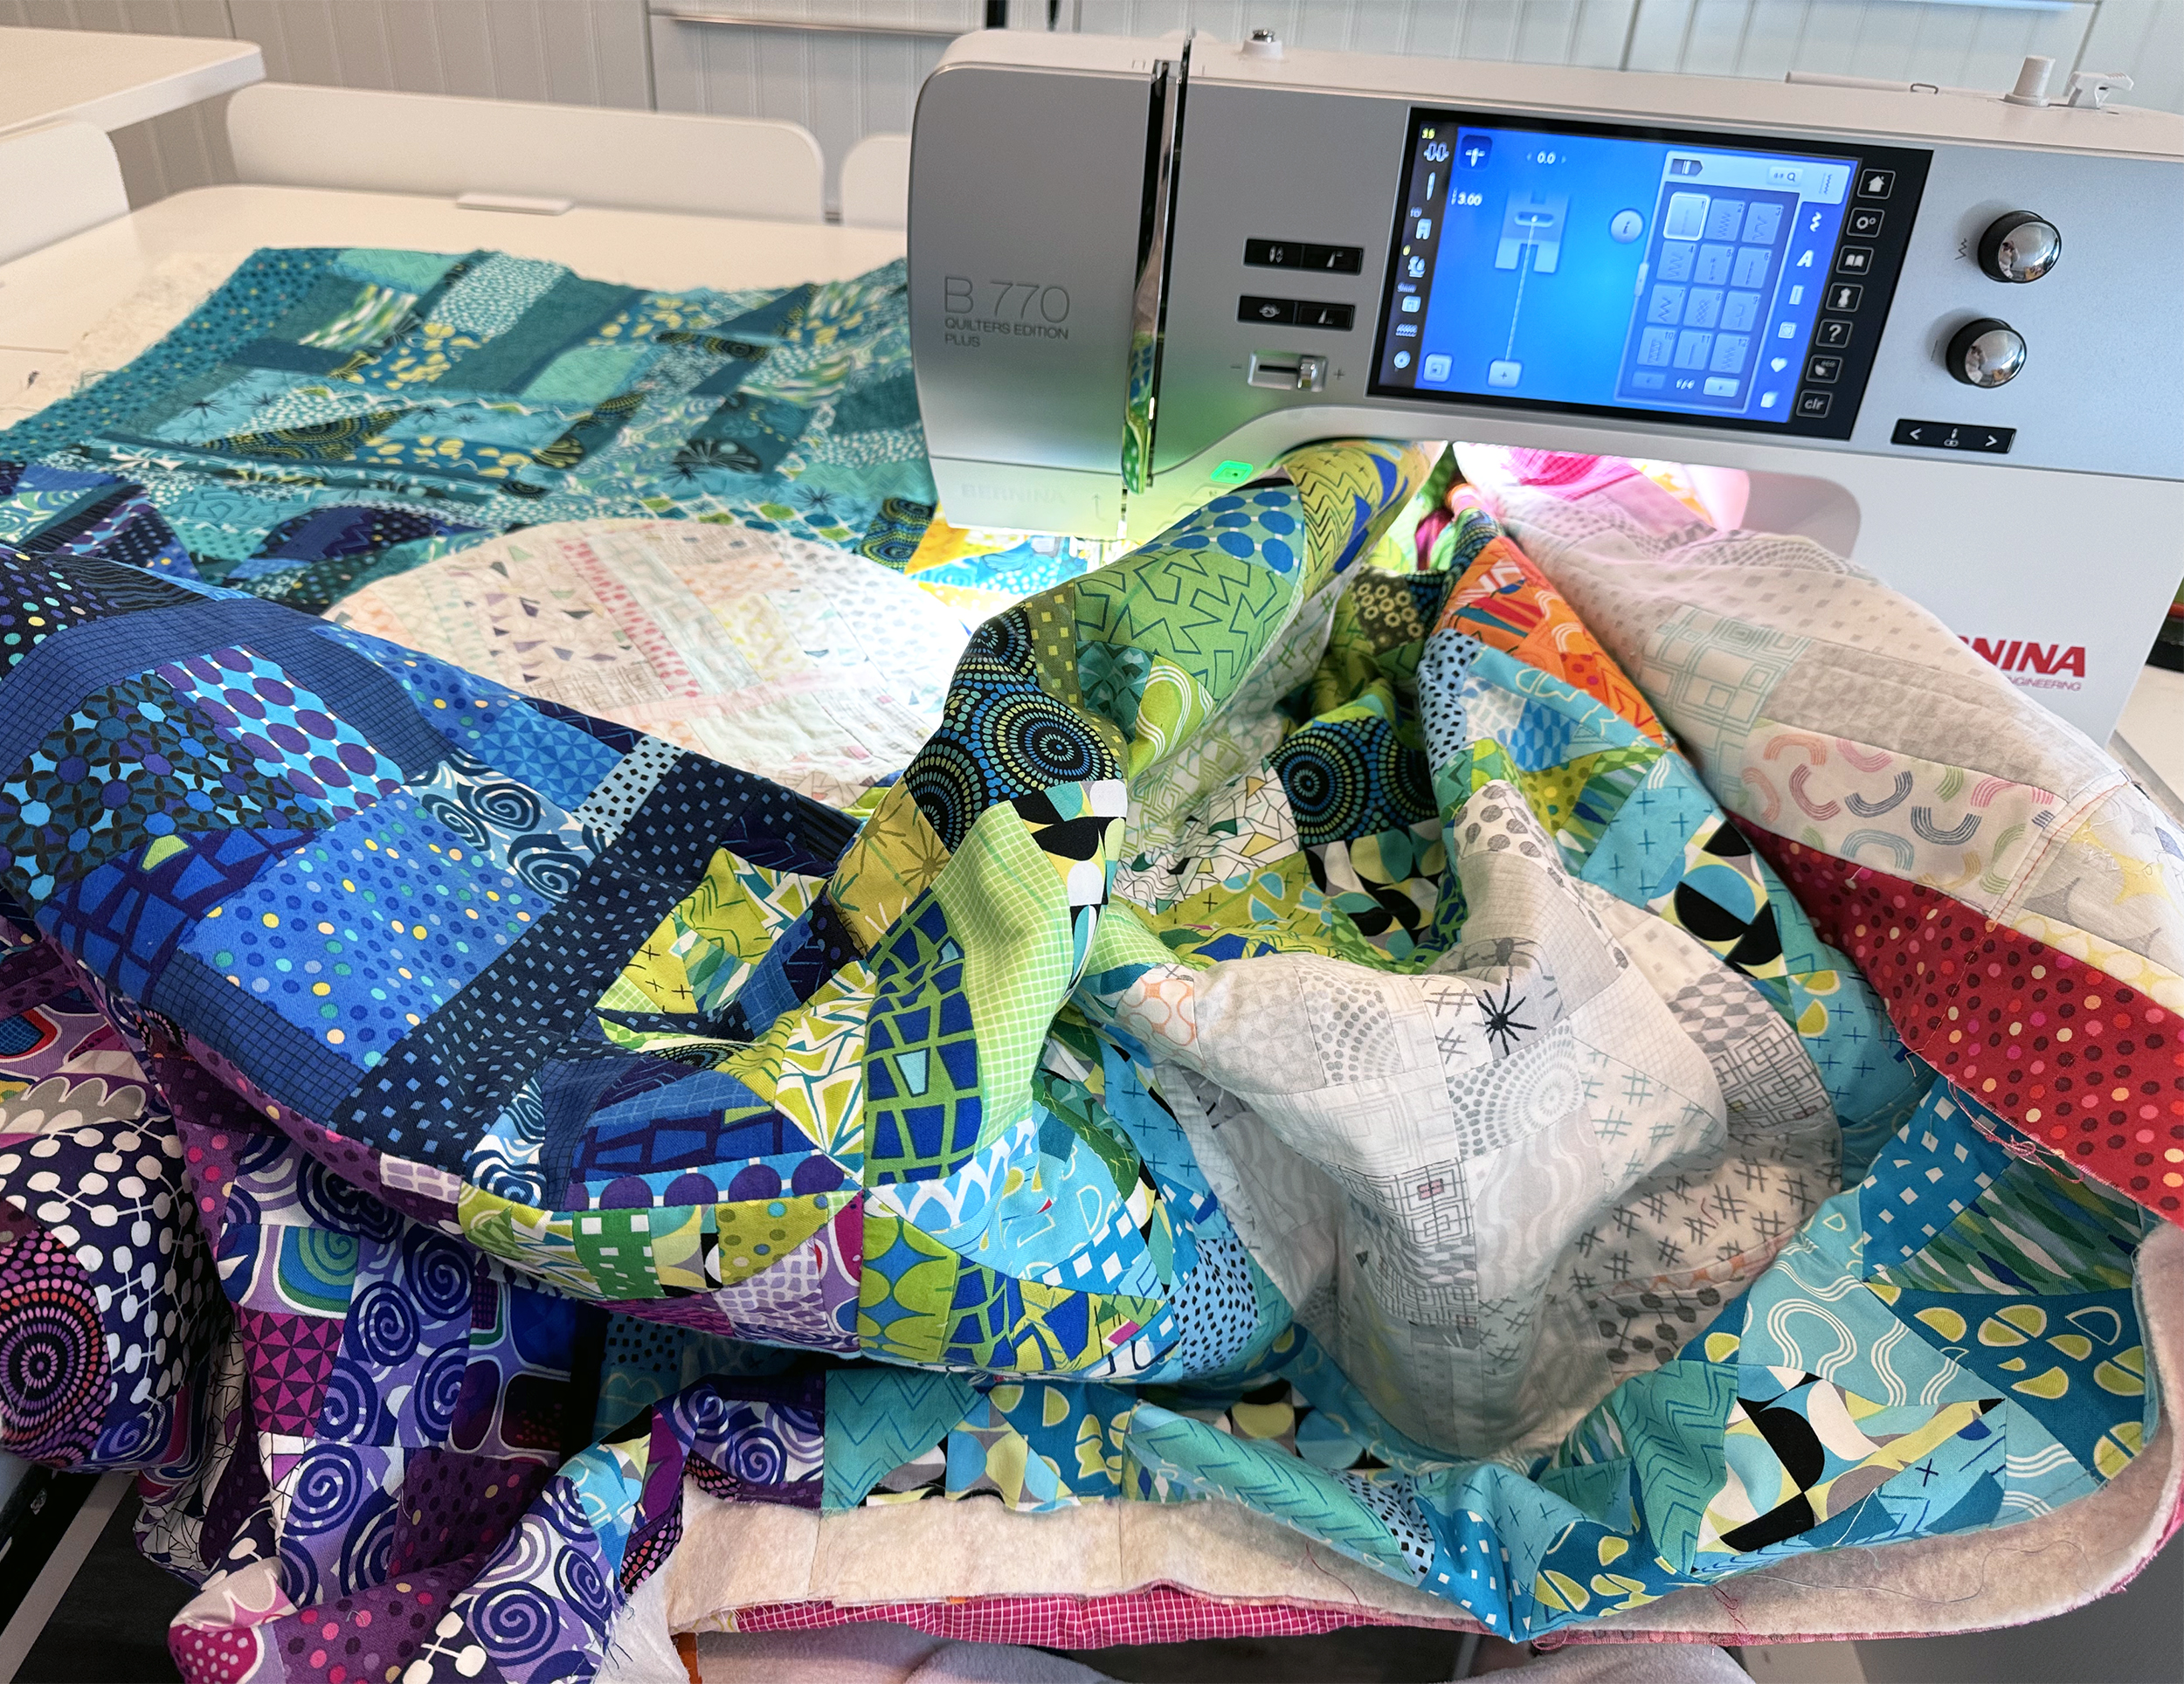
In fact, it was kind of funny that when I was working on creating the projects for my second book The Ultimate Guide to Machine Quilting, the deadlines were VERY tight. I had to make about 10 quilts in 4 months so my publisher offered to pitch in and help. Because the book focused on machine quilting, they offered to help with piecing or binding to help reduce my load. I looked at them like I thought they were crazy pants and politely turned them down. I’m not sure if it’s my control freak tendencies or what, but the fact of the matter is, I simply like to do each step of the process myself, LOL!!

Quilts on the bed at the beach

One of the guest beds at the beach house is our “flat” staging area waiting for photography.
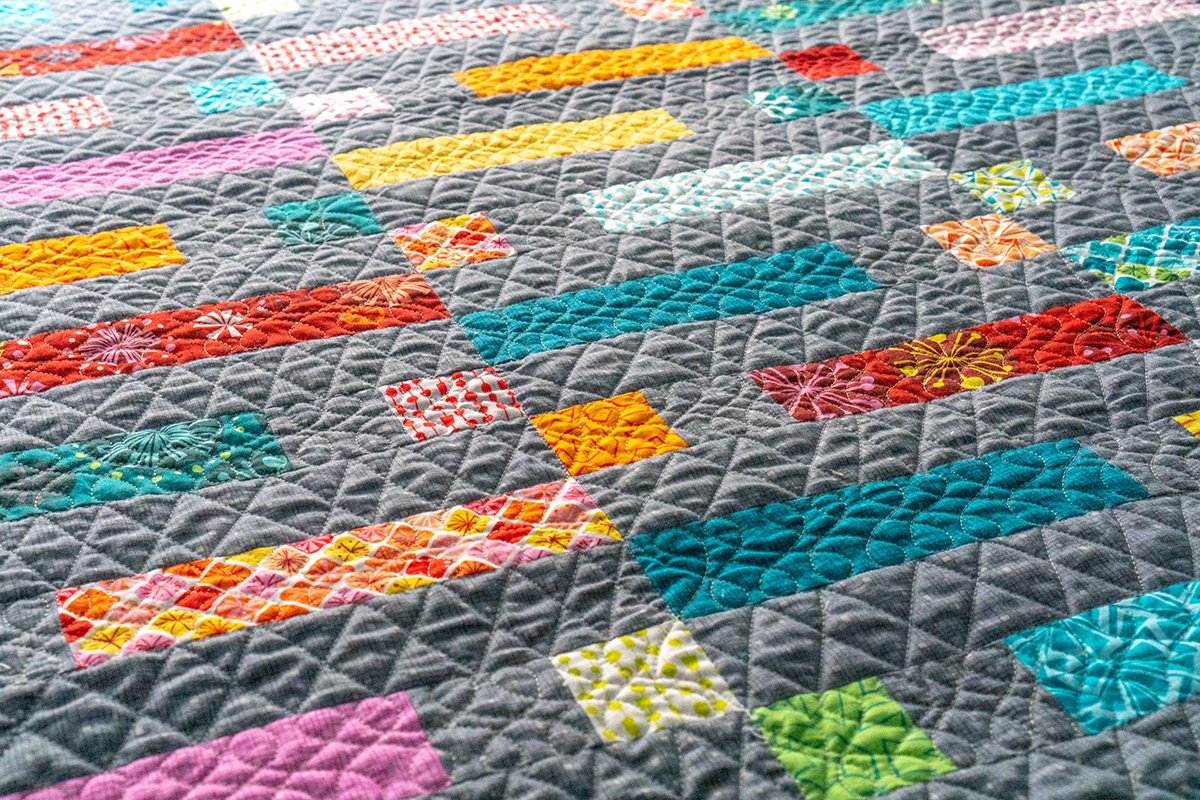
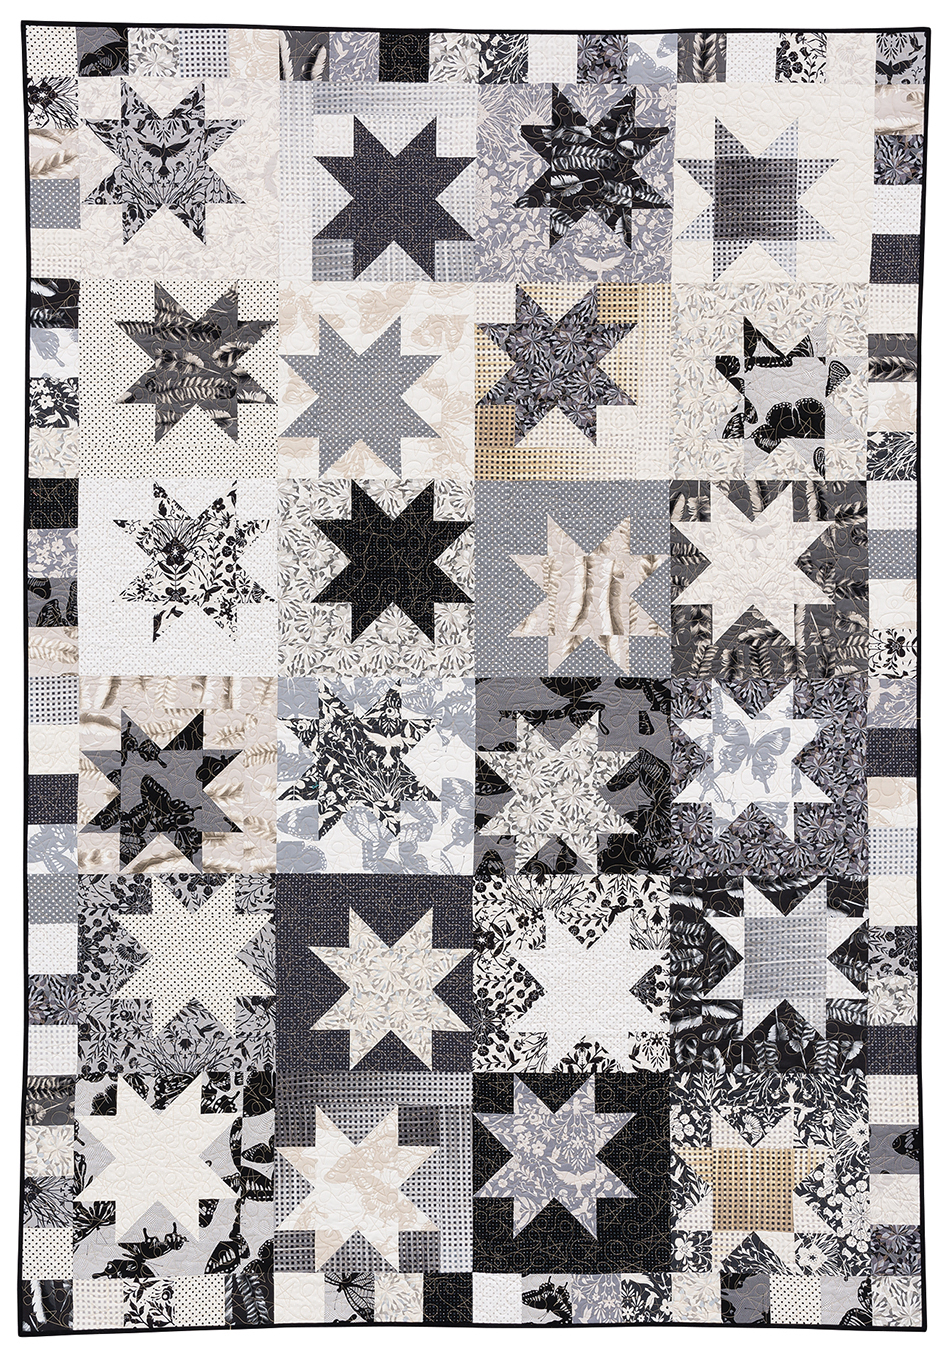
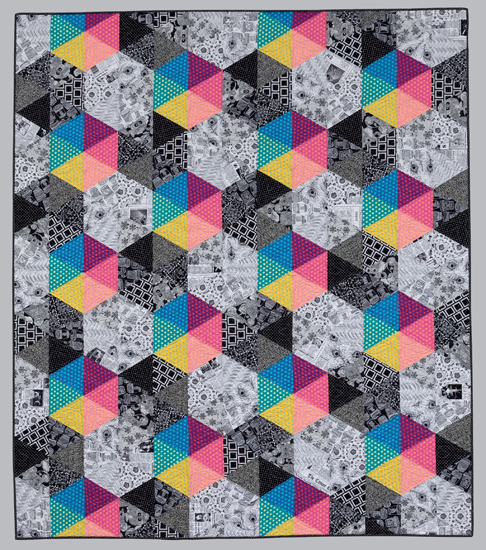
FYI – Dot’n Dash will be the quilt-along I’m doing next month– so stay tuned!!

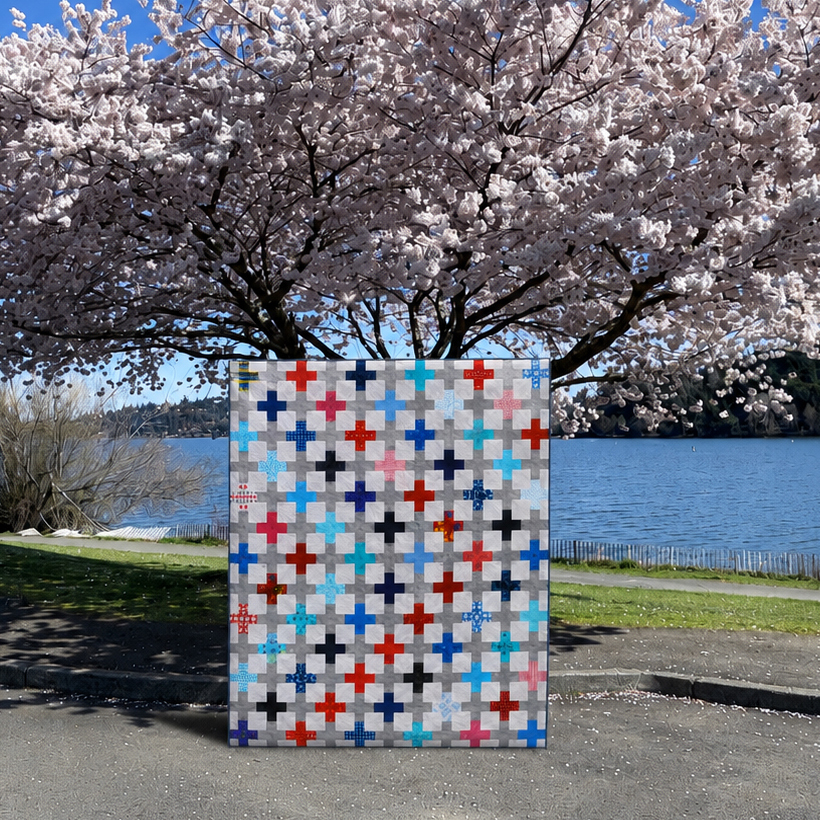
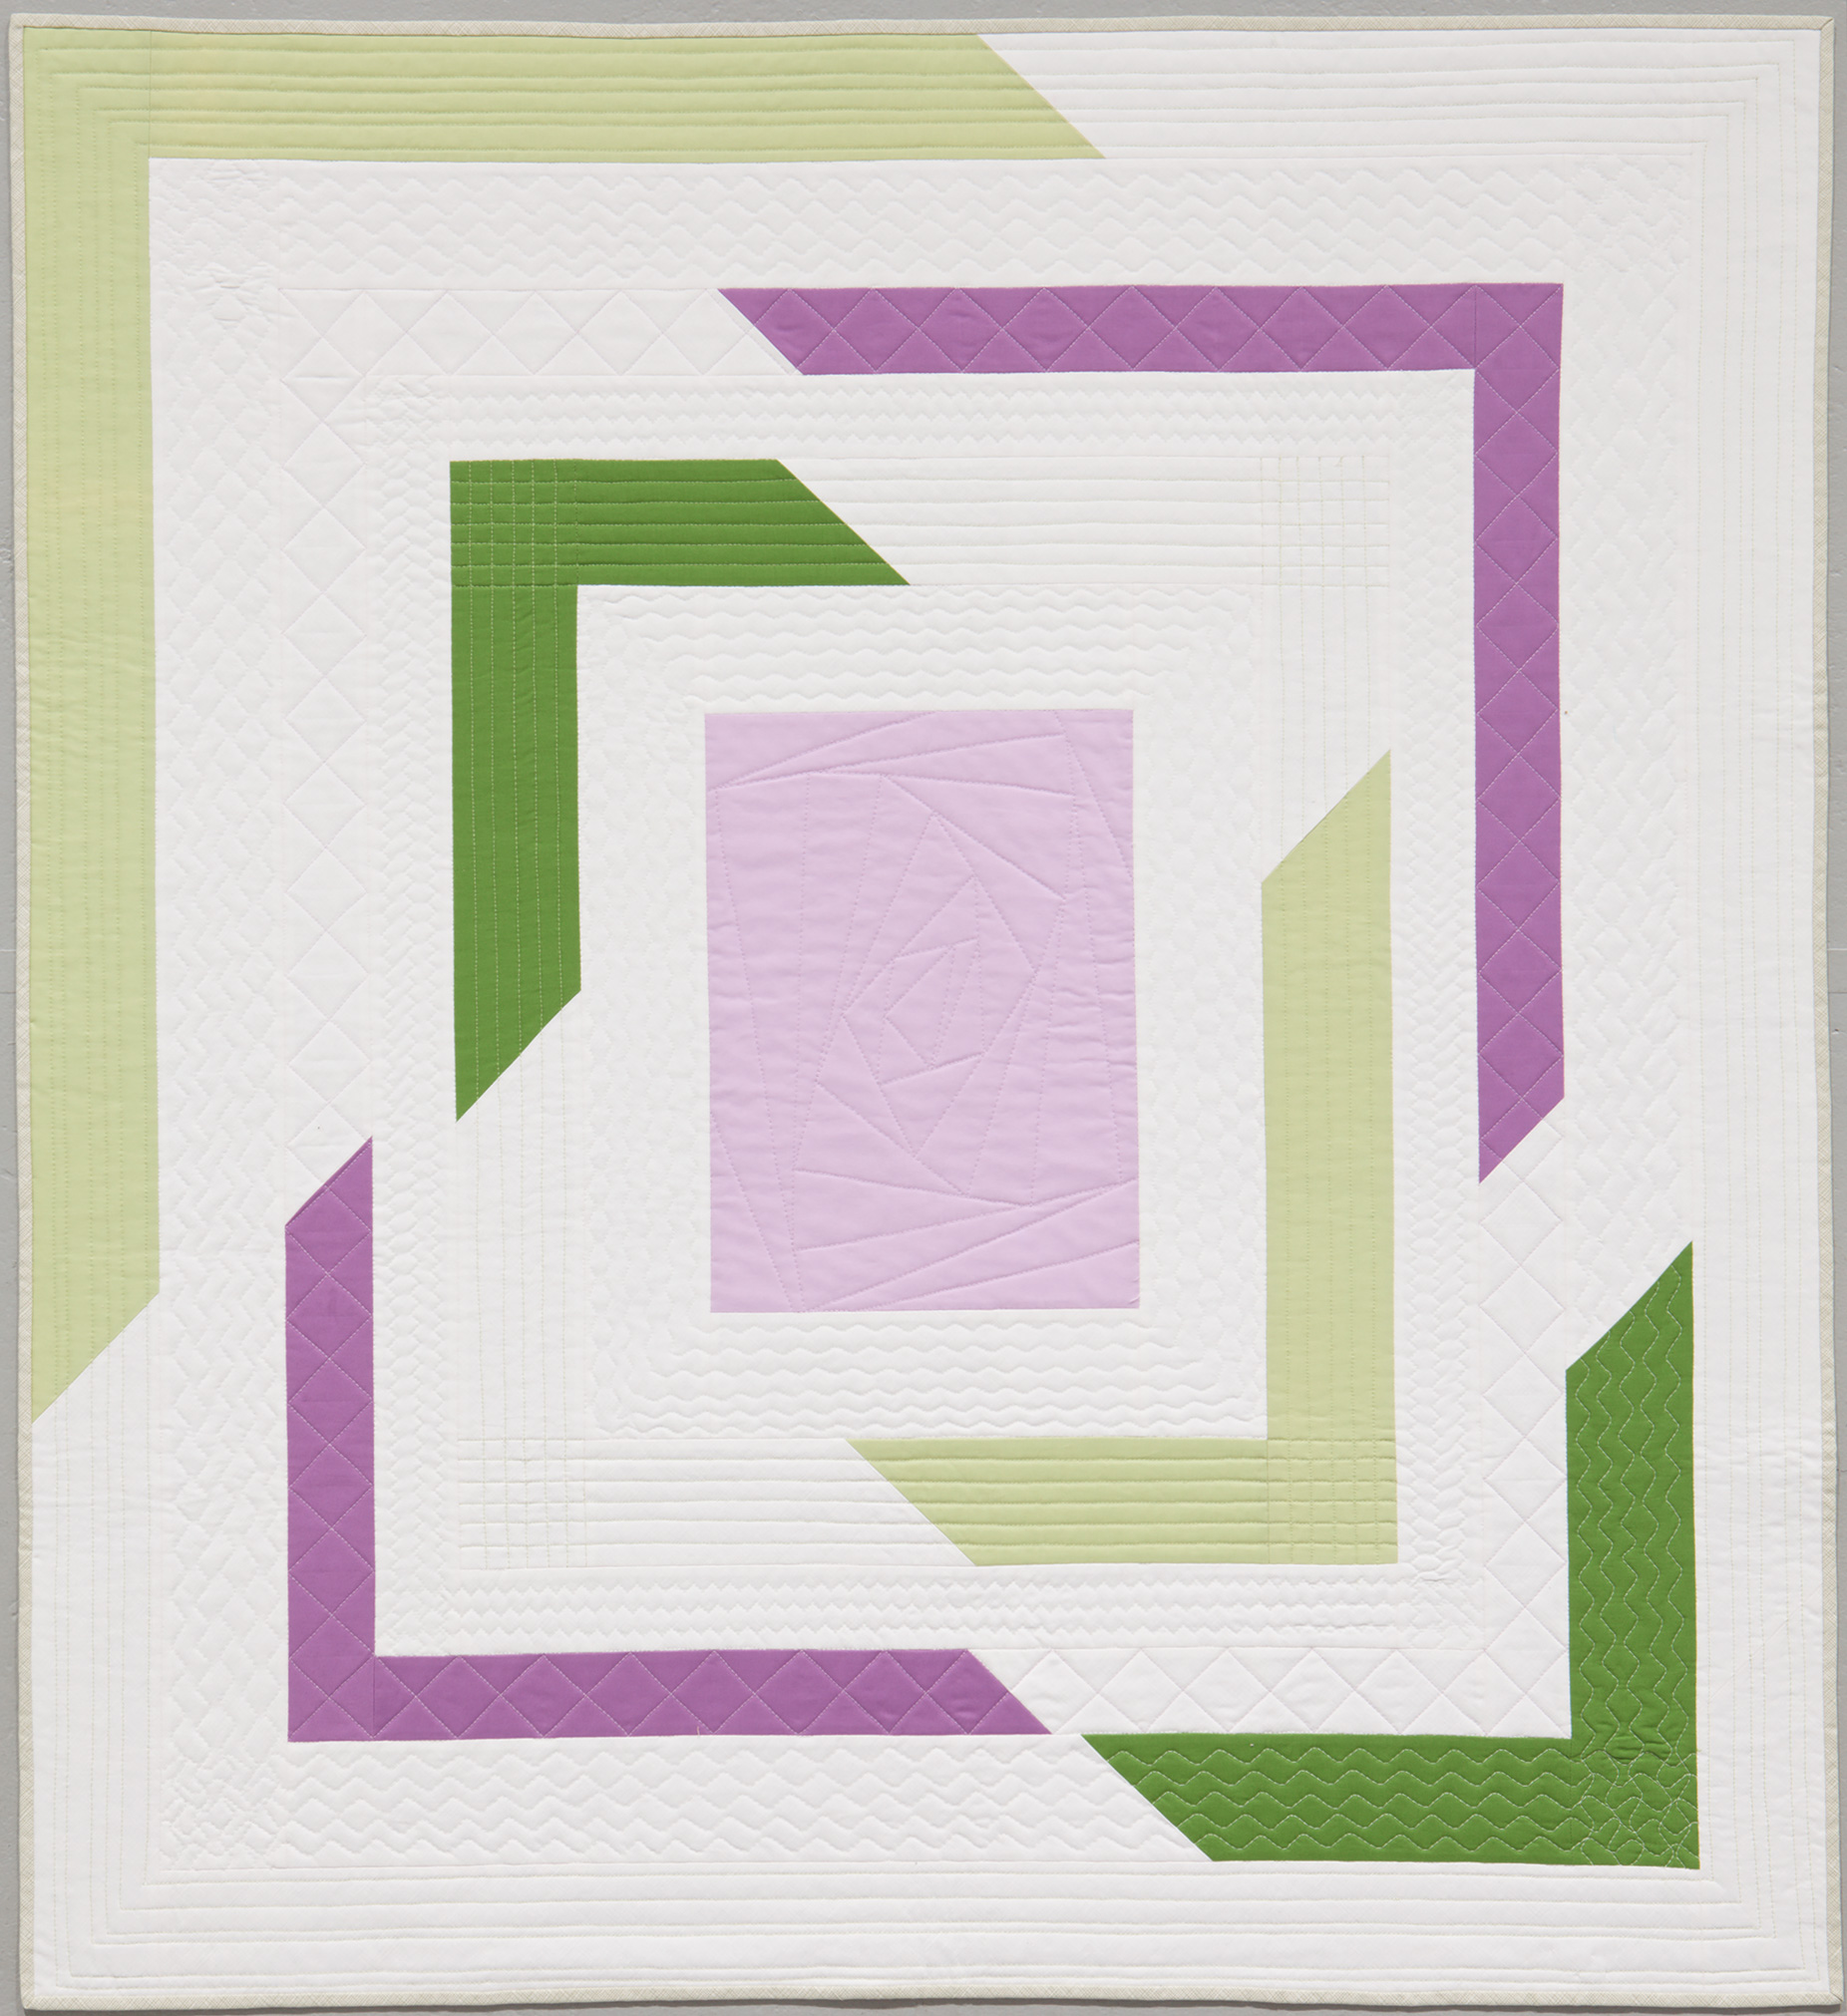
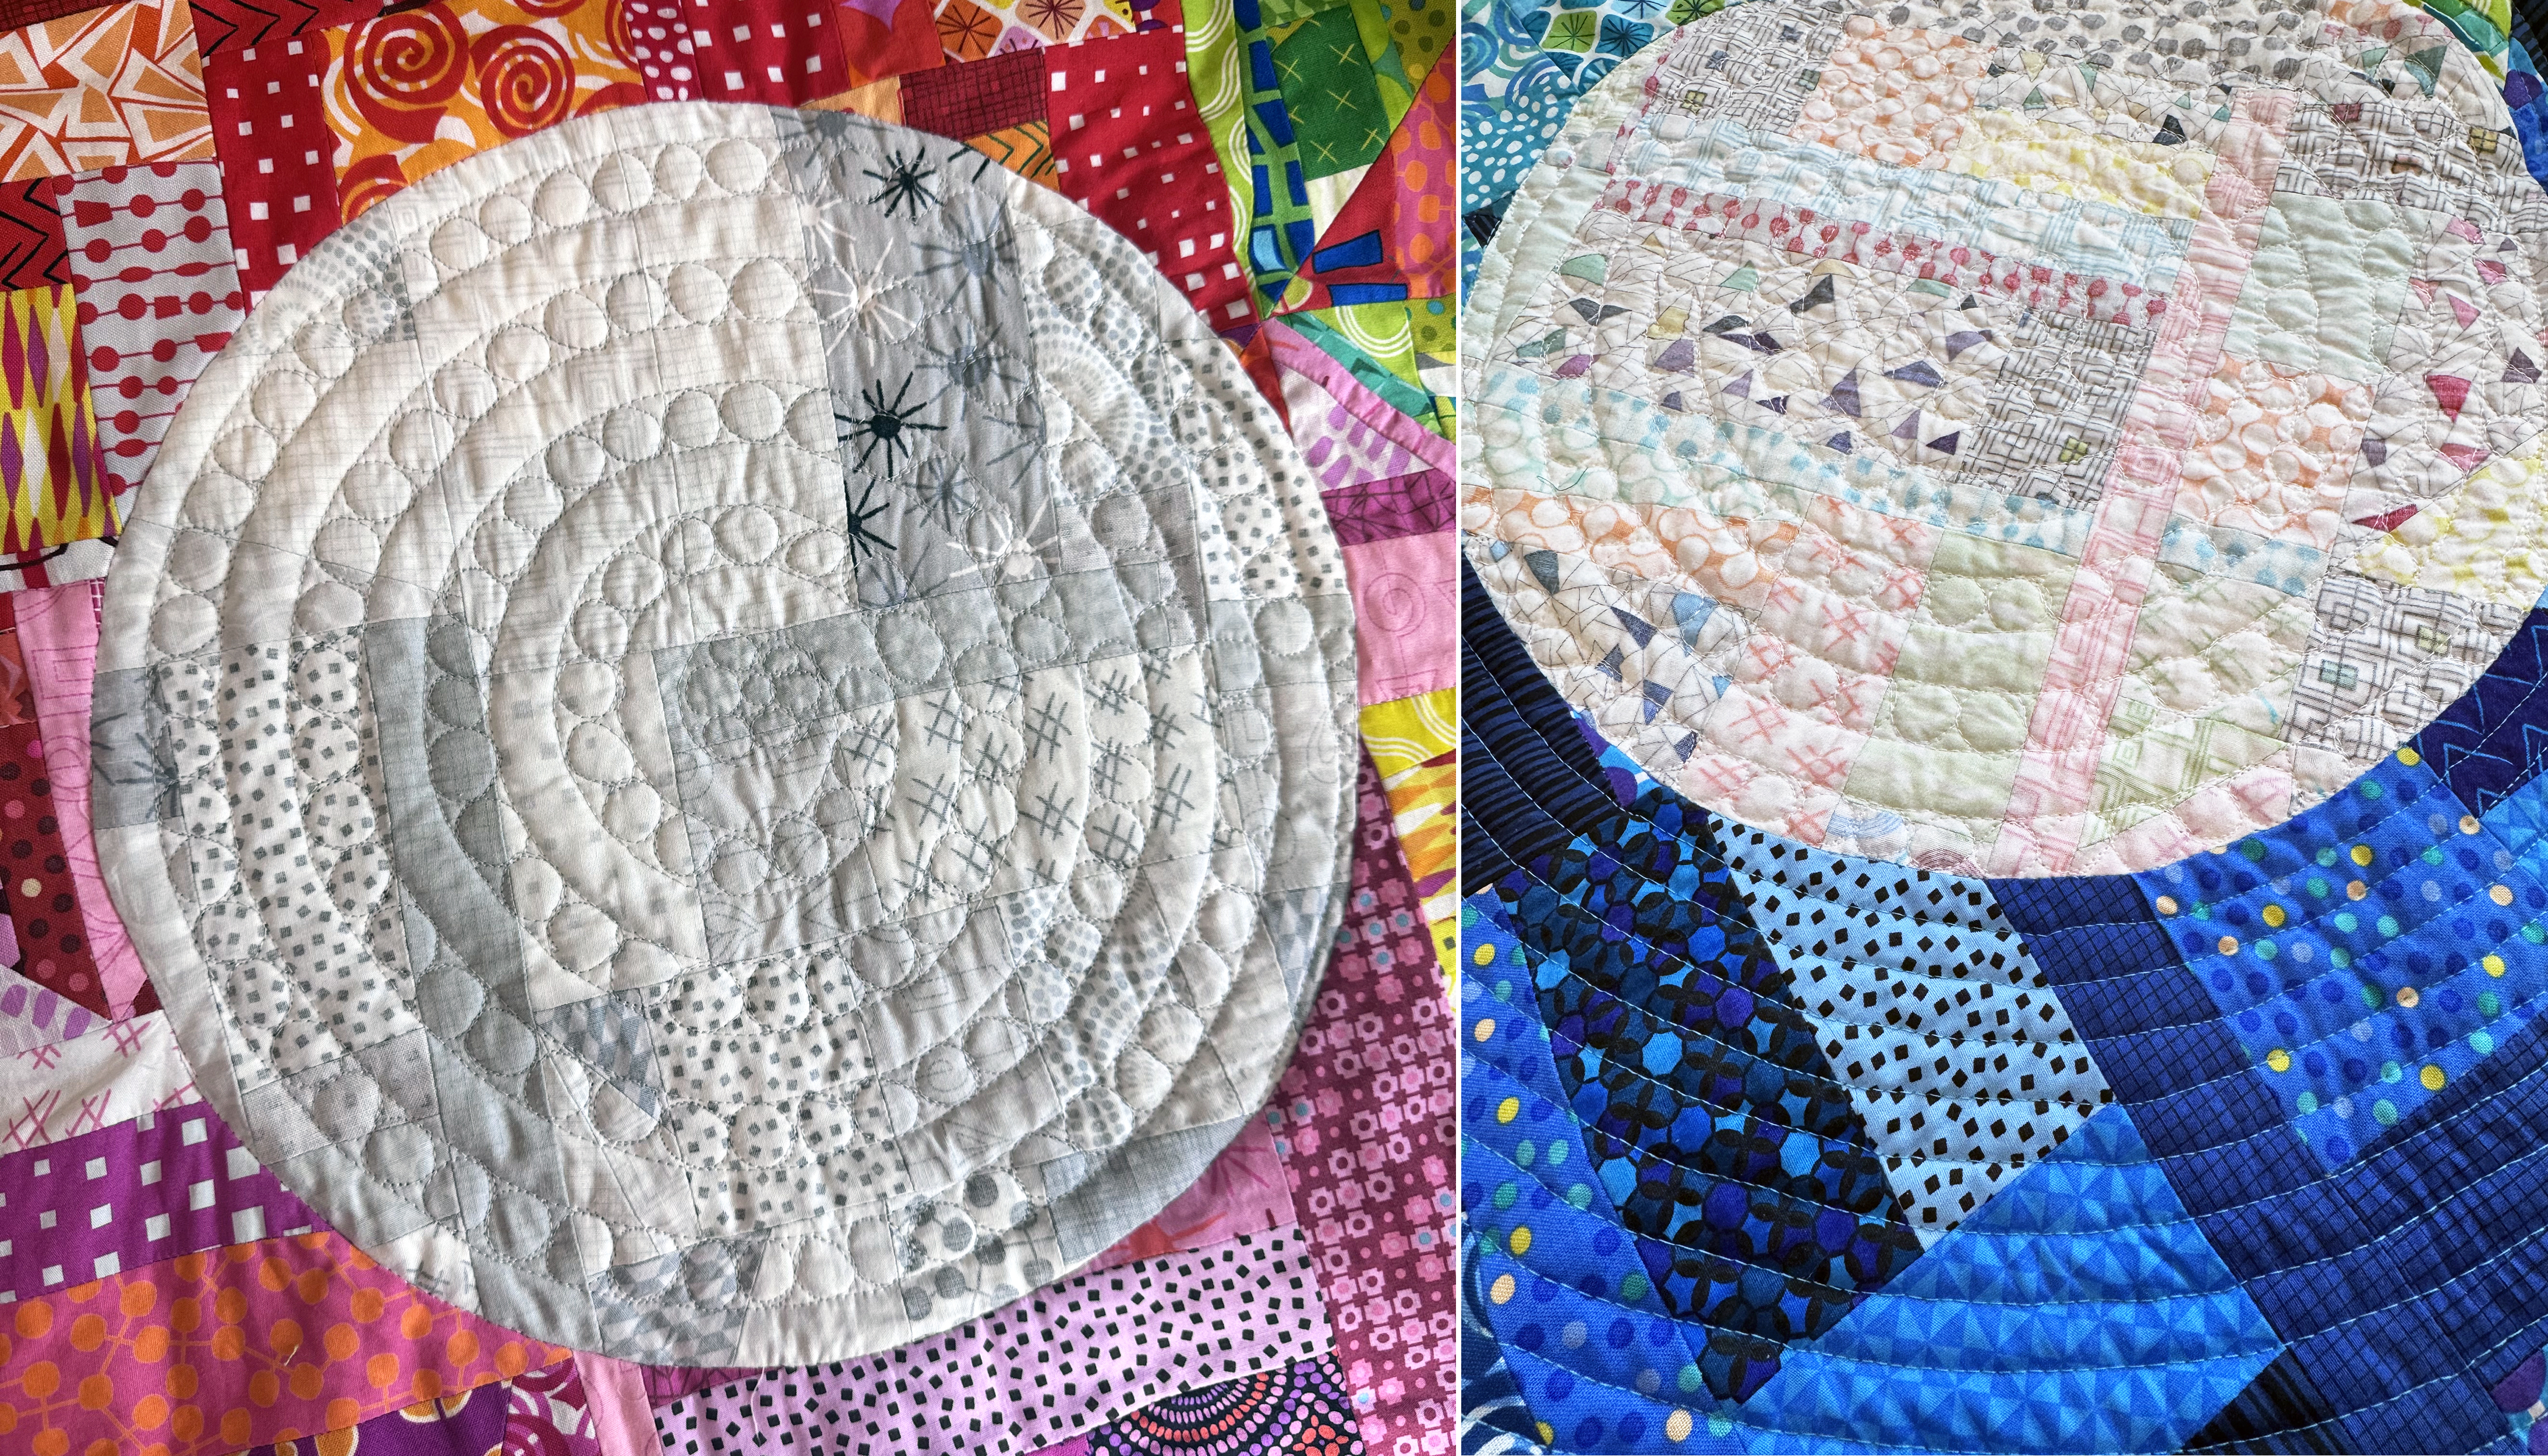
Now that I’m designing fabric, I have even less time to sew because much of my time is spent with a sketchbook or at the computer. But all that really means is instead of mass producing large quantities of new quilts and patterns, I’ll be very thoughtful about the quilts I choose to make, and I’ll continue to enjoy every step! The other thing it means is that I can take more time to tell you about the quilts I am making, and share more than just one picture or blog post of each.

Surfboards at the Beach

Jason loves scouting out interesting places for photographs. He saw these surfboards and thought they’d make an interesting backdrop. See the photo below…

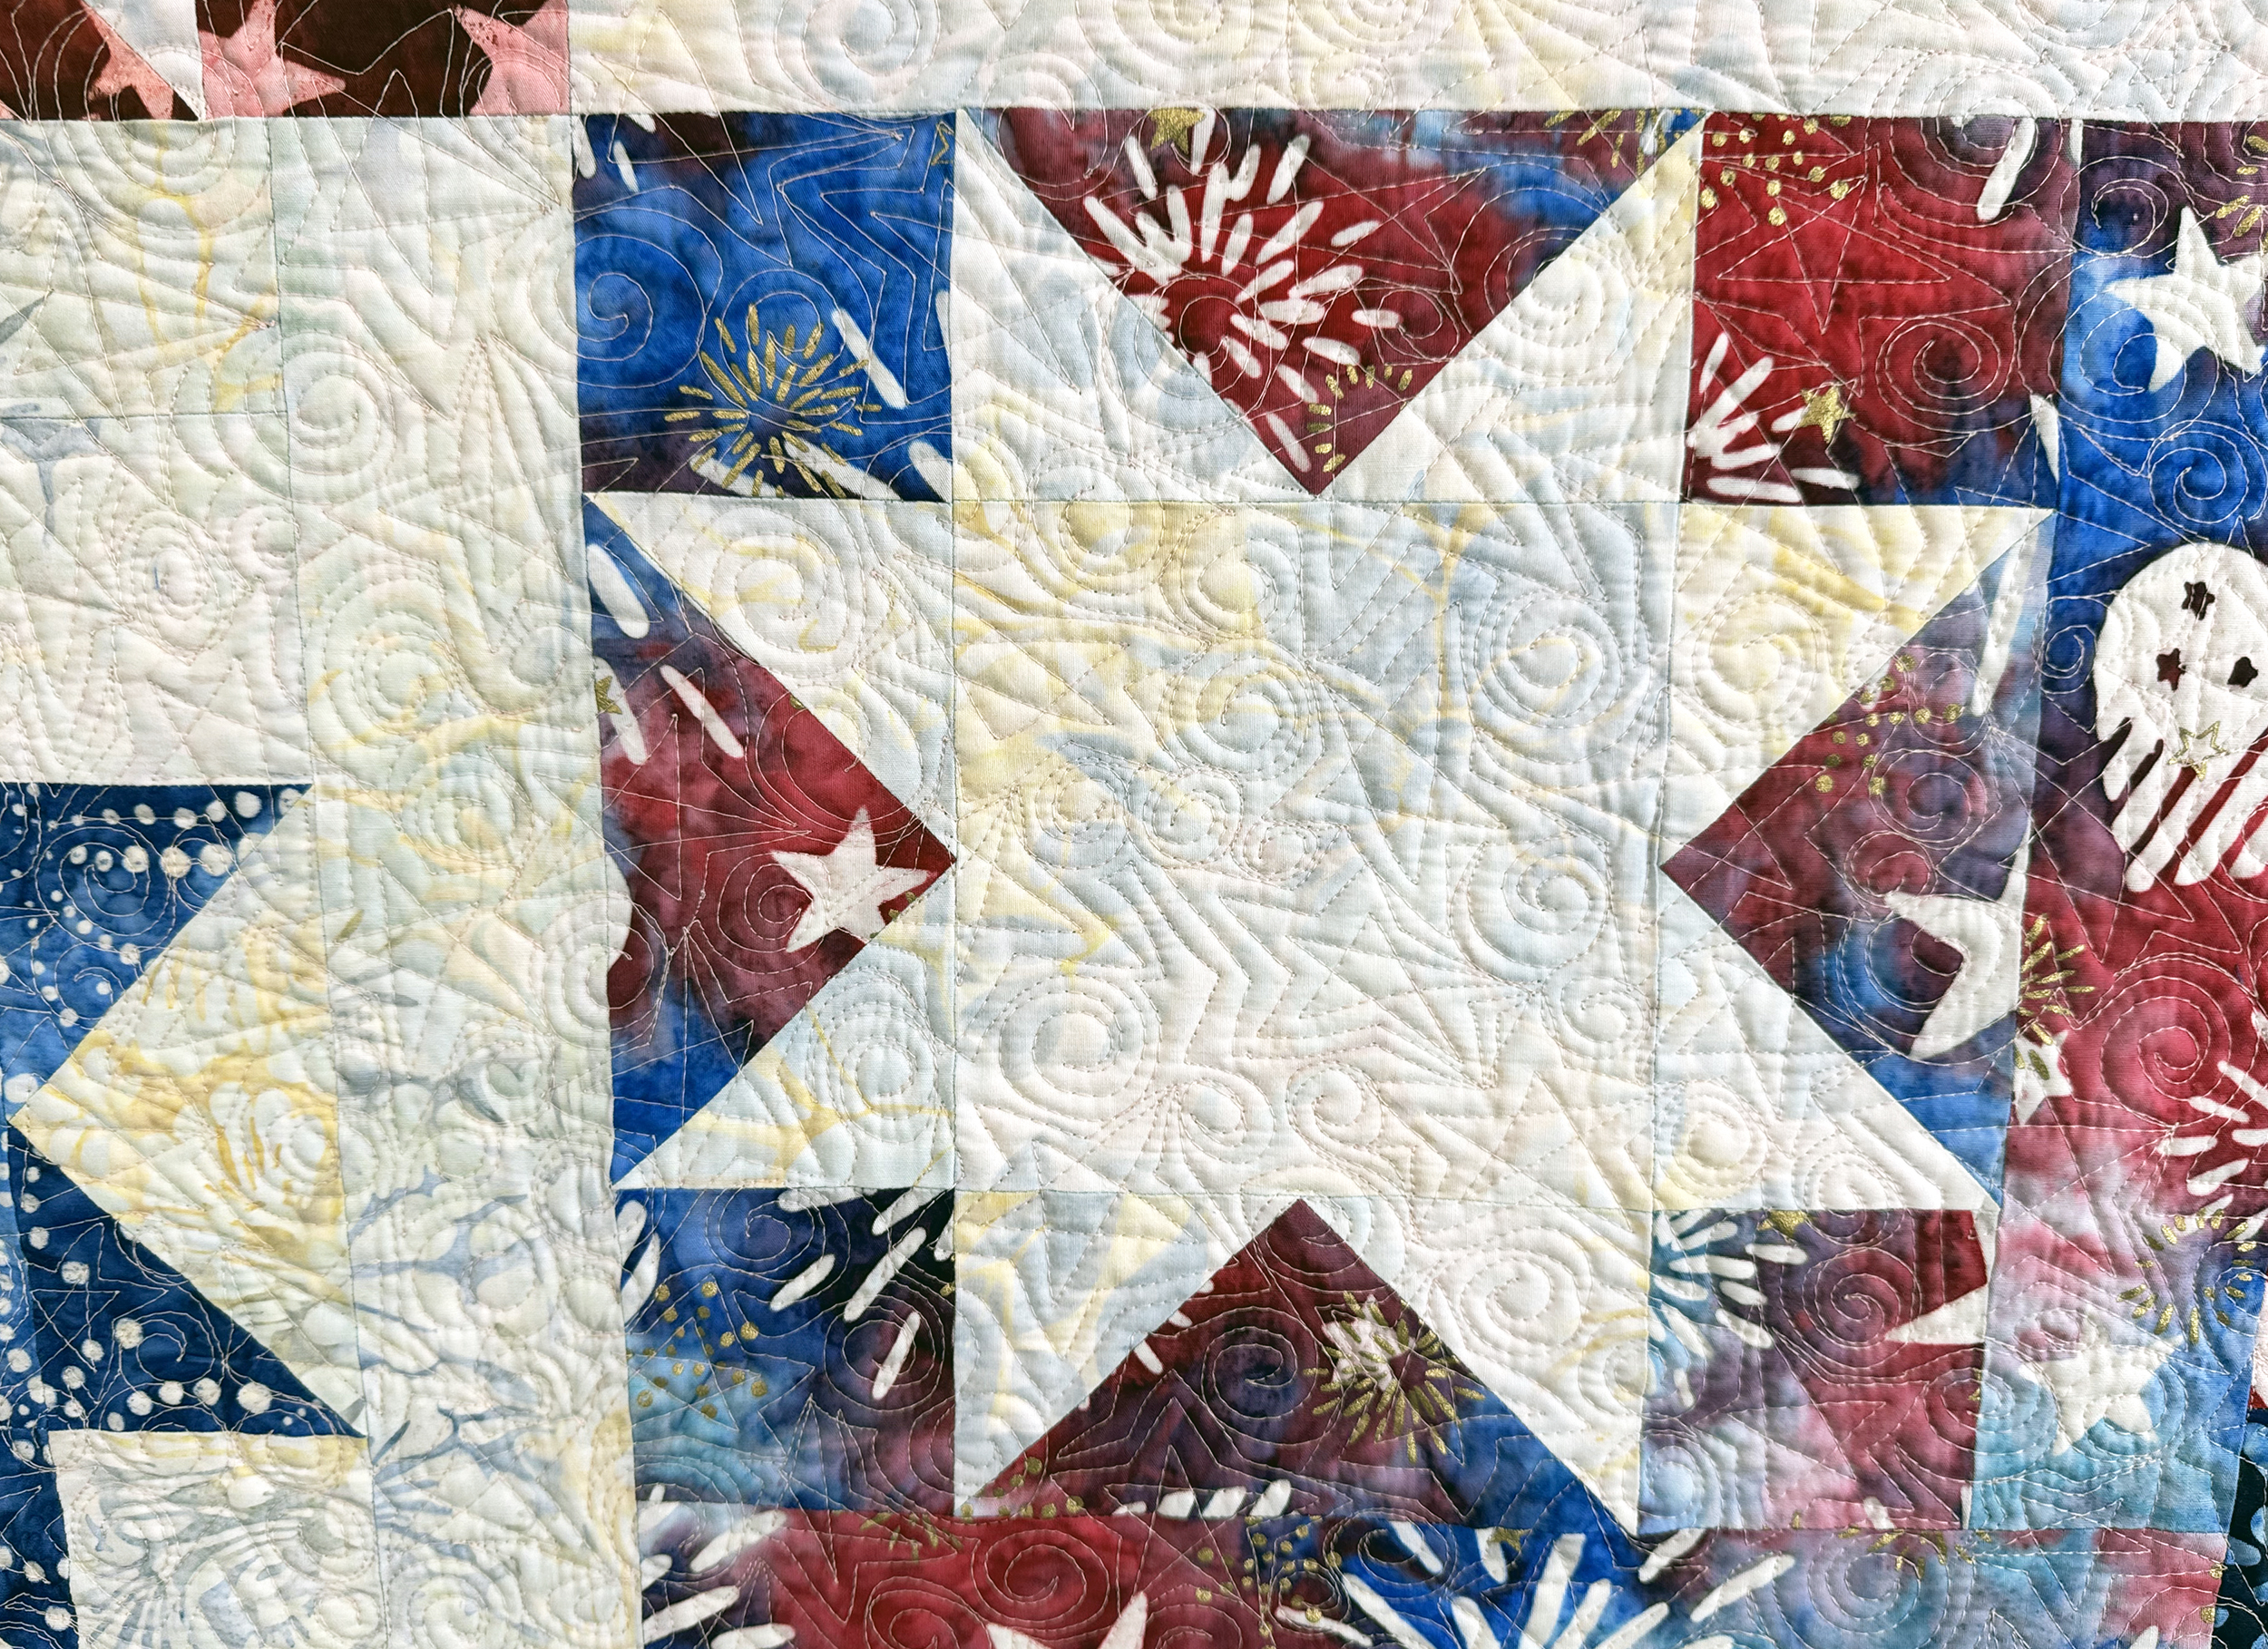
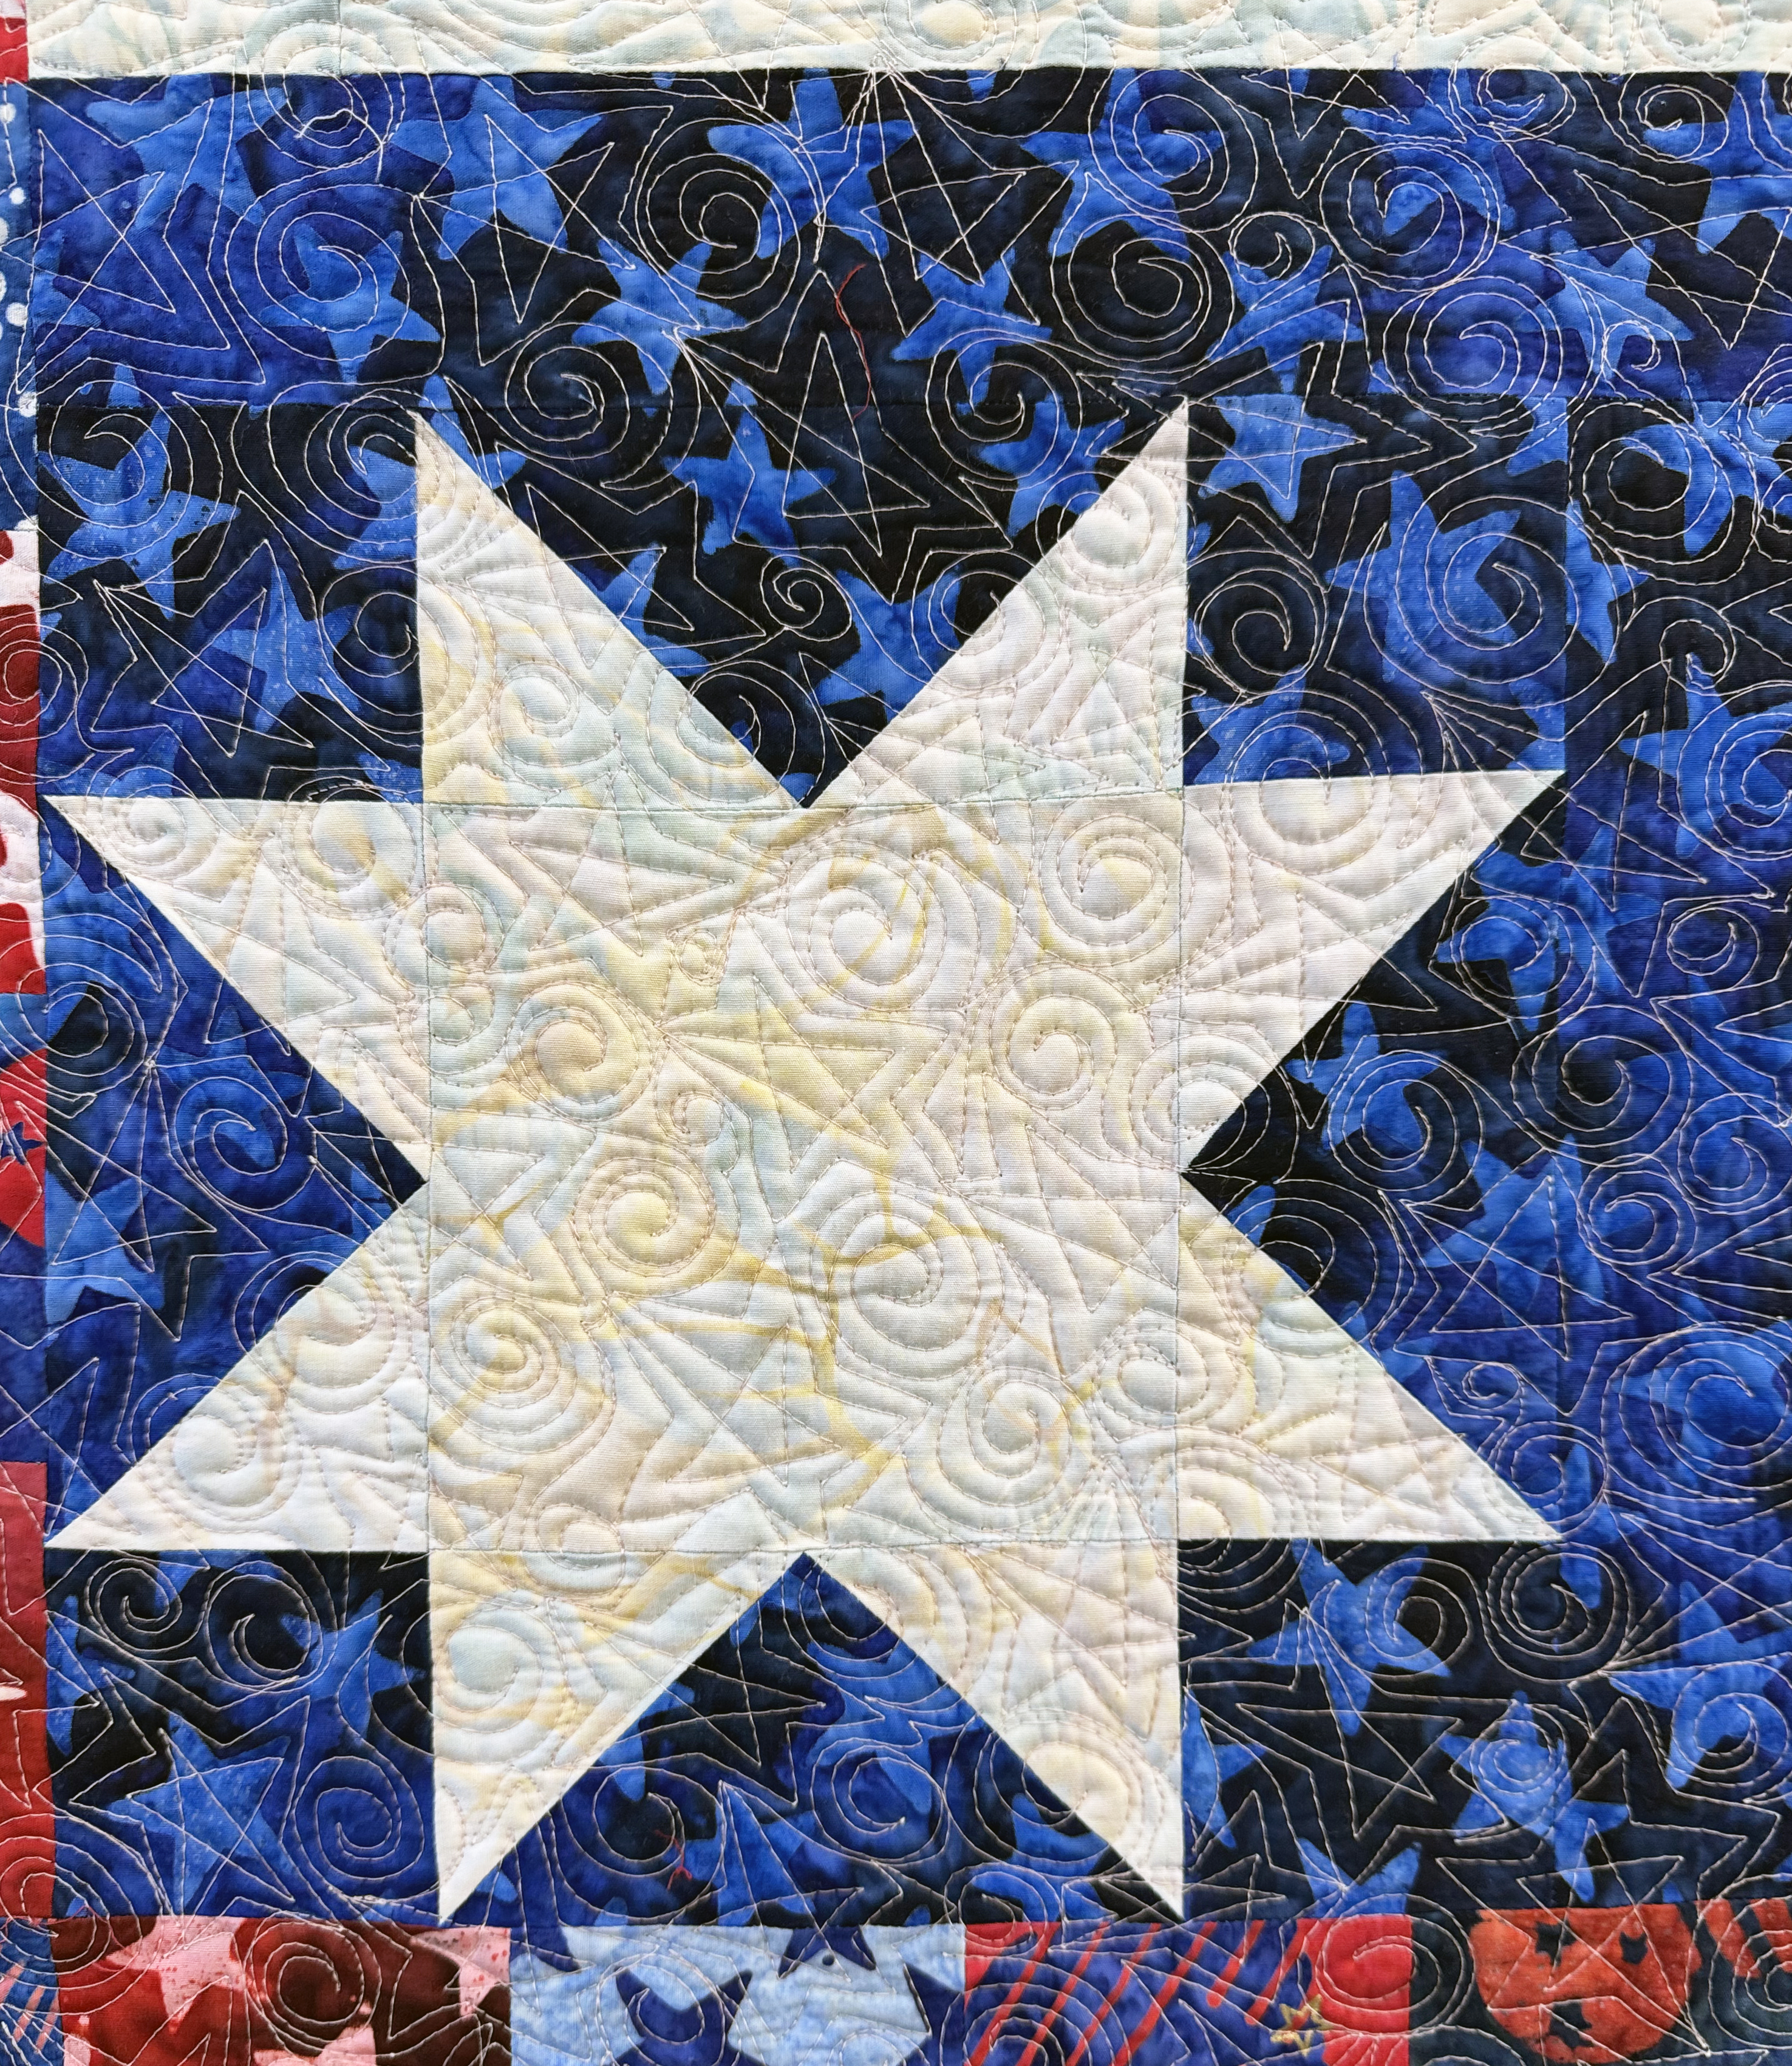
Speaking about being more thoughtful about how I share my finished quilts, Jason had the brilliant idea of bringing a few of them with us so we could photograph them in cool beachy locations on vacation. I loved that idea, especially since there wasn’t much time for photography before quilt market. 

So be on the lookout my official “Ta-Da” blog posts a little later on. I usually like to have a landing spot for the finished quilts I make which includes all of the pertinent details: size, materials used, quilt designs I chose, etc. I also enjoy writing up a little more about the process of making them so at least I can get a little more mileage out of each quilt, since there are fewer quilts to share. For some people, their quilt isn’t finished until it has a label. For me it’s not done until I’ve blogged about it.

Quilts on the Beach - Dot n Dash made from Fandangle by Christa Watson

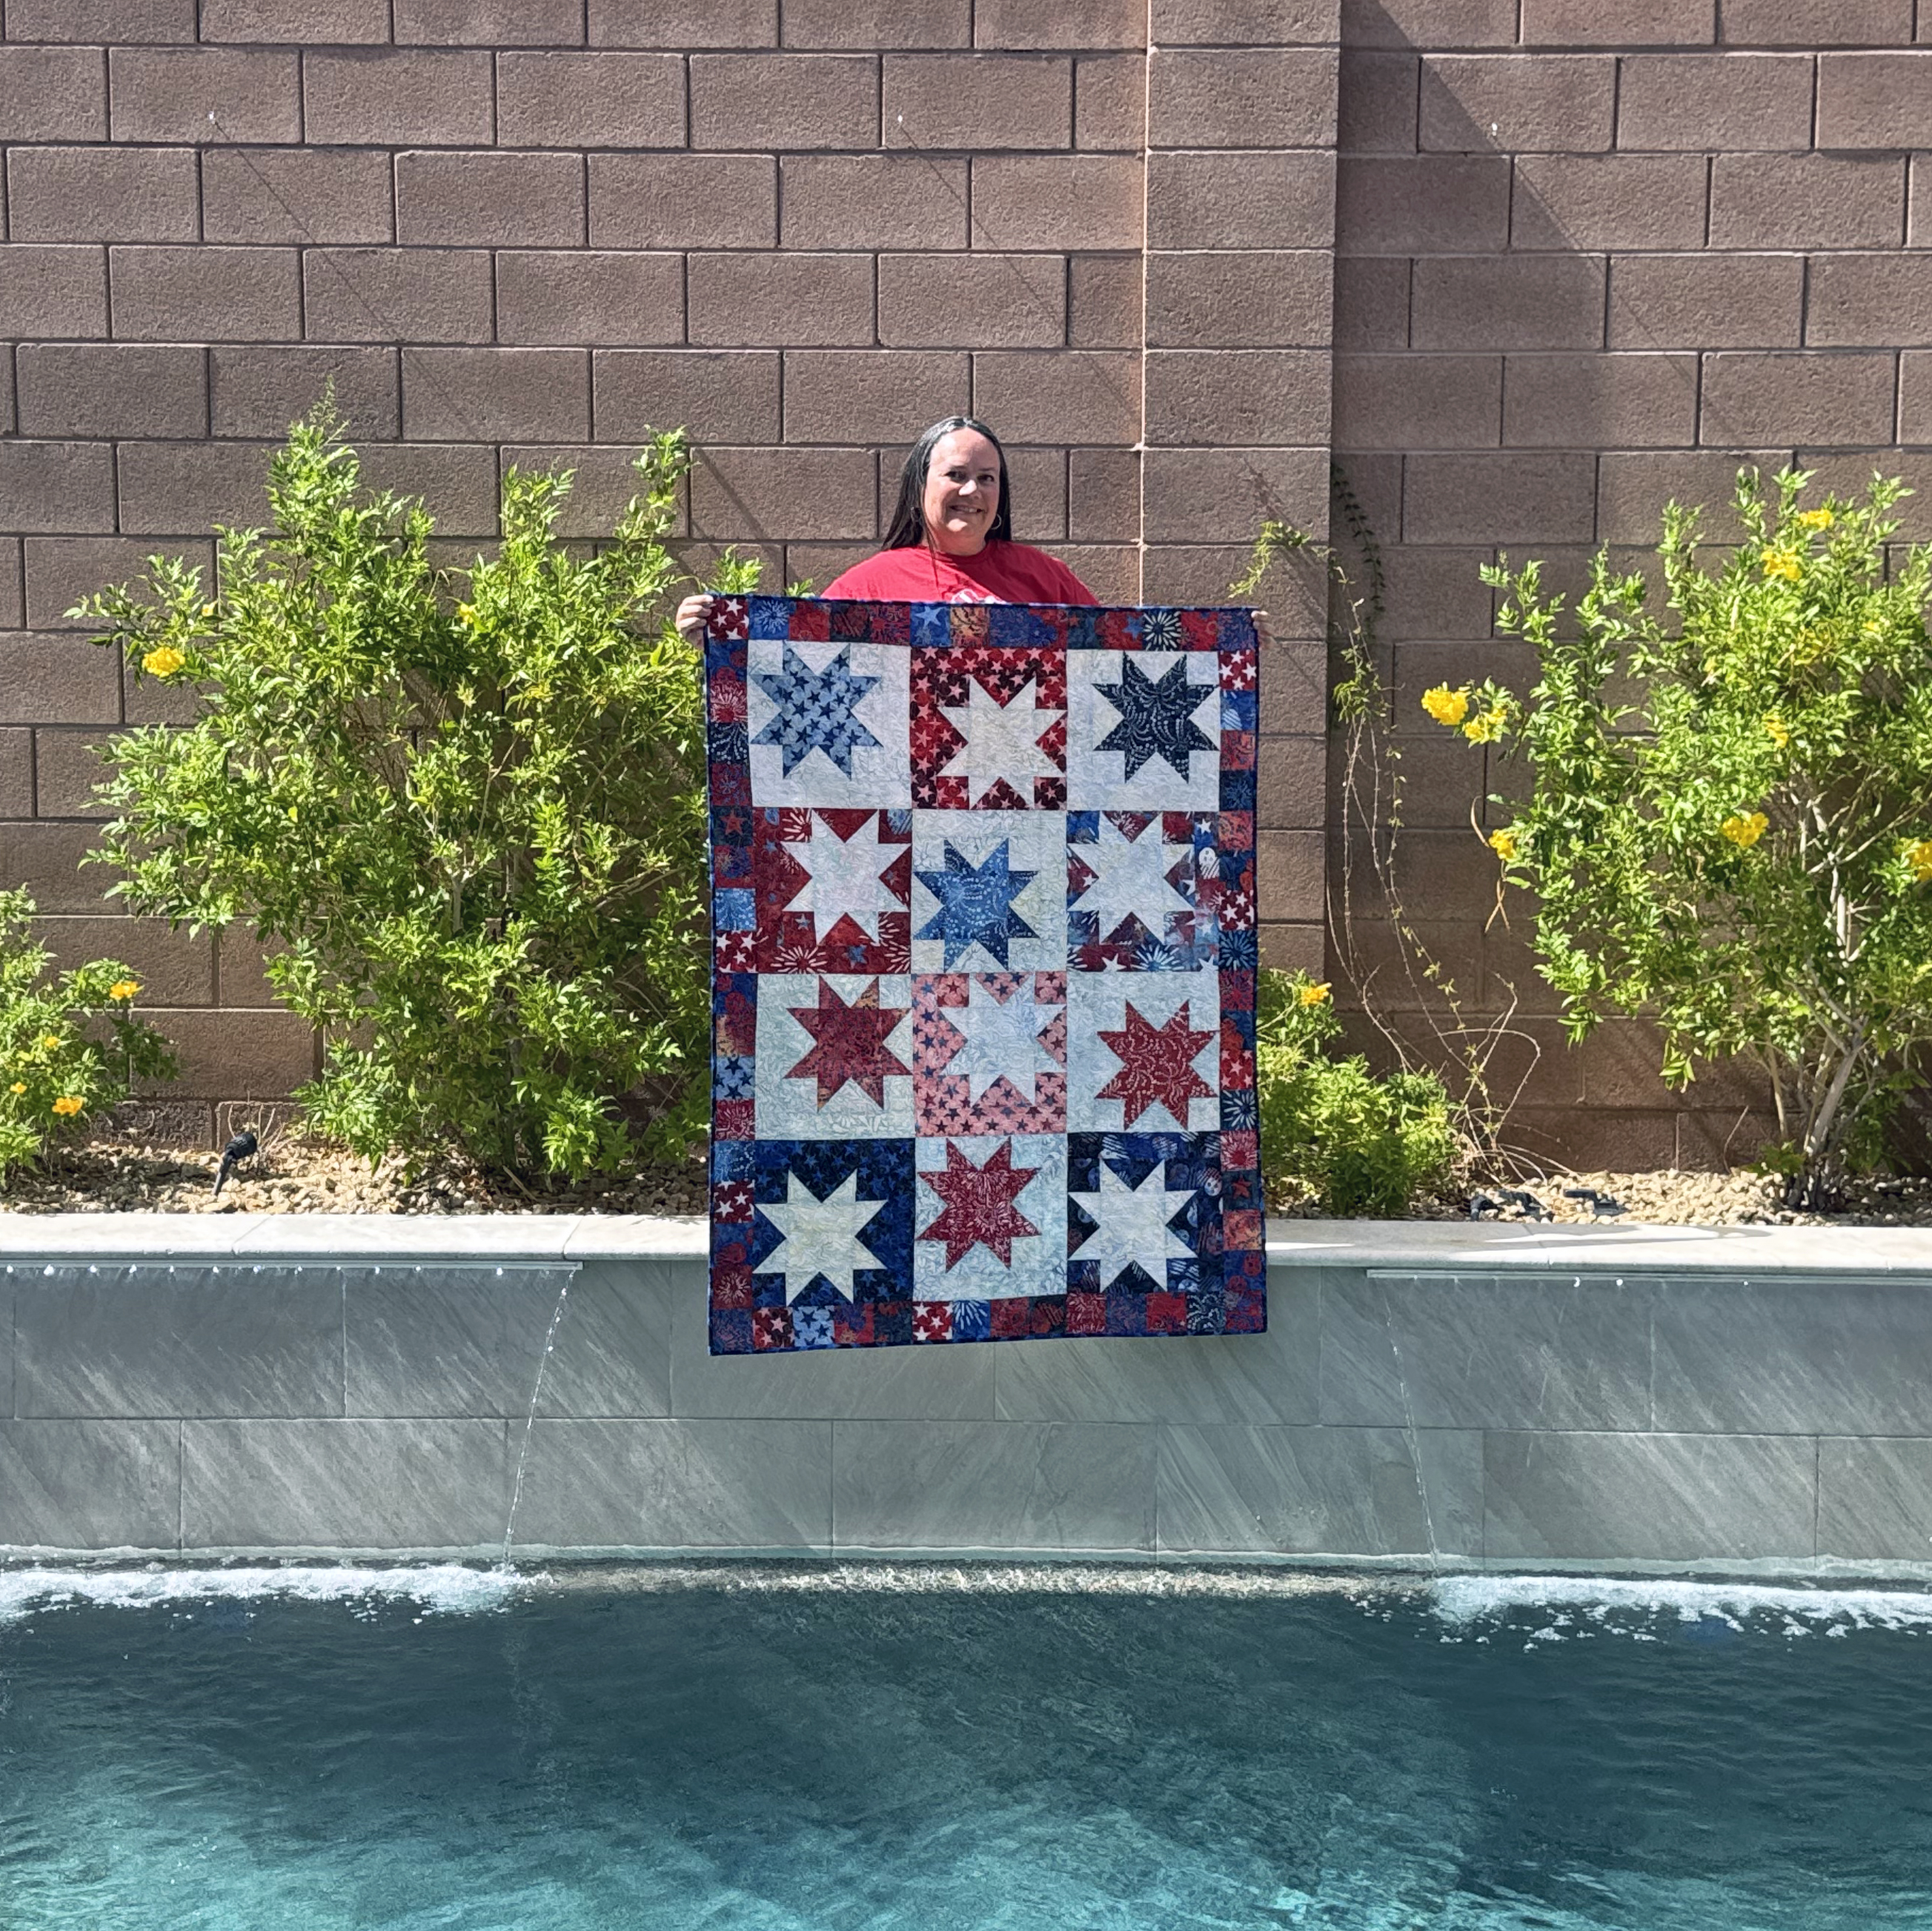
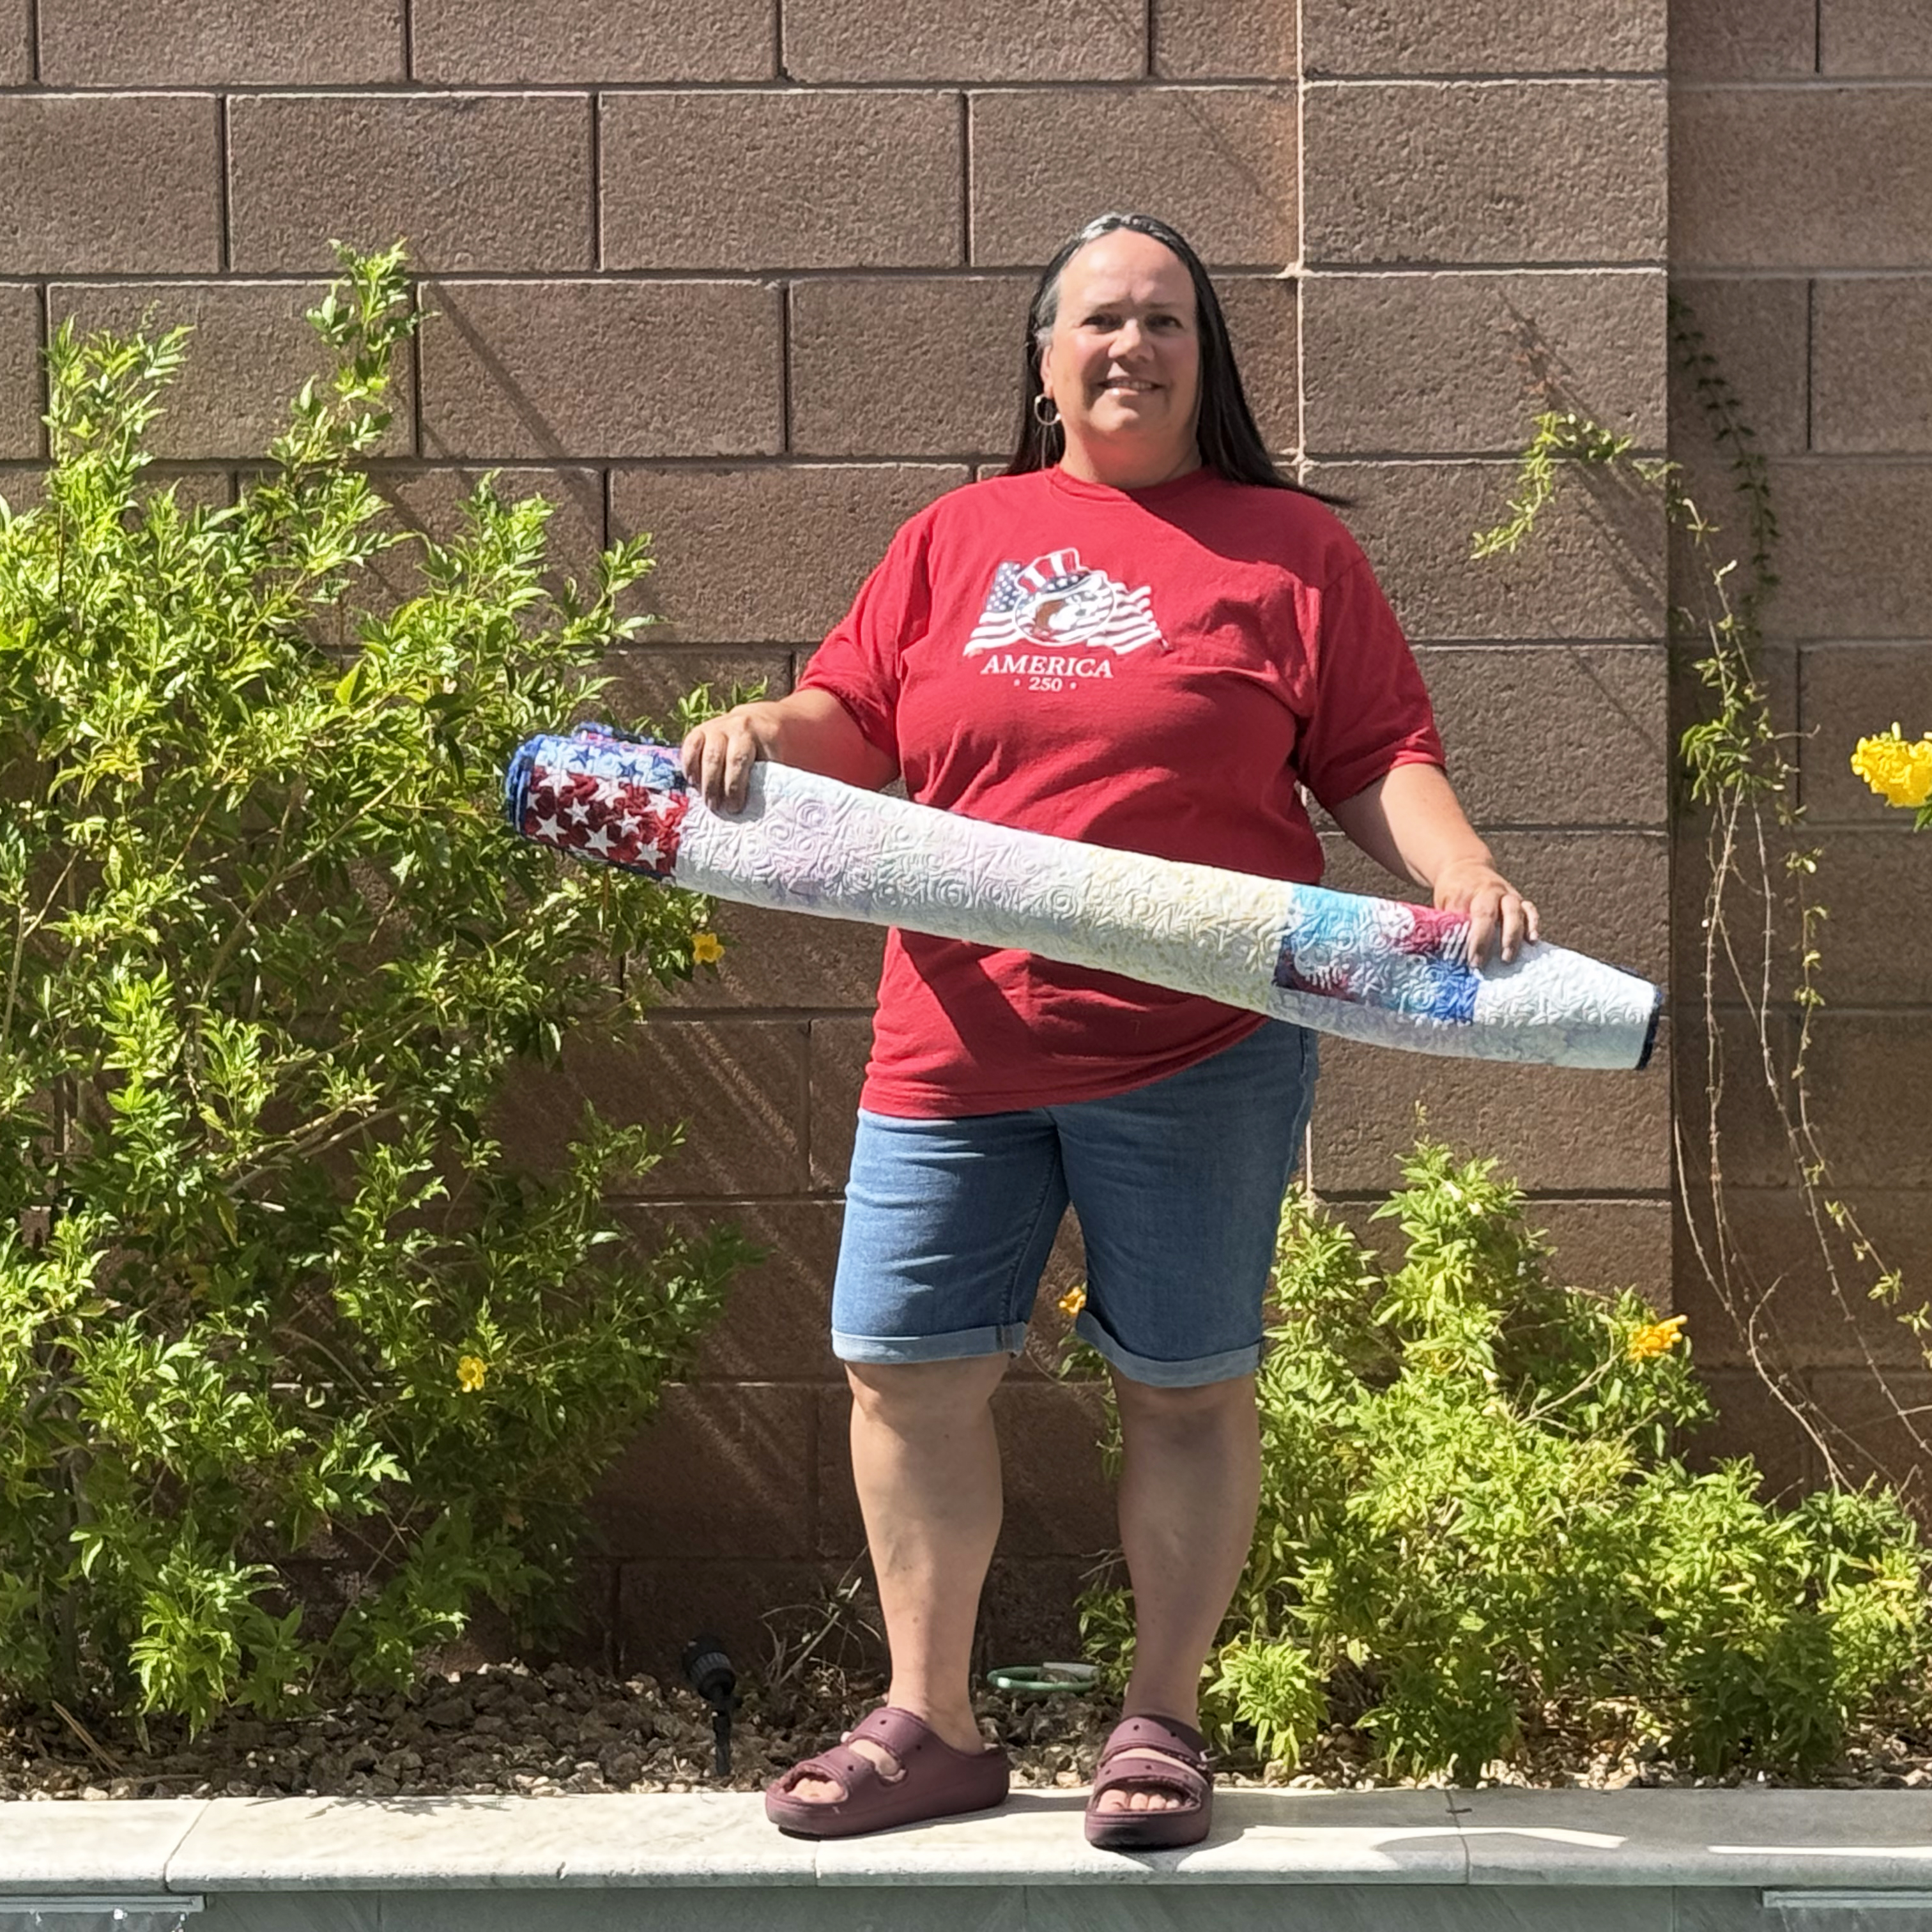
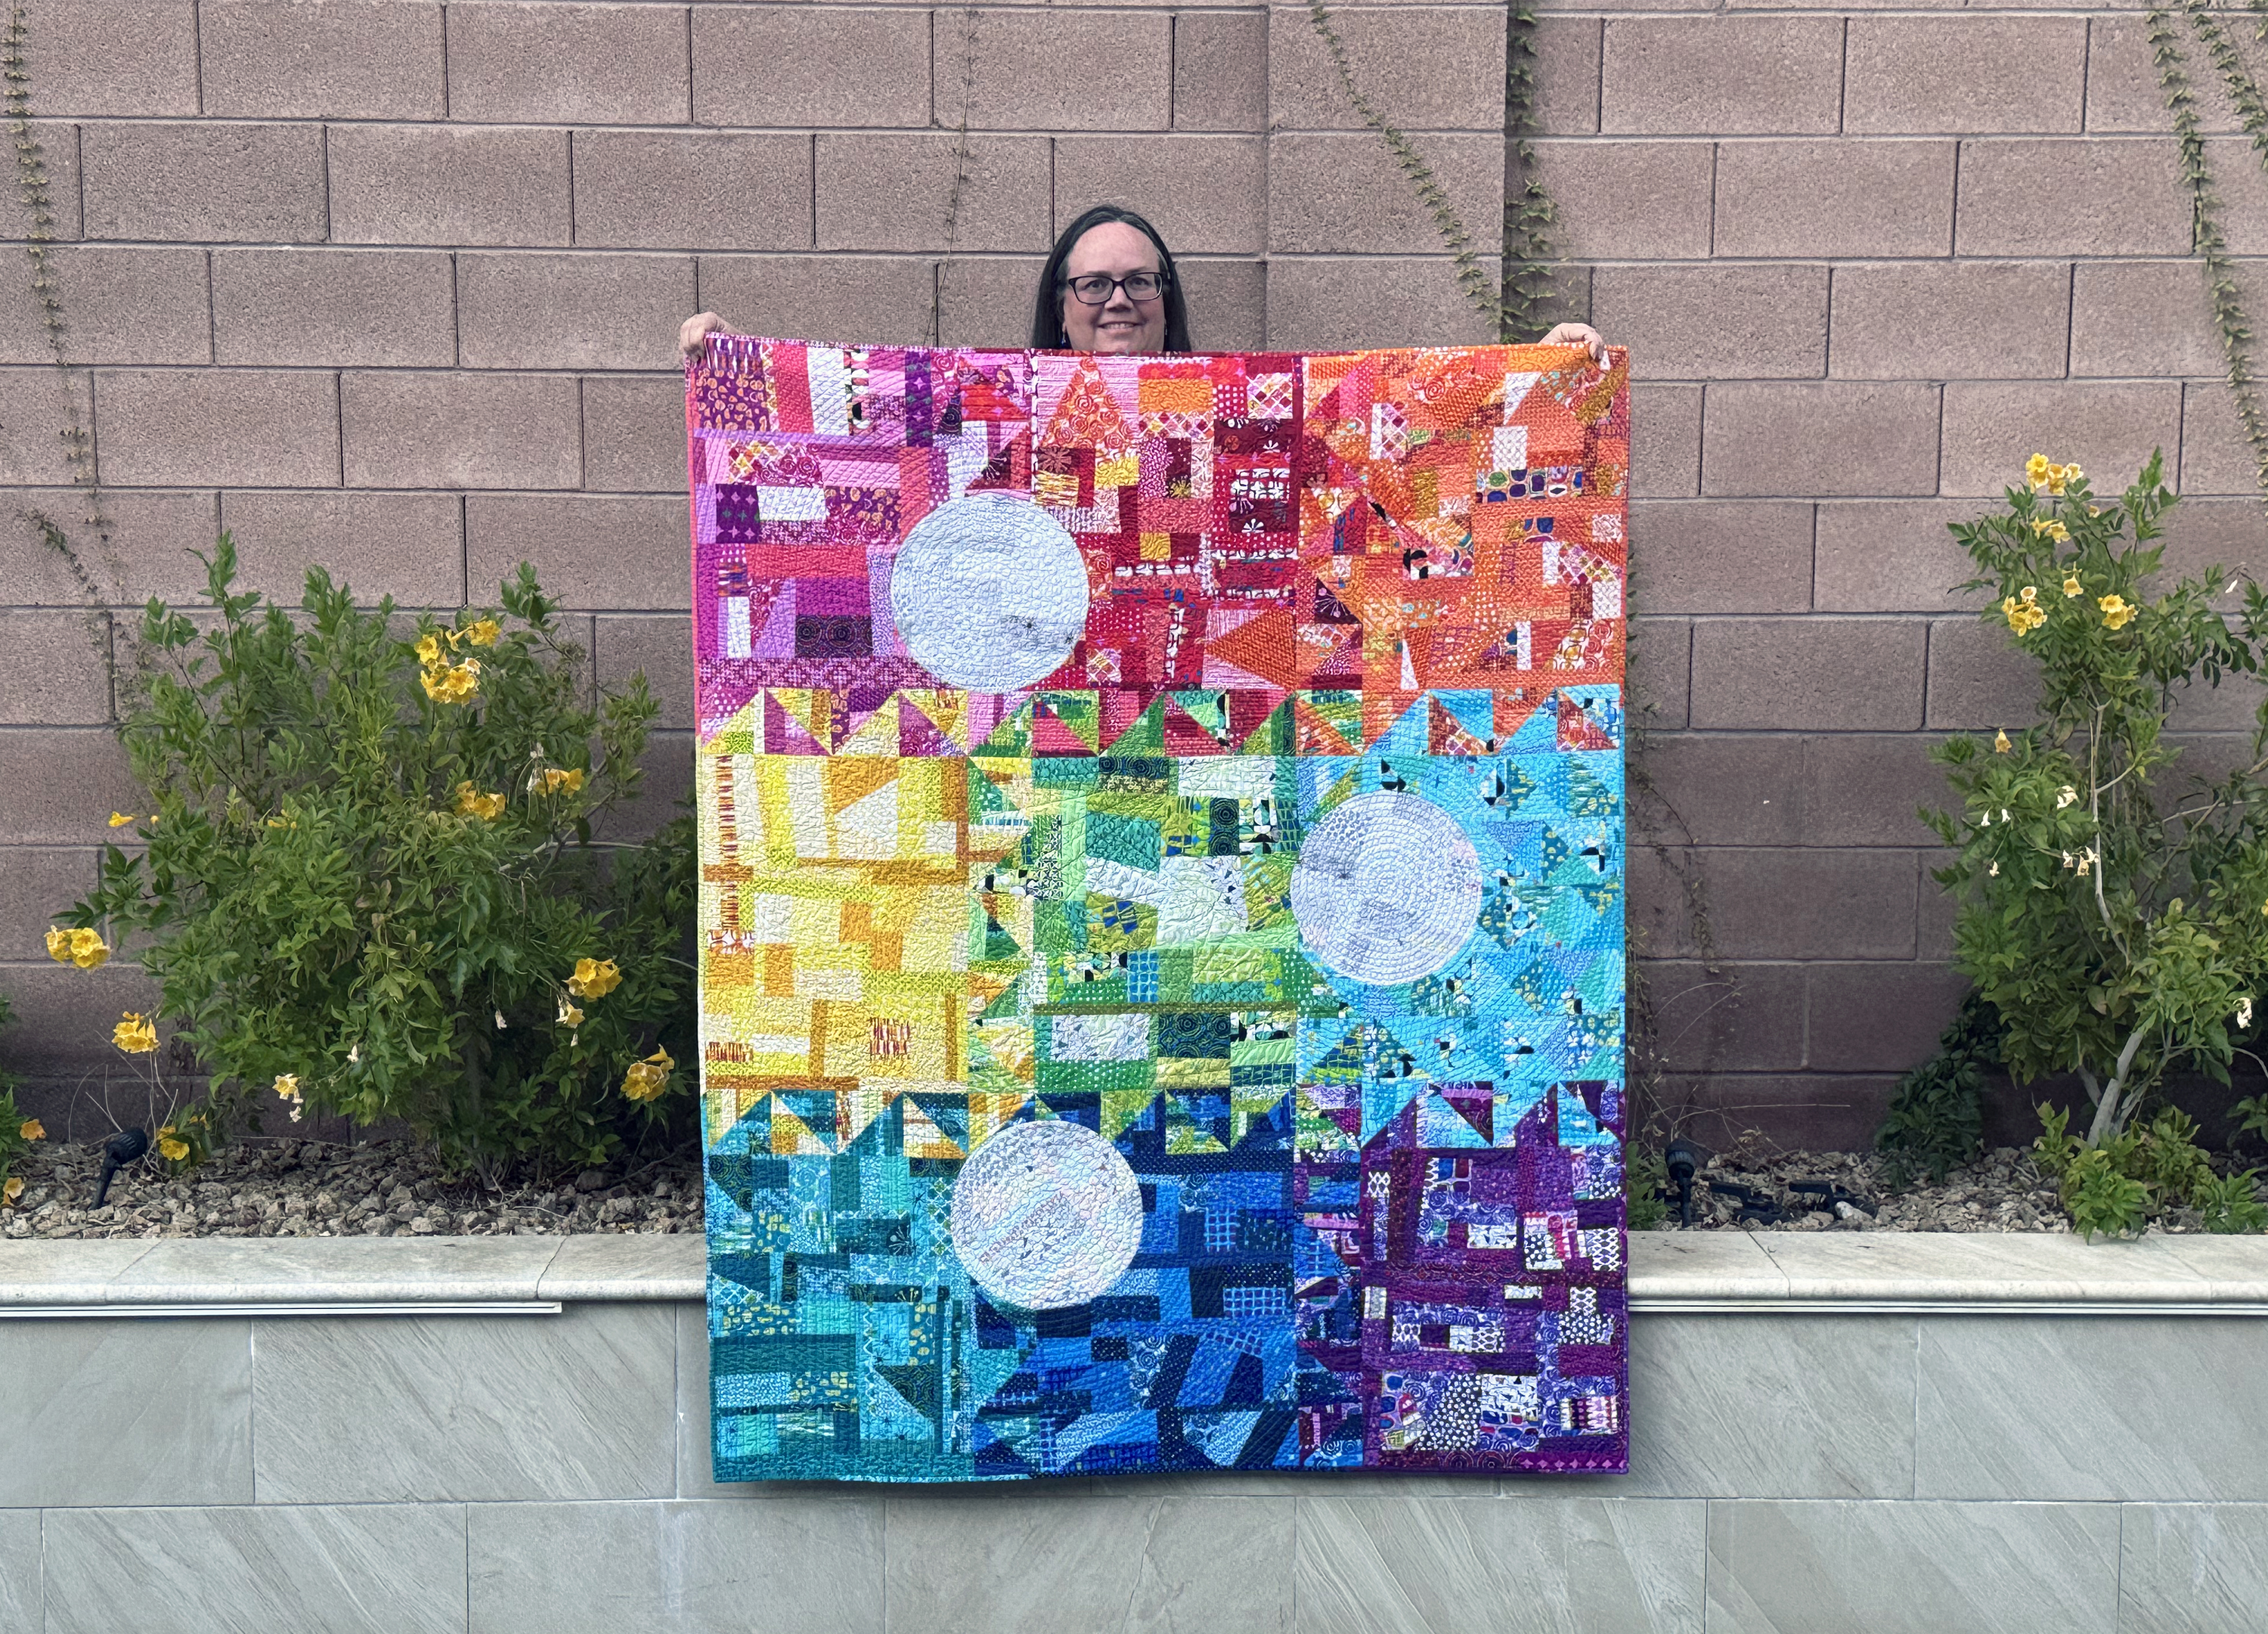
This is an “outtake” of our photo session showing my son’s feet, who’s our official quilt holder.
He’s pretty good about hiding all of his body parts while we shoot, LOL!!
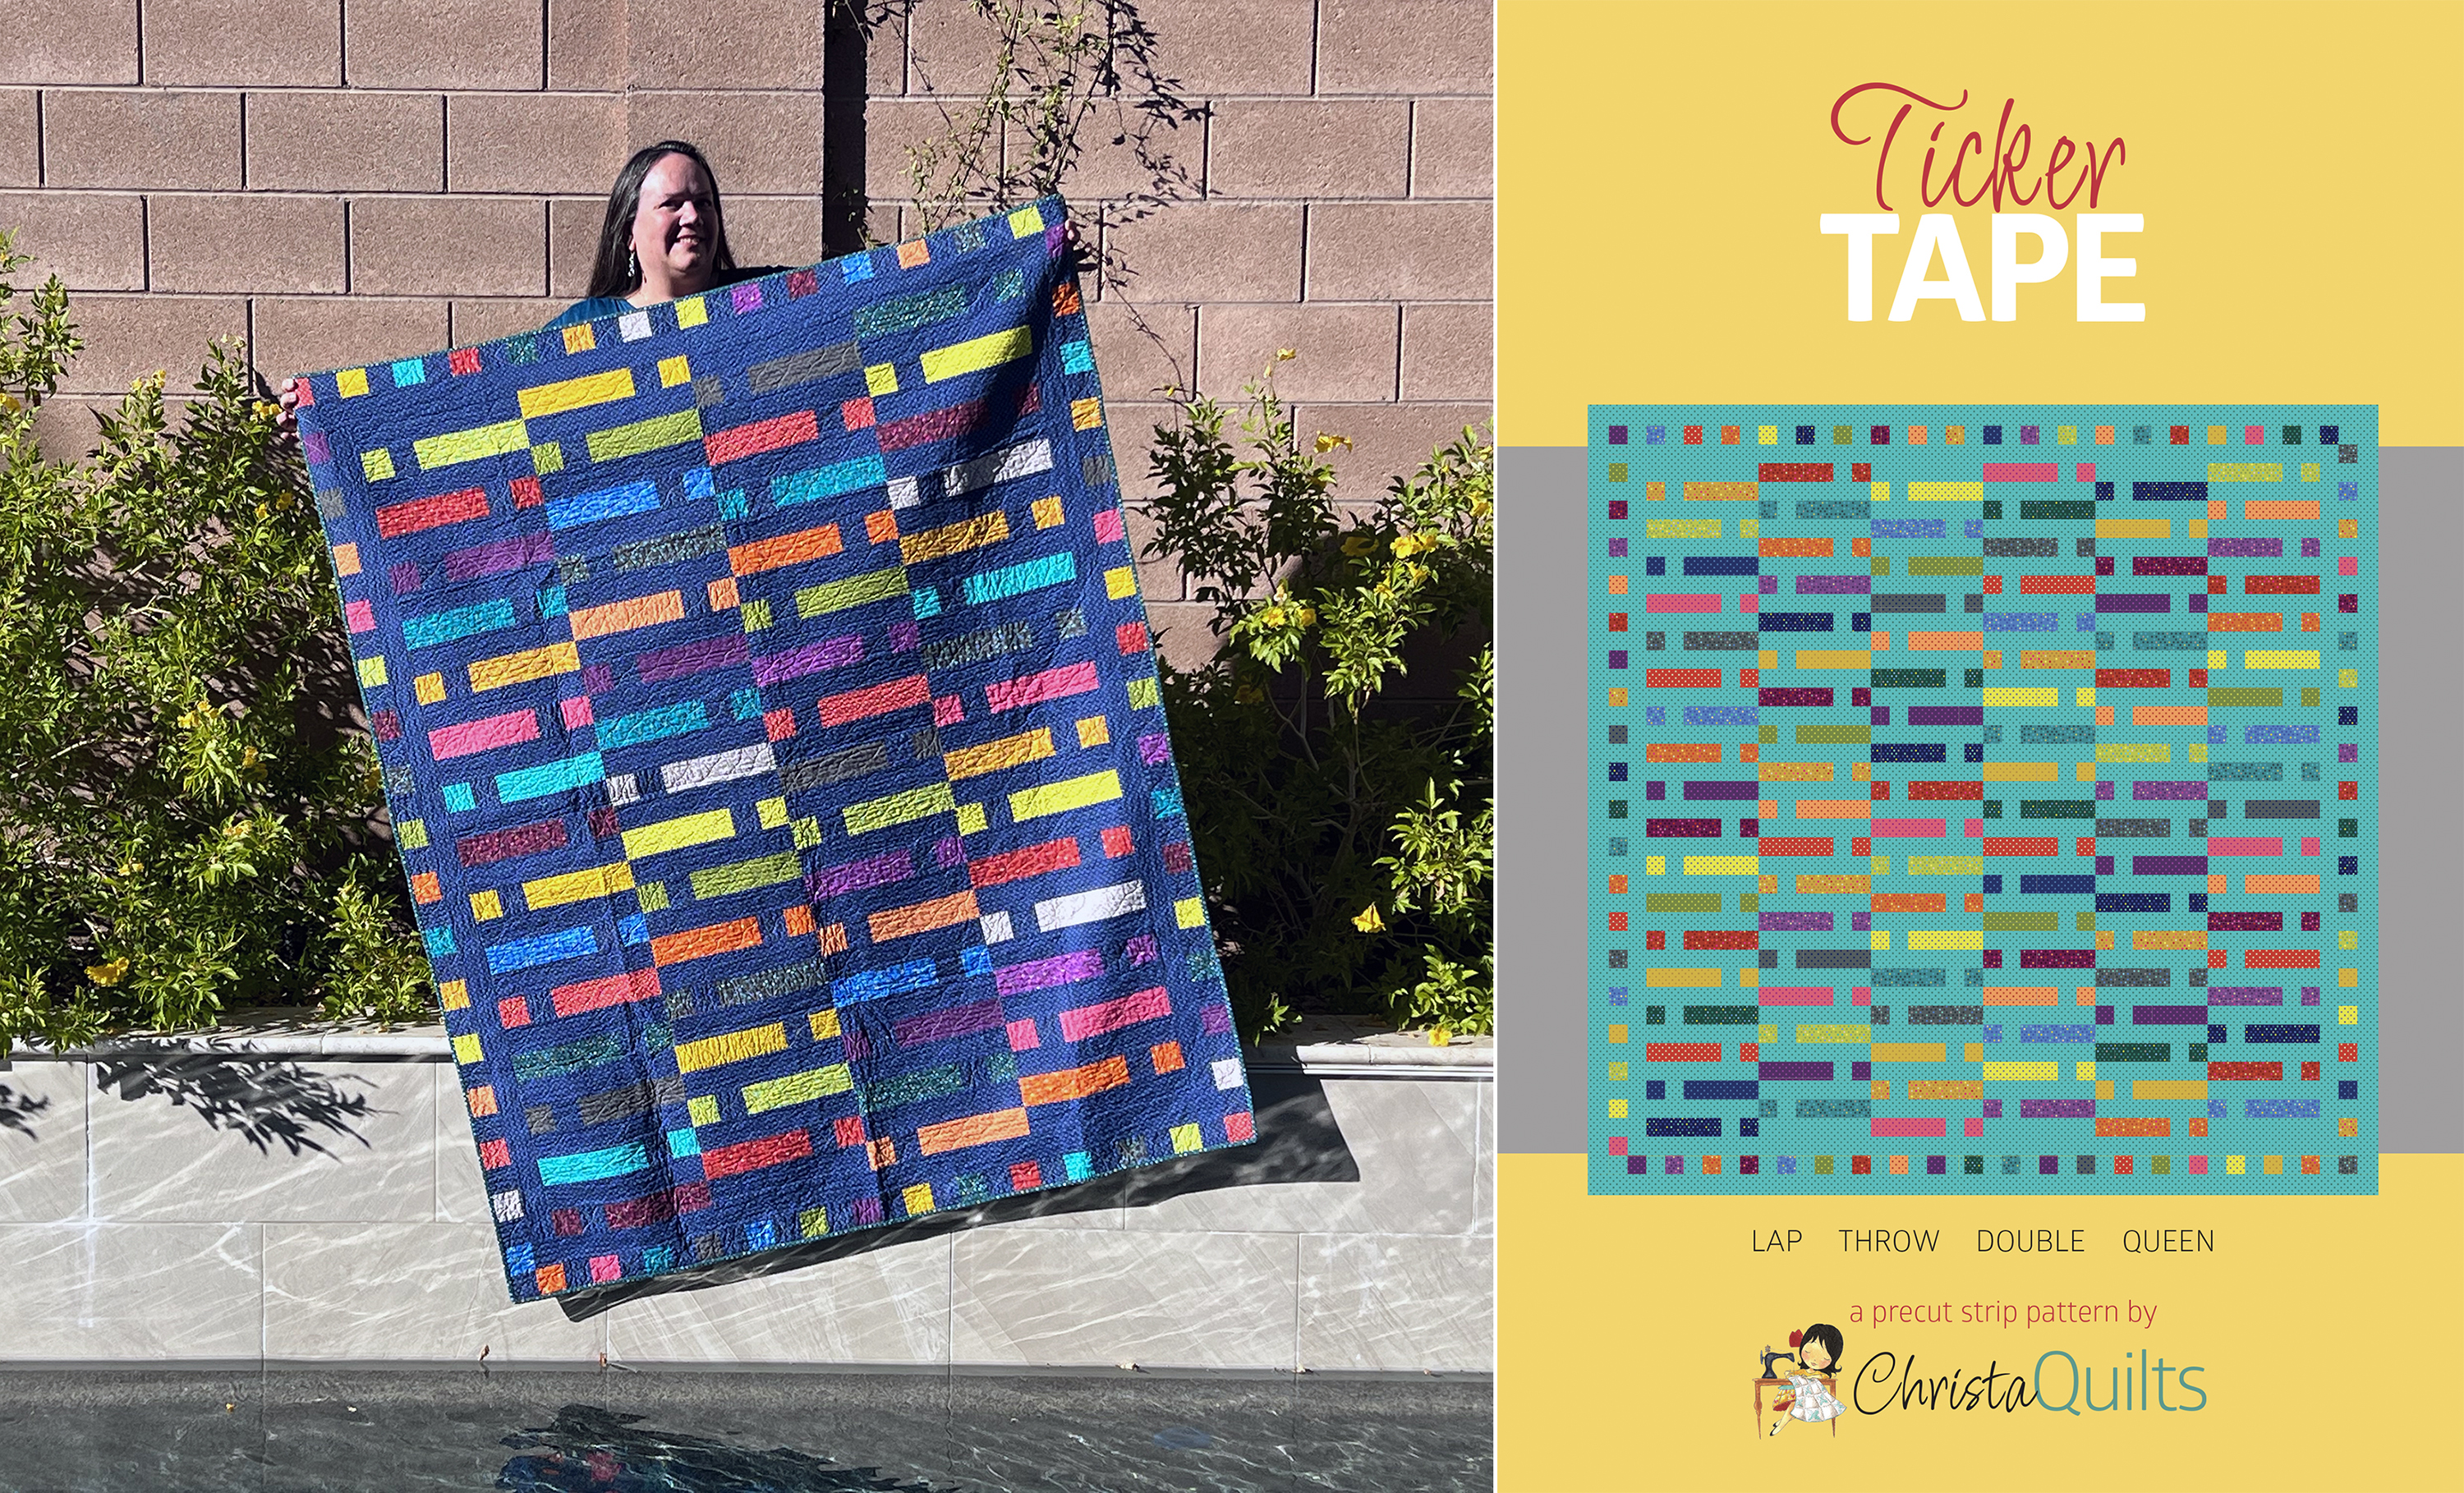
Kits for this quilt are available here.

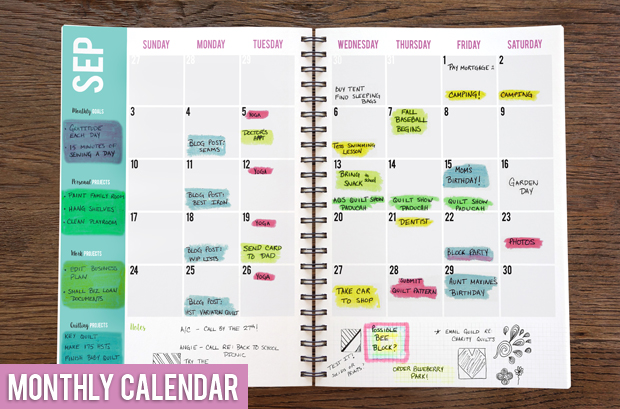
While we are having a great time at the beach, (after a super busy spring and summer of teaching), you can be sure I’m also planning out the next round of quilts and patterns I’ll be working on later this year – and how I’ll be able to finish step of the process in a limited amount of time. After two rounds of fabric design (and working on my third!!), I think I finally have a handle on what a realistic timeline looks like, and feeling happy that I’m not biting off more than I can chew!

Now I’m curious – which parts of the quilting process do you enjoy most? Do you like to just piece, quilt, or do the whole shebang like me? Remember – it’s your quilt so there’s no wrong answer!!

The Quilter’s Planner 2017 – Now Available for Pre-order

Let me tell you how I met my friend Stephanie Palmer, creator of The Quilter’s Planner. We both had been invited to tape a series of machine quilting demonstrations for QNNtv’s Quilt It – The Longarm show back in the summer of 2015.

We were picked up from the airport at the same time and immediately connected. By the end of our 30 minute car ride we had swapped life stories and become instant friends! She told me all about the creation of The Quilter’s Planner, and it was such fun to listen to her describe her project with such passion and enthusiasm.

stephanie_quiltit

Stephanie shows me one of her projects in the large “green room” while we take turns being filmed.
Several quilts from my books  are laid out flat on the table beside her.

When Stephanie invited me to participate as one of the designers for the 2017 Quilter’s Planner, of course I jumped at the chance to participate. Not only is the Quilter’s Planner perfect for keeping track of day-to-day things like a regular planner, it has specialty planning pages just for quilters.

quilters-planner-2017-cover

The 2017 Quilter’s Planner features this awesome cover, which will also be included as a pattern!

And to top it off, The Quilter’s Planner comes with a pattern pack of 14 downloadable PDFs. I was thrilled to make Feathered Chevrons as my contribution. It’s a remake of my older Charming Chevrons design, updated with a new layout using my Kona Solids palette.

feathered_chevronsPhotography taken in scenic Maine by Kitty Wilkin of Night Quilter.

I was even more thrilled with the photography, beautifully taken by our talented friend Kitty Wilkin (who can photograph your quilts, too if you are interested.)

feathered_chevrons_styledPhotography taken in scenic Maine by Kitty Wilkin of Night Quilter.

I especially love how Kitty got some great closeups of the quilting on this quilt. I used two of my favorite machine quilting designs, “Switchbacks” and a variation of “Swirls ‘n Pearls.” As I do with all of my quilts, I love to include machine quilting suggestions with my patterns.

feathered_chevrons_quilting

Photography taken in scenic Maine by Kitty Wilkin of Night Quilter.

feathered_chevrons_swirls

To learn more about each of the featured designers, click each name below to go to their blog and follow them!! Many have already included pictures of their quilts that will be included.

Amy Friend of During Quiet TimeAmy Sinibaldi of Nana and Co., AnneMarie Chany of GenXQuiltersCheryl Brickey of Meadow Mist Designs, Karen Lewis of Karen Lewis TextilesKari Vojtechovsky of Craft-HappyKatie Blakesley of Swim Bike QuiltLee Monroe of May ChappellLindsey Rhodes of LR StitchedRita Hodge of Red Pepper QuiltsStephanie Palmer of Late Night Quilter, Yvonne Fuchs of Quilting Jetgirl

igg-monthlyspread-1

Order your copy of the quilter’s planner today!


Book Review – Splash of Color by Jackie Kunkel

Today I’m excited to tell you about Jackie Kunkel’s brand new book, Splash of Color! Both Jackie and I chose Martingale/That Patchwork Place as our publisher (because they are the best) and our books both released at about the same time. So we thought it would be fun to tell our readers about each other’s books this week. (Check out her blog on Wednesday for her review of my book.)

splashofcolor_coverSplash of Color by Jackie Kunkel, Hip to Be Square on the Cover

First a quick background if you haven’t met Jackie yet. She runs the super awesome online store Canton Village Quilt Works, is a certified Judy Niemeyer Instructor, and she’s also a pilot. Isn’t that cool?

jackieJackie Kunkel standing in front of Lava Lamps – such an awesome quilt!

Jackie’s Book, Splash of Color really hits home with me because of its graphic combinations of black and white prints with color. In fact, I love the book’s subtitle: A Rainbow of Brilliant Black and White Quilts. I love high contrast, geometric quilts and this book is just full of them. To see what I mean, check out these gorgeous images (photography by Brent Kane):

01-80_B1319_Finals.inddSeeing Spots

My favorite quote from Jackie is in the introduction to this book: “When I combine black and white with bright fabrics, something magical happens. My heart begins to sing. It’s like eating candy – I want more. I hope the projects in this book will affect you the same way.”

Yes, Jackie, they do affect me in the same way. I couldn’t have said it better myself!

01-80_B1319_Finals.inddJumpin’ Jax

In her book, Jackie successfully teaches you how to combine a splash of color with black and white prints without it all looking jumbled up or too busy. She also includes several techniques that are a must have for every quilter: paper foundation piecing, curved piecing, strip piecing, and applique.

01-80_B1319_Finals.inddTwirling

The book includes a total of 12 fantastic quilt patterns and most of them include alternate versions for inspiration, so you can really see how versatile Jackie’s designs are.  I think the alternate version of Proud Mary, shown below is my favorite quilt from the book, but really they are all fantastic!

proudmary_altProud Mary

I also like that Jackie mentions it took time to collect her large stash of blacks, whites and brights. I love it when designs are versatile enough to use any prints so you can recreate them even if you don’t have the same exact fabrics.

01-80_B1319_Finals.inddCrossroads

Be sure to add Splash of Color to your book library, you’ll be glad you did. And now I want to know – have you ever made a black and white quilt?

Video Review – Why Quilts Matter

I am extremely pleased to review the DVD series, Why Quilts Matter: History, Art & Politics presented by the Kentucky Quilt Project. I first heard about this series while reading designer Thomas Knauer’s blog and thought it was pretty serendipitous when the folks from Why Quilts Matter contacted me a few months later to share my thoughts about the series with you.

Why Quilts Matter DVDOriginally produced by renowned quilt expert Shelly Zegart as a PBS television series, it’s now available as a 2 disc DVD set. This fabulous series has a total running time of just over 4 hours and is broken up into these nine episodes:

  1. Quilts 101 – Antique and Contemporary Quilts
  2. Quilts Bring History Alive
  3. The Quilt Marketplace
  4. What is Art?
  5. Gee’s Bend: “The Most Famous Quilts in America?”
  6. How Quilts have been Viewed and Collected
  7. Empowering Women One Quilt at a Time
  8. Quilt Nation: 20,000,000 and Counting!
  9. Quilt Scholarship: Romance and Reality

Why Quilts MatterThis series will truly change the way you think about quilting! Each episode takes you on an amazing journey and gives you a feel for for the scope, depth and influence of American quilting culture.

It features video interviews with some of the most amazing quilting artists in the industry as well as museum curators and quilt collectors. It’s enlightening to listen to their take on the quilting industry as a whole and why they think quilts matter.

Click the video below to watch a preview of the series, and be sure to visit the WQM website for a host of other resources including discussion guides, summaries, and images of quilts from the series. It’s a lot of quilting “eye candy” to explore!

My favorite episode of the series was the one about Gee’s Bend quilts since they are considered one of the major influences of the modern quilting movement. I gained a lot of new respect for these quilts as well as plenty of inspiration to make one of my own!

Be sure to stop by my blog later in the week for your chance to win a copy of this fabulous series!

My Word of the Year for 2014 – Quilt!

Have you read about this trend of picking a word for the year? It’s been catching my notice recently, but I was finally inspired to pick a word for myself after reading Pat Sloan’s recent blog post about her words for each year.

Christa Quilts

Christa’s word of the year for 2014 – Quilt! (Duh!)

I thought about many ideas for what my word could be: health, patience, love, balance, organization, timeliness, etc., but finally realized that “Quilt” embodies all of this for me in this new year. “Quilt” really will be at the forefront of my thinking 24/7 as I strive to meet my goals for 2014. I will need to incorporate all of these other words in order to achieve them!

So how about you? What is on your mind for this year? Can you sum it up in a word?

Christa’s Soap Box – I am a quilter.

I am a quilter. Obvious I know, but I’ve been spending the last few weeks and months determining what this really means to me and why I enjoy doing what I do.

It means I love to make quilts from start to finish. I love coming up with a design, choosing the fabrics, cutting them into little pieces and sewing them back together again. I absolutely love the texture that machine quilting adds to a piece, and I don’t even mind basting since that’s a necessary part of the process.

I am a quilter.

I am a quilter.

I’ve come to enjoy finishing the binding by hand, curling up on the sofa watching a good movie while I do so. I’ve even gotten to the point where I can add a label and a hanging sleeve without too much stress.

Thinking about the quilt-making process has caused me to reflect on what I’m not really into, either. I finally came to the understanding that it’s okay not to do it all. Really, it is. I’m not interested in embellishment. I have no desire to dye my own fabrics. And, as beautiful as machine embroidery is, it’s just not my thing.

Quilting for Kids

My sister’s kids and their quilts. I love that they get used!

Although I love to create original quilts and share them with others, I haven’t become a serious pattern designer. I’m just not good at graphic design. (That’s one of the reasons I enjoy getting published in magazines and why I want to write a book – so I can leave the professional-looking layout to the experts!)

This reflection has caused me to be a little more open-minded. For a long time I had a really hard time wondering why everyone in the world didn’t quilt their own quilts. By the same token, I’m sure the art quilters, embroiderers and graphic designers can’t understand why I’m not as passionate about their hobby as they are. The answer? We each have our  own interests and thank goodness there’s room for all of us!

Quilting

Teaching my daughter to quilt.

So although I will try to convince as many people as possible that they really can quilt their own quilts, it’s okay if you aren’t interested. You can still be my quilting friend and I will continue cheering you on! 🙂

Christa’s Soapbox – 300 Words About Quilting Published

I am very excited that I am actually working through my list of quilting goals that I listed at the beginning of the month. I will post updates every month or more often if applicable.

One of the goals I stated was #2. Get Published in a Quilting Magazine. 

Although this goal has not been achieved exactly as planned QNM Dec 2012yet, I am getting closer! An essay that I wrote about Dreams and Goals for my quilting was accepted by Quilter’s Newsletter Magazine as part of their Web Extras for their December/January 2013 issue. While there wasn’t enough room for my essay in the magazine, they published it on their website along with a few others. What a thrill!

What I learned from this is by setting goals, I may actually take steps to accomplish them! Here is my essay below. You can read other essays here, with rules on how to enter.

SECRET DESIRE by CHRISTA WATSON

Whenever I see a beautifully quilted masterpiece at a show, my heart skips a beat. I can feel the pounding in my chest and I have almost a shortness of breath. The painstaking application of precision piecework or applique, combined with the most intricate of quilting designs literally takes my breath away. While others around me exclaim, “I could never do that!” I secretly whisper to myself, “I can’t wait to do that.”

To say quilting makes me happy is an understatement. I never feel such peace and serenity as when I’m stitching alone with needle and cloth. I do have other habits that are supposed to help me stay balanced – I keep fit and healthy, spend quality time with my family and read a lot of good books. But is it too selfish to say that sometimes I just want to toss all my cares aside and make my masterpiece quilt? My magnum opus?

My award-winning masterpiece of a quilt is somewhere inside me, just waiting to escape.

So why haven’t I made it yet? In a word, FEAR! Fear of failure. Oh sure, I’ve entered quilts into my local guild’s show and have accumulated my fair share of colorful ribbons to show for it. But I’ve never entered a quilt into one of those big-time, knock-your-socks-off, national or international shows.

This is my secret desire—to enter and win a prestigious award at a major judged and juried show for the entire world to see. Do I dare say that out loud? What if my dream never comes true? I guess I’ll never know until I try.

Christa’s Soapbox – Why I Quilt

I have been thinking a lot lately about why I quilt.

From the moment I made my first quilt I was in love with this craft! That was almost 18 years ago, but I feel like I’ve barely scratched the surface of what I want to do!

I’ve read that to truly pursue your passion, you need to find your “voice.” I am still searching for my voice, but I do know that I have two different quilting personalities. The competitive side of me wants to make beautiful, knock-your-socks-off award winning original quilts that take hundreds of hours to complete.

The teacher side of me wants to create simple patterns that even the most novice of quilters can make in a weekend. So can I have such a split personality when it comes to quilting? I guess the answer is yes, because it makes me happy.

Sometimes I just want to finish a project in a hurry for the mere satisfaction of completion.  Other times I enjoy the ooh’s and ahh’s of my friends and fellow quilters when they admire my intricate machine work.

That is the beauty of quilting – at different times in my life I can go in totally opposite directions. But above all, it satisfies my need to create. That is why I quilt!

Sew and Tell Friday – Strips and Bricks

It’s so fun to see how everyone’s Jolly Jelly Roll quilts have turned out.  Even though I finished up this tutorial, I will be happy to share pictures of those that have followed along, whether they are finished or not (though I can’t wait to see the quilting on them)!

Also, I put together a Jolly Jelly Roll quilt kit if you’d like to make another one.

This is Laura F.’s top that she made from her stash. She chose to make her quilt as I had shown in the original pattern drawing, with piano keys borders. She’s toying around with the idea of using oilcloth for the backing as a picnic blanket. I think that would be fantastic!

Laural's Jolly Jelly Roll QuiltI’ve just begun the next quilting tutorial series, called quilt Baby Bricks. I tweaked a design I had done previously, based on a couple of fun quilts I designed and made last year.

Blue BricksMy tutorial will be very similar to the blue quilt, with the addition of neutral solid strips in between the rows. That will give it a modern touch while providing some negative space.

Kits are available for that one, too.

Green BricksJust for fun, I made a similar quilt in brown and green and added a few monkey appliques.

To do this, I simply ironed some wonder under to the back side of my Funky Monkeys fabric and cut around the shapes. I ironed them to the quilt top and then stitched around them with a straight stitch once the quilt was basted, an appli-quilt technique!

This is the first time I’ve sort of worked in a series. I like the look of the bricks and it was fun to explore a few different possibilities with the design.

Christa’s Quilt Along 1.6 – Machine Binding to Finish

Free Pattern

Be sure to sign up for my email newsletter to get a free quilt pattern!

Jolly Jelly Roll Quilt Wrap Up


Here are all of the previous bog posts, if you are just now joining us:

Week 1 – Supply ListJolly Jelly Roll Quilt

Week 2 – Sewing the Blocks

Week 3 – Completing the Top

Week 4 – Backing and Basting

Week 5 – Machine Quilting

Remember, you can click on any picture to enlarge it. Now, onto the binding!

I use the same techniques to attach the binding to all my quilts, whether finishing by hand or machine.

Step 1 – Square Up the Quilt

Use a large square ruler to trim up all four corners of your quilt. The square will help you achieve a nice straight 90 degree corner. Trim up all four of the sides with a longer ruler.

Square Up the Corners

Trim the Sides

Step 2 – Measure the Quilt Perimeter and Cut Enough Binding Strips

Measure the perimeter of your quilt so you know how many strips to cut.  Lay it out on your cutting mat or use a measuring tape. I folded my quilt in half to make it easier to measure. Divide your perimeter by 40 inches (the useable length of one strip).

Measure the Quilt PerimeterCut 5 strips 2 1/4 Inches Wide

Round up to the nearest number of strips and cut them 2 1/4″ wide. I cut 5 strips for my quilt.

Step 3 – Make Continuous Binding

This method is called double-fold straight grain binding. Sew all of your strips together to make one continuous piece. Miter the strips by sewing on an angle to distribute the bulk of the seam. If you are using a solid fabric, be sure to sew them all together on the same side!

Join Binding StripsSew on an AngleYou can eyeball the seam.

Trim 1/4 inch seams to the right of your sewing line and press open.

With a small square ruler, cut off one end of your binding on a 45 degree angle. Make sure your binding strips have not been folded or pressed yet. Once the end is cut, then press your binding in half along the entire length, with wrong sides touching and right sides out.

Angle the BegninngPress Binding in HalfWatch your seams if using solid fabric!

Step 4 – Attaching the Binding to the Quilt

Begin sewing your binding to the quilt with a walking foot, leaving a tail of about 6-8 inches unsewn. Be sure to start on the side of your quilt, not at a corner and sew the binding to the front of the quilt. The folded side of your strips will be to your left. The open sides will be to your right. Use a quarter inch seam allowance and match your thread to your binding fabric.

Leave a TailStop 1/4 Inch AwayWhen you reach a corner, stop sewing 1/4 inch away from the end. Mark it with a drawn line or a light pencil mark if needed. Sew off the side.

Rotate the quilt and flip the binding strip up so that it is even with the side of the quilt. Then, flip it back down, forming a “pinch” of fabric at the corner. This will be the fullness that will flip around to the back creating a nice mitered corner on the front.

Sew off the Side at 1/4 InchFlip Binding UpThen Flip DownRepeat this technique for all four corners of the quilt. When you are nearly finished sewing the binding onto the front side, make sure to leave another tail of about 6-8 inches of binding so you can join the beginning and ending binding pieces.

Next Corner

Leave a GapNext, you will trim and join the ends so they fit together exactly.

If you have a lot of excess binding, you can trim some off.

Open up both binding ends and nestle your beginning binding piece (the angled cut end) on top of the ending piece so that it is flat and smooth. Mark an angle on the ending piece where the beginning piece rests on it – should be a 45 degree angle. Cut 1/2 inch away from this marked line. This will take into account the seam allowances for both pieces. Make sure your binding is not twisted and that both angled cuts are parallel to each other.

Mark the AngleCut 1/2 Inch Past Marked LineJoin the two ends by offsetting them slightly to create little tiny tips at each end. Where my pin is pointing, sew from the crevice of one triangle tip to the other, with 1/4 inch seam. Trim off the triangle tips, and press the seam open. It should be a perfect fit!

Joining the Beginning and Ending StripsFinishing the Front BindingFinger press the rest of the binding closed and complete your stitching on the front side.

Step 5 – Finishing the Binding with Decorative Machine Stitching

Pinmoors for BindingThe key to a really nice binding, whether finished by hand or machine, is to make sure it lies flat all the way around the quilt and that the corners are secure.

Once the binding is sewn to the front, simply fold it over to the back to stitch.  I like to use pins with Pinmoor anchors for safety to keep everything in place. Fold over the corners to create a nice miter and pin.

Binding by MachineI used the same decorative serpentine stitch for the binding that I used for the quilting.

You will notice I am actually stitching by machine from the back side of the quilt. This seems to give me the best results and I can control how wide the stitching is so it shows up nicely on the front.

You can see where I’ve already stitched some of the binding.

On the back, be sure to cover the line of straight stitching that was used to sew on the binding  from the front side.

The binding is just as beautiful on the backside as it is on the front. Another finished quilt!

Another Finished Quilt!

Sharing is Caring

I’d love to see your version! Please share your work in progress in my facebook group: Quilt With Christa . 🙂