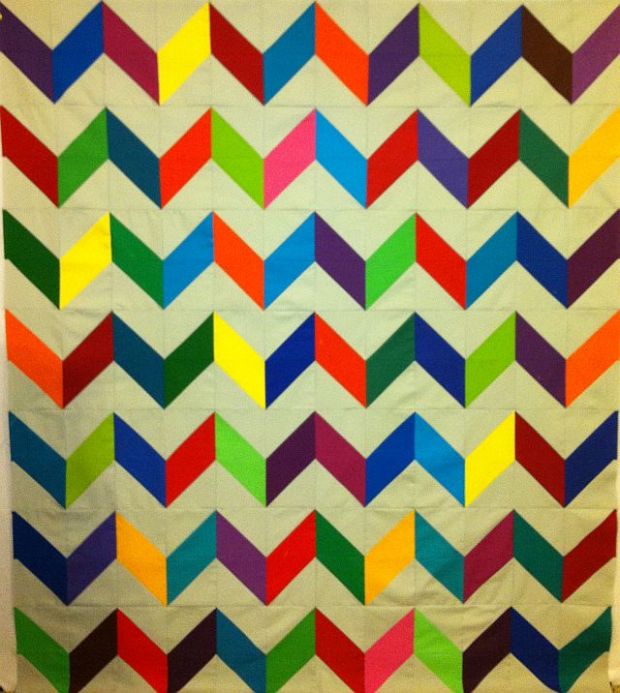
This week I assembled my Charming Chevrons quilt top made from just four charm packs. Be sure to scroll to the end of this post for links to all of the previous weeks’ tutorials. For your convenience, quilt kits are available for a limited time in 3 different colorways.
It took me a total of 3 hours to follow the steps below and finish sewing my quilt top. (I think it took longer than that just to edit the pictures and write this blog post!)
 And yes, this is my actual completed quilt top, not a computer generated picture.
Step 1 – Sewing the Block Pairs (45 Minutes)
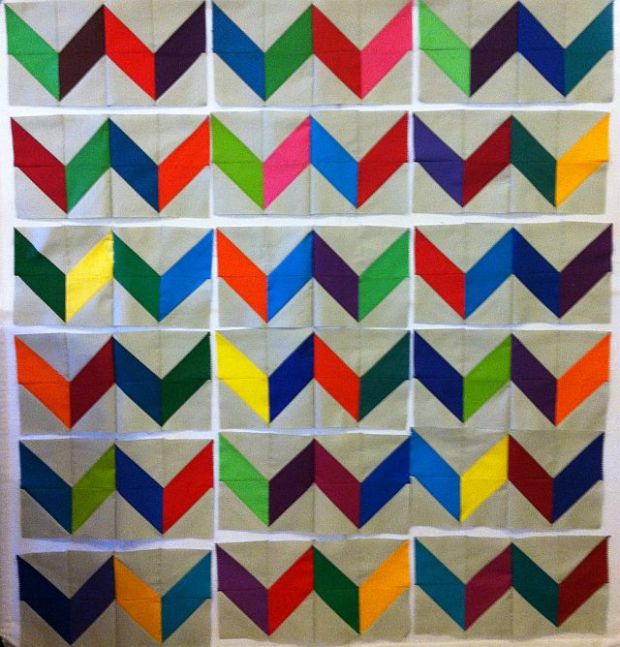
Lay out your chevron blocks in a pleasing arrangement on your design wall or other large flat surface. You will have 7 rows with 6 blocks per row for a total of 42 blocks.
Sew each row into pairs of 2 blocks each. Each row will have 3 pairs of sewn blocks. Now you have 21 w’s instead of 42 v’s! (Yes, I’m missing a row in the picture because it wouldn’t fit on my design wall. You should still have 7 rows.)
Step 2 – Sewing the Pairs into Rows (1 Hour)
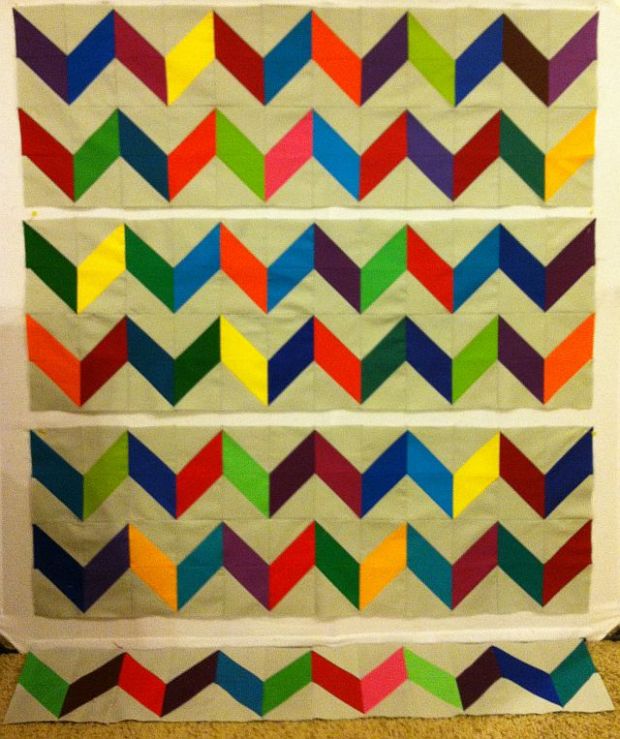
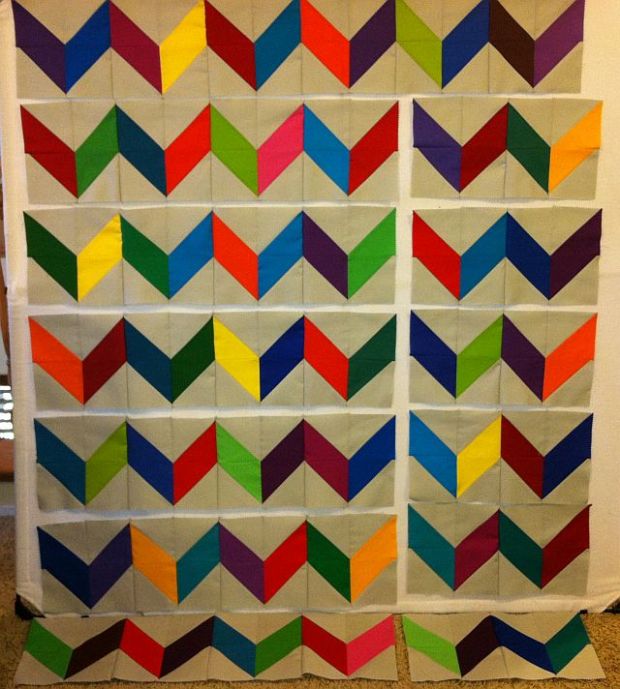
Now you can sew 2 pairs of chevron blocks together in each row. You can see a “hole” in my quilt where I’ve flipped the second pair onto the first along the right side edges. I left the third pair of each row on the design wall so I can remember where each one goes as I sew.
 Now that you have 2/3 of each row finished, you can add the last pair to the end of each row. Be sure to pin generously and flip over any seams if needed so that your seams lie flat.
P ress the seams so that they are all going the same direction in each row.
Be sure that your seams for rows 1, 3, 5 and 7 are all going one way and that rows 2, 4, and 6 are pressed in the opposite direction.
You could also press them open if you prefer. This took me a little while but it was worth it.
Step 3 – Join The Rows to Complete The Quilt Top (1 Hour, 15 Minutes)
Join 2 rows together at a time, pinning at the intersections. You will then have 3 pairs of sewn rows with one row left over. Press each long seam open.
 Now join these last 3 seams to complete the quilt top and give it a final pressing. It’s fun to see how the actual top turned out compared to my original computerized drawing. I like the chevrons with the tips pointing down better. But you can decide either way!
I’m very pleased with how my top turned out – now I can’t wait to see yours! Please email me pictures of your work in progress and I’ll be glad to share them here on my blog.
Sewing Schedule (All links will be active once each step has been completed.)
- Week 1 – Supply List and Introduction
- Week 2 – Marking and Sewing the Charms
- Week 3 – Cutting and Trimming the Triangle Squares
- Week 4 – Sewing the Chevron Blocks
- Week 5 – Assembling the Quilt Top (today’s post above)
- Week 6 – Marking and Basting
- Week 7 – Machine Quilting Straight Lines
- Week 8 – Free Motion Pebble Quilting
- Week 9 – Binding and Finishing Your Quilt


I love you Chevron design . Thank you for sharing all your quilting tips I find them very useful. I think the gloves would be very useful for quilting.
Love your chevron design. Am working on a chevron design using Chateau Rouge fabrics by French General. Need to learn to machine quilt, so I hope I win the gloves. Stumbled onto your website!
Looks great! I love how colorful it is!
Your quilt top looks great. I’m sewing my blocks together and it takes me way longer then you, especially since I keep doing things backwards. Thanks for the tutorial.
You picked really cute fabrics though! I hope you’ll share some pictures when you finish the top 🙂