My family and I recently took a fun trip to Washington DC. I’ve actually been a couple times before, but it was the first time all 3 of my kids have visited as adults. It was amazing and so educational! We visited as many museums as we could, took time to view all the monuments, and enjoyed riding bikes around the national mall – easy rentals were everywhere!

The best views of Washington DC are by bike!!
Because 2 of my kids are currently studying art in college, we spent a LOT of time at the art museums. I found that I really love abstract art, but I was blown away at how old some of the paintings on display are. We visited the National Gallery of Art and I made a fun game of finding all of the quilty designs in many of the paintings.
This ancient painting below really blew me away. It dates back to the 13th century and looks to me like 2 angels holding up a quilt behind the madonna and child.

Take a look at the tiled floor details in this painting below. Doesn’t that look like a square in a square block? Who knew that was such an old design??

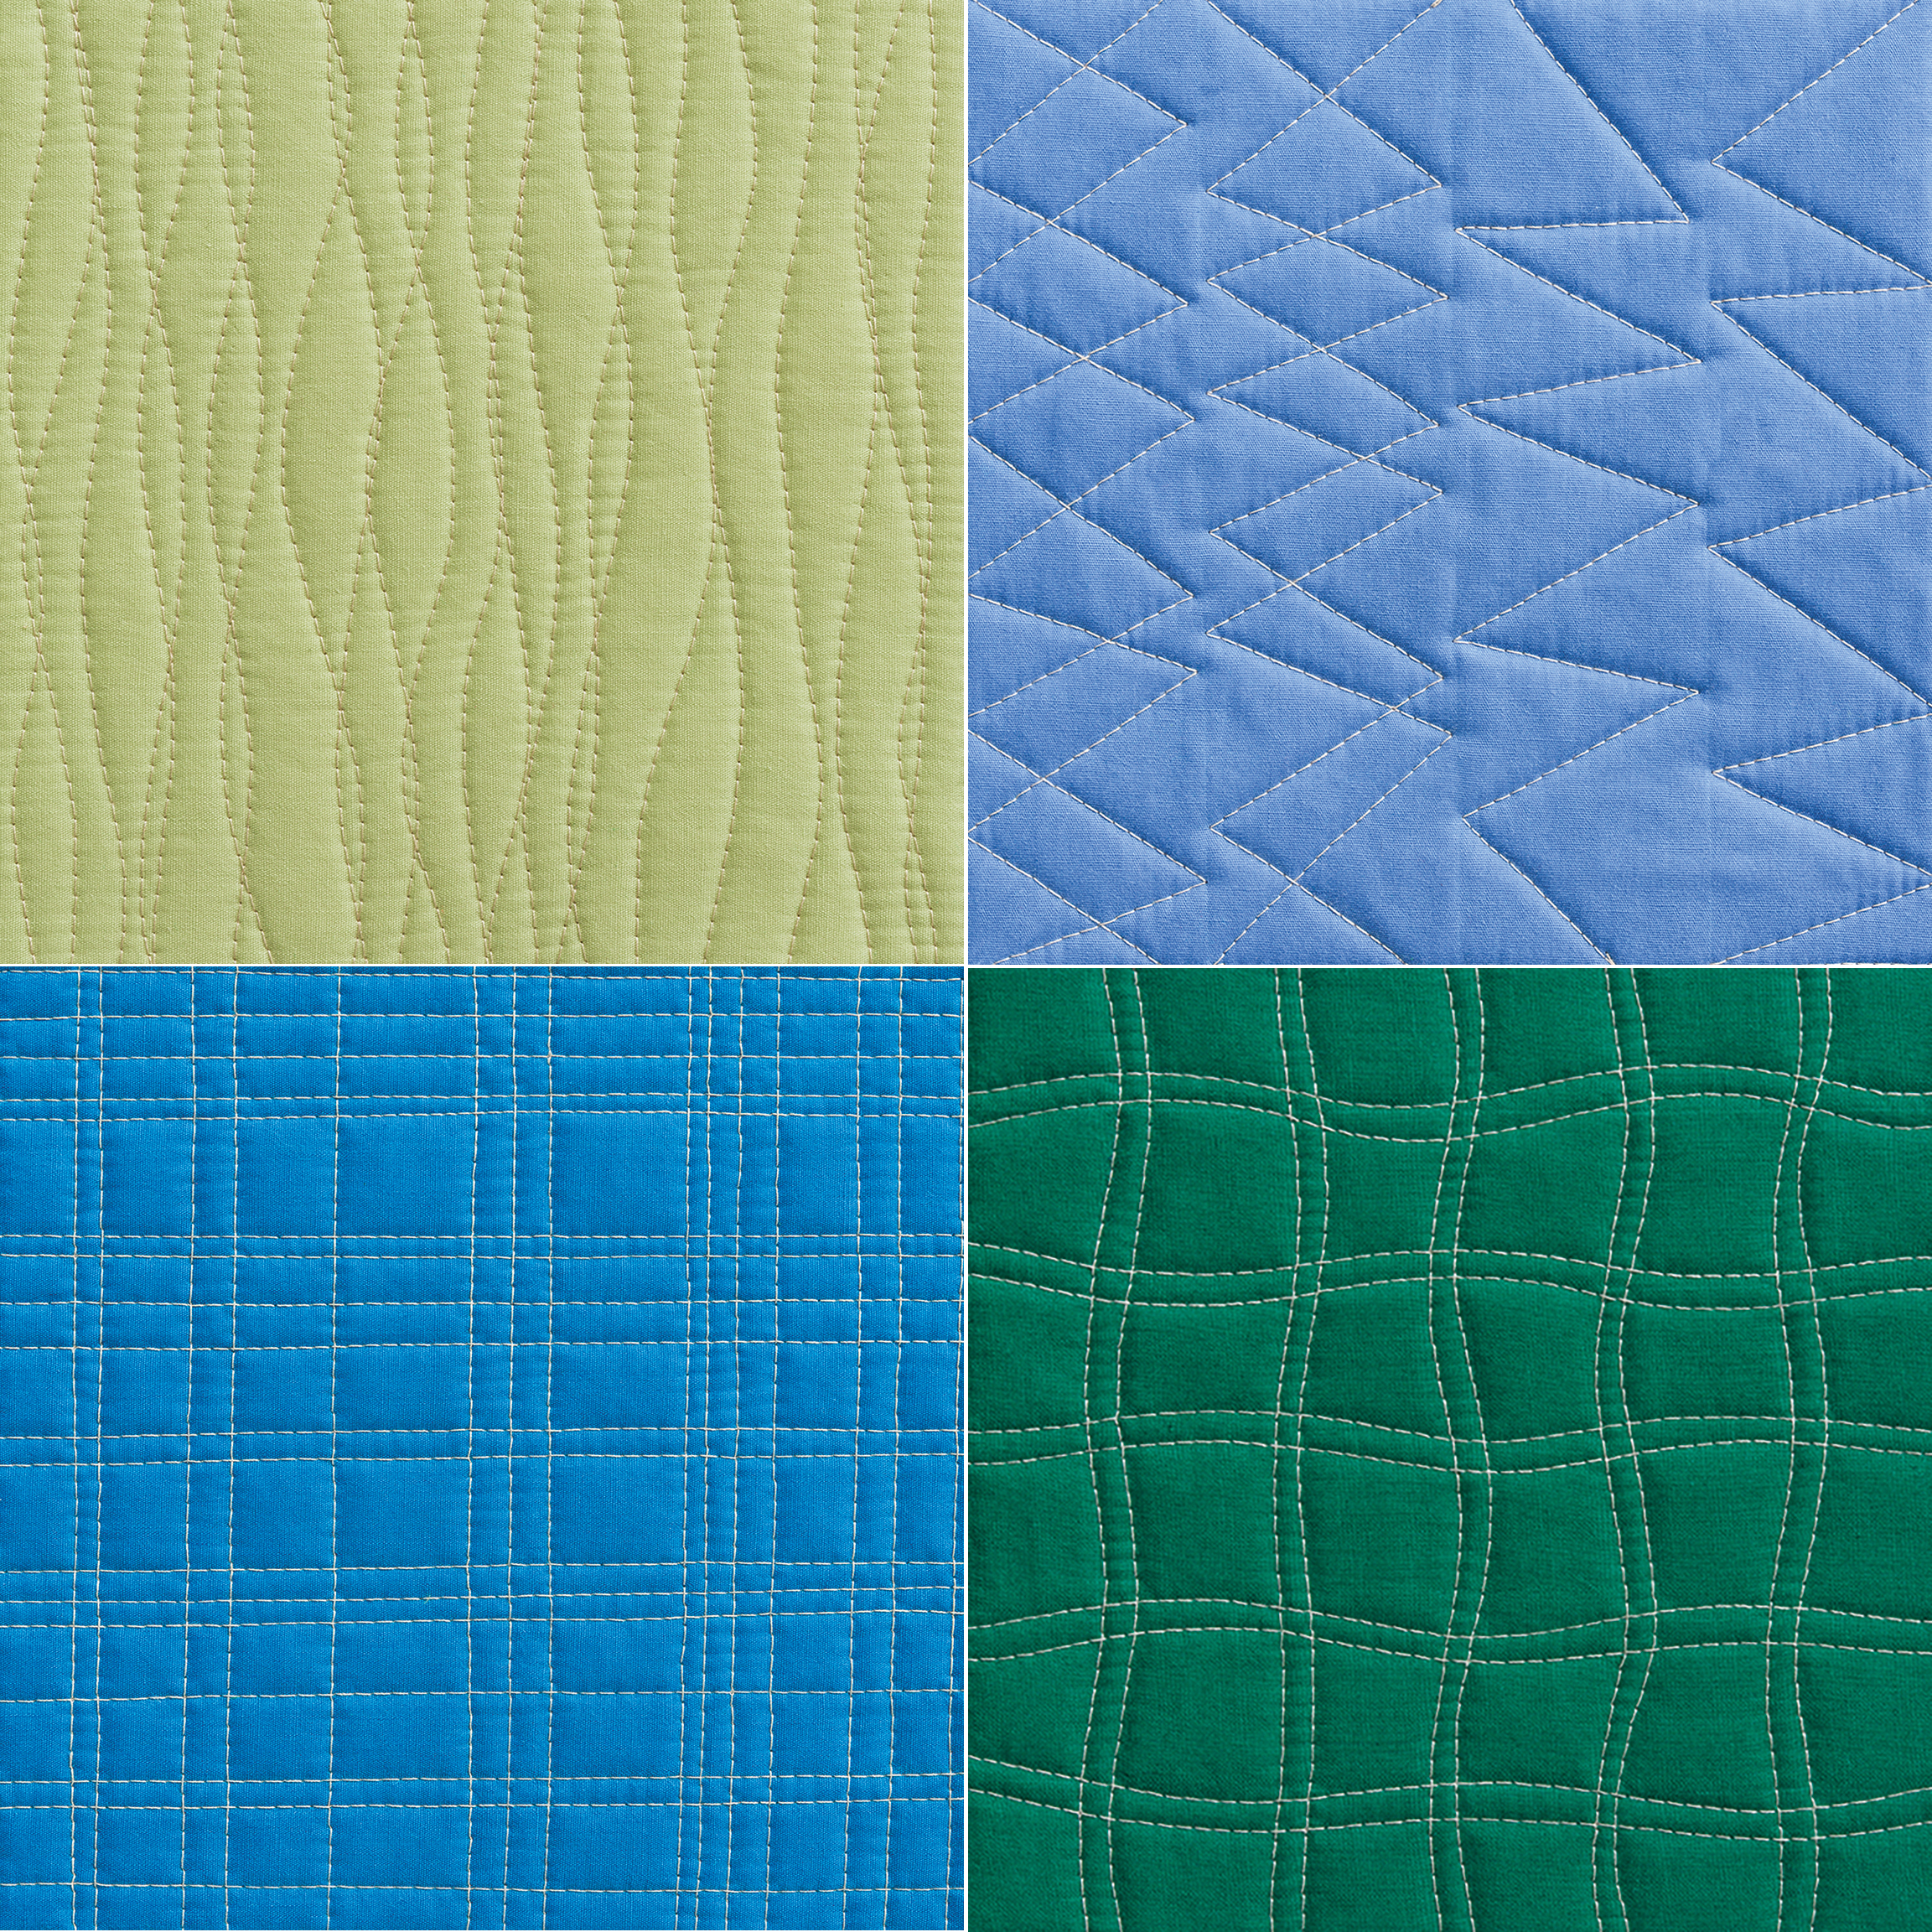
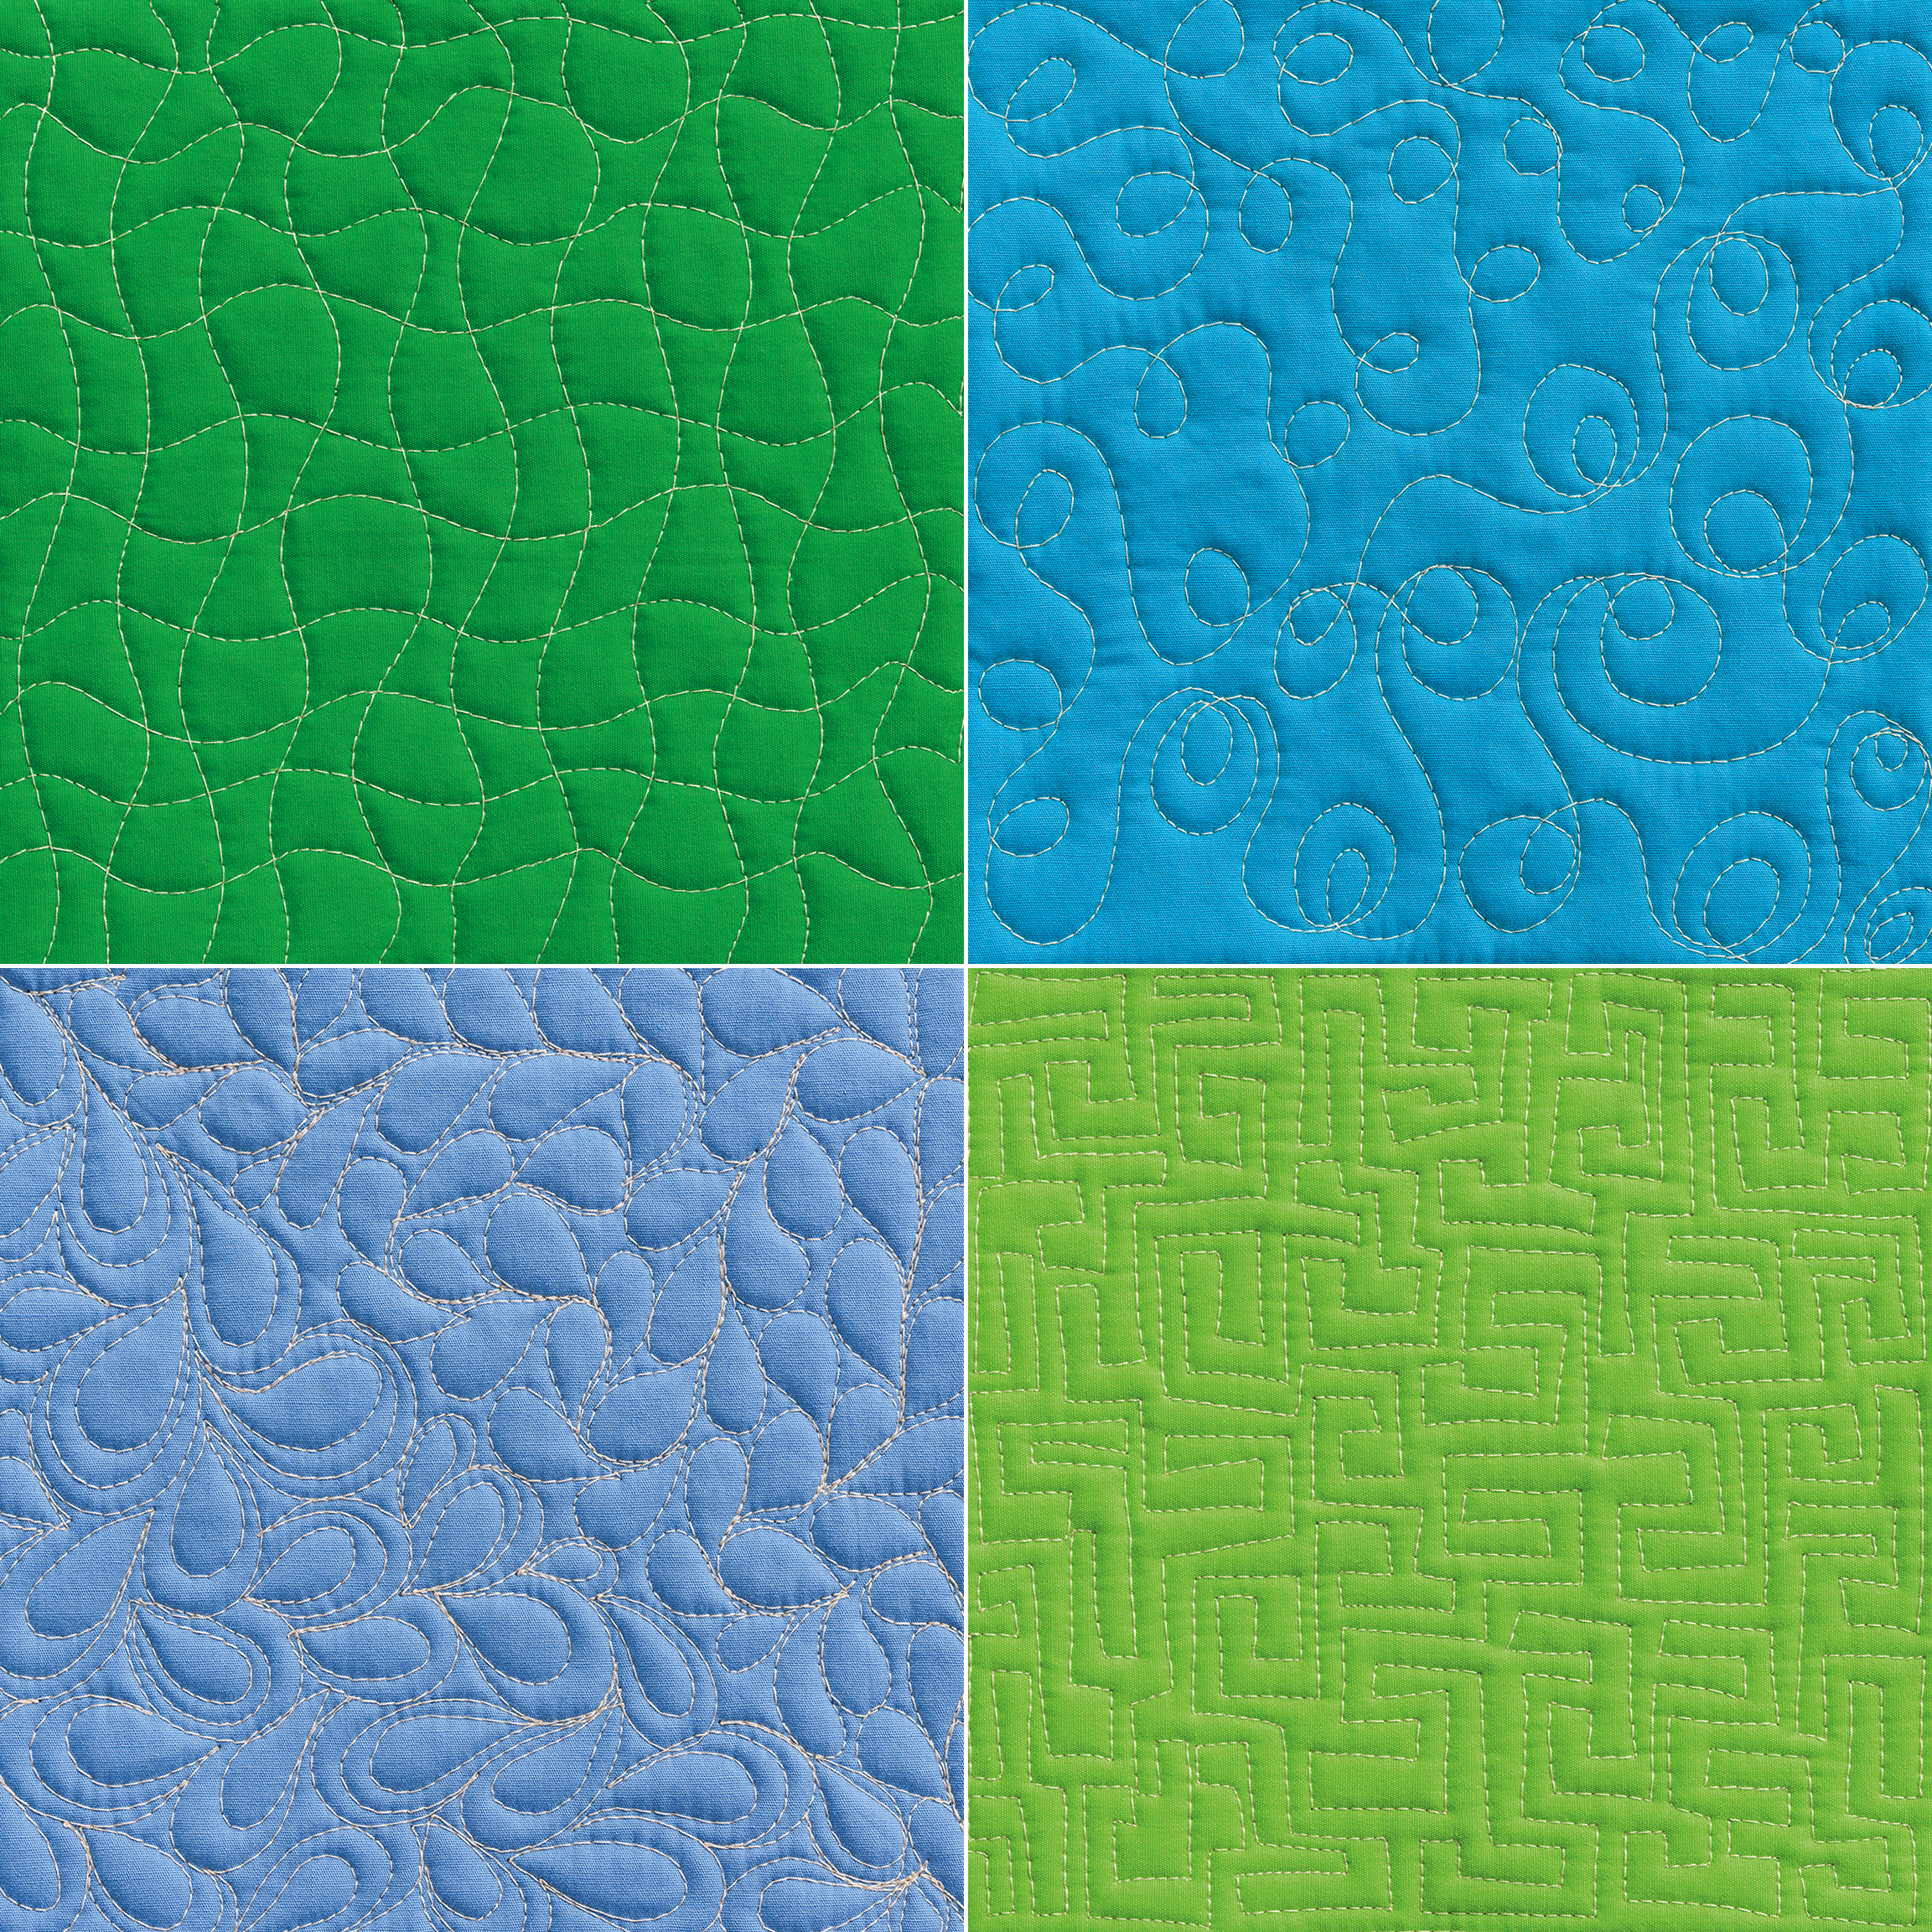
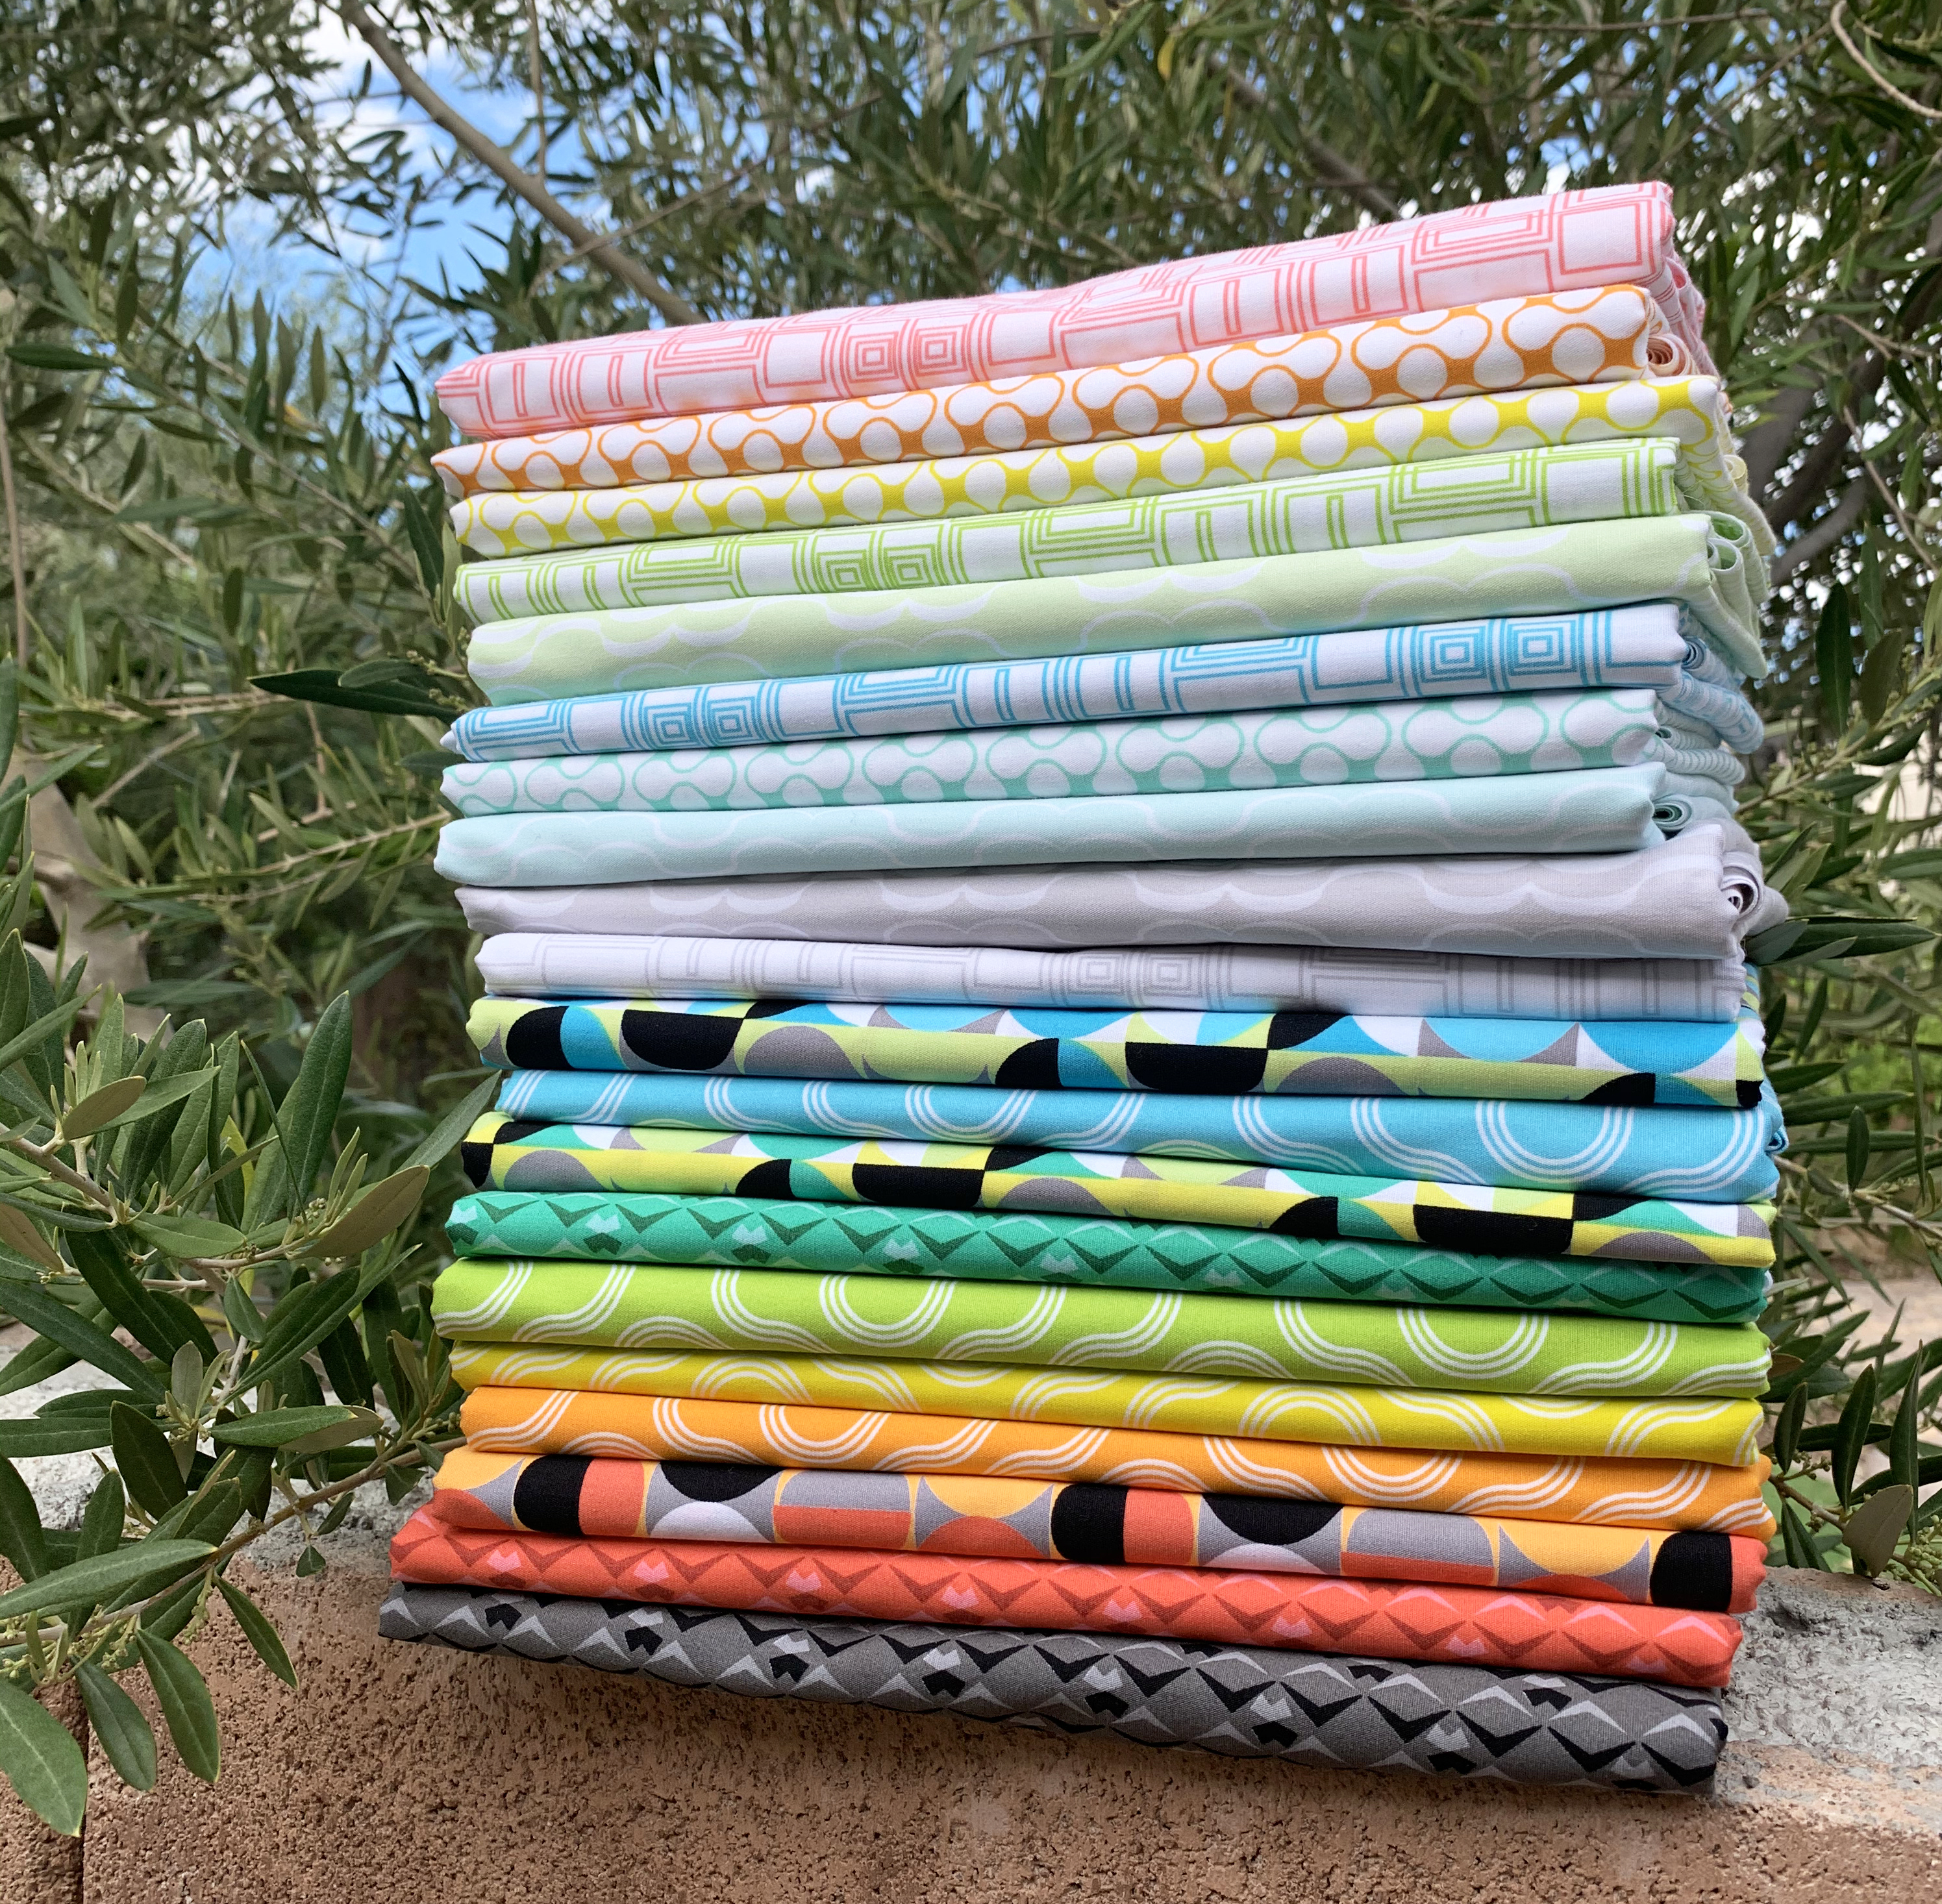
While we were there, we got to view a special exhibit on display, called “Woven Histories – Textiles and Modern Abstraction.” This was right up my alley! I put together a super quick little 2 minute video showing some of my faves below. I think so many of these designs are just begging to be made into quilts!! (Click the image below to watch.)
To balance things out, especially for my oldest son and hubby who are the computer science & technology guys in the family, we also visited both of the national air and space museums. Not only did we get to see the real airplanes flown by the Wright brothers, we were able to view the actual space shuttle Discovery on display. It was absolutely mind-blowing!

One of our favorite spots in the Udvar-Hazy museum was the restoration hangar where we could watch them working on antique airplanes in real time. Of course I got a kick out of the fact that they had a “fabric shop” used for recreating or restoring textiles. Too bad it wasn’t open to the public, LOL!!

Overall it was an amazing time and the older my kids get, the more I appreciate spending time with them as adults!!